It’s been a while since the last post due to a combination of doing too much and just too much going on, resulting in the thrill of finishing some figures at the eleventh hour just before an event! Not done that for a while, though I was having flashbacks to the time I tried to rebase my entire Pictish army just before Salute 2005 (pulled it off but best not repeated).
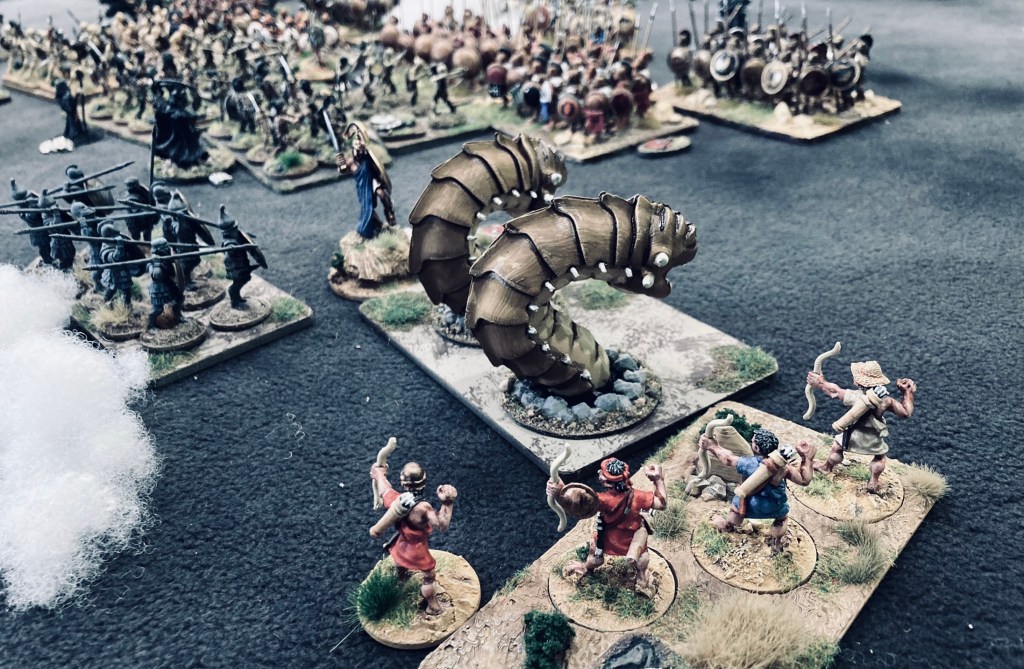
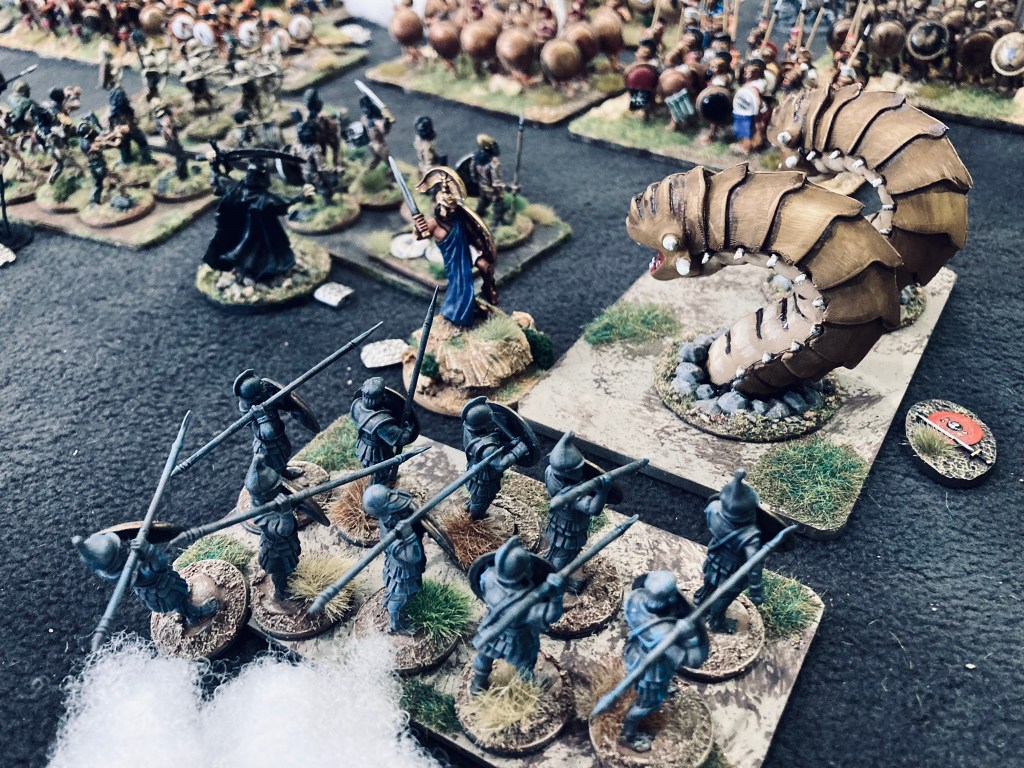
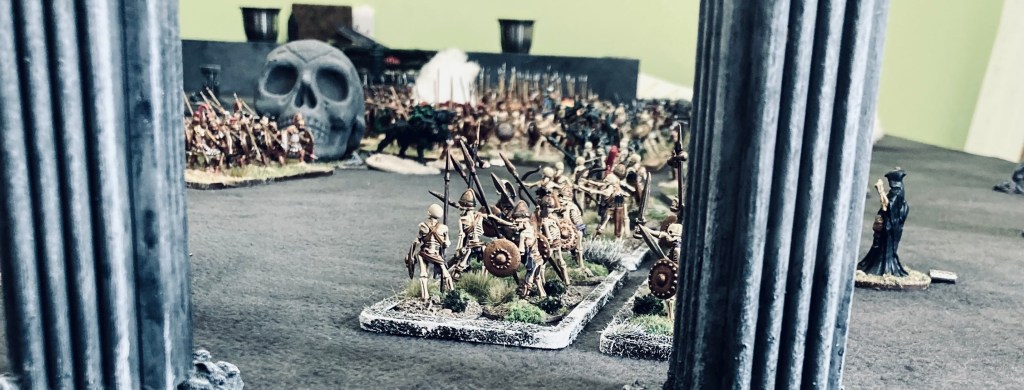
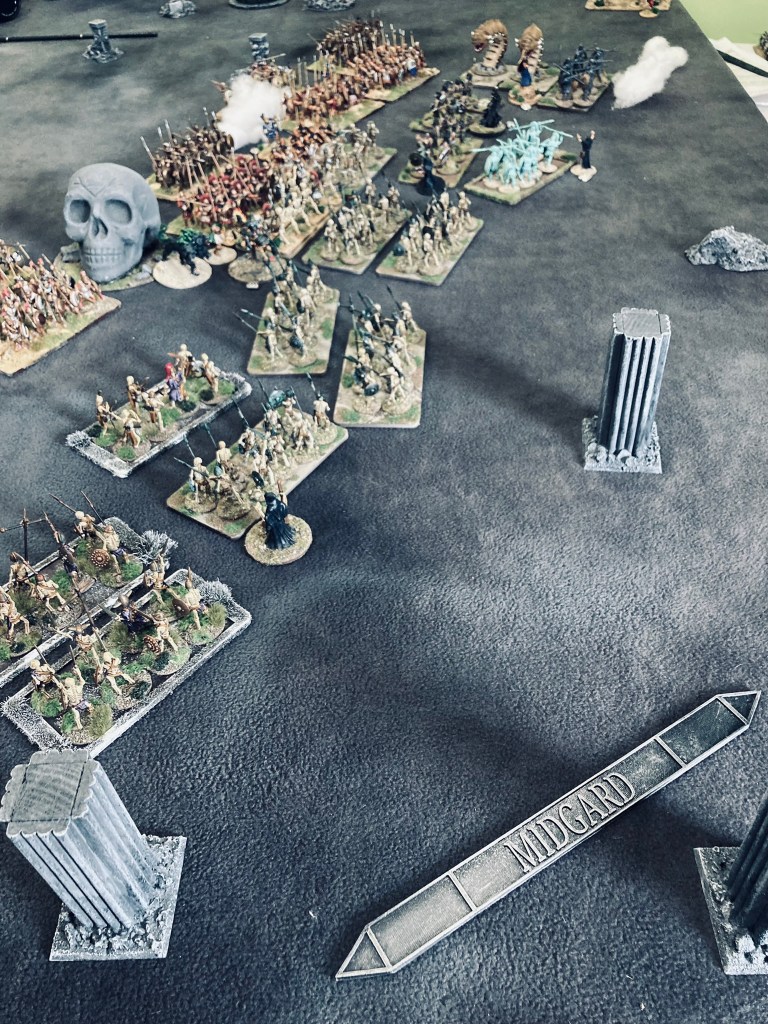
I’ve been meaning to play Andy Callan’s Never Mind The Billhooks ever since it came out, but failed to do so, spending most of my medieval gaming time as an opportunity to develop my Midgard rules instead.
However, the opportunity finally came along, with Pete Harris organising the Billhooks BASH 3 event at Boards and Swords hobbies just a few miles away from me. With noted scoundrels like Mike Peters, Steve Wood and Lord Callan himself attending, it would have been remiss for me to stay home.
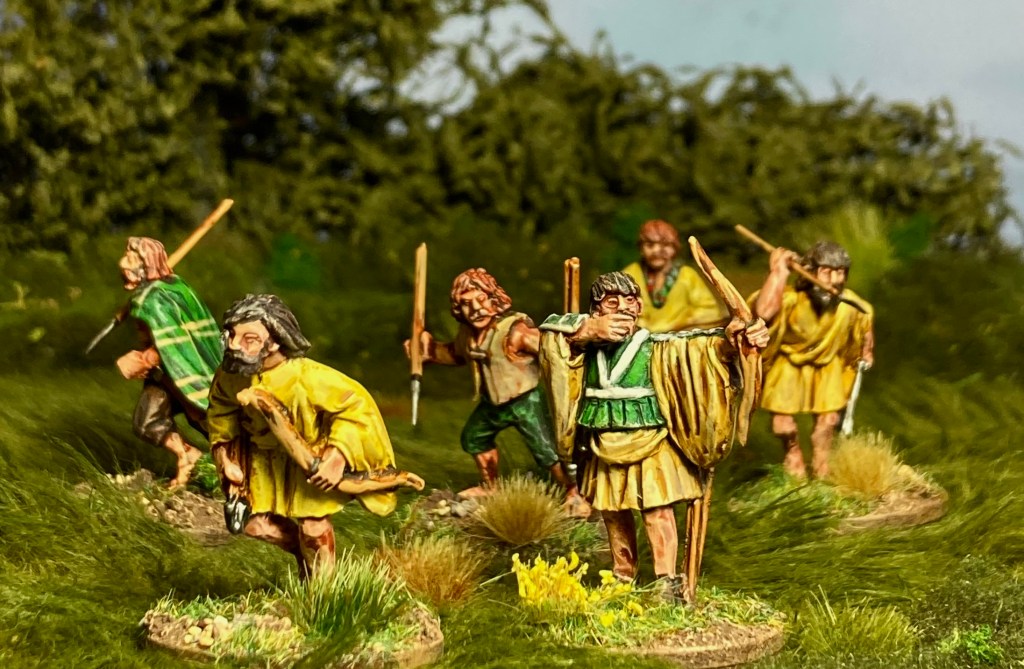
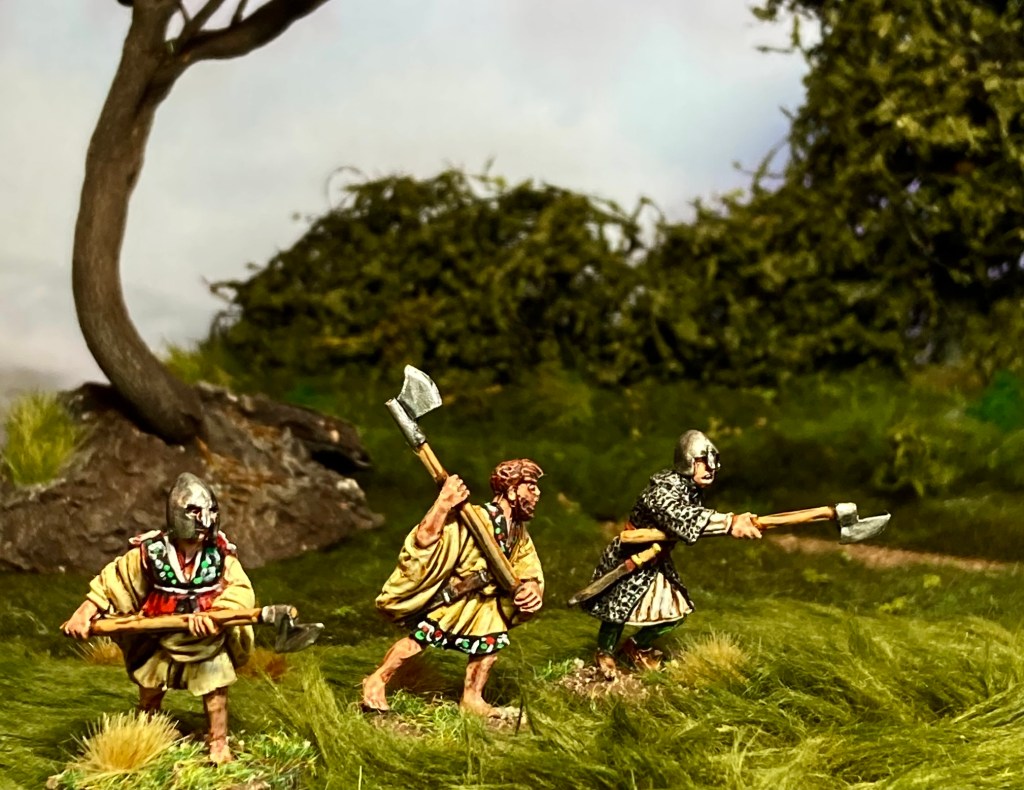
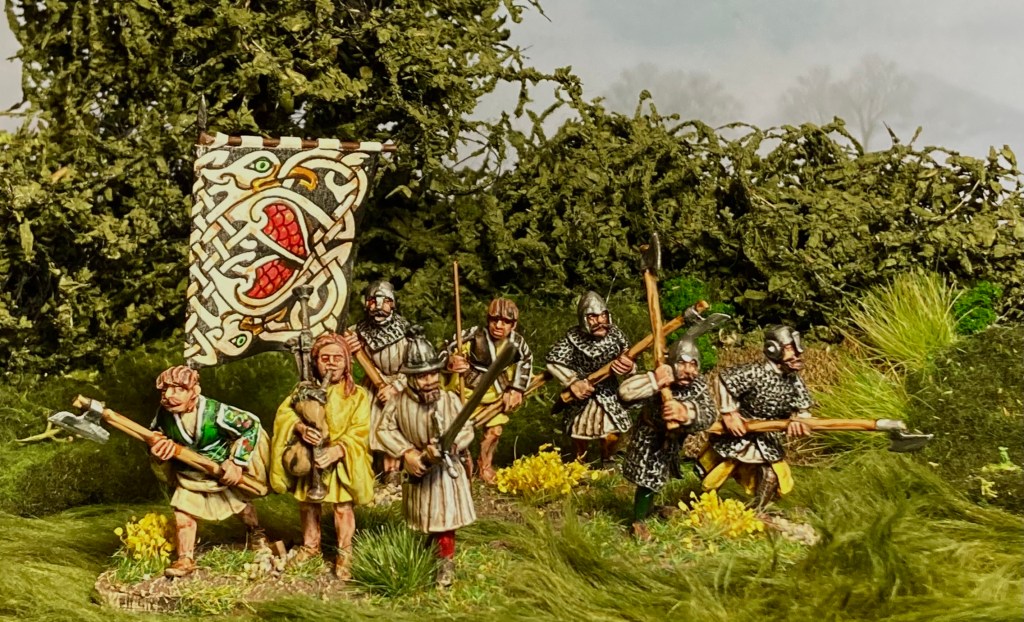
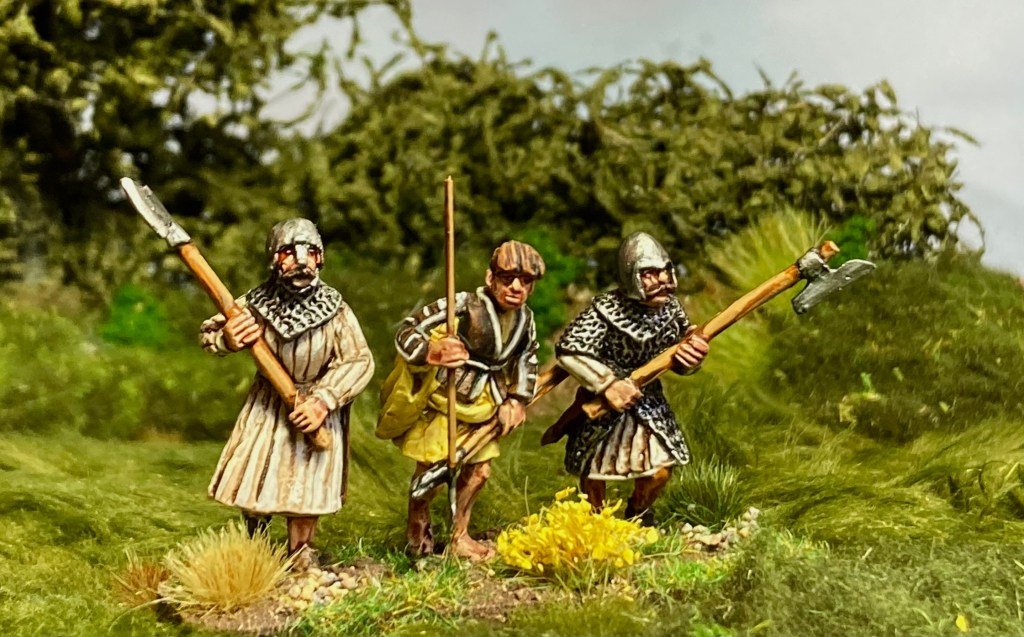
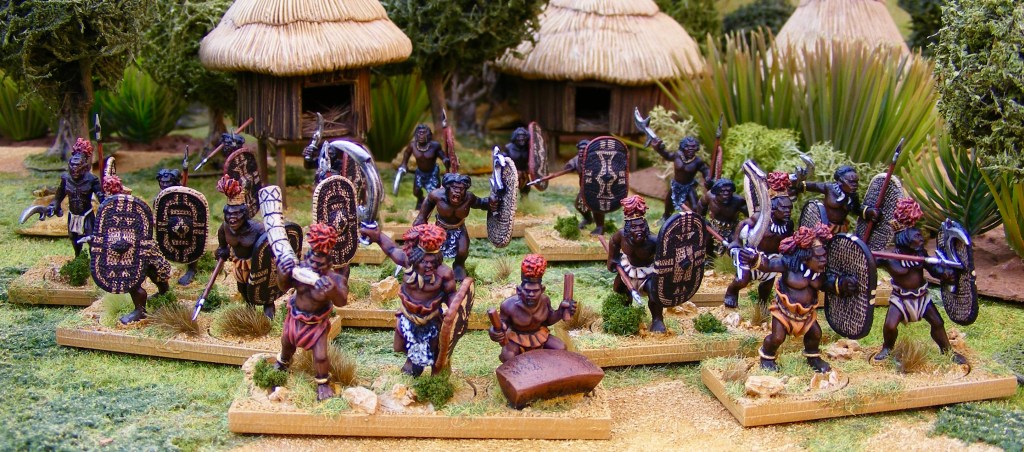
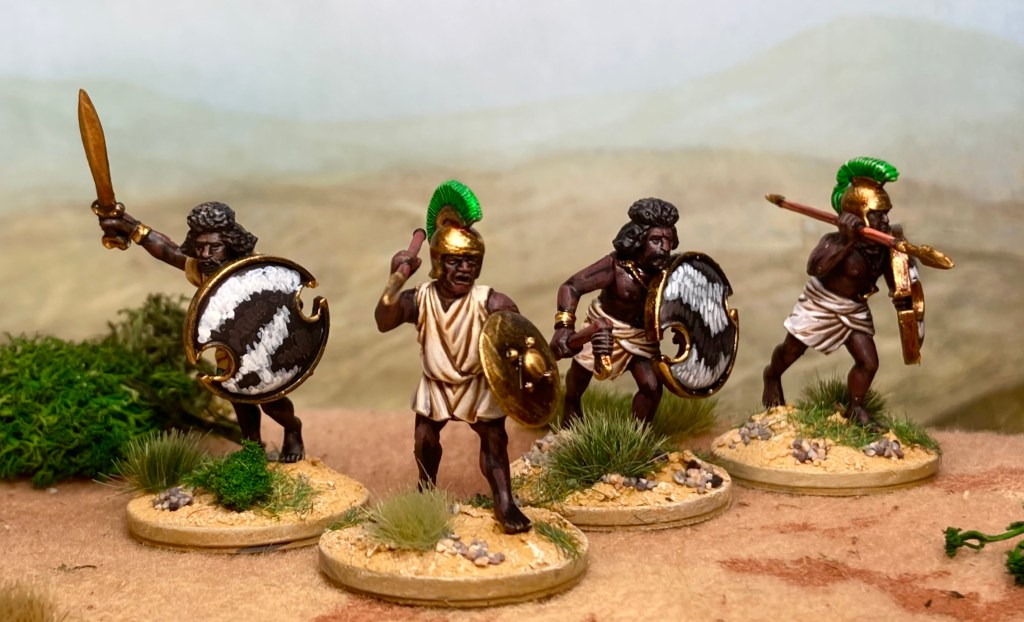
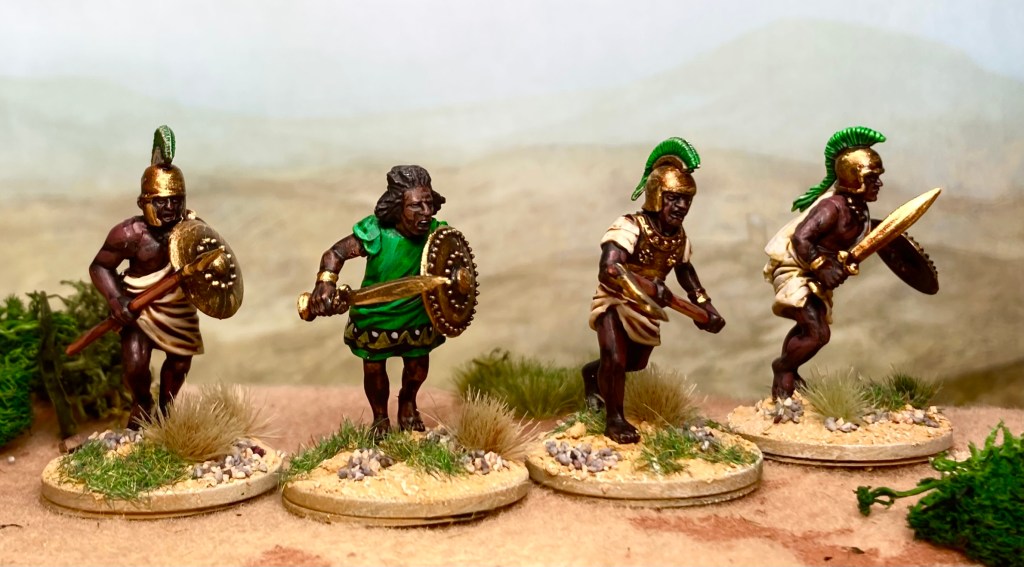
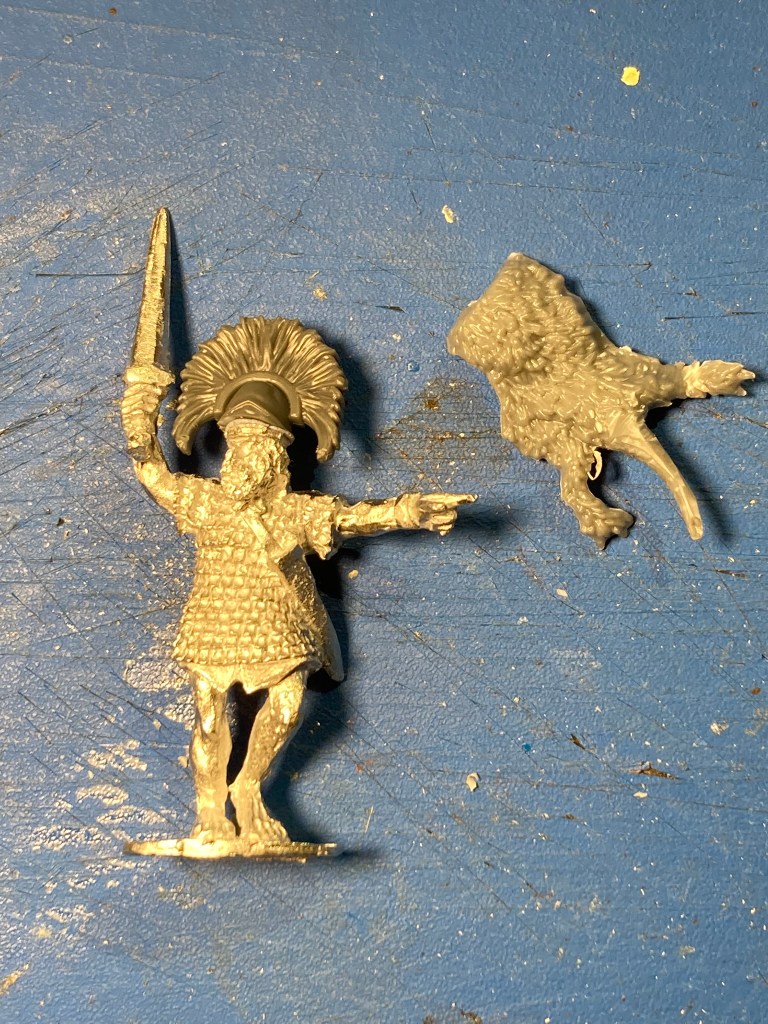
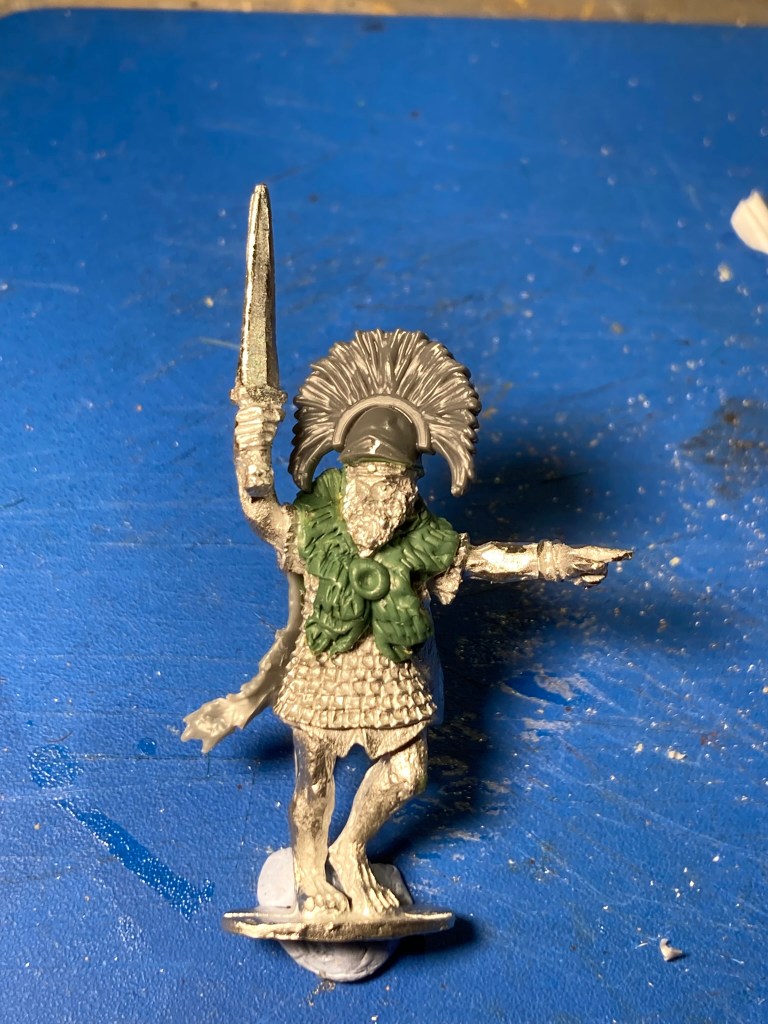
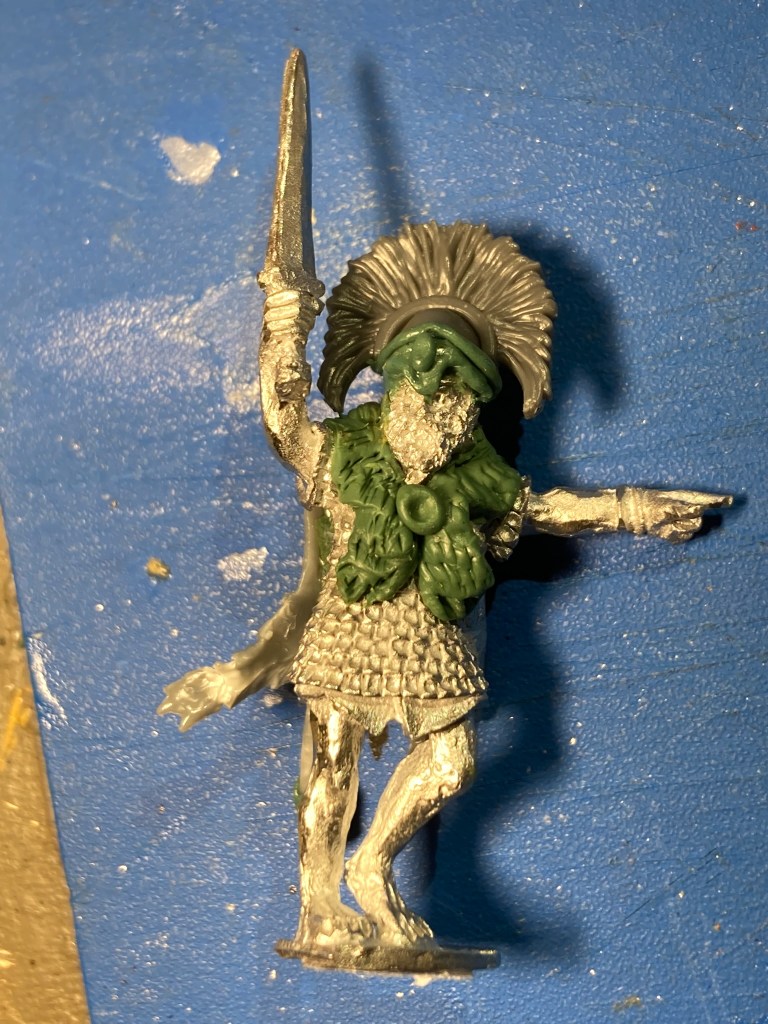
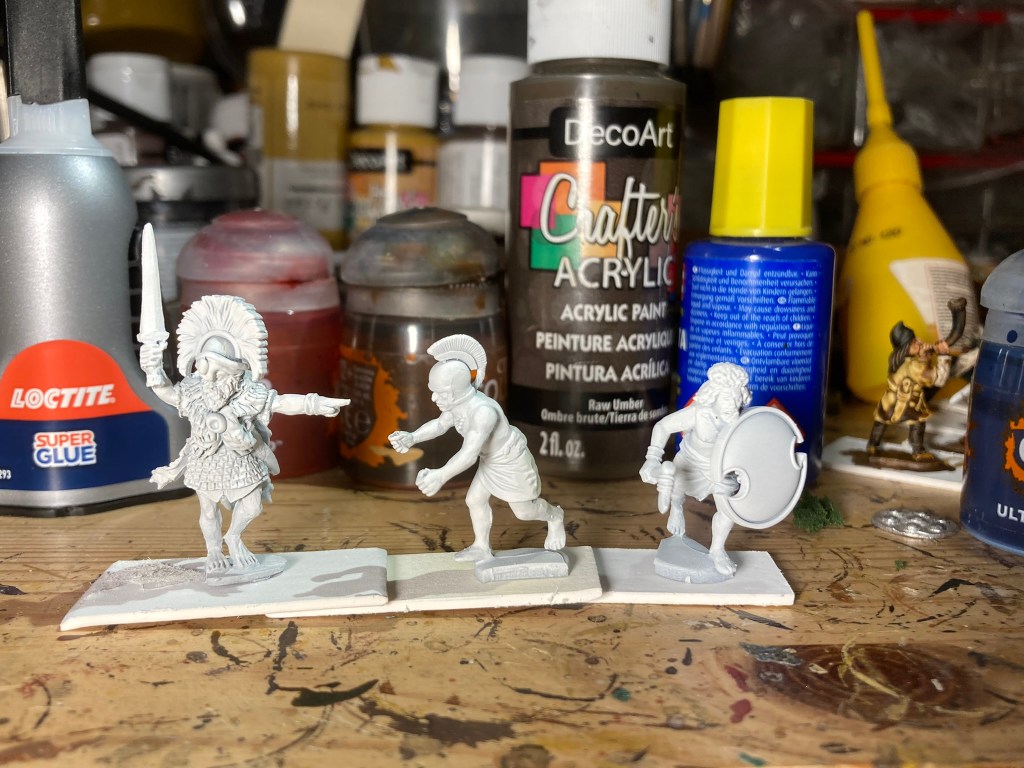
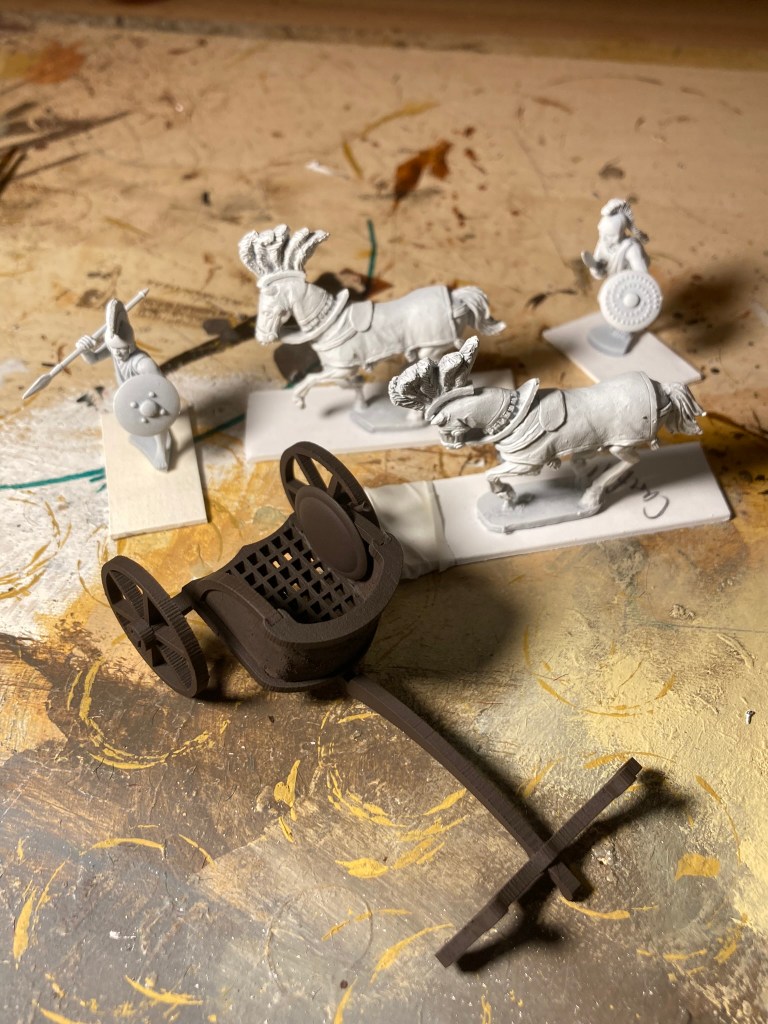
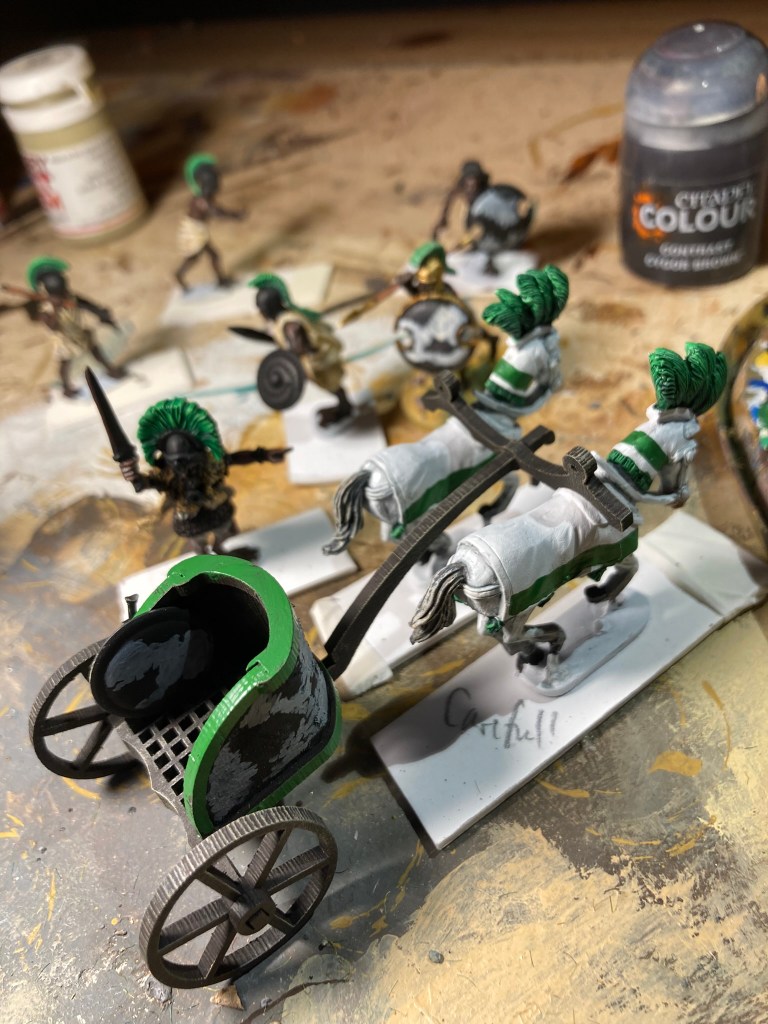
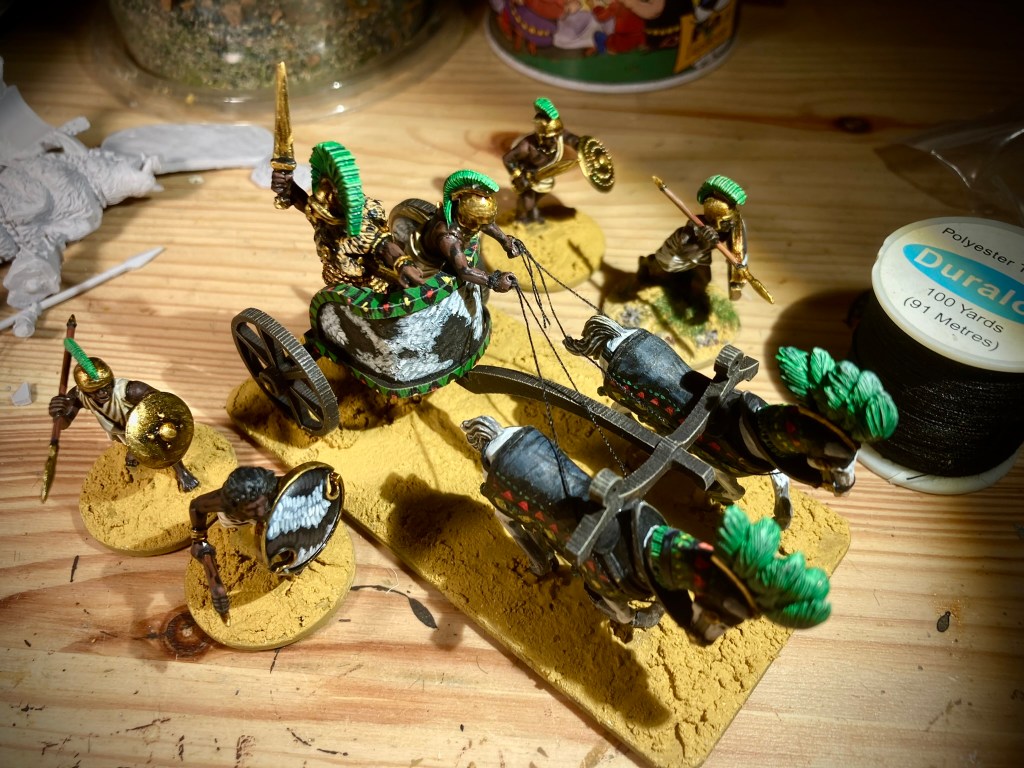
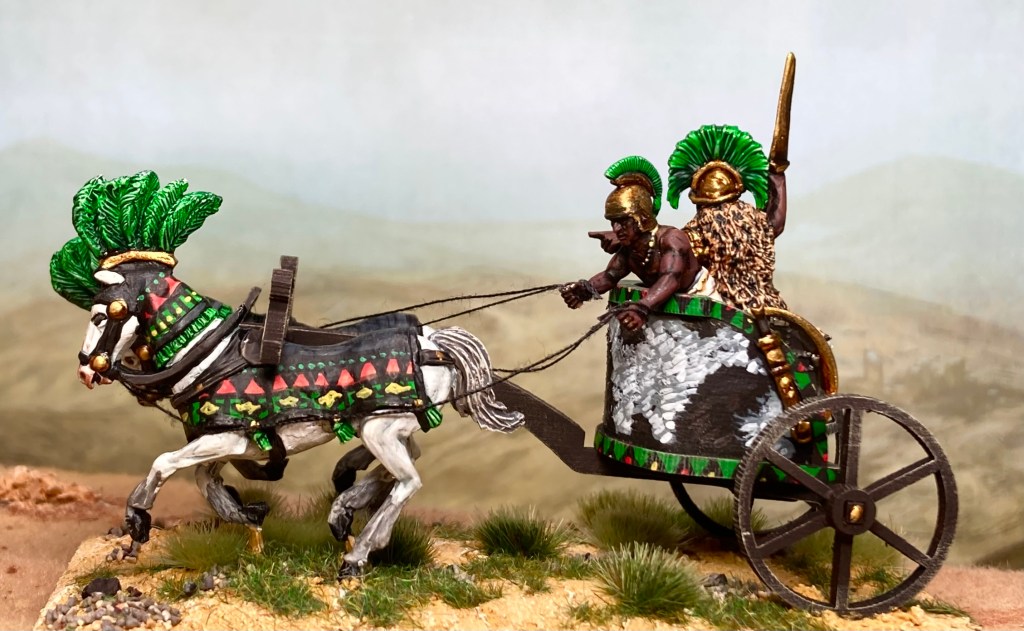
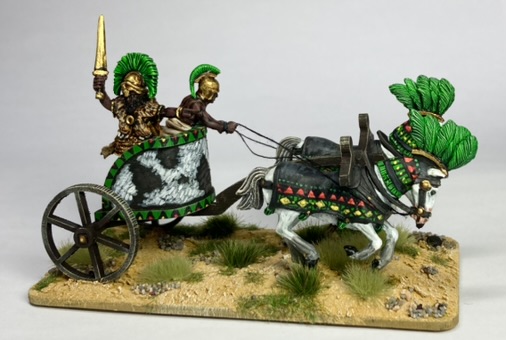
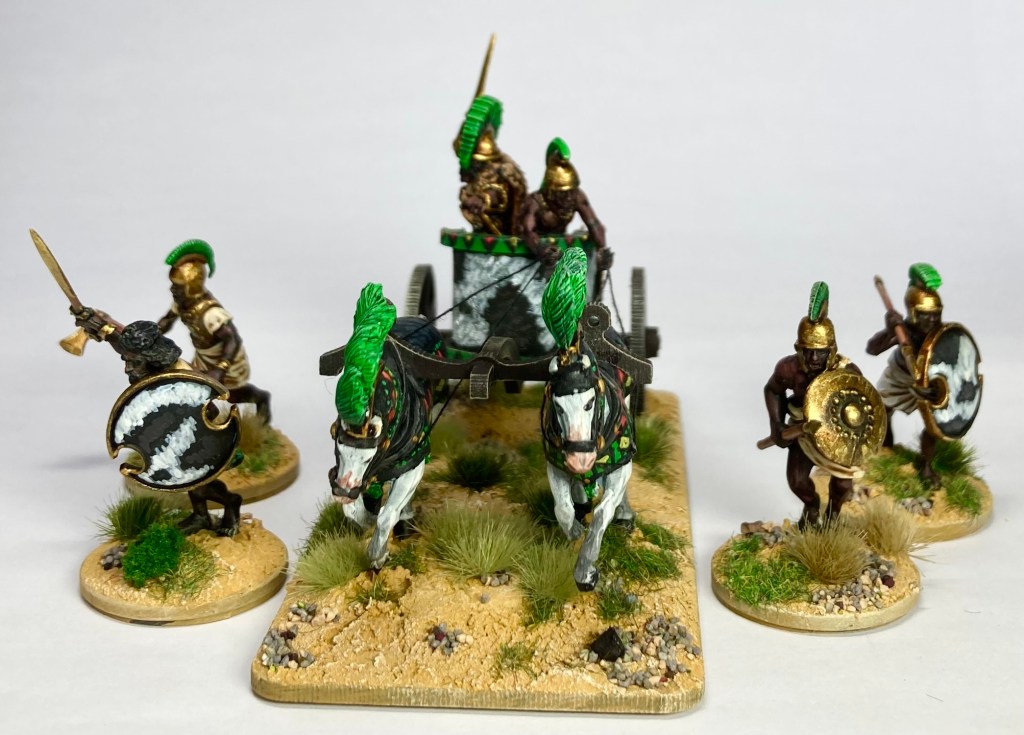
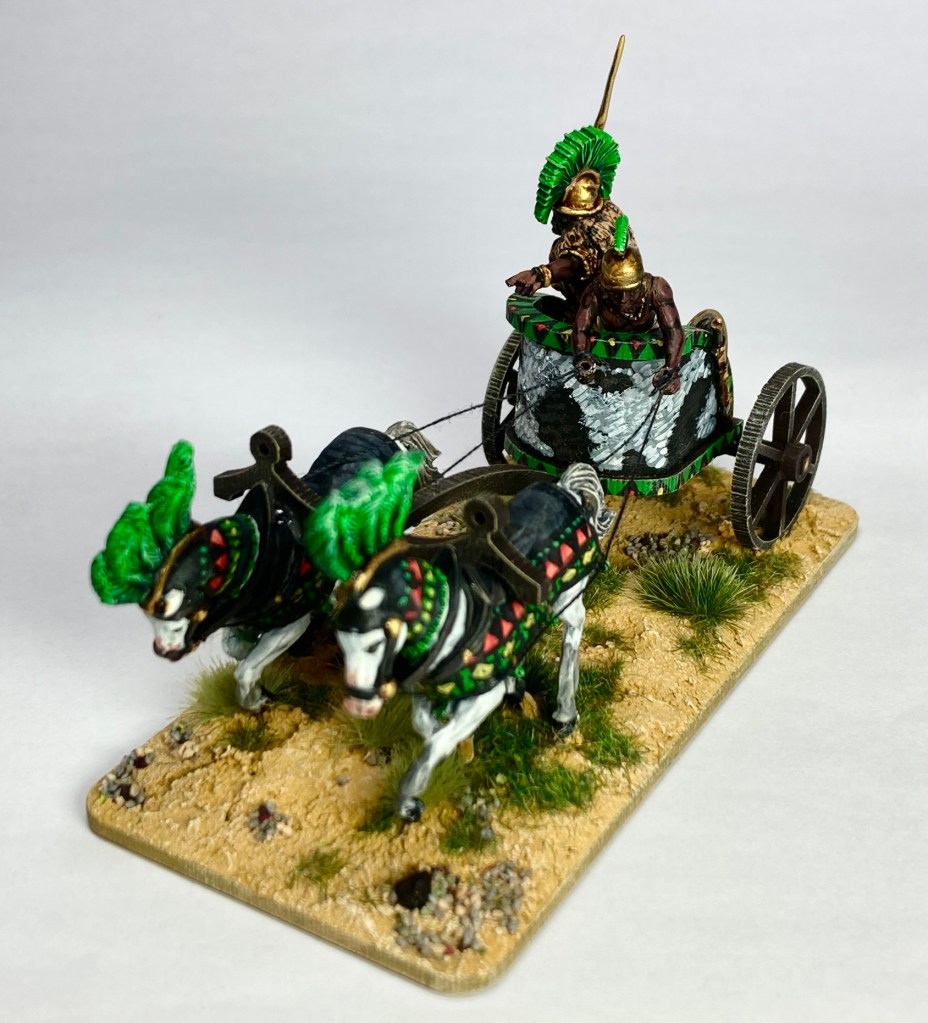
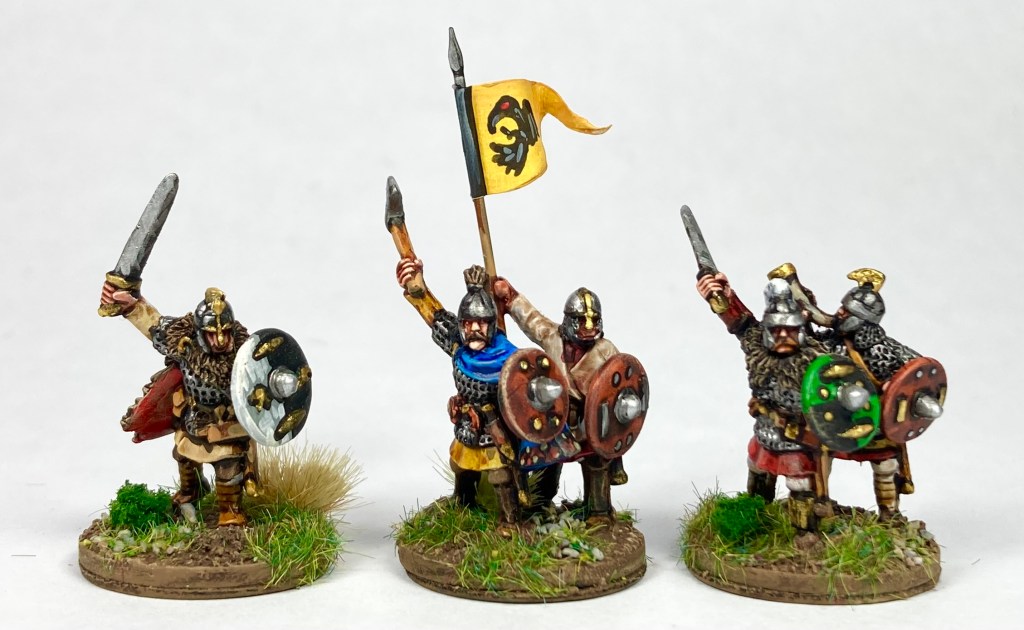
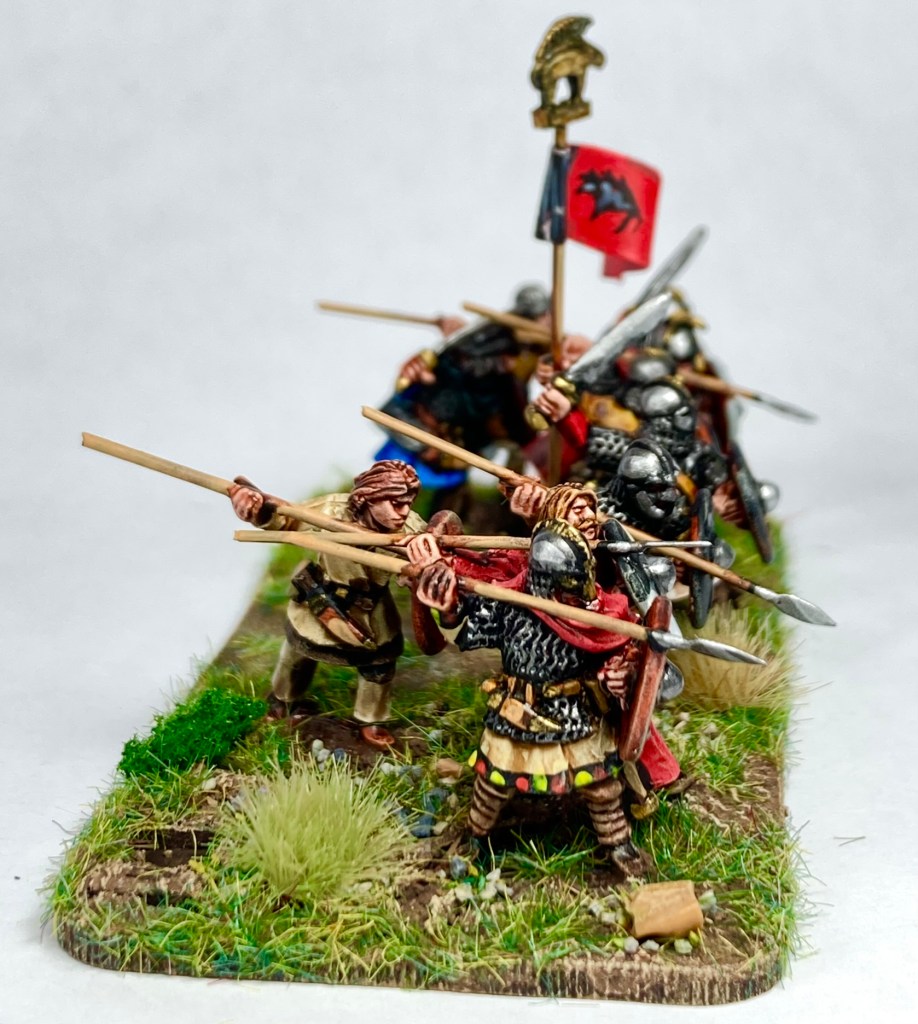
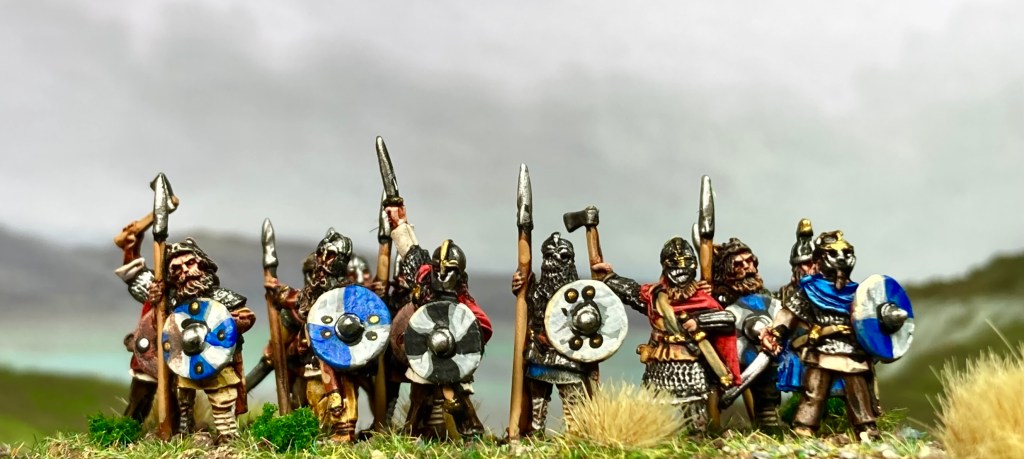
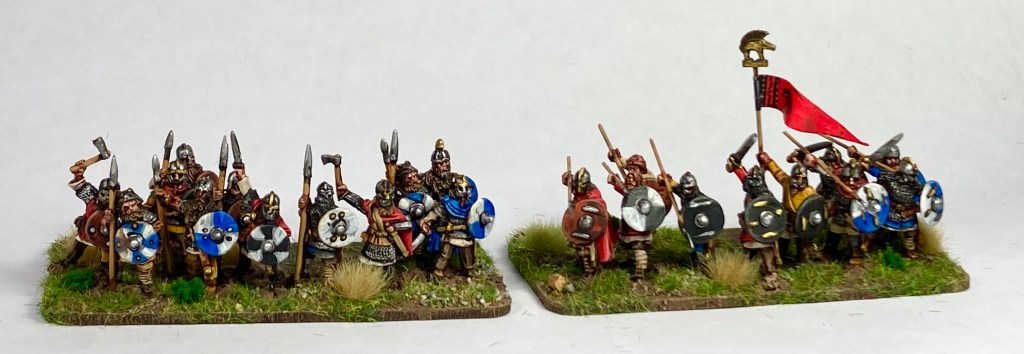
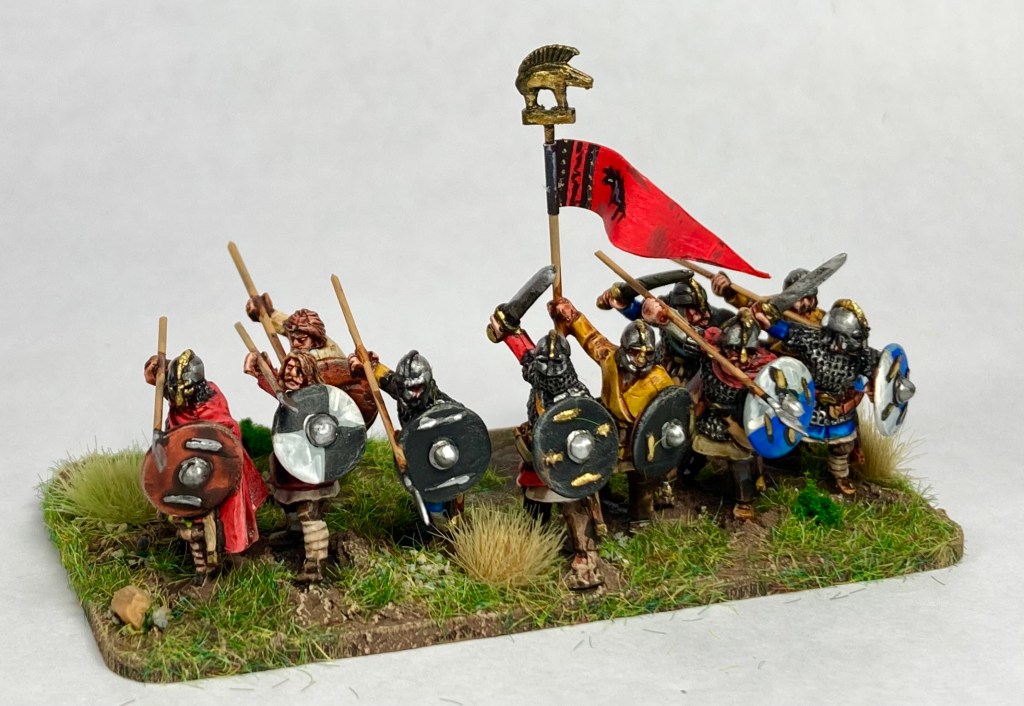
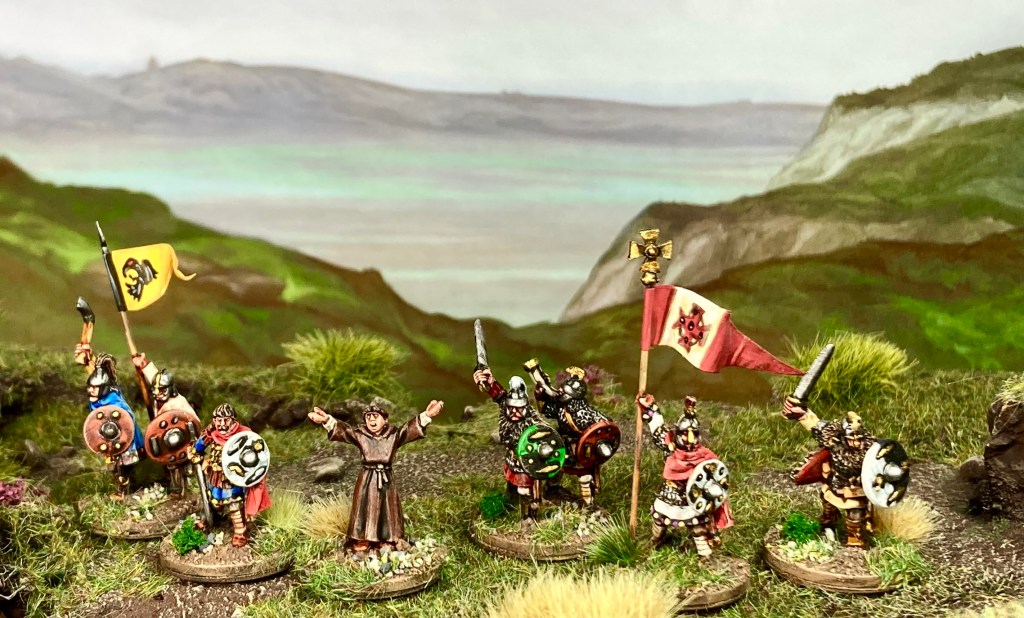
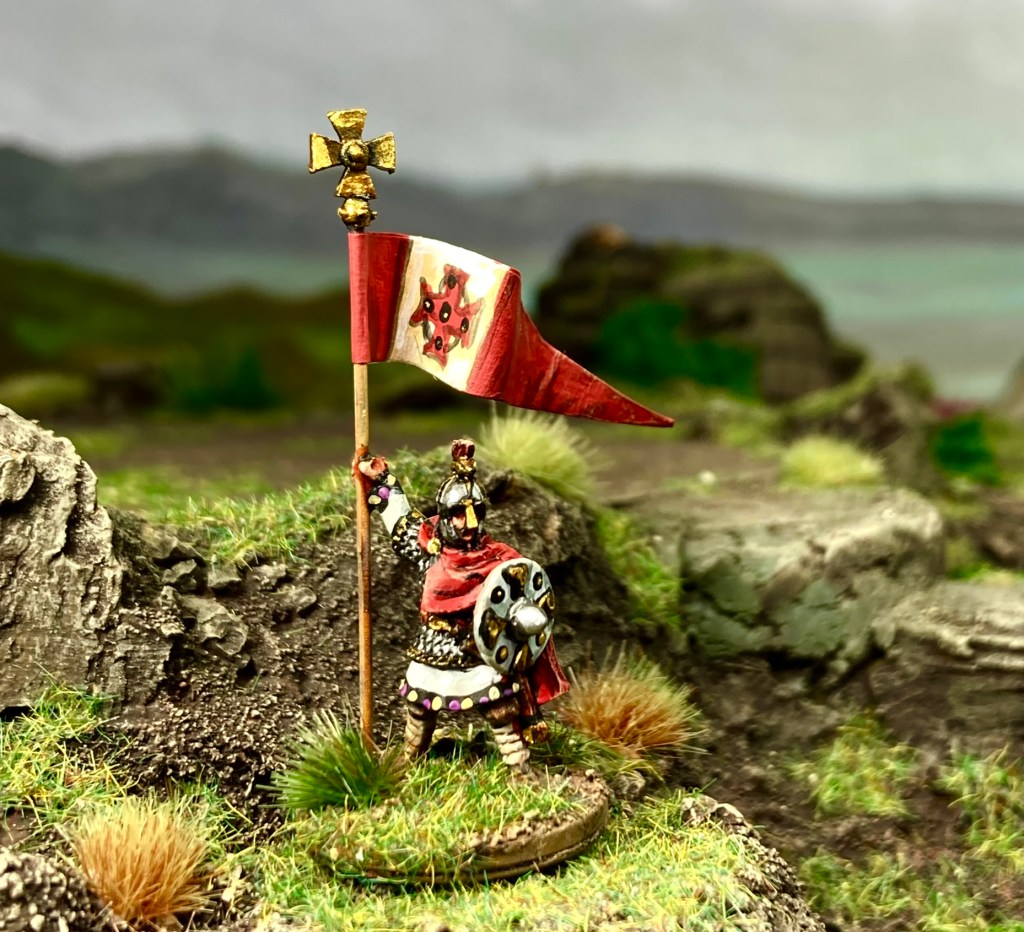
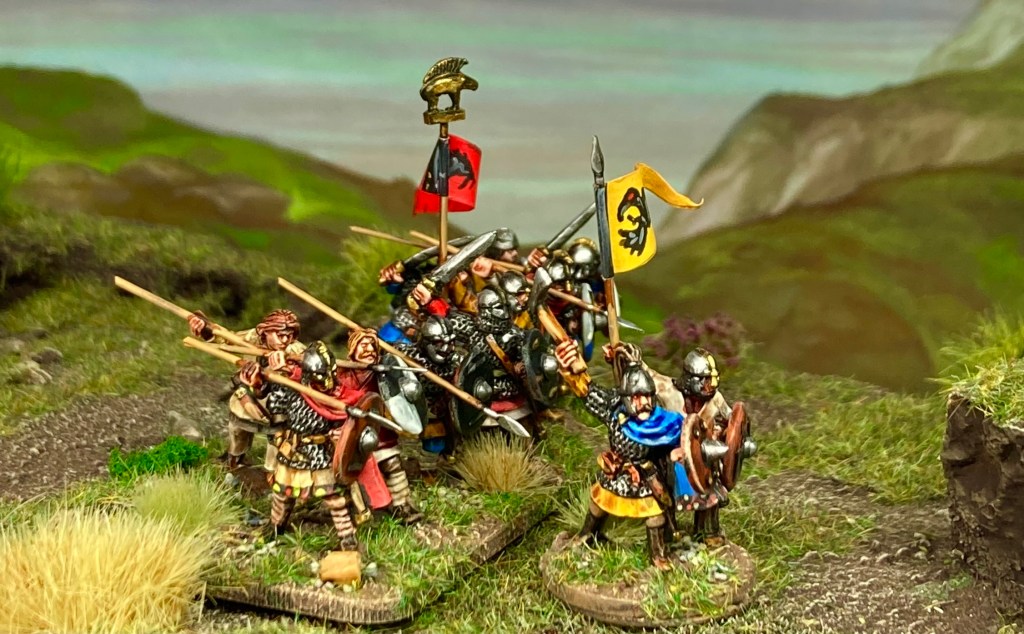
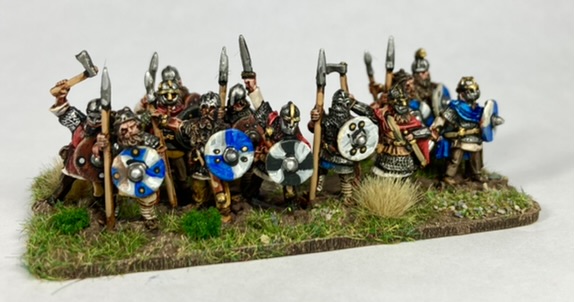
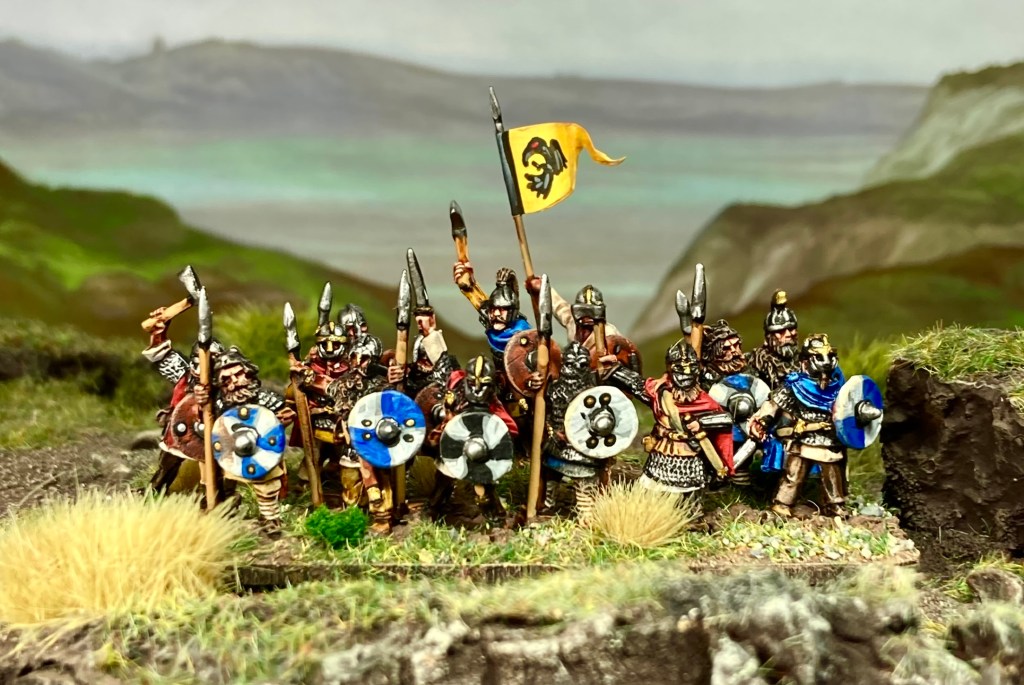
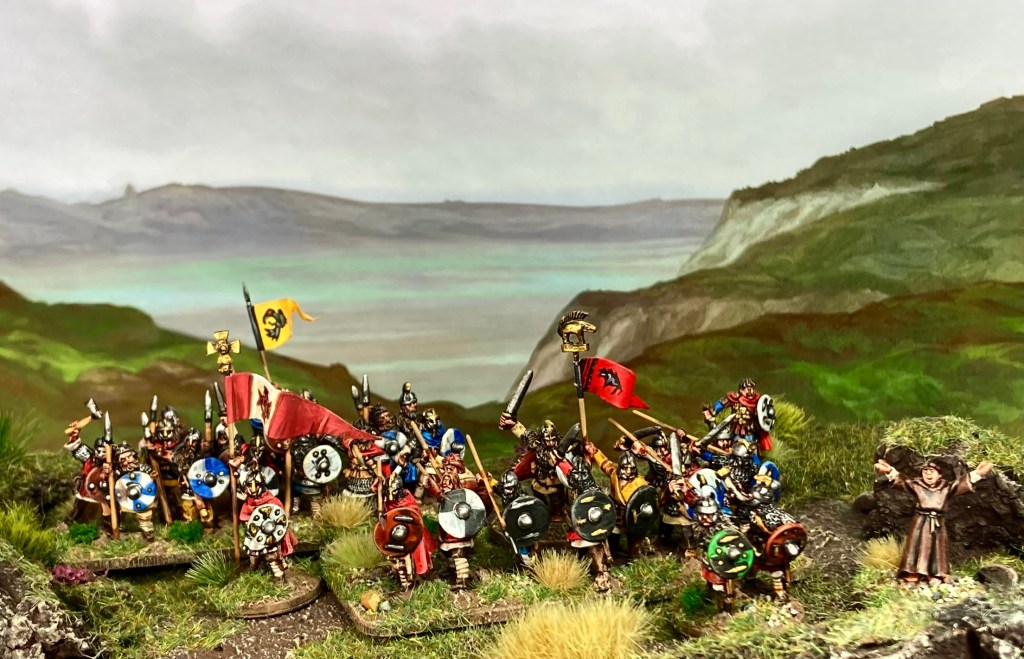
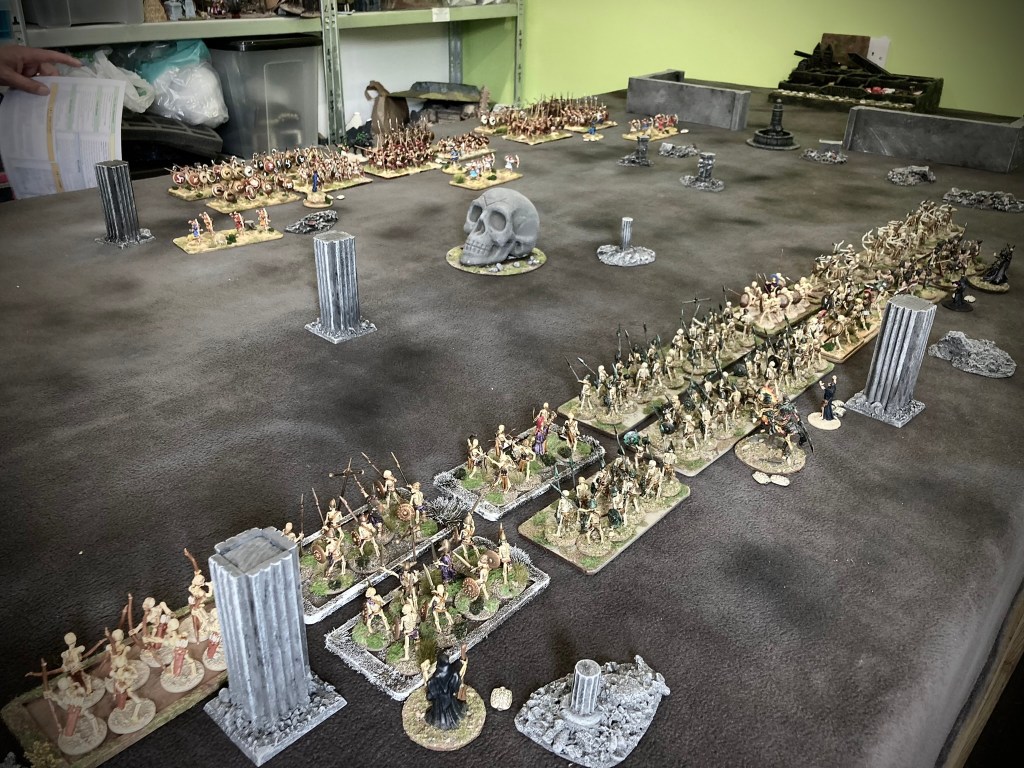
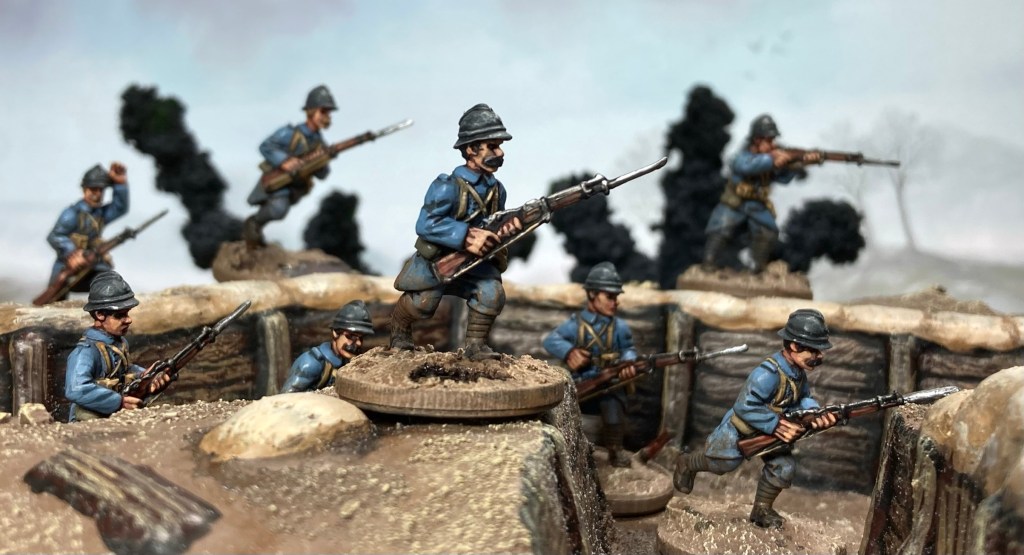
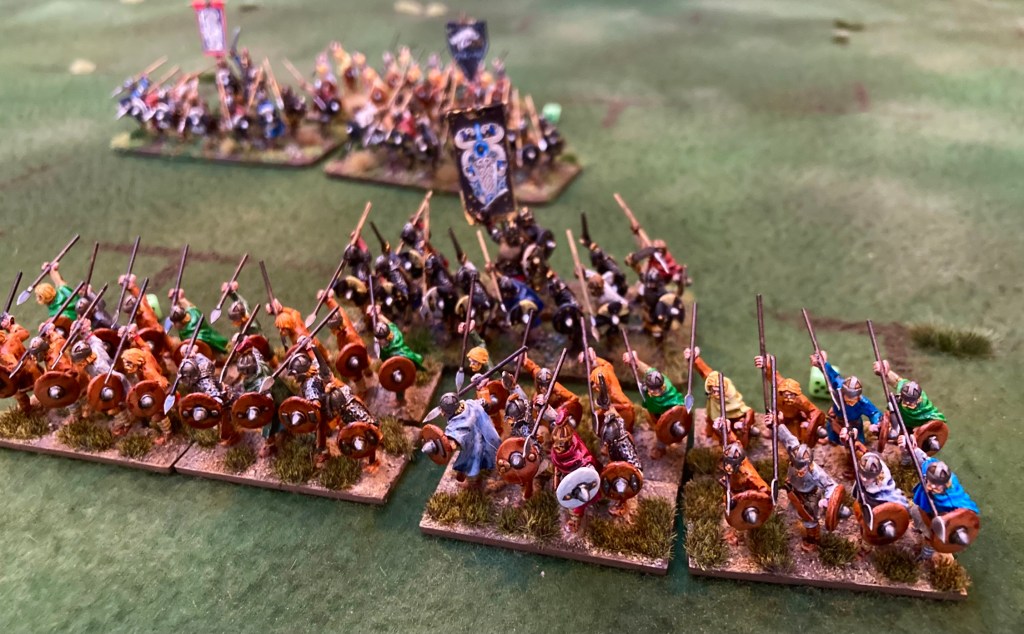
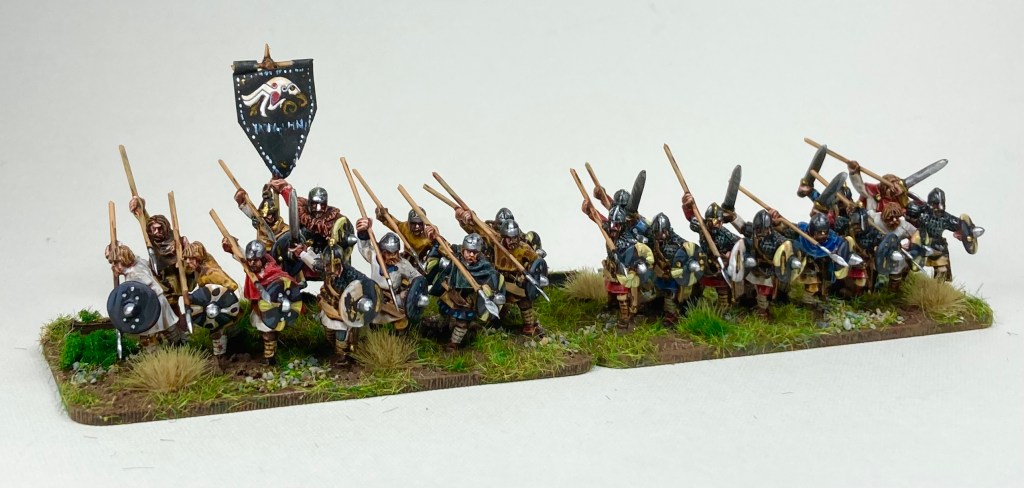
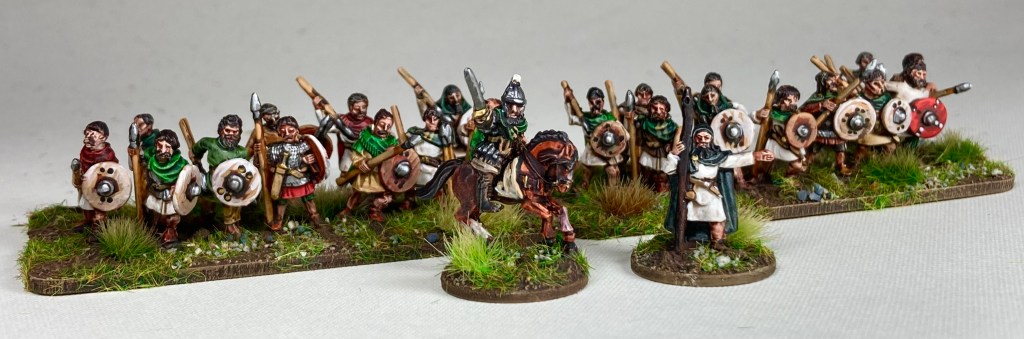
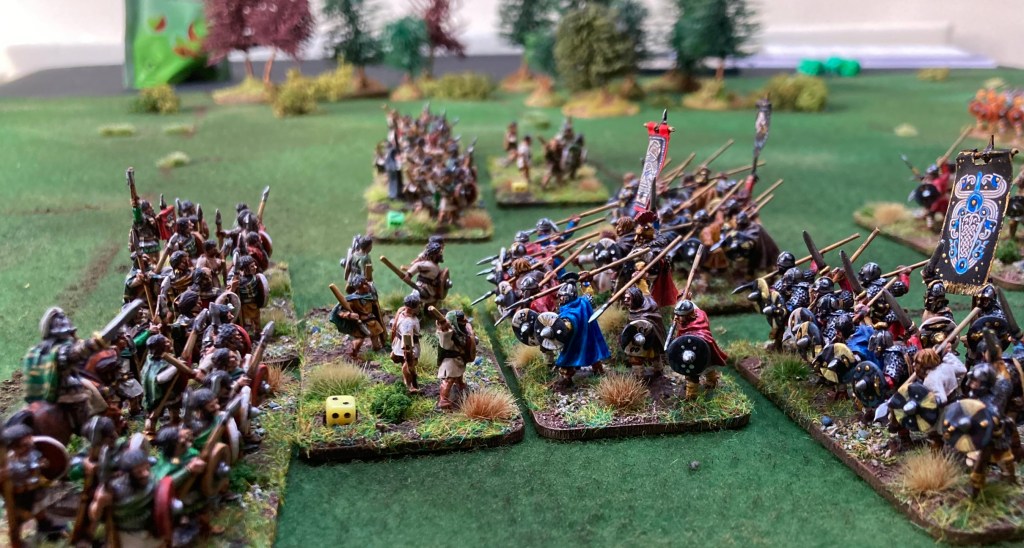
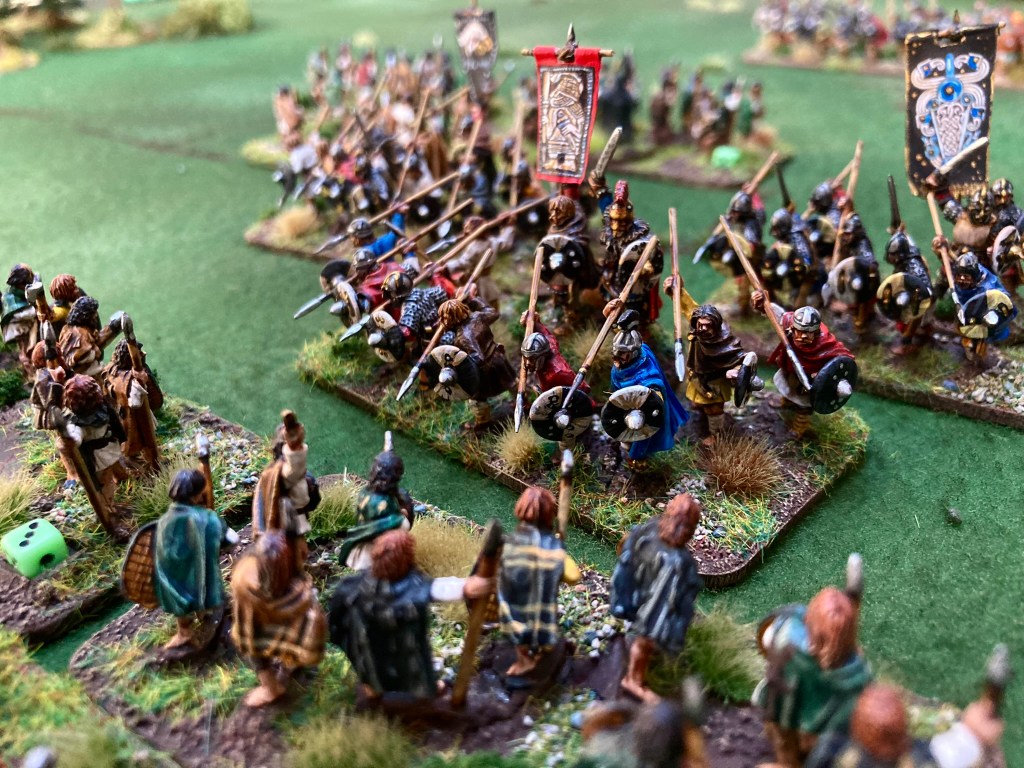
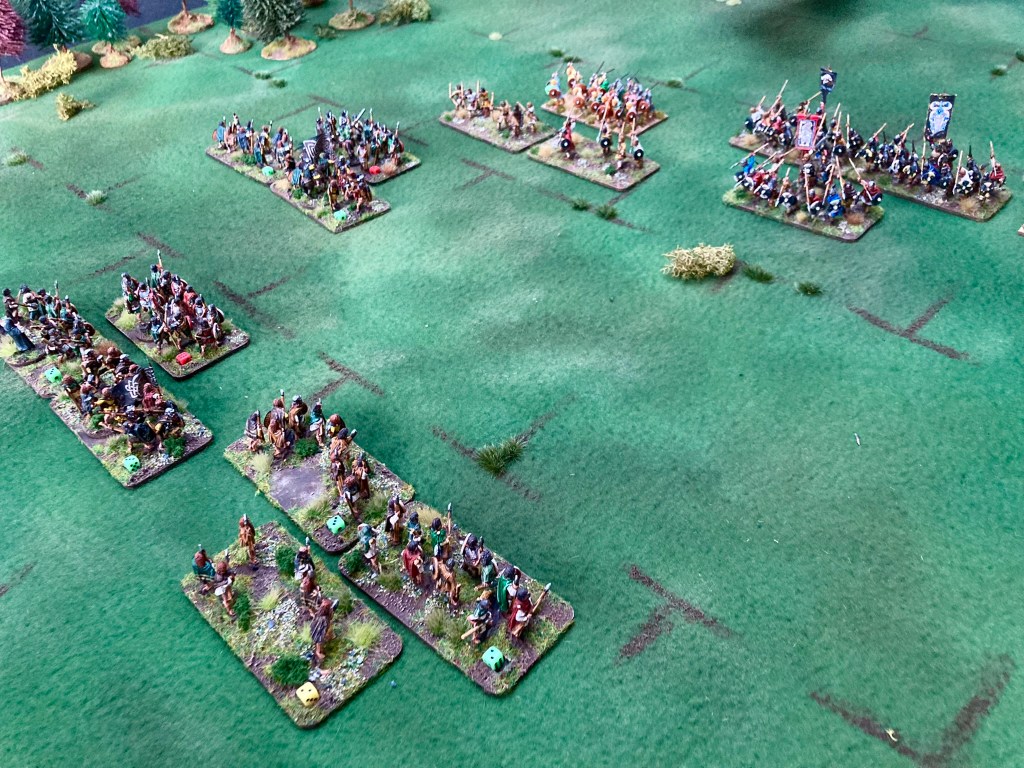
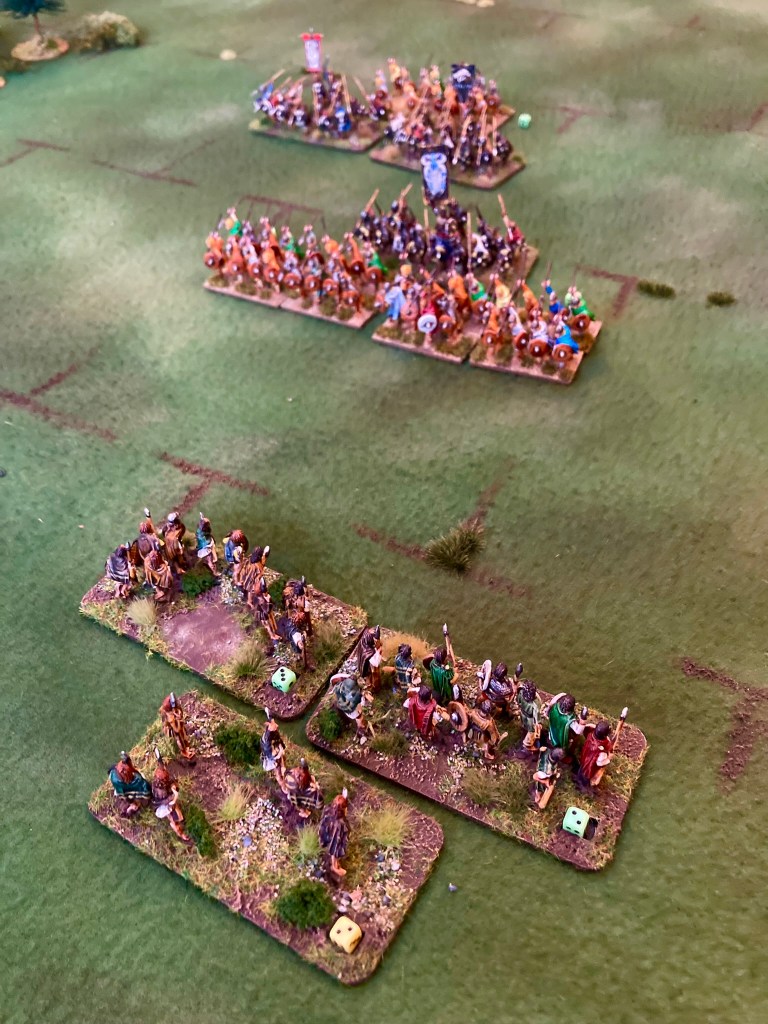
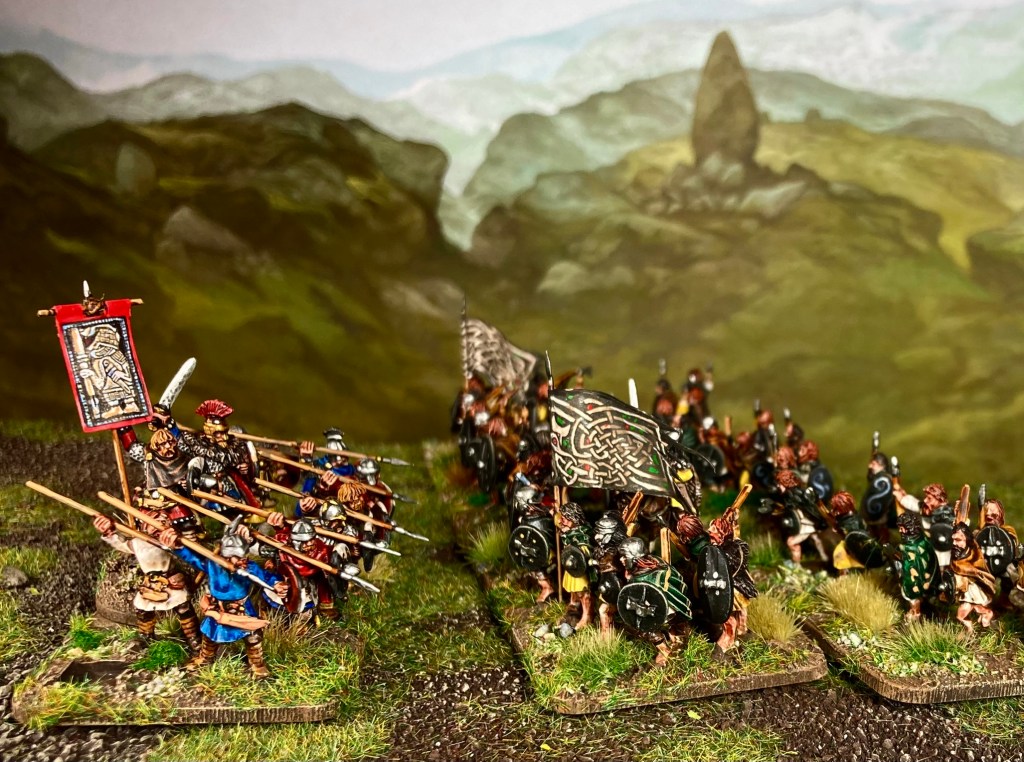
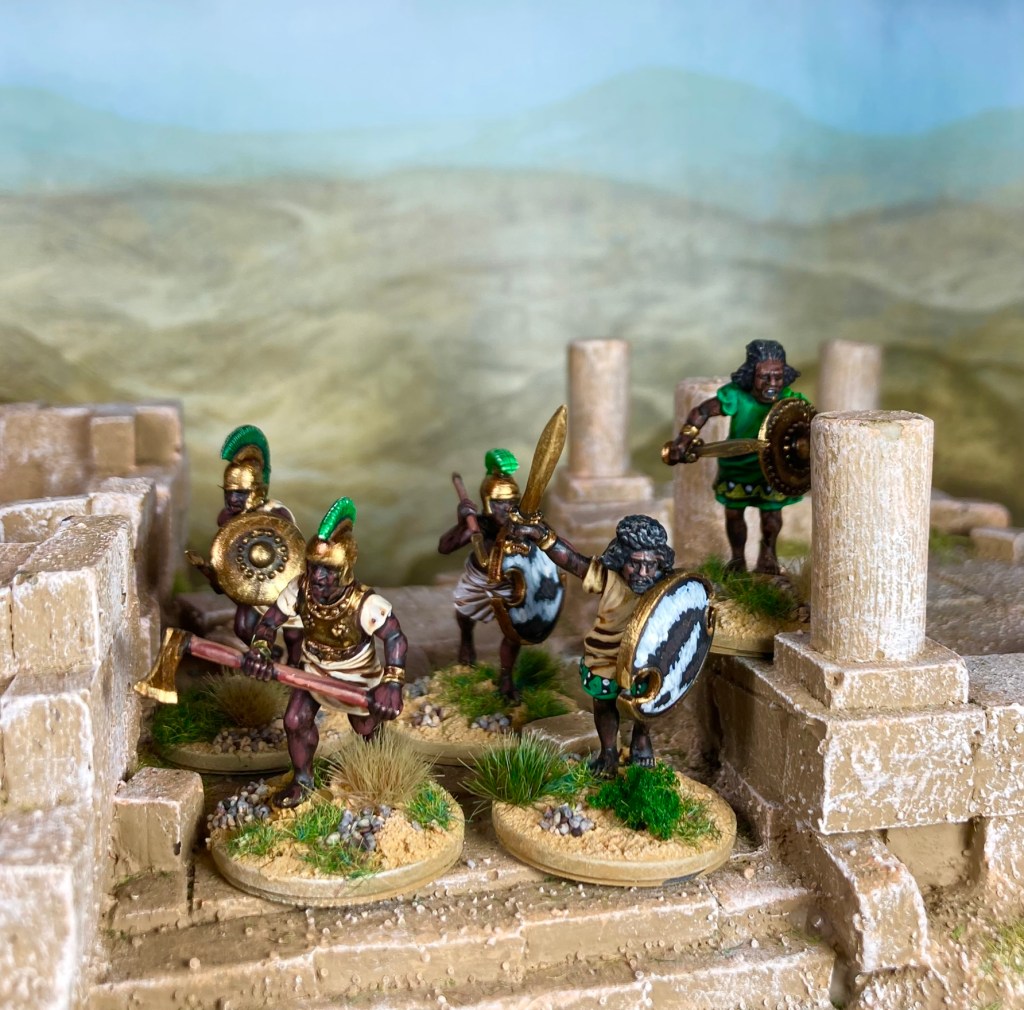
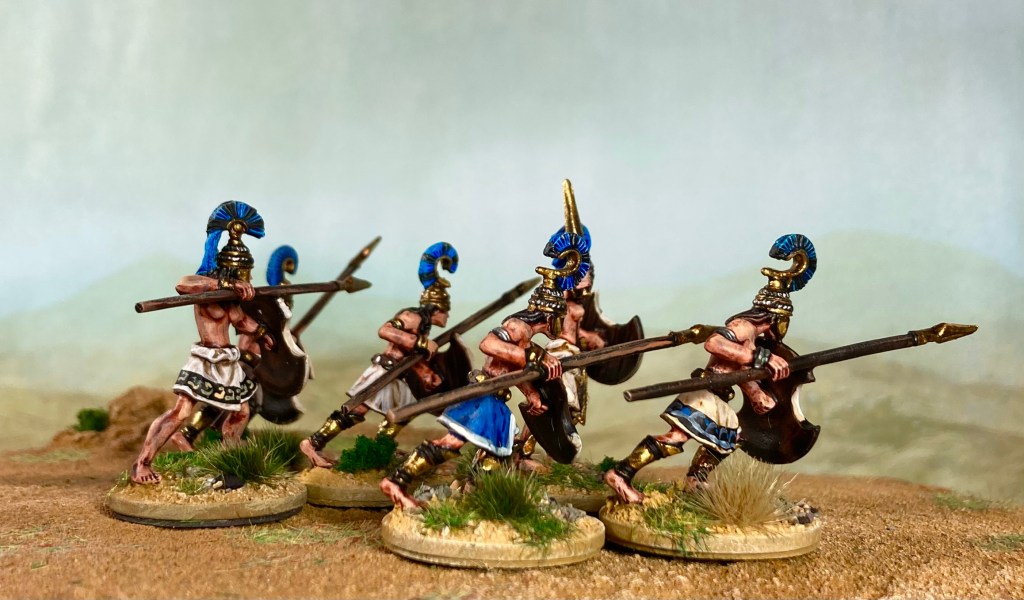
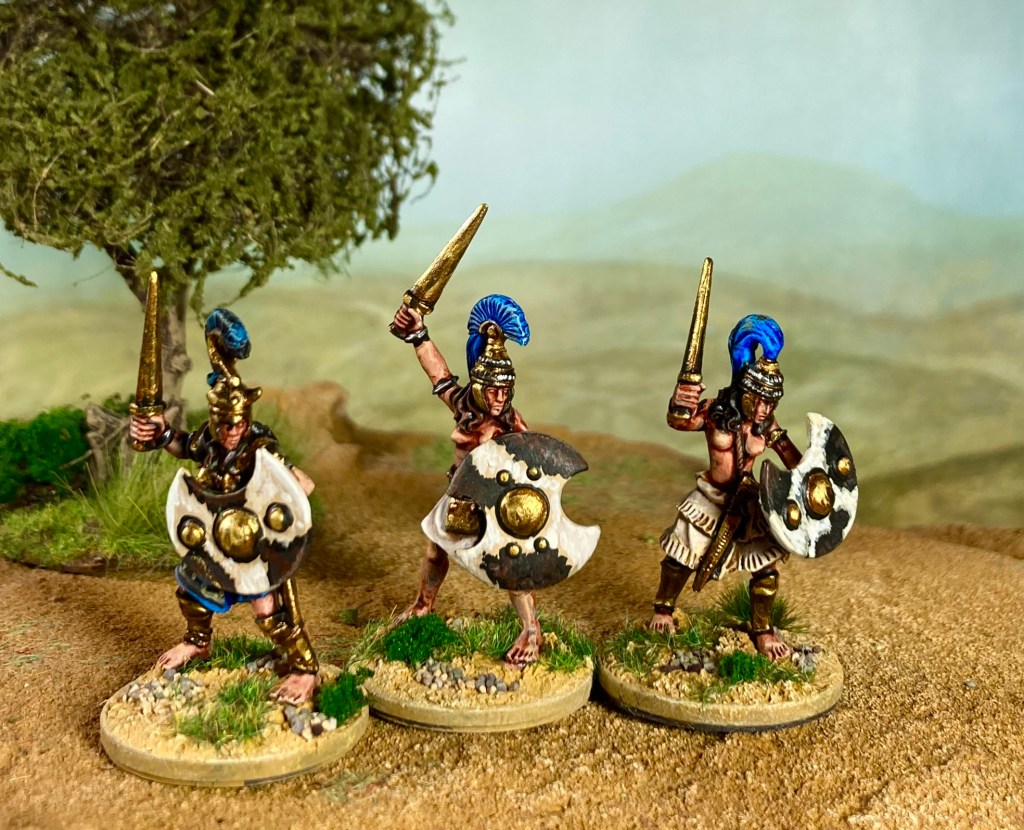
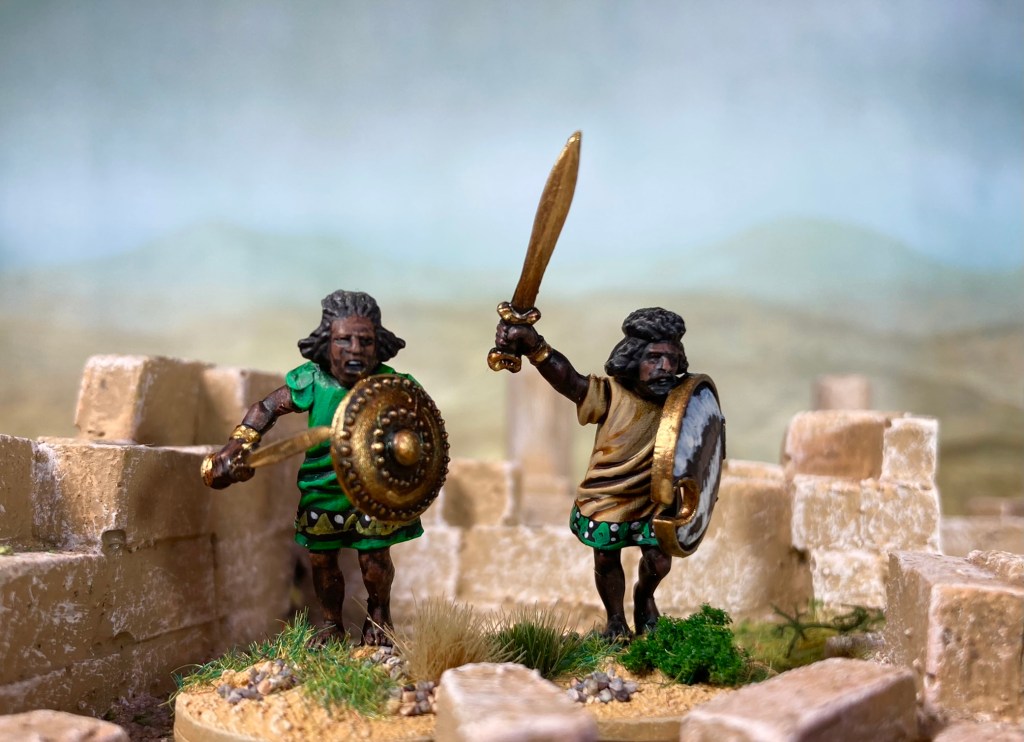
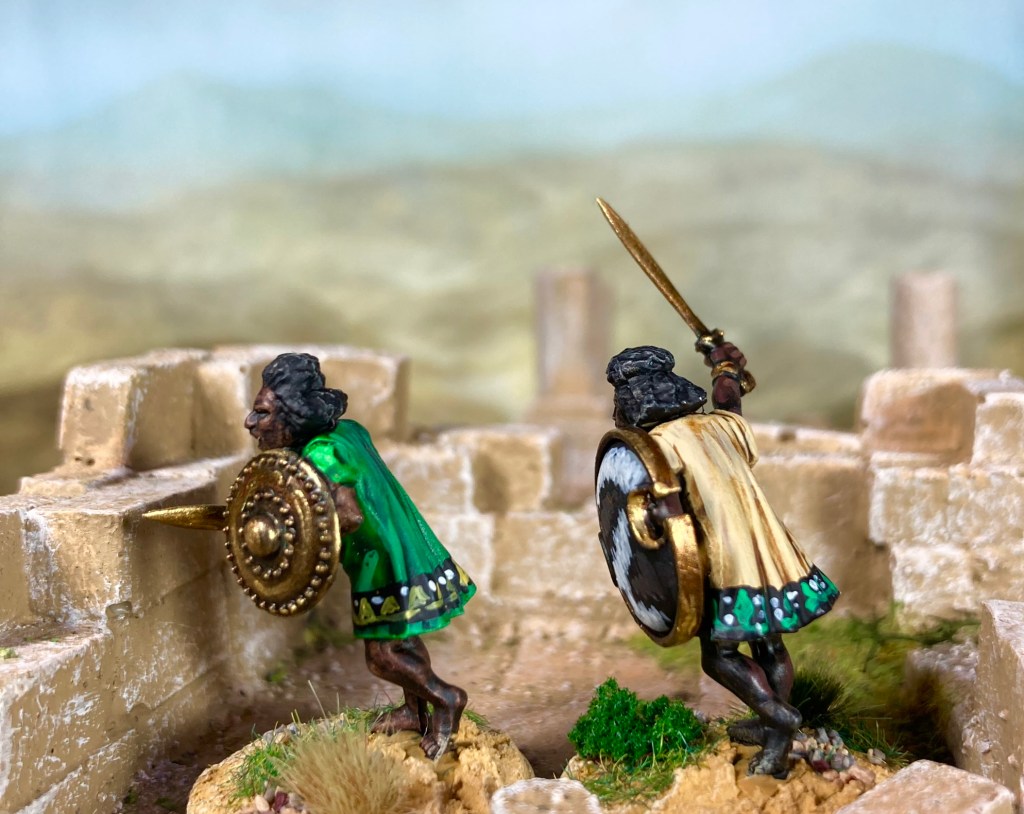
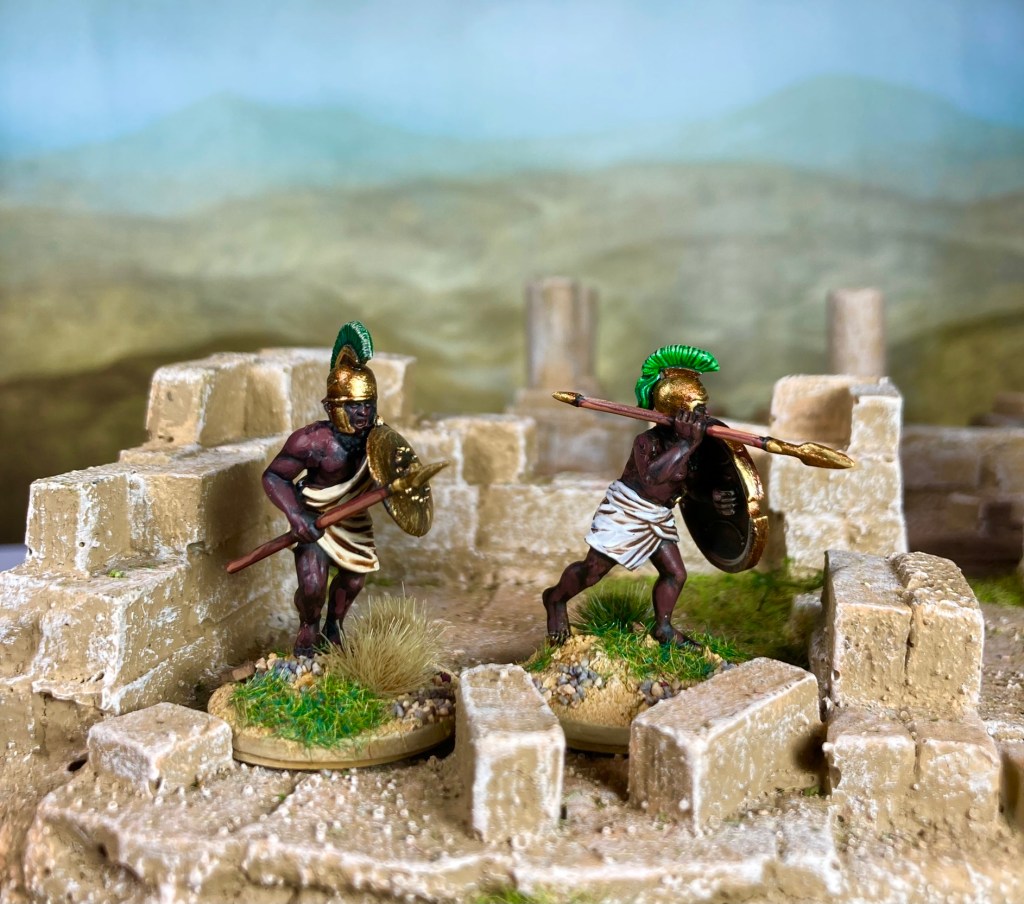
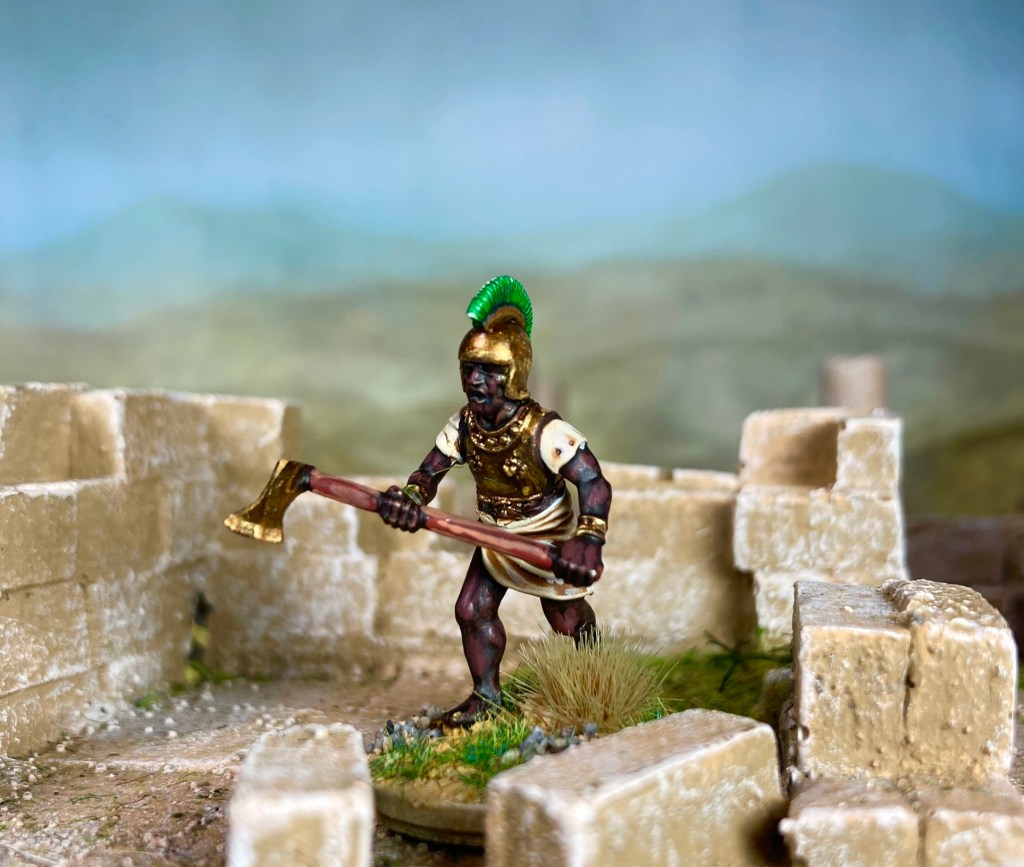
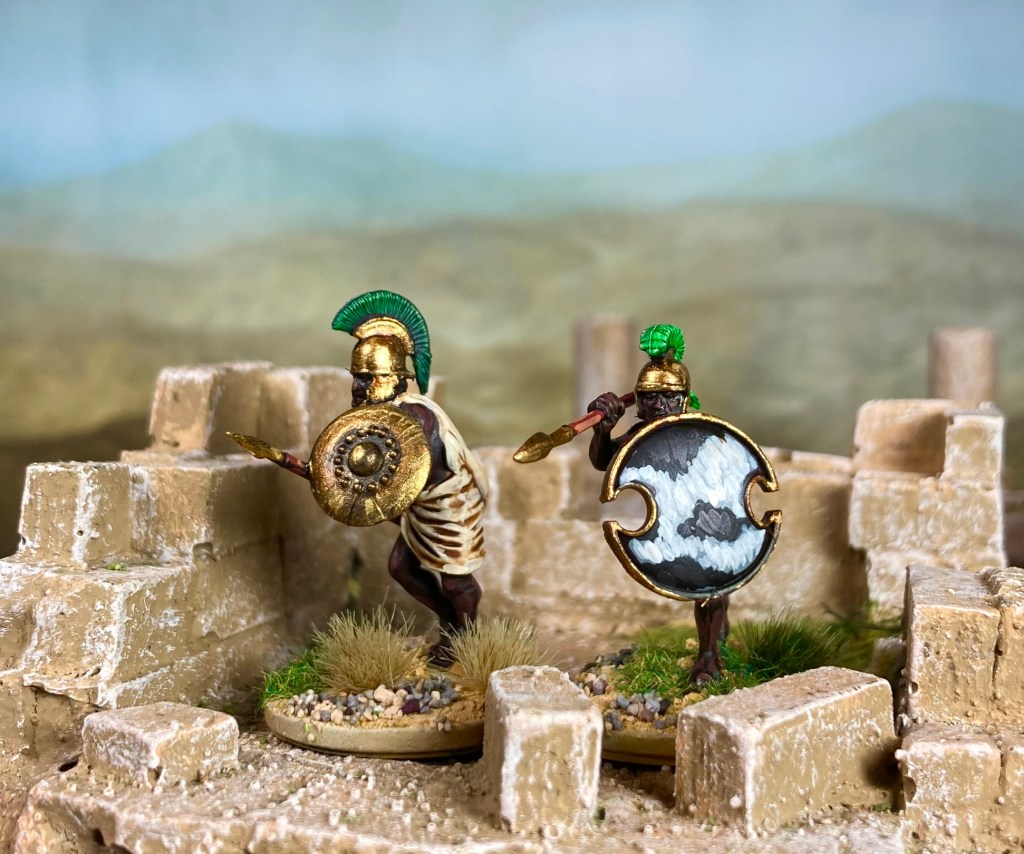
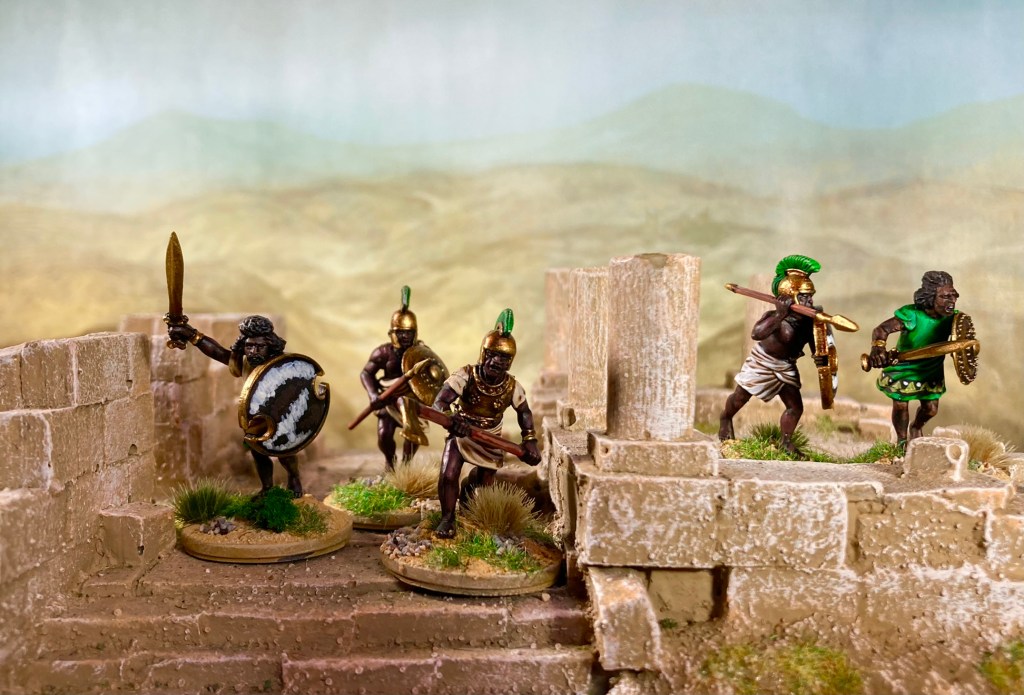
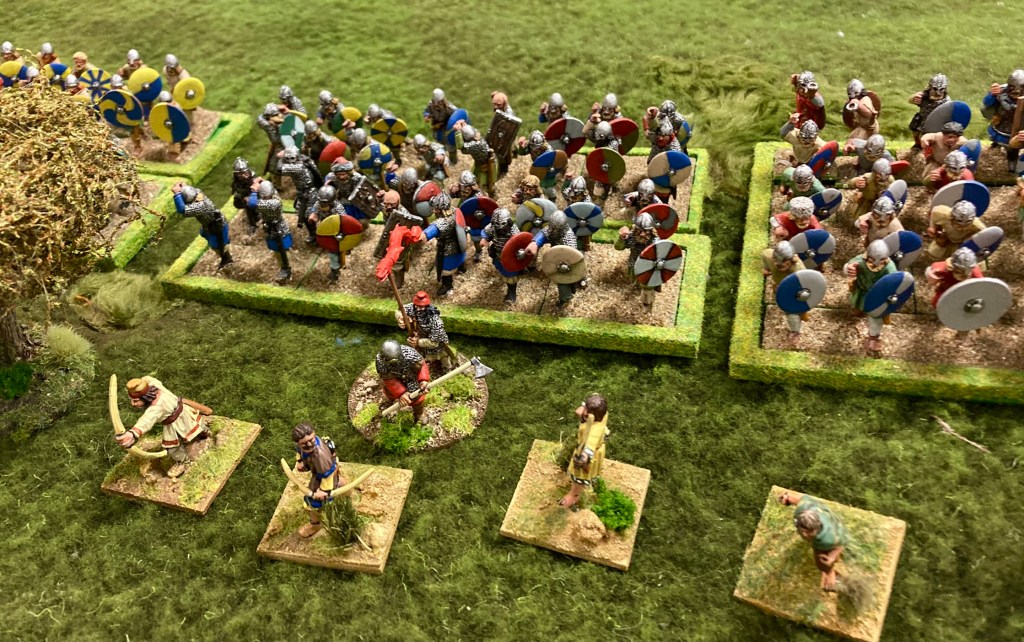
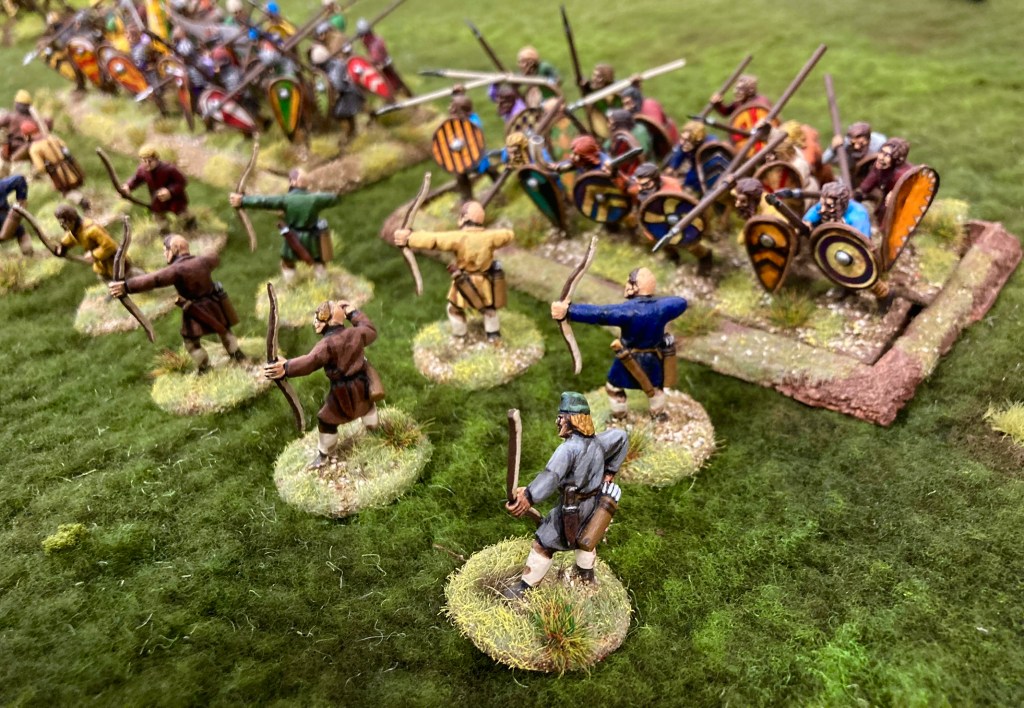
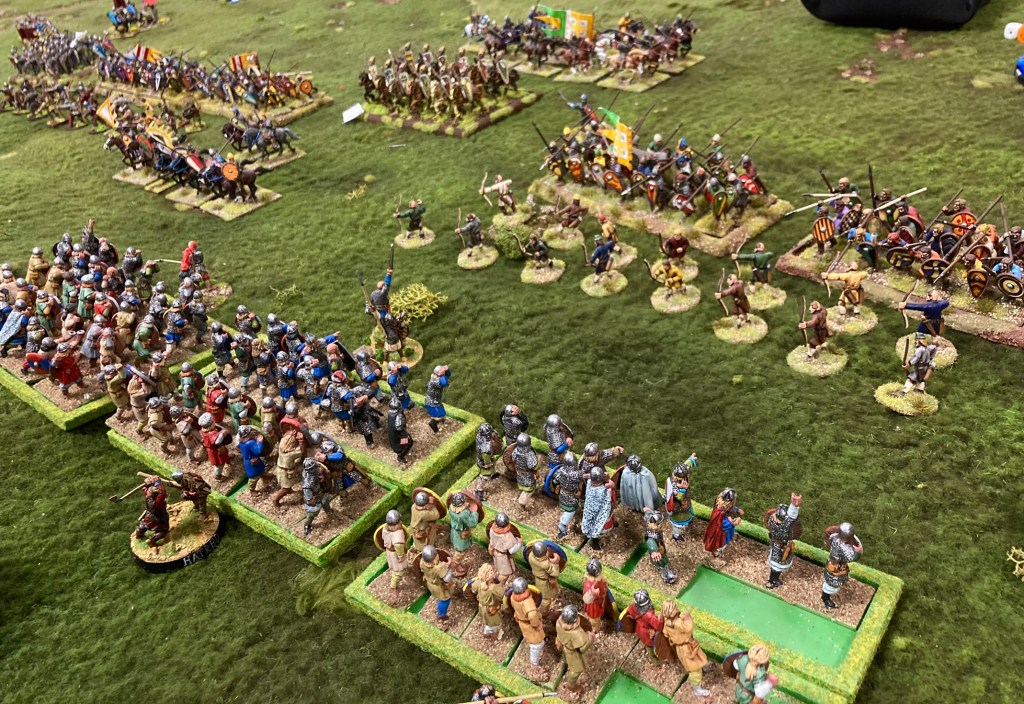
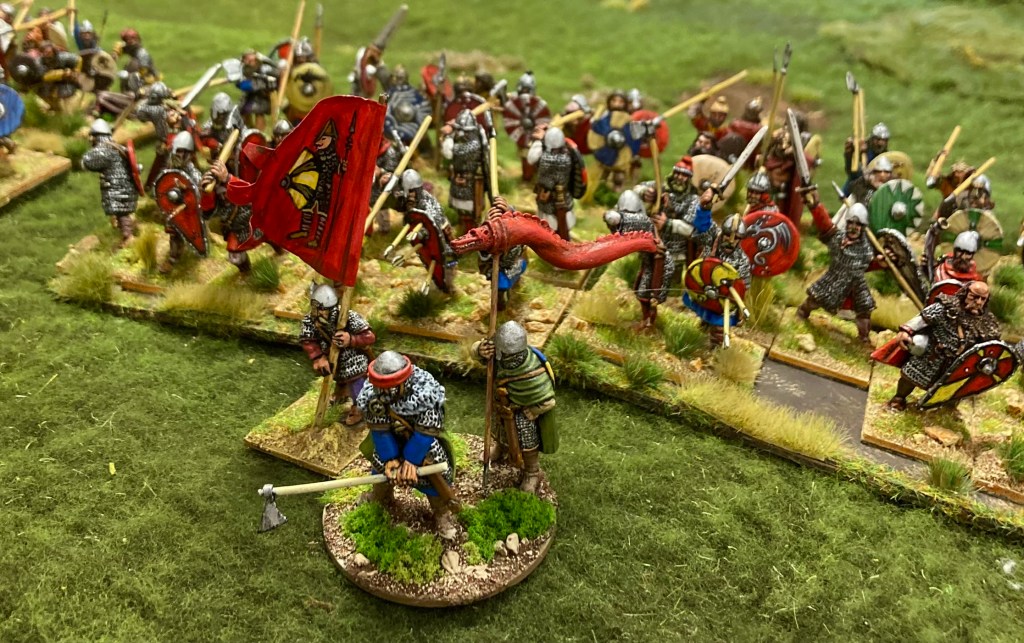
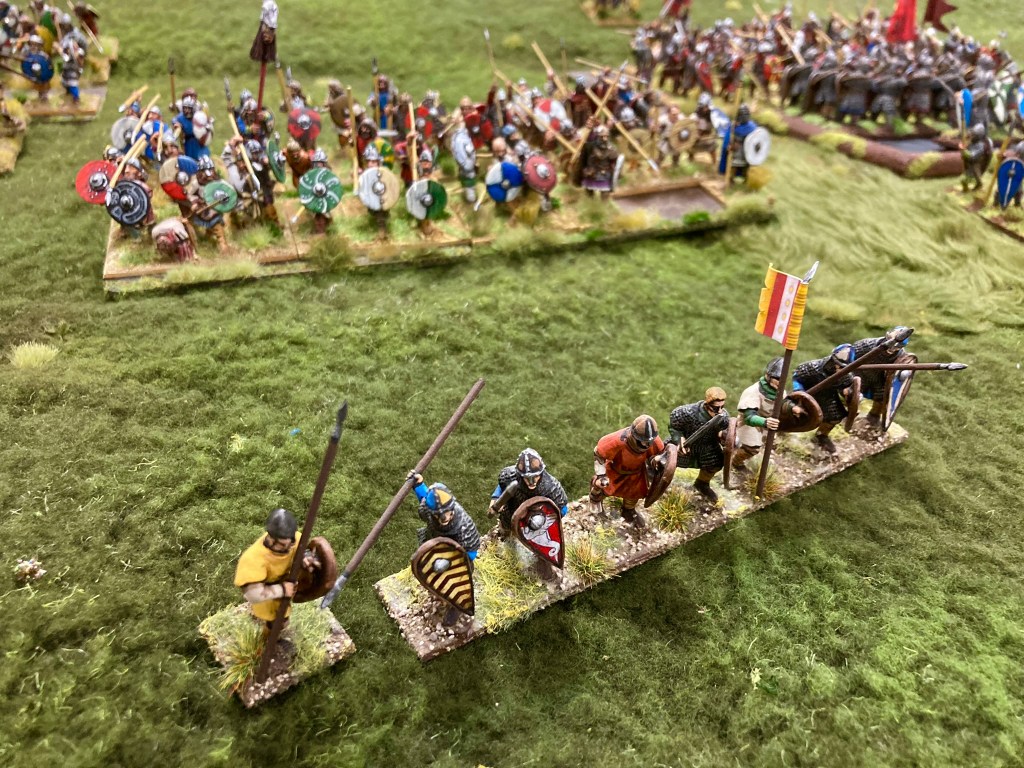
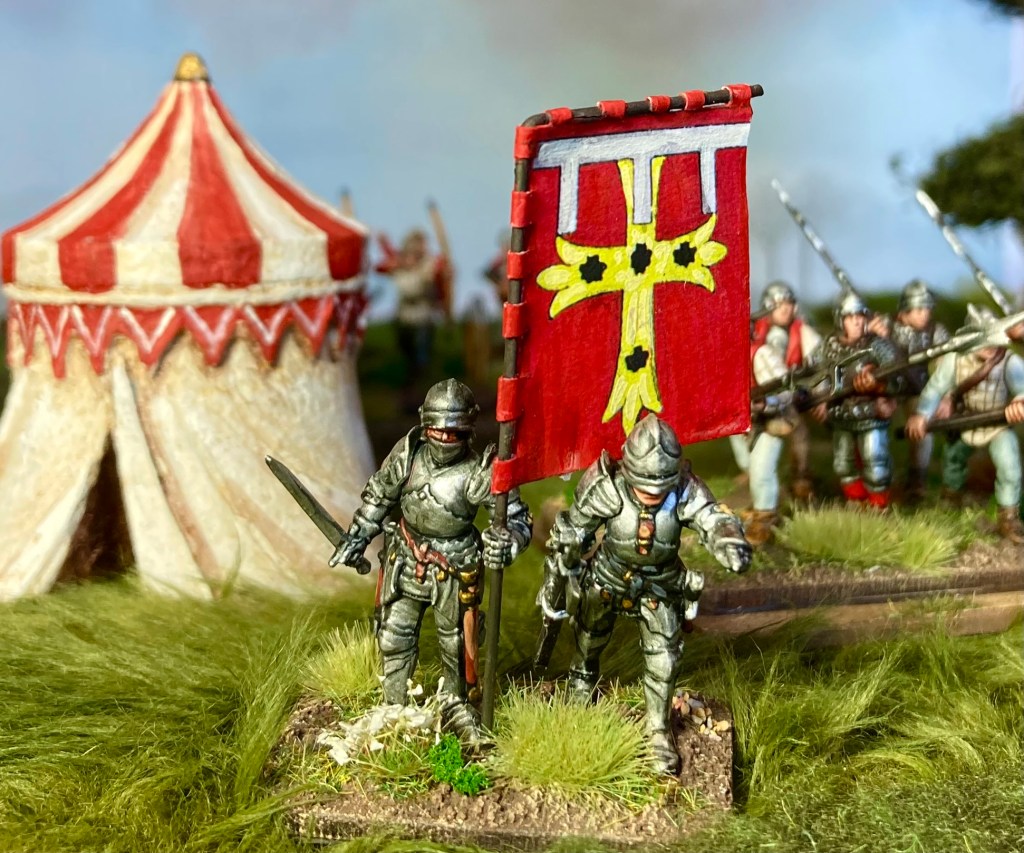
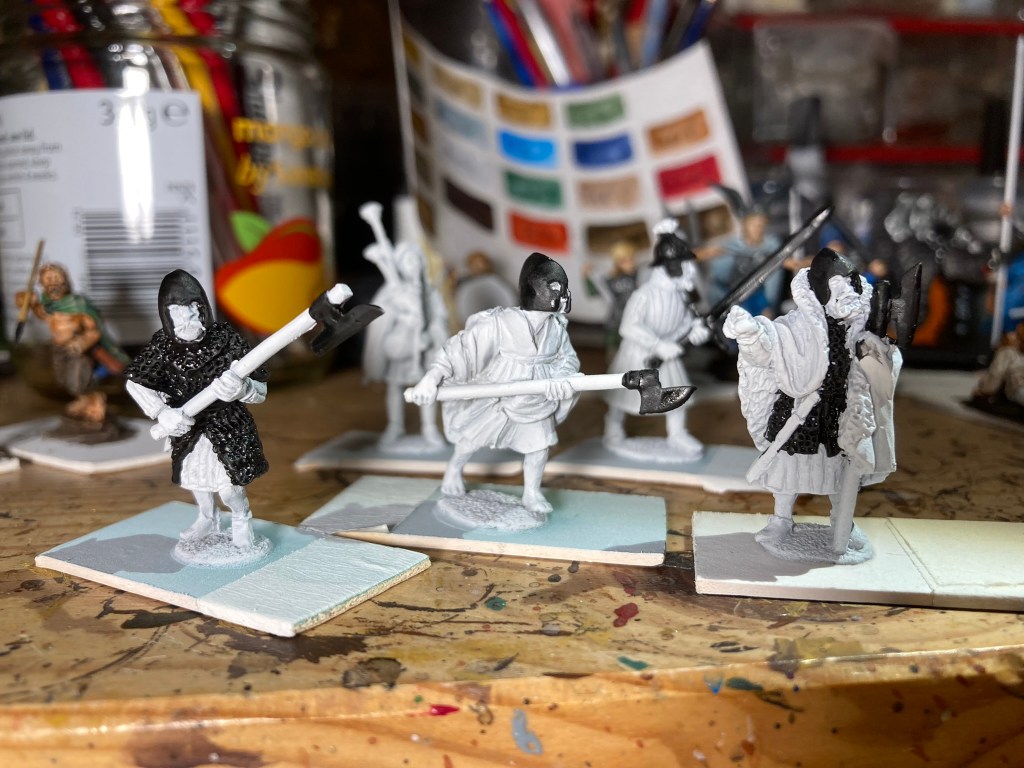
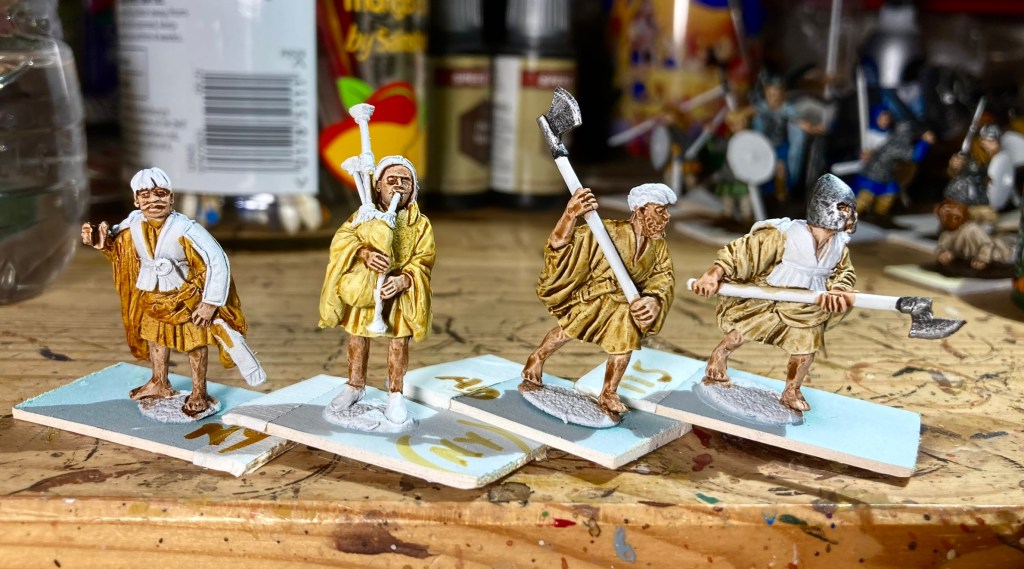
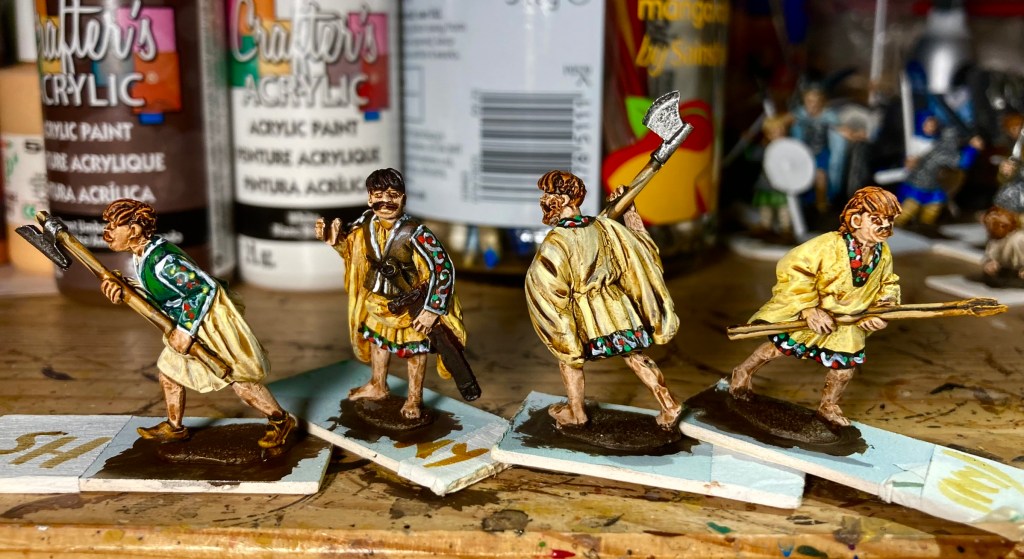
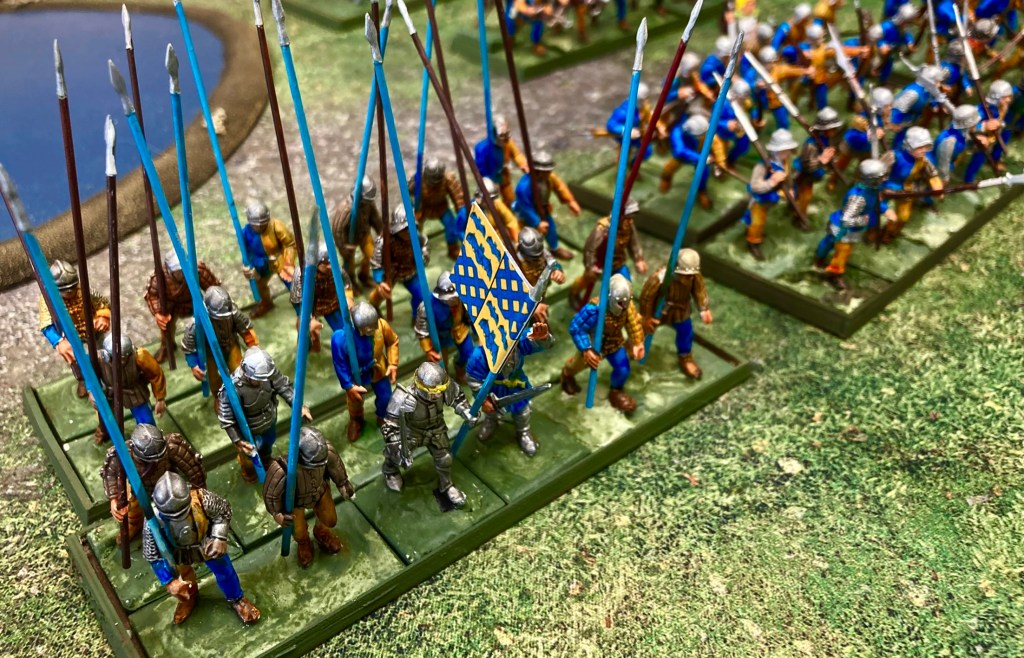
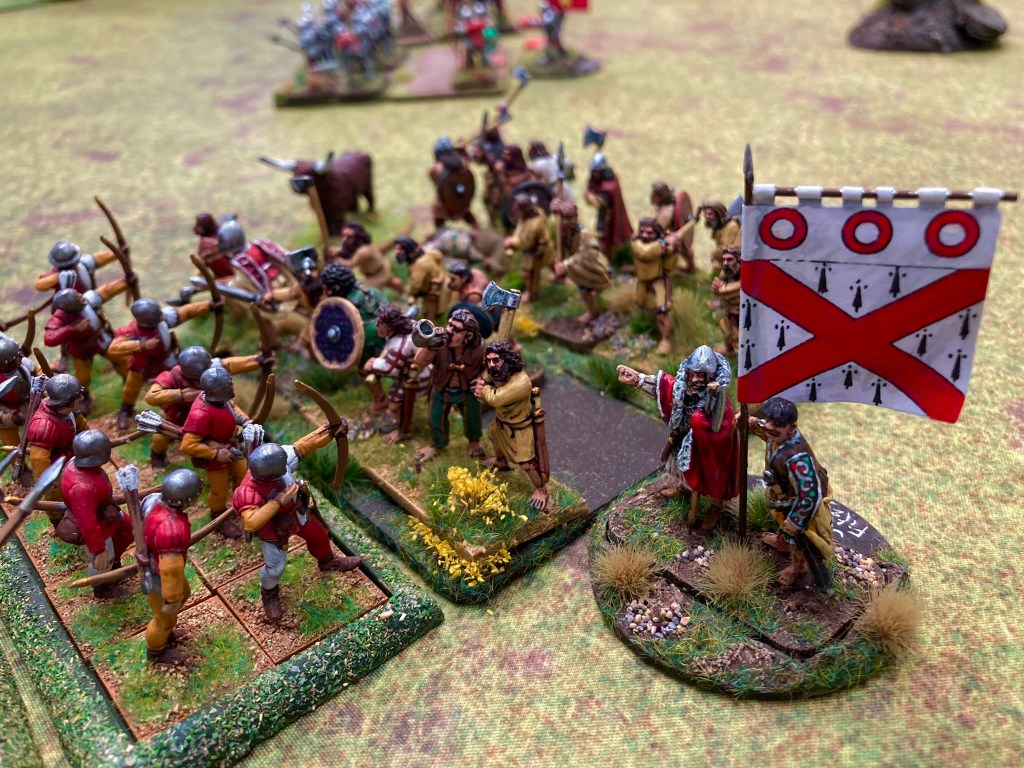
This also gave me the push to get some more WOTR troops completed – for Partizan on October 9th this year, my group are planning a large refight of the 1461 Battle of Mortimer’s Cross., which featured a contingent of Irish. Some Perry Miniatures swiftly arrived in the post and were fettled into shape, lining up alongside some other Irish warriors who had snuck in from my Dark Ages armies.
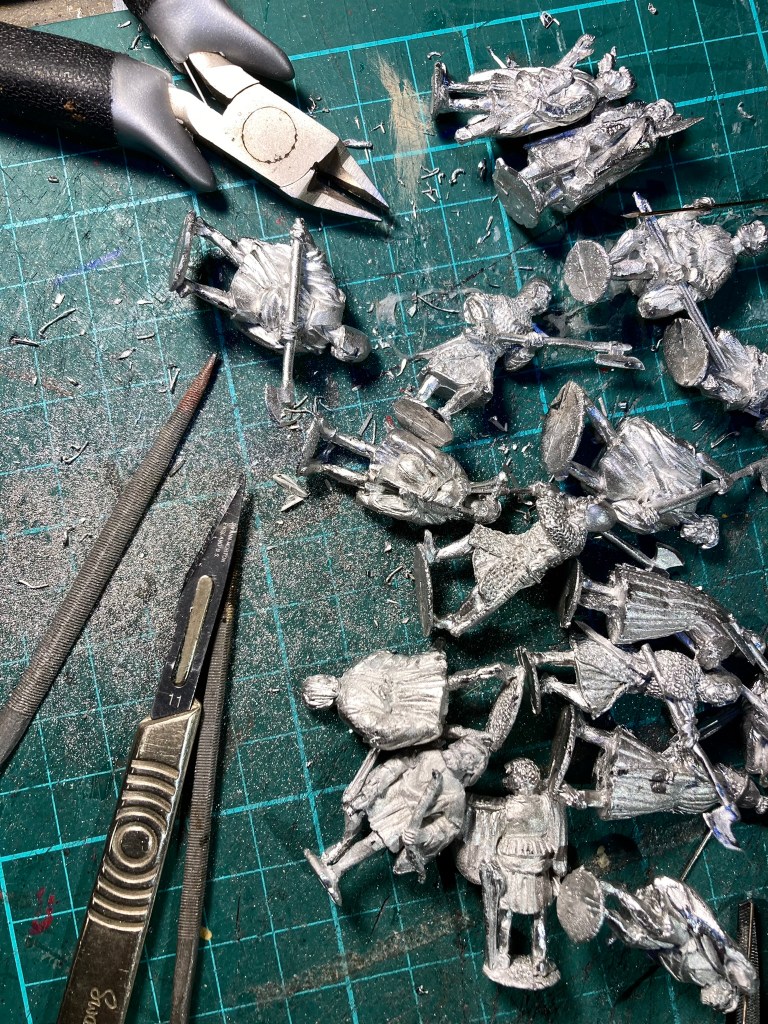

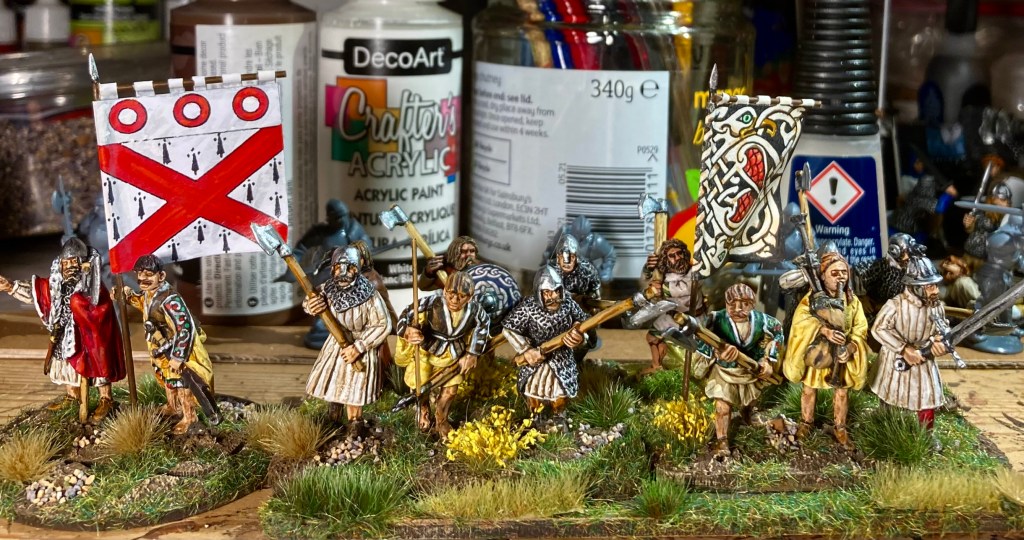
Suffice to say that the army only just got finished in time, but at least the PVA was dry by Saturday morning. Fellow first-time Billhooker Jan’s force was likewise barely dry but it looked splendid!
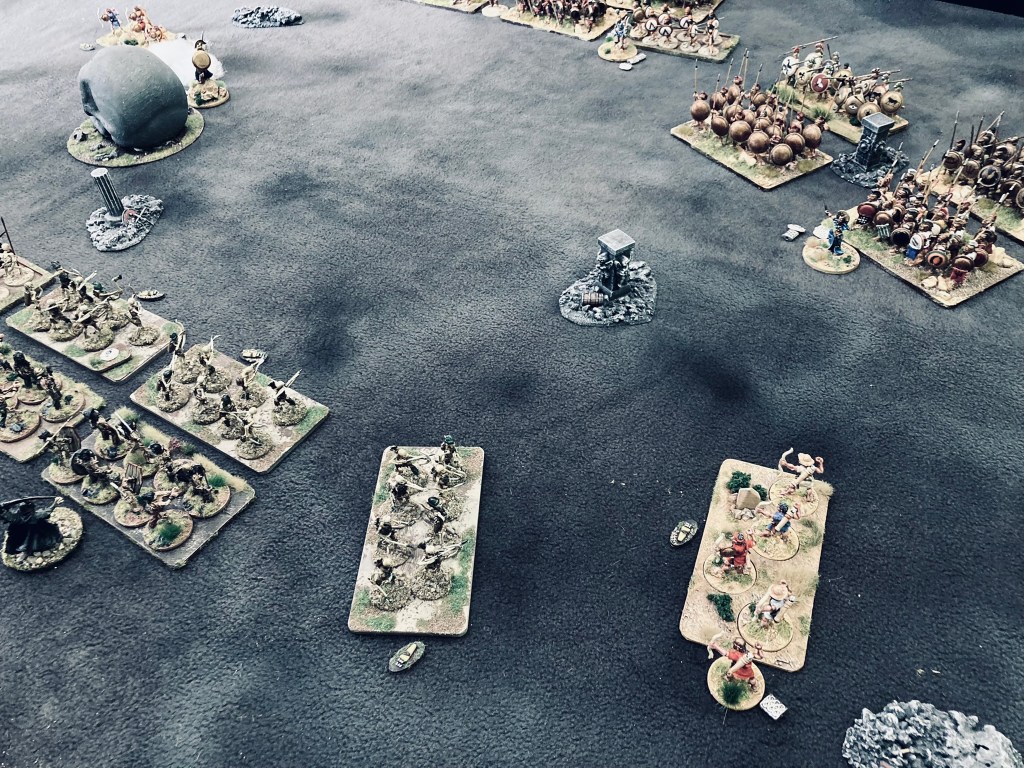
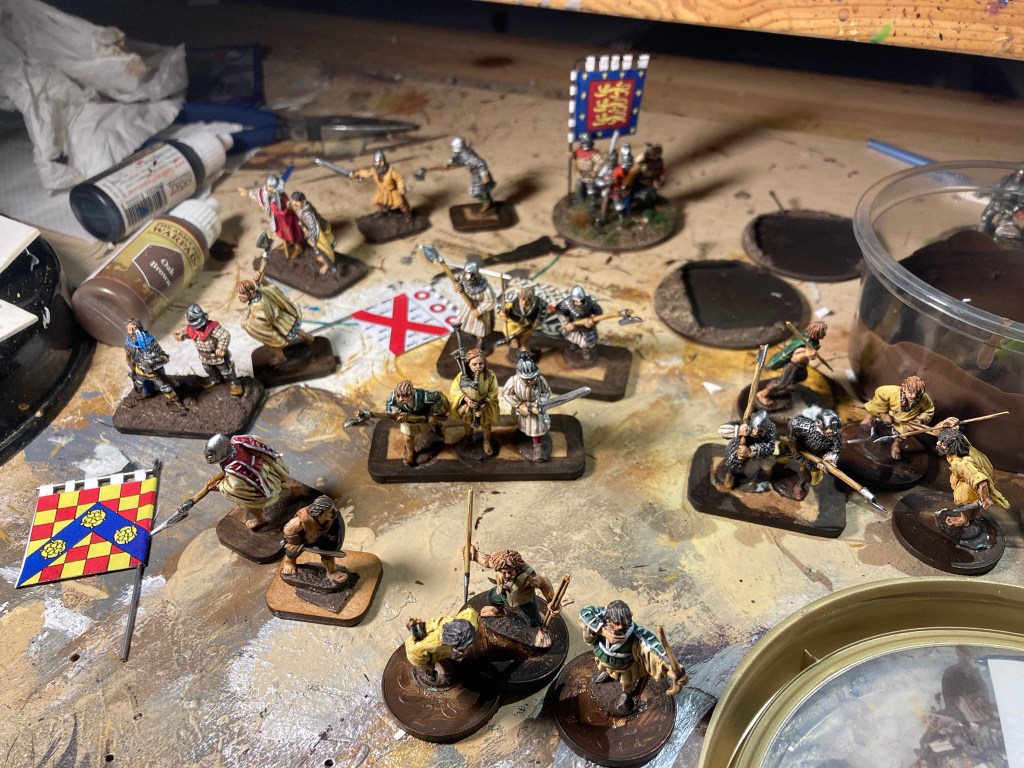
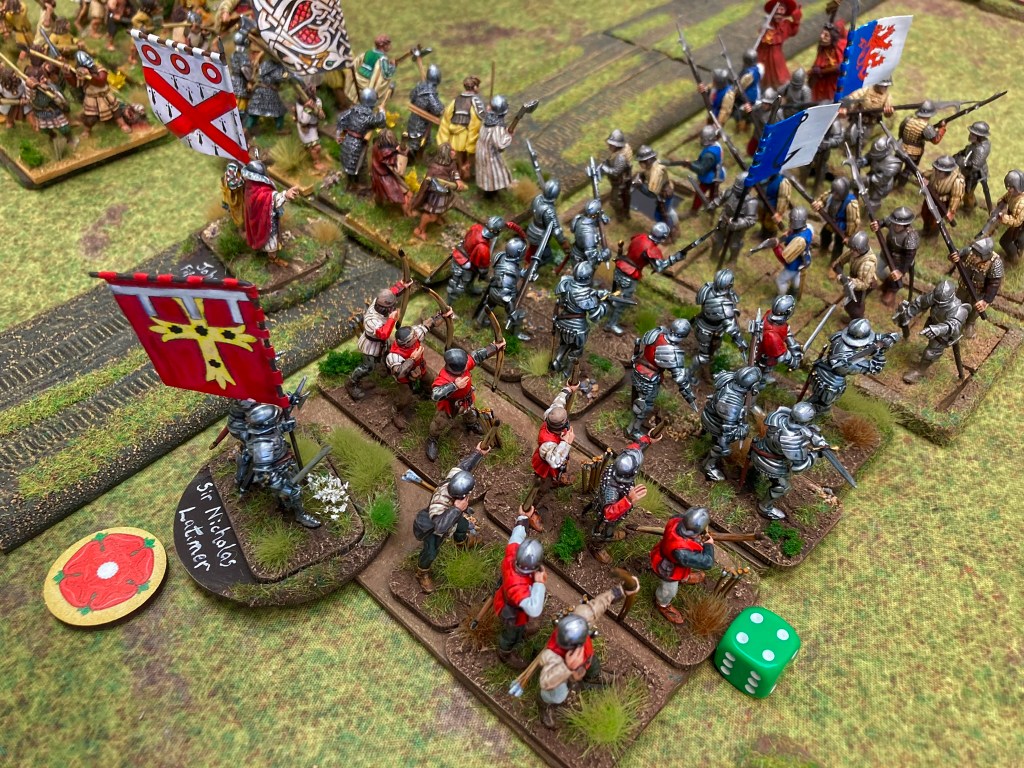
Despite being a dyed-in-the-wool Yorkist ever since my first visit to Bosworth battlefield aged around 7 or 8, I’d been persuaded to join the Lancastrian faction. I must confess that I struggled to recognise the red rose on the cards when it was my turn in the game! My force looked something like this:
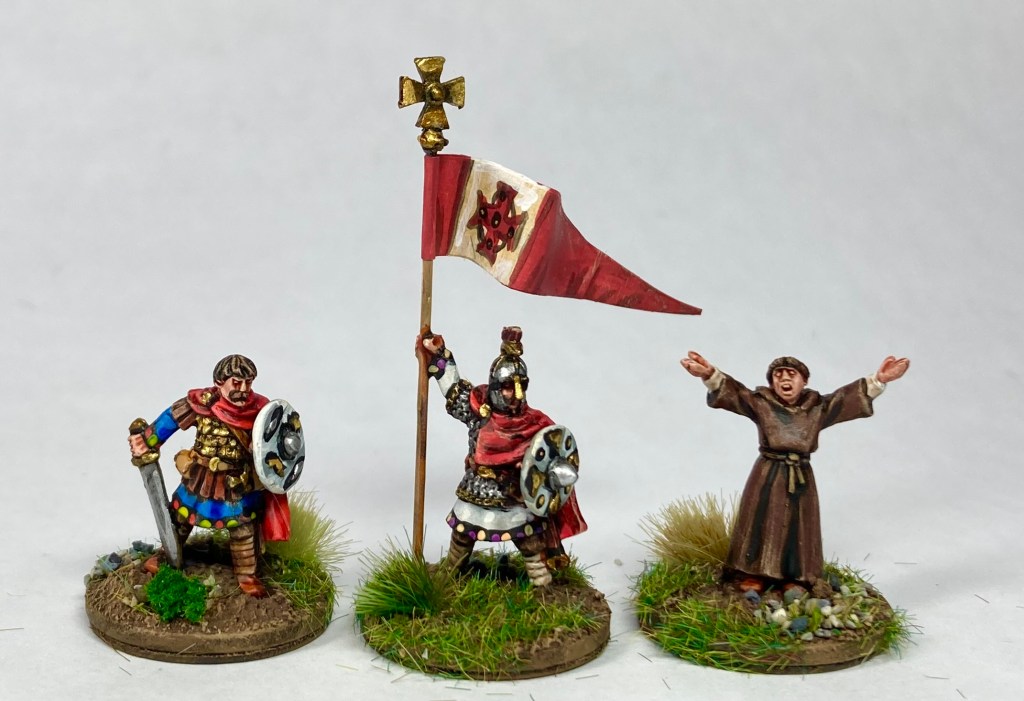
LEADERS
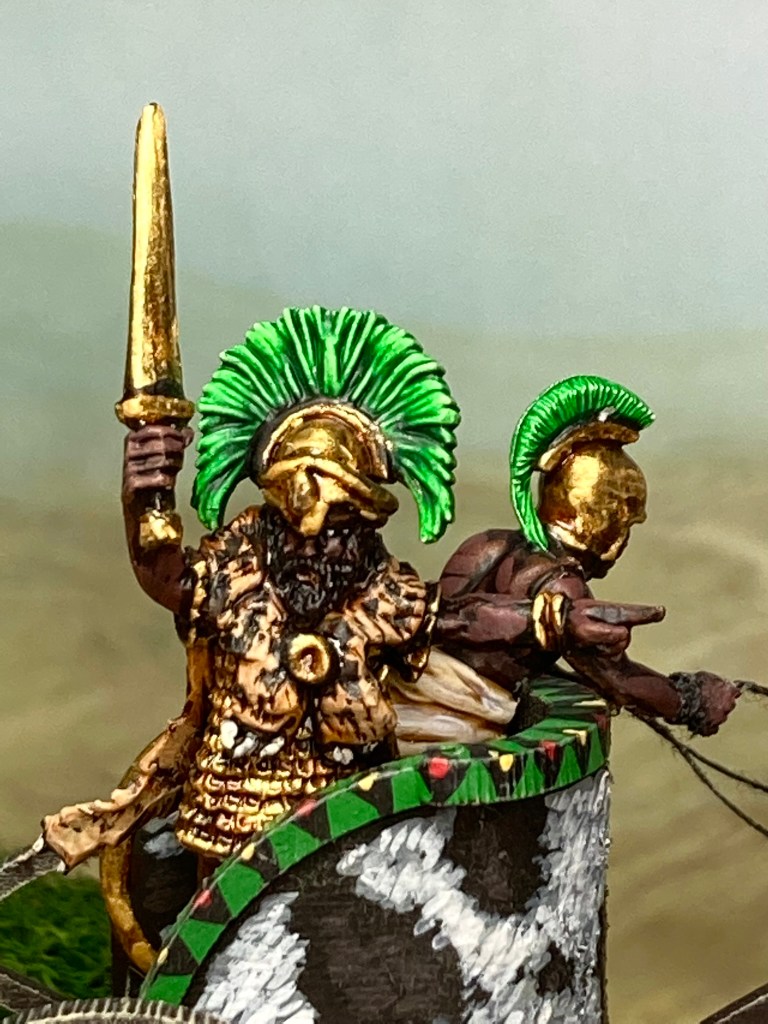
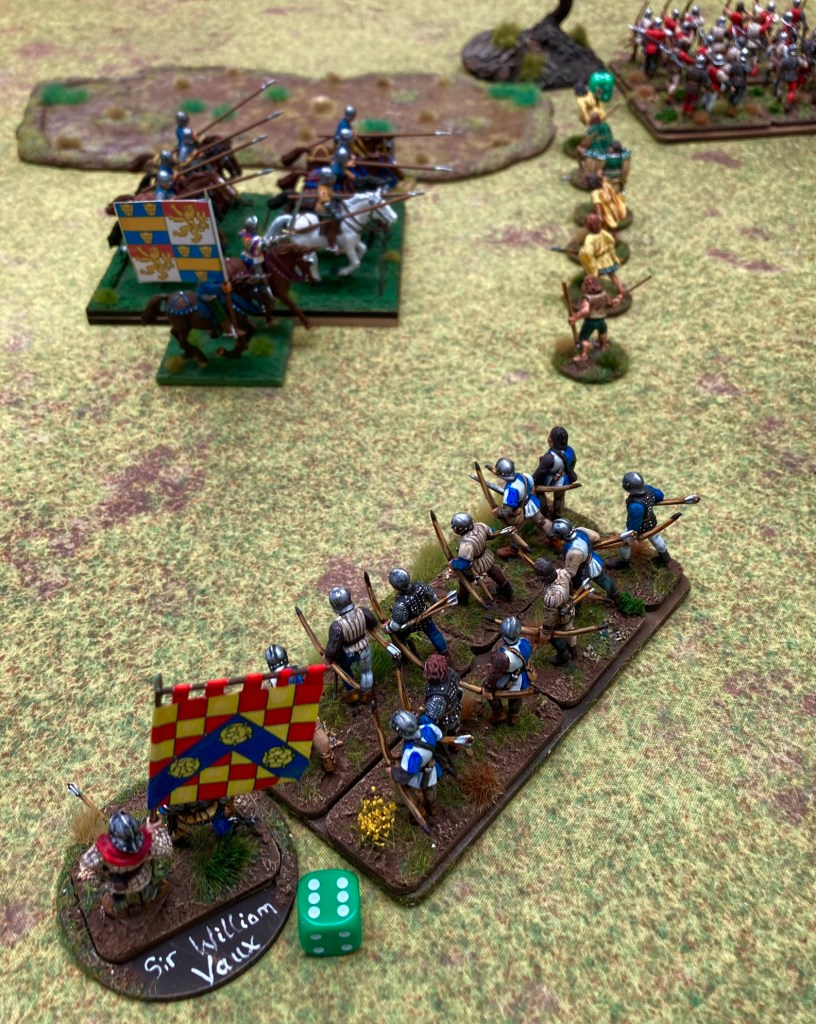
Sir William Vaux of Richard’s Castle
Sir Nicholas Latimer of Buckland Newton
John Fitzgibbon of County Kilkenny
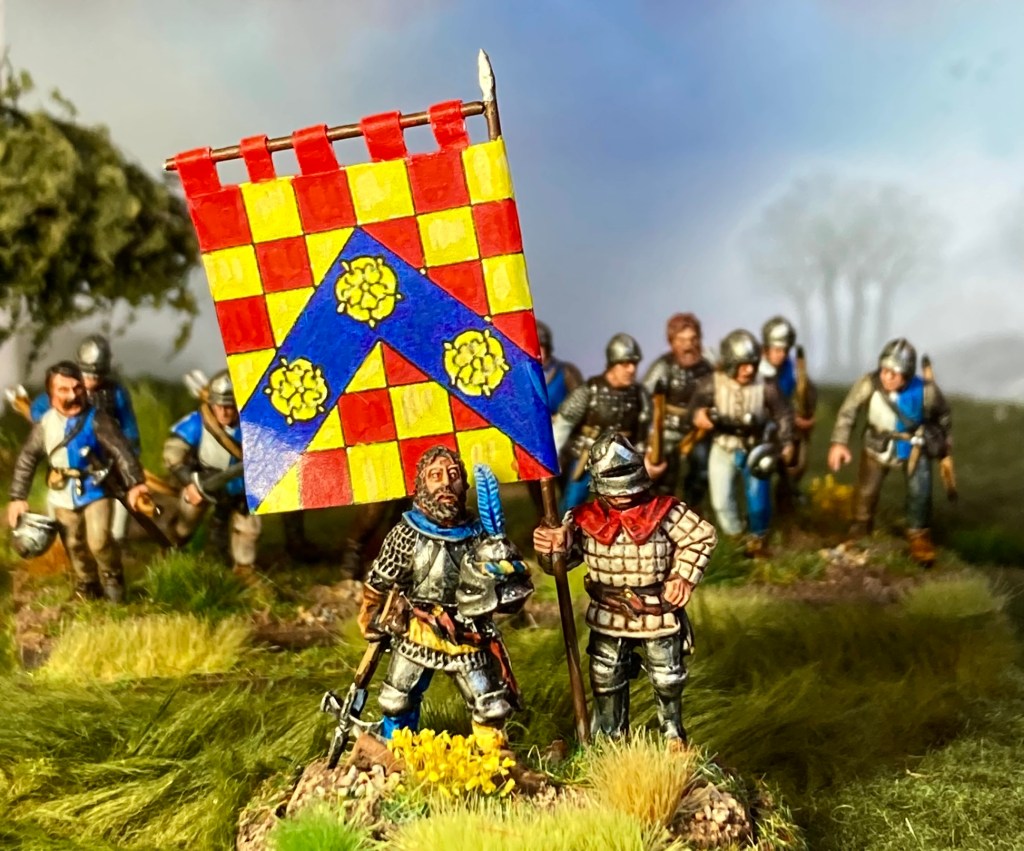
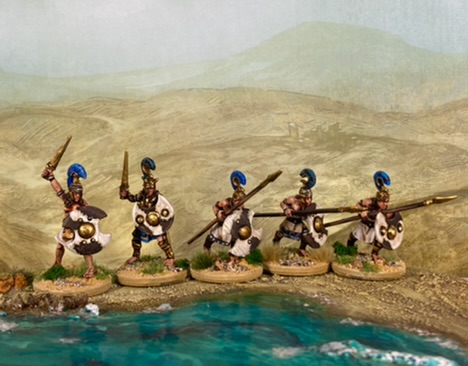
ENGLISH
1 Men At Arms @ 24
3 Bowmen @ 36
1 Billmen @ 12
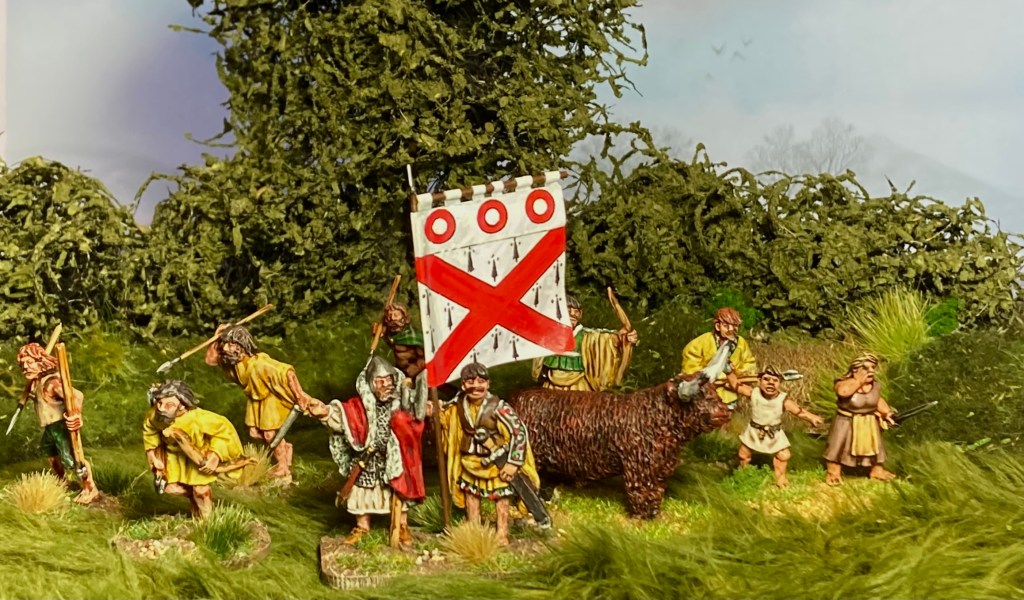
IRISH
1 Gallowglasses @ 18 (as MAA but armour save = 4, 5, 6)
2 Bonnachts (Levy Billmen) @ 18
2 Kerns @ 6
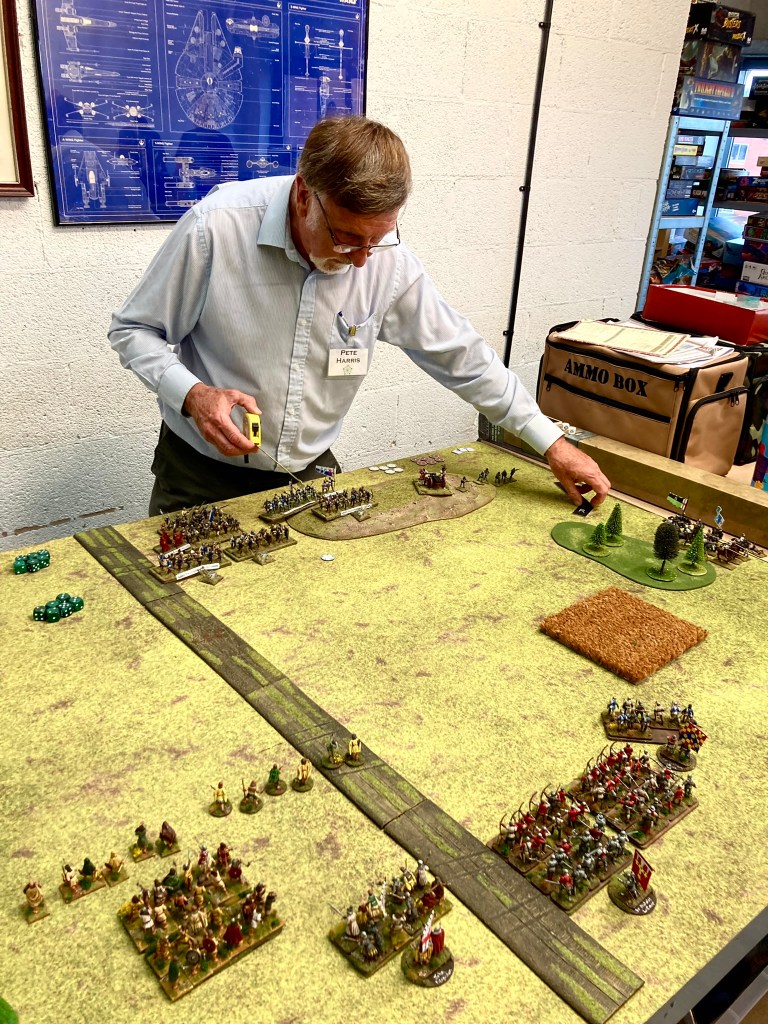
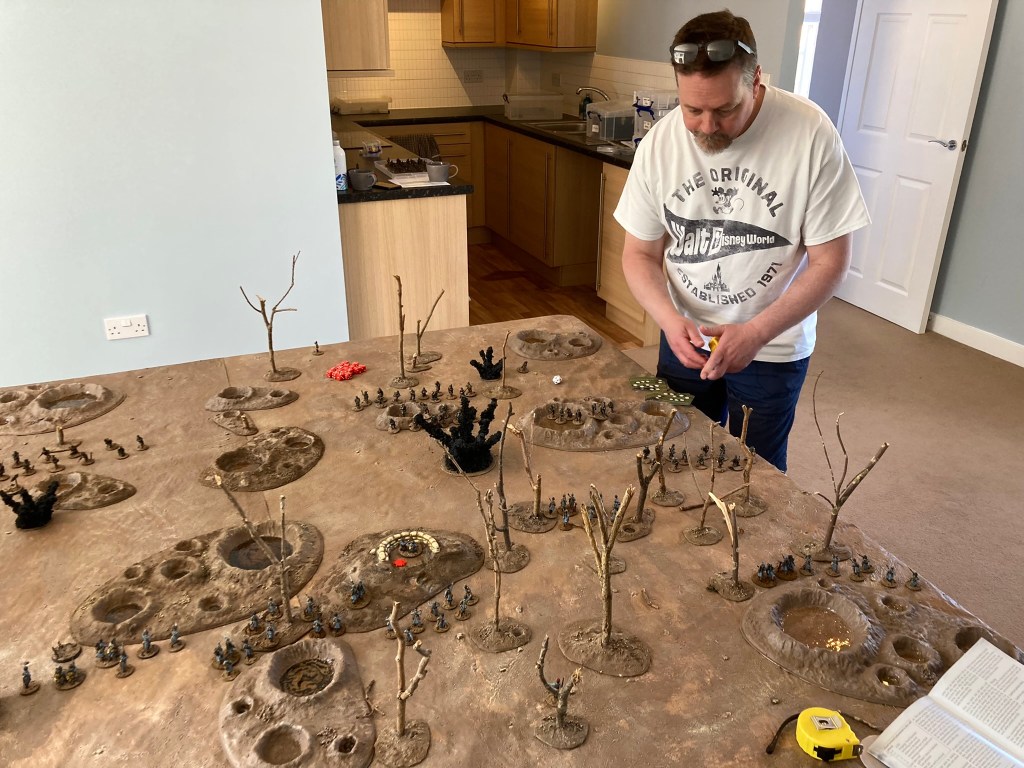
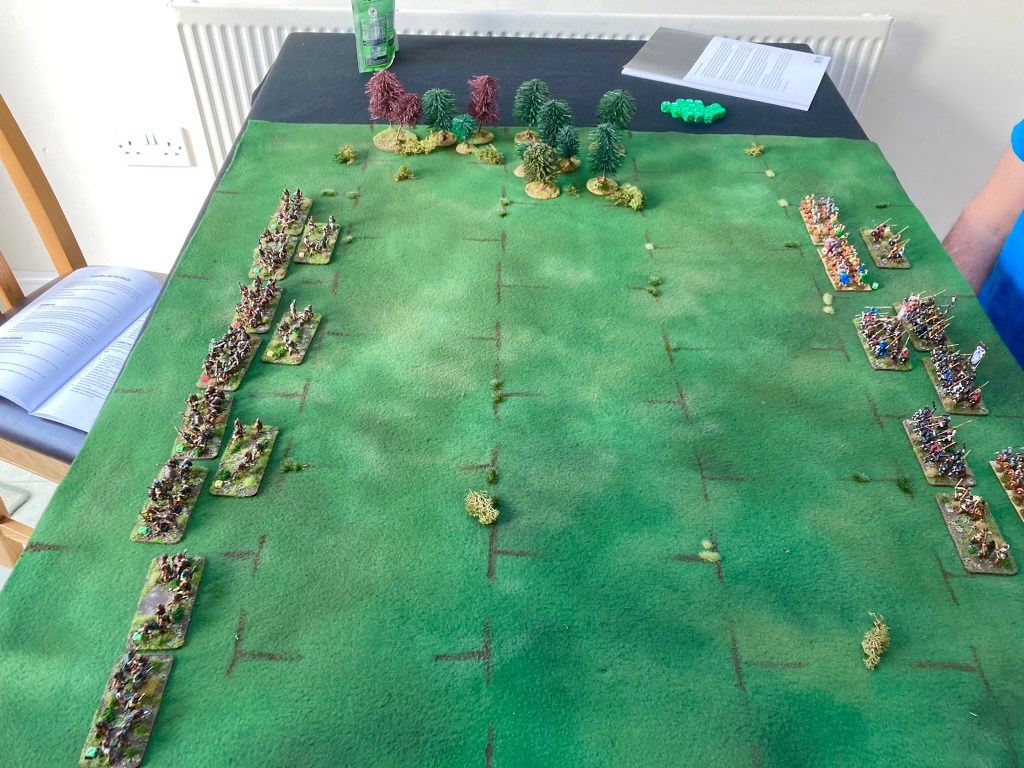
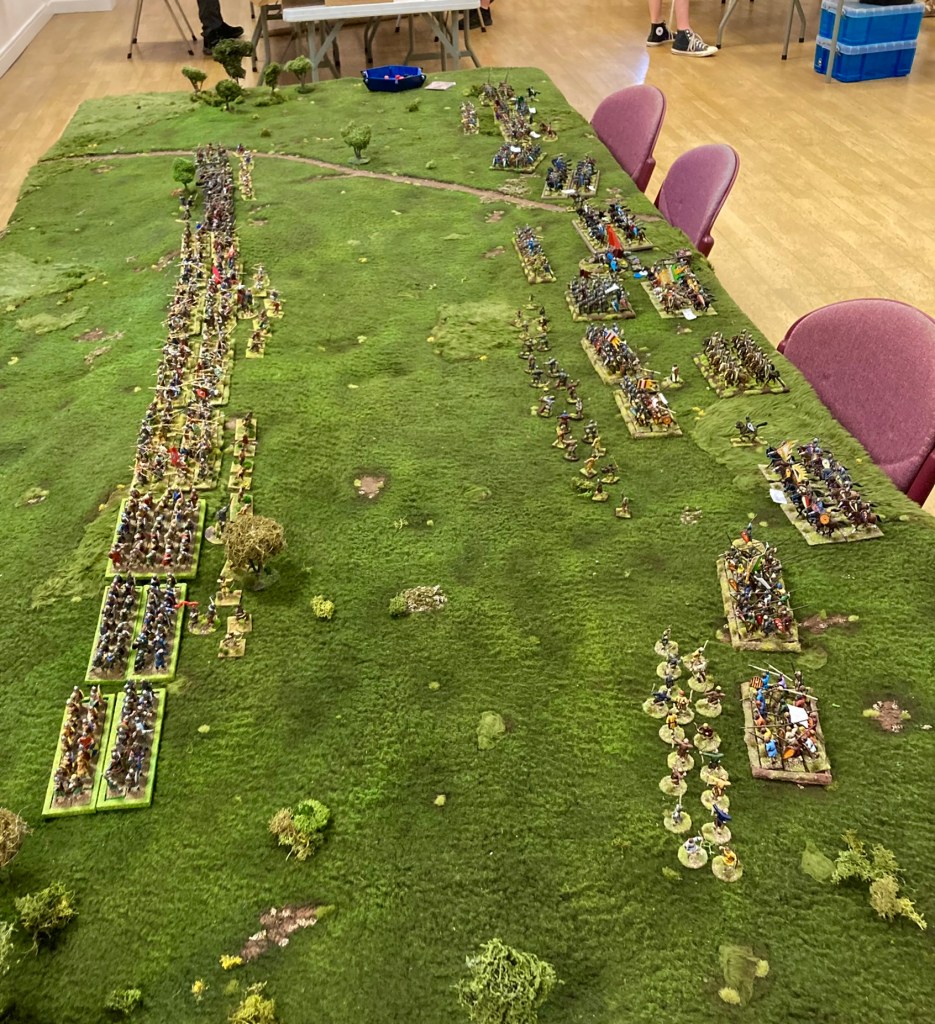
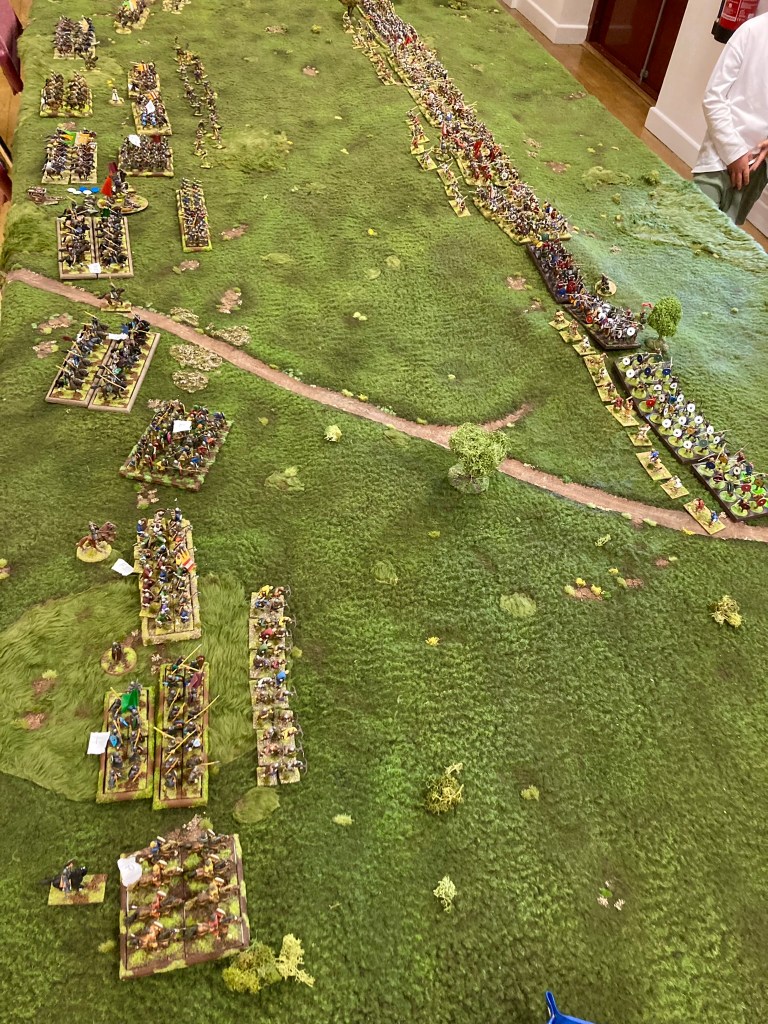
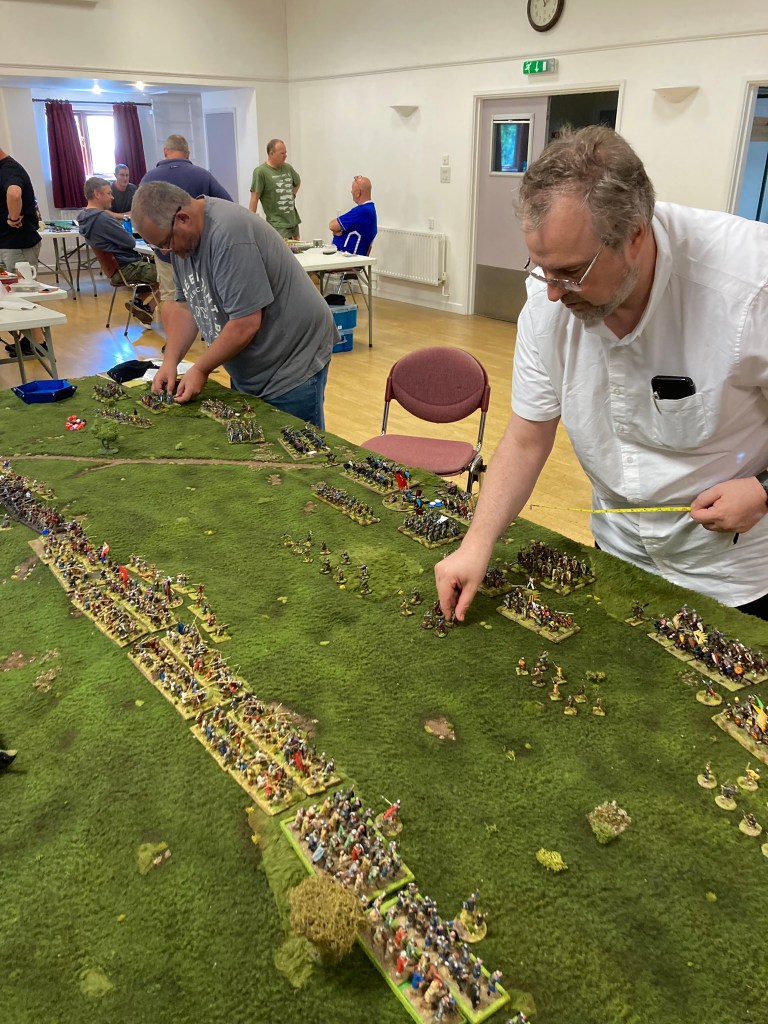
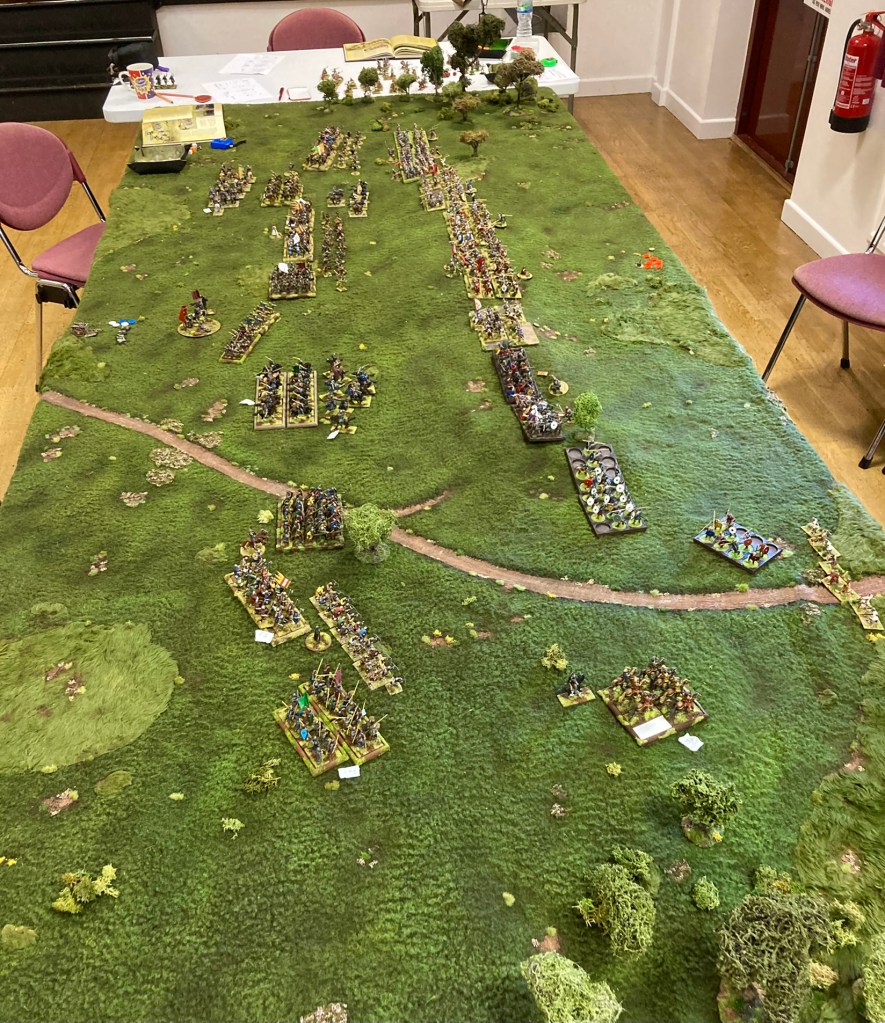
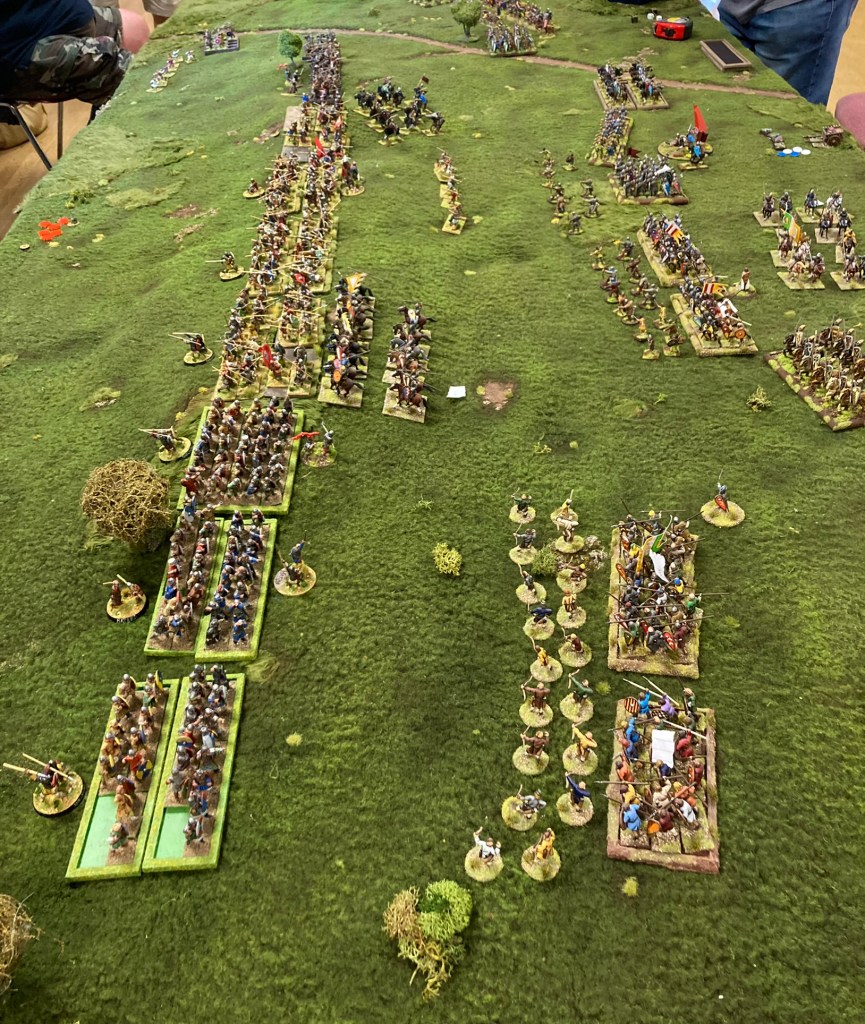
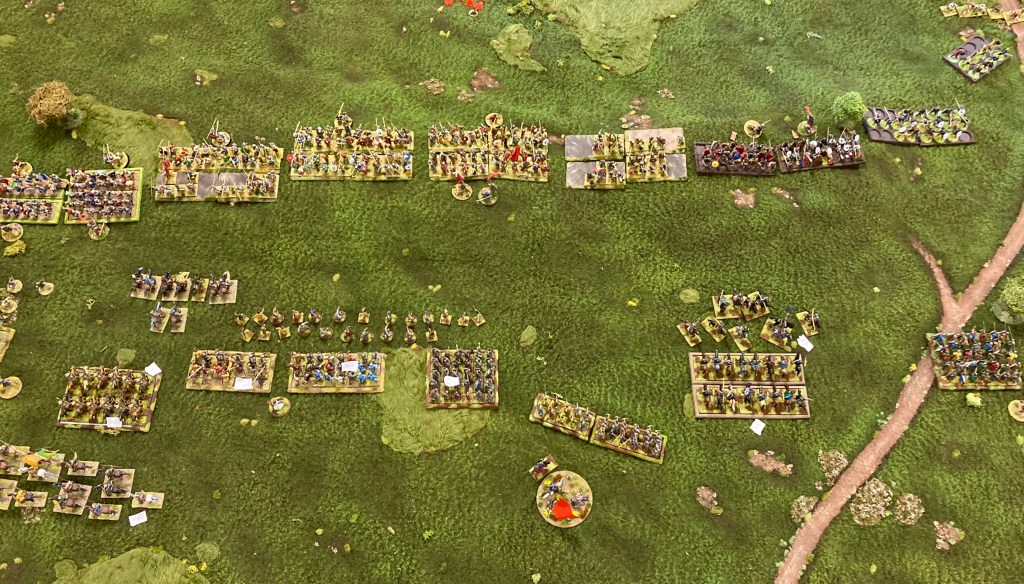
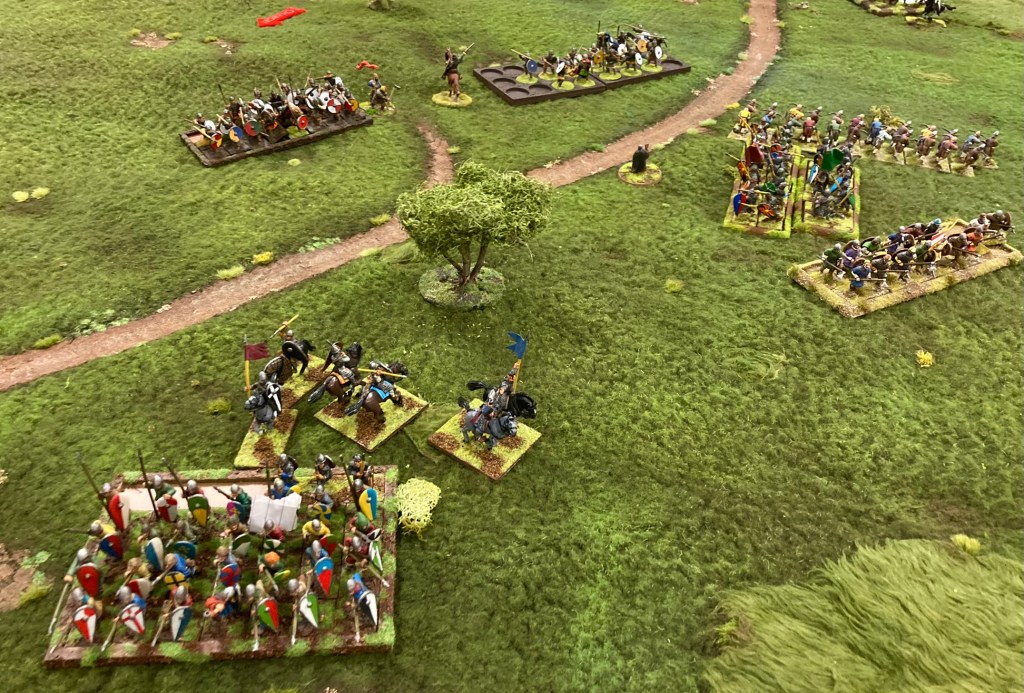
So, I rolled up to Boards and Swords, a very neat shop/ gaming centre on an industrial estate on the edge of Derby which is home to the local Billhookers (and many other gamers). Despite getting distracted by various bags of flock and the superbly indulgent Rolo cookies on sale, we managed to get the games under way at a decent hour.
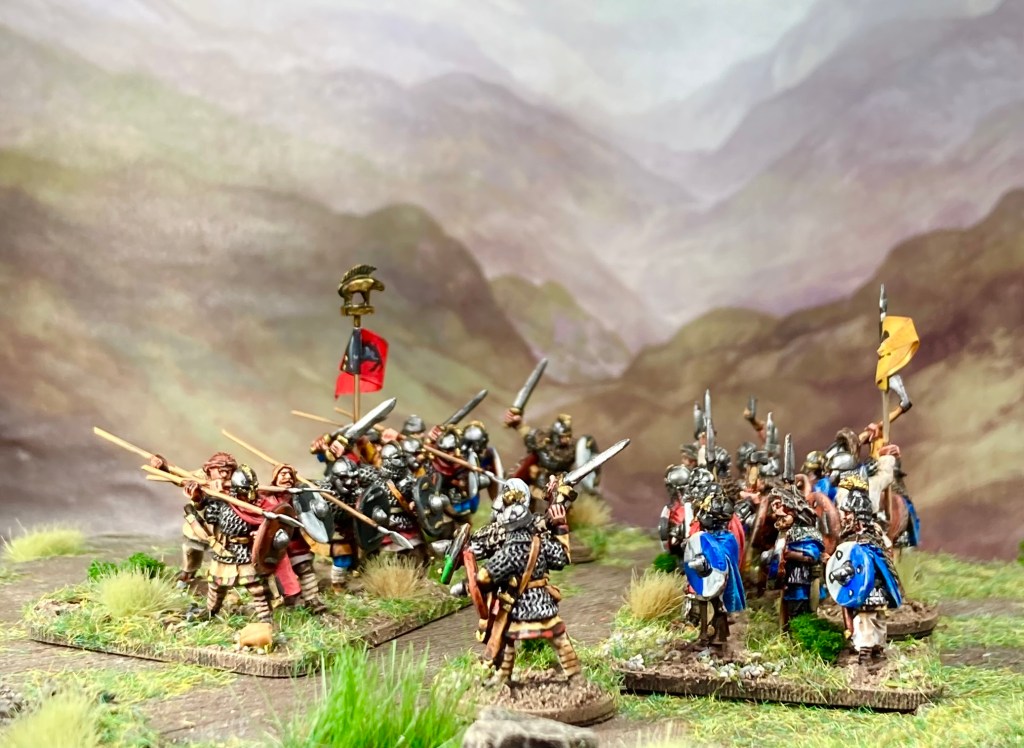
My first scrap had been arranged against Veteran Pete Harris so that he could teach me the rules and a great game it was too (until the dice betrayed me and my force fled). I will confess that I had already read the rules a couple of times, and watched the videos by Wargames Illustrated, but there’s nothing like actually playing the game!
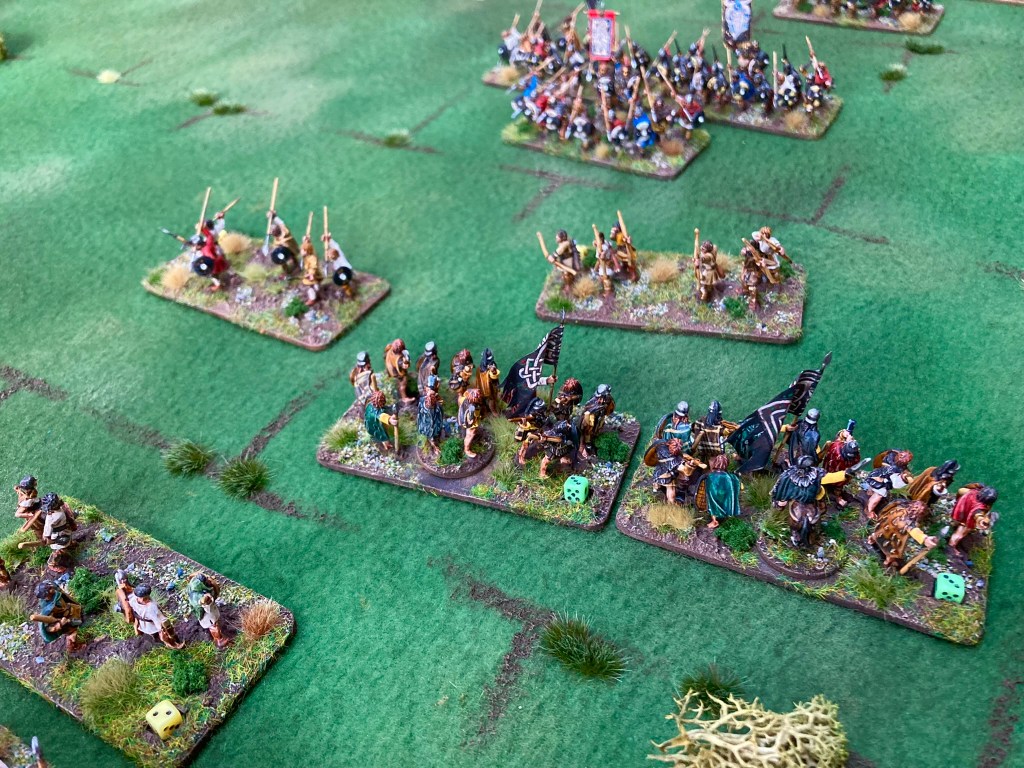
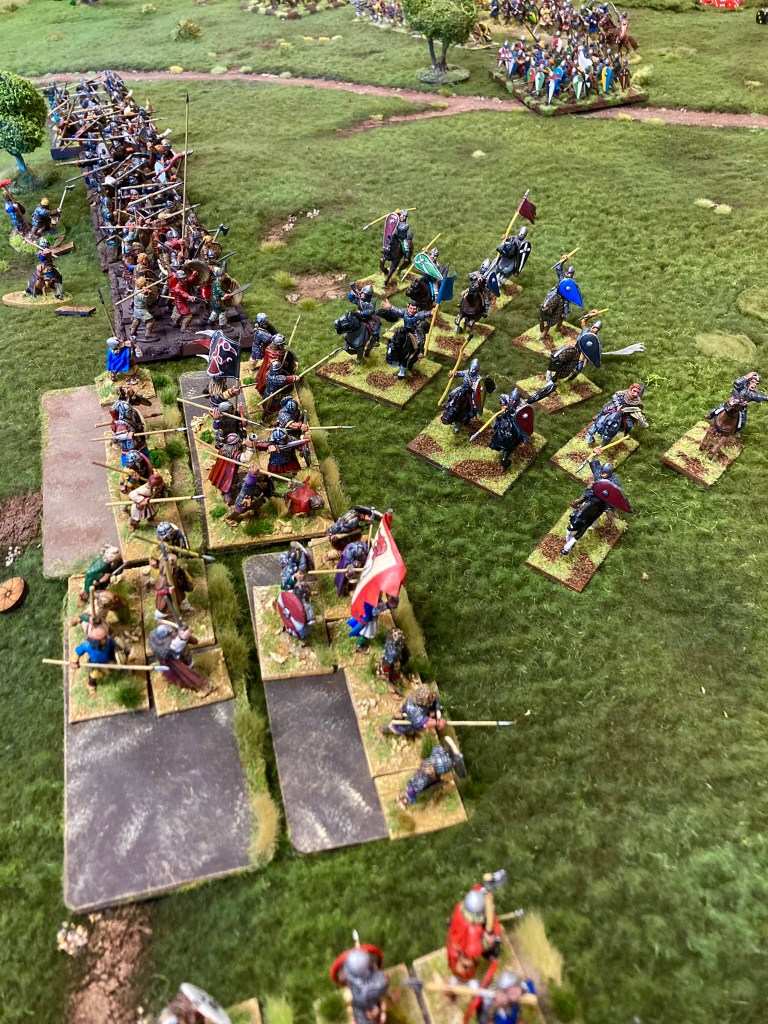
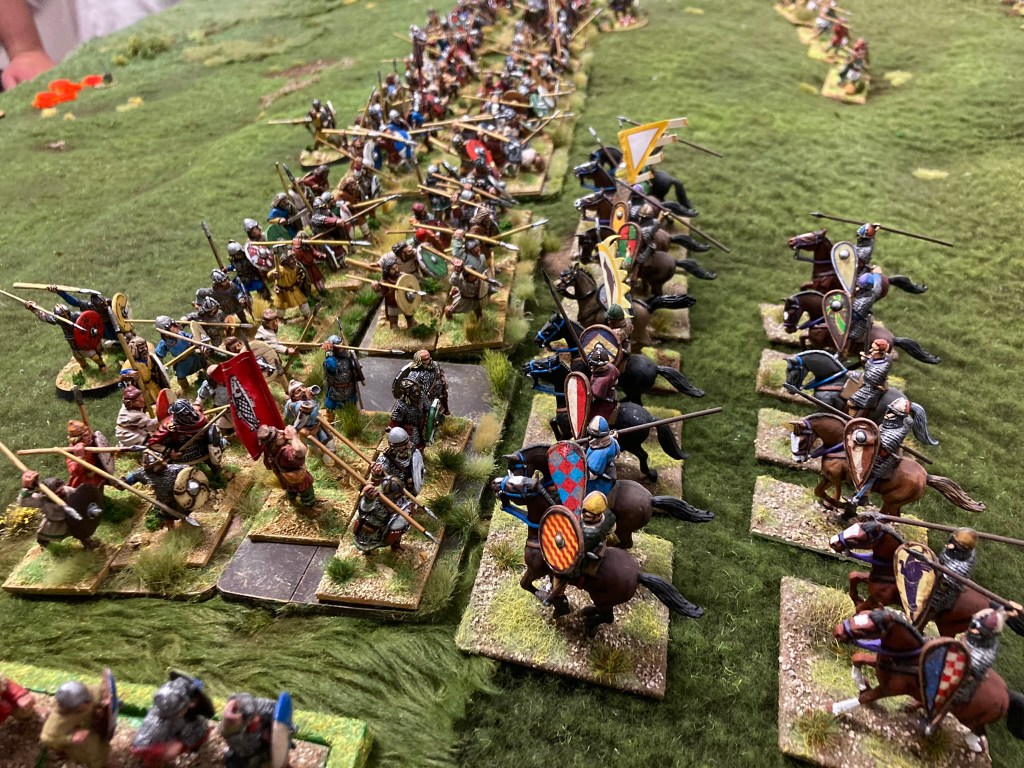
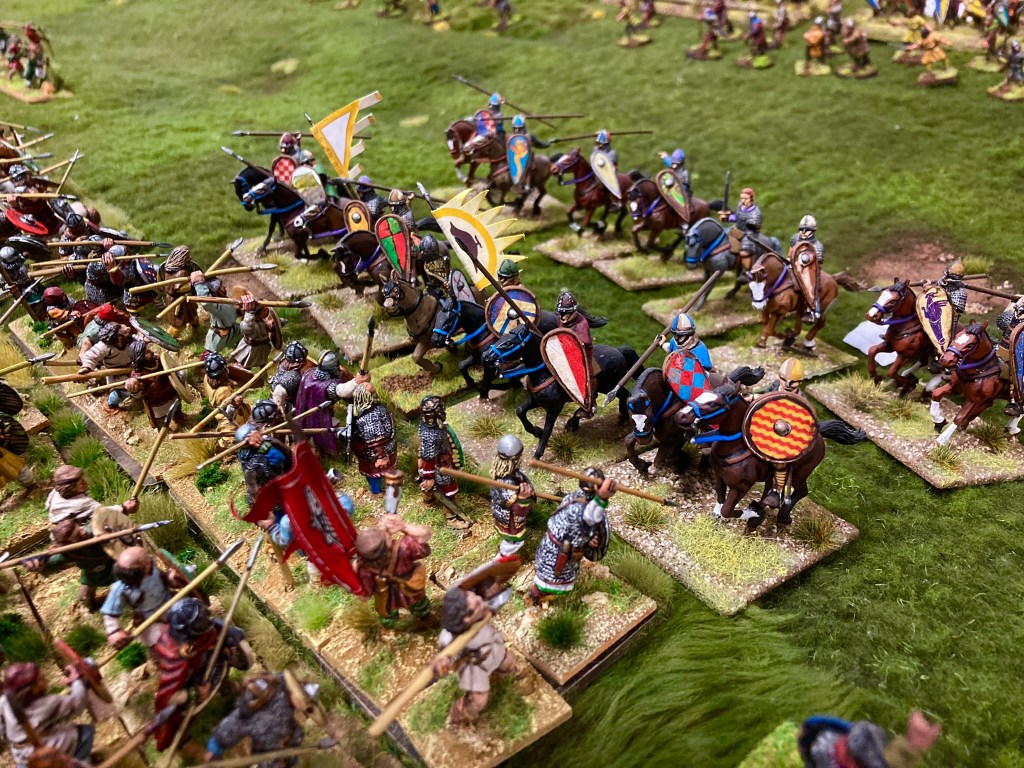
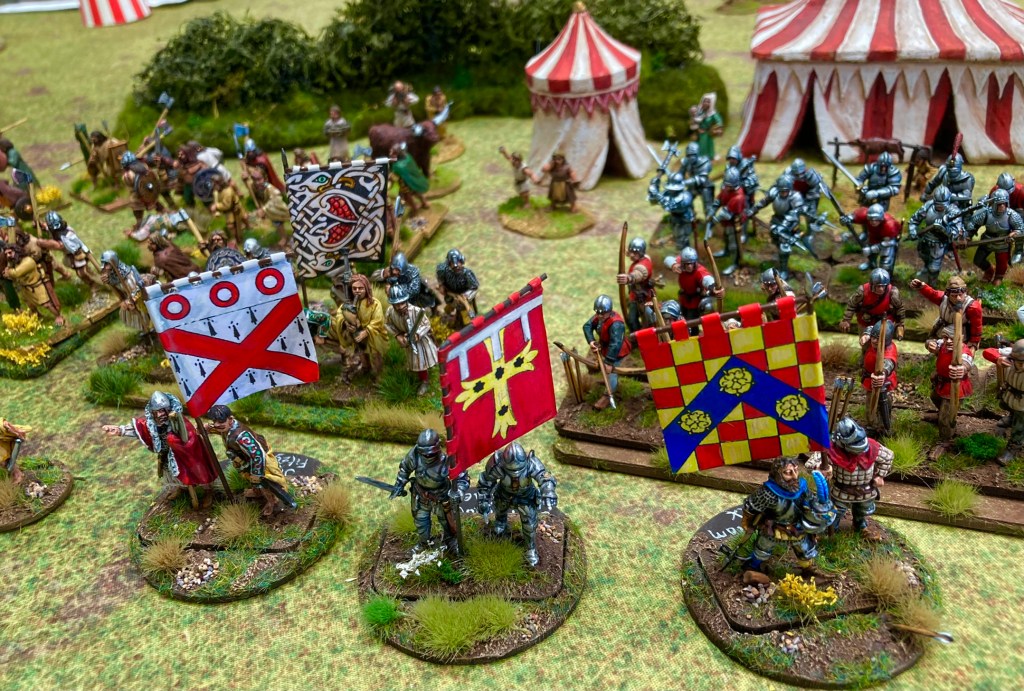
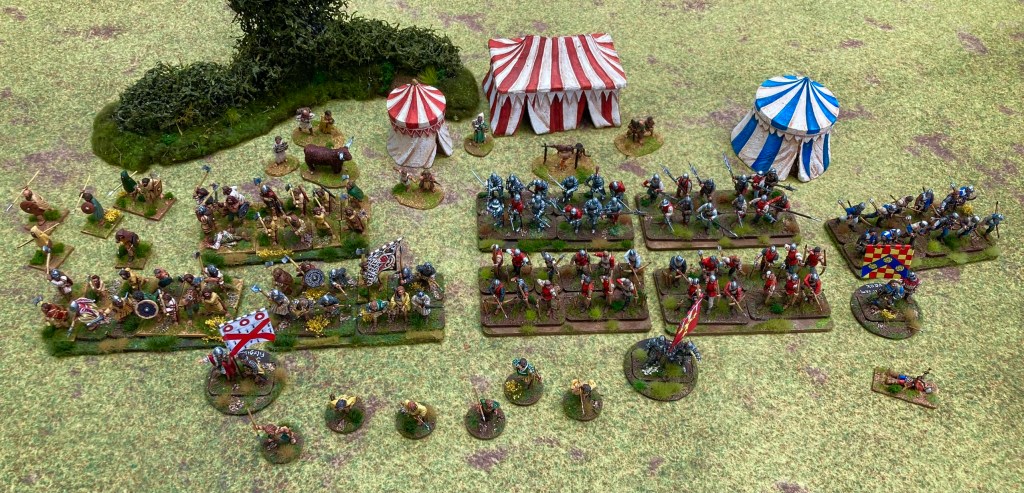
Just before the pizzas arrived for lunch, it was time for the painting competition and everyone lined up their forces. There were many that caught my eye:
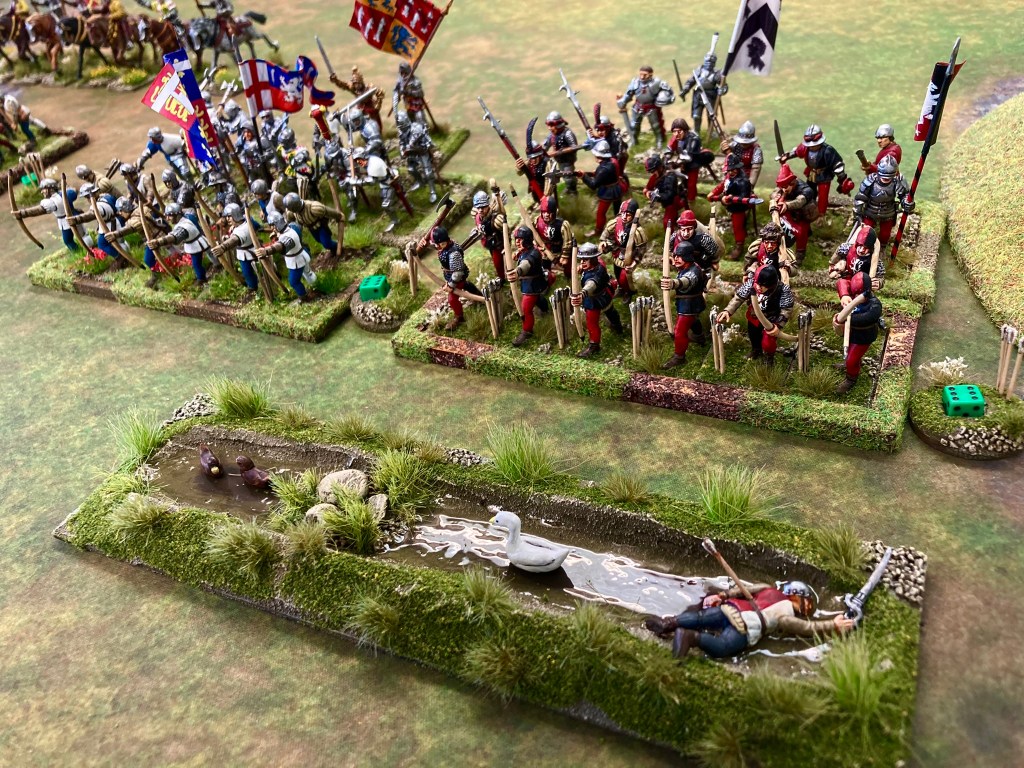
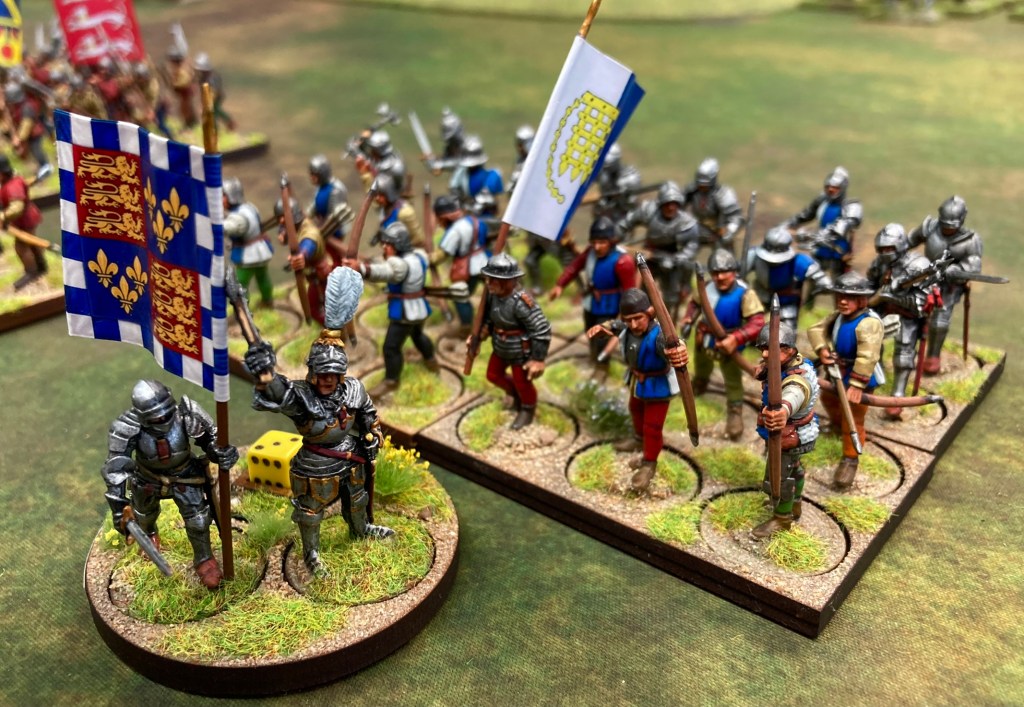

Somehow, my force narrowly beat Mike Peters in the painting comp – to be honest, nothing really stands up against Mike’s work (we need to get Dave Andrews or Simon Chick to drop by sometime), so I was flattered to get the public vote. Anyway, cheers!
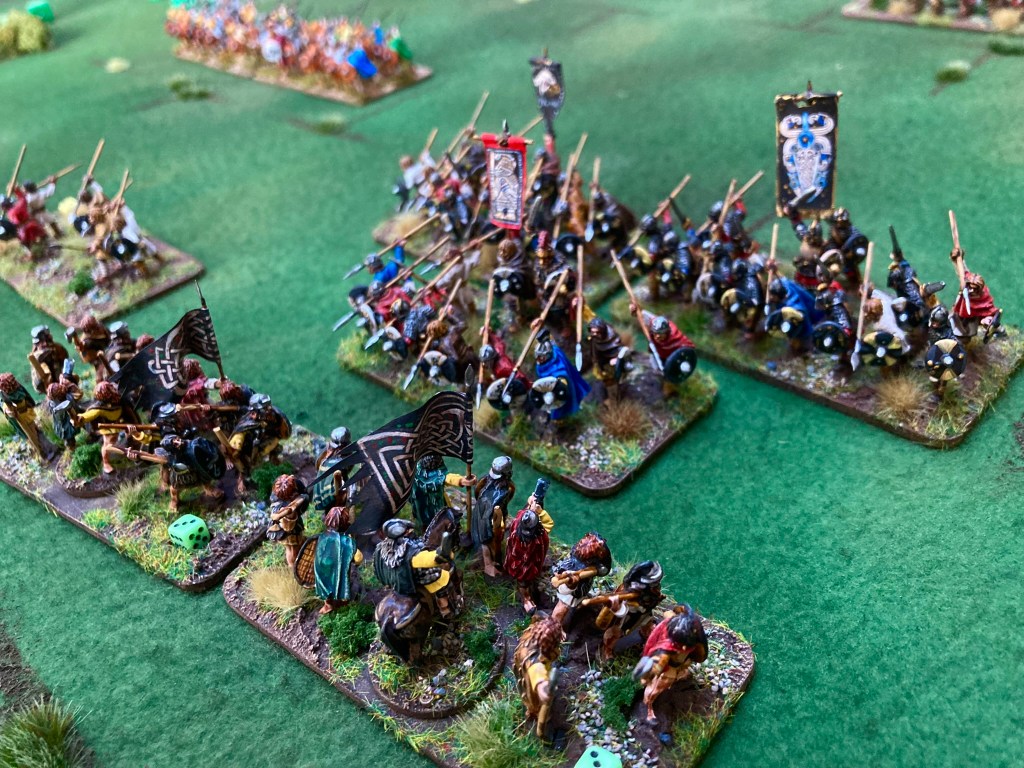
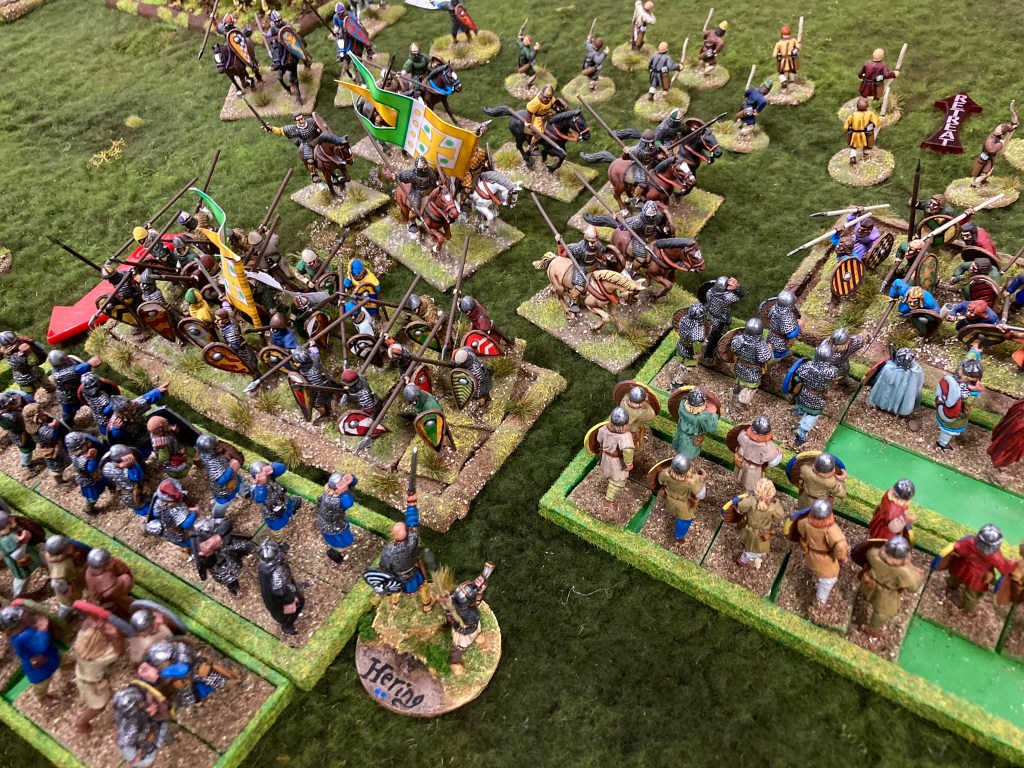
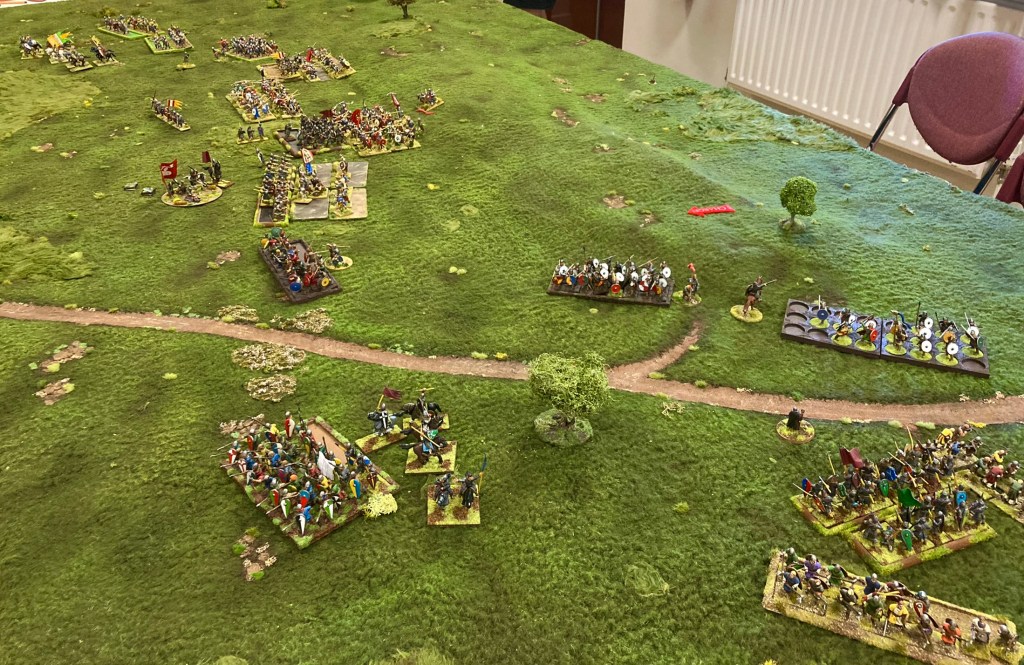
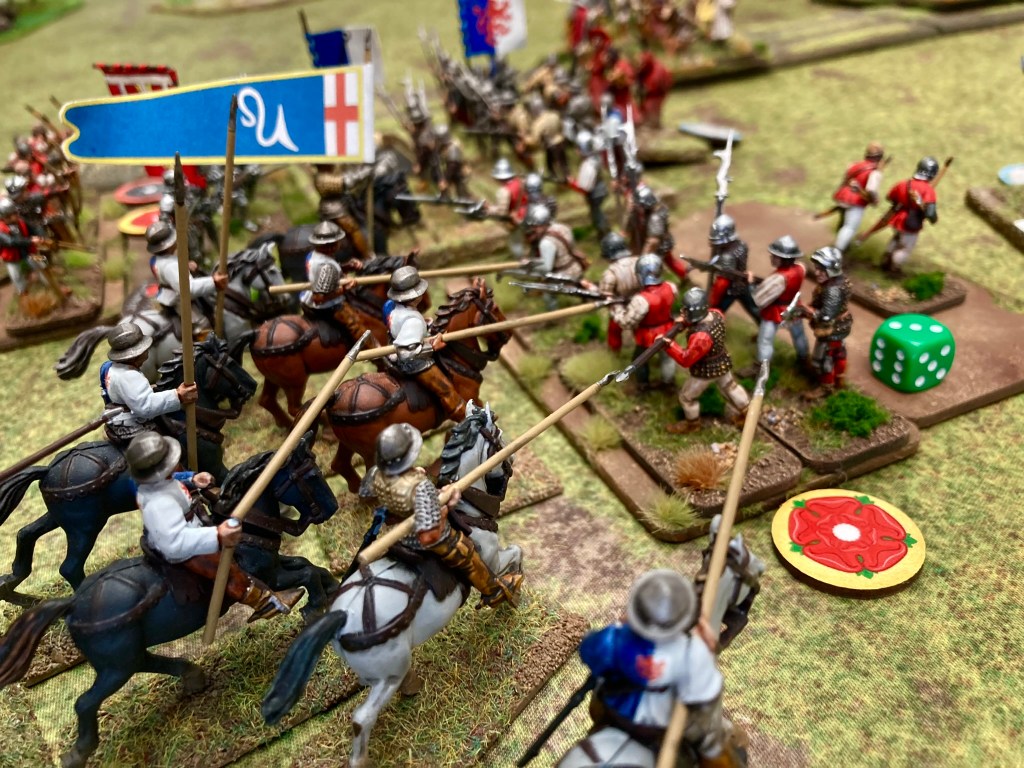
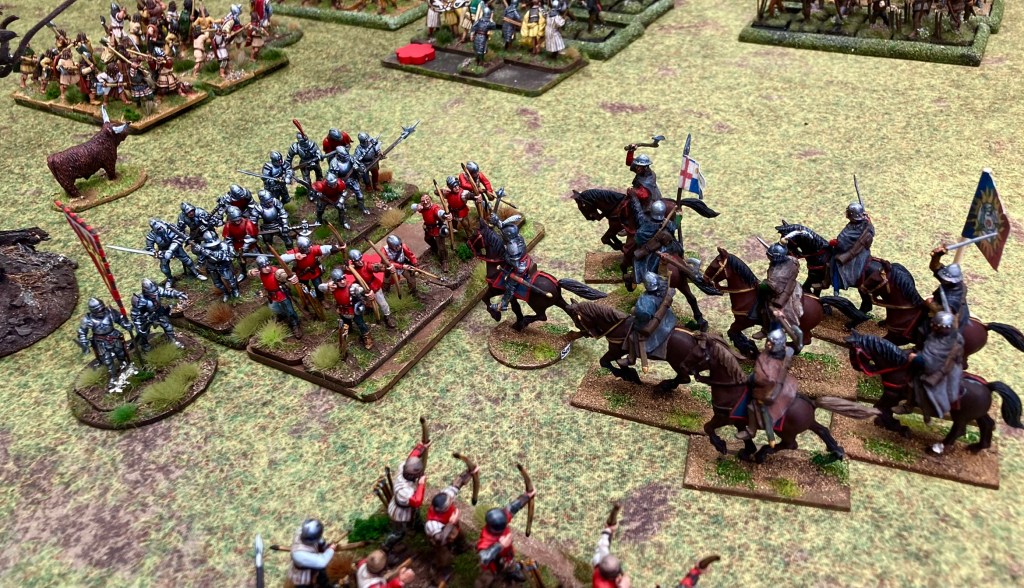
With that, it was on with the games, and I now got to play Lord Callan himself. Andy is always a pleasure to game with and we had a most enjoyable scrap which, somehow, I won (a ferocious Irish charge was involved).
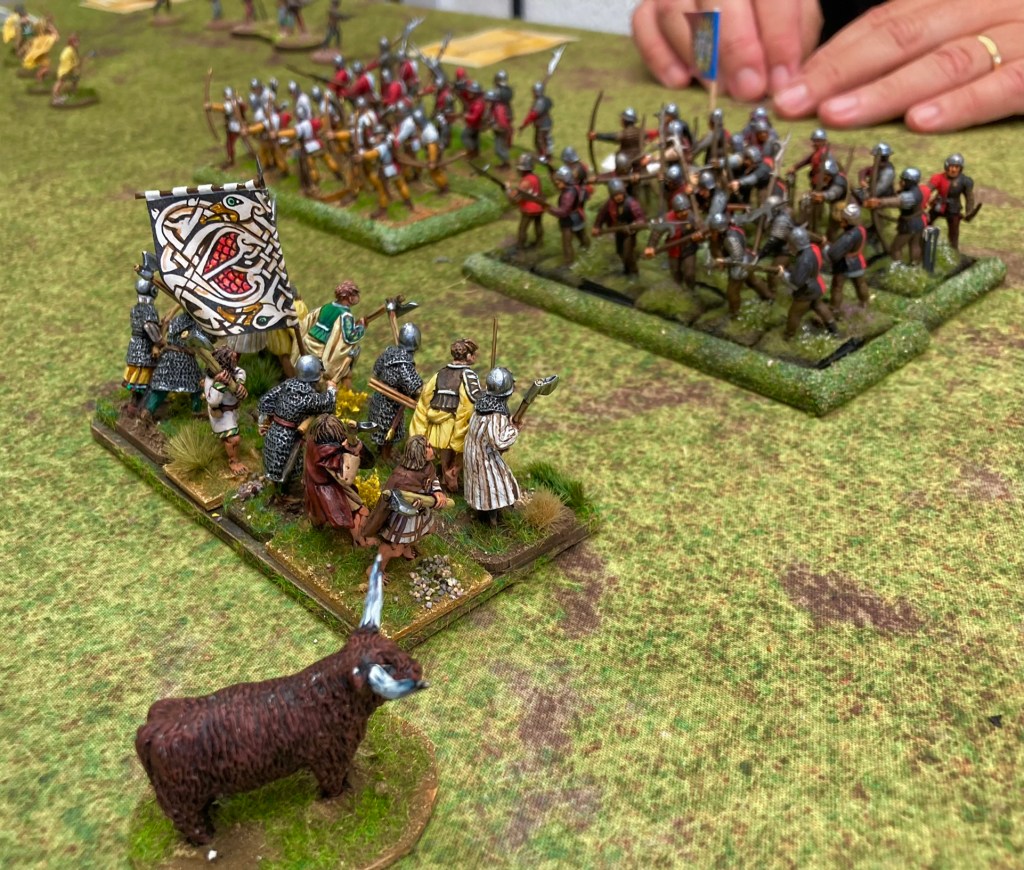
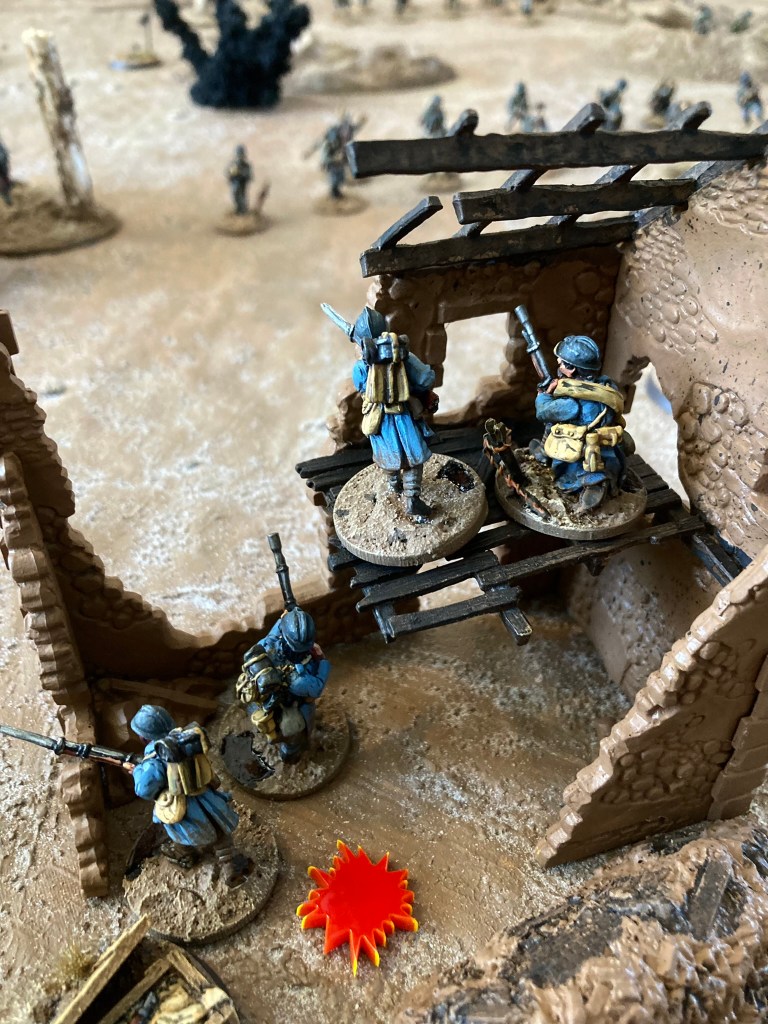
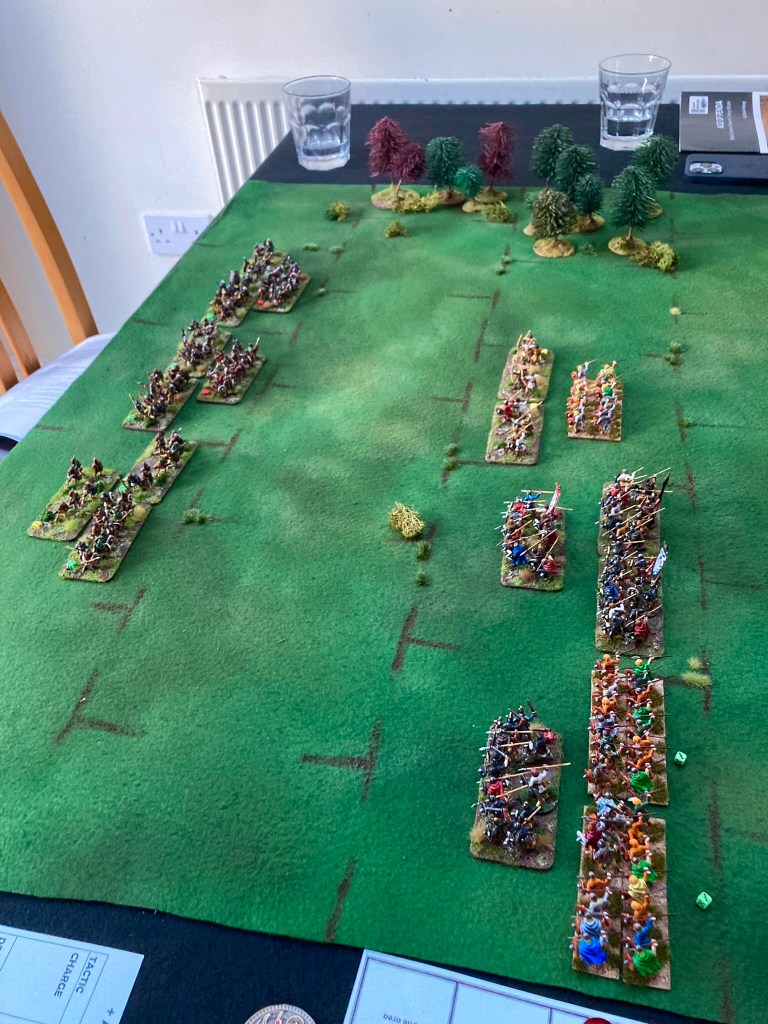
Game 3 was against the gentlemanly Jan who had themed his force around local family the Howards and driven all the way from Surrey. I confess I took only one picture as we were so absorbed in the game, which started badly and then went properly bad for me. Great fun!
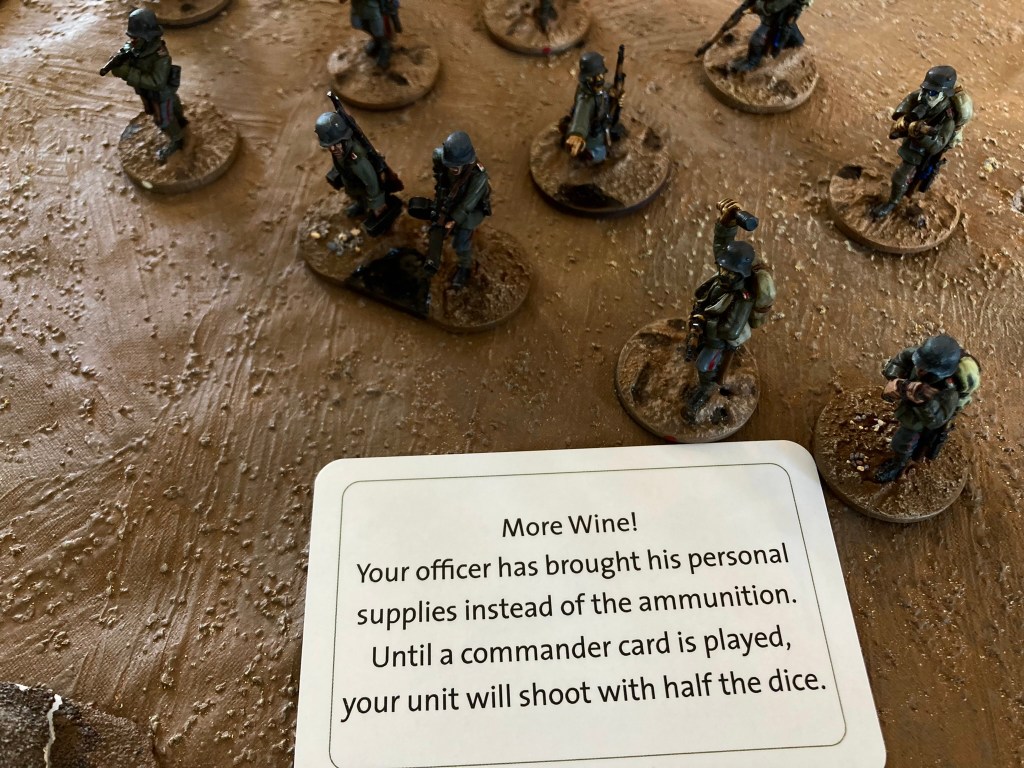
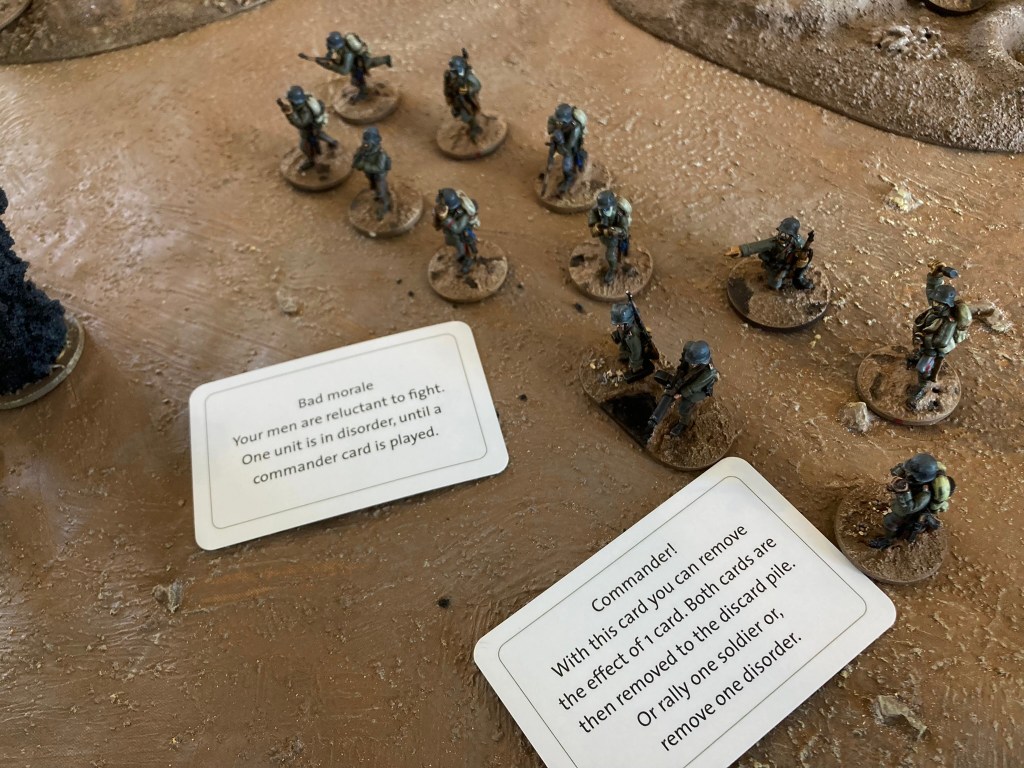
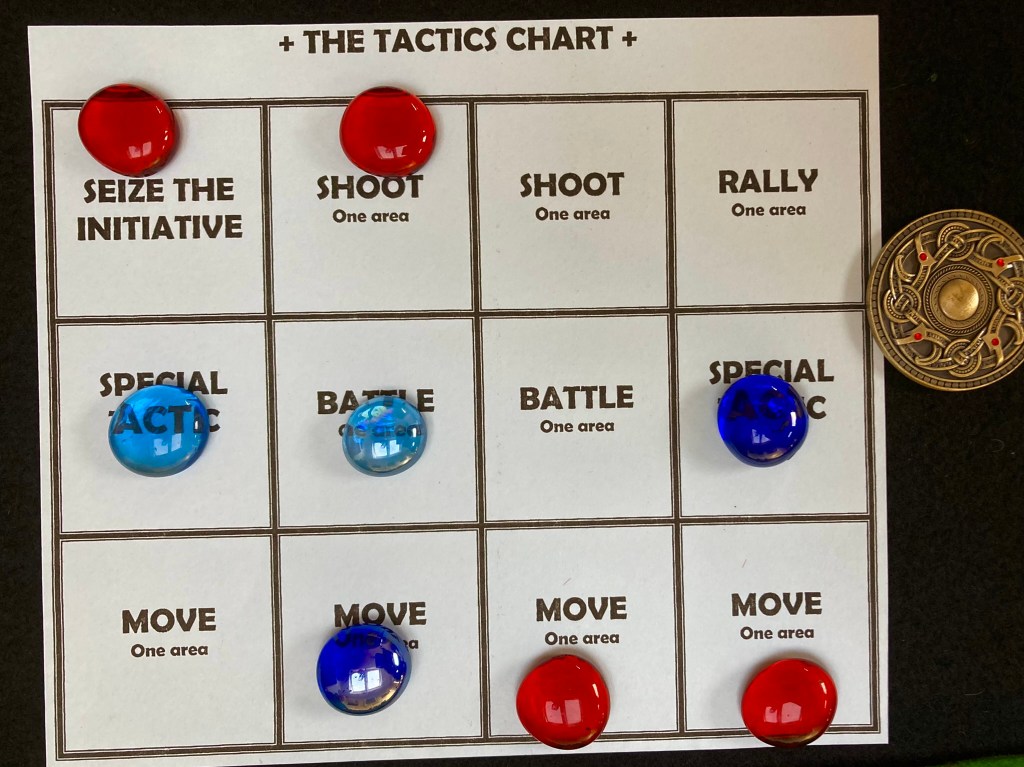
I thoroughly enjoyed my first games of Billhooks: it’s very much as it is sold – fast-playing, period-themed fun that doesn’t take itself too seriously. Top moments for me were the manouvre phase at the start of the game, where units advance until someone starts shooting (very evocative of a medieval battle), and the interplay between combined formations of archers and billmen. The cards are also highly entertaining. Every force I played against featured a unit of light horse that were able to scuttle round the back and harass my troops with relative impunity, so I reckon I’ll need to lay in some kind of counter-measure next time (caltrops, hidden ditch or sugar lumps). Overall, a great game played in excellent company. Thanks!
If you’re interested in Billhooks, I suggest that you seek out the very active group on Facebook.
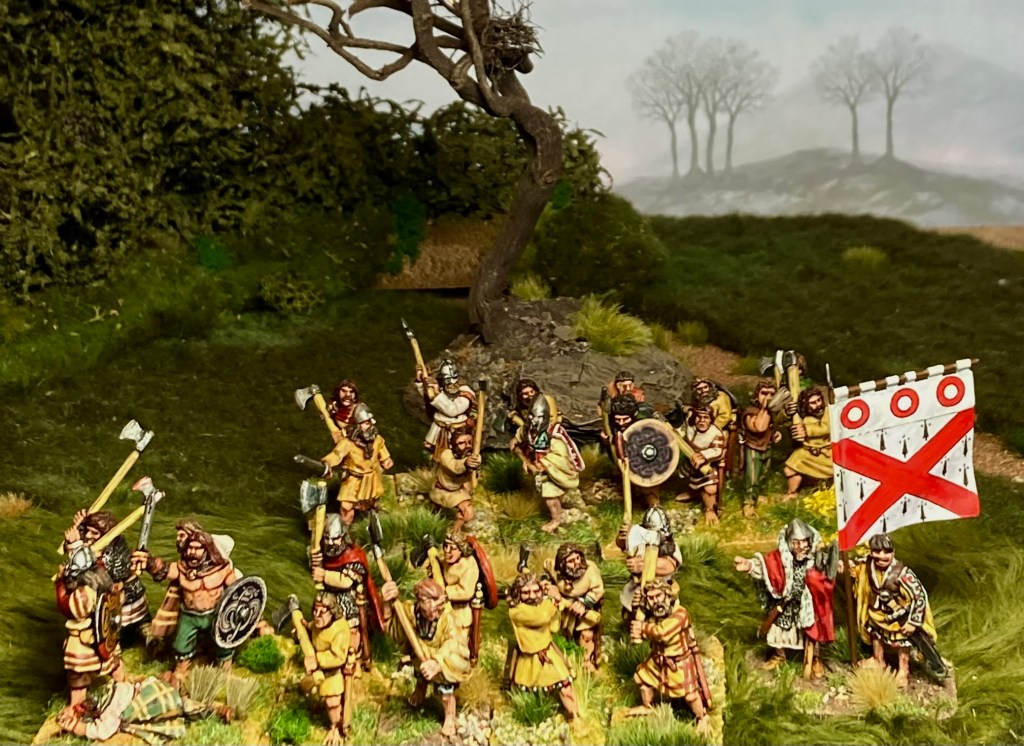
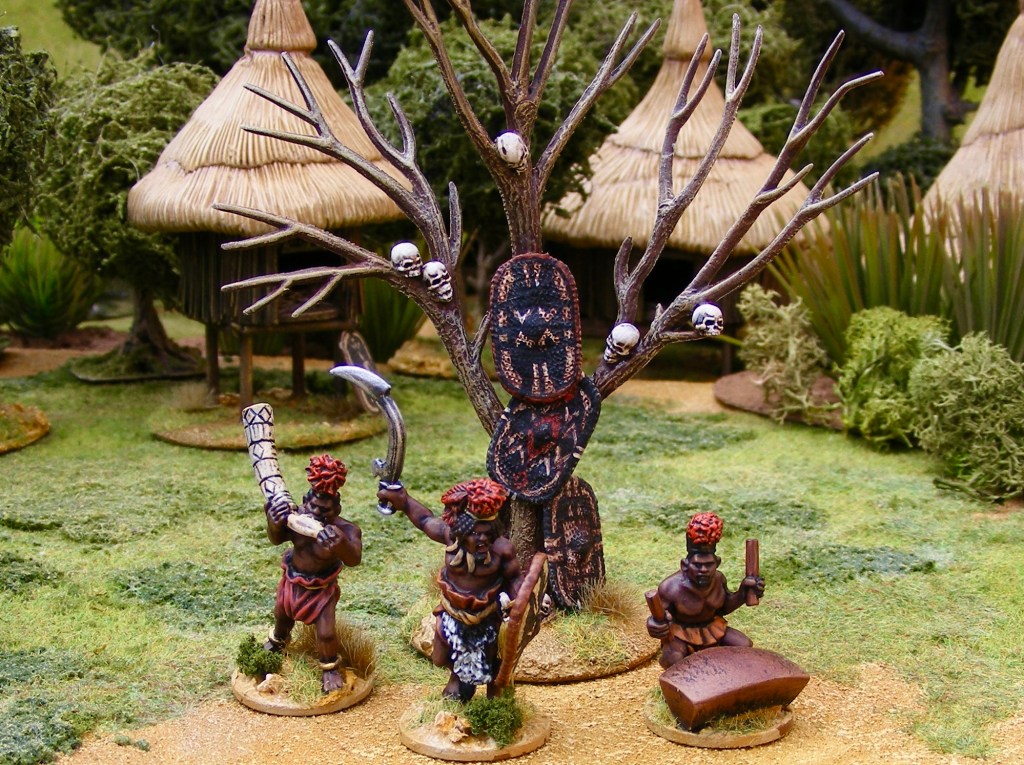
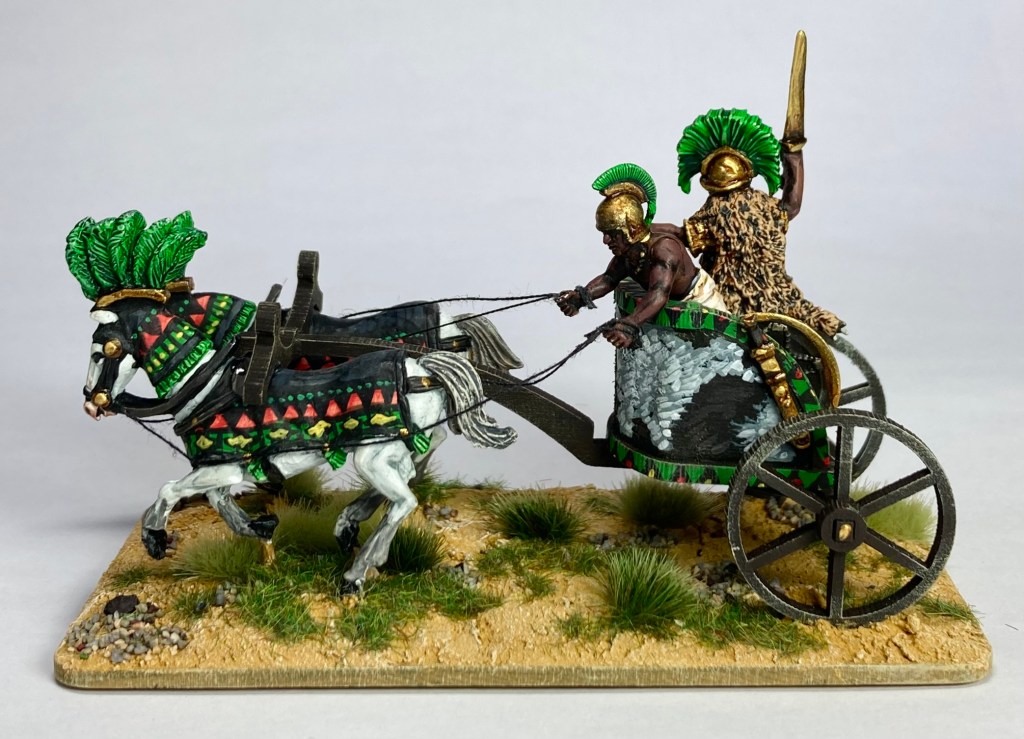
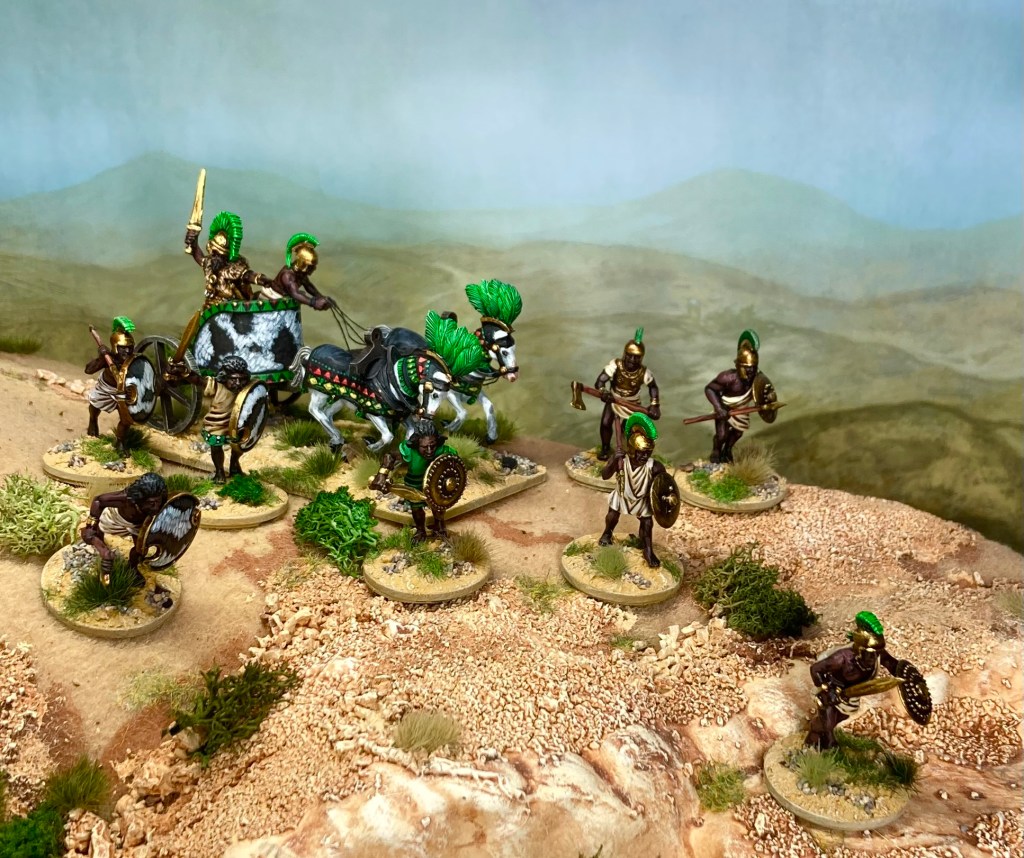
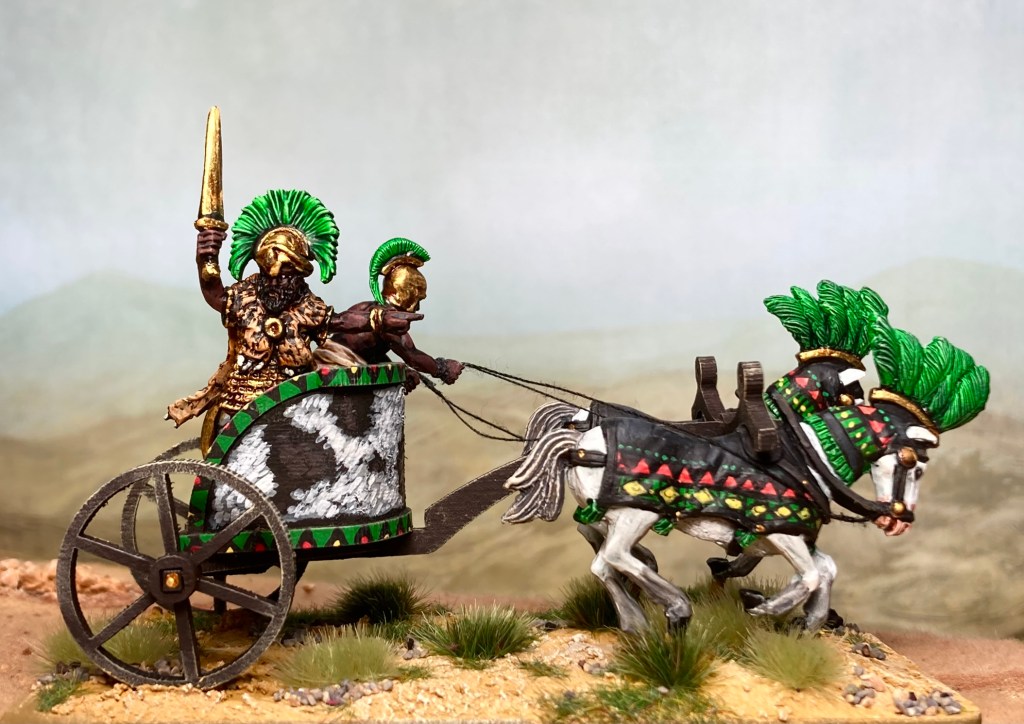
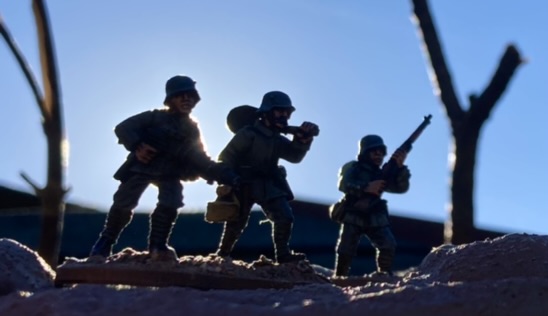
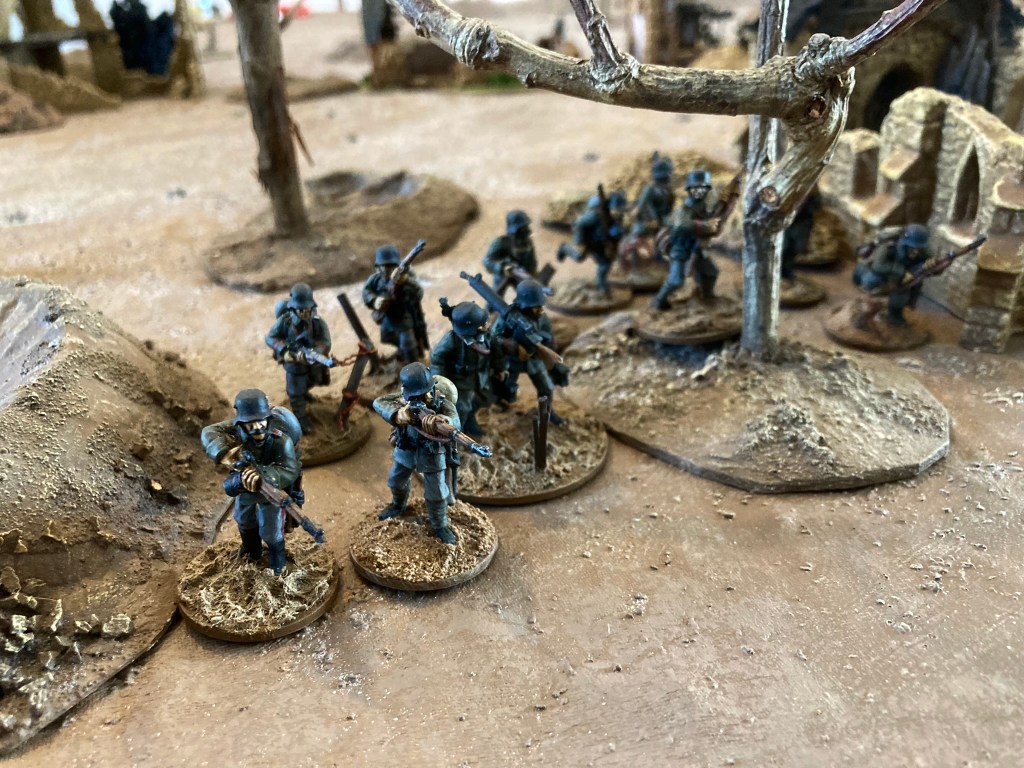
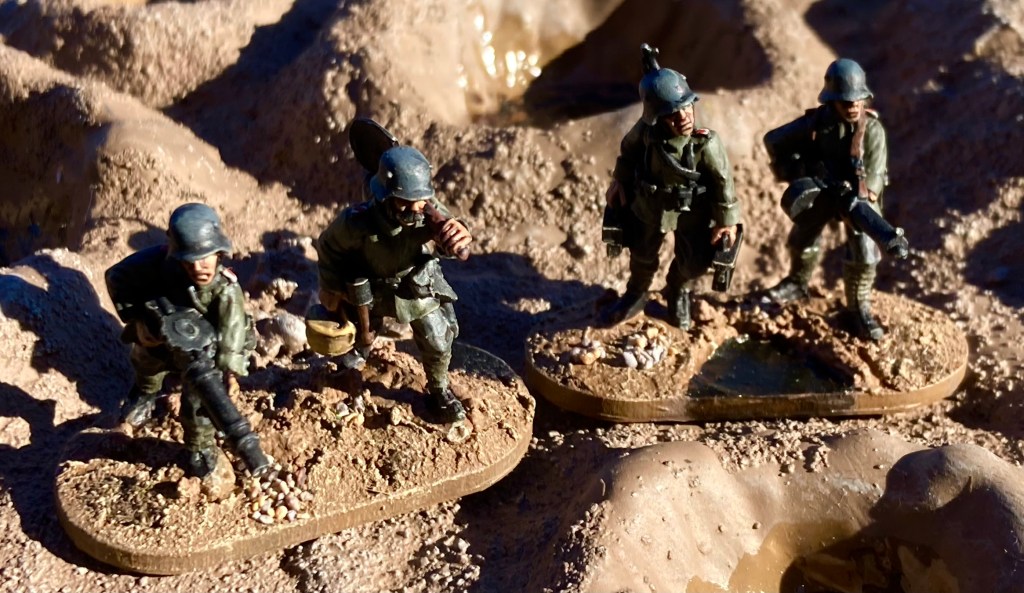
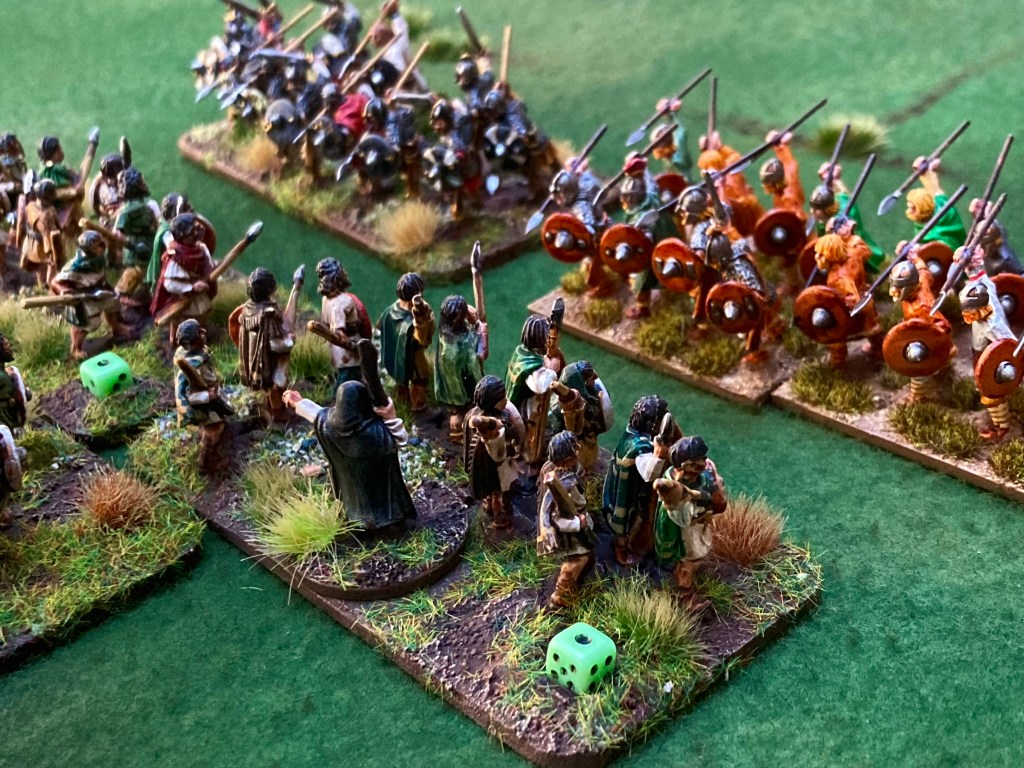
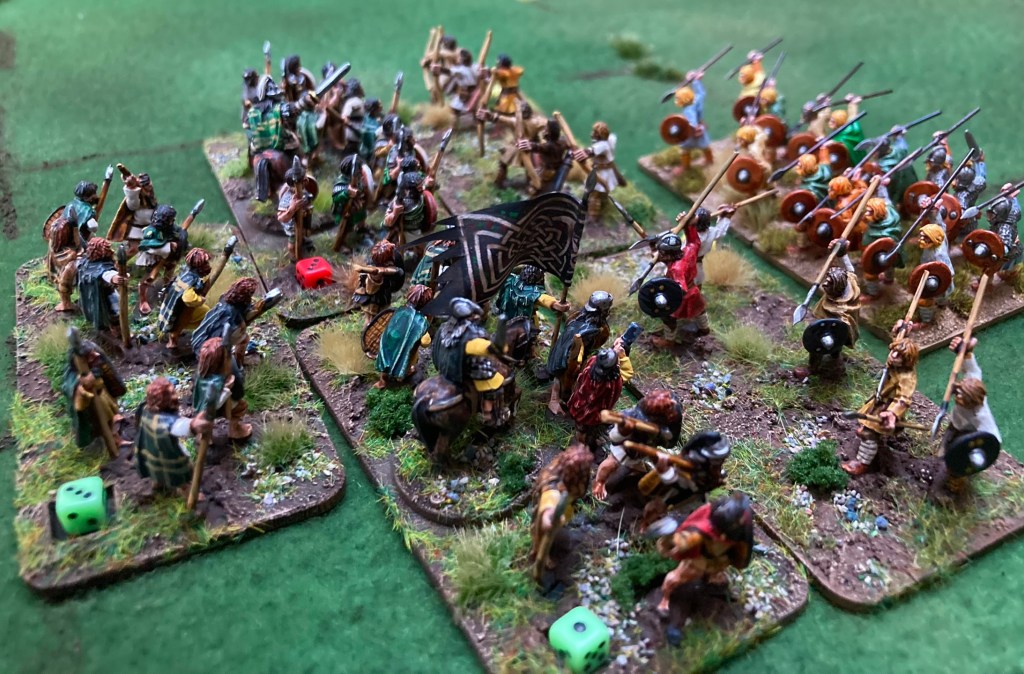
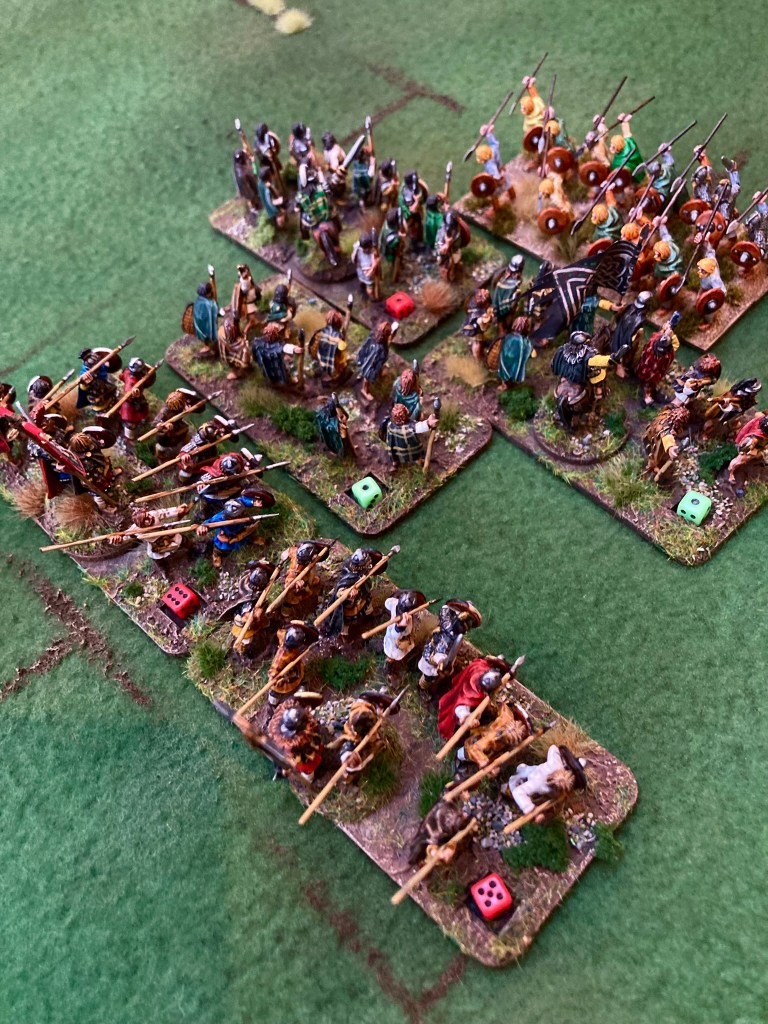
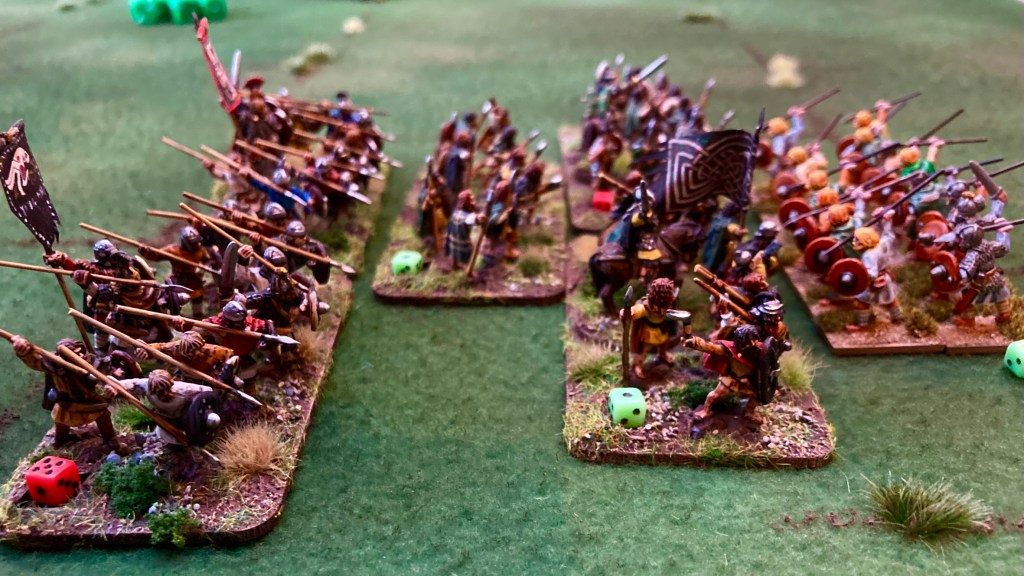
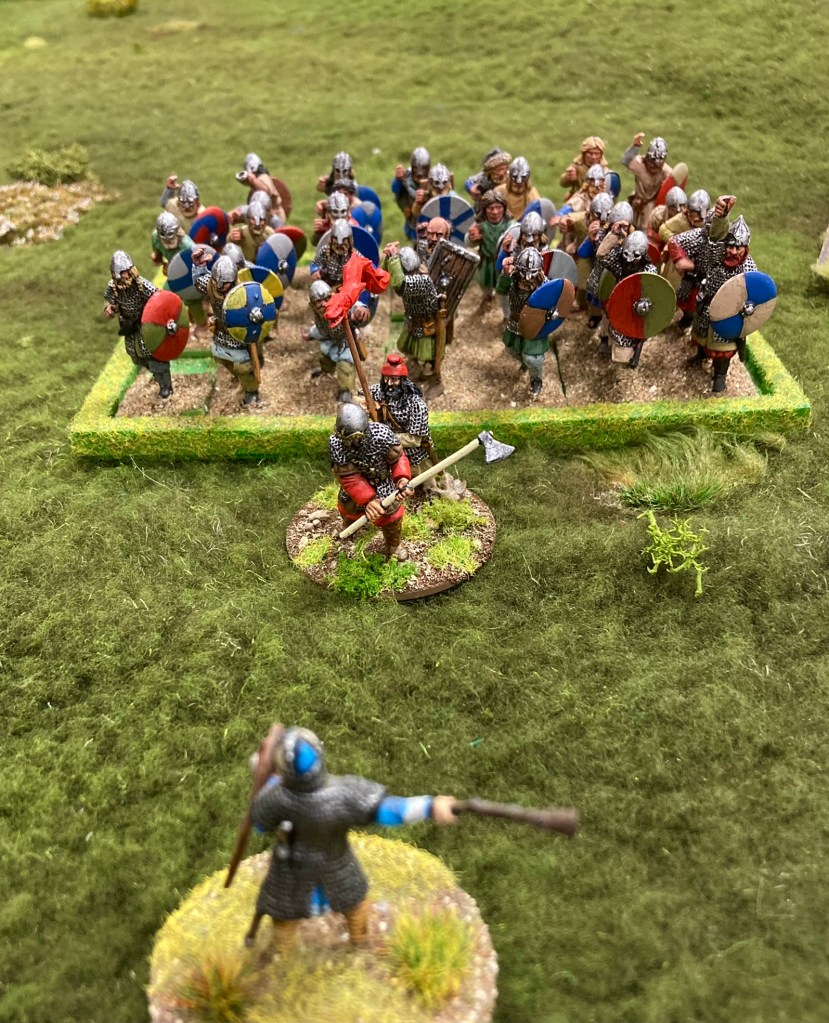
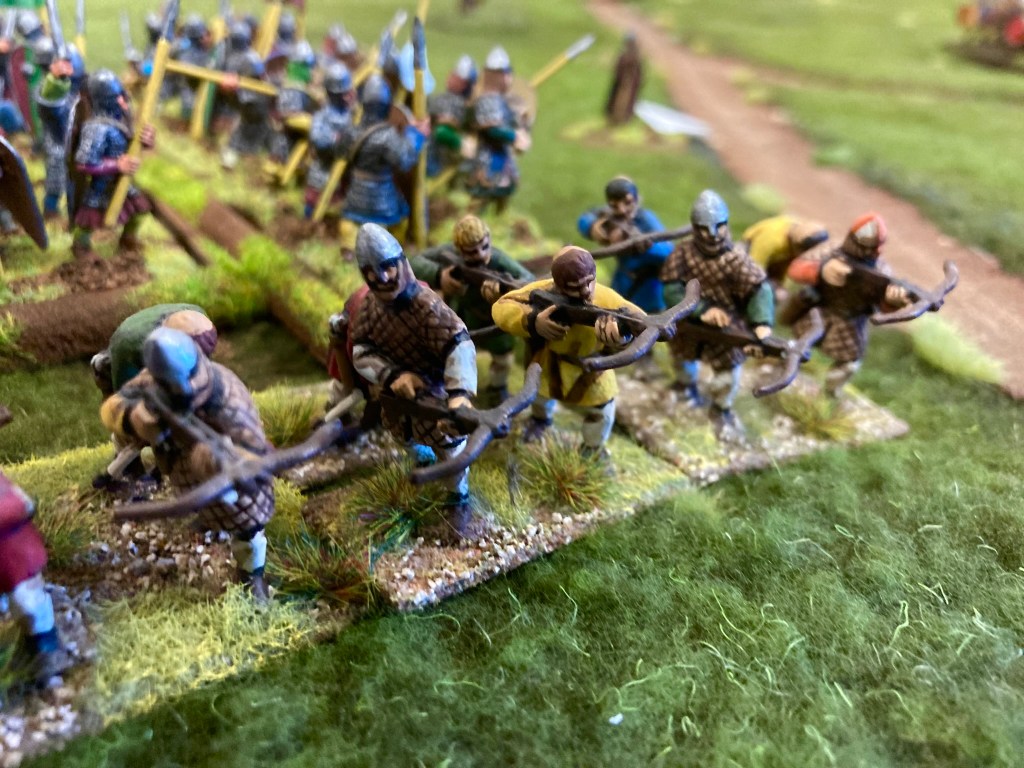
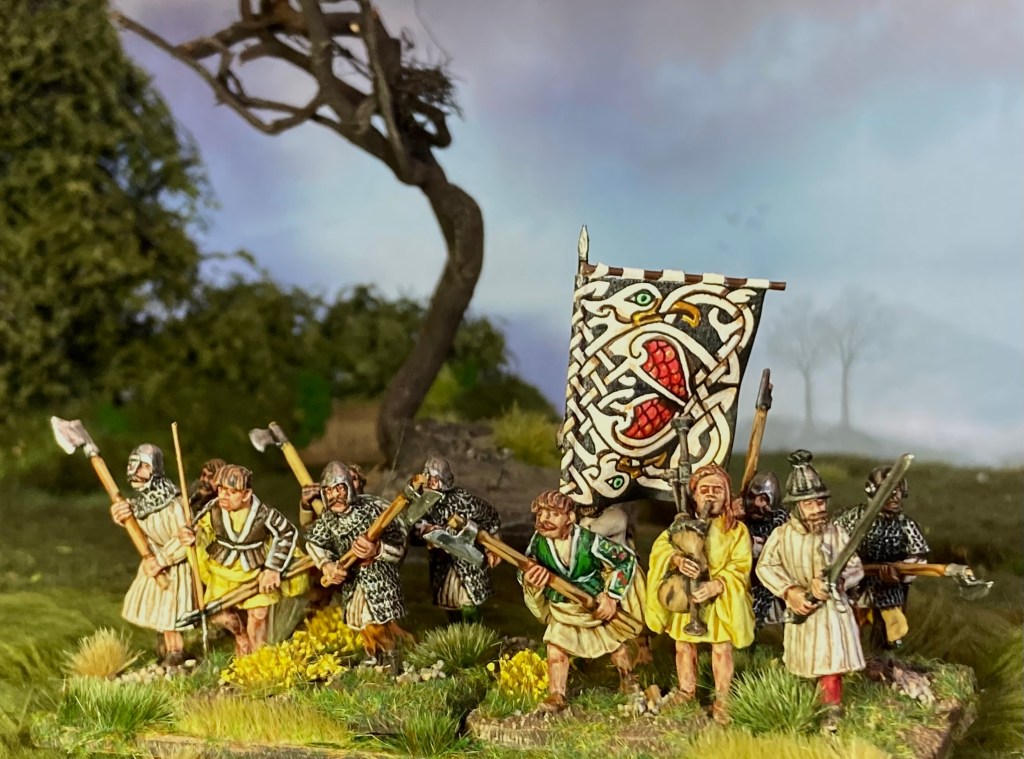
Last few shots are of the Irish taken in an impromptu (and poorly lit) session when I got home!