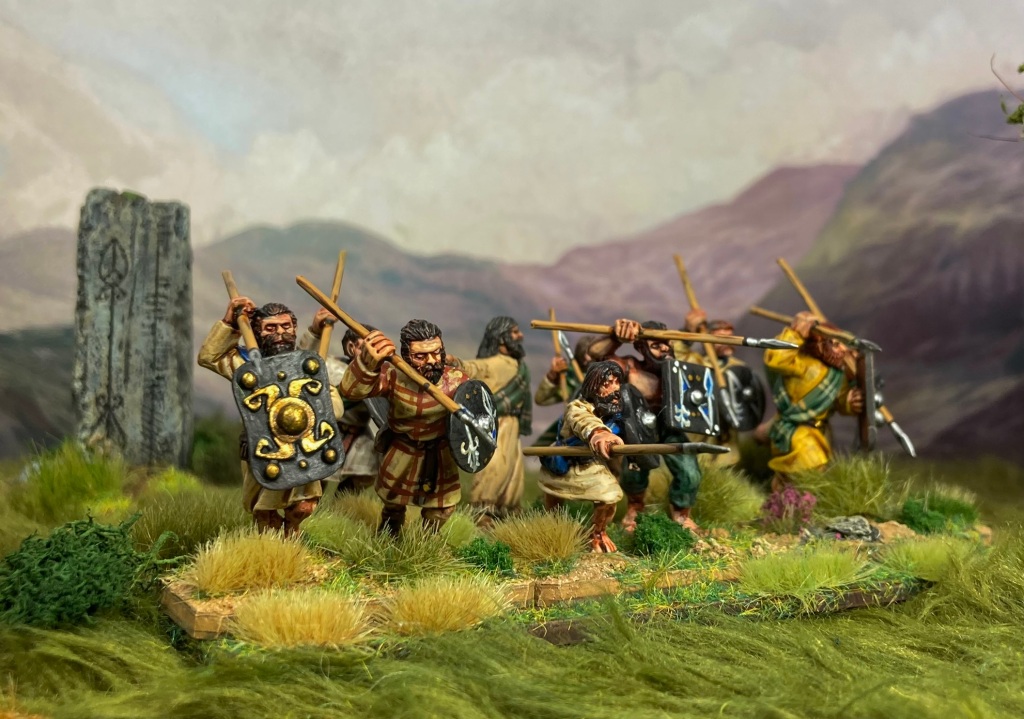
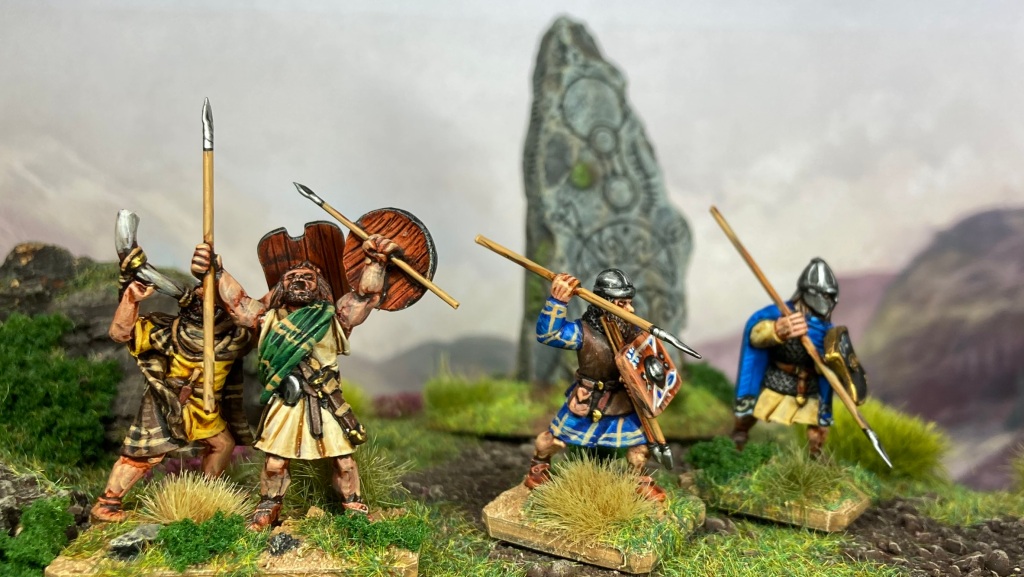
In the midst of my current Dark Ages resurgence, I decided that I really wanted to get a couple of units of 28mm Pictish nobles together. I’ve been using my Scots-Irish nobles as stand-ins for games of Midgard, but there was a Pictish itch that I really needed to scratch.
I had some Picts that had been sitting in the bits box for 15 years and augmented these with some reinforcements from Gripping Beast and West Wind Productions. After cleaning up the figures and gluing on shields and spears (and separate heads in the case of the West Wind minis), I plumped for a white undercoat. All my previous Dark Ages minis had been done with a black undercoat, layer, wash and highlight, but this time out I wanted to see if I could achieve similar – and faster – effects with the GW Contrast Paints.
As it turned out, I was able to achieve a result that I was more than happy with. Most areas of the figures had a base coat of a Contrast paint followed by a highlight or light dry brush of another colour. Colours like Skeleton Horde and Aggaros Dunes made an excellent base for linen tunics and robes; Dark Angels Green, Wyldwood and Nazrdreg Yellow were also used as base colours.
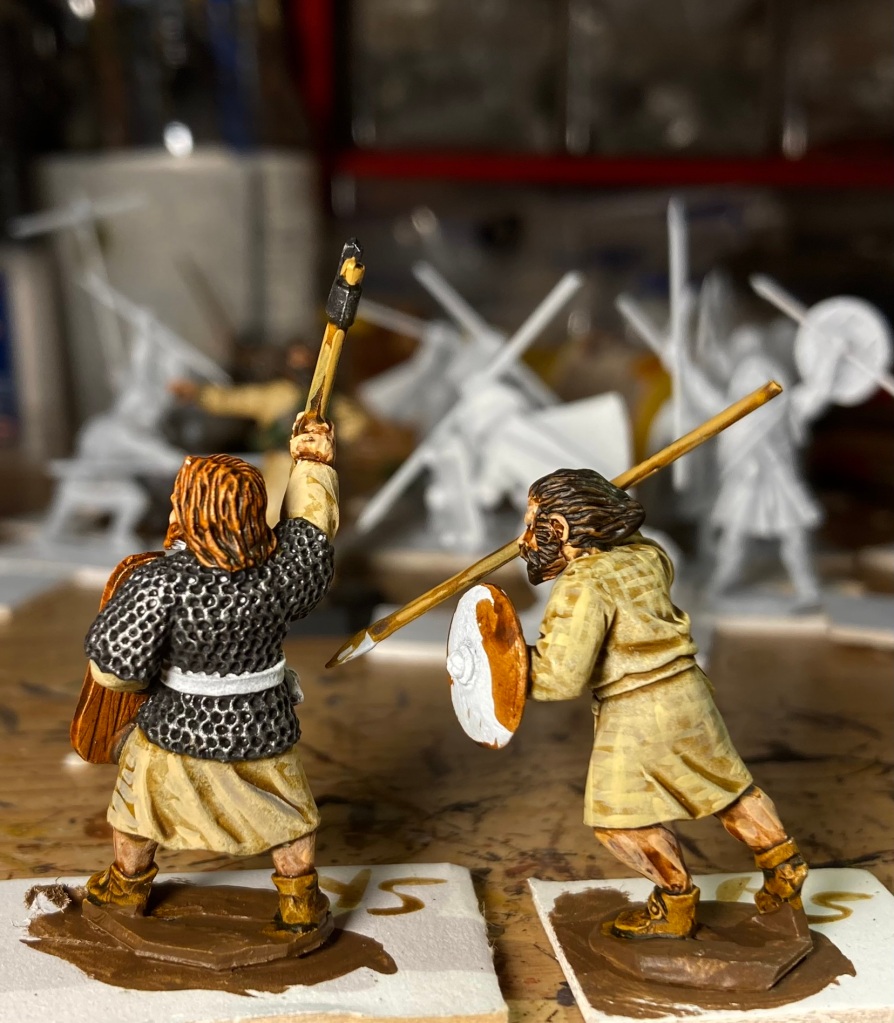
Painting skin always used to be a time-consuming process with a base of chestnut brown, a brown ink wash and then a highlight or two of flesh colour; this time out I experimented with Contrast Guilliman Flesh and Gore Grunta Fur, using different mixes for different areas of the figure. These had a few selected highlights, but I reckon overall that this new technique produced very similar results in about half the time that I used to spend on painting flesh.
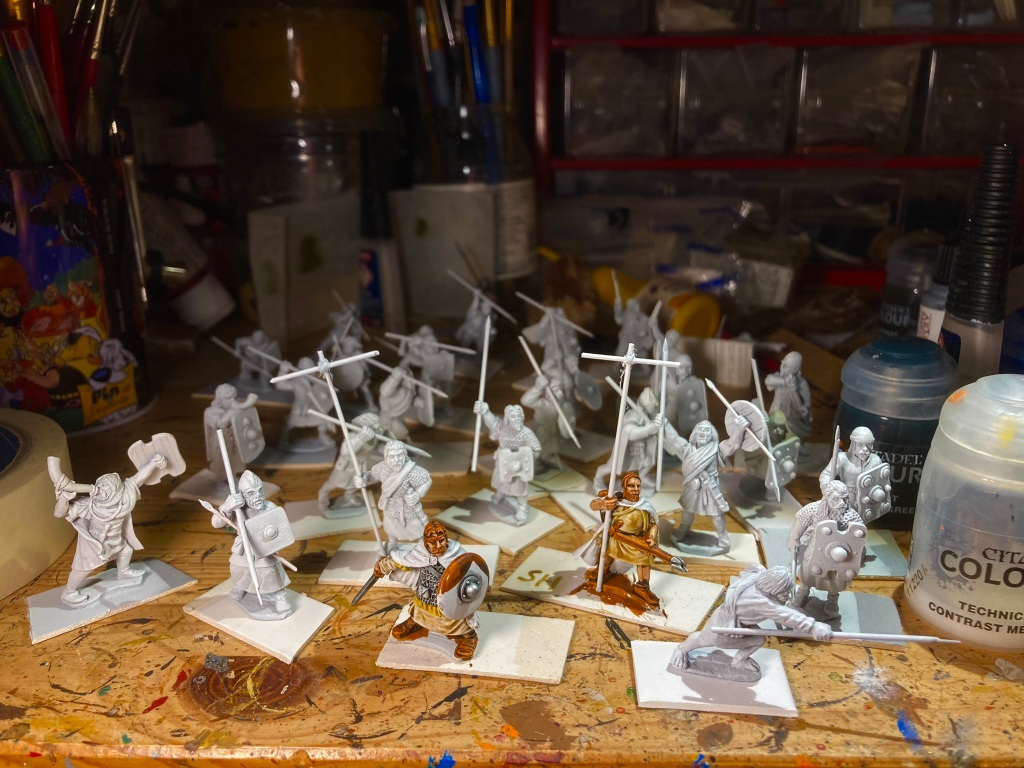
Here’s a short gallery showing the figures in progress on the painting table.
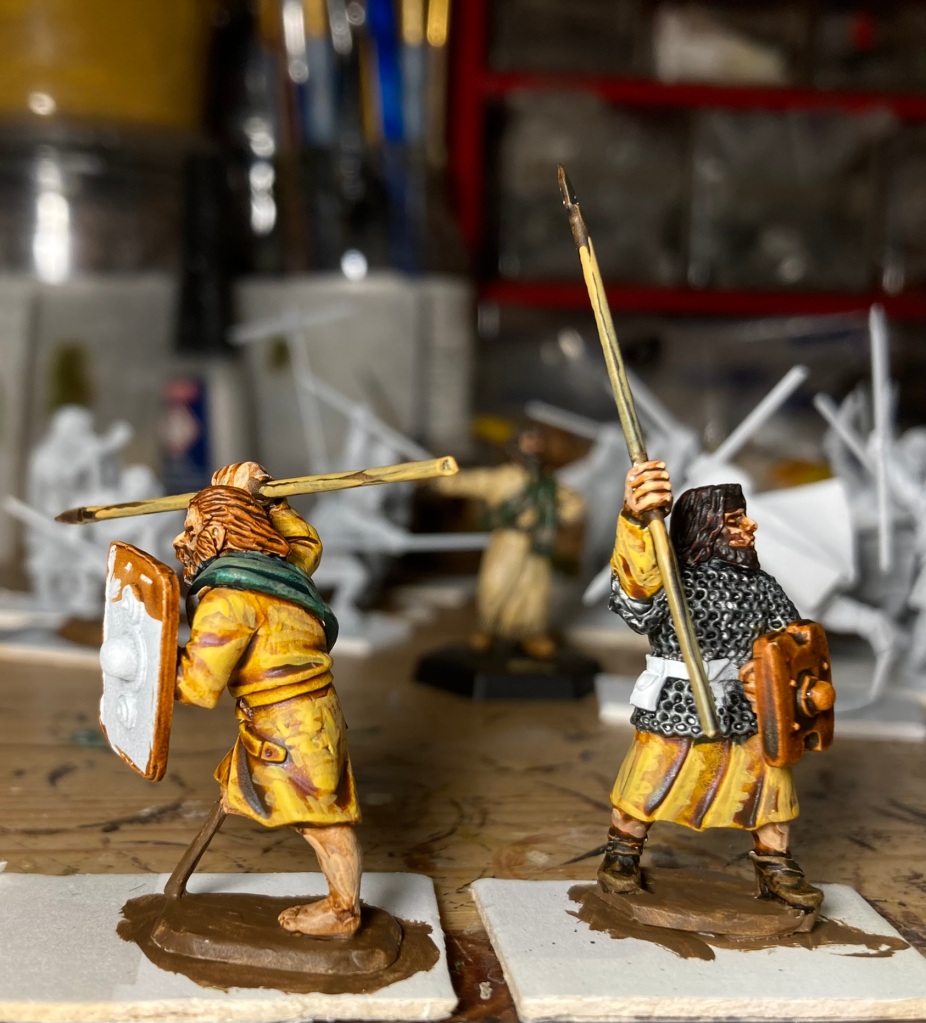
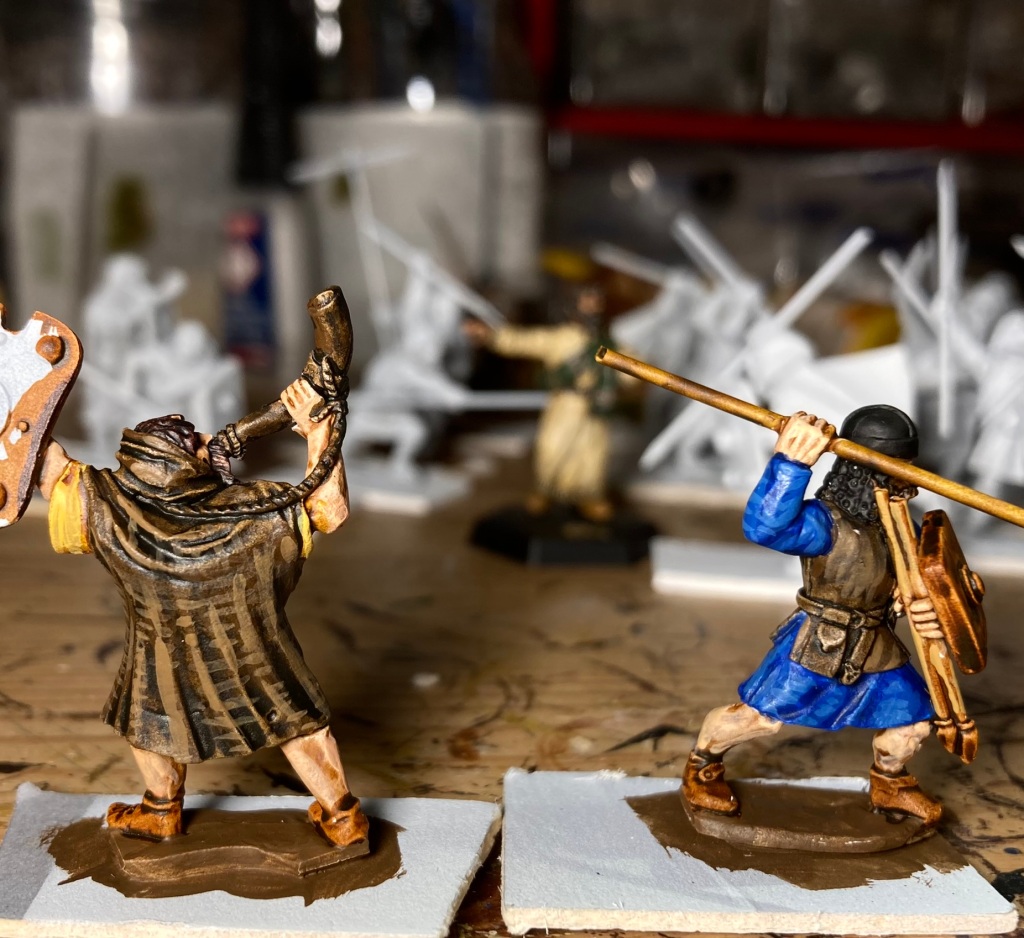
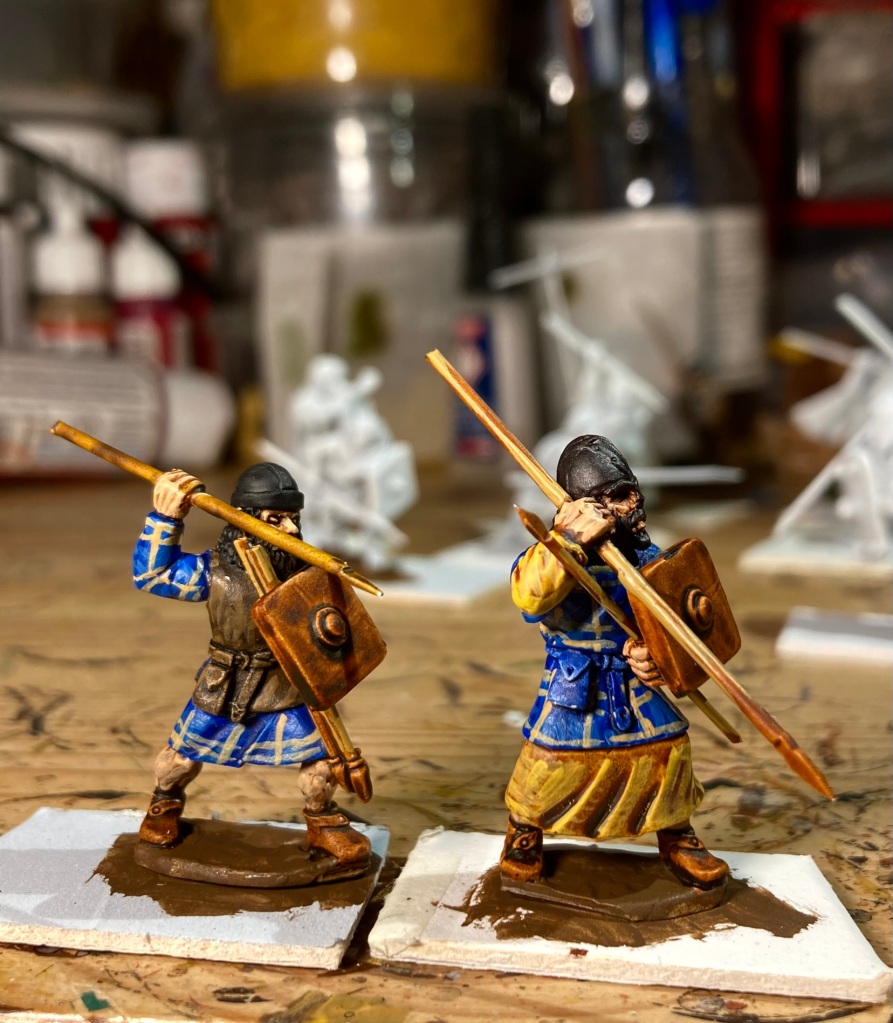
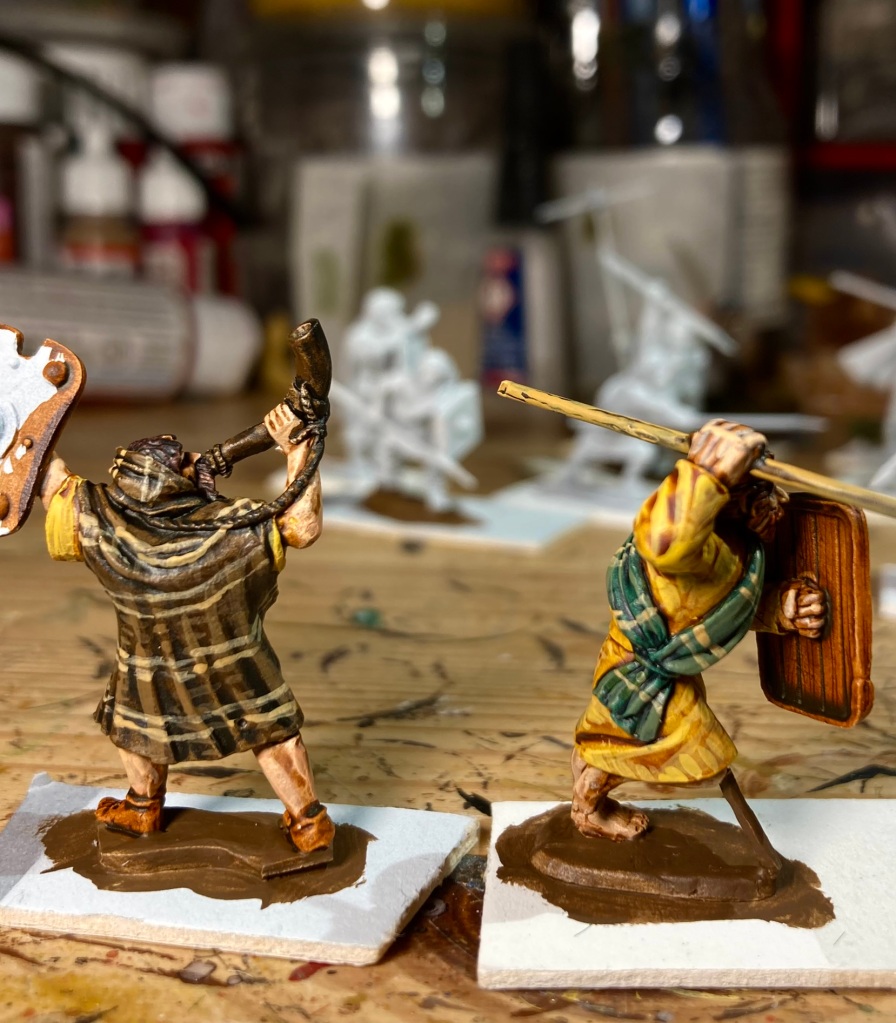
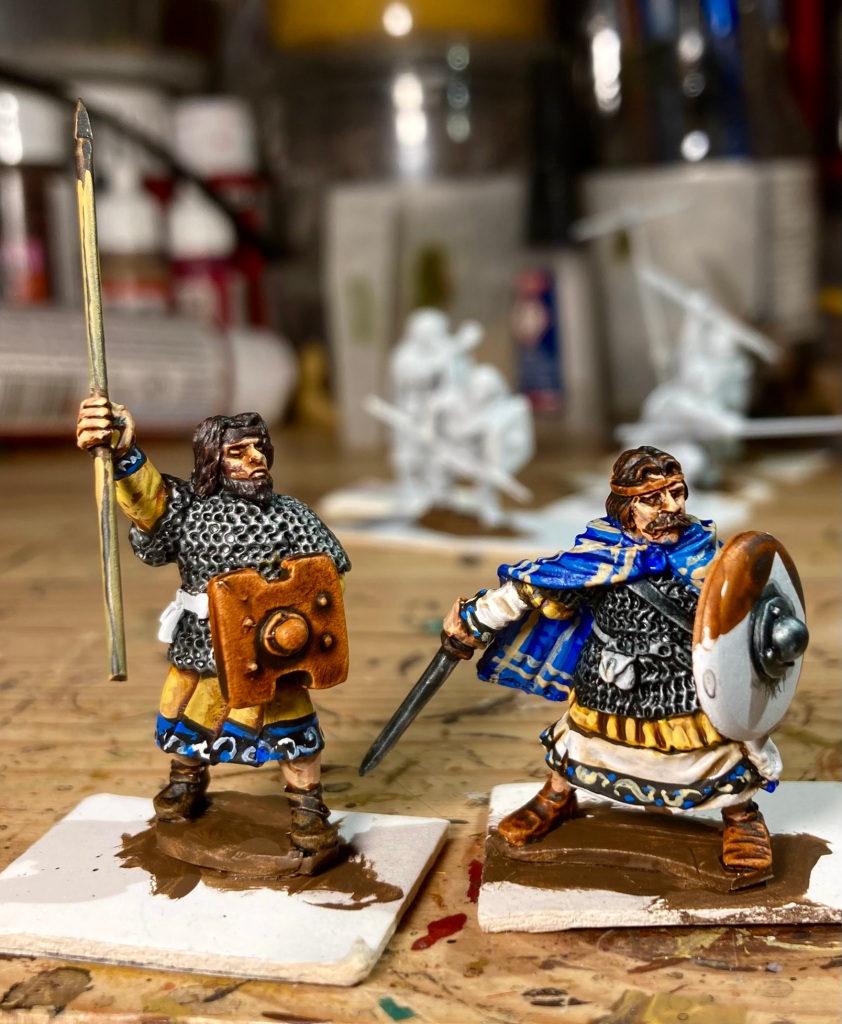
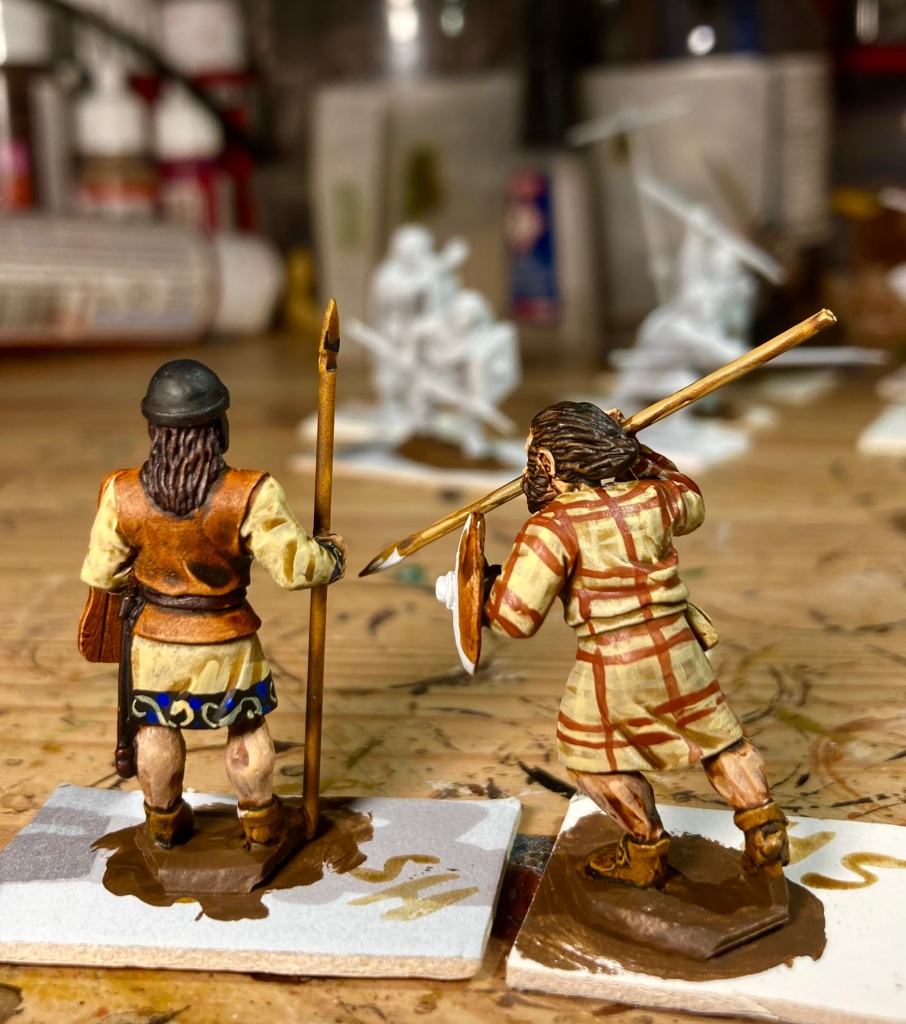

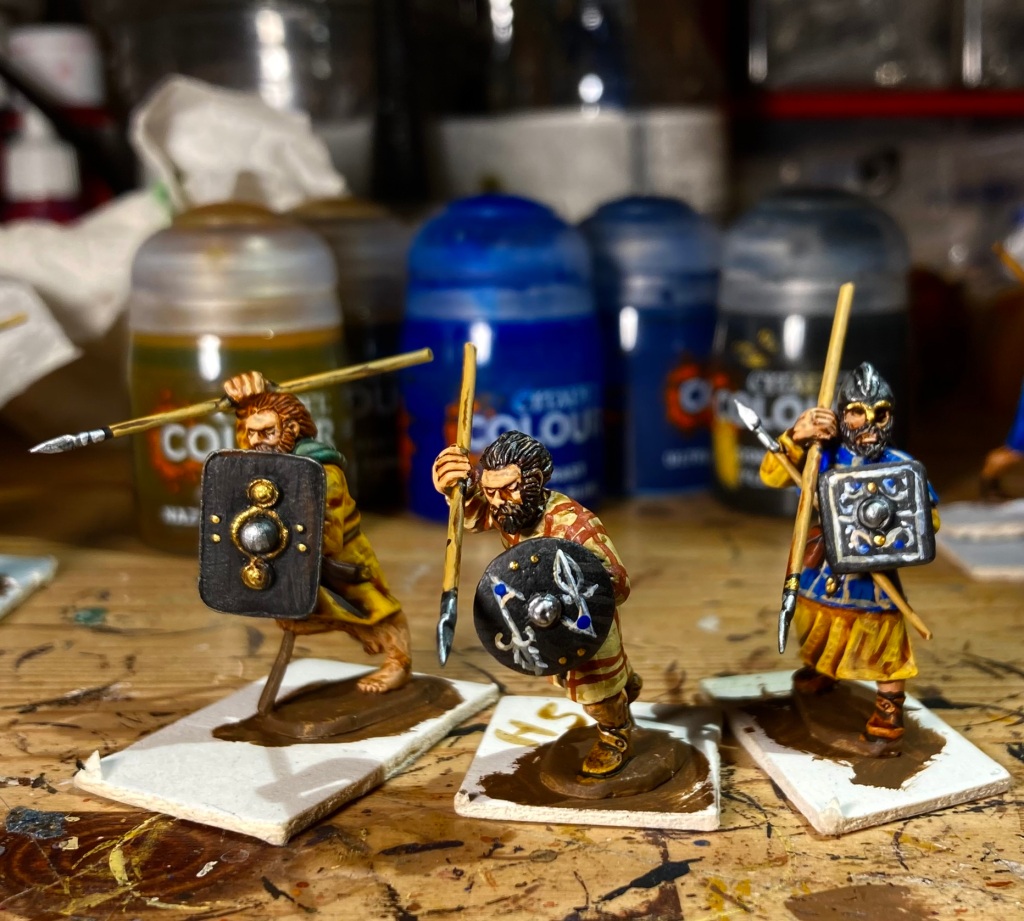

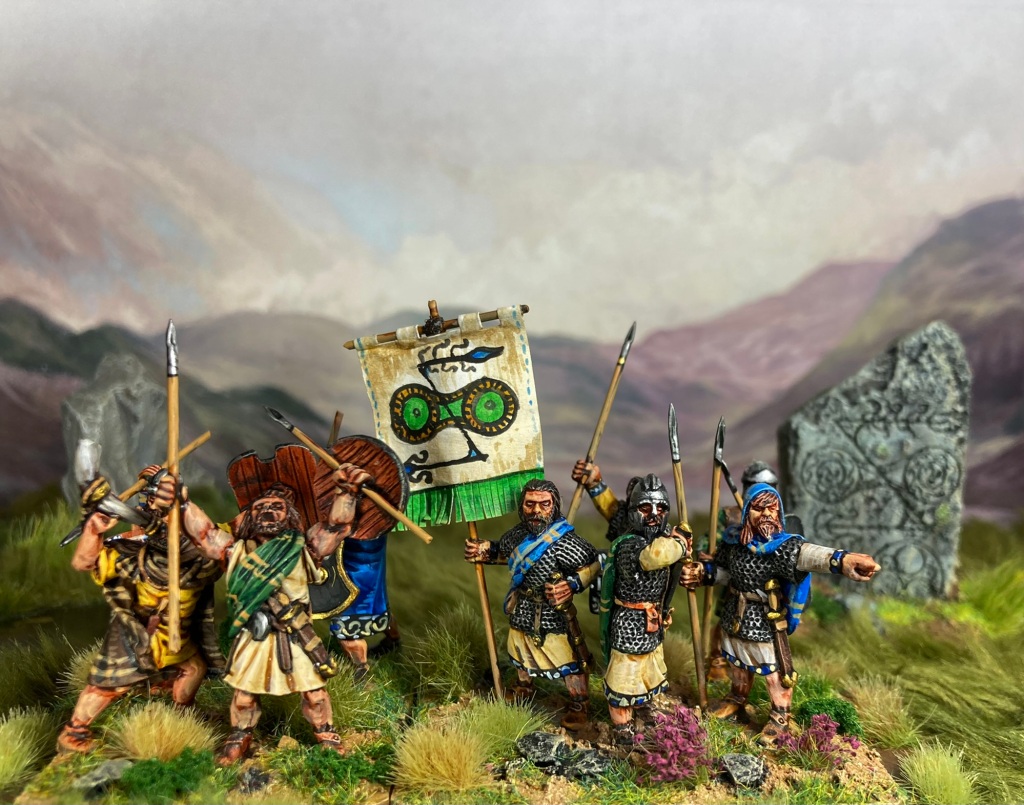
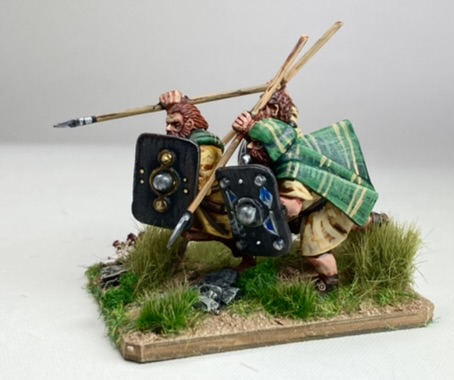
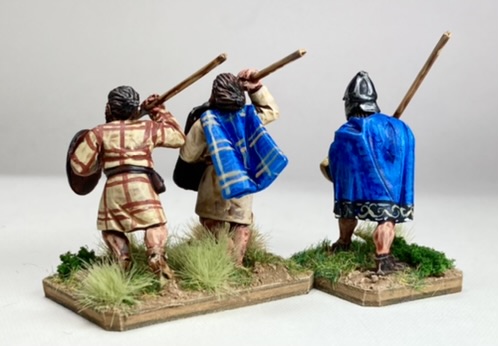
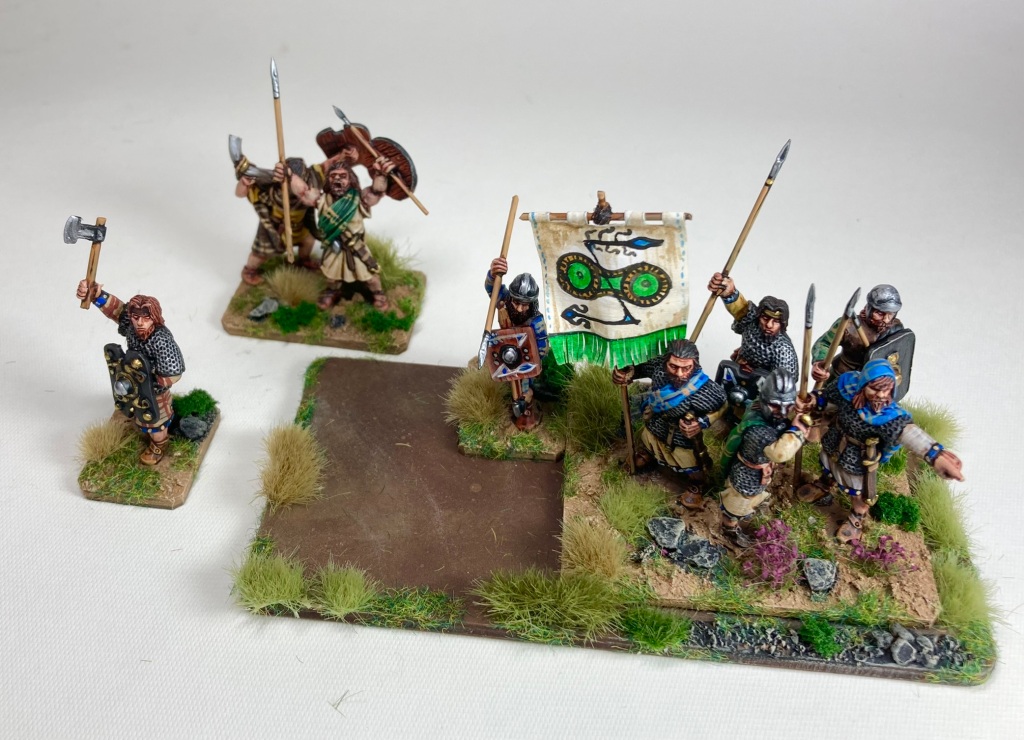
Tunics, robes and cloaks were given a highlight in an appropriate acrylic, mostly applied in horizontal lines to suggest coarsely-woven fabric. A few selected cloaks had a simple plaid pattern painted on with a light yellow-brown.
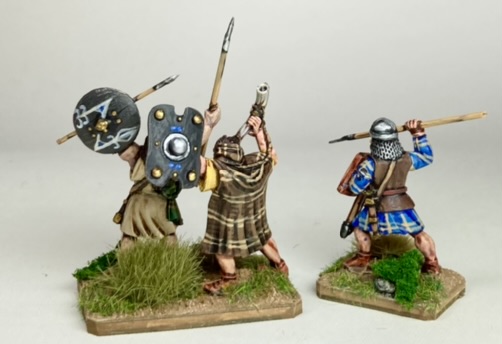
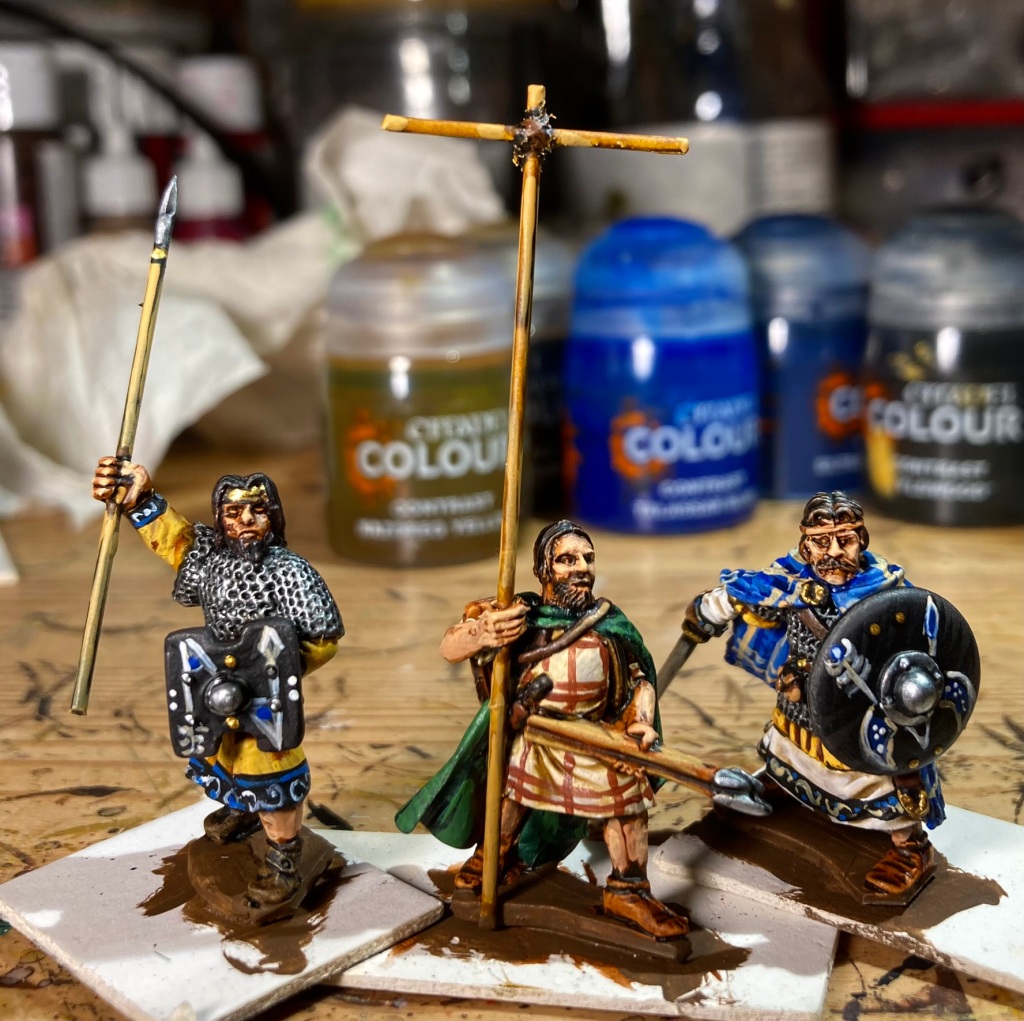
After painting all the matt colours, I gave the figures two coats of spray varnish (I’m still using Testor’s Dullcote as I have some in store, but I’m told that Windsor and Newton Professional Matt is just as good). Metal areas were painted AFTER the varnish for two reasons: (1) the varnish kills the shine and (2) my experience has been that metal areas are less likely to chip with handling, and if they do, it is less visible than when a chip appears on hair or clothing.
Whatever the case, a good varnish is essential when working with Contrast paints as they are very susceptible to rubbing off with handling.
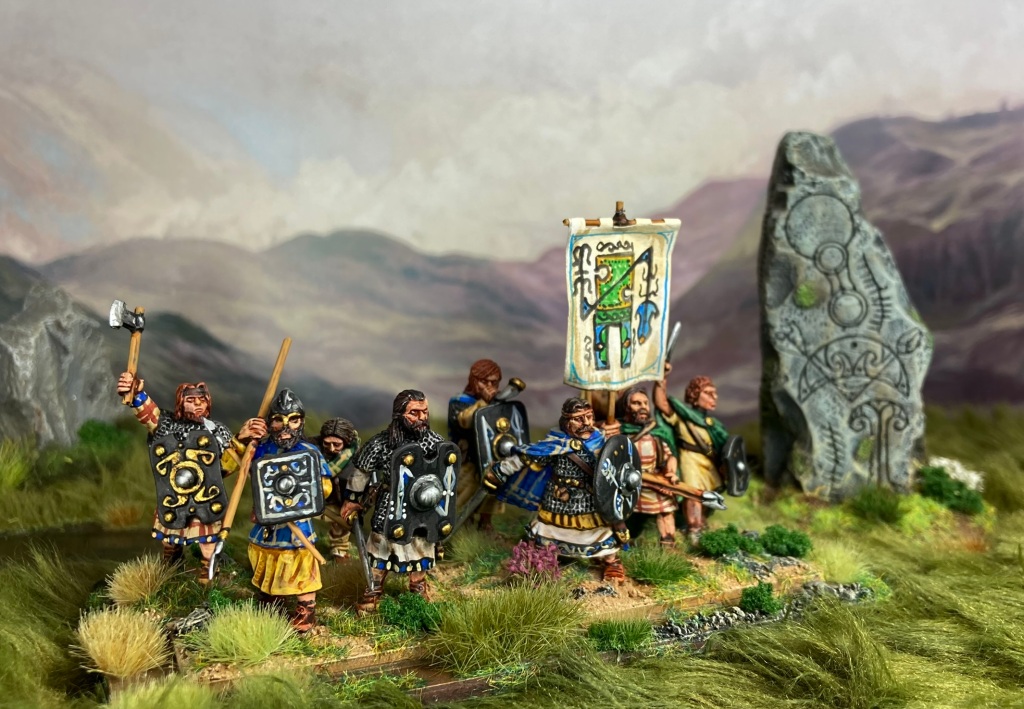
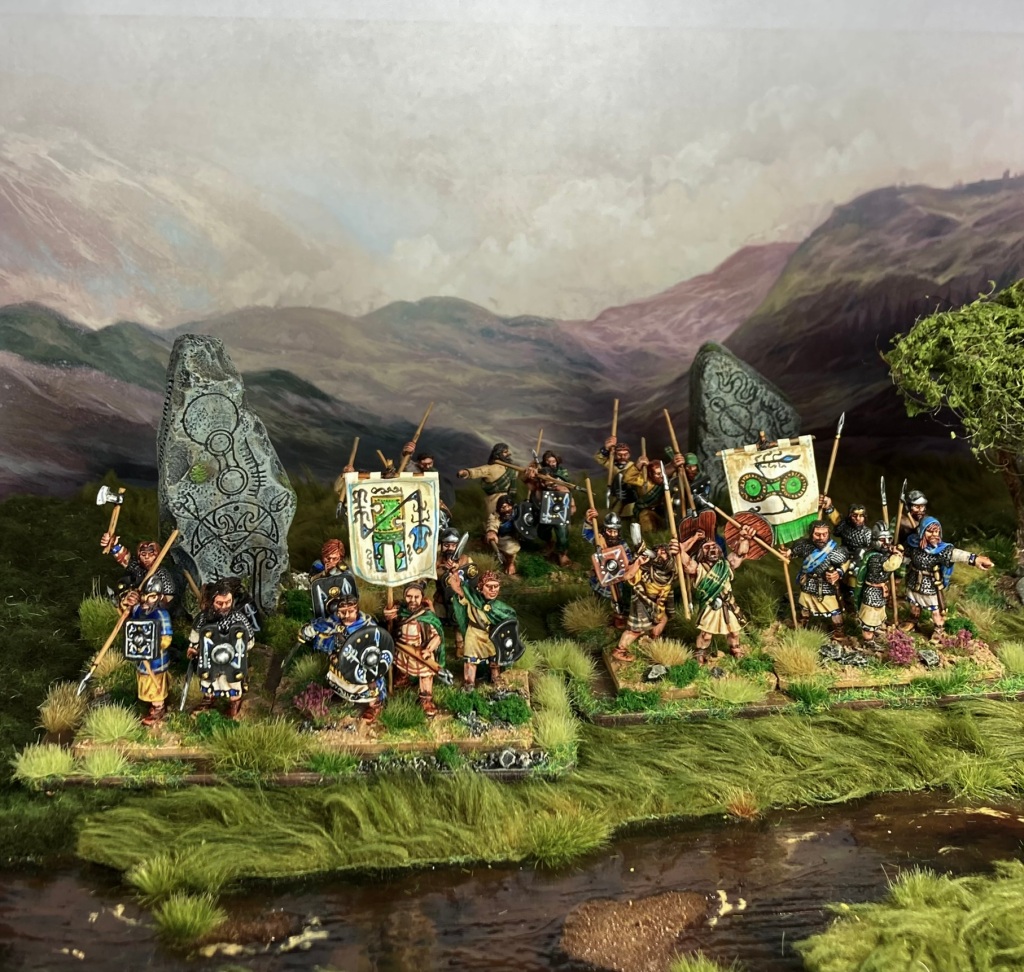
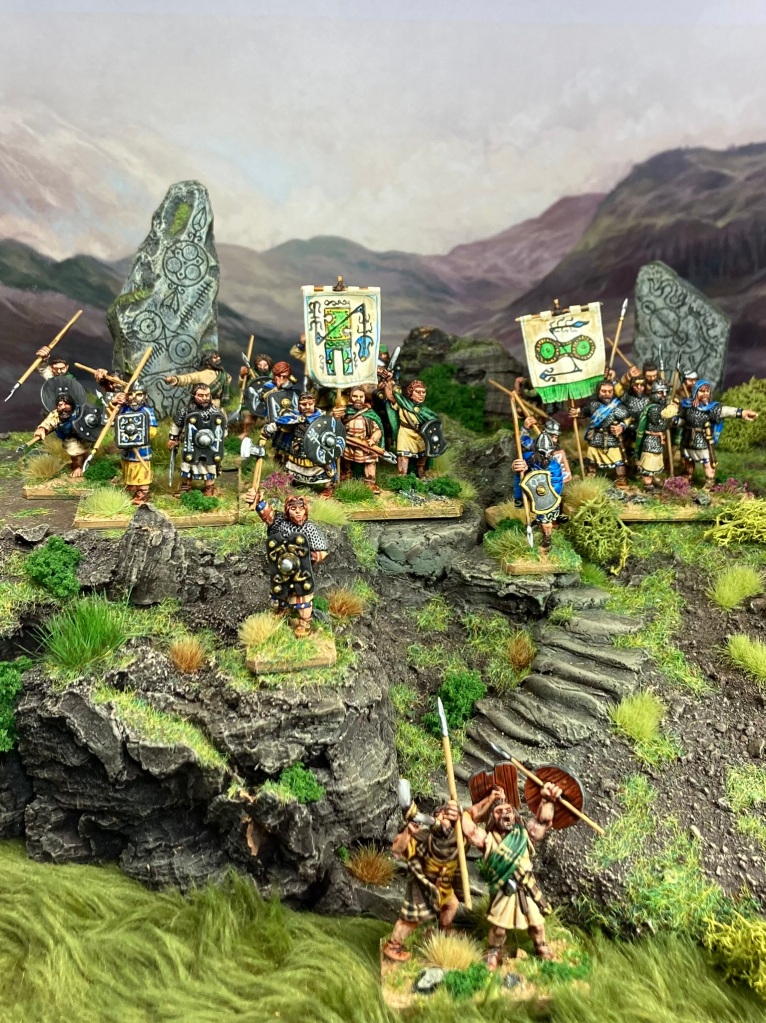
At this point, I’m going to give a quick plug to Jon Hodgson Maps. Jon runs Handiwork Games but is also well-known for his artwork on games such as The One Ring, Dragon Warriors and Warhammer Ancient Battles. I often find photo backgrounds used with miniatures to be slightly jarring – I don’t really want my minis to inhabit a hyper-realistic world. To me, they are characters in a narrative; I want them to feel at home in the illustrations of Angus McBride, Johan Egerkrans or Arthur Rackham, and to that end, a painted background is a far more atmospheric solution for me.
Jon offers his miniature backgrounds as part of his Patreon site: for a few dollars a month, you can join up and download all the available backgrounds (25+ and counting at the time of writing) and then have them printed to the size of your choice. I simply get mine colour copied onto A3 paper at the local copy shop and then blu-tack them to some Really Useful Boxes behind my terrain board.
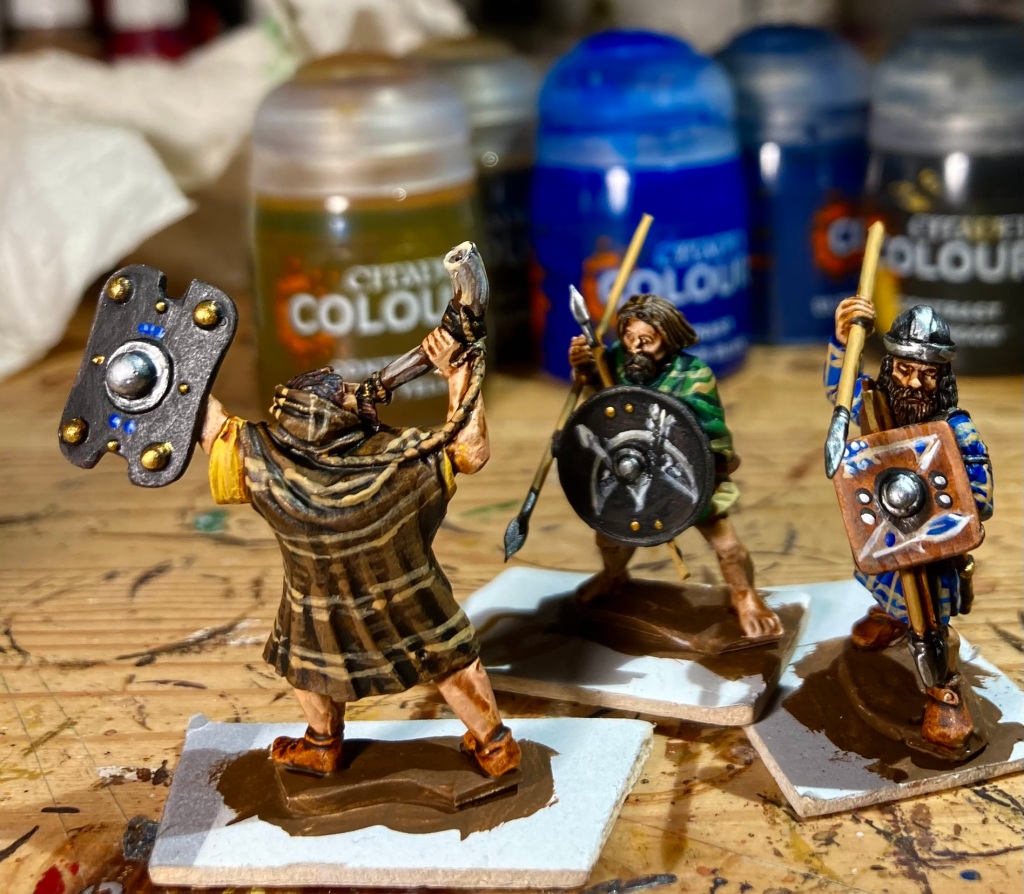
Anyway, on with more Pict pics…
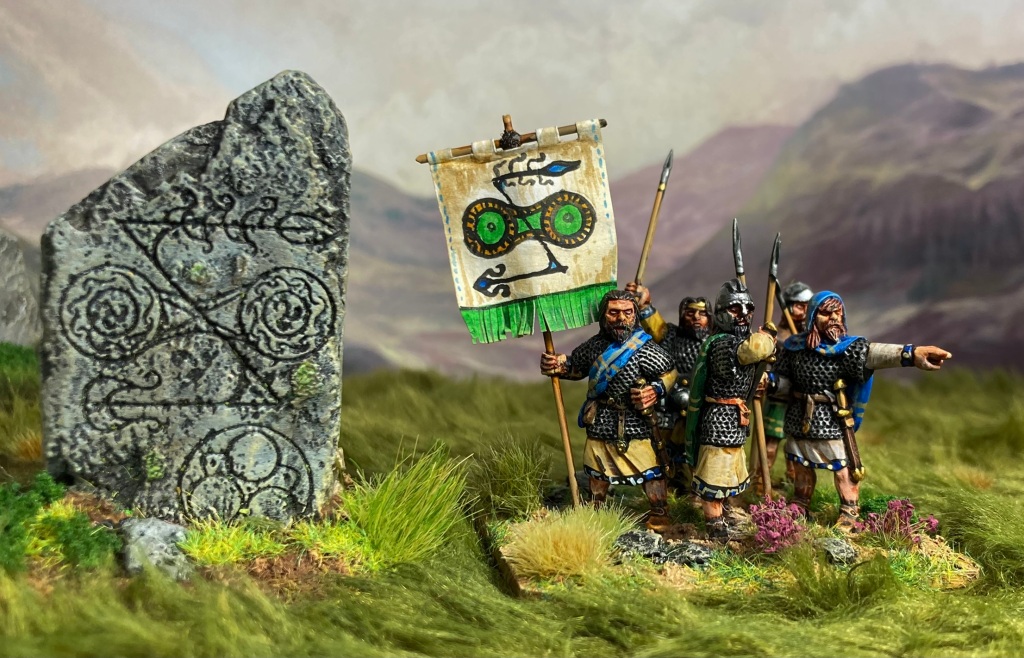
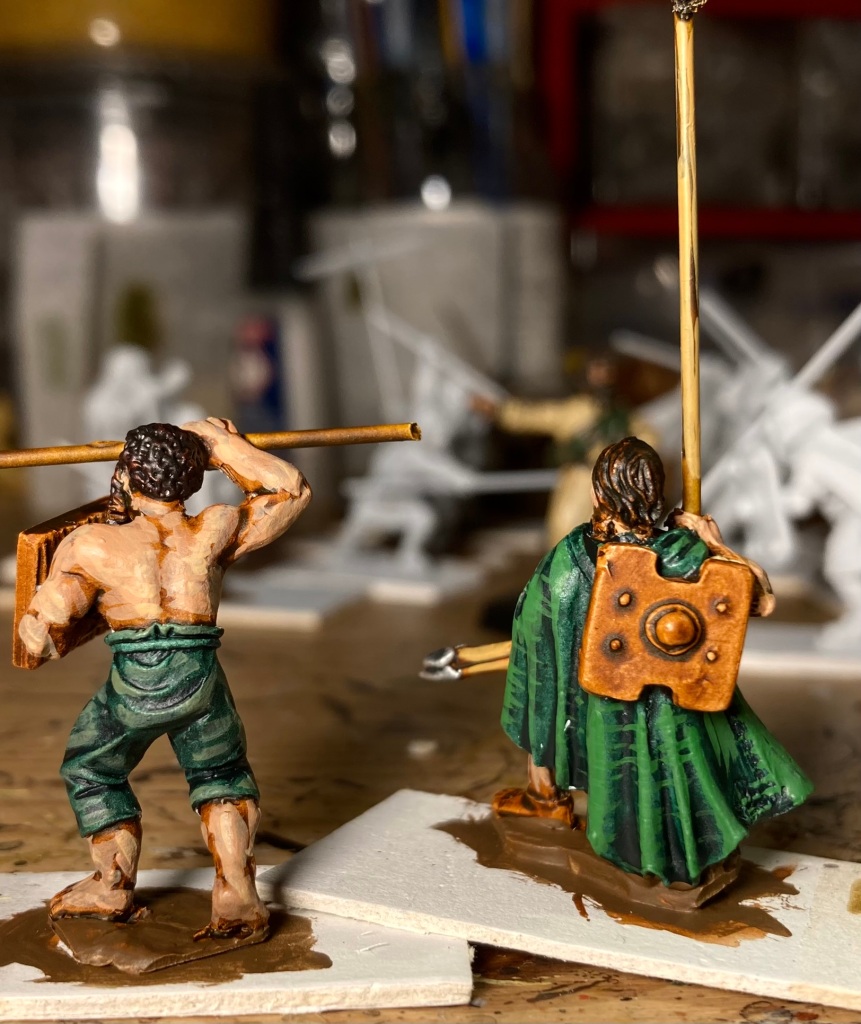
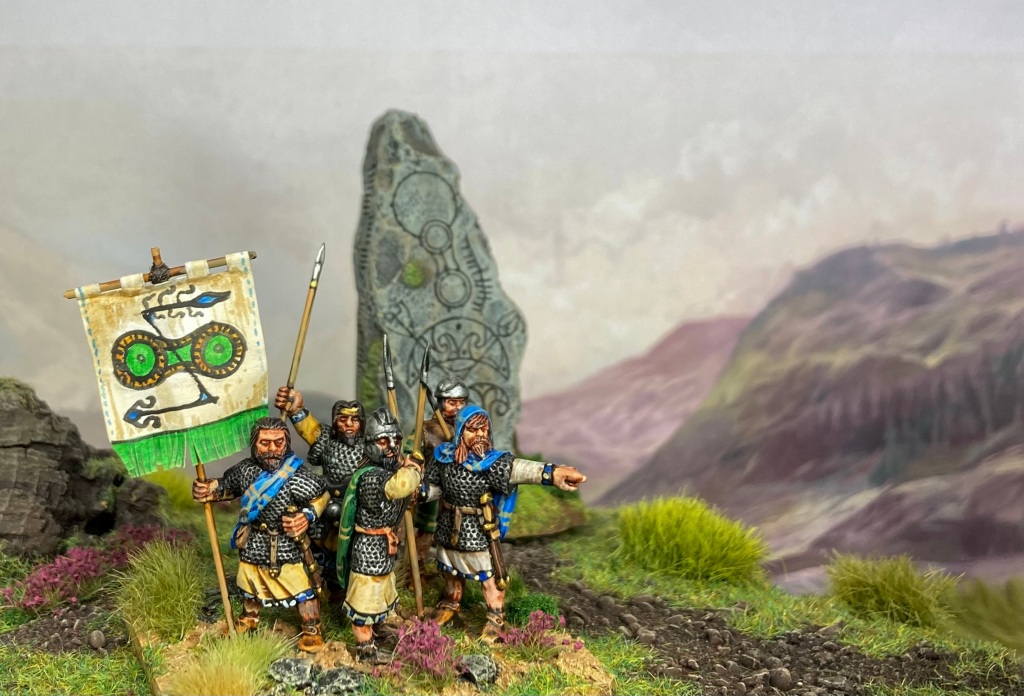
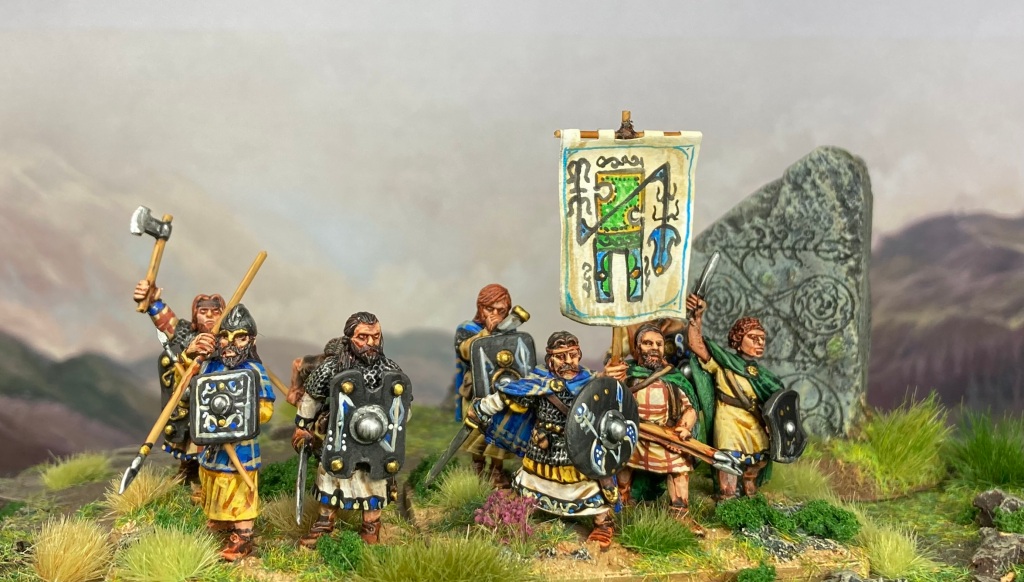
The banners were made of standard 80 gsm printer paper. I measured out the dimensions, sketched out some designs taken from Pictish stones and them painted them in using a variety of acrylics. Of course, we have no idea if the Picts used these designs on banners – or indeed if they had banners at all – but I enjoy using them to identify my units.
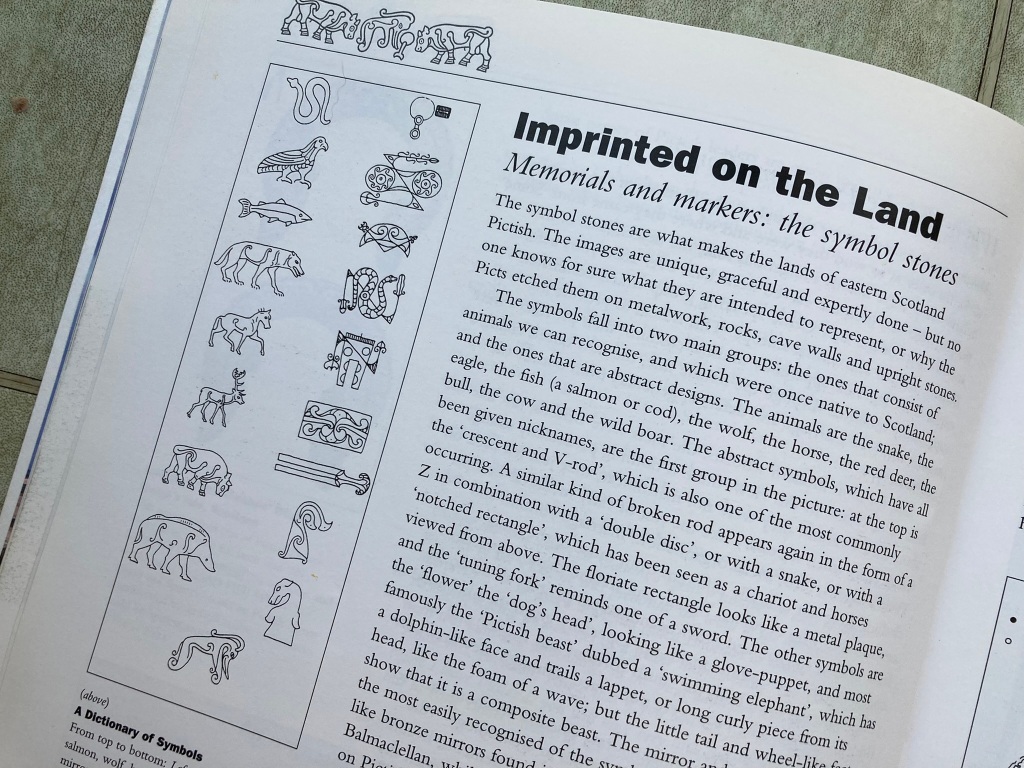
I have many books on the Picts for reference, but one of my favorites is ‘Surviving in Symbols: a Visit to the Pictish Nation’ by renowned archaeologist Martin Carver and published by Historic Scotland.
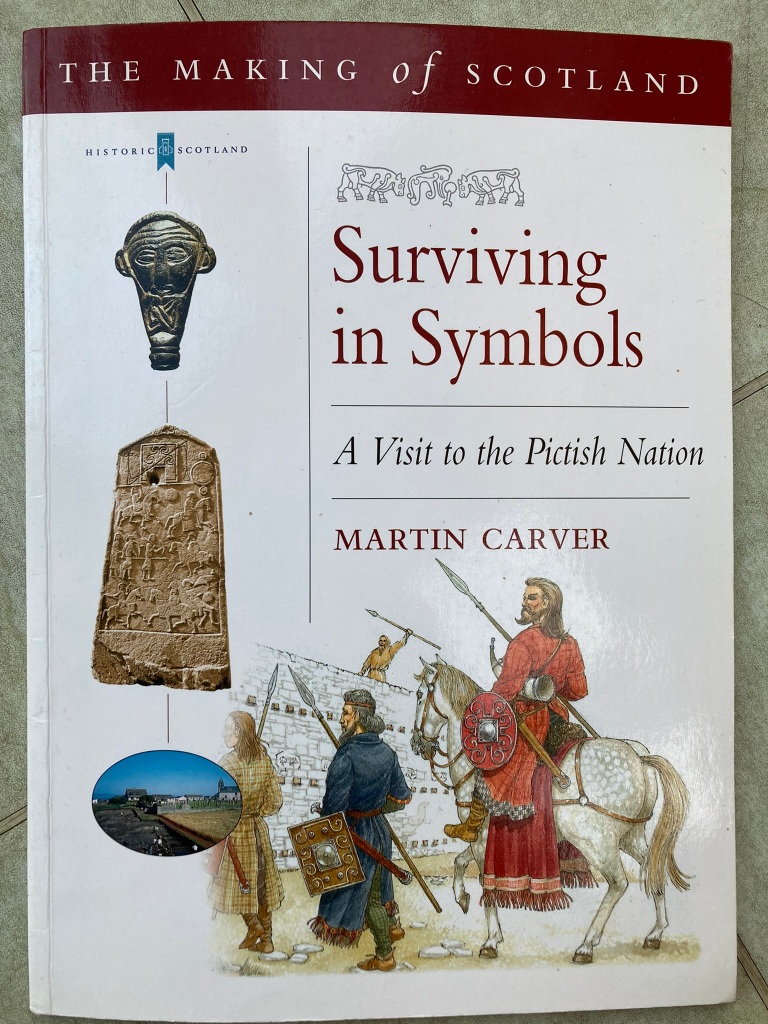
This is a brilliant little Osprey-sized book full of information, evidence and reconstructions, thankfully devoid of the fantasy that inhabits some depictions of the Picts. (Note that the artist has even included trousers for these guys – a great discussion point). It also contains a very helpful guide to the Pictish symbols which I copied directly for the banners.
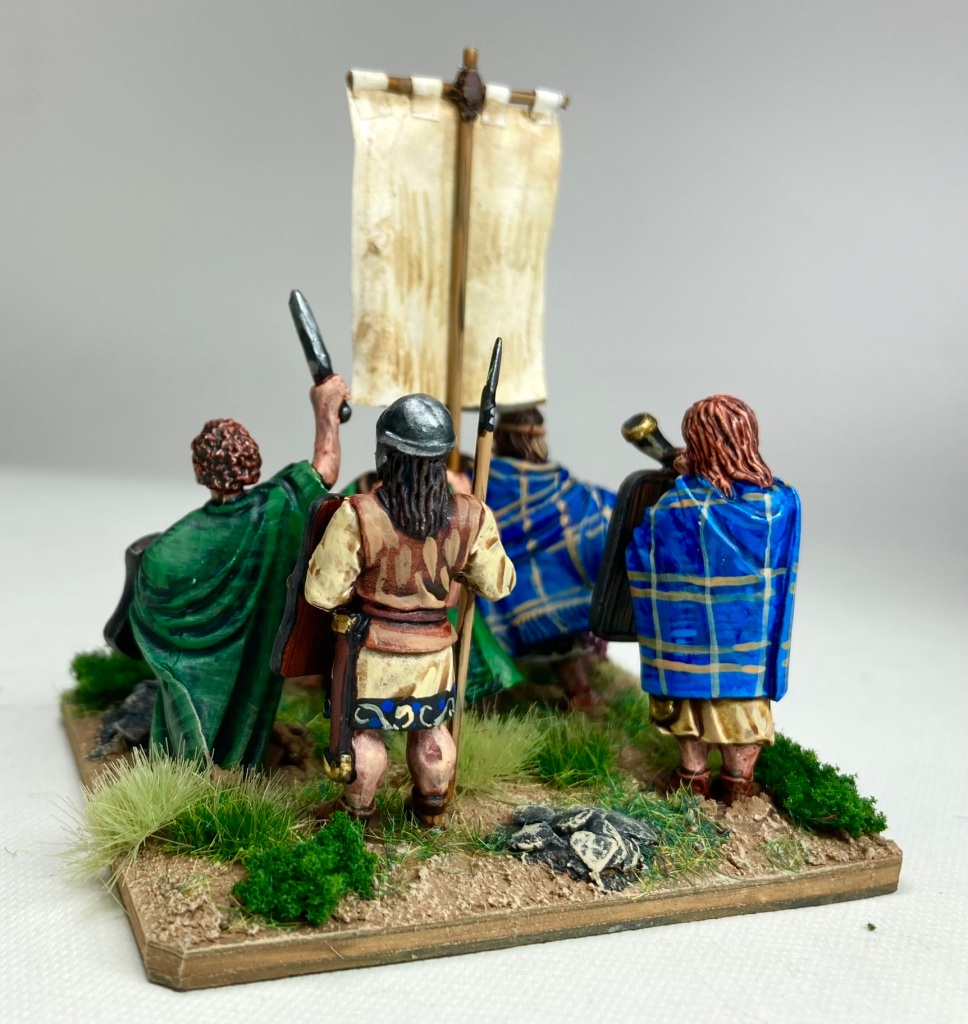
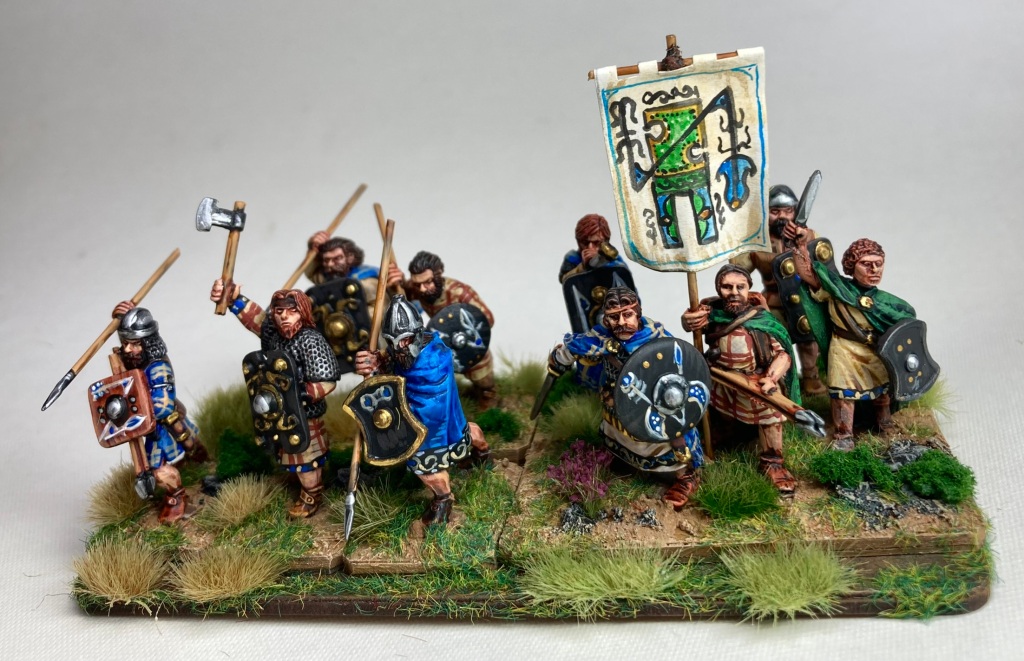
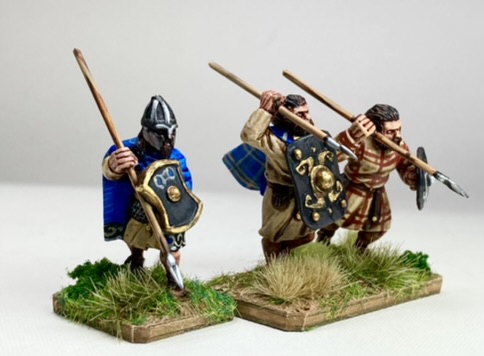
I like to have my minis in a mixture of single and multi-bases, organised into units of around 10-12 figures on a 120 x 60mm base. Each figure has a 20 x 25mm base with magnetic sheet underneath that sticks onto a movement tray topped with steel paper and embellished around the edges with tufts and flock.
It was, as ever, a great pleasure to get these finished off and onto bases. My full Pictish army should be making an appearance at the Partizan show in May – where I expect it will roll atrocious dice, being newly-painted! Hope to see some of you there.

Greta post James. The picts’ coats and over-shoulder ‘throws’ look particularly good…a really nice effect. Nice job 😉
LikeLiked by 1 person
Great work on those Picts
LikeLiked by 1 person
Cheers again! I’m really pleased with them – it’s lovely to come back to an old project and add something new to it.
LikeLike
Great post James. The Picts’ coats and over-shoulder ‘throws’ look particularly good…a really nice effect. Nice job 😉
LikeLiked by 1 person
Seeing these miniatures has taken me back to the halcyon days of gaming with your armies during development of AoA for WAB. Lovely painted miniatures as always mate and they will fit perfectly with your existing collection despite change in painting technique. I play tested my first game of Midgard with Andy H last week and loved the rules. Also loved gaming the dark ages again. I didn’t realise how much I missed the period.
LikeLiked by 2 people
Hi Andy, thank you! Yes, it’s been a wonderful experience getting back into it. I’m so pleased that you enjoyed your first play of Midgard – we will have to organise a game some time.
LikeLike
Lovely stuff here – plaids and little details. I keep finding more things to notice 😉
LikeLiked by 1 person
Many thanks. I’m glad you enjoy the pics!
LikeLike
BEAUTIFUL
LikeLiked by 1 person
Thank you sir! It is appreciated.
LikeLike
lovely Picts! My 3rd Century Romans need for me to get some so they can get out of the box to play!
LikeLiked by 1 person
Really lovely stuff — and a great post!
LikeLiked by 1 person
Cheers! The newly-painted units even won their first game last week – uncanny!
LikeLike