After several cancelled games over the holiday period, Matt and I were finally able to get together on Dec 31st for a final game of 2021. I’ve been getting back into the 7th Century recently and developing my Midgard heroic battle rules, so the Battle of Degsastan was an easy choice.
Degsastan was, by the standards of British battles of the time, a pretty large affair. Many of the battles of this period probably involved no more than a few hundred warriors, but Degsastan seems to have been into the thousands. The conflict came about because of the growing power of Aethelfrith, King of Northumbria in the north of Britain; nicknamed the ‘Twister’ by the Britons (presumably because of his cunning rather that his wrestling moves), Bede tells us that he ‘ravaged the Britons with more cruelty than all other English leaders.’ Aedan mac Gabhrain, King of Dal Riada, raised a coalition of Dal Riadans, Ulster Irish and Britons to put the tyrant back in check.
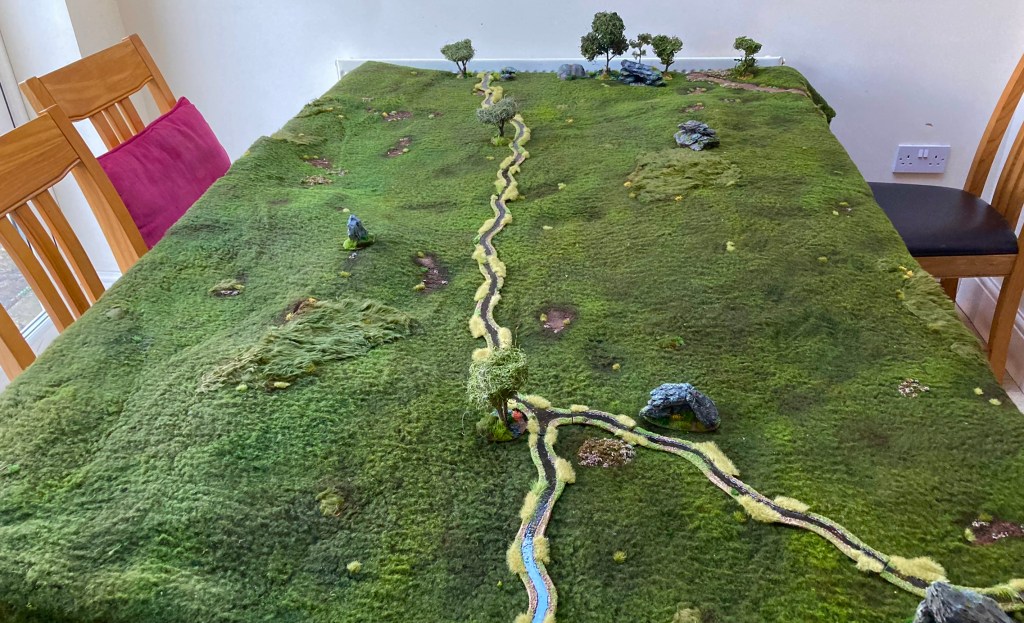
The battle was fought at Degsastan, ‘Degsa’s Stone’, an unknown location in Northern Britain in 603 (or possibly 604). Peter Marren’s book Battles of the Dark Ages presents the evidence for the most likely site being Dawston Rigg at Liddersdale in the Scottish Borders (there are other options but for simplicity I just followed his lead.) Guy Halsall’s article for Miniature Wargames magazine in the 1980s included a suggested map of deployment (reproduced in Peter Marren’s book), with the two opposing forces facing off across Dawston Burn, so I took this as my blueprint for the game. Historically, the battle was a mighty victory for Aethelfrith of Bernicia and paved the way for the Saxon domination of the north of England.
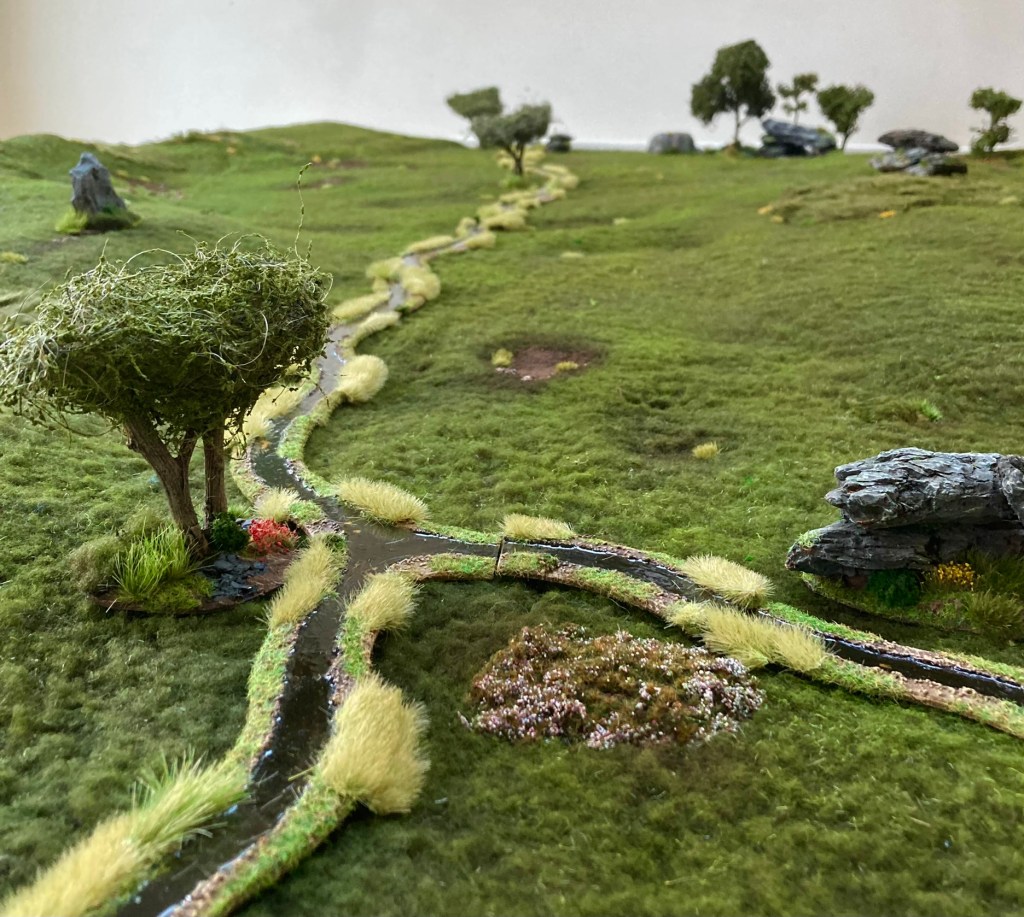
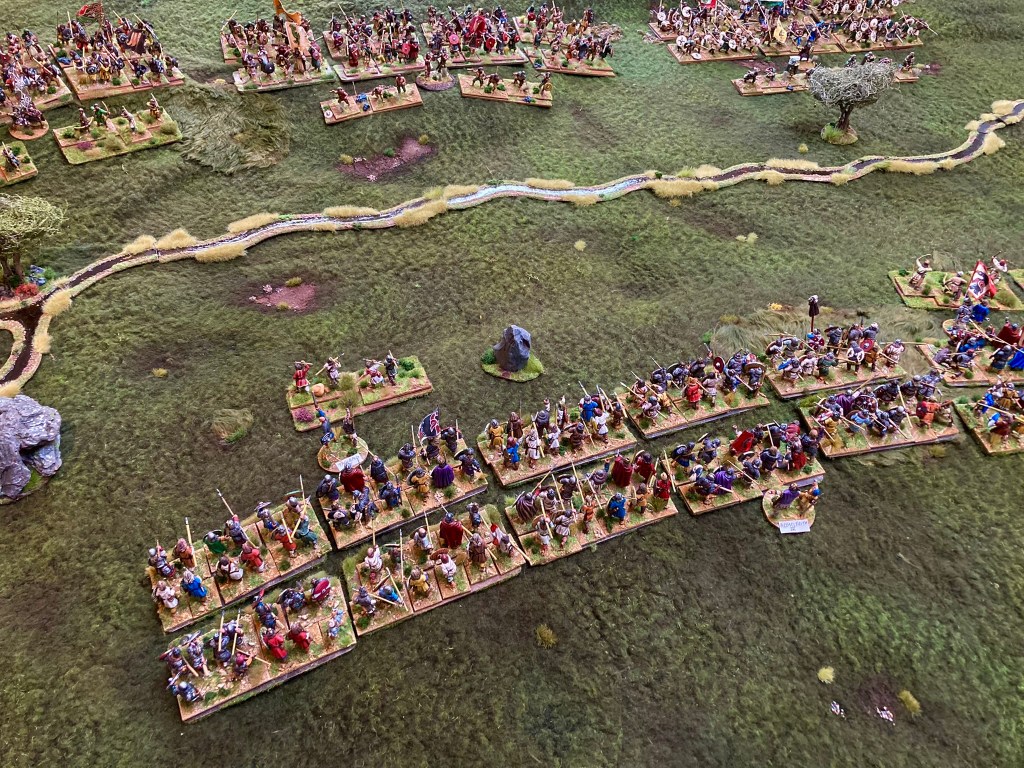
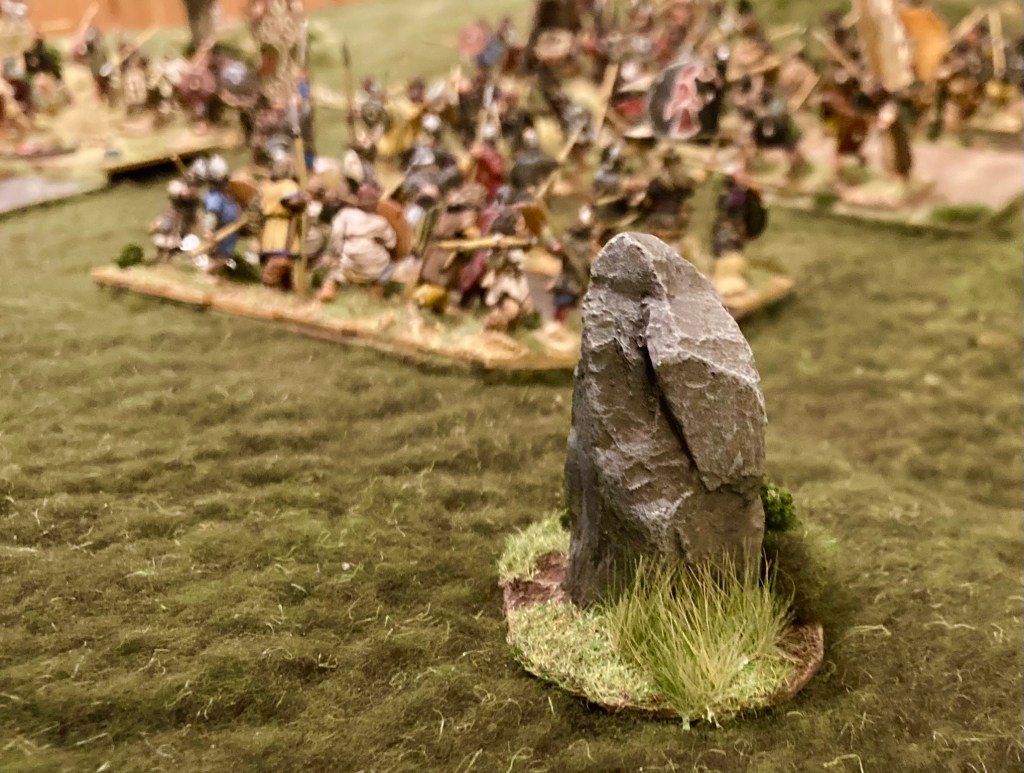
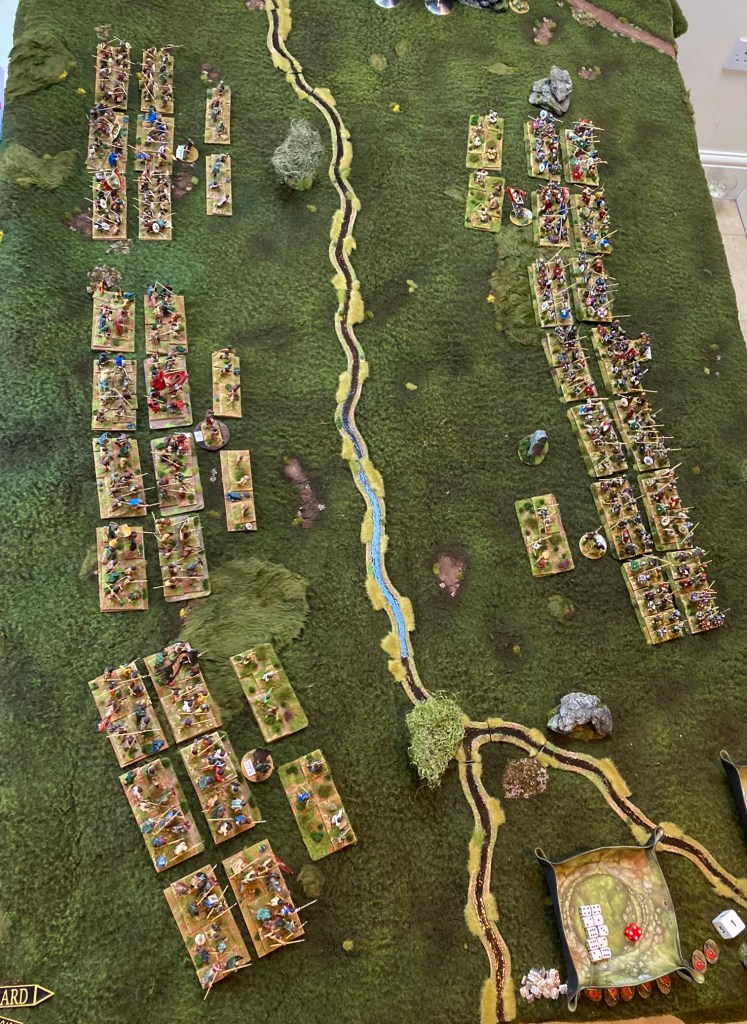
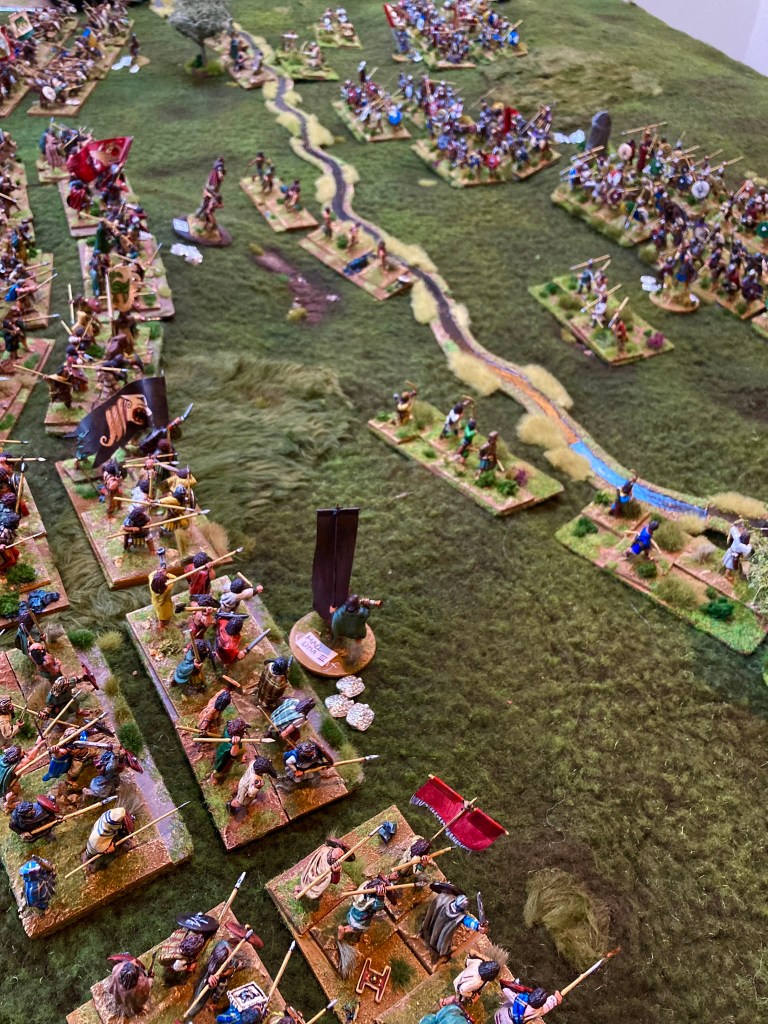
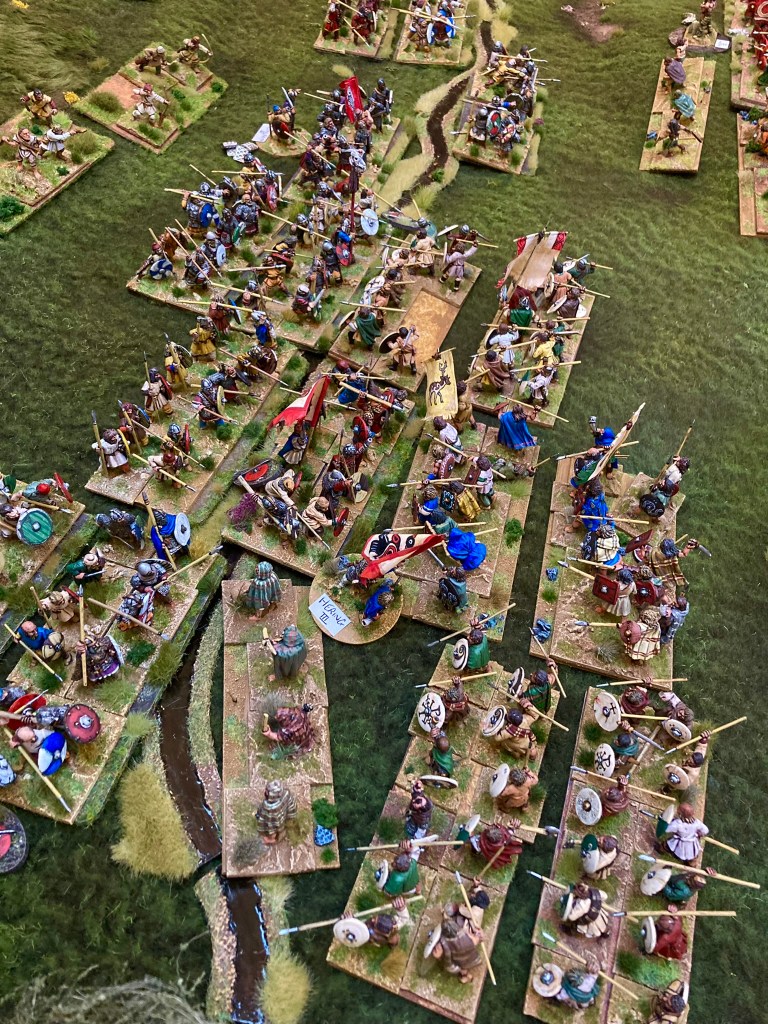
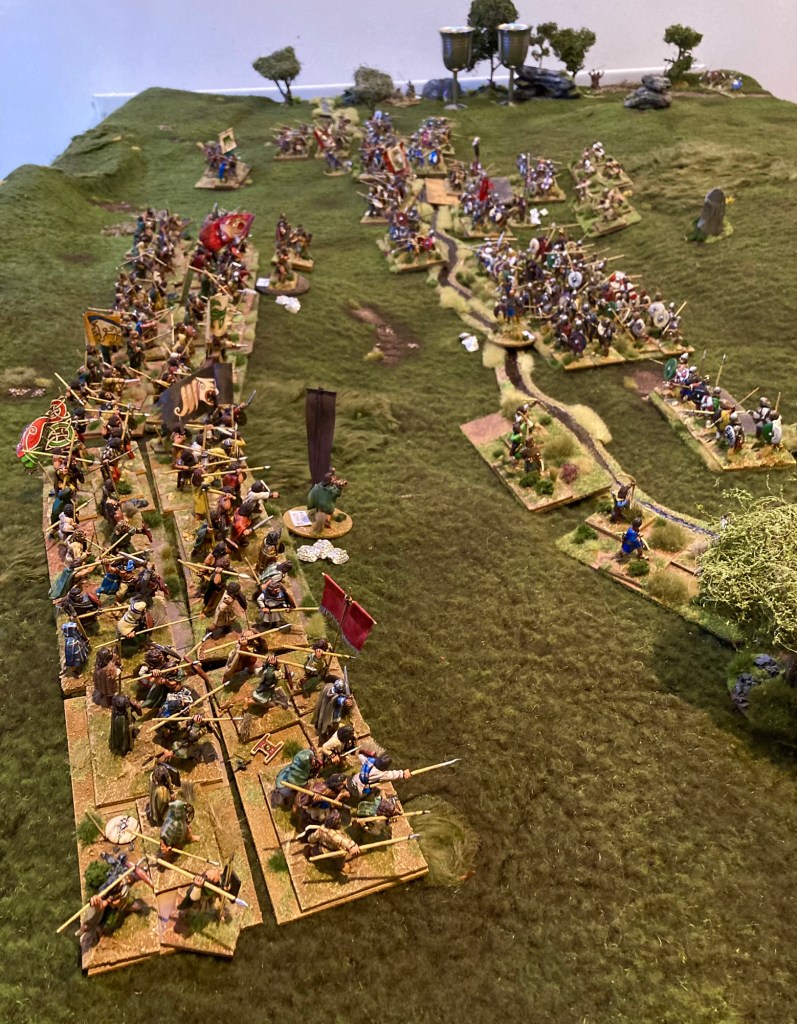
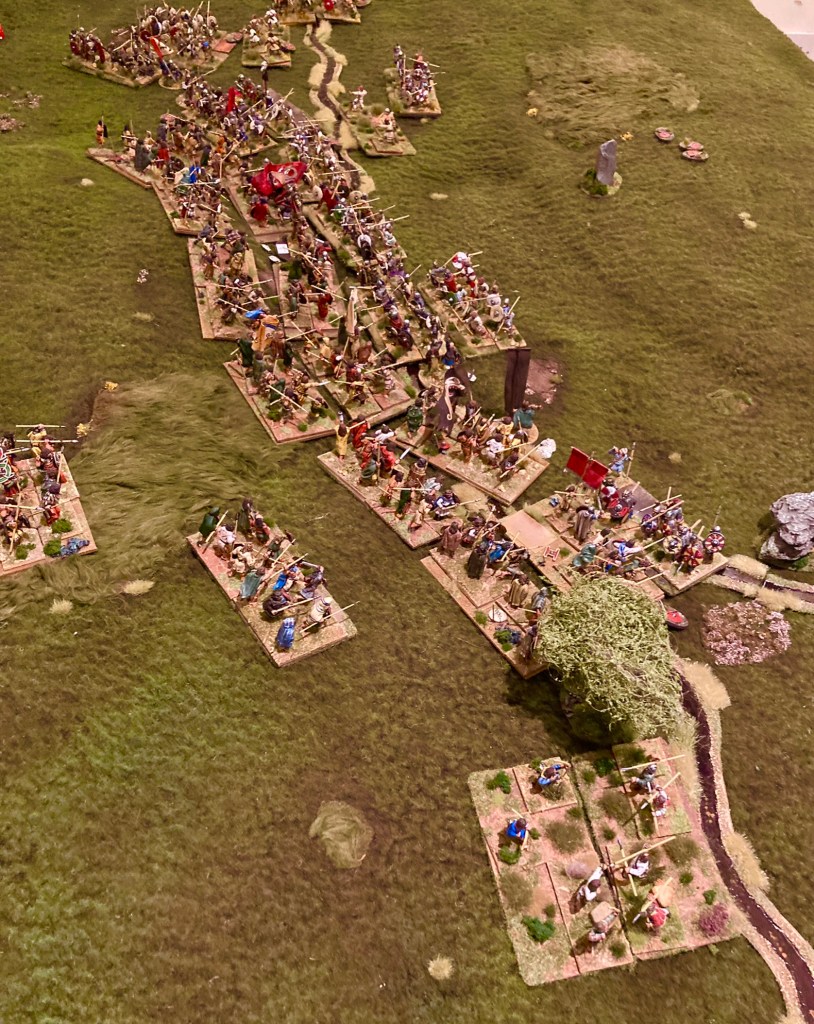
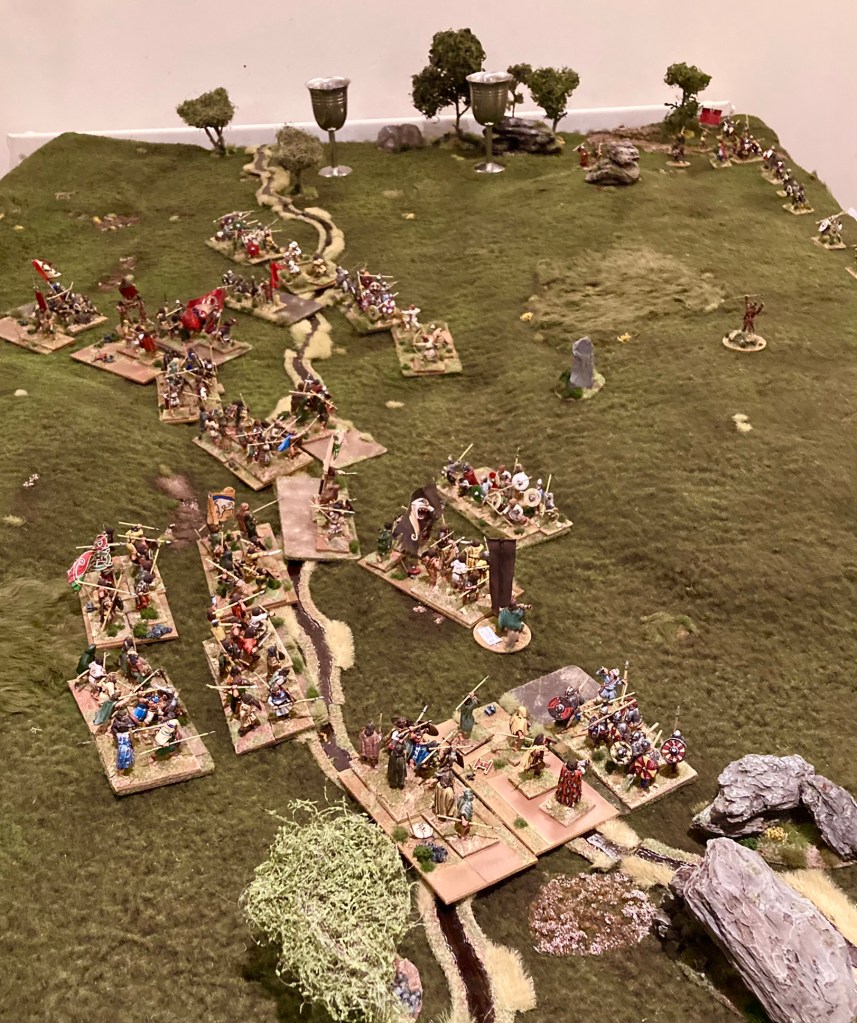
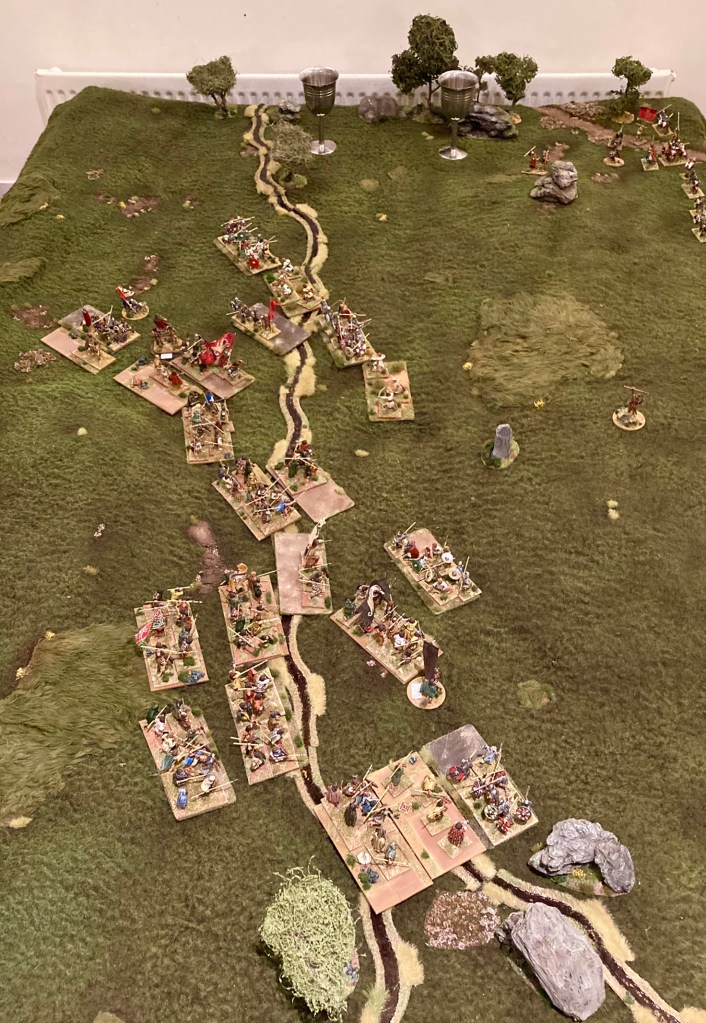
Terrain was simple – some sloping hills on either side, a stream running down the middle, and Degsa’s Stone itself placed near the action.
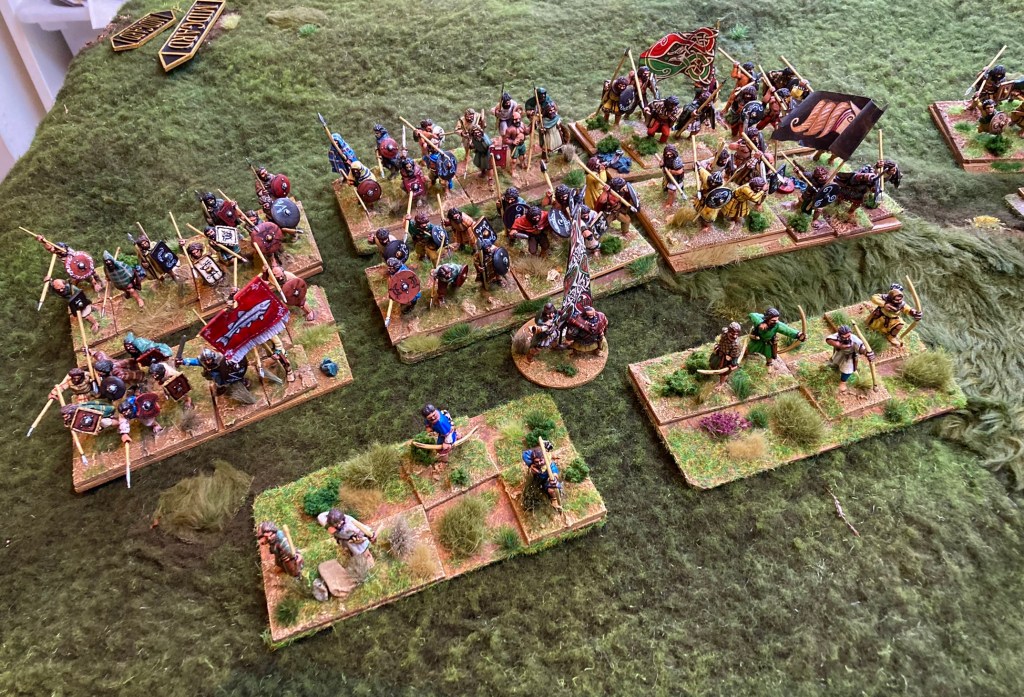
The opposing forces were as follows:
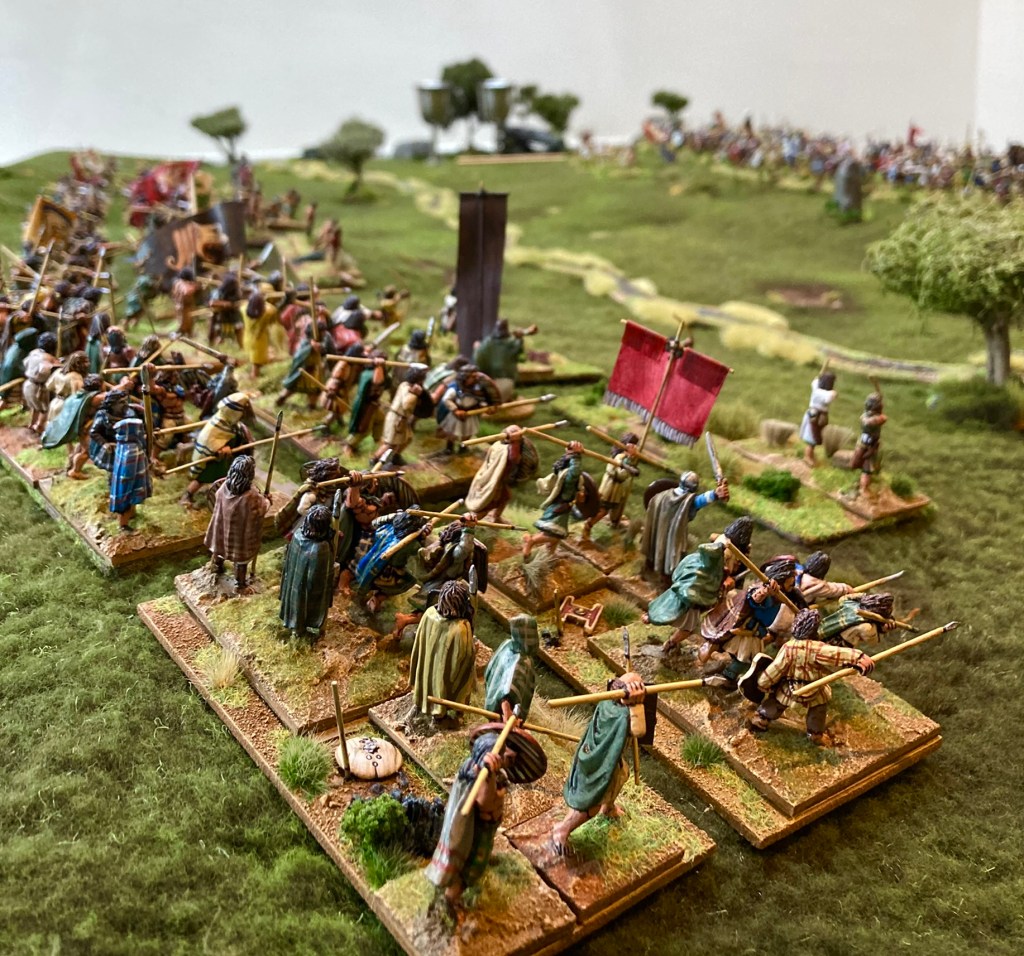
DAL RIADA
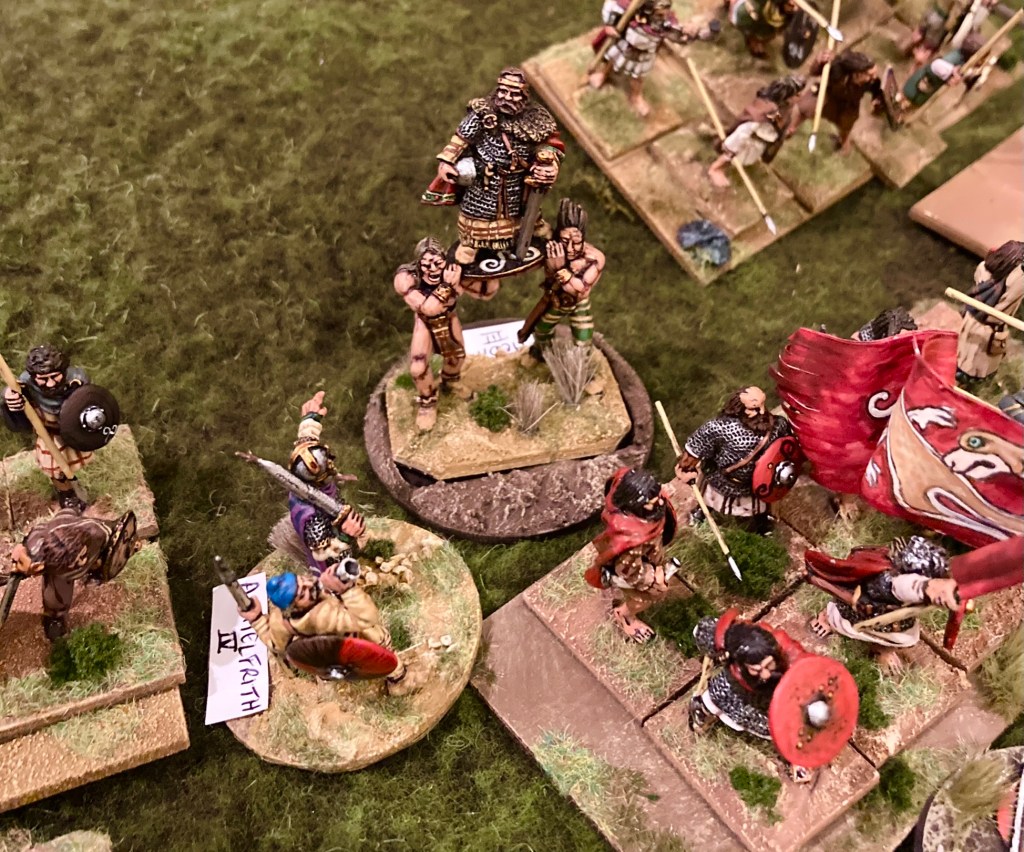
Aedan mac Gabrain, King of Dal Riada
Mael Umai, Ulster Warlord
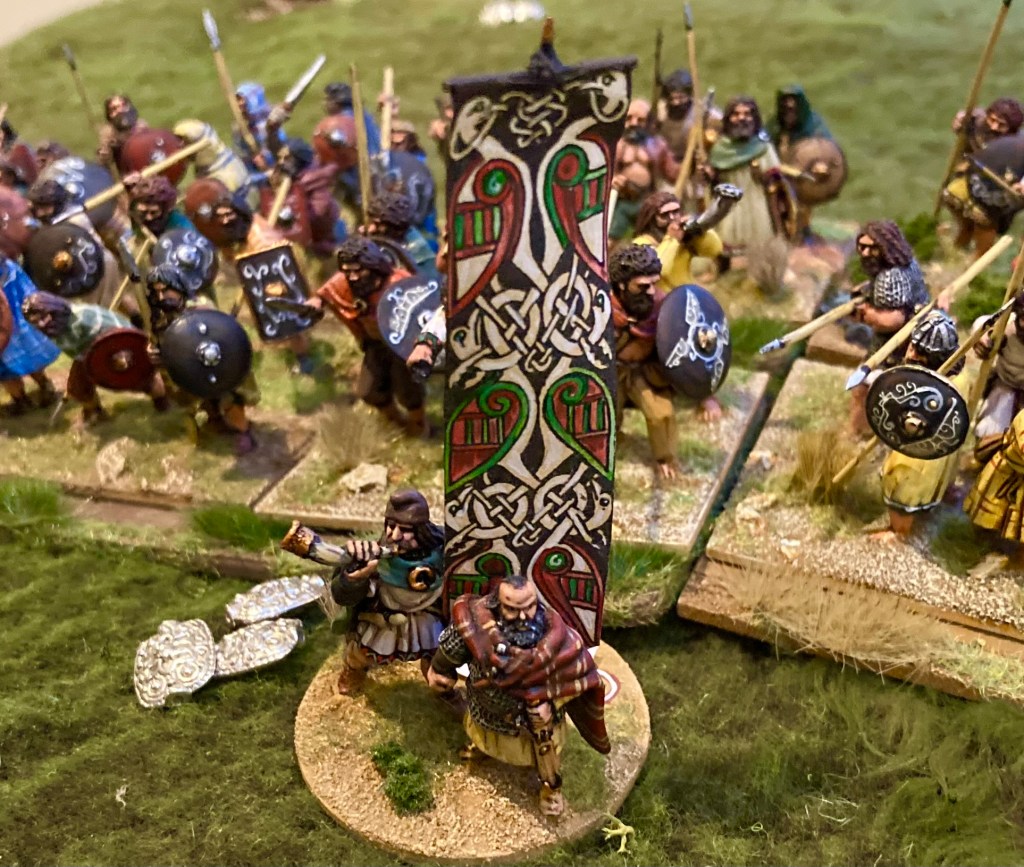
Domingart, son of Aedan
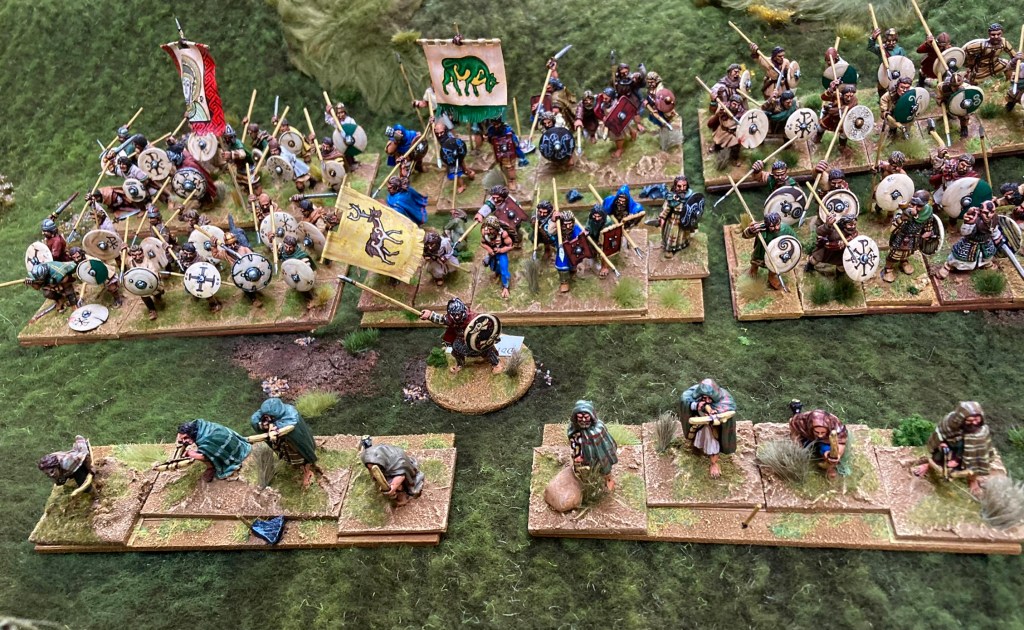
2 units of household warriors (Aedan and Mael Umai’s bodyguards)
18 units of warriors (without armour – shields, javelins, spears and swords)
6 units of skirmishers
BERNICIA
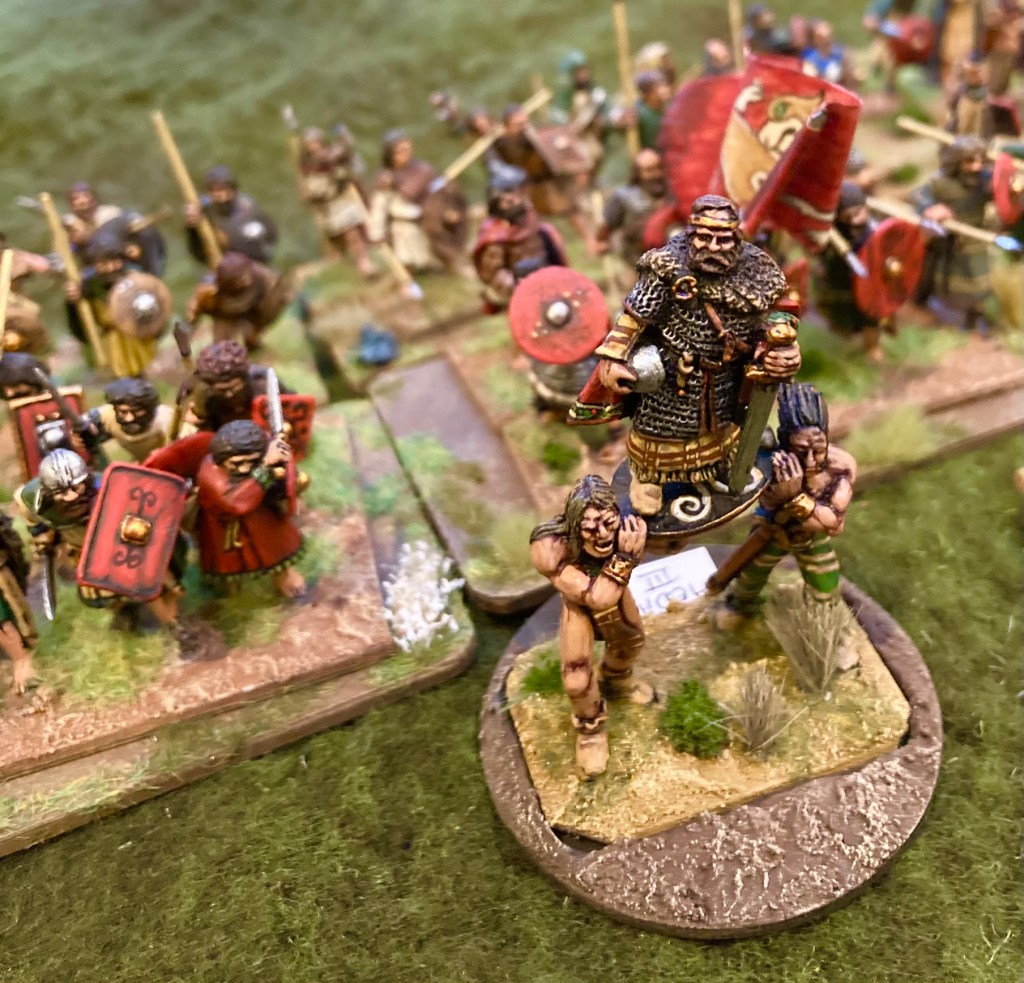
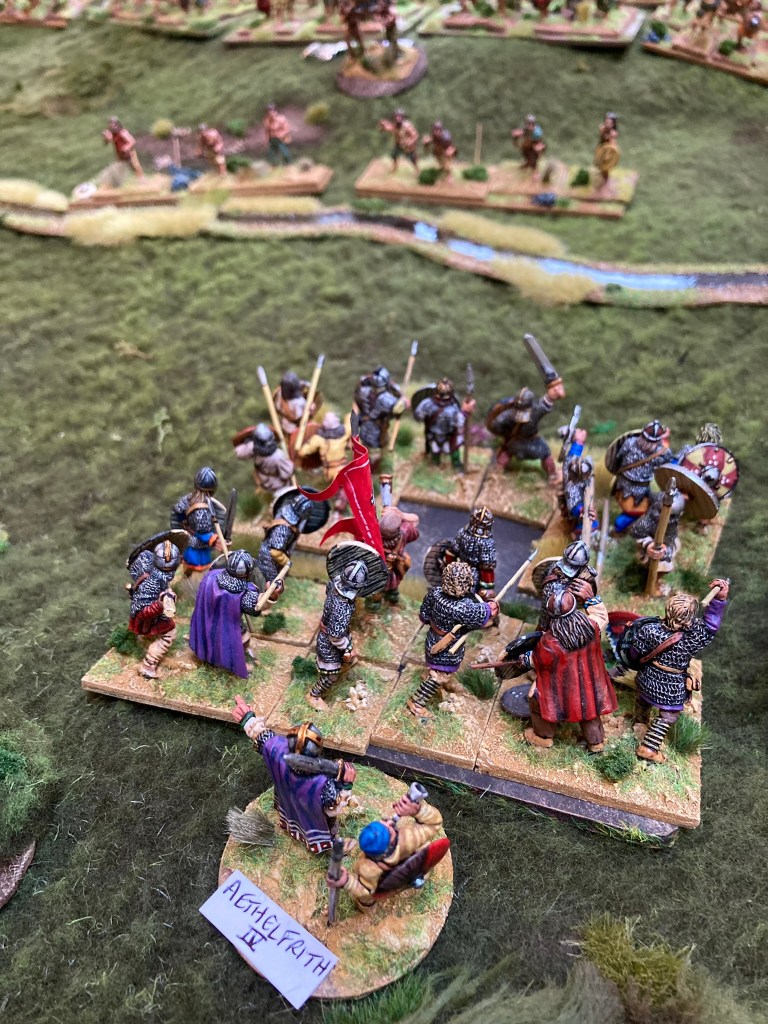
Aethelfrith, King of Bernicia
Theobald, brother of Aethelfrith
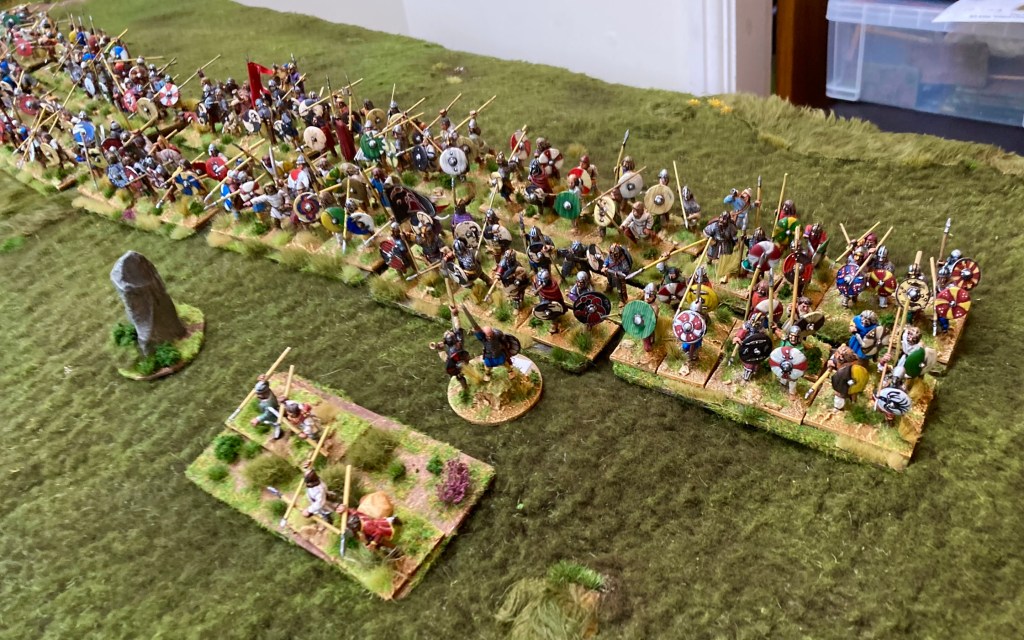
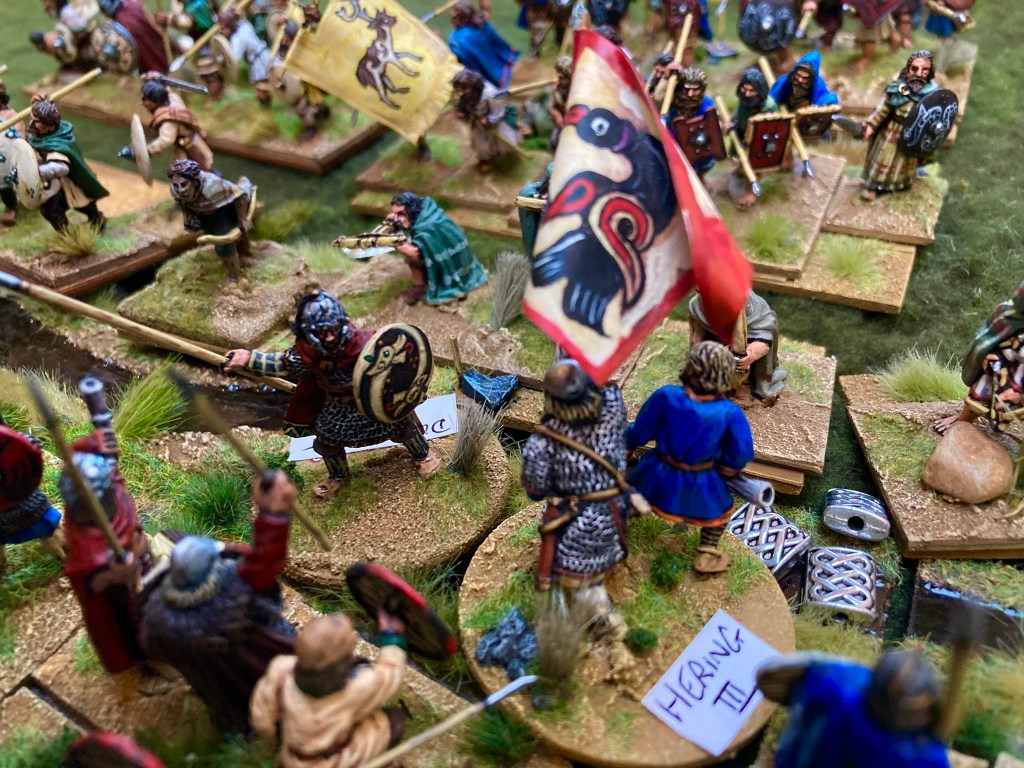
Hering. son of Hussa [from the sources, we know that Hering was present at the battle but it’s not clear which side he fought on. It is quite possible that he was leading an exiled group of Bernicians as part of the Dal Riadan army. I have placed him in Aethelfrith’s force.]
3 units of household warriors (bodyguards for the three leaders)
11 units of warriors (better armoured than their opponents, armed with spears, javelins and swords)
3 units of skirmishers
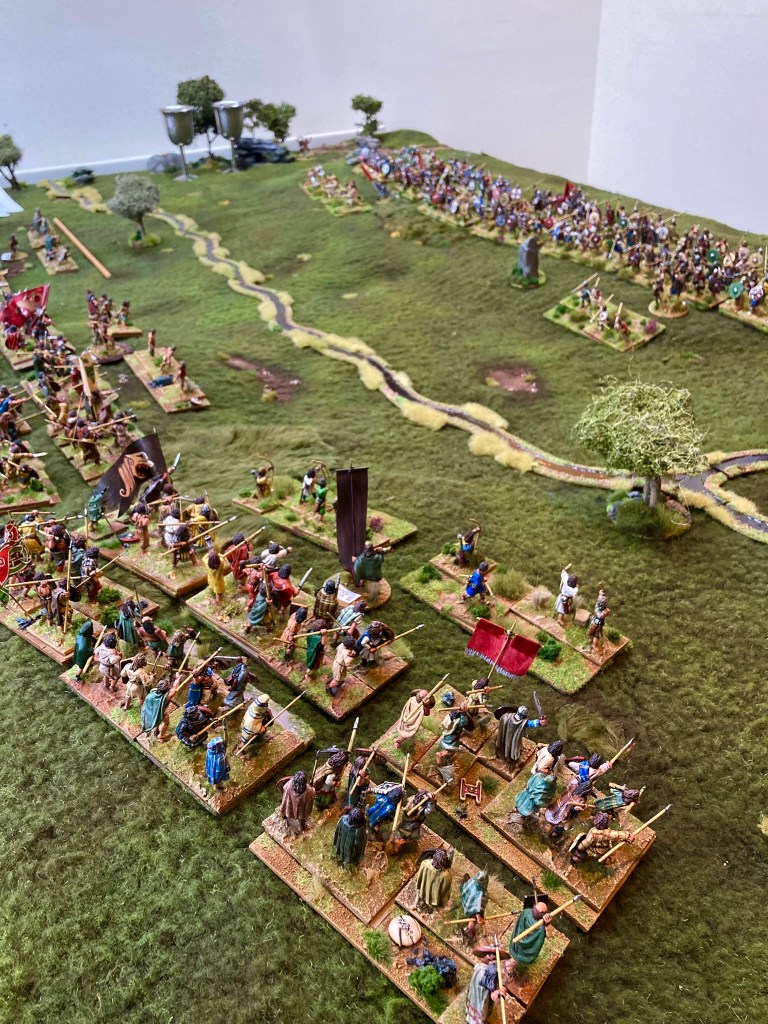
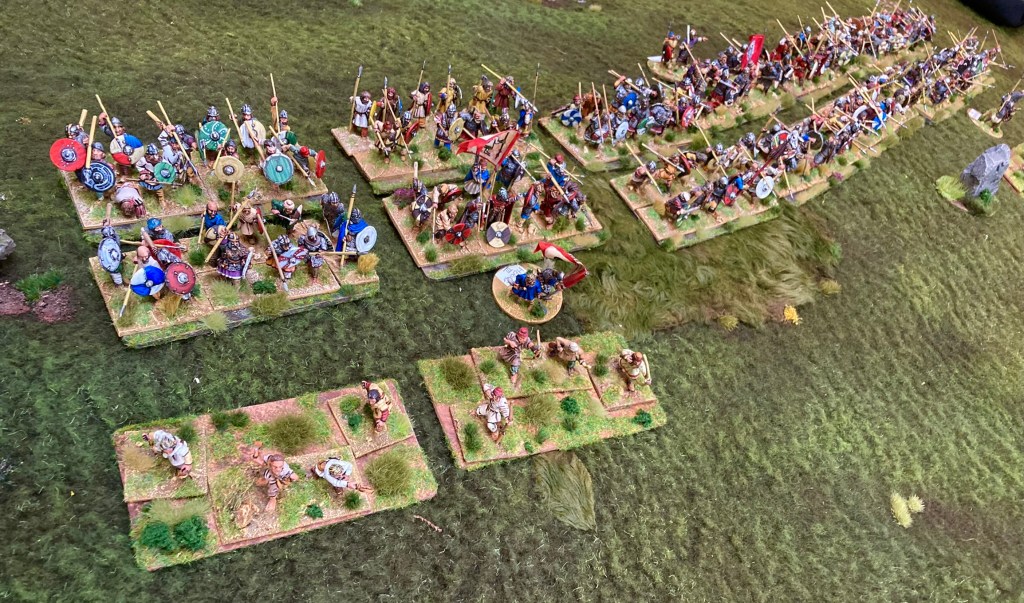
Having deployed the forces, I took command of the Bernicians; my friend Matt took the reigns of the Dal Riadans and their allies. I attempted a solid Saxon advance which rapidly fell apart as my command rolls were dreadful! Aethelfrith and Theobald’s men were obviously intimidated by the size of the Celtic host. As a result, I ended up with a piecemeal advance, which was to cost me dearly later.
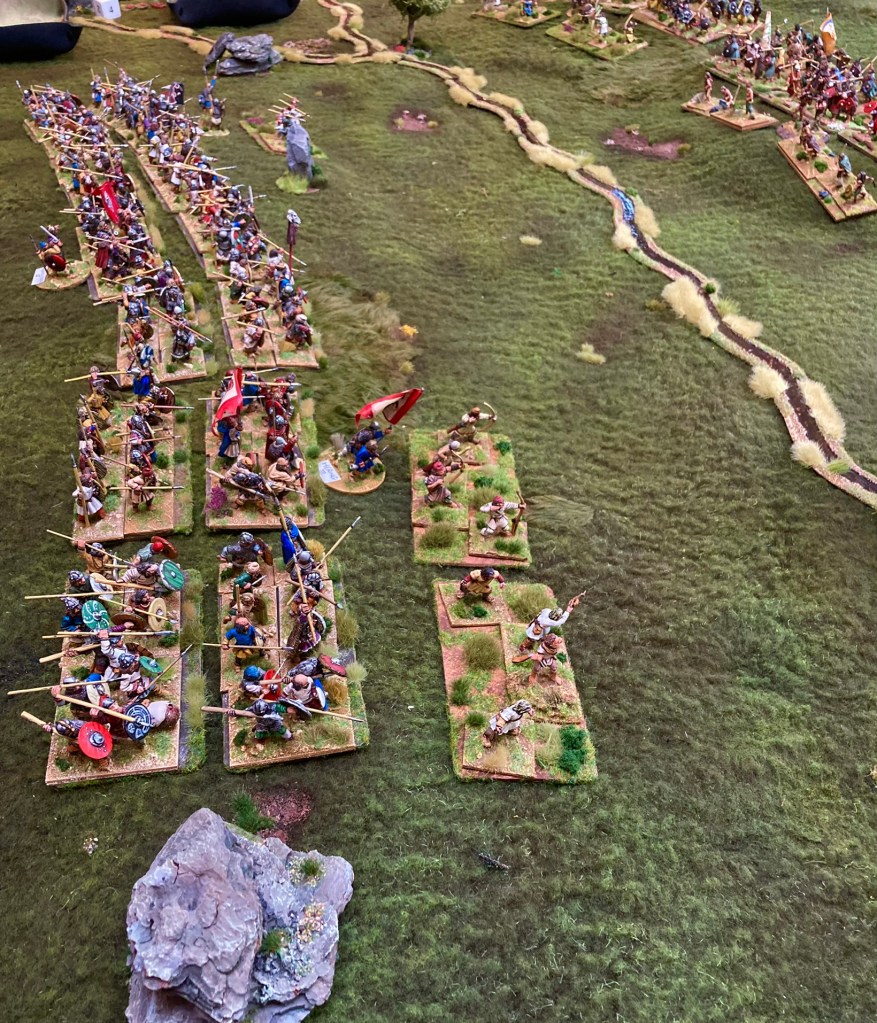
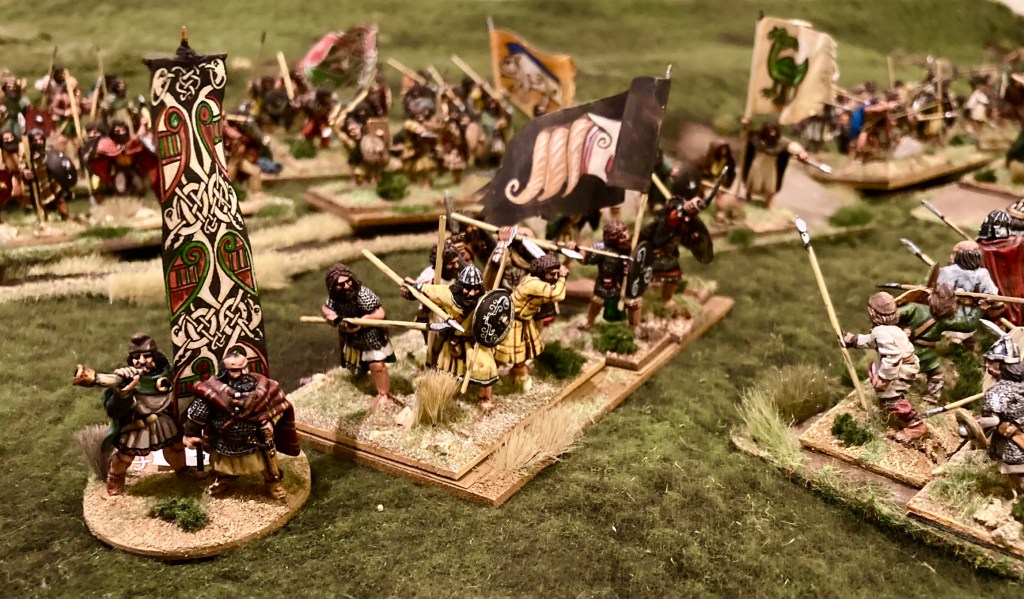
The Dal Riadans played a waiting game, standing on their hill above the burn. The skirmishers were sent forwards along with Domingart, Aedan’s Son, who was desperate to show his prowess and strike the first blows of the battle (we were trying out a new rule which gives a Reputation bonus to the hero who leads the first charge, and Matt was determined to get it.)
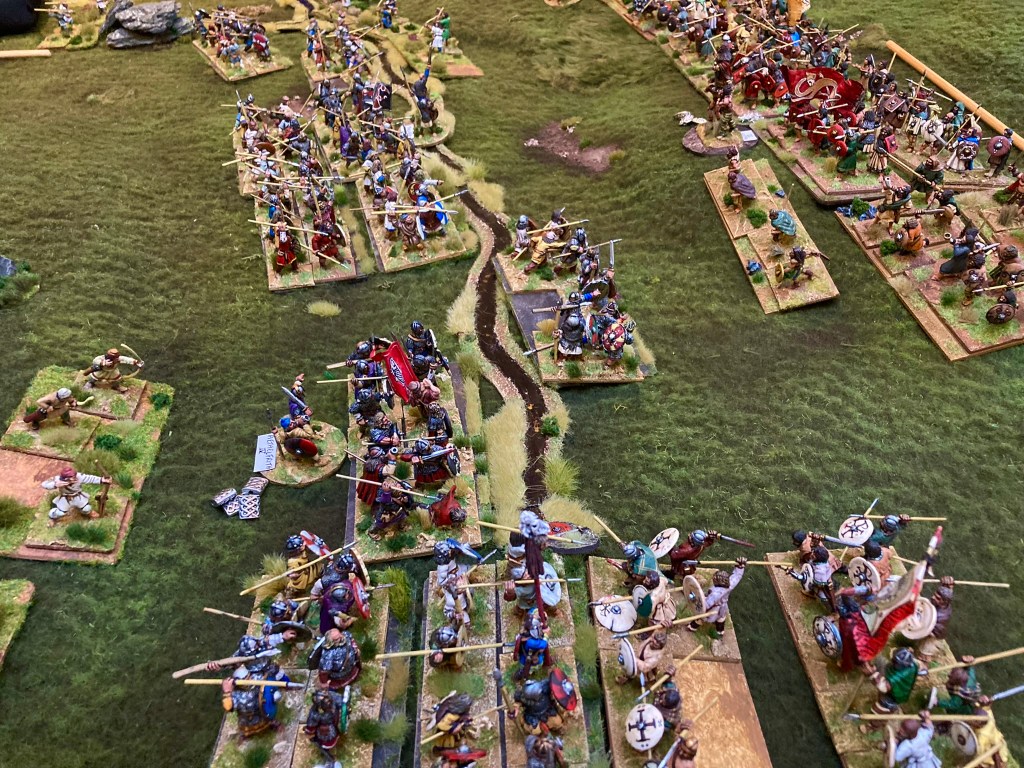
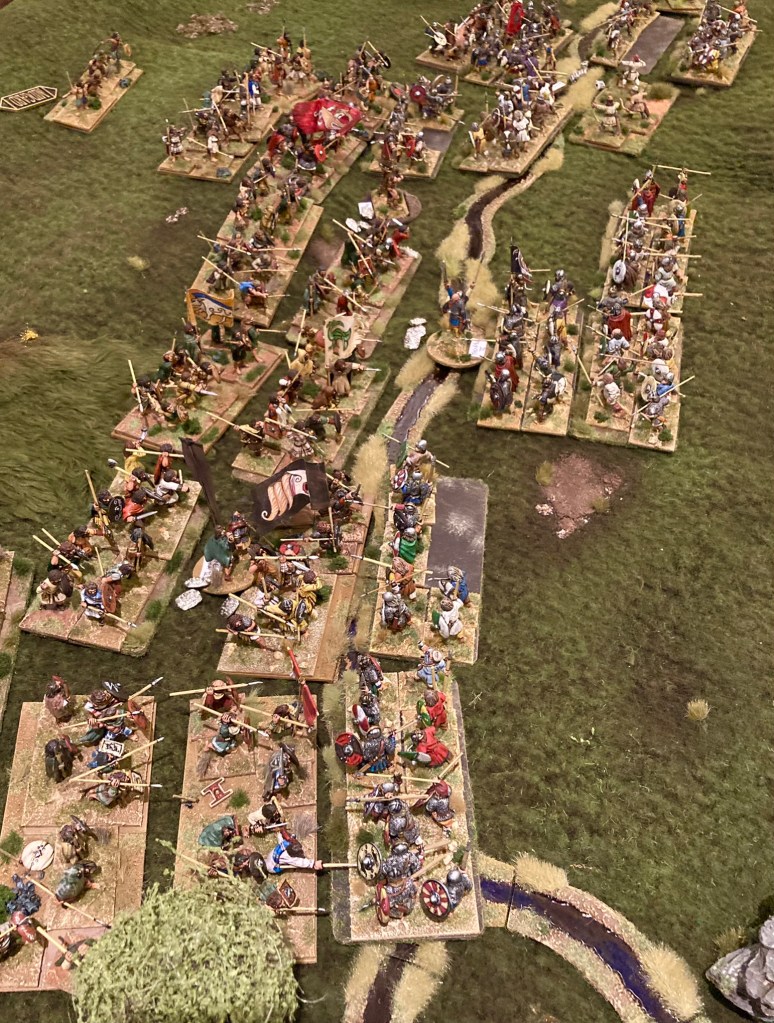
After a couple of turns trying to whip the troops into order, Hering son of Hussa managed to get the Bernicia right wing to charge into combat against the Pictish and British skirmishers at the burn. Domingart got his wish and led the first charge although his unit was driven off and he rejoined his main force.
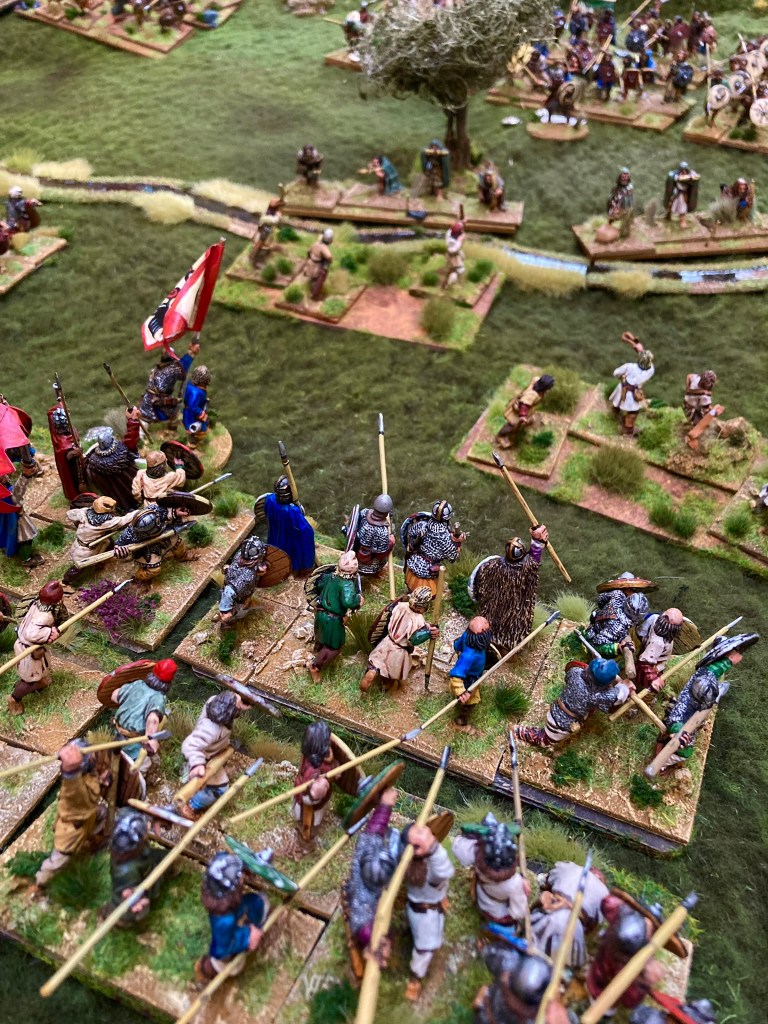
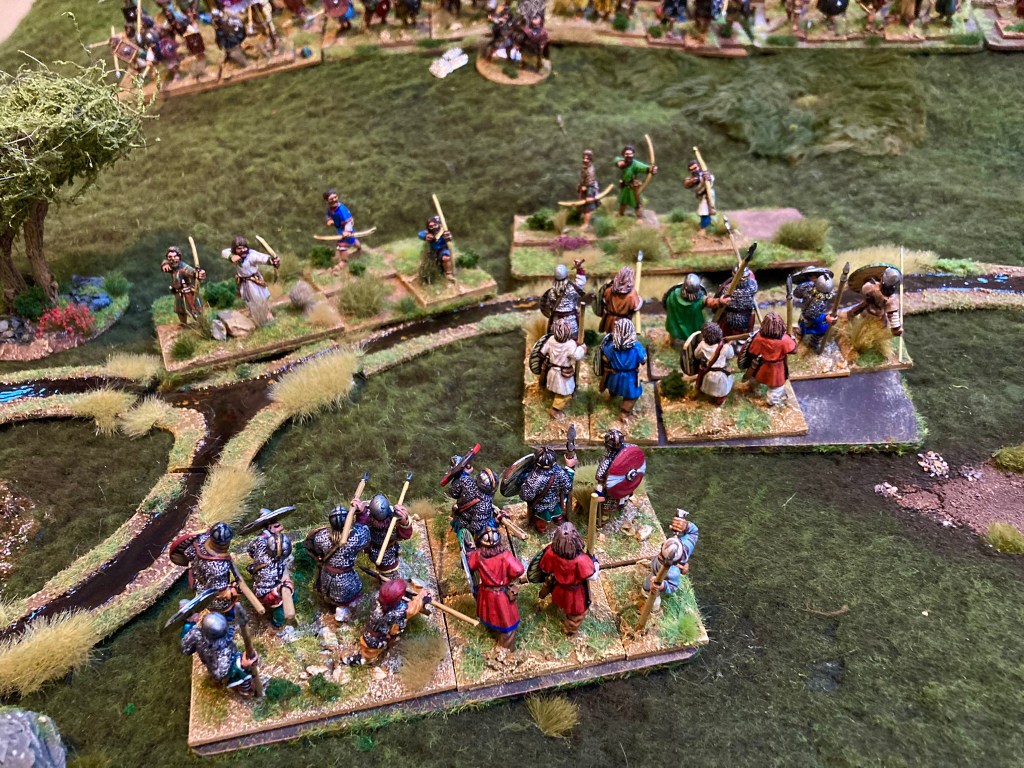
The more numerous Dal Riadan skirmishers caused problems to the Saxons up and down the line, in one case dropping arrows right in front of Aethelfrith’s own hearthguard.
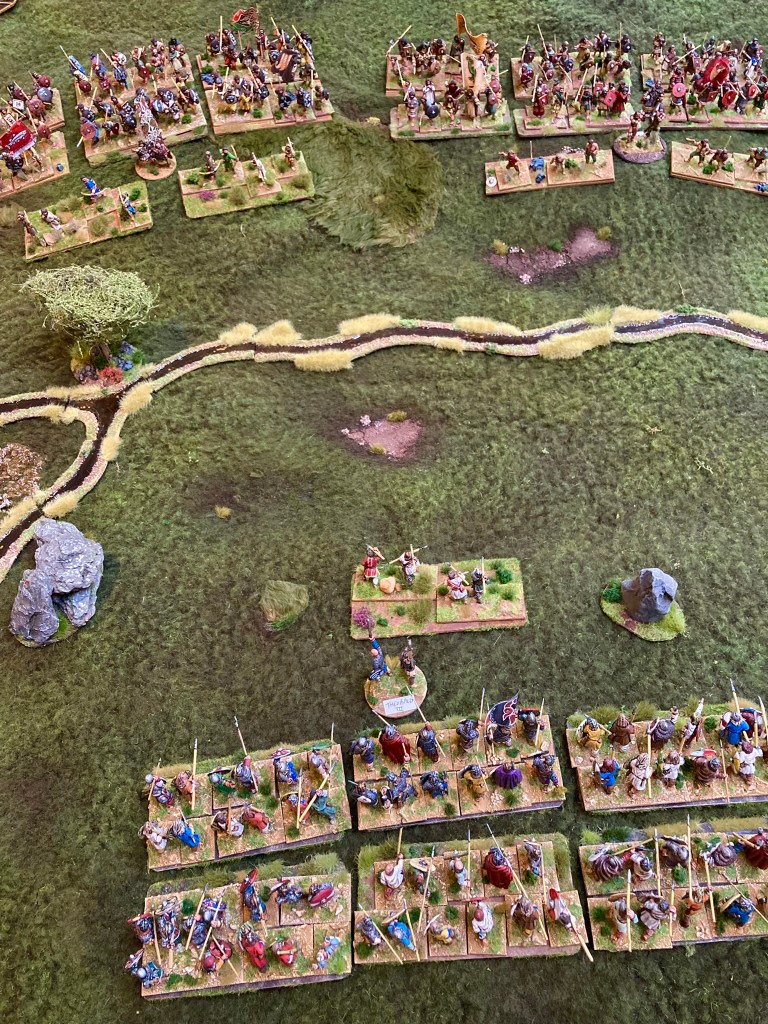
Hering’s Saxons on the right wing were heavily engaged in combat with Domingart’s men across the burn. The British and Picts fought bravely, punching above their weight, but were steadily driven back by the better-equipped and armoured Bernicians. Hering, finding himself almost face-to-face with Domingart, issued a challenge to single combat and duly dispatched his opposite number.

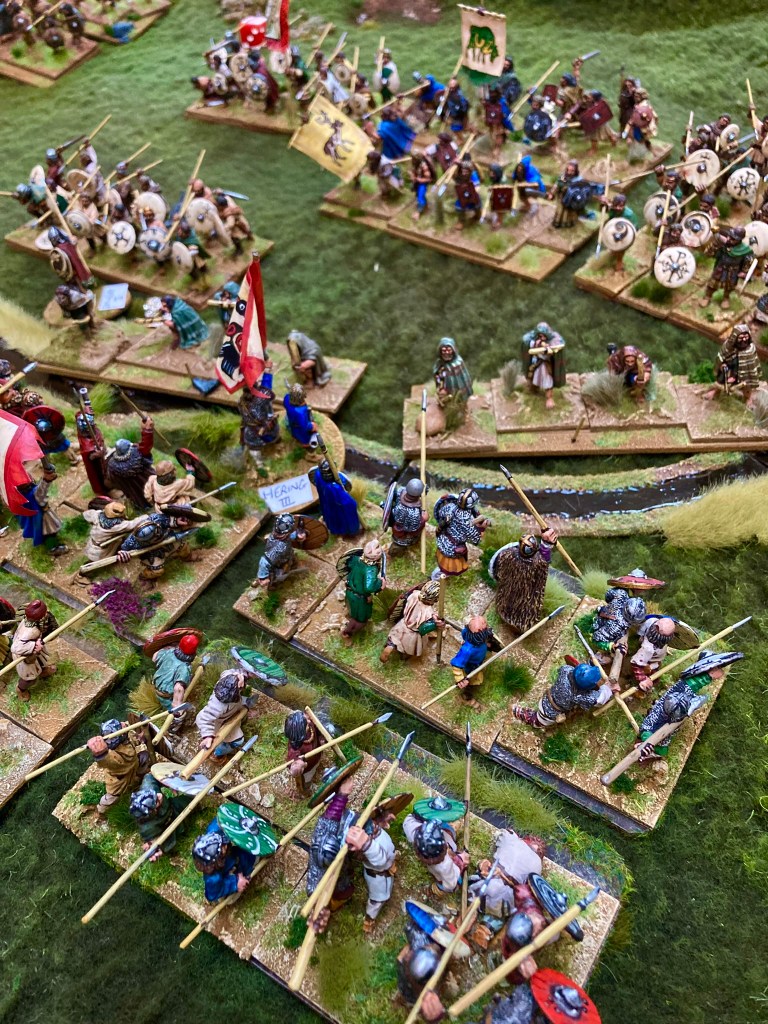
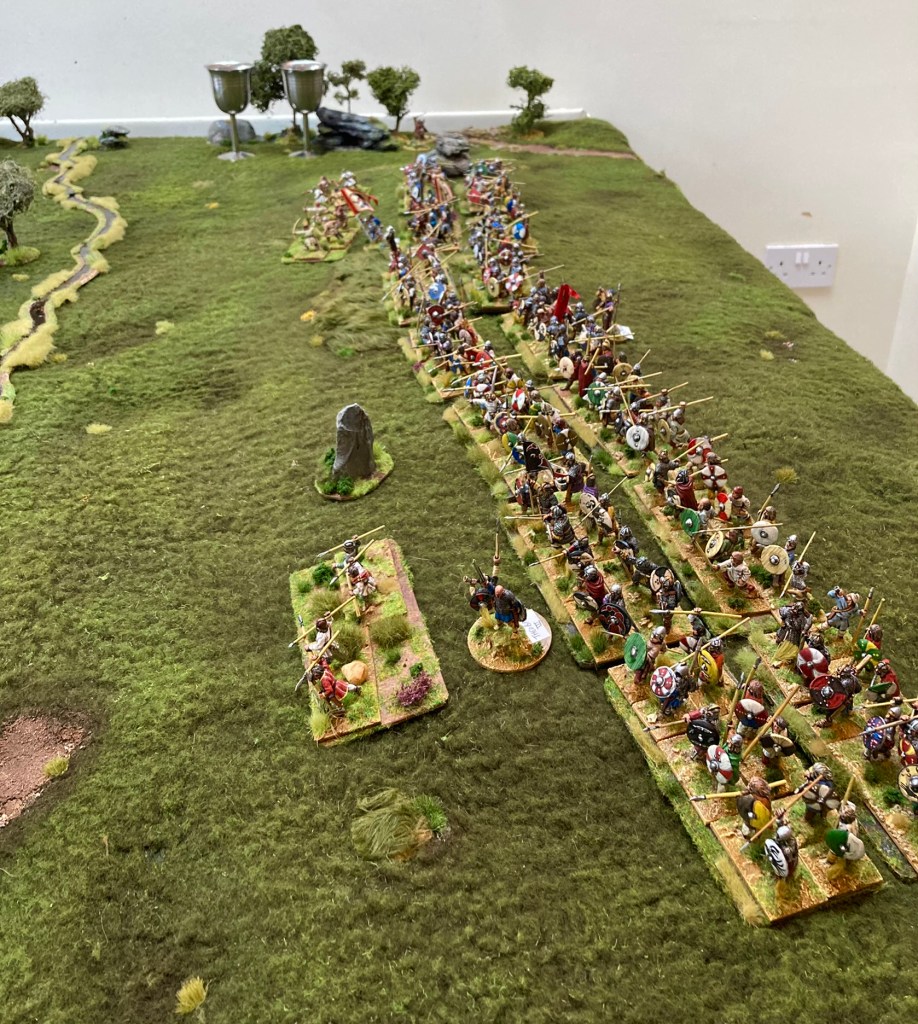
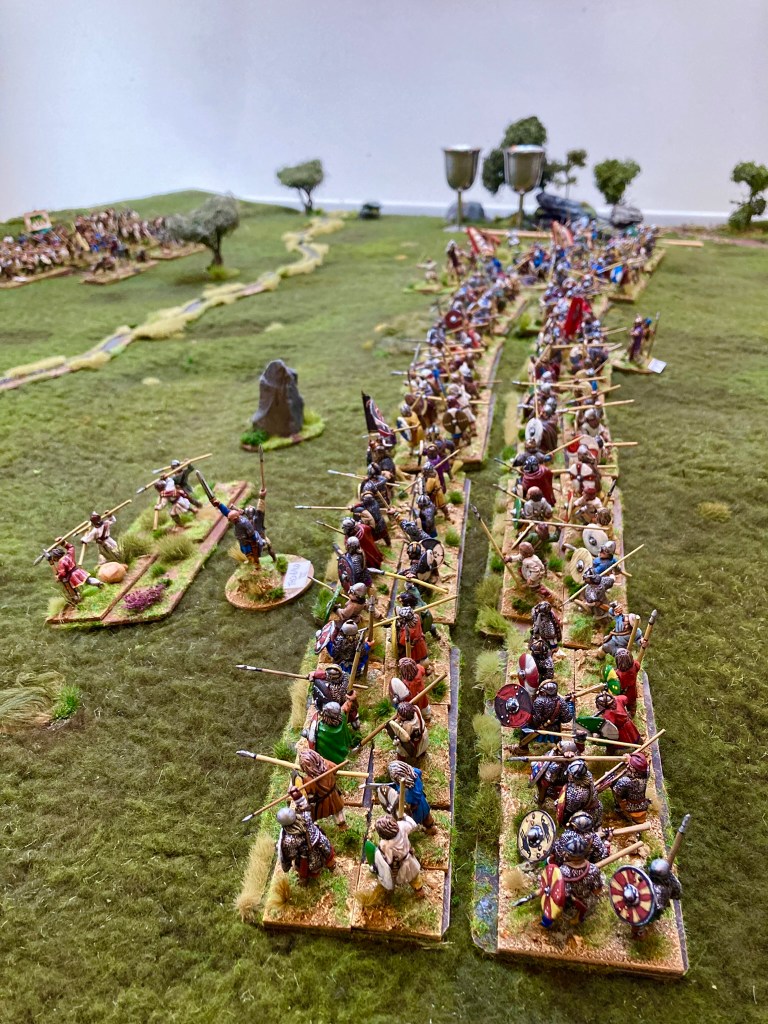
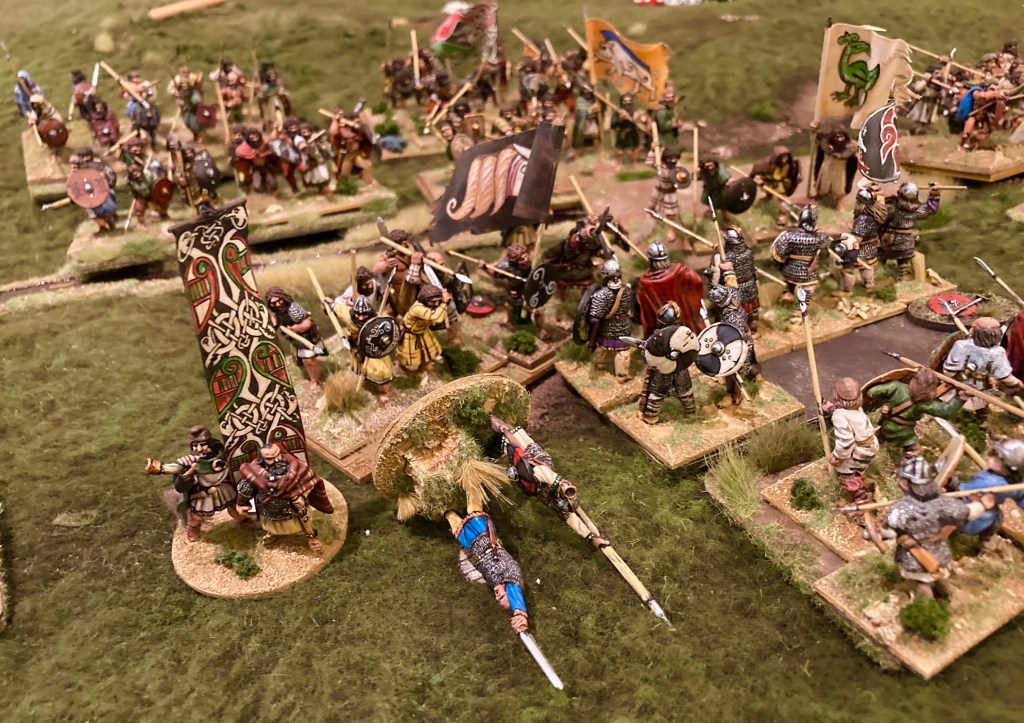
However, in the centre, Aethelfrith’s men were making limited progress, suffering casualties from the hail of missiles coming from the Dal Riadans. Driving off the archers, the Bernician king surged forward and was met by Aedan’s forces coming off the hill, resulting in vicious fighting along the whole length of the burn as Theobald’s forces also arrived on the left flank.
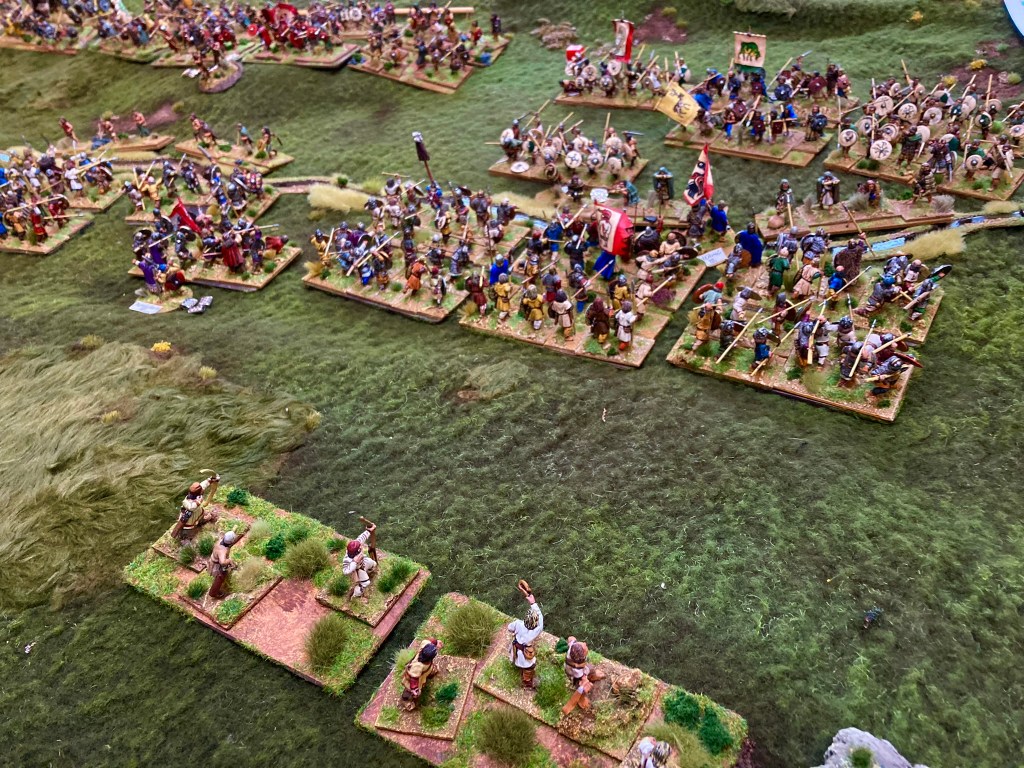
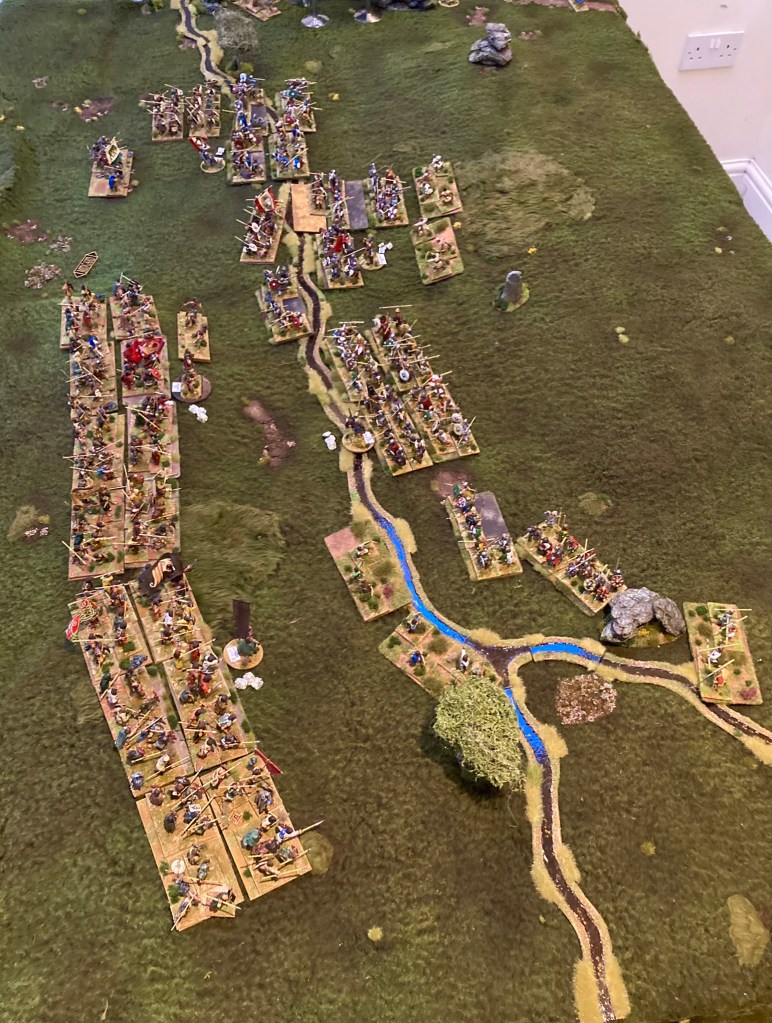
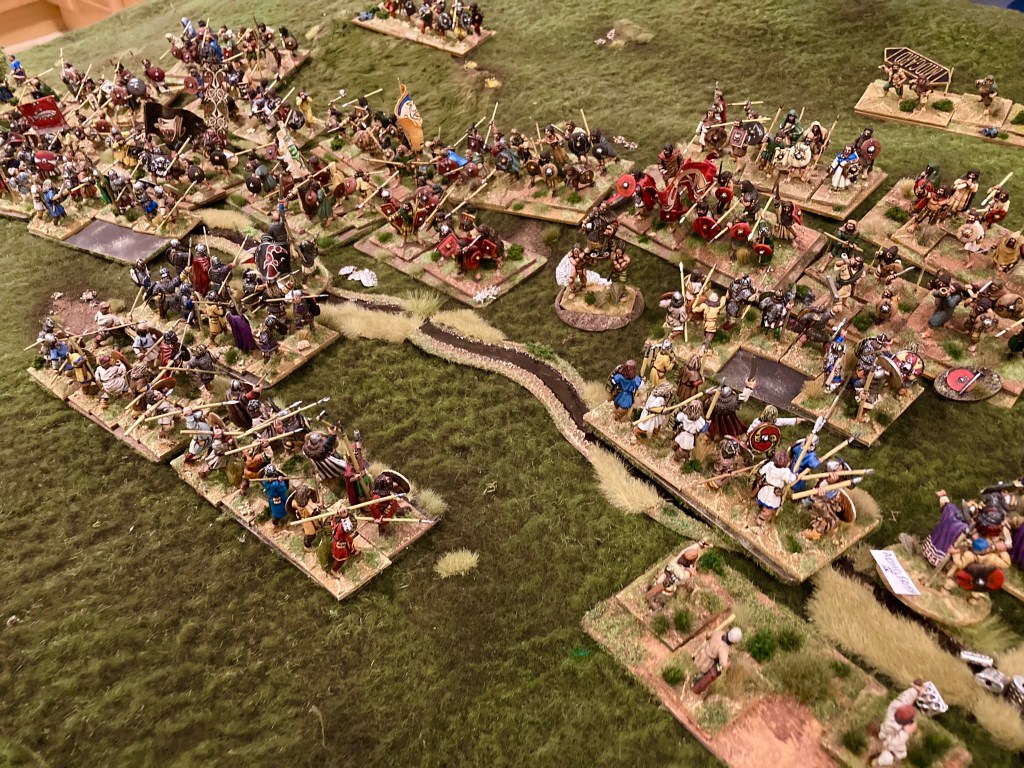
The Saxons were beginning to make their quality tell as Dal Riadan casualties mounted, but the early casualties and disorder started to play against them. Aethelfrith’s command was now outnumbered and taking casualties. In an effort to help them, the victorious Hering son of Hussa (on the right) began to swing his units around to assist his king – but was charged in the rear by an unbroken British unit. Hering, although wounded, managed to drive off the attackers with a hail of javelins, but the momentum was broken and casualties were mounting.
Fighting his way through the press of bodies in the centre, Aedan decided that he would have his slice of the glory and attacked the wounded King Aethelfrith. Calling upon Christ (and quite probably the Morrigan as well), Aedan cut down ‘the Twister’ and his gesiths perished around his body. This was the end for the Saxons – with the king and his brother dead, they started to flee the field. Hering son of Hussa was last seen, wounded, fighting a desperate last stand under his raven banner.
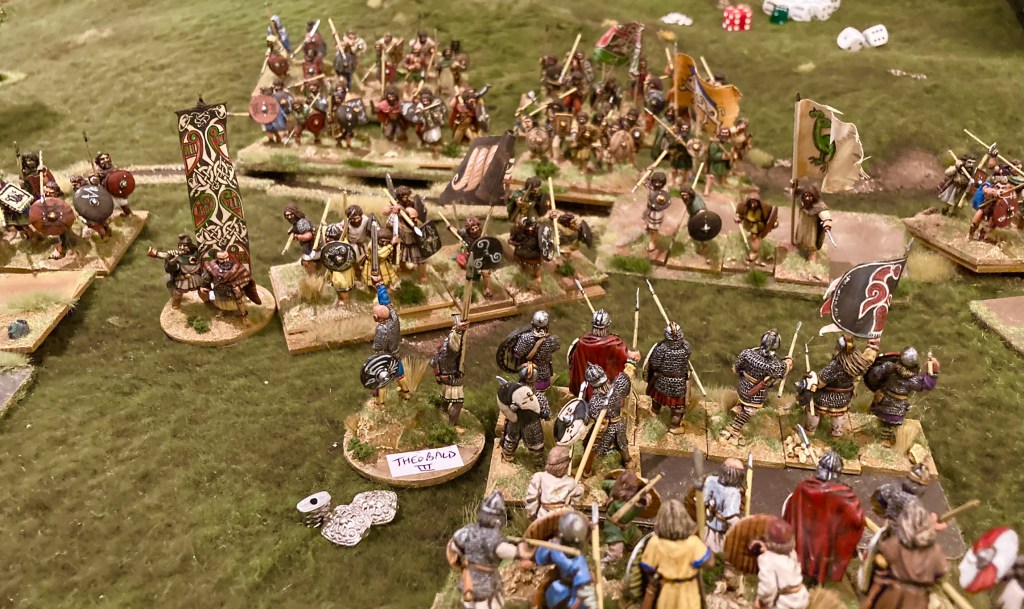
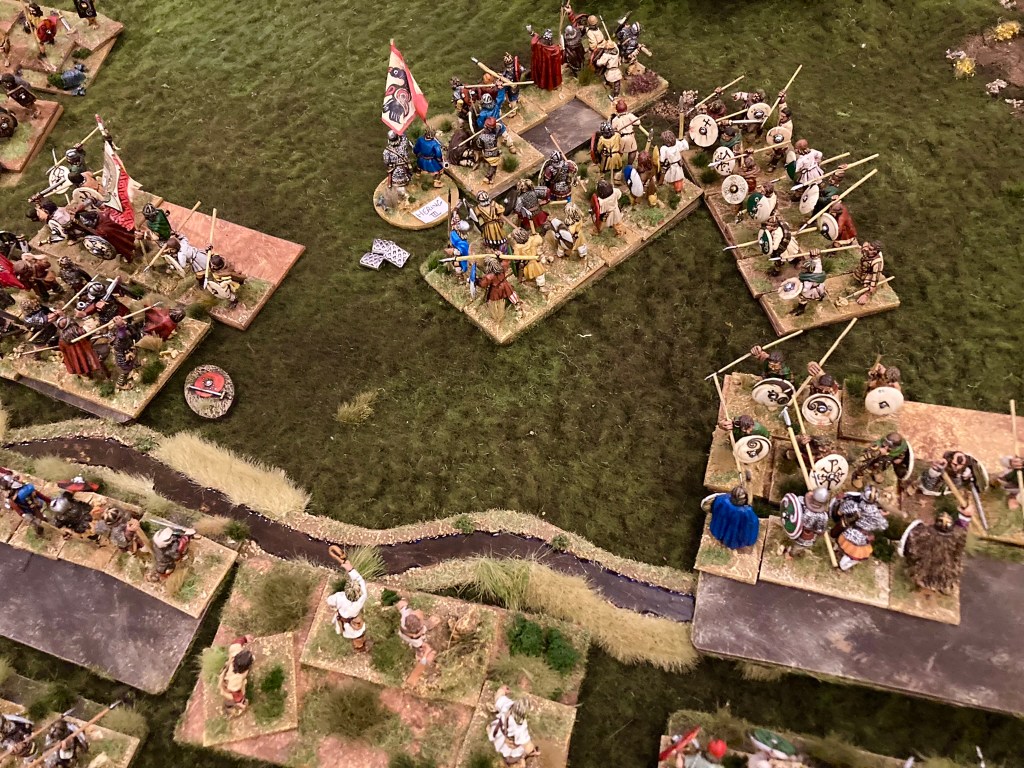
With the final turn of the game in sight and Bernician reputation teetering on defeat, Theobald, brother of Aethelfrith, charged in on the left wing and issued a challenge to Mael Umai of Ulster. Although they should have been evenly matched, the Ulsterman made short work of the Bernician in the style of Cuchulain himself!
And so we had a complete reversal of the historical outcome! The game was great fun and Matt played with true Celtic spirit. The outcome most certainly could have been different but the piecemeal advance of the Saxons and some poor luck was most certainly a game-changer. I love this period and will be playing more very soon!
‘Tonight, the ravens croak over the head of Aethelfrith the Twister.’

Fantastic looking game
LikeLiked by 1 person
Thanks Scotty!
LikeLike
Excellent stuff James. King Aedan Mac Gabhran seems to be travelling in the style worthy of his title!
LikeLiked by 1 person
Oh yes! More than a bit of Vitalstatistix in there. 🙂
LikeLiked by 1 person