
Following the game’s first appearance at Salute 50 in London, Martin popped over for a much quieter gaming experience – a kitchen table rematch of Northumbria vs Dal Riada at the Battle of Degsastan in 603 CE.

I’ve played this game many times since reading Guy Halsall’s article in Miniature Wargames magazine in the 1980s, and was delighted to hear that he’s just written an updated version due to appear soon in Wargames Soldiers & Strategy magazine! Definitely one to look out for,

Although Martin’s being playing my Midgard Heroic Battles rules since their very first play test some years ago, quite a bit has changed over the last year so a quiet game was a good opportunity to bring him up to date. I still don’t have a release date for the rules but keep an eye on social media and my blog – as soon as there’s an official announcement from Reisswitz Press, it’ll be on here.

This 15mm battle is an ideal introduction to Midgard: the forces are around 300 points each (perfect for an evening’s play) and there’s nothing more fantastical in the game than a pattern-welded blade and the Fated trait hanging over Saxon noble Theobald. (As Theobald died in the historical battle, I gave him a trait which means that he can’t reroll his Risk to Heroes tests – meaning that he’s more likely to be wounded or killed. As fortune would have it, he survived our game to inherit his brother’s kingdom!)

The forces were as follows:
DAL RIADA & ALLIES
Aedan Mac Gabhrain (Army Commander, Level 3 Mighty Hero)
Mael Uma (Irish Warlord, Level 2 Minor Hero)
Domingart (Aedan’s son, Level 2 Minor Hero)
2 Dal Riada/ Irish Hearthguard units (bodyguards for Aedan and Mael Uma)
4 Dal Riada/ Irish Warrior units
3 Dal Riadan units of Mounted Warriors (Noble Light Riders in Midgard terms)
4 Dal Riada/ Irish Skirmisher units

NORTHUMBRIANS
The Northumbrian force was smaller but better-equipped:
Aethelfrith (Army Commander and Level 3 Mighty Hero)
Theobald (Brother of Aethelfrith, Level 2 Minor Hero)
Cerdic (Champion, Level 1 Hero)
Eanfrith (Brother of Aethelfrith, Level 2 Minor Hero)
3 Saxon Hearthguard Warrior units
4 Saxon Warrior units
3 Saxon Skirmisher units


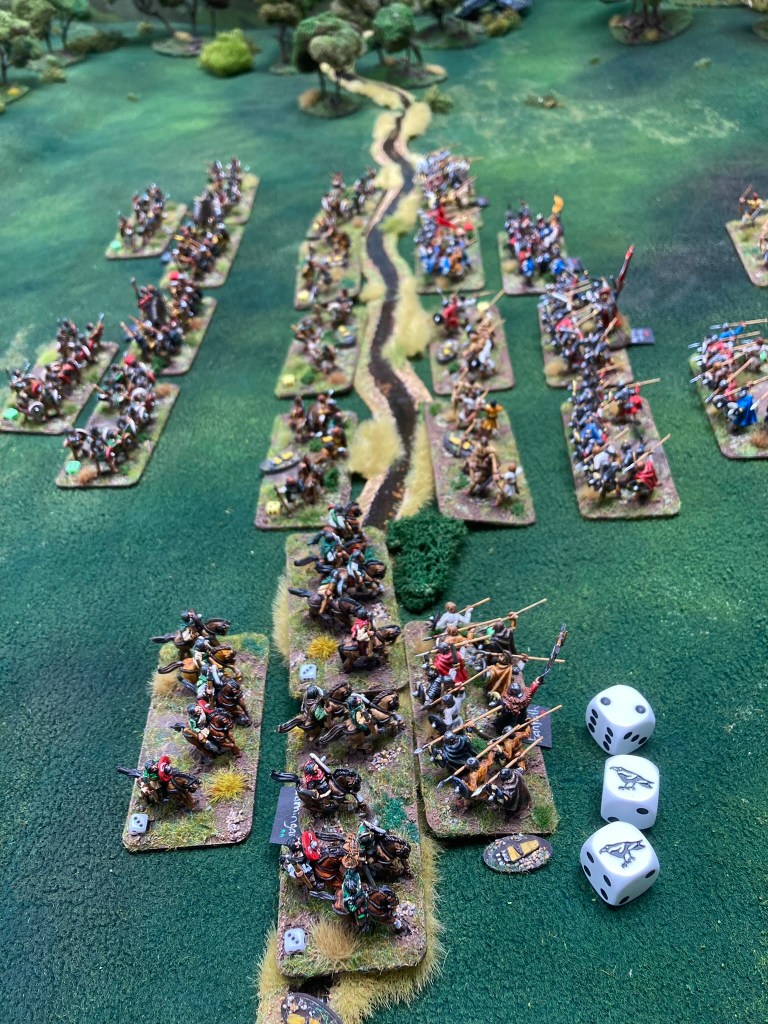
True to form, both sides advanced to the stream and exchanged missiles across it.
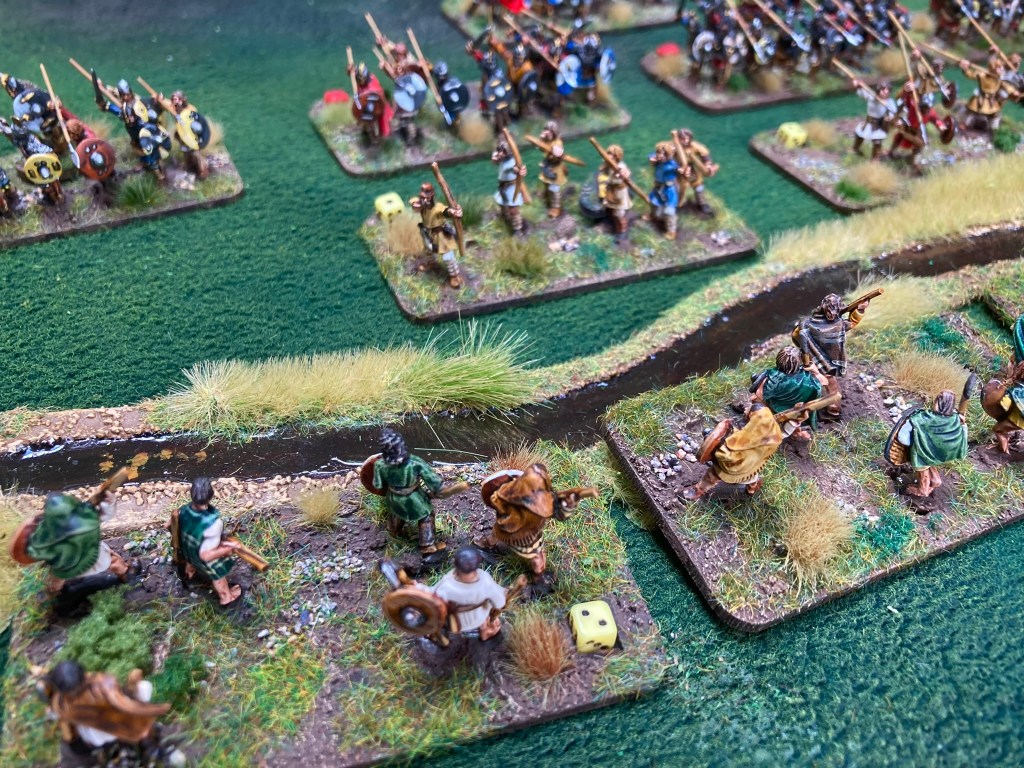
Playing Domingart leading the Celtic mounted warriors, I chose to throw in the first charge of the game to gain the maximum Reputation! This was possibly a little optimistic but at that point, there was only a single Saxon unit commanded by Eanfrith holding the Northumbrian left flank. An unfortunate Risk to Heroes roll – made in Midgard whenever a Hero’s unit suffers damage – saw Eanfrith roll the dreaded double one! Fortunately, he was able to expend a Mighty Deed and a Reputation Token from his goblet to survive this, but it was an early boost for the Dal Riadans.

Seeing the danger, wily old Aethelfrith sent some of the Saxon warriors down the line in case Eanfrith should break.

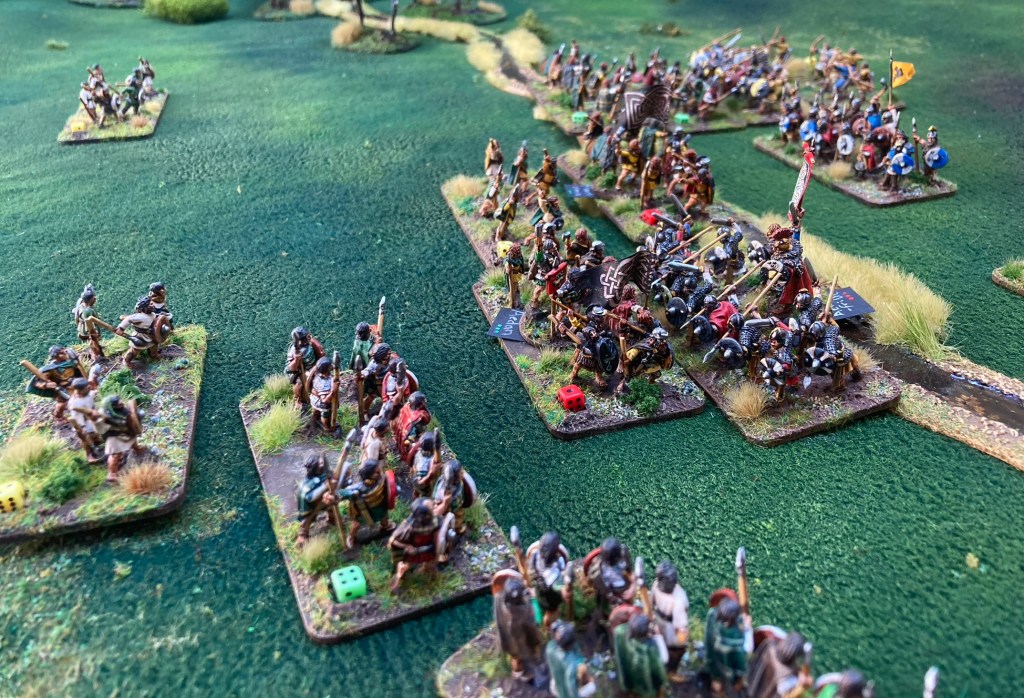
Sporadic javelin fire was beginning to cause problems for the Saxons in the centre and right, so Northumbrian champion Cerdic bravely charged over the stream and into the main Dal Riadan force. Very quickly, the Northumbrians found themselves taking casualties with their friends too far behind to support (the stream provided a movement penalty, making it hard to advance over in good order). Once again, Aethelfrith proved himself an inspiring leader by using his Hold Fast! trait to rally Cerdic’s men and keep them in the fight.

Another Saxon unit followed Cerdic and found itself fighting both Mael Uma and Aedan’s hearthguard units – a most perilous situation.
This is when Aethelfrith stepped up to the mark and crossed the stream, gaining great reputation as his men charged Aedan Mac Gabhrain’s personal guard (Reputation Tokens can be gained for leading units into combat, with bonuses if the Army Commander is involved).

Not only were the Saxons better-armoured, but they had the luck, and Aedan rolled double one for his Risk to Heroes test! He recovered to suffer just a single wound, but his reputation had taken a battering.


With Aedan wounded and his hearth guard taking a battering (reduced to one Stamina point), I desperately needed to get some reinforcements into action. Two Dal Riadan warrior units were rushing to the rescue, but failed their Command Test for charge home. With Aedan having burned all his Mighty Deeds for this turn in the preceding combat, there was nothing I could do!

Reduced to desperate measures and feeling heroic, Aedan challenged Aethelfrith to single combat in the midst of battle. The Northumbrian leader accepted but quickly regretted it as Aedan struck him a wounding blow in the second round – now both leaders were on the ropes.

A draw in the third round of single combat in Midgard inflicts a wound on both challengers…and guess what? Aedan struck Aethelfrith down, but was himself mortally wounded in the act. Both leaders fell dying as the battle raged on around them. This meant a major loss of Reputation Tokens for both sides – the next units to break would decide the game.


Despite the loss of their leader, the Saxons had done exceptionally well to hang onto their troops, although several warrior units were close to breaking. However, Domingart’s impetuous charge on the Dal Riadan right had cost them dear. After Saxon reinforcements had arrived, all three Dal Riadan mounted warrior units had broken in short succession – Domingart was still fighting, but was now wounded and losing Reputation hand over fist. Having lost all his men in the melee, he fought on but was last seen falling under a hedge of Saxon spears. Victory to the Northumbrians!

And so, history was repeated with another Saxon victory. Although I had given him the Fated trait to encourage a heroic end, Theobald survived with a single wound and took over the kingship from his fallen brother Aethelfrith.
We’ll be running this game again at Partizan in Newark on Trent on May 21st 2023 – do come and say hi. You’ll find us in the Lard Zone this time around.

A great looking game and seems a very close affair
LikeLiked by 1 person
Yes indeed it was! Cheers.
LikeLike
Are you intending to publish any historical army lists or is it up to the players to develop their own lists/stats for historical forces?
LikeLiked by 1 person
We are planning to put a broad ‘Dark Ages/ Early Medieval’ list in the main rulebook which will suit Picts, Saxons, Scots-Irish, Normans, Welsh etc, and there will be some additional lists published online. However, there won’t be a set of DBM/WRG-style lists. The rulebook will contain a full Hero and Unit Creator that players will be able to develop their own lists with. Hope that helps.
LikeLiked by 1 person
Looks fabulous! Sadly I won’t be at Partizan as I’m taking the boy to an airsoft event. I need to get my Saxons painted so we can meet over the table for some Early Medieval action in the not too distant future! Raedwald of East Anglia needs to take on Aethelfrith in battle!
LikeLiked by 1 person
Thanks Andy! And deffo to the game.
LikeLike
Brilliant Mogsey, I read that MW article in the dim mists of the 80s and always wanted to gather the forces…. watch the rules quietly from Australia.
Andrew
LikeLiked by 1 person
Many thanks! I’m looking forward to the updated version of Guy H’s article in WSS.
LikeLike
A fantastic looking game as always. I’ve been eagerly awaiting the release of Midgard, but as the other battles on this blog have been so huge (some have been MASSIVE) I hadn’t appreciated that the rules would work nicely for a kitchen table scrap at 15mm. This is excellent news!
LikeLiked by 1 person
Cheers! Glad that’s been of interest. It’s the unit frontage that’s important in Midgard and this pretty much determines table size, so with smaller units, you can play on a smaller table.
LikeLike
Any chance of a preview of Midgard rules 🙂
LikeLiked by 1 person
There will be more information as we get closer to release. The website was updated two days ago – lots more info here: https://mogsymakes.net/midgard/
LikeLike
Well, being the editor of Slingshot, I could be persuaded to include an article or two
LikeLiked by 1 person
Cool, I’ll be in touch. Many thanks!
LikeLiked by 1 person
just to let you know, I’ve put a little teaser for the rules in the up and coming Issue that will be sent out to subscribers next month
LikeLiked by 1 person
Great battle report and a very nice looking compact battle.
LikeLiked by 1 person