It’s been a busy year for Morris and Chums: stacks of gaming, running participation/ demo games at Hammerhead and both Partizans, and generally egging each other on to invest in toy soldiers that we hadn’t been planning to buy.
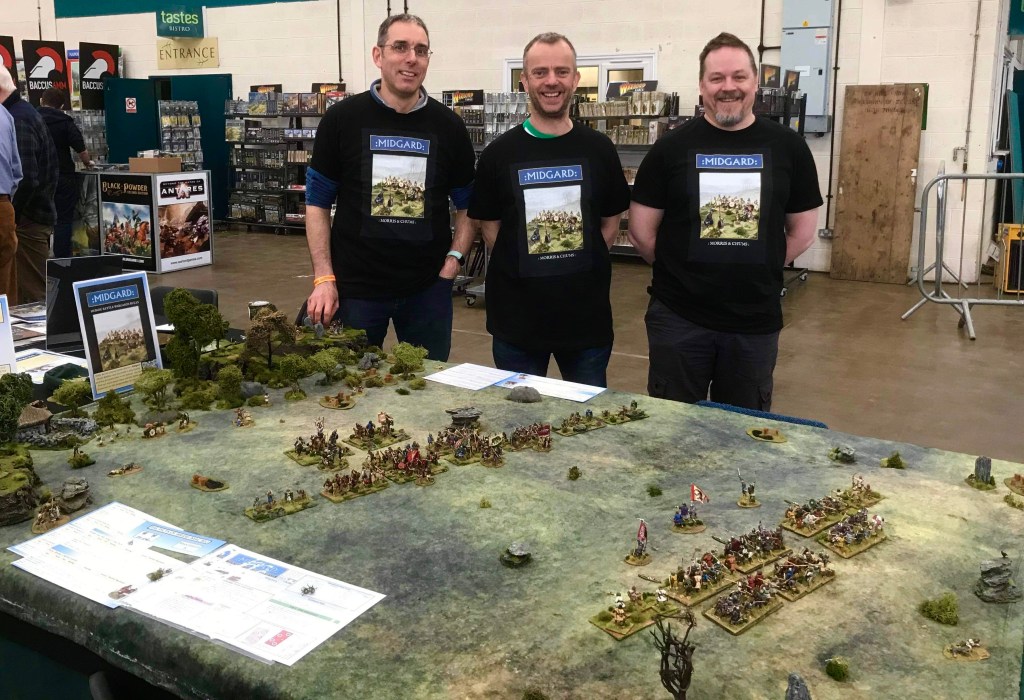
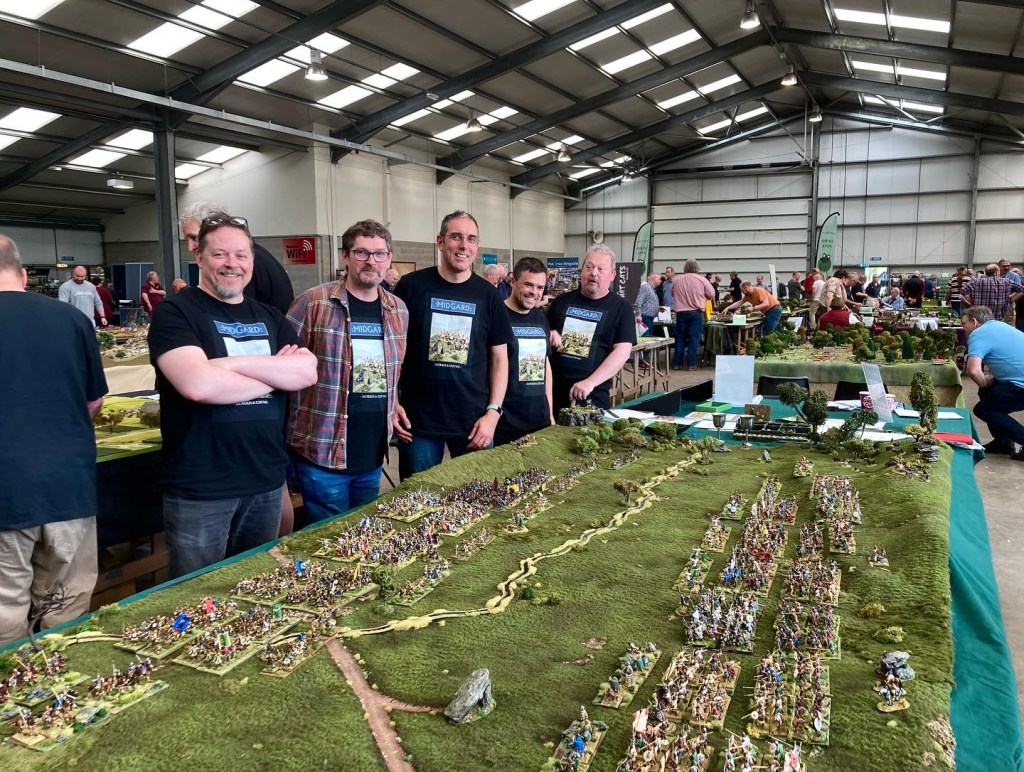
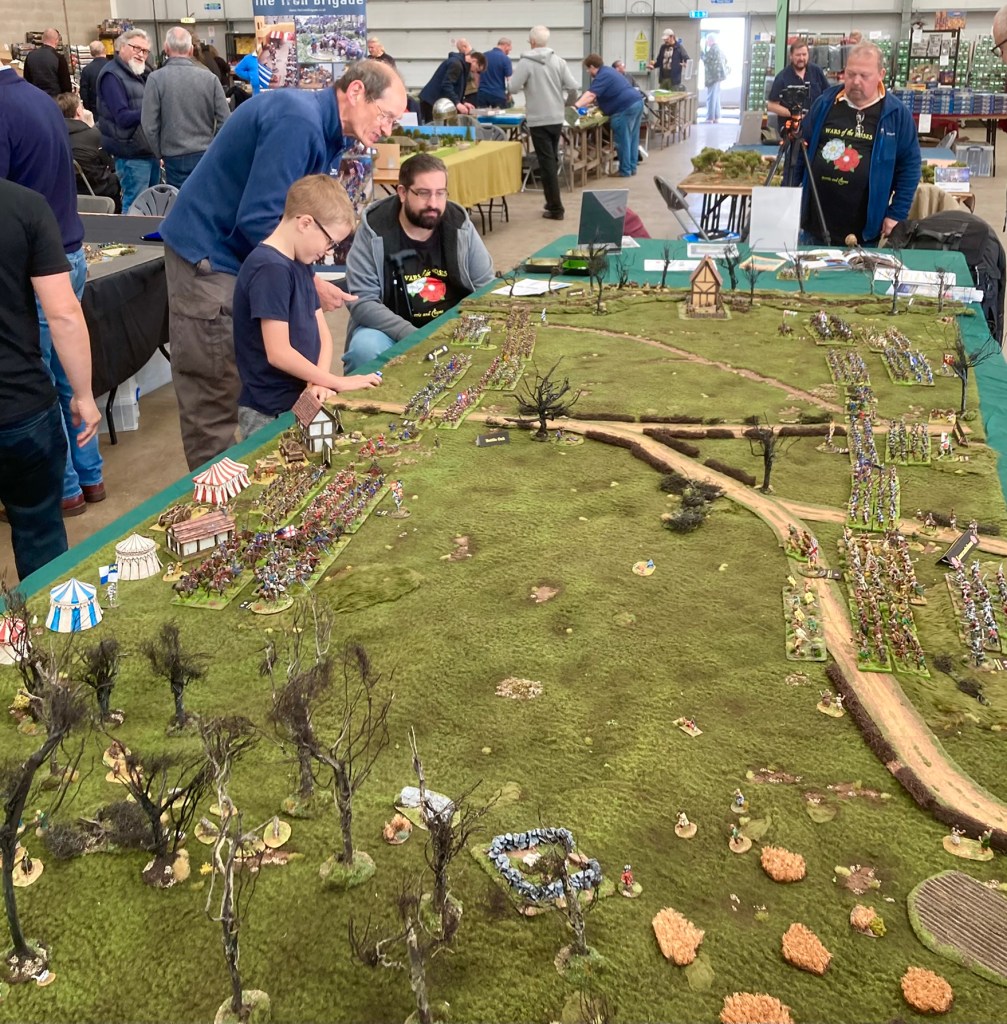
In the background, I’ve been busy developing Midgard Heroic Battles for publication as well, which, along with trying to stay on top of the blog, means that I’ve dropped off writing magazine articles at the moment. Need to get back to that in 2023.
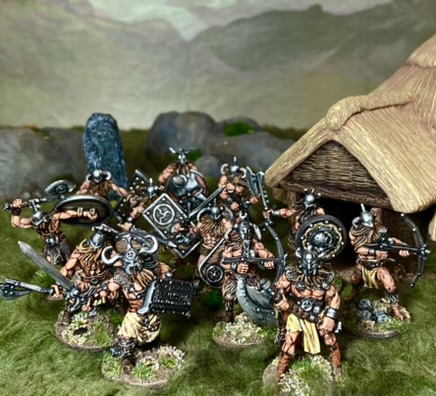
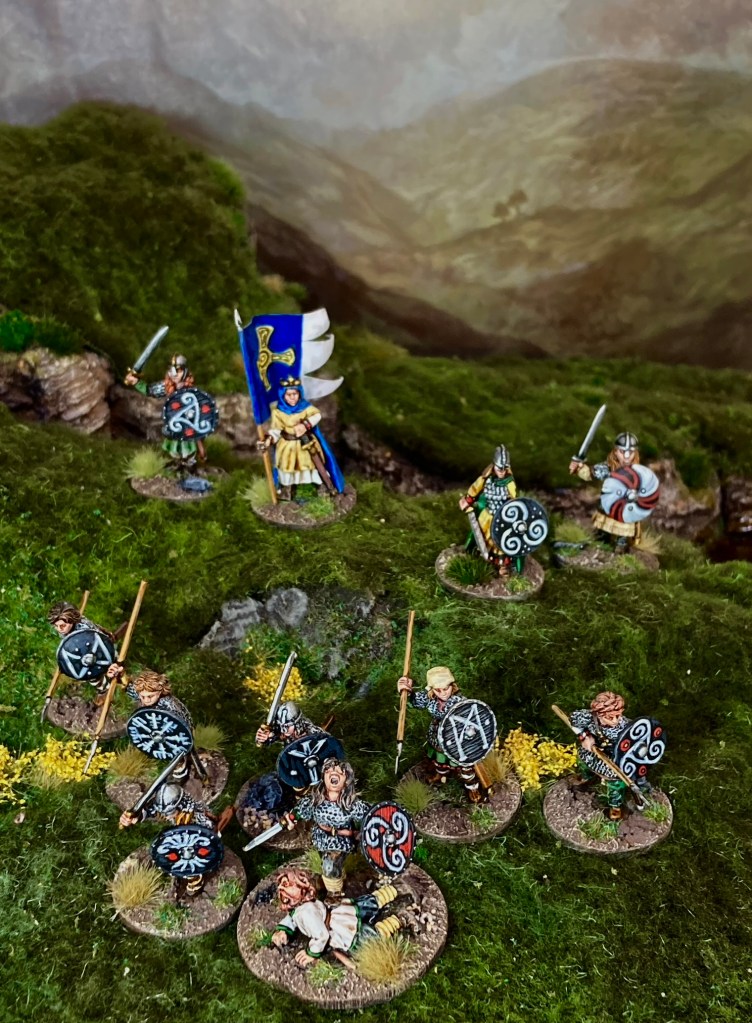
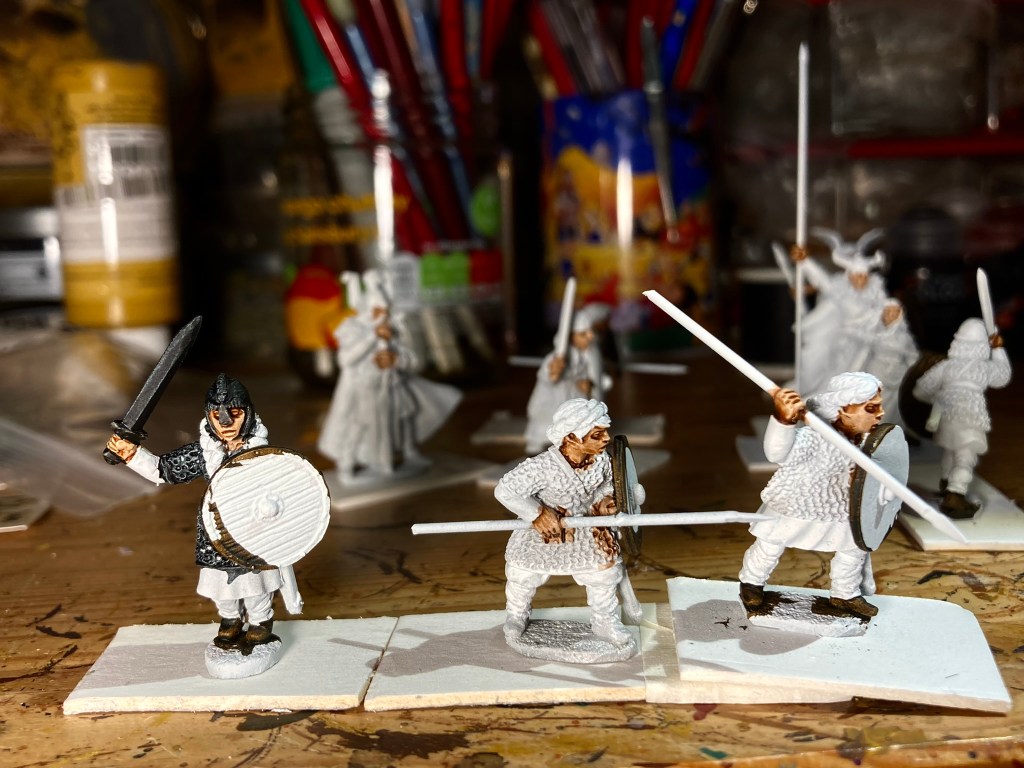
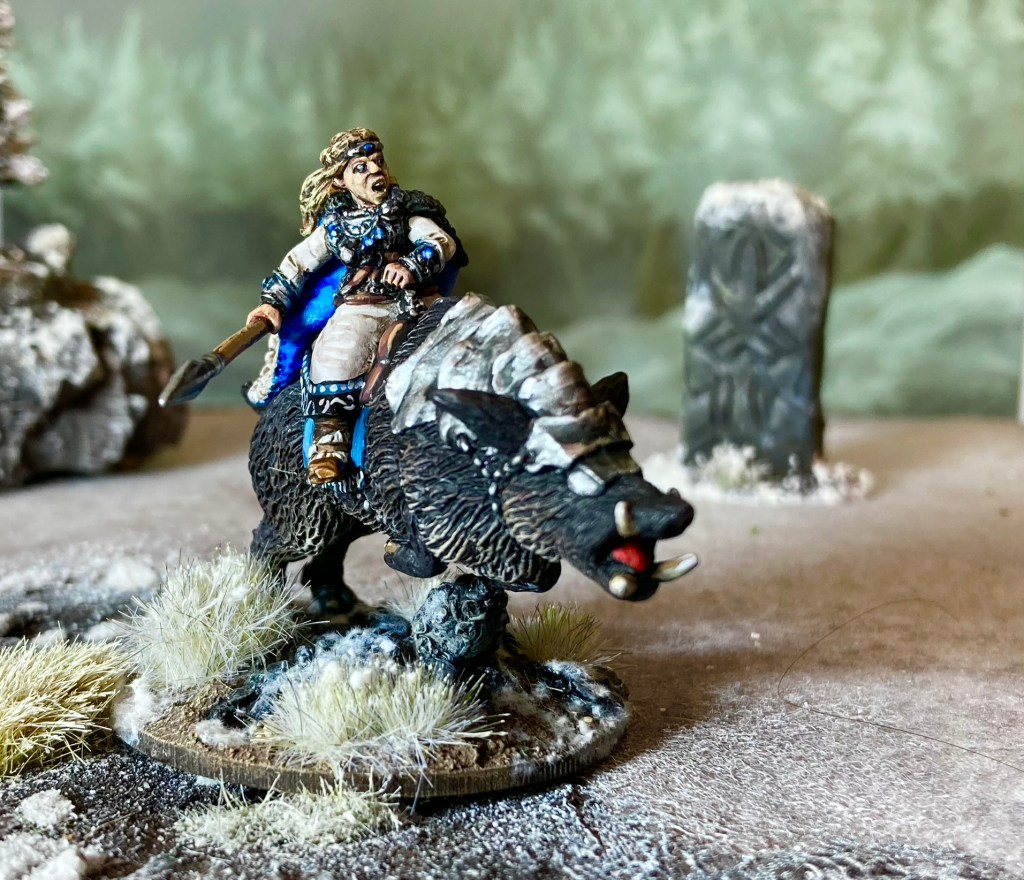
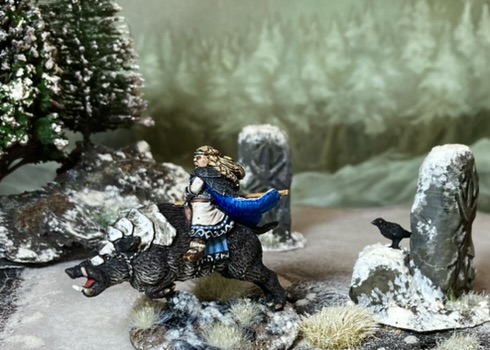
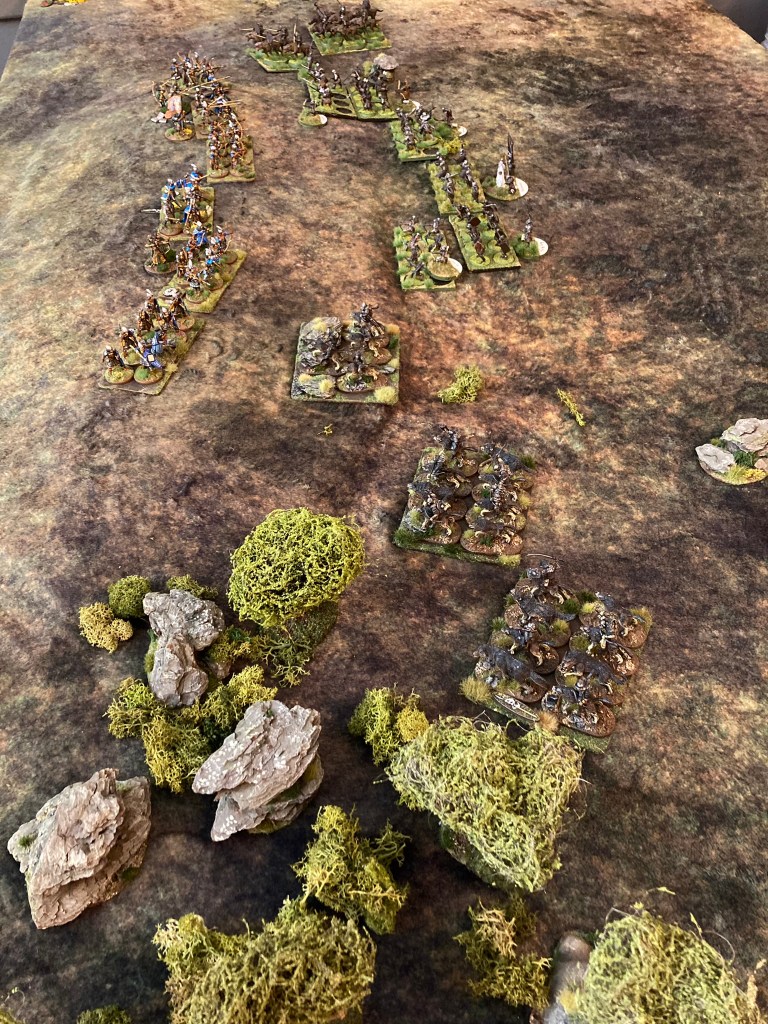
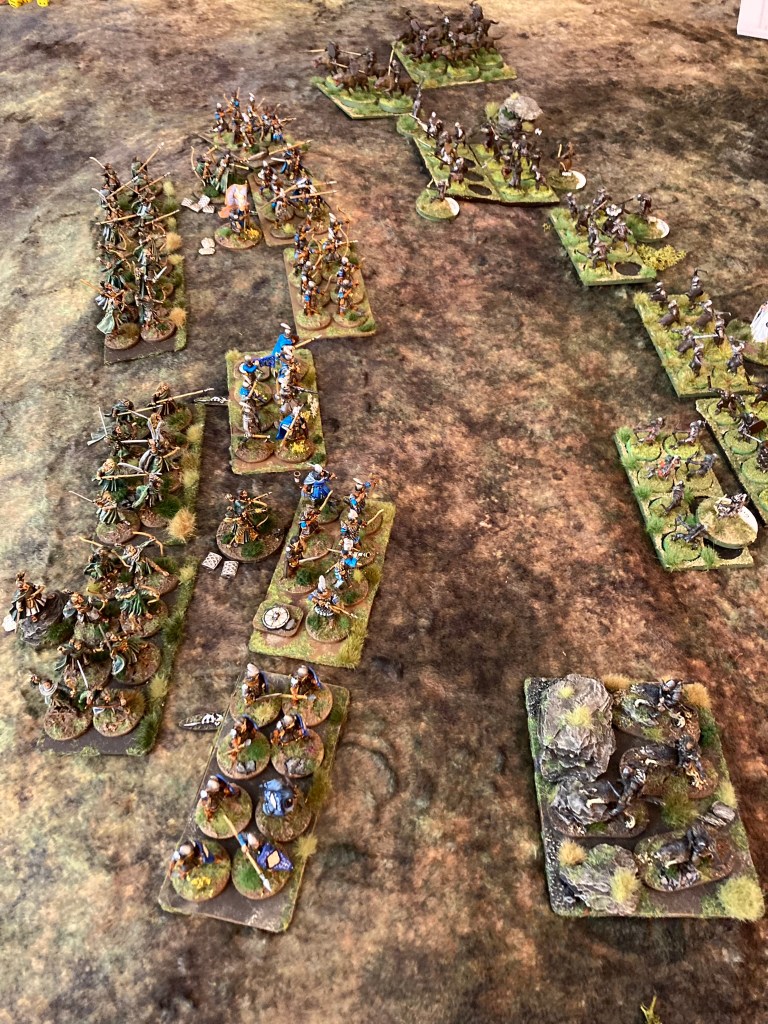
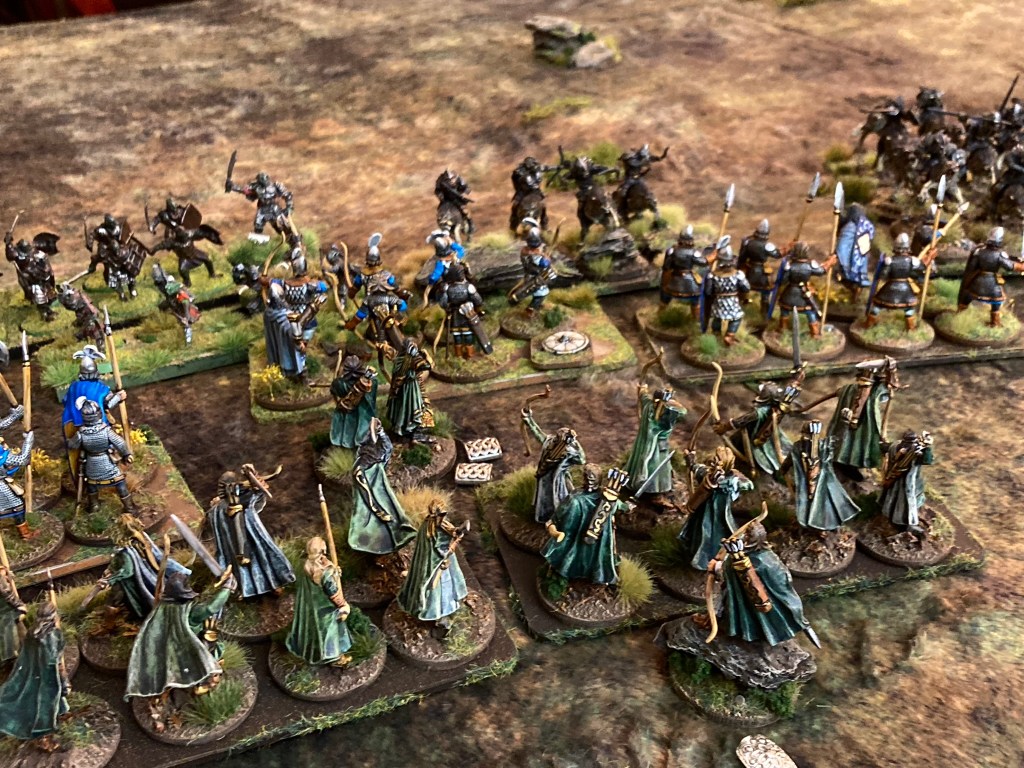
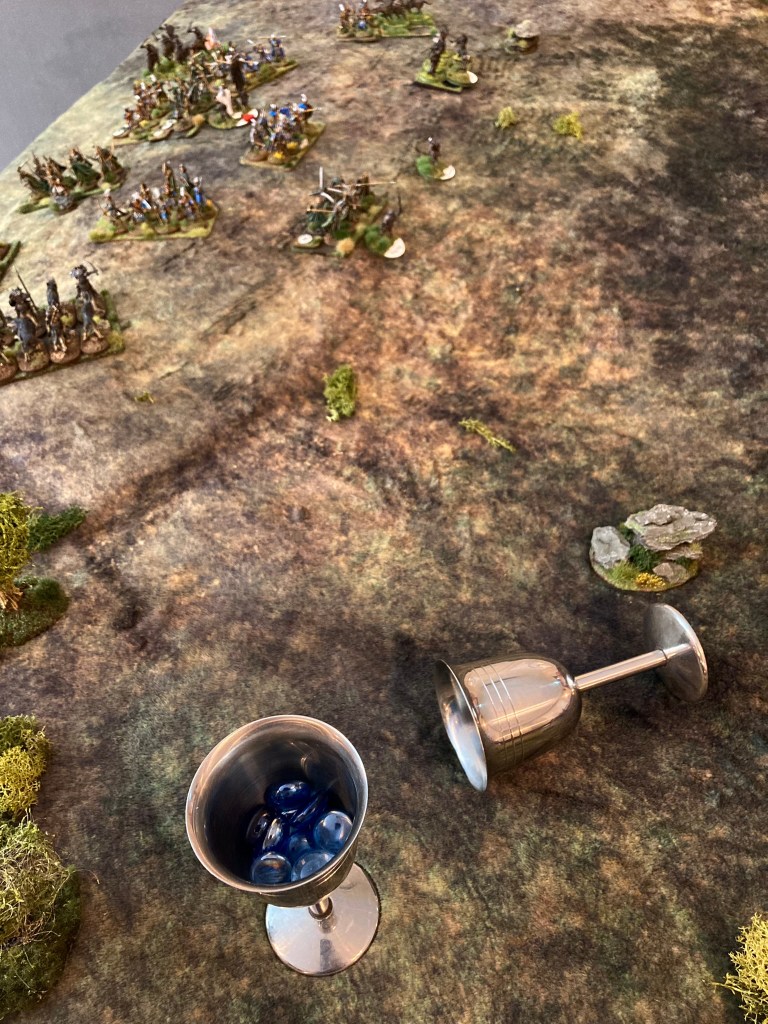
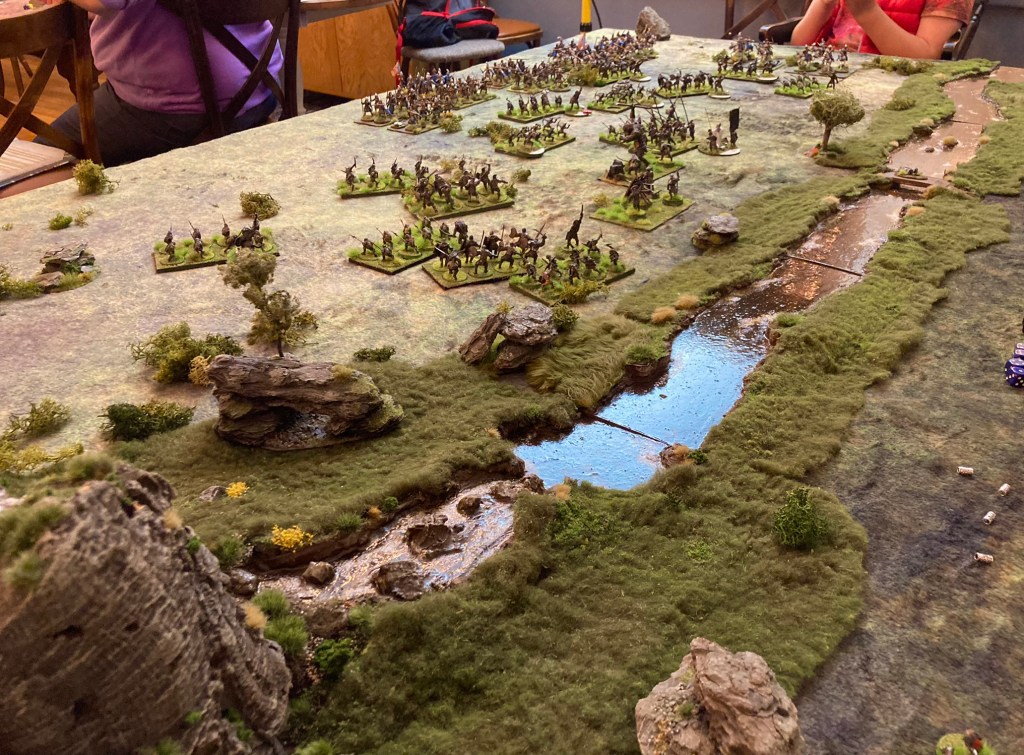
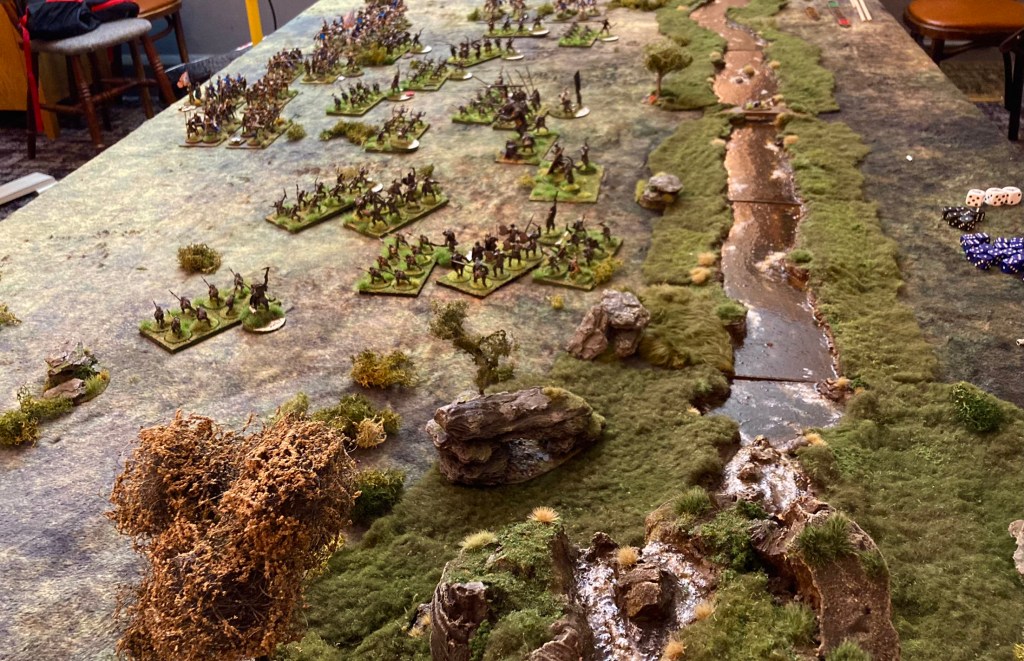
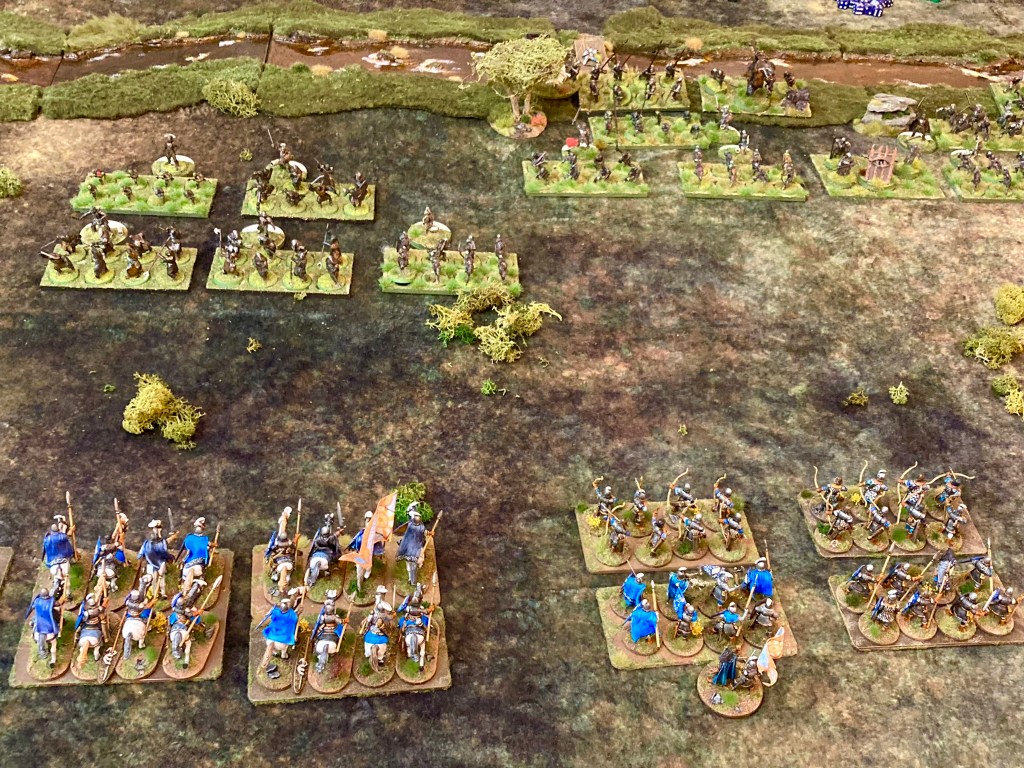
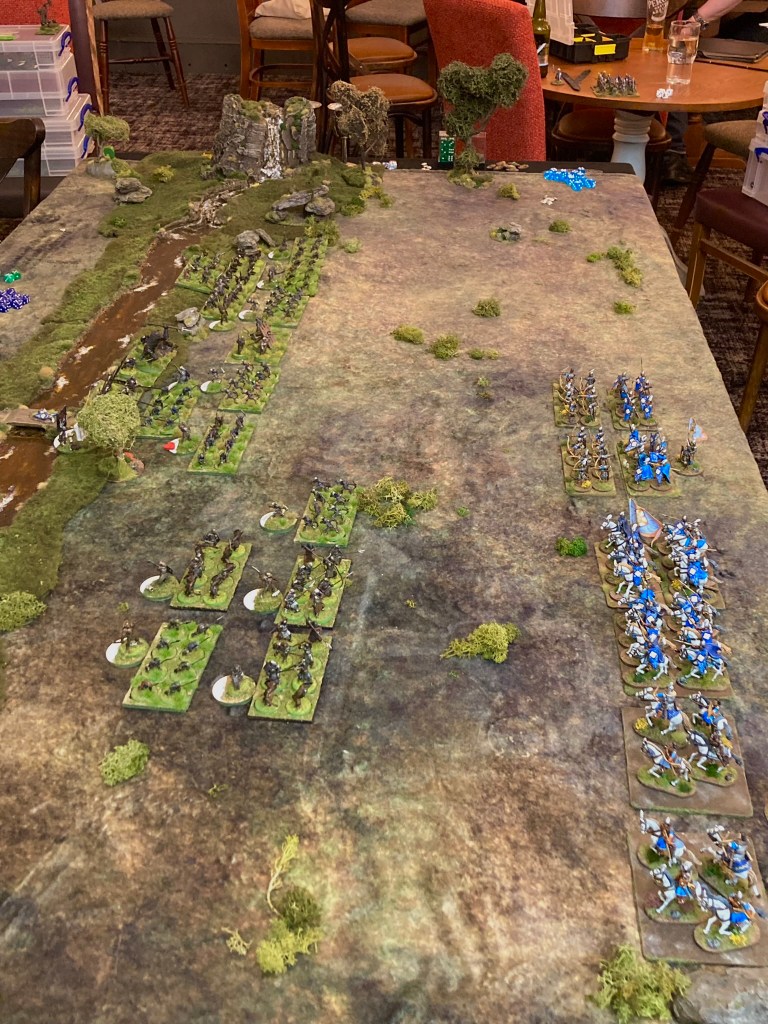
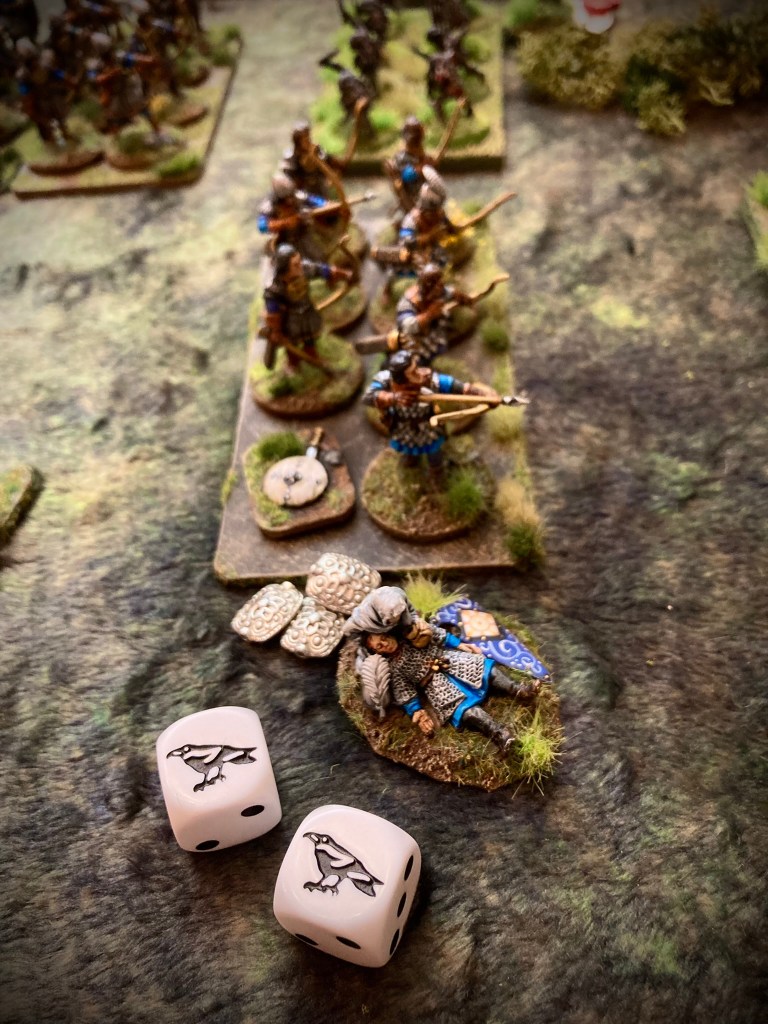
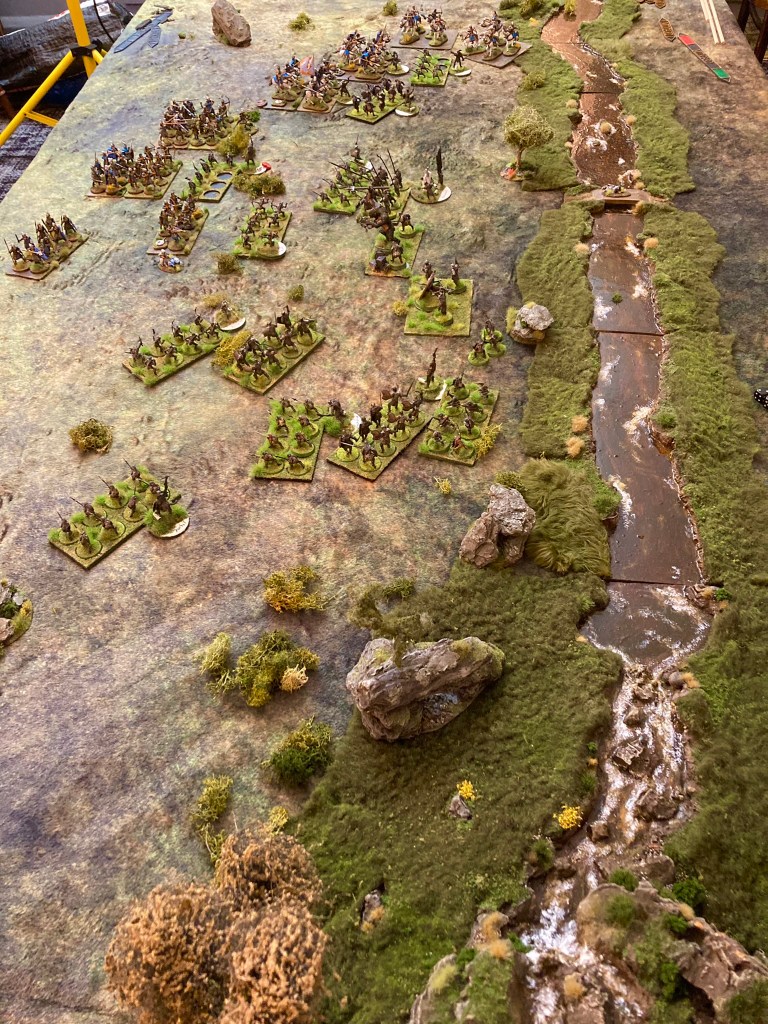
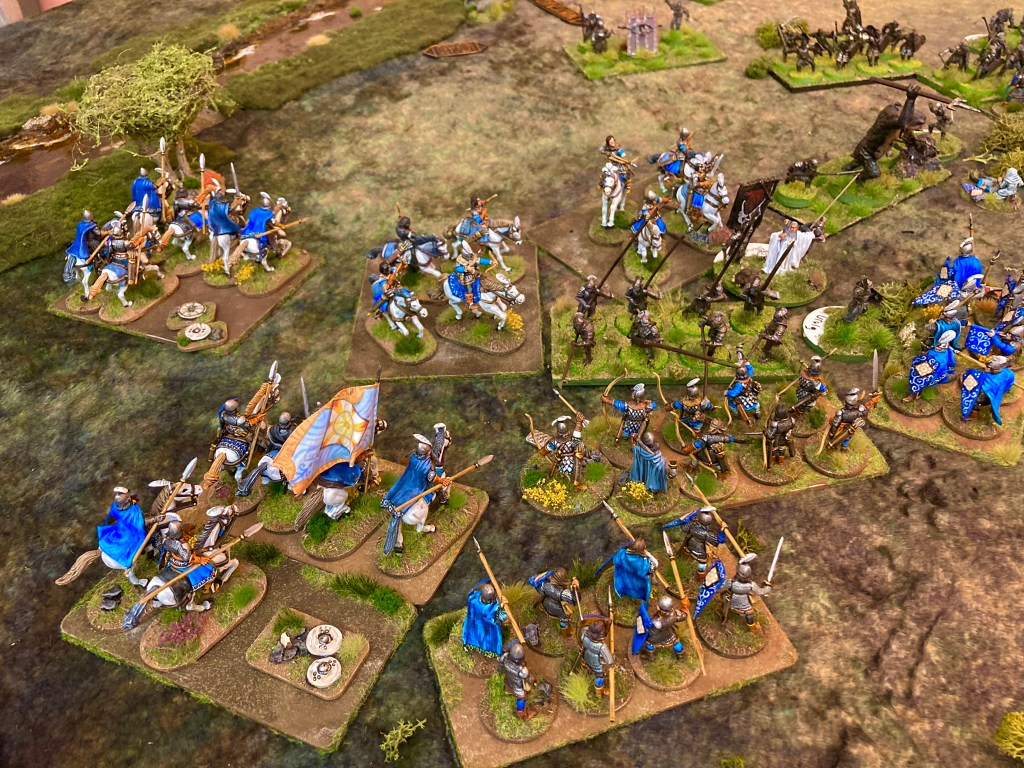
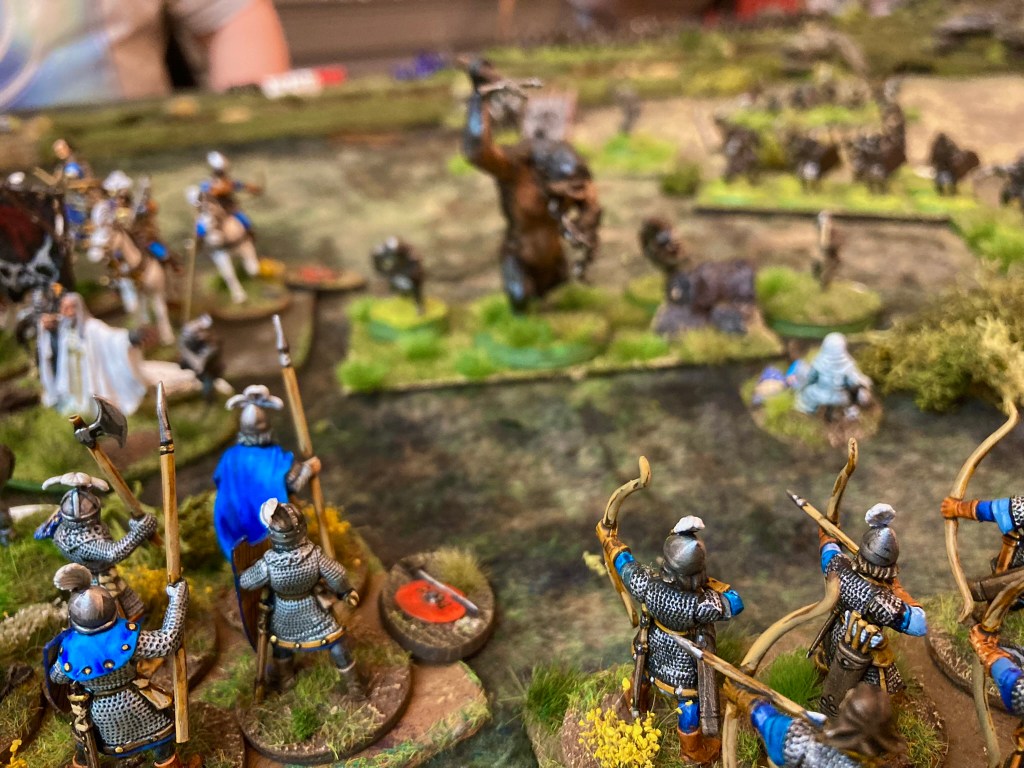
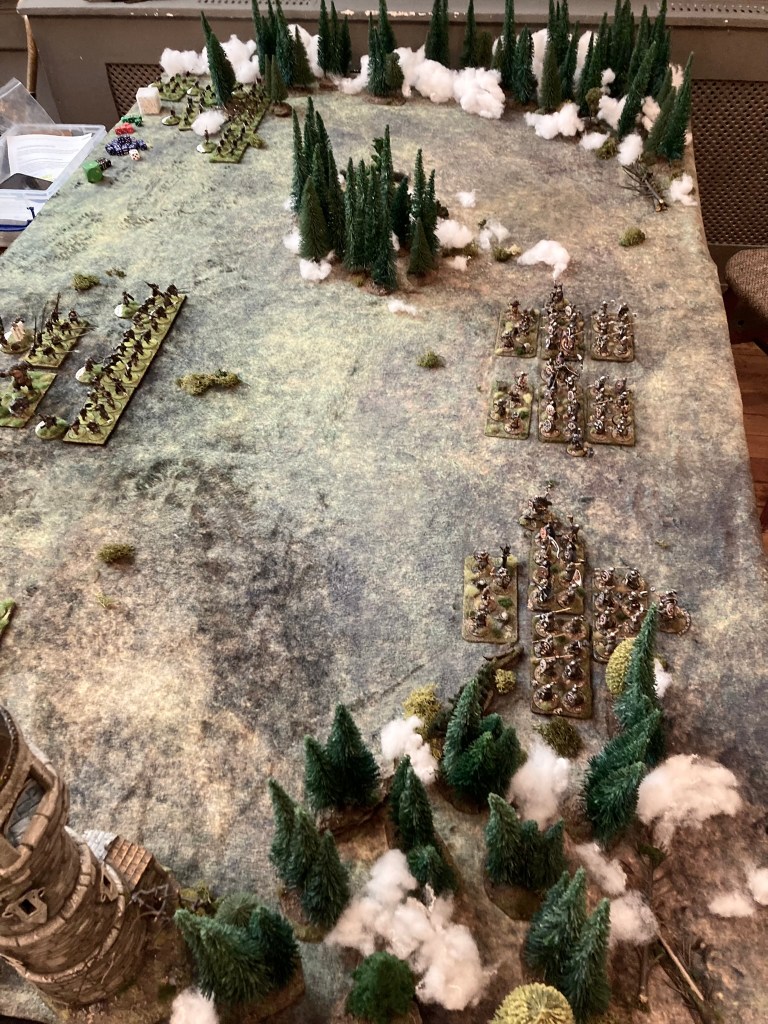
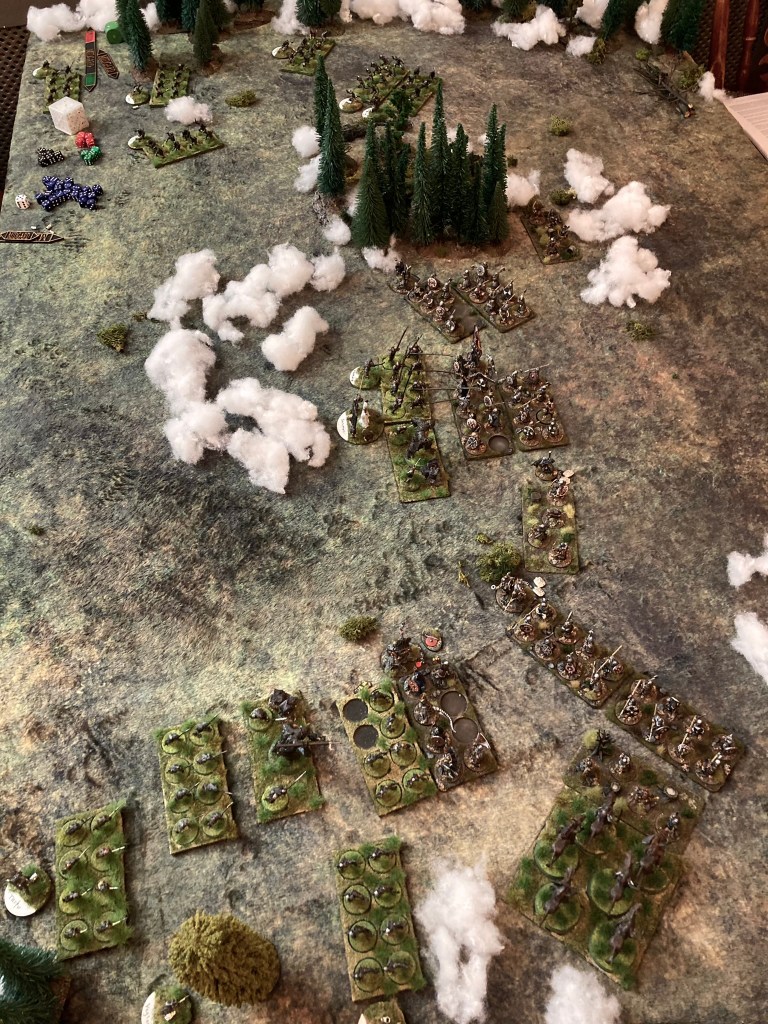
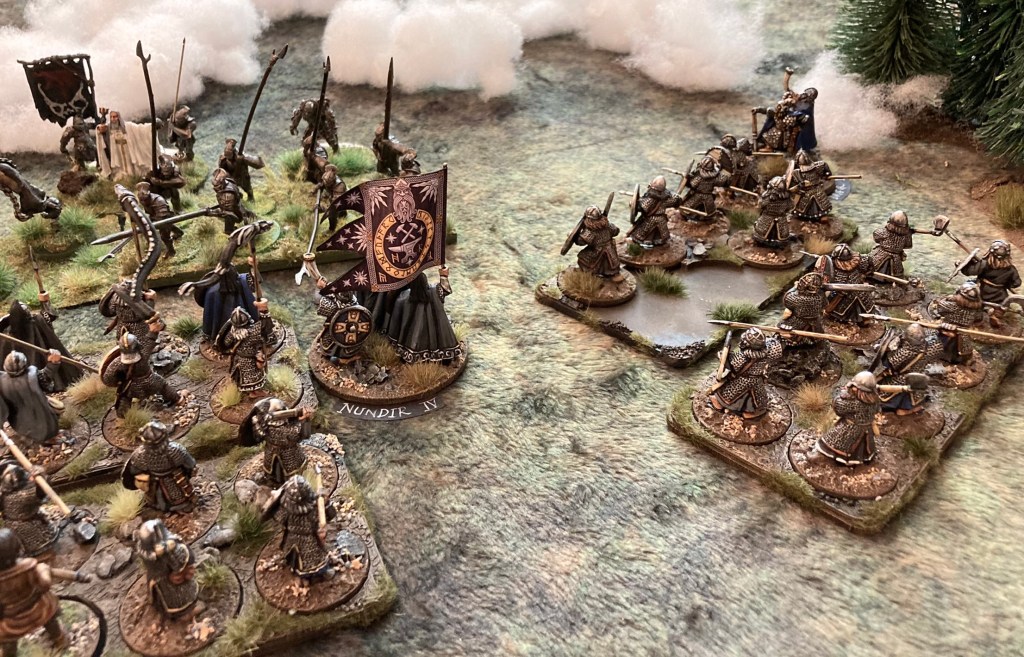
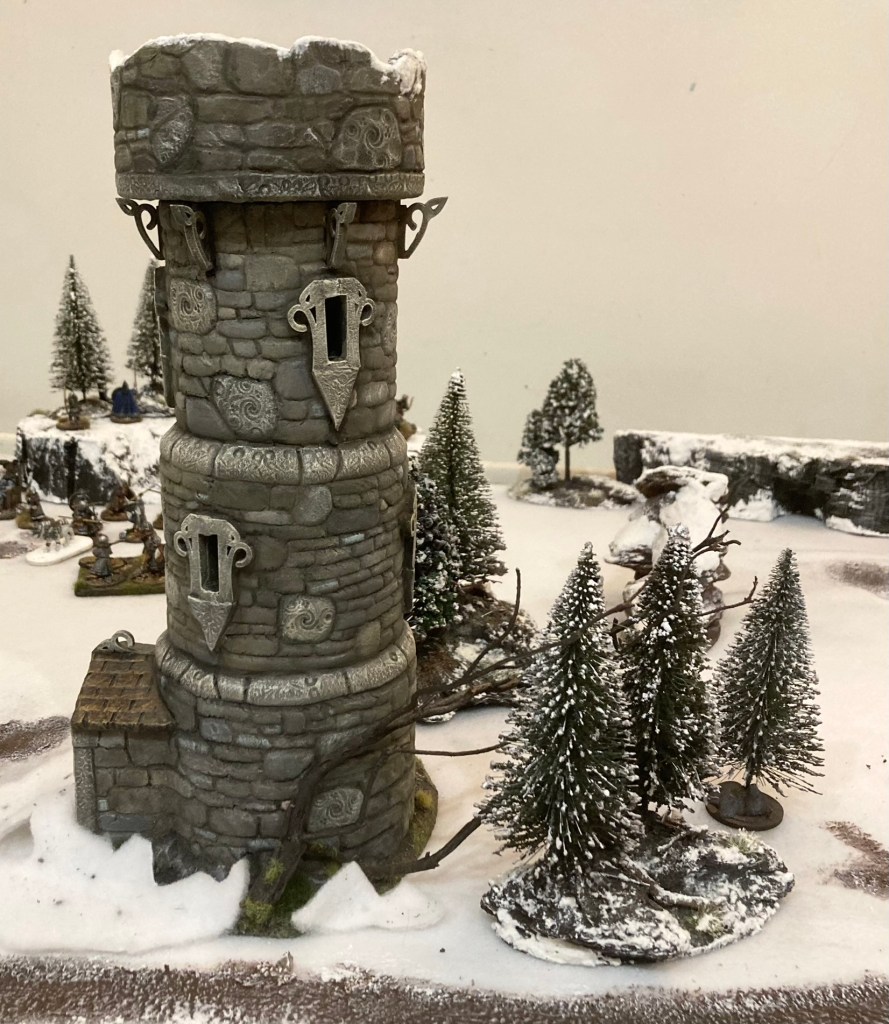
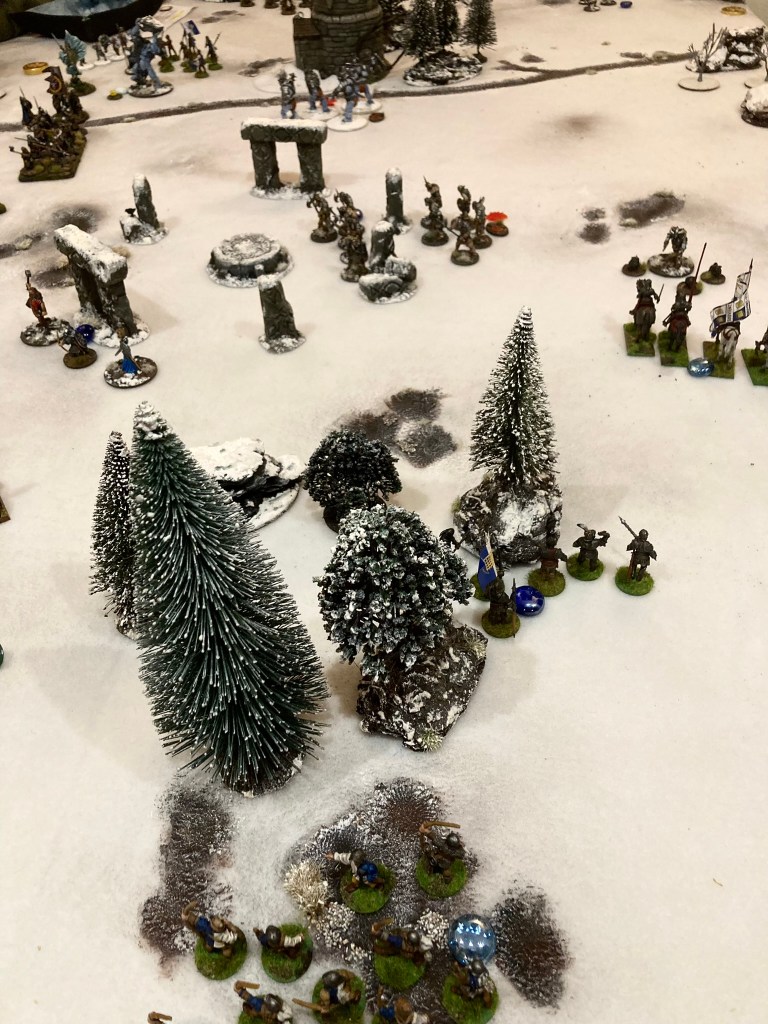
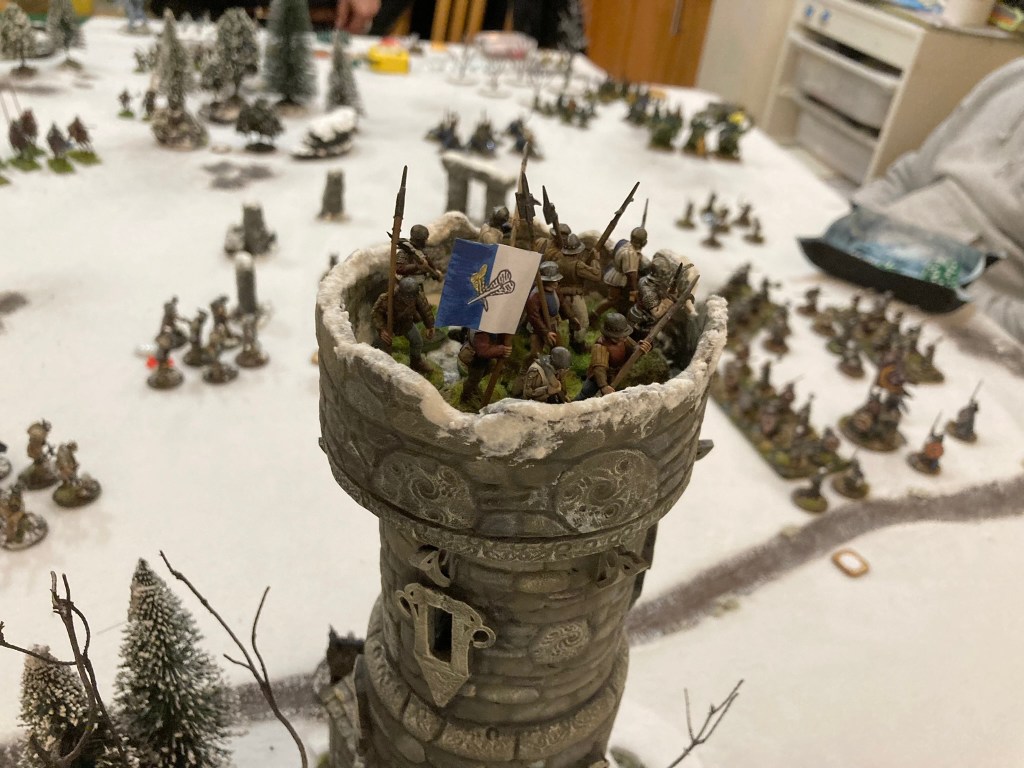
Anyway, I decided to conclude the year with a festive game of Dragon Rampant. This was a chance to pull out the snowy terrain cloth which I’m planning to feature in next year’s Midgard games at shows. I threw together a paper-thin excuse for a fantasy scenario (different retinues compete to find the Elf King’s 9 fabled crystals while avoiding the Elf King’s ghost and various wandering beasts). Dragon Rampant was the rules set of choice, being fast and easy for this kind of large skirmish.
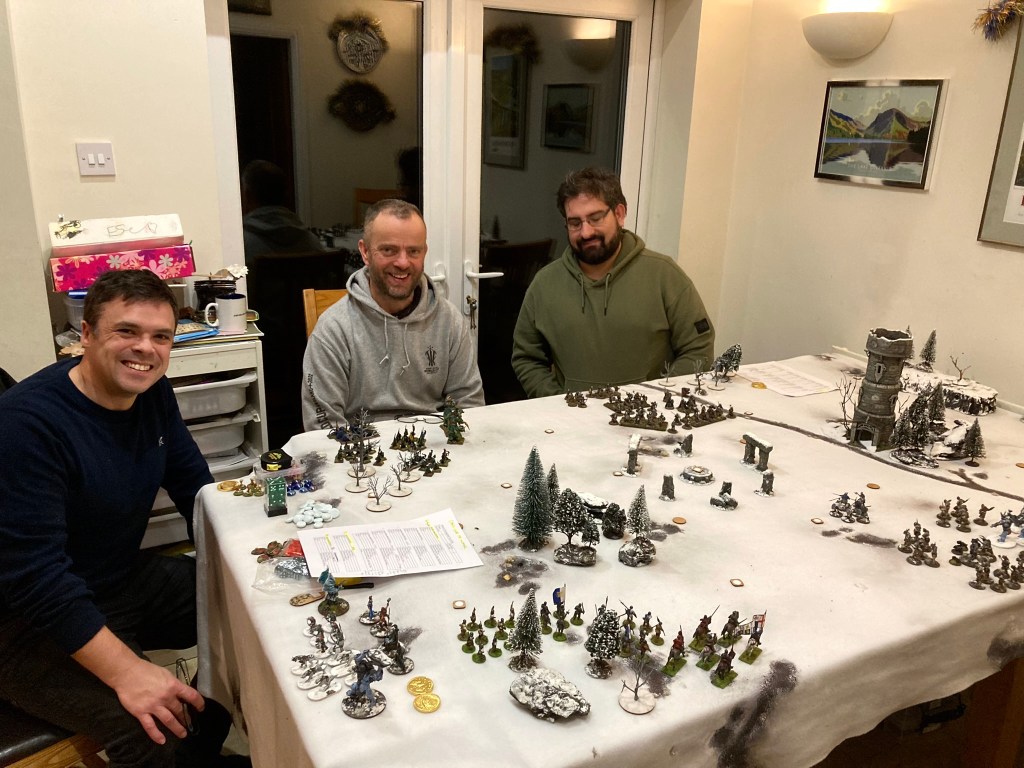
Everyone brought a 24 point retinue:
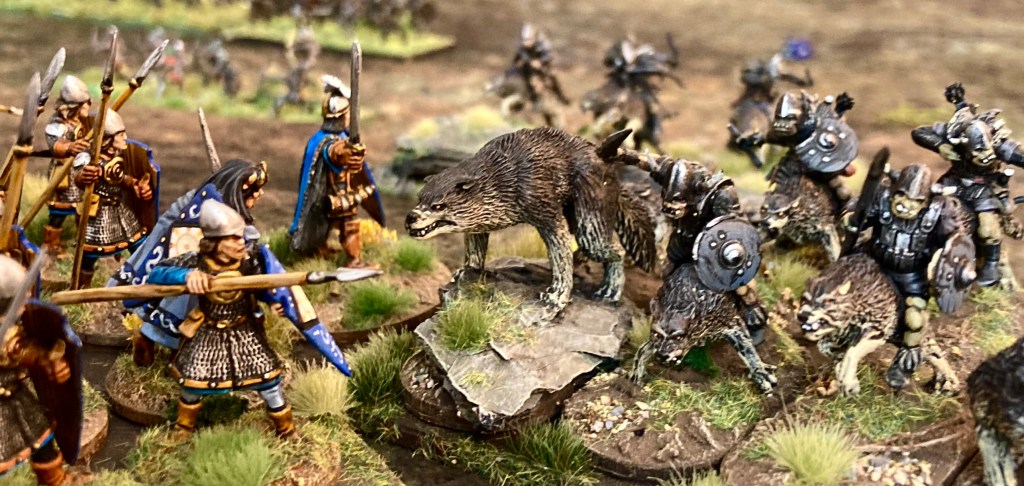
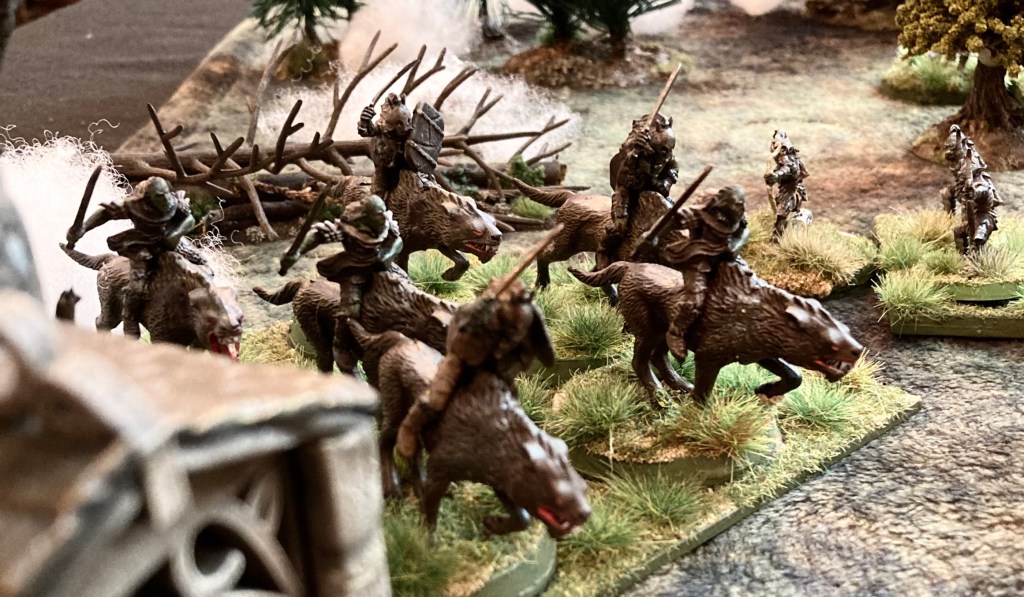
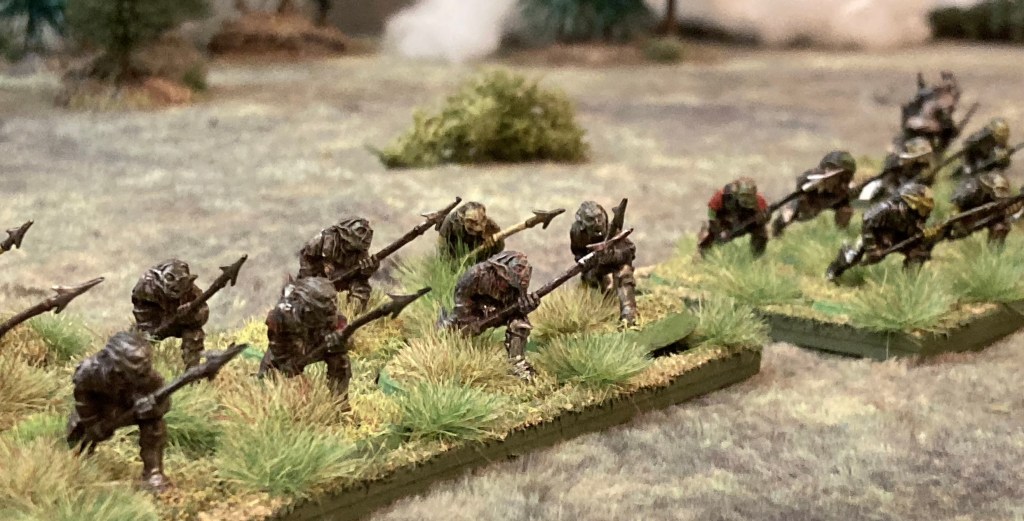
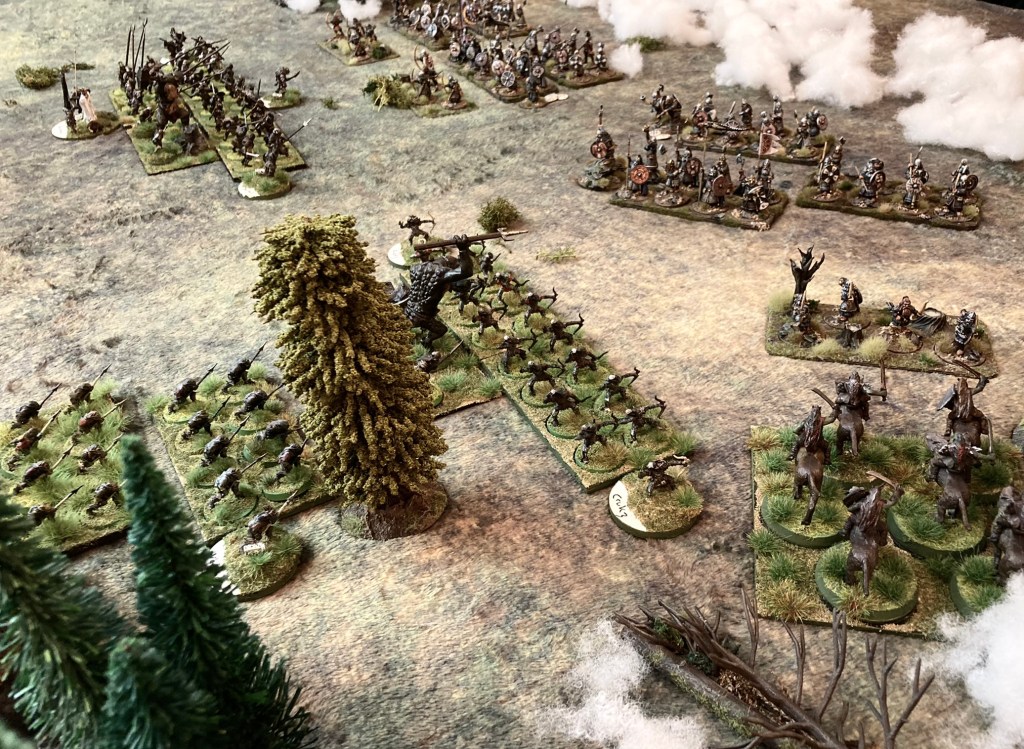
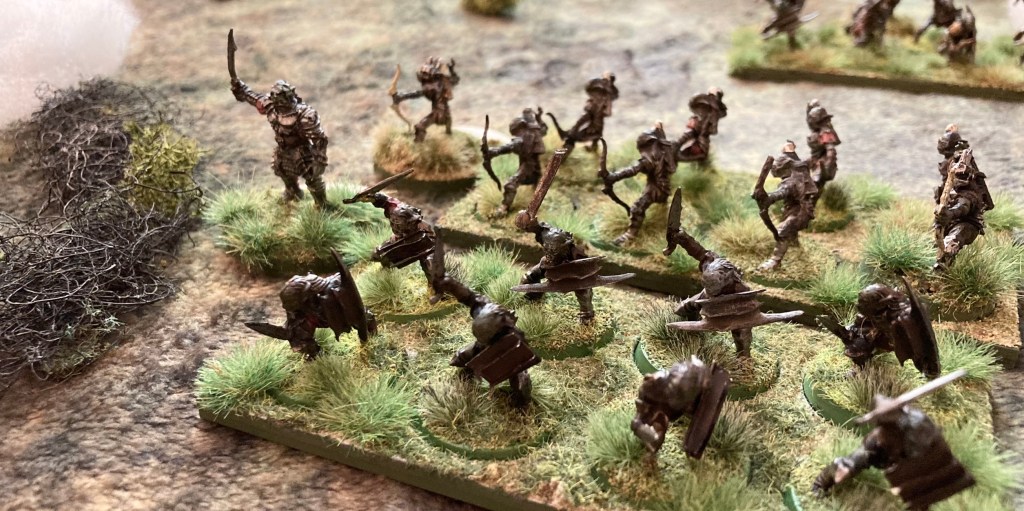
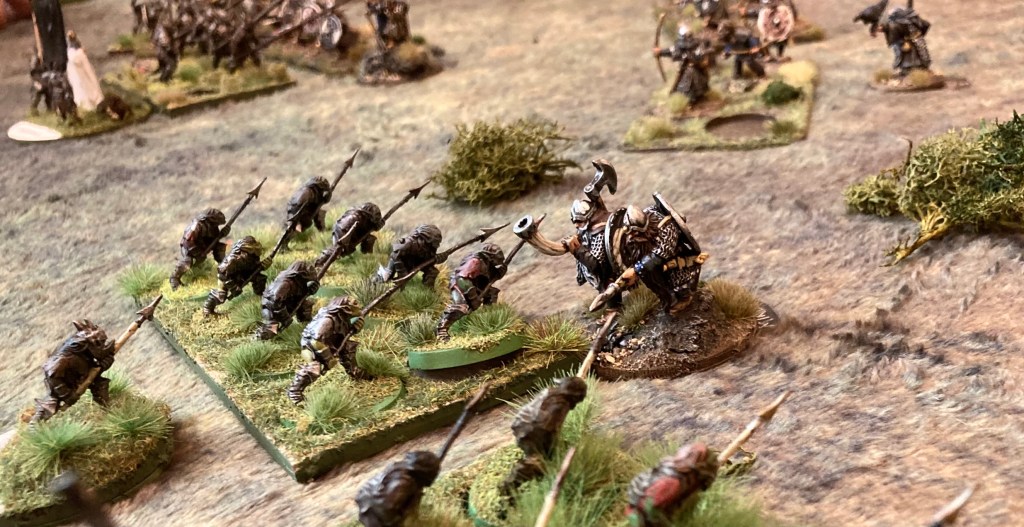
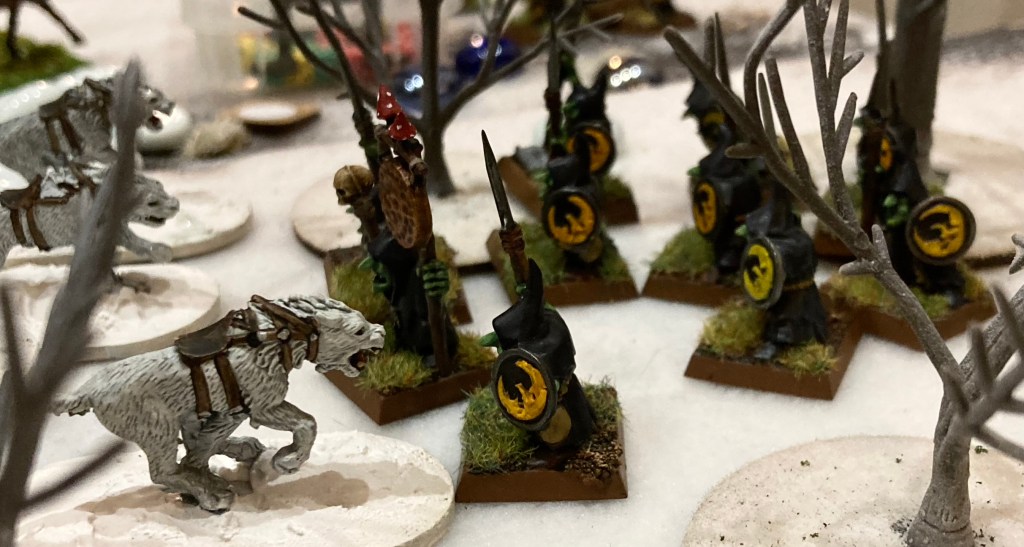
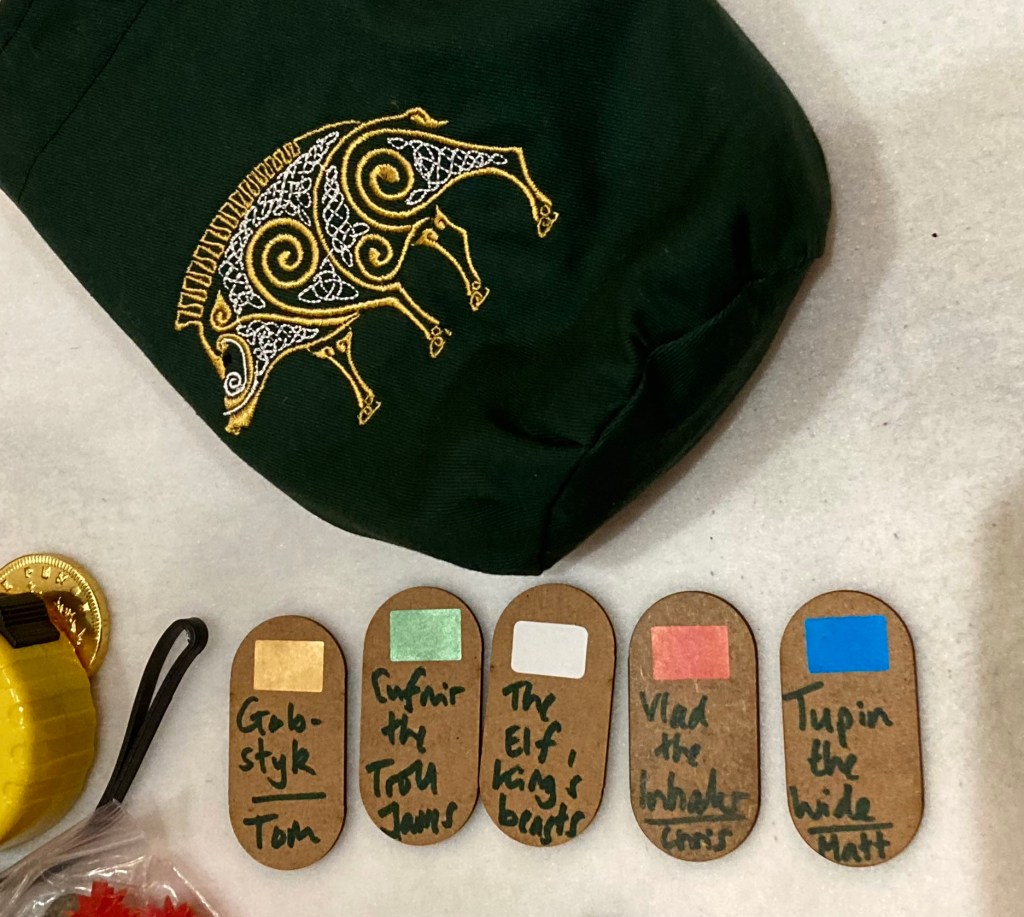
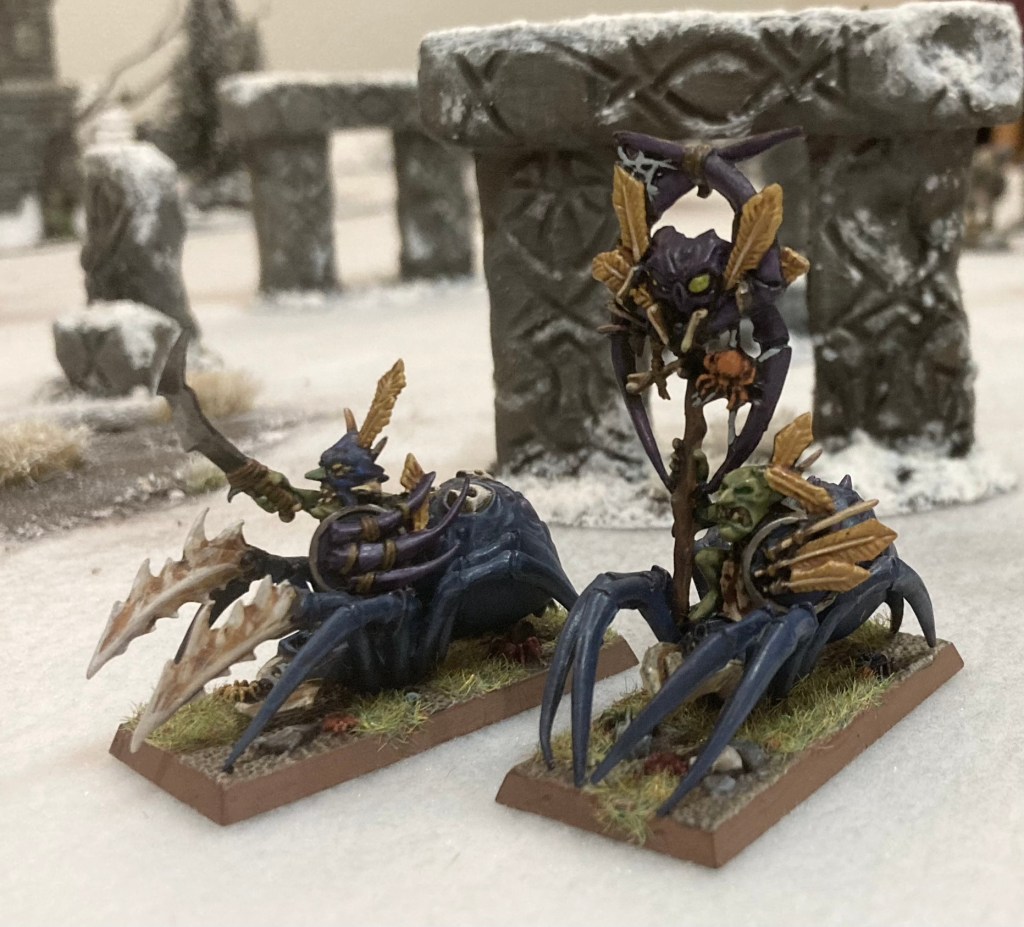
Tom – Gobstyk and his Night Goblins
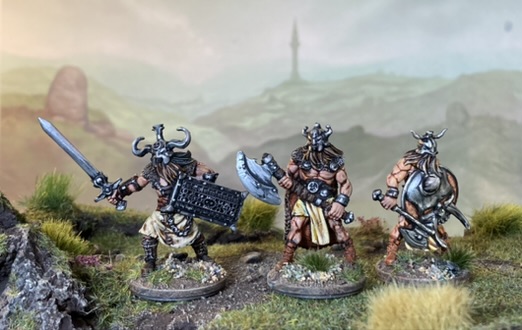
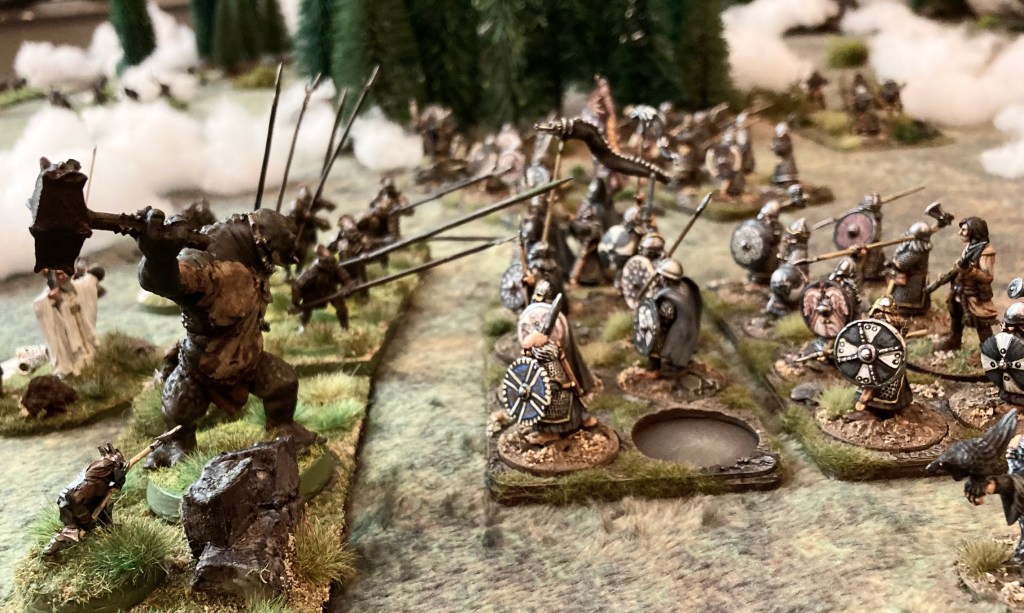
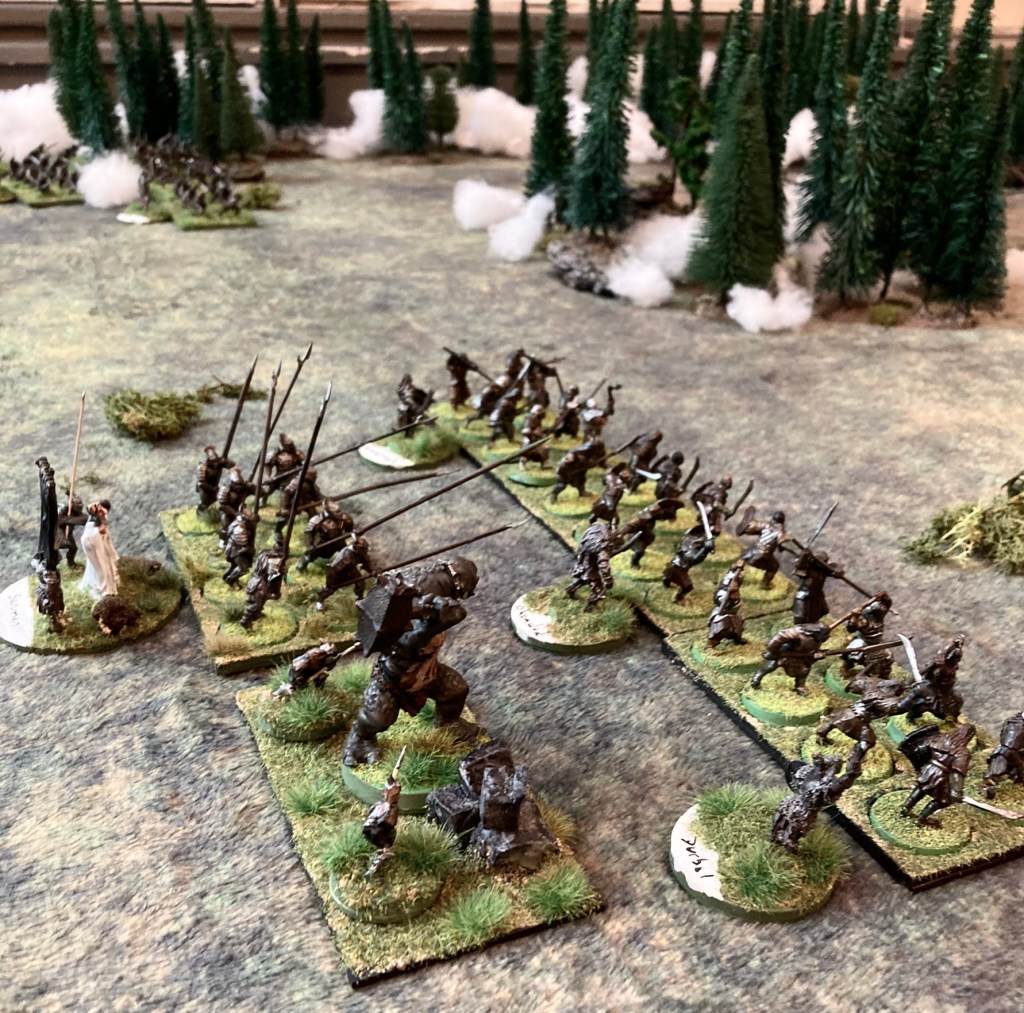
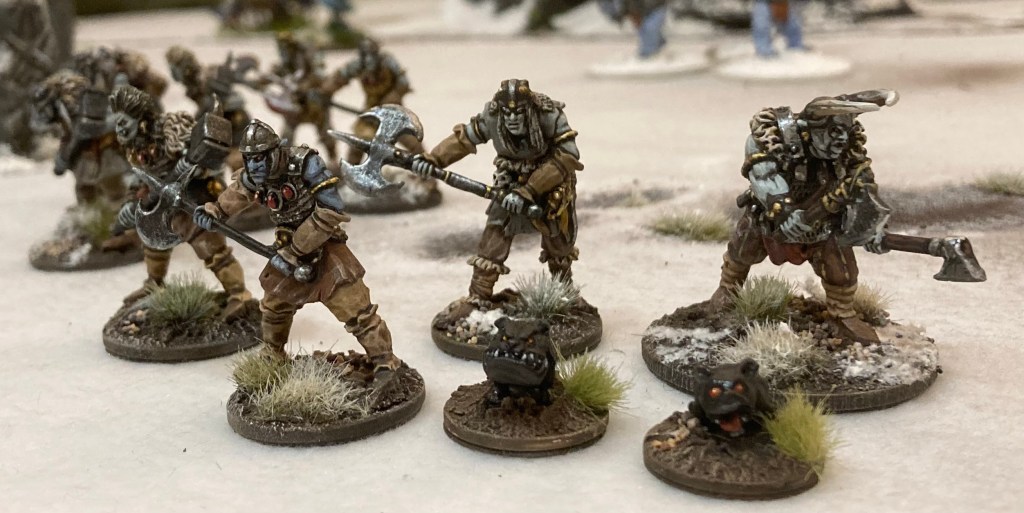
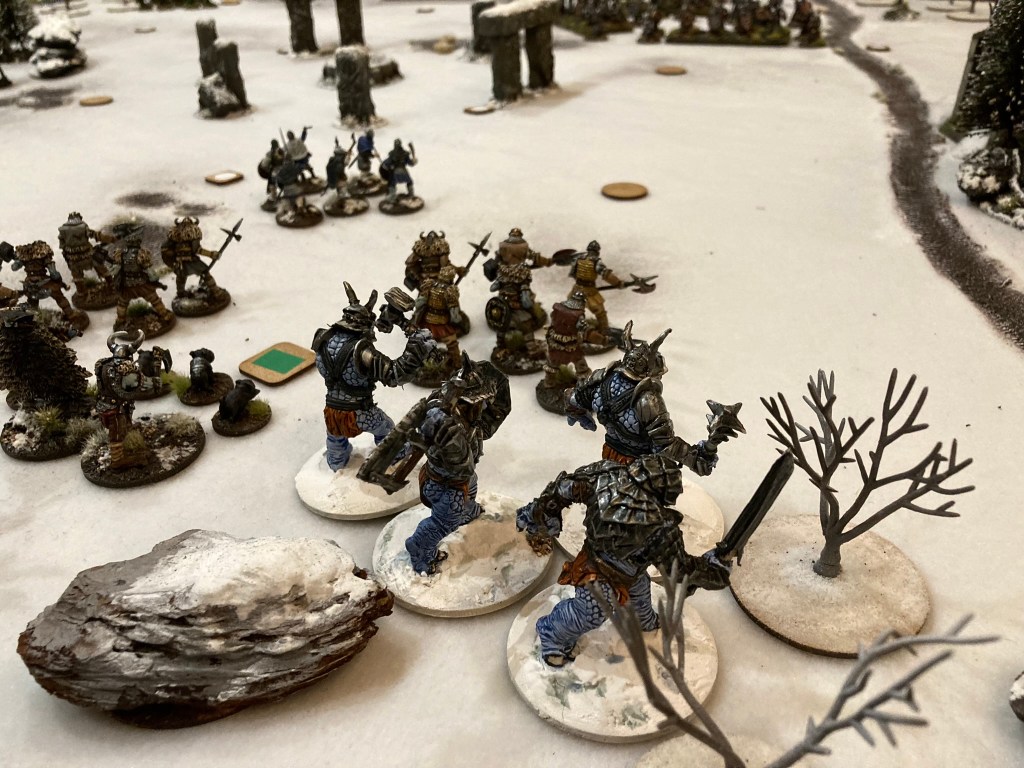
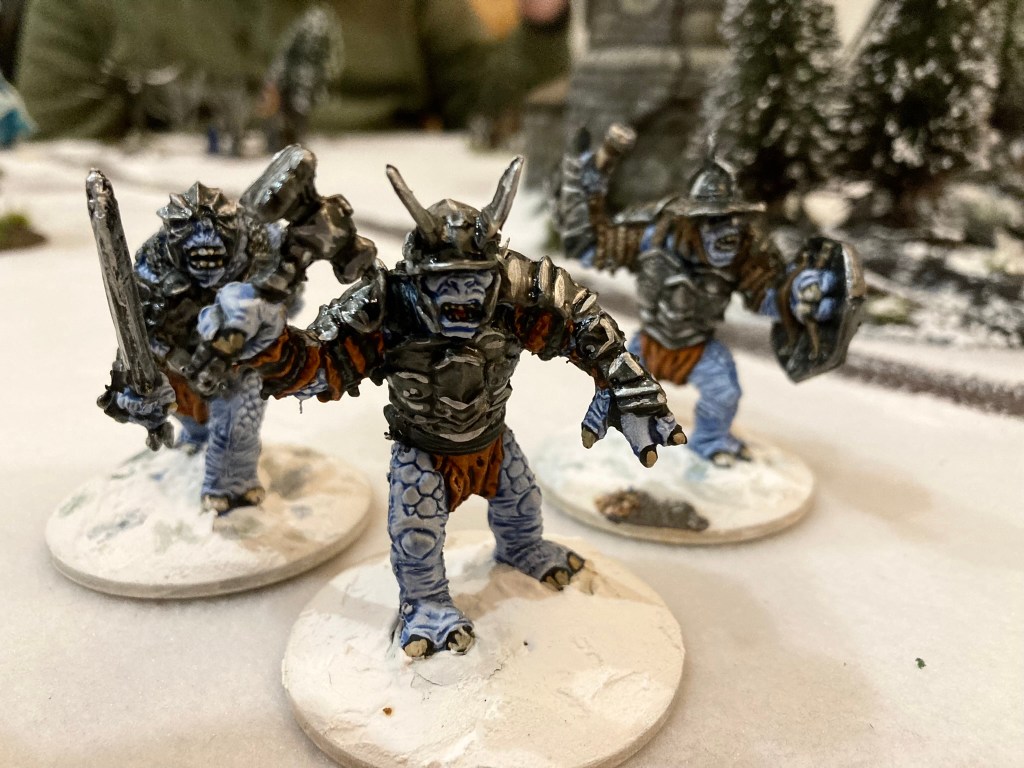
James – Cufnir the Betrayer and his Trolls
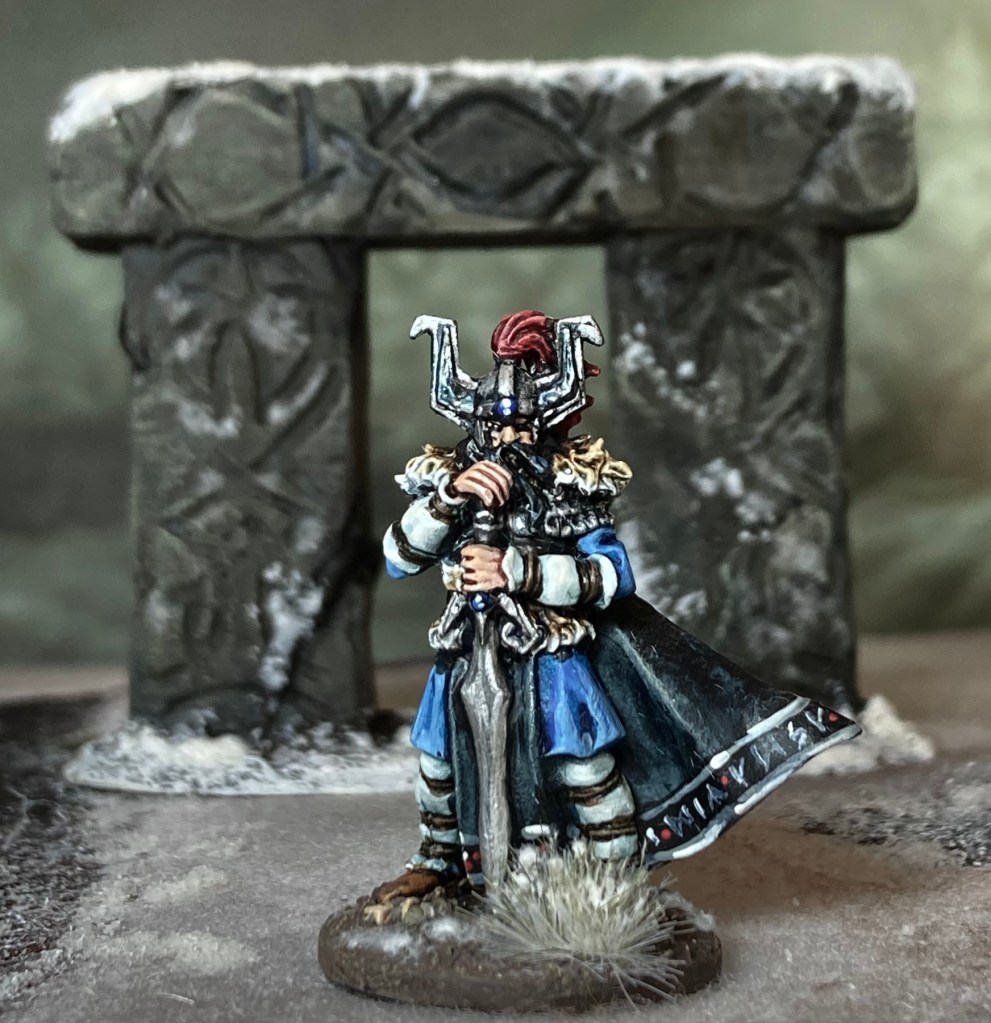
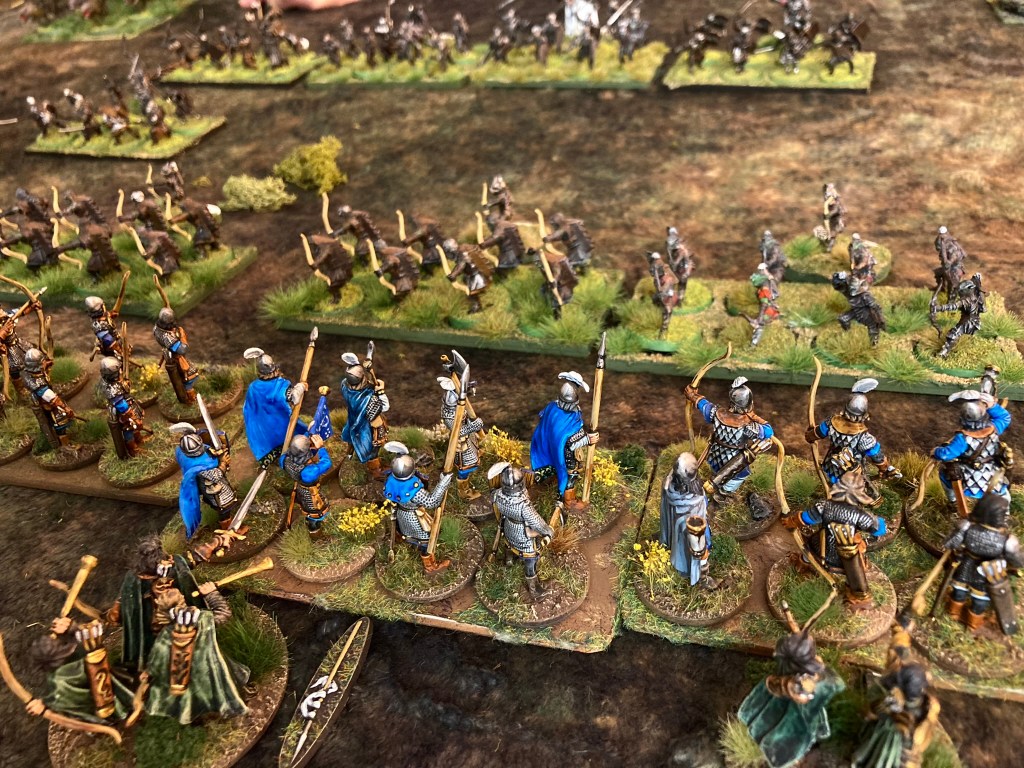
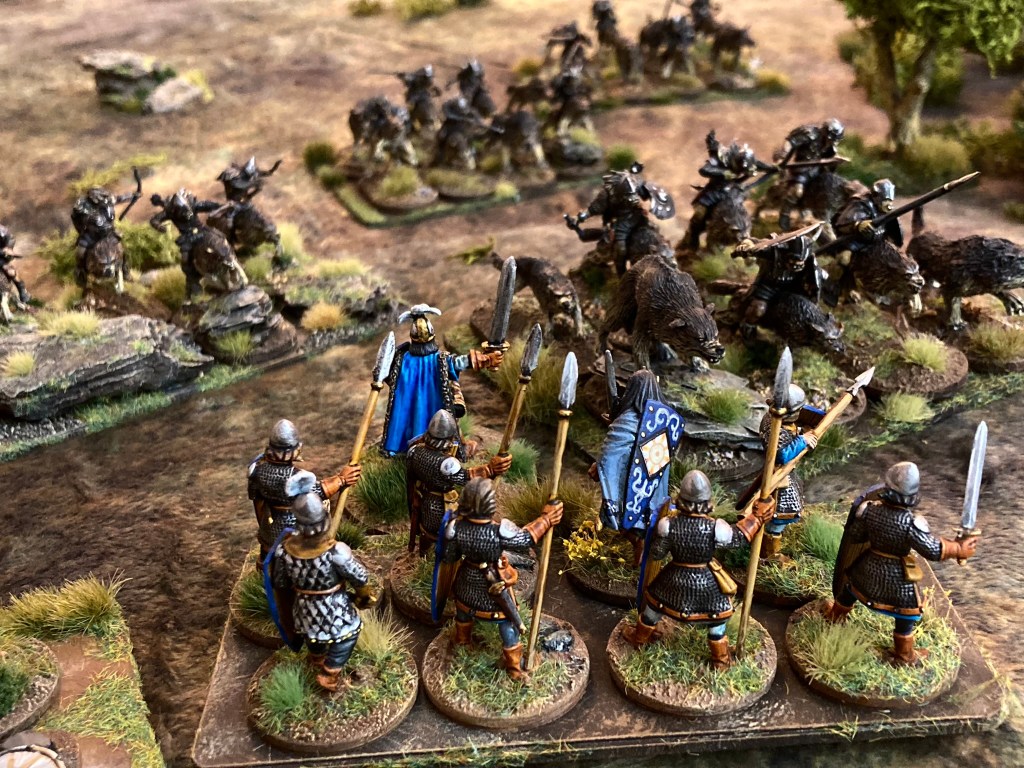
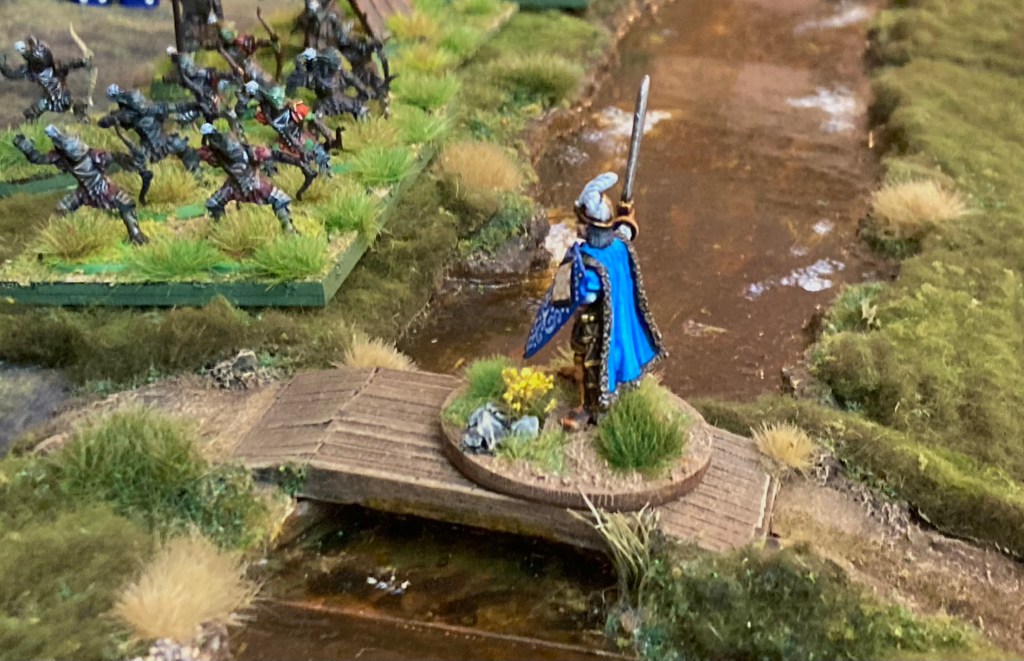
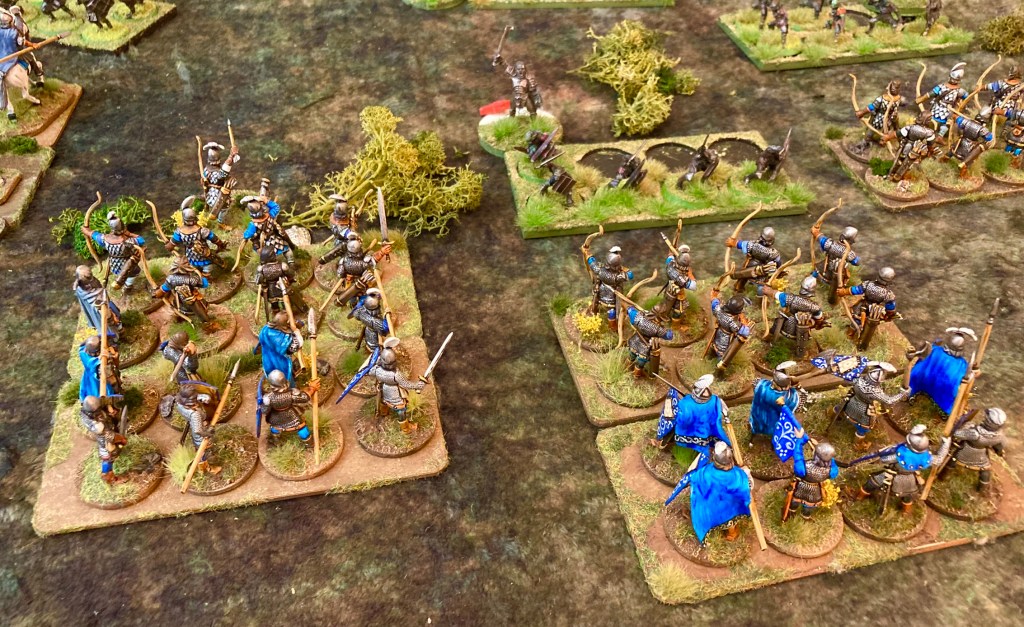
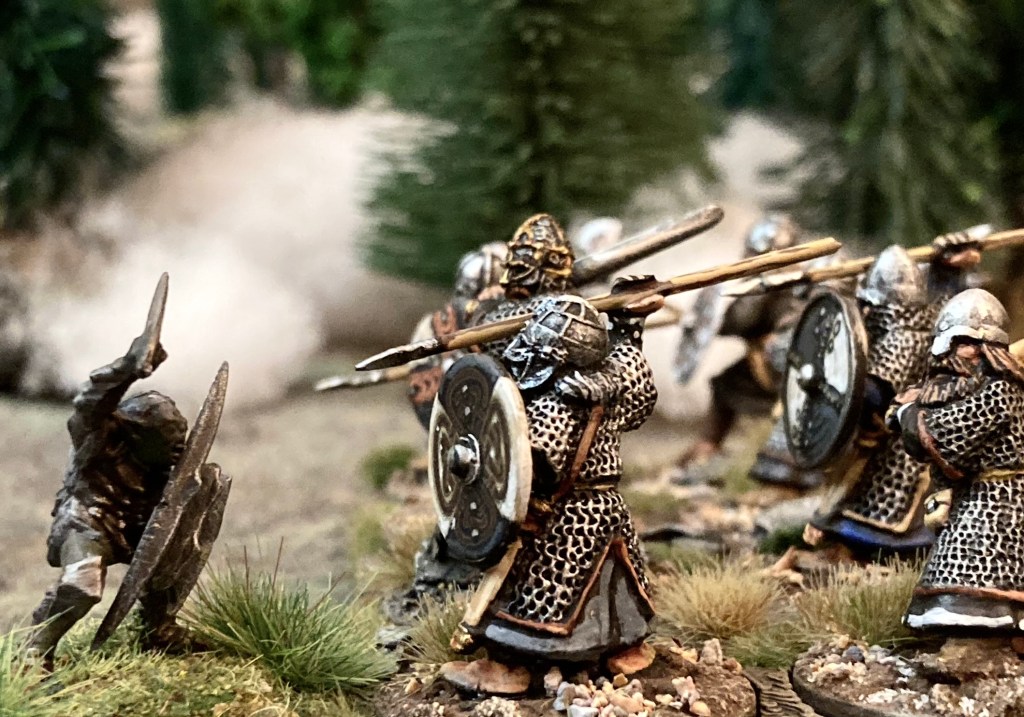
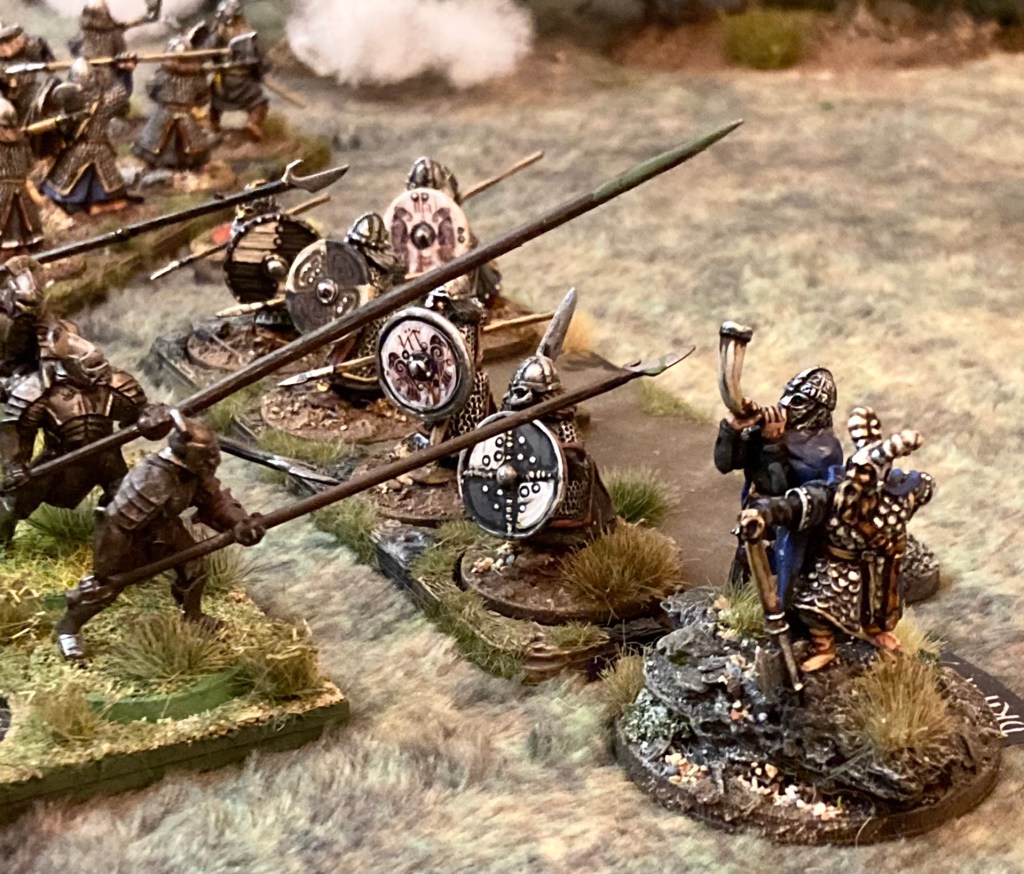
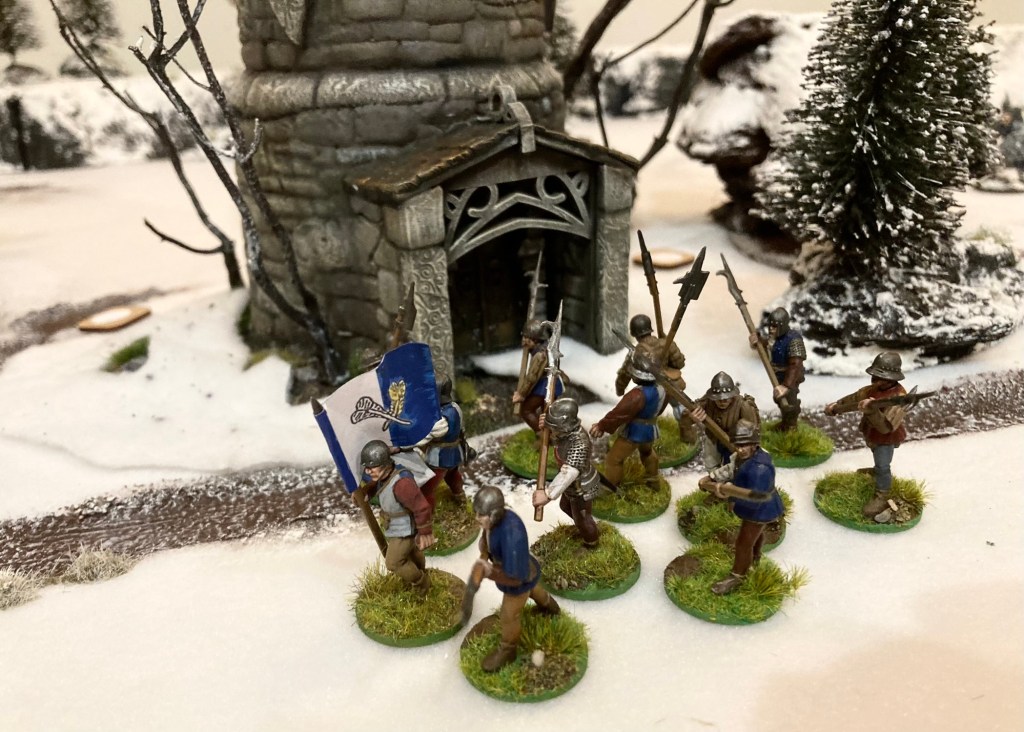
Chris – Lord Vlad the Inhaler and his clanking Men at Arms
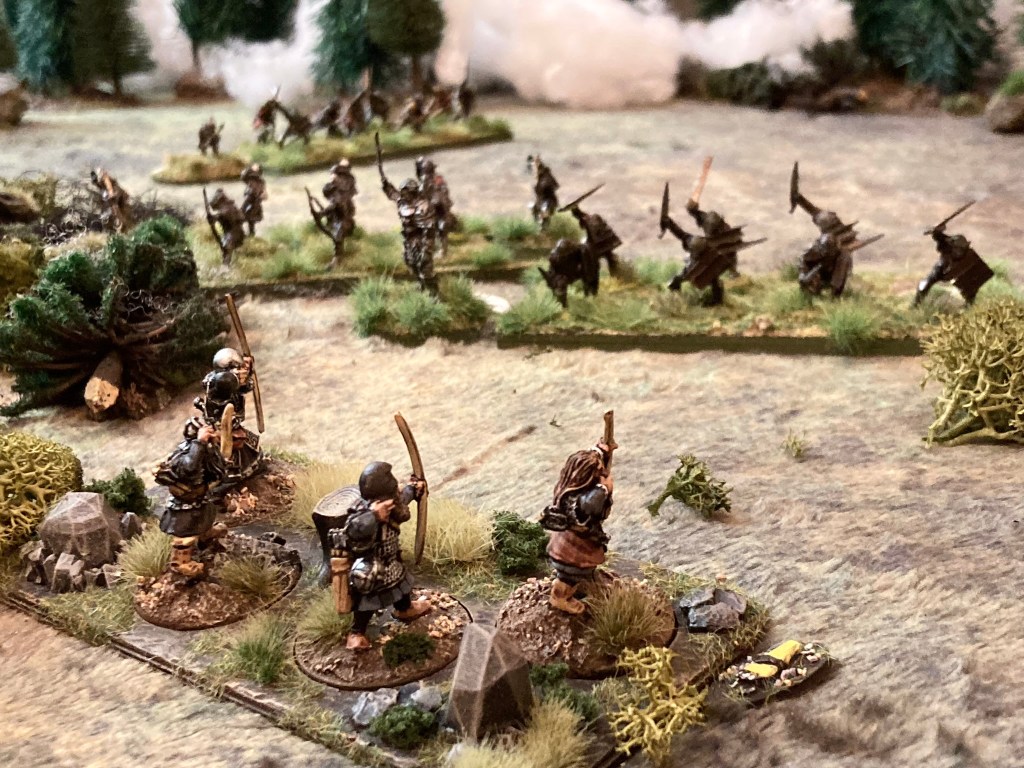
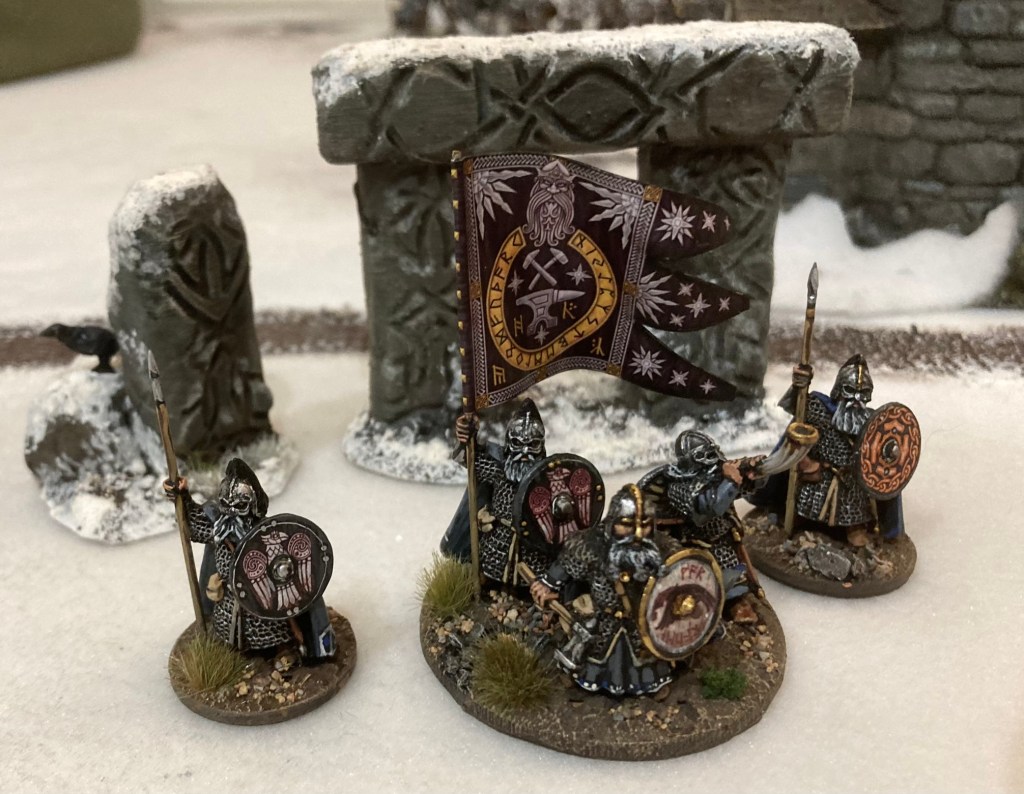
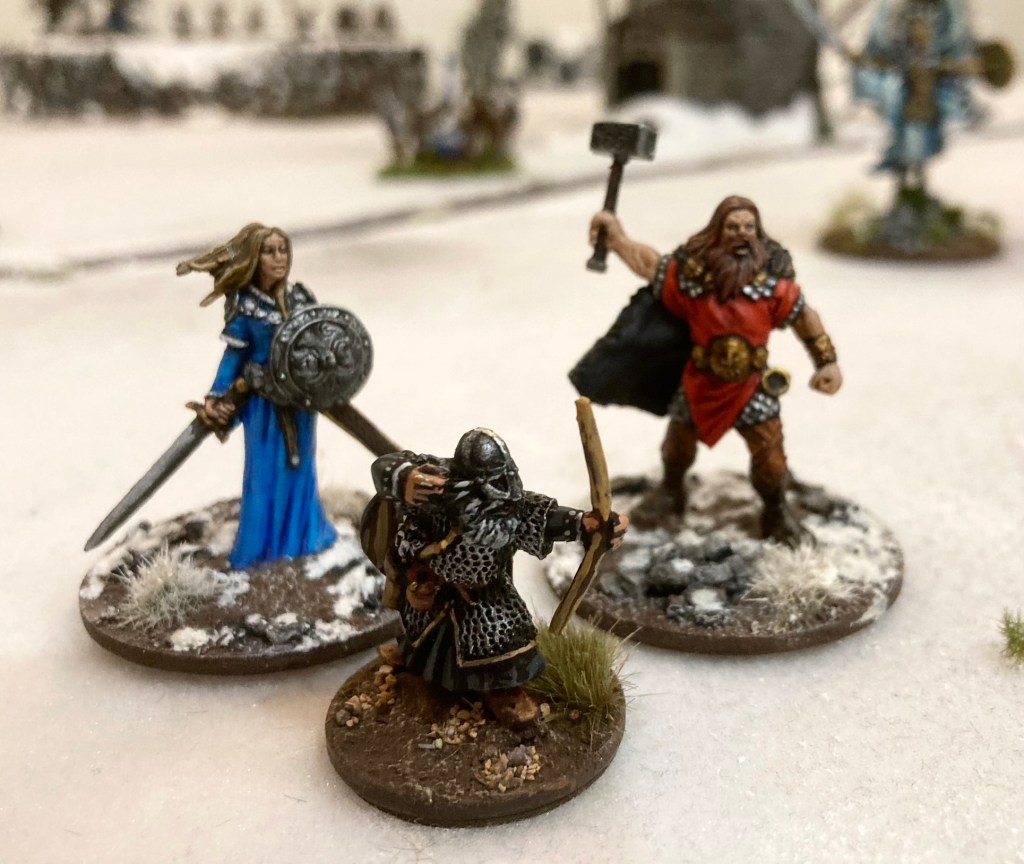
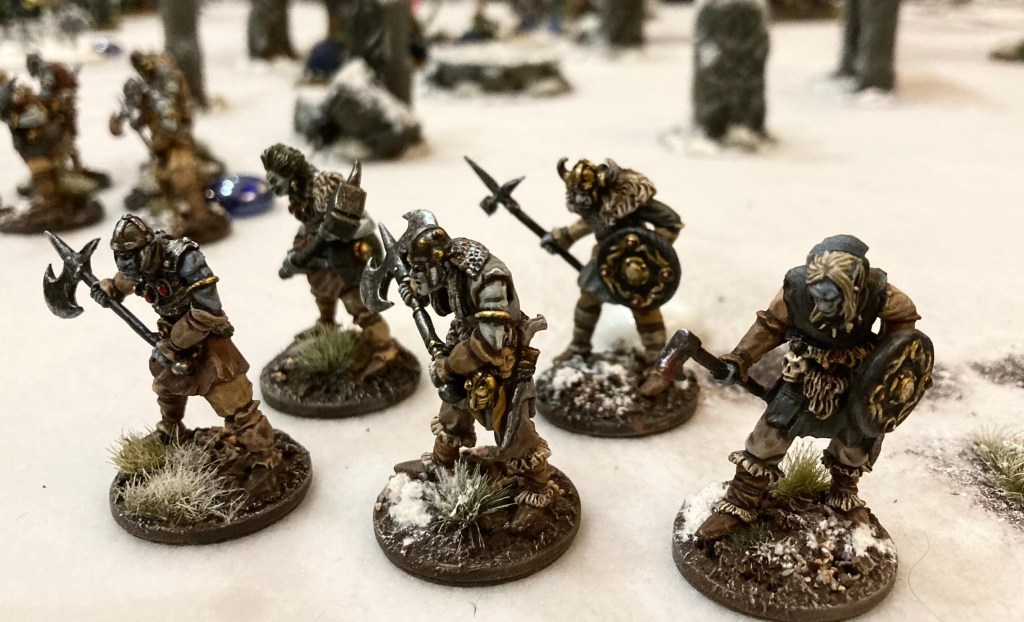
Matt – Tupin the Wide and his Dwarven Host
Fun as Dragon Rampant is, my experience of multiplayer games is that players can spend a while waiting for their turn, especially if failing multiple activation rolls. To counter this, we made a couple of changes:
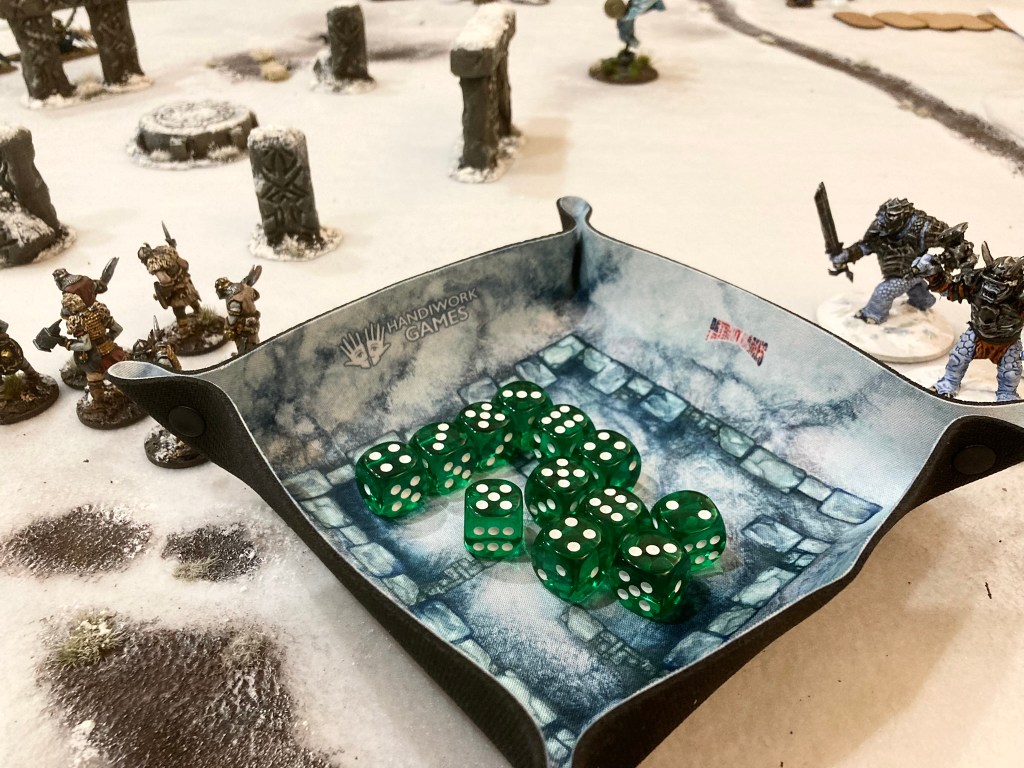
- Each player was allowed two rerolls of failed activation tests during the game – being Christmas, these took the form of chocolate coins that had to be eaten to get the reroll.

2. The activation sequence each turn was randomised using a draw bag, with one token per player plus an extra one for the Elf King’s beasts. Each player attempted to activate a unit in turn until they had failed to activate or activated all their units. This meant that play switched very quickly between the players.
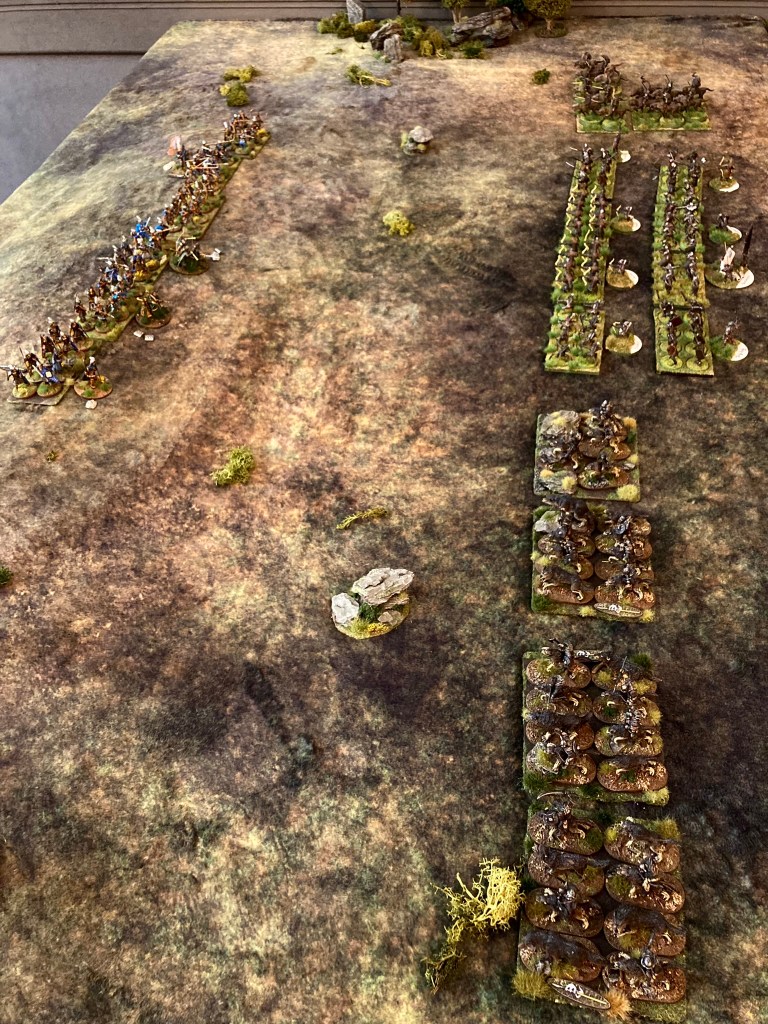
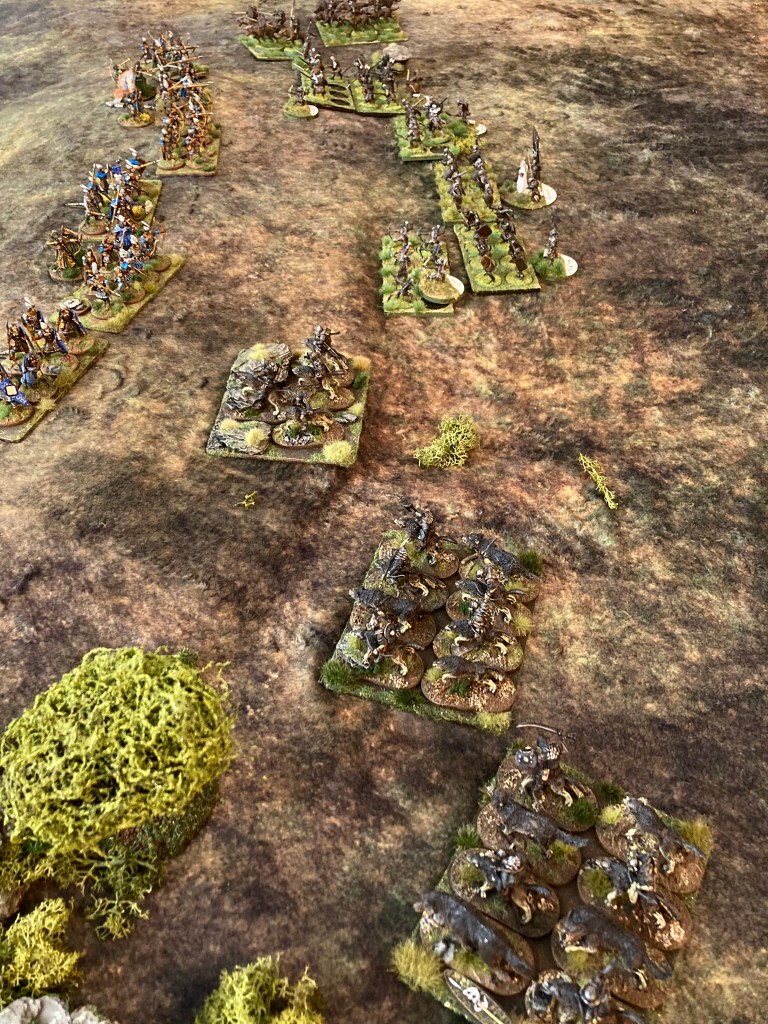
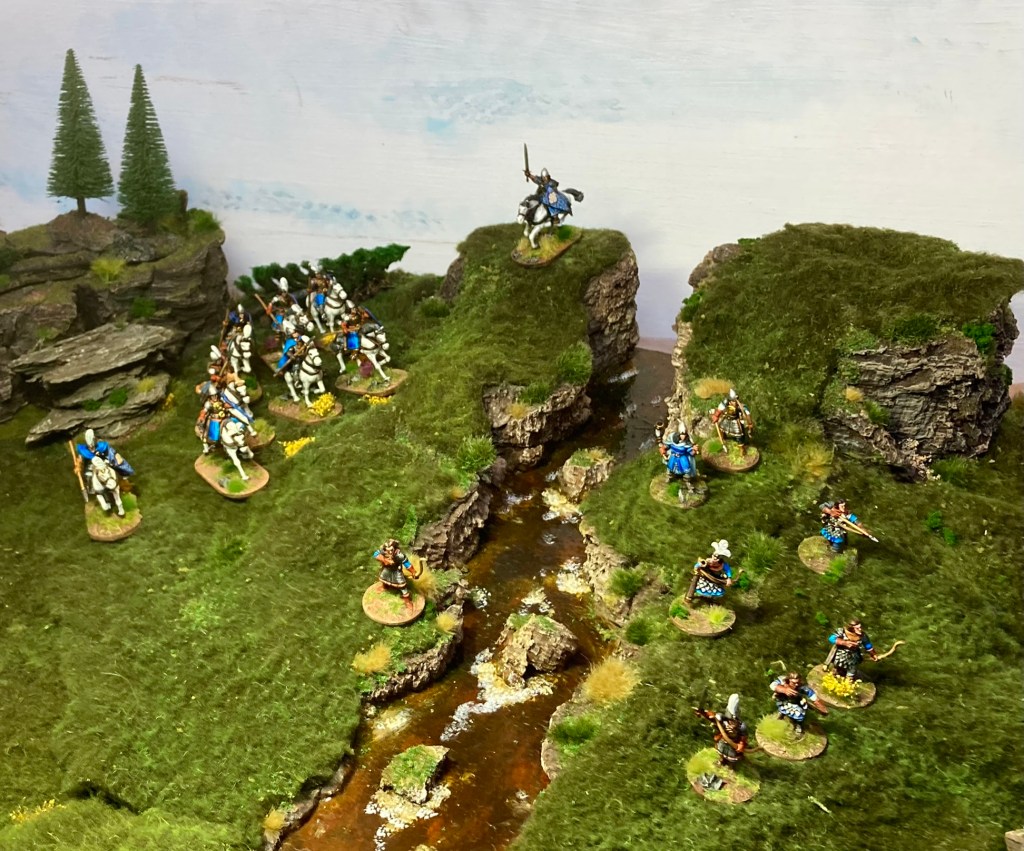
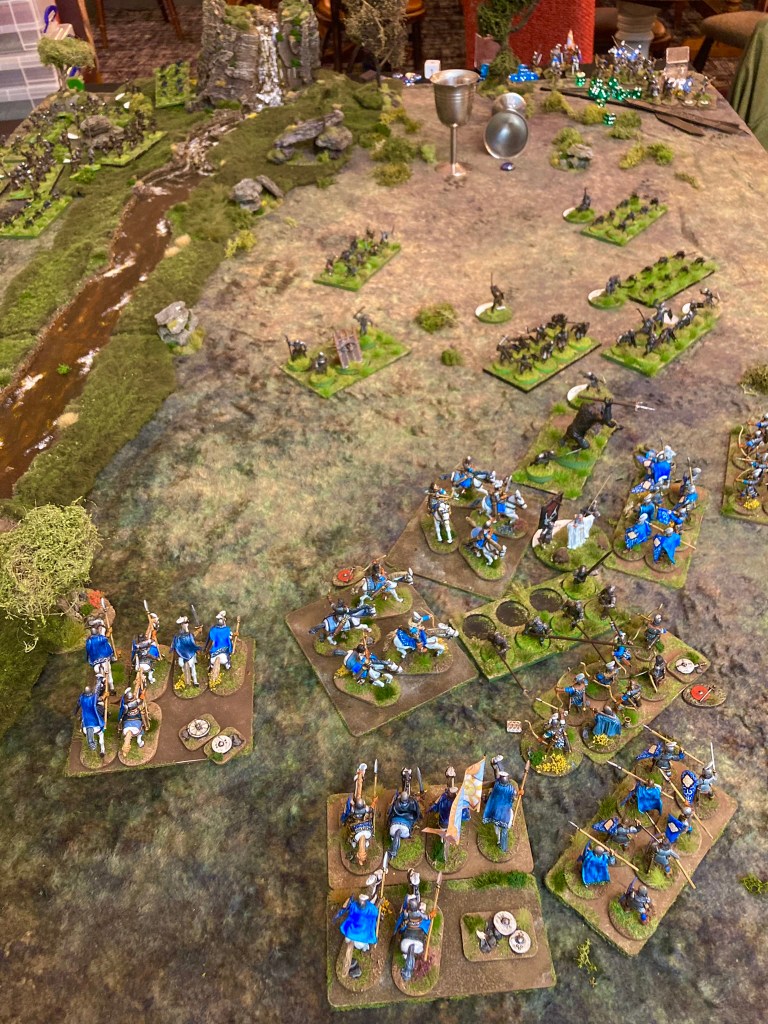
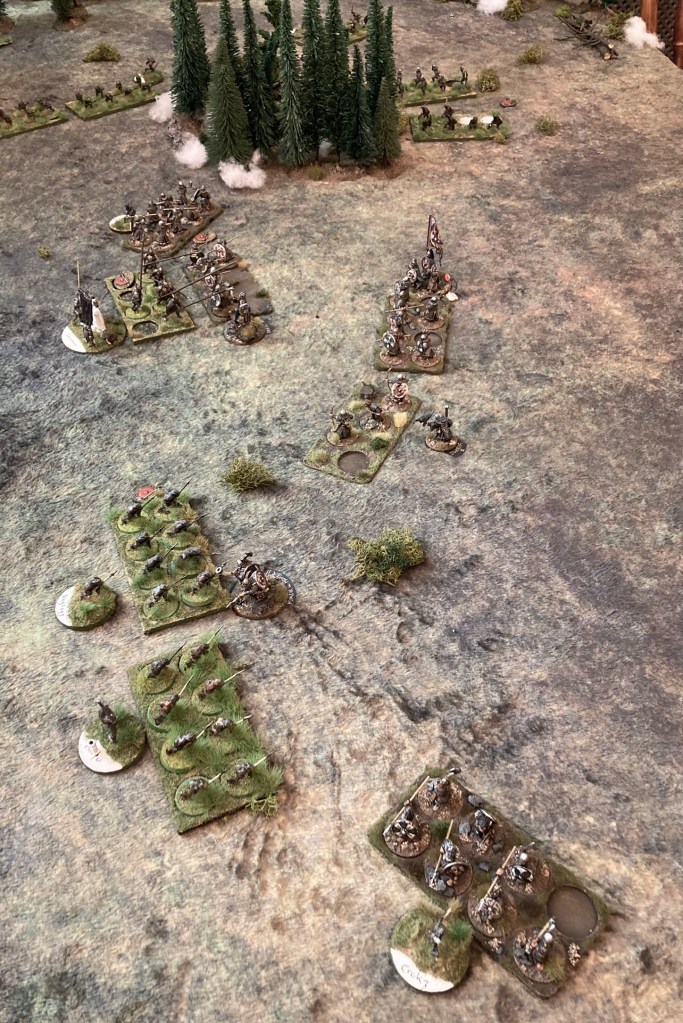
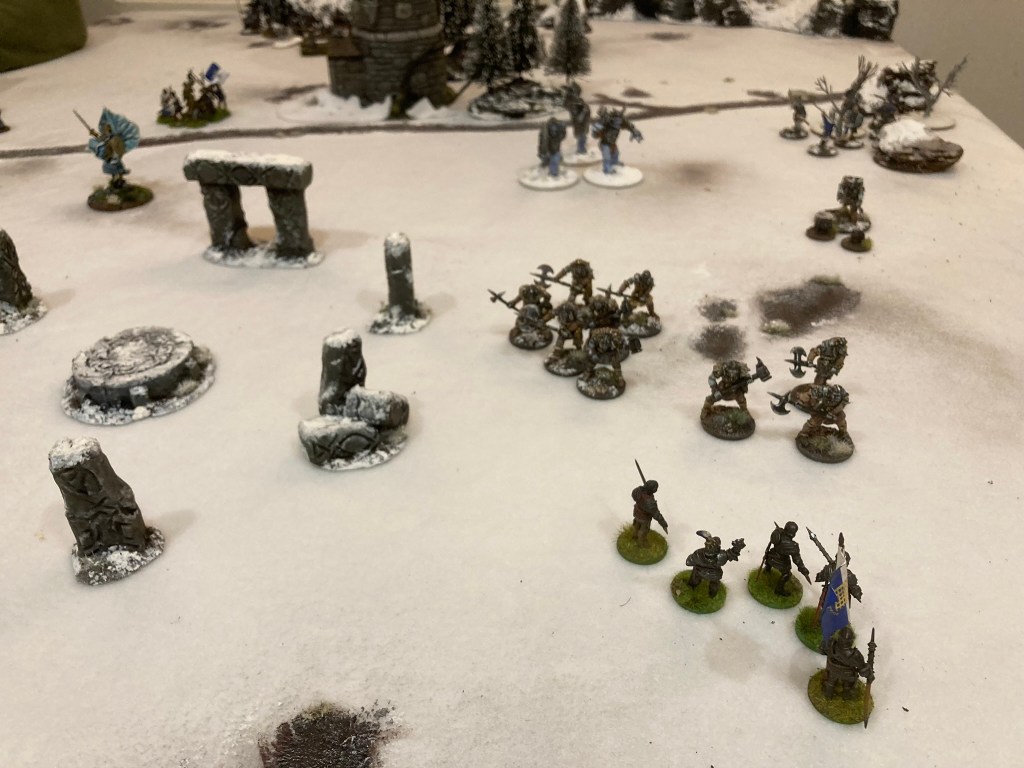
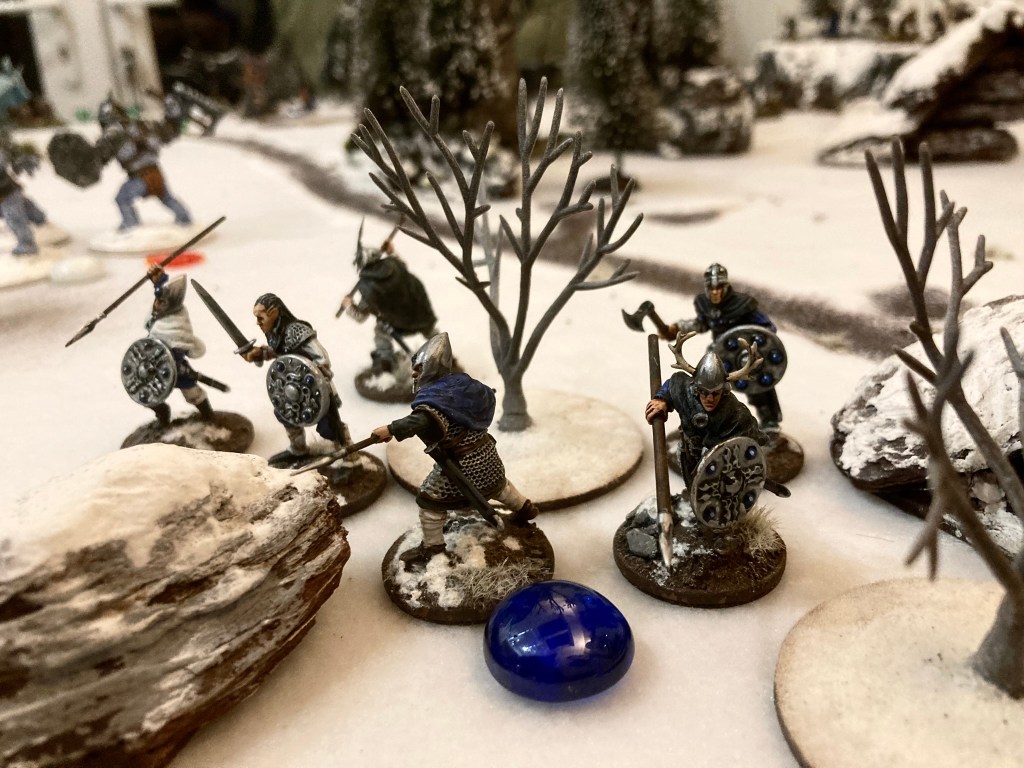
Each player was given a colour-coded deployment point and was also able to send a unit out scouting, which would end up in a random location. Fortunately for all concerned, the scouts didn’t stray too far from the path, but these units were nearer the centre of the table and got the game moving all the faster.
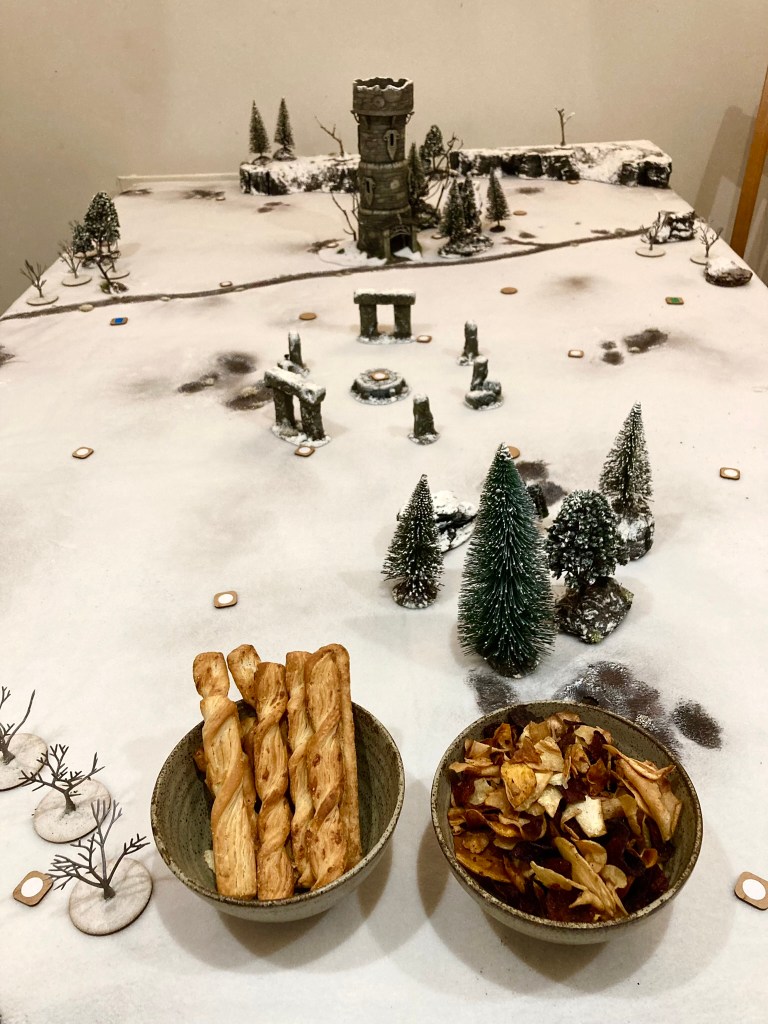
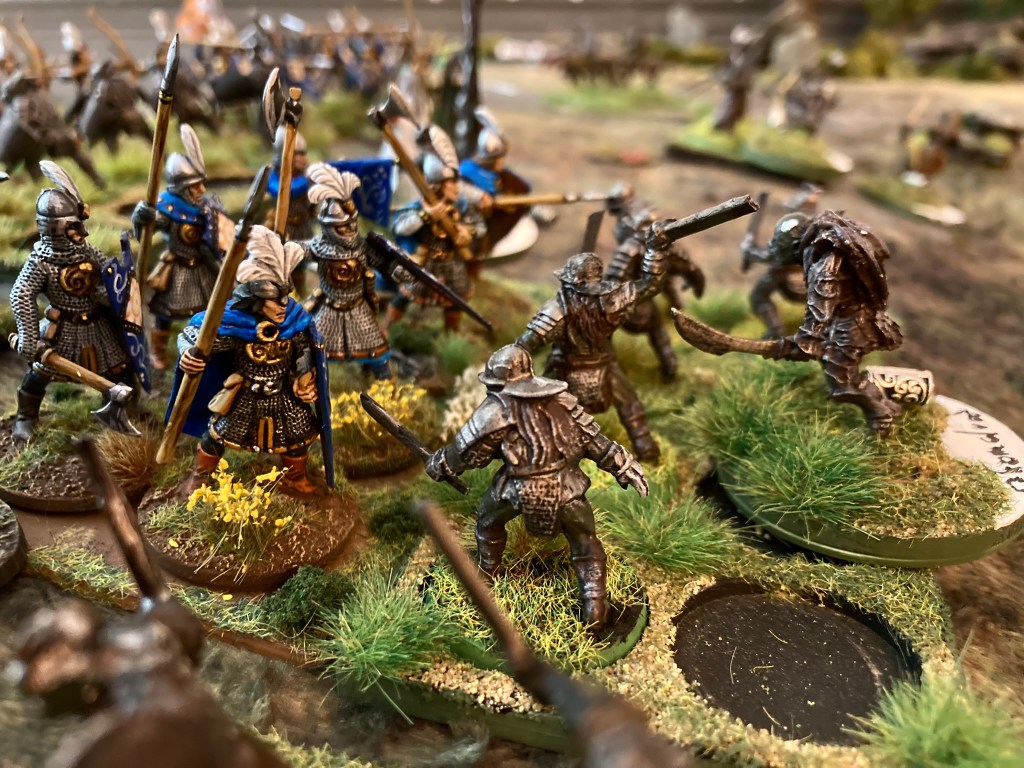
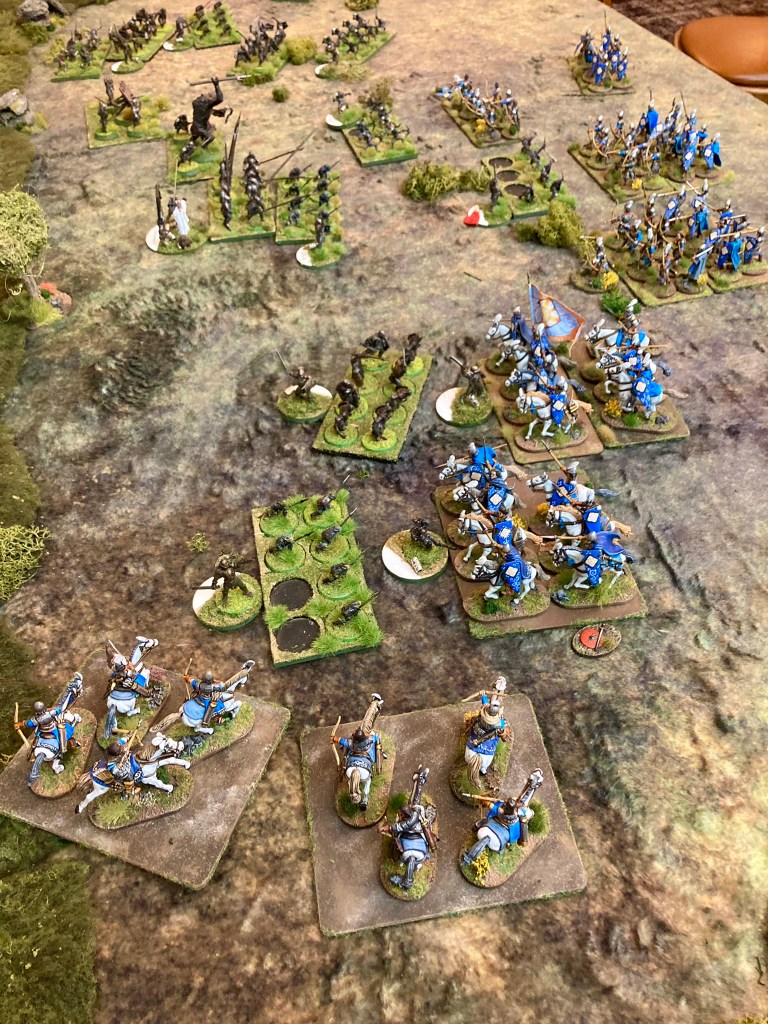
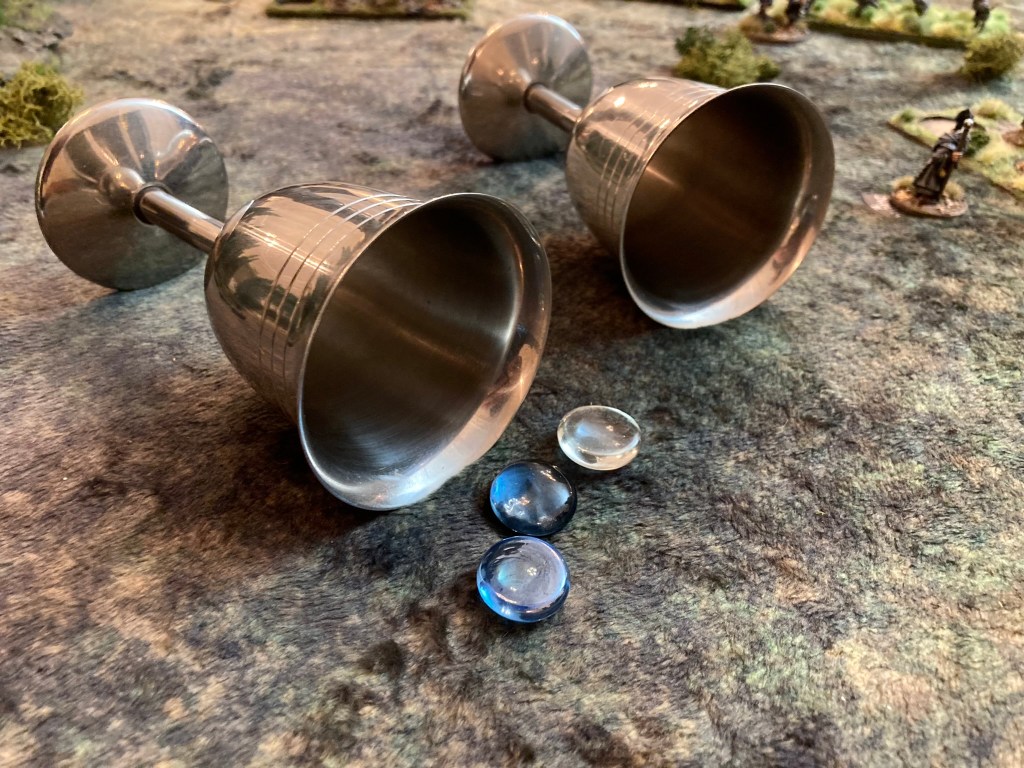
Possible locations for exploration were marked with white MDF tokens, each numbered underneath to reveal what had been found by the unit concerned. Options included the good stuff (Elf King’s crystals and the blessings of the Norse Gods) and the bad stuff (the ghost of the Elf King and assorted wandering monsters). In true old school DM style, I had written these down on a scrap of paper which we used as a reference throughout the game.
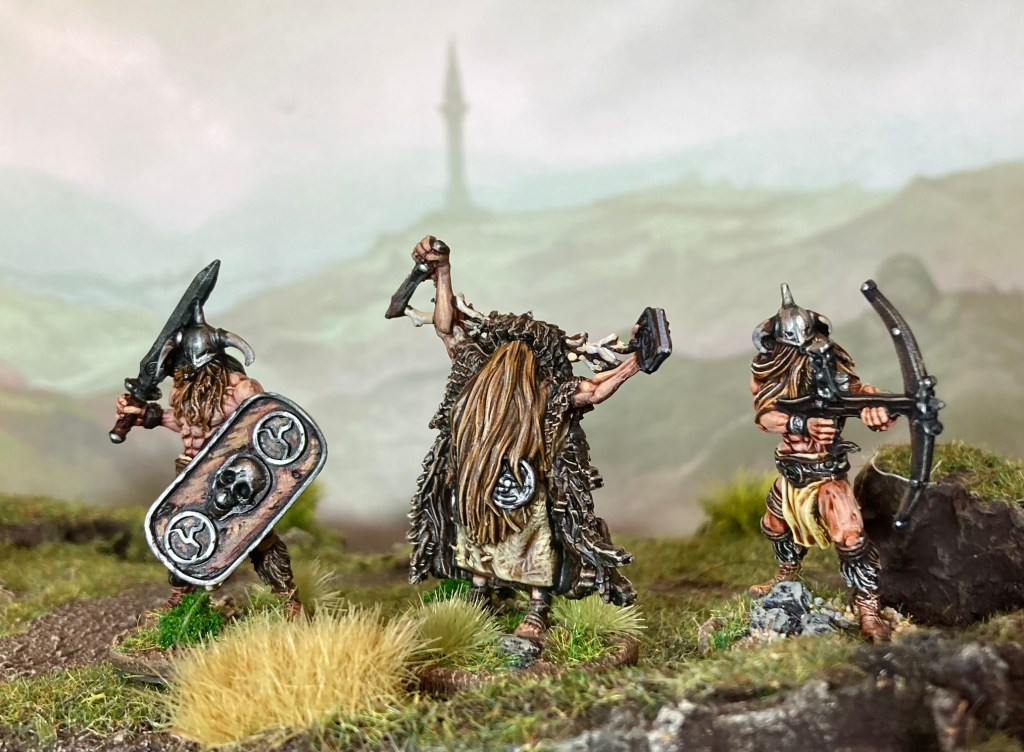
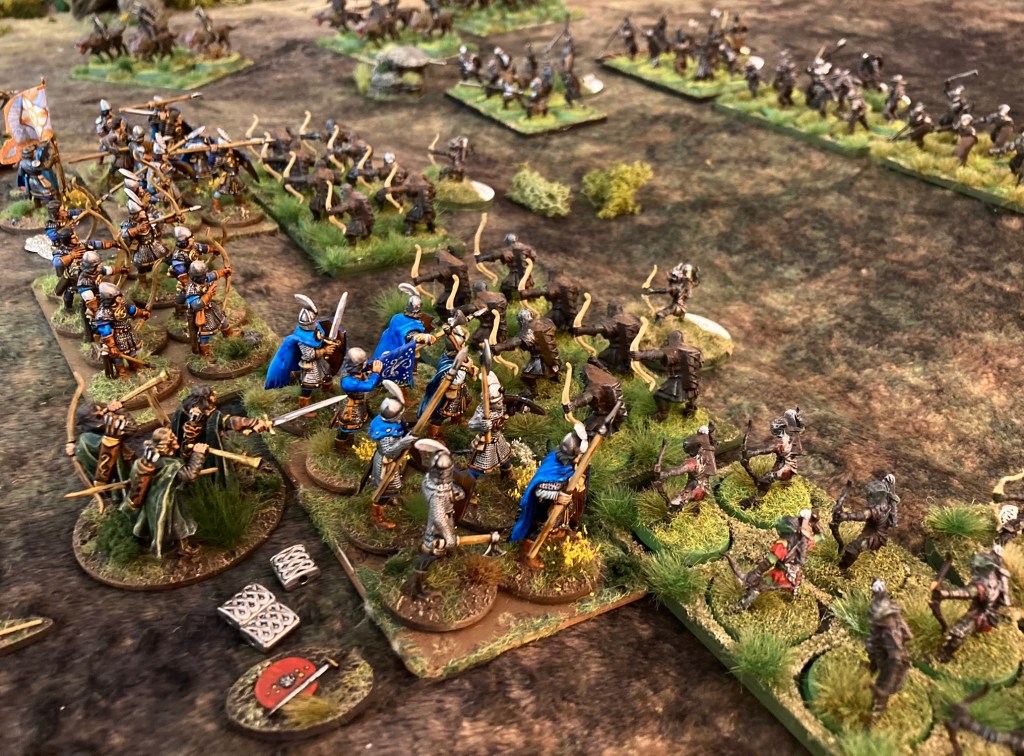
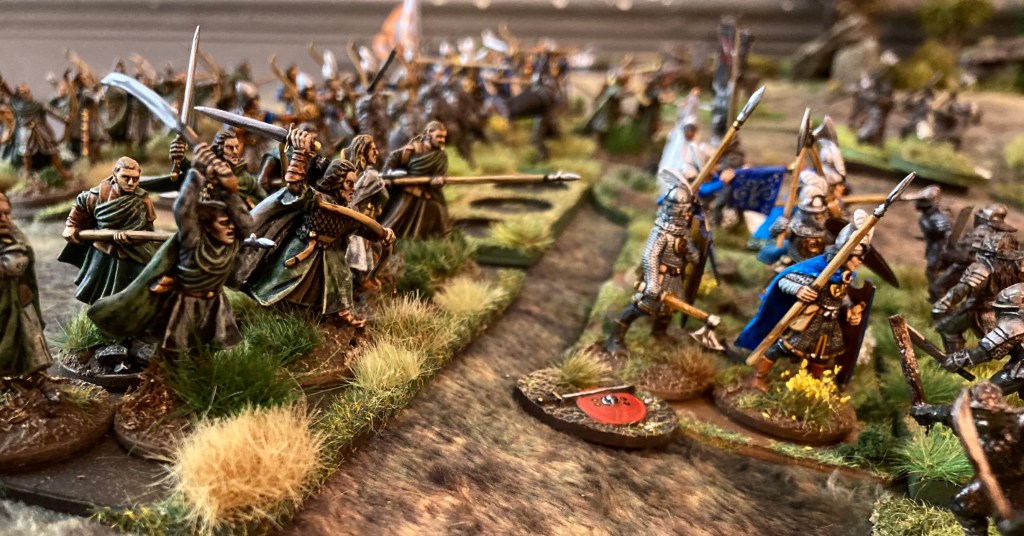
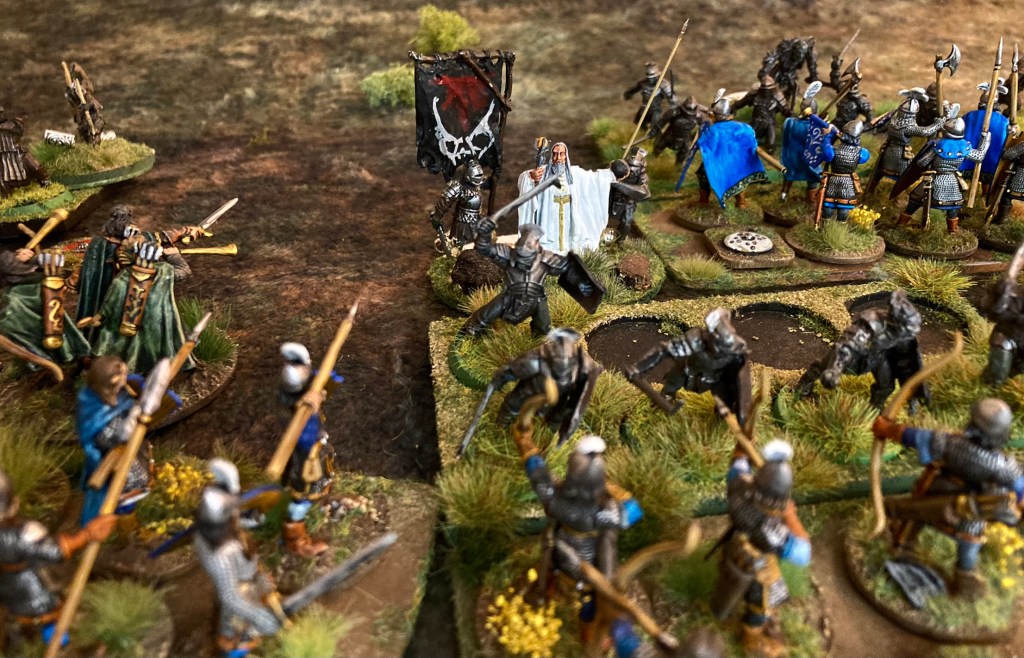
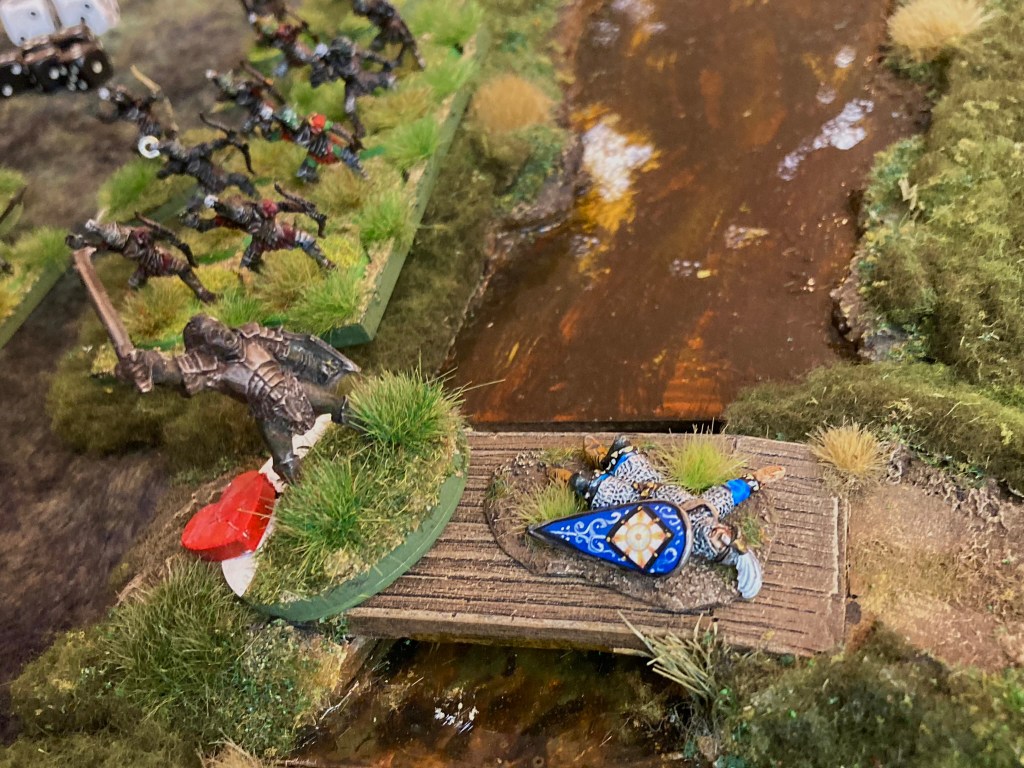
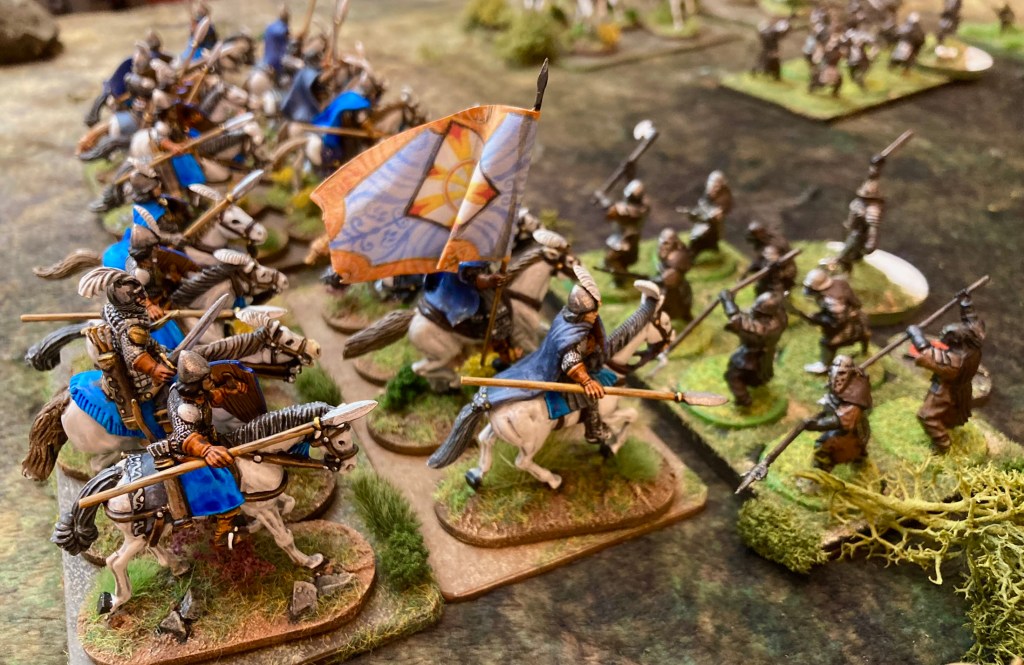
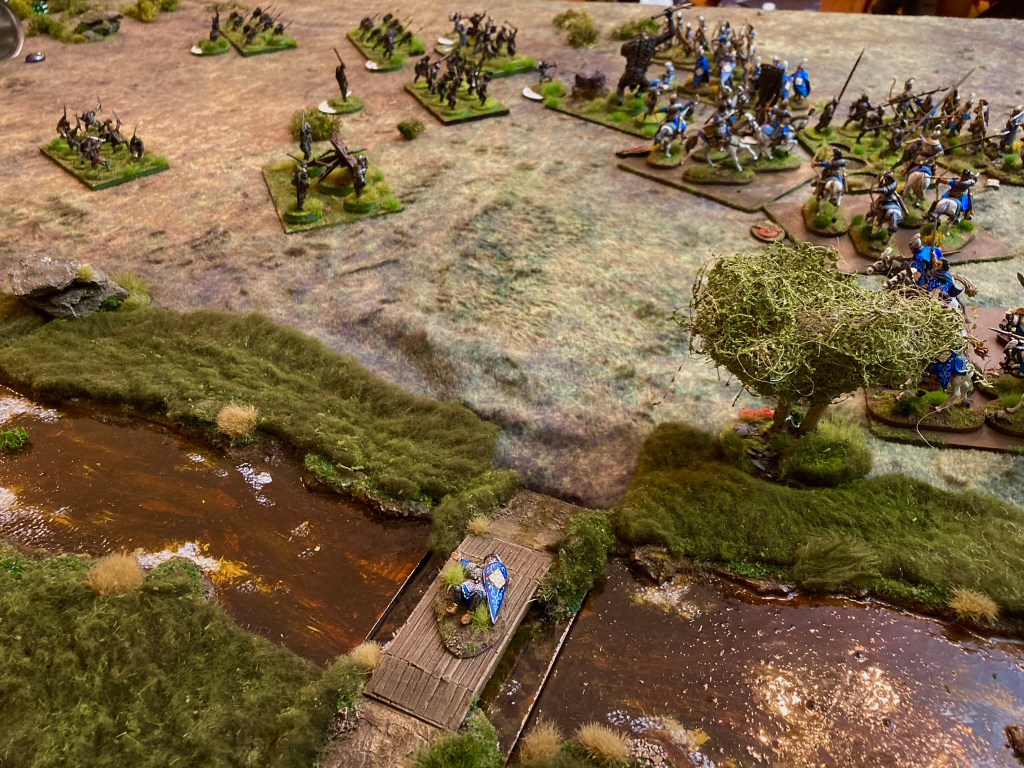
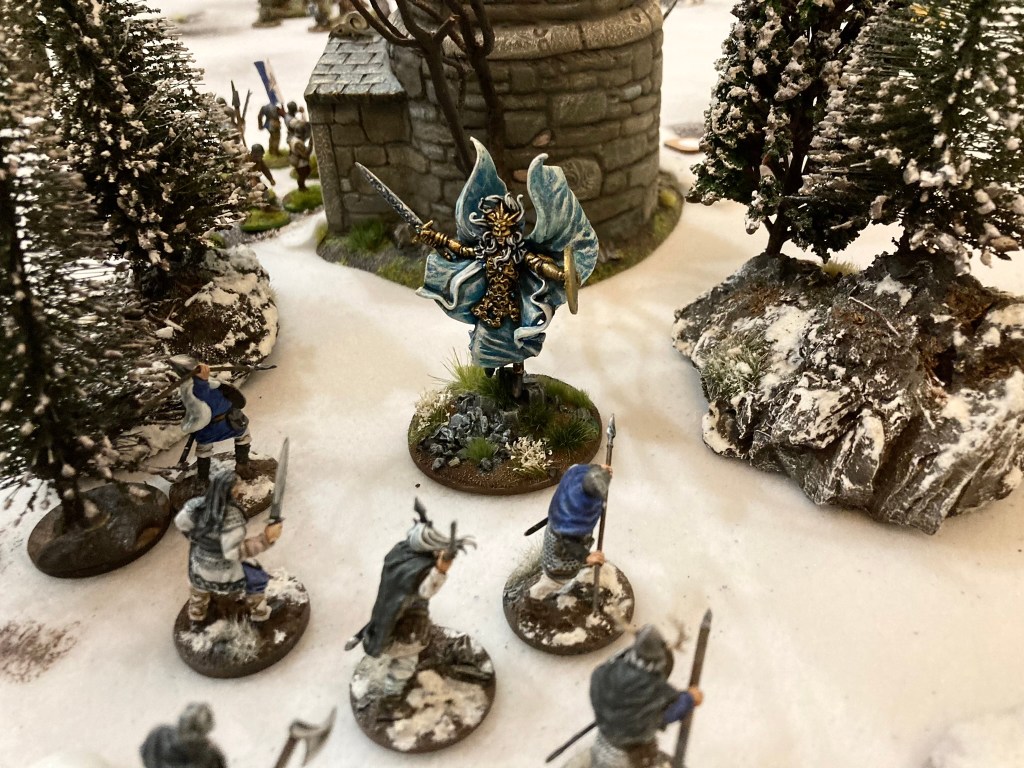
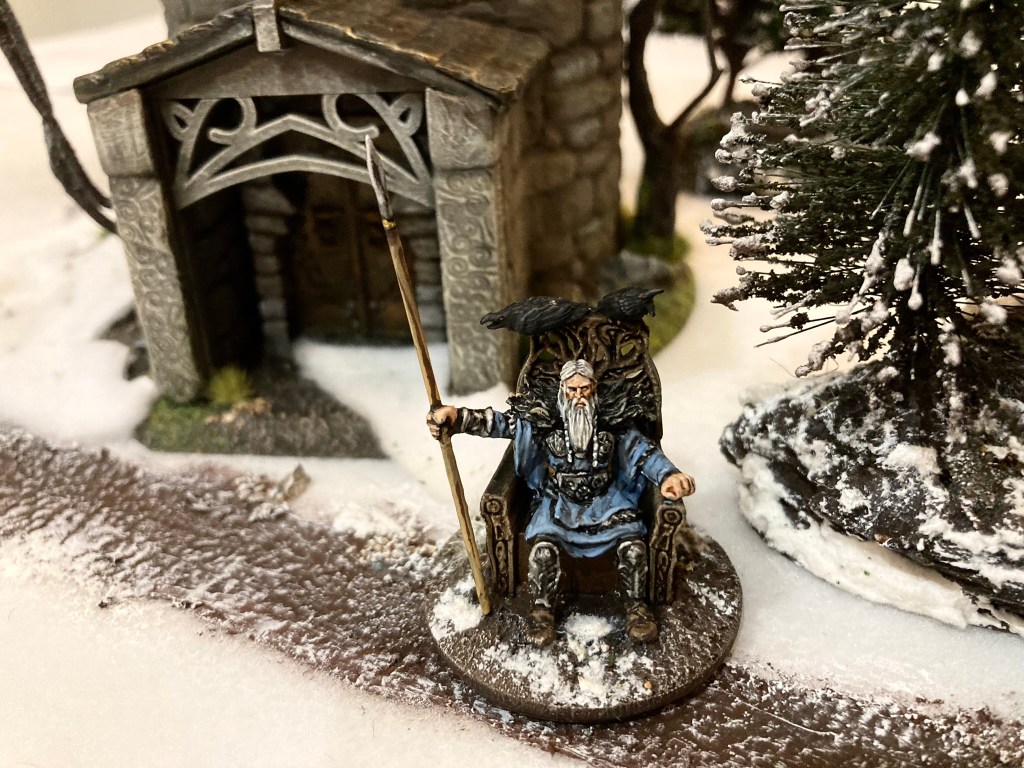
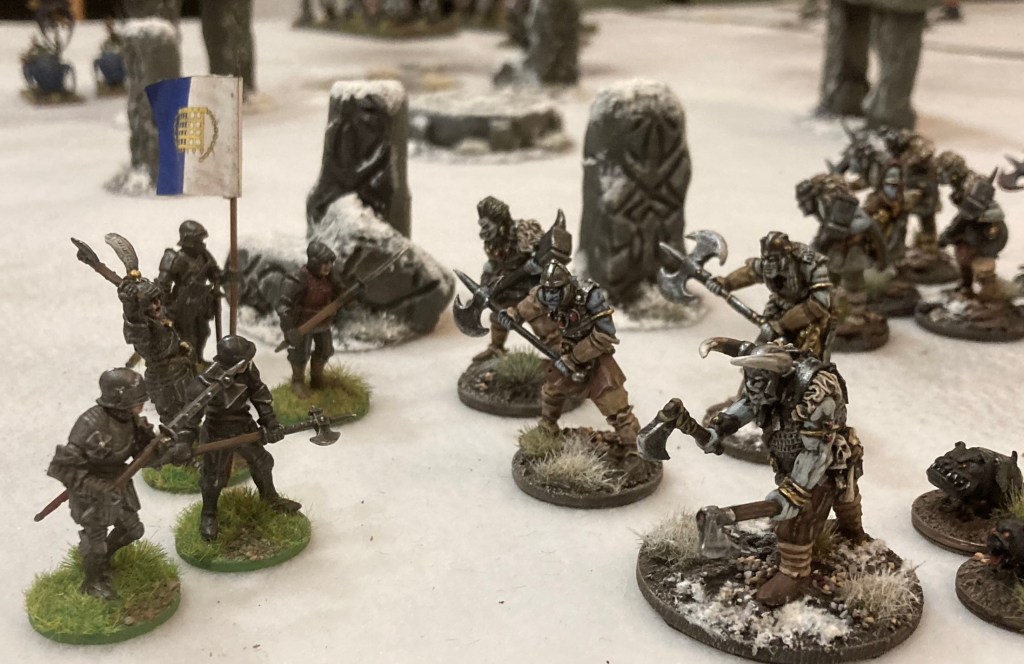
The game proceeded with the various contenders racing towards the white tokens in search of the Elf King’s crystals and then clashing as they tried to take them off each other. Lord Vlad managed to get a unit up the deserted tower, only to be confronted with the Elf King’s spirit (moving randomly and causing automatic Courage tests) as they left.
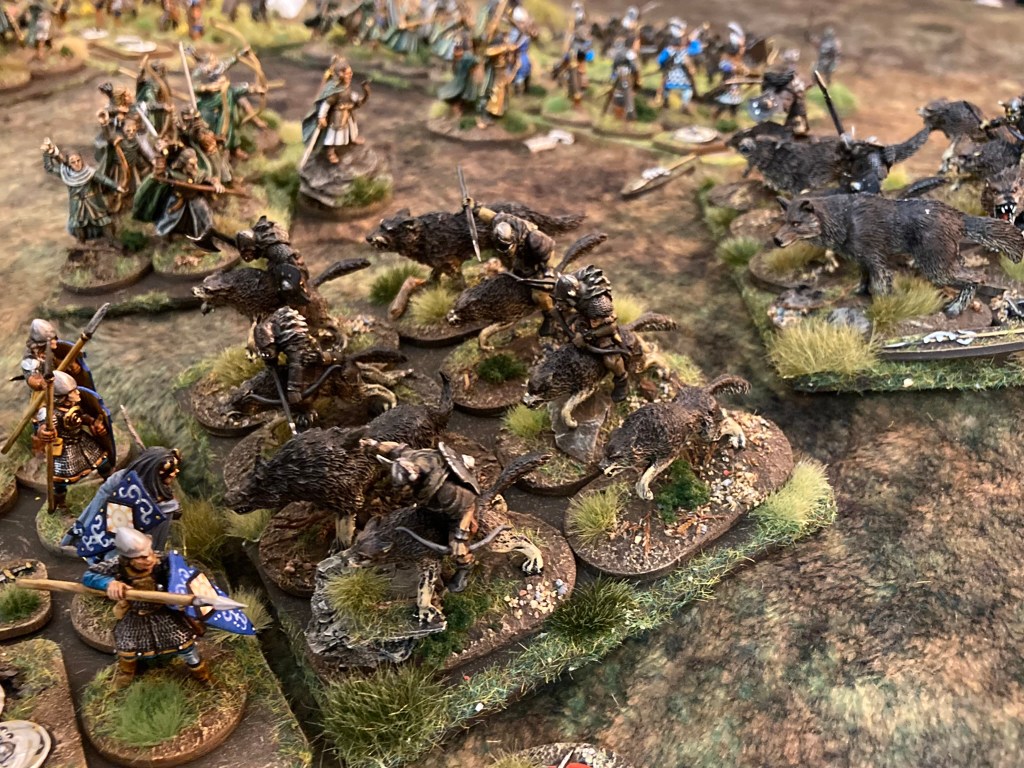
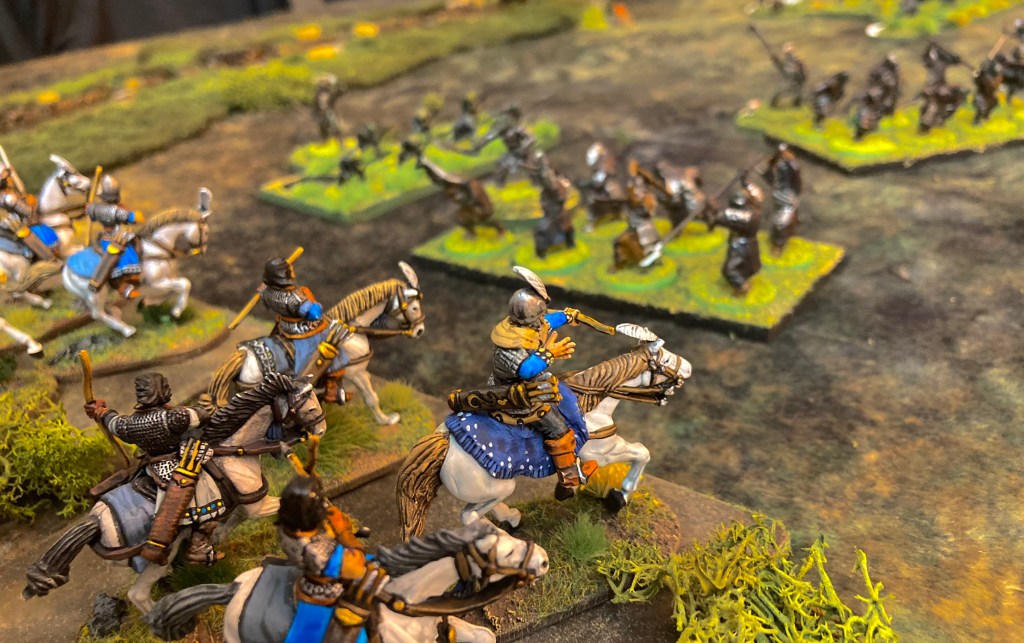
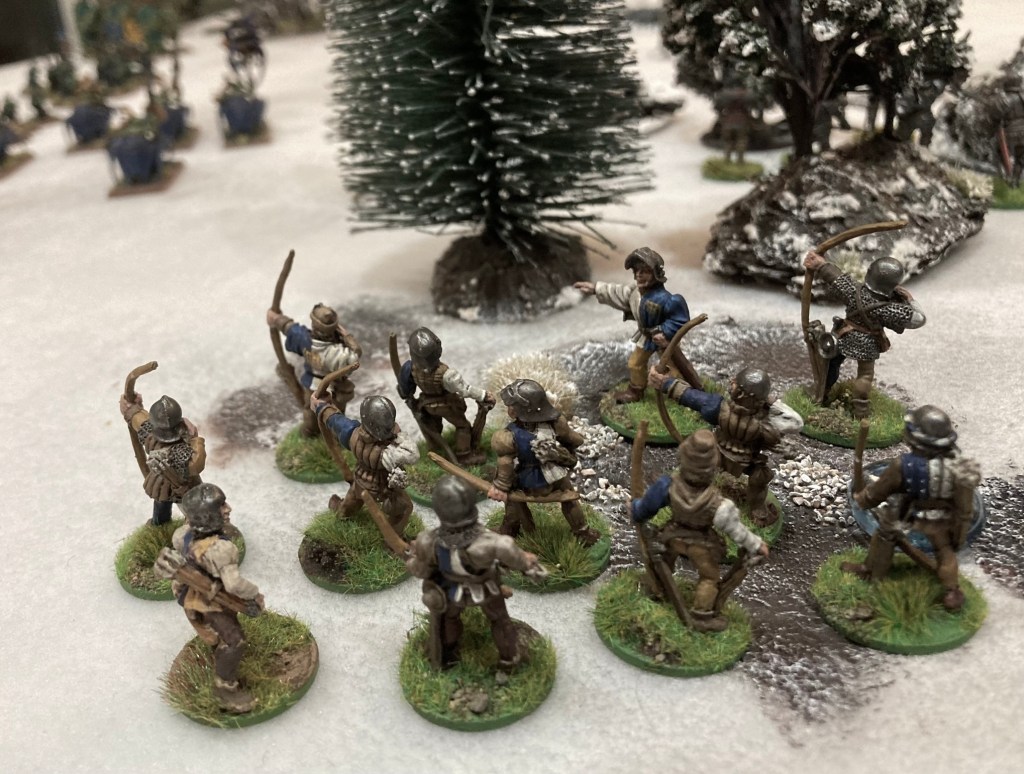
Gobstyk’s Goblin Spider Riders (Light Riders plus Venomous) managed to cause havoc with some very accurate shooting on both Dwarves and Men.
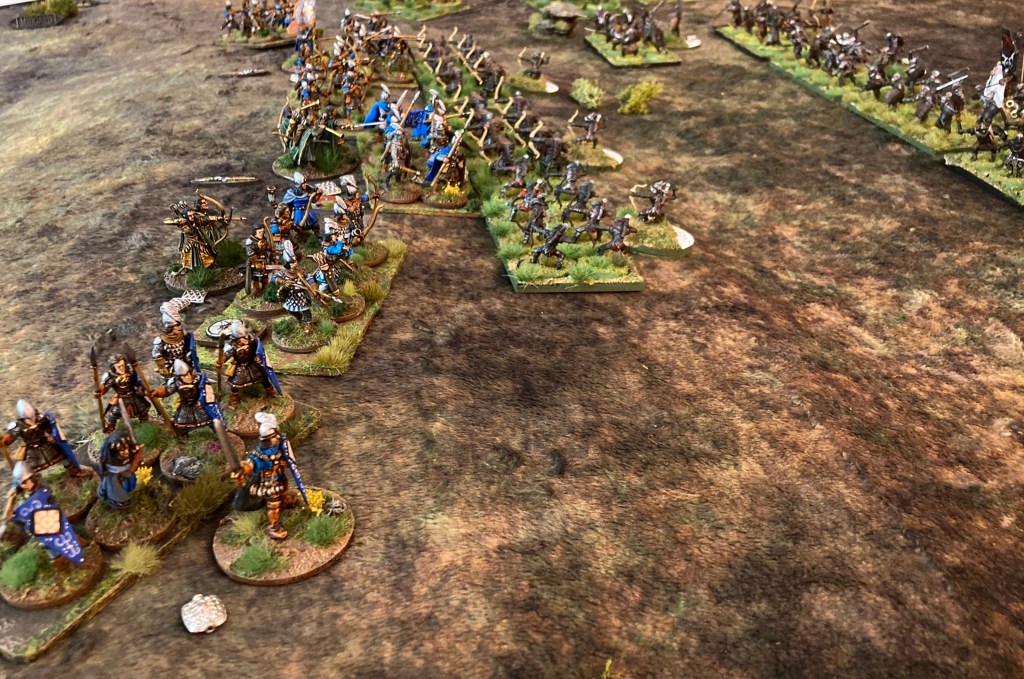
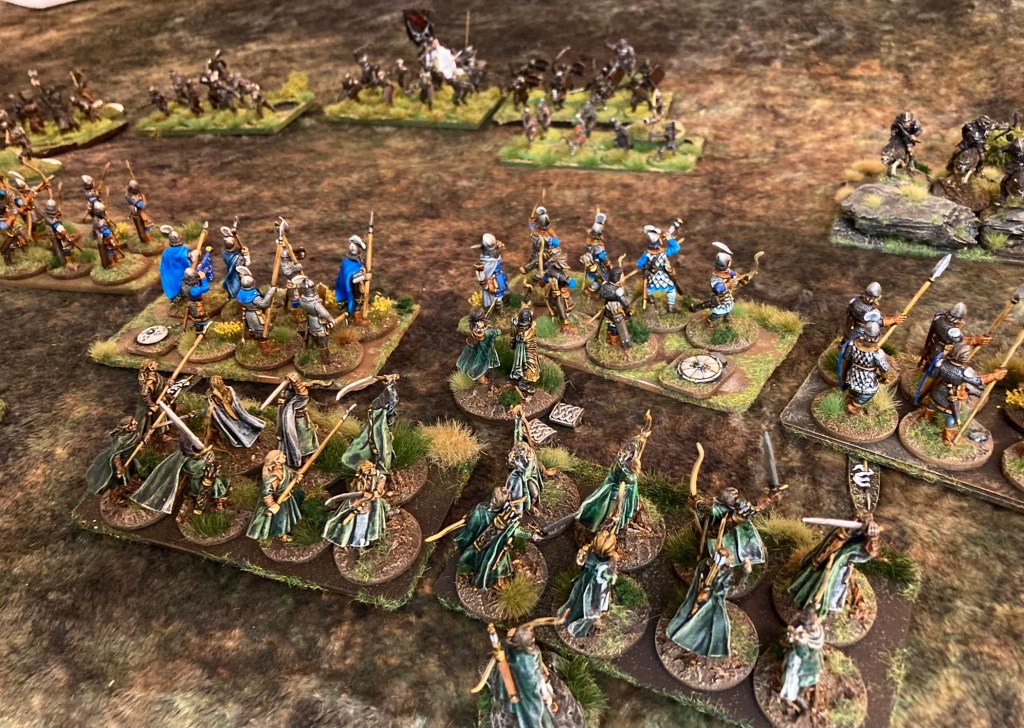
However, Tupin the Wide’s Dwarven scouts picked up blessings from both Freya and Thor (+3 to a Courage test and +4 dice in Combat respectively), meaning that no-one wanted to fight them. Reduced to a final Dwarf by Goblin archery, the unit only just survived the game.
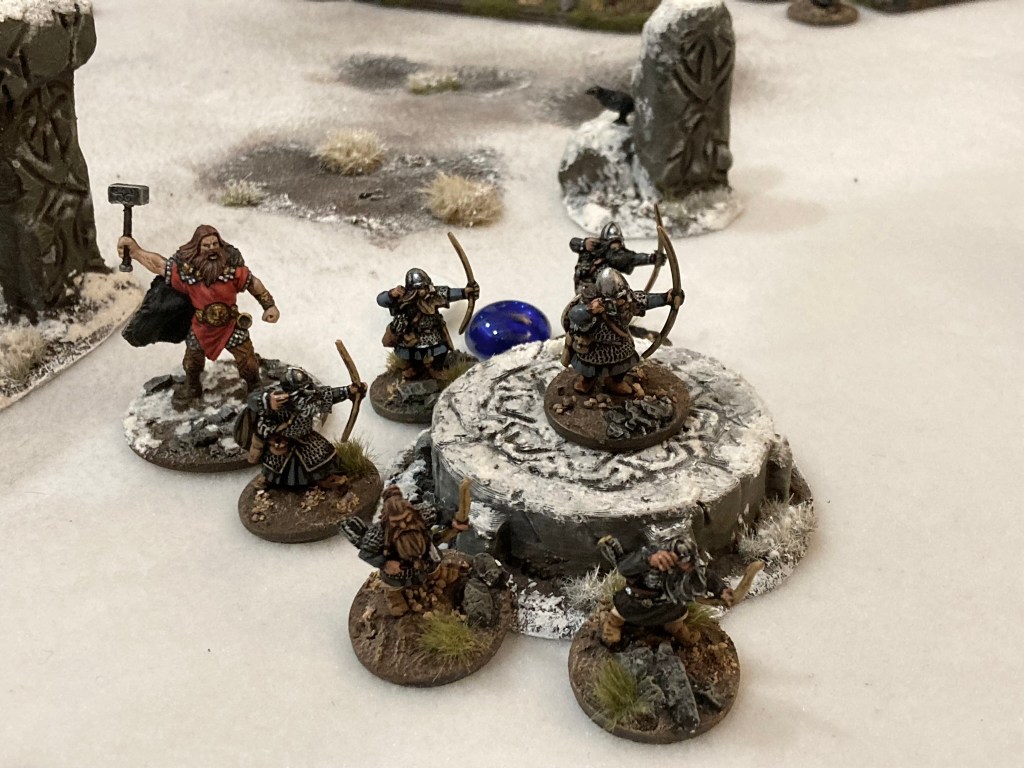
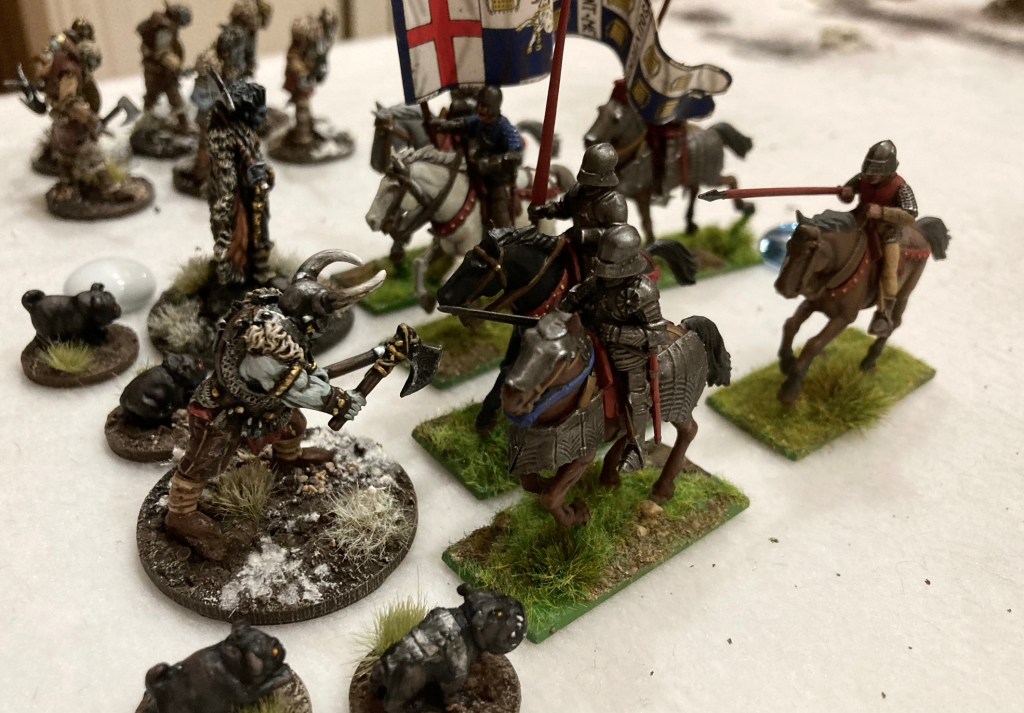
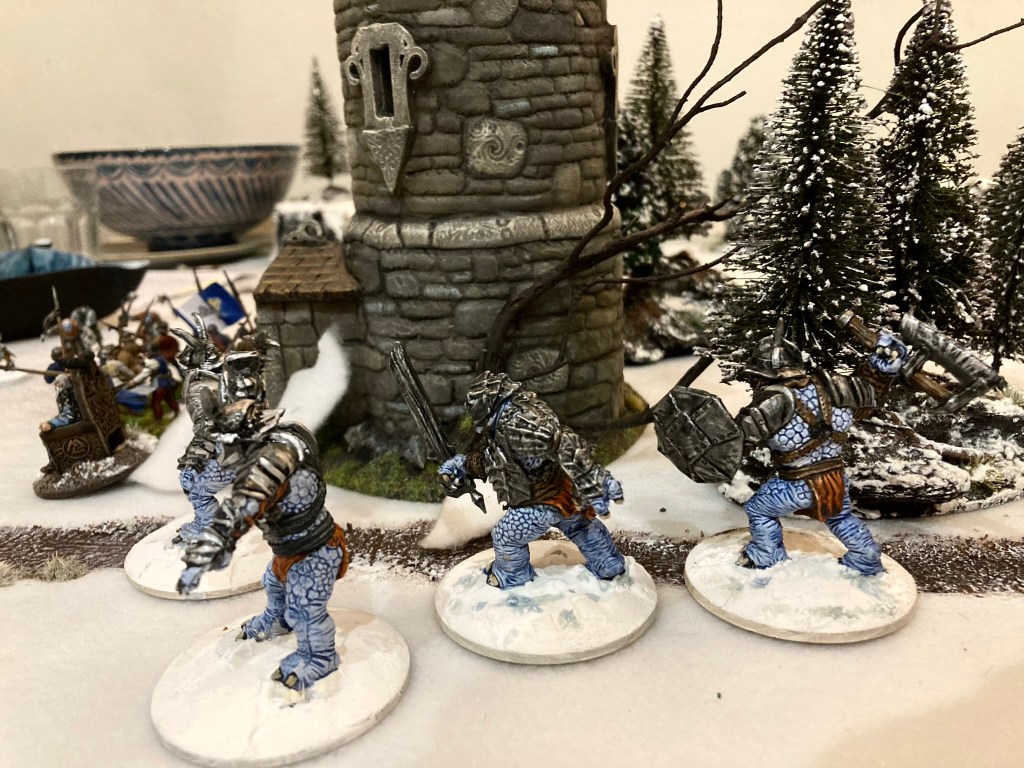
The Dwarves got the worst of the Elf King’s wandering monsters, facing both the Frost Giant and the Elf King’s ghost at the same time. They heroically defeated the Giant, but it didn’t leave much time for further exploration.
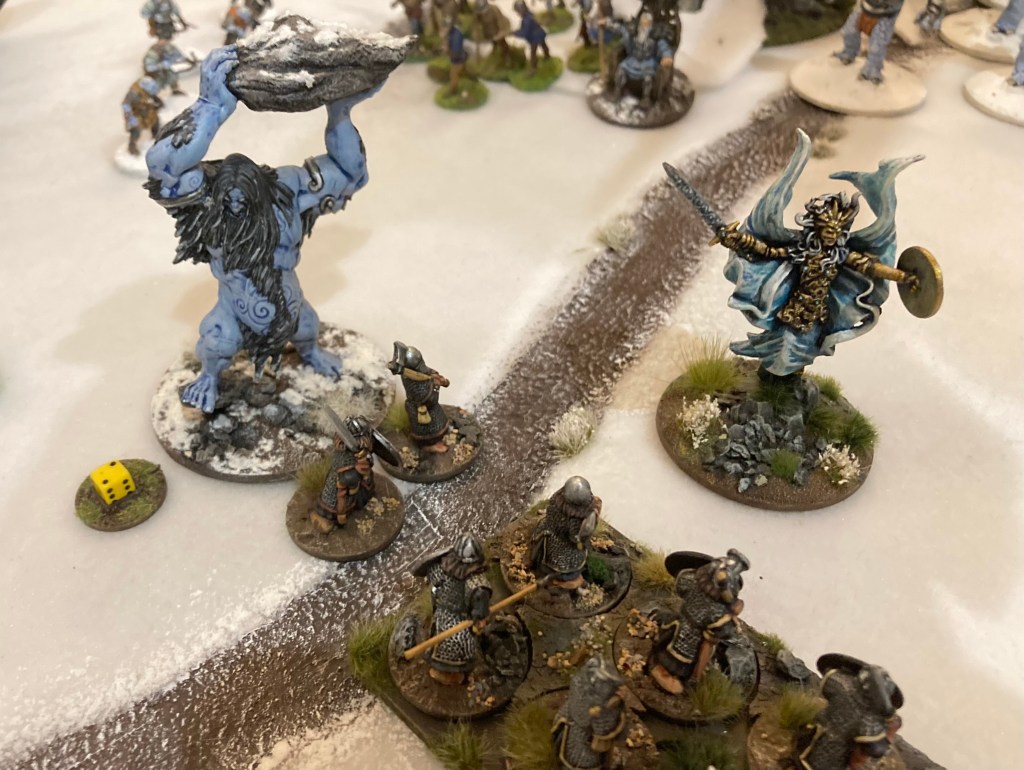
Eventually, with all tokens having been investigated and the death of the Frost Giant, the various factions gathered up their crystals and made their escape. The Trolls were fairly inactive during the final turn – having fluffed an activation roll and previously scoffed all their chocolate coins – but ended up with three of the nine Elf King’s crystals, thus winning the game.
As ever, Dragon Rampant gave an entertaining game with very little looking up of rules and much hilarity – a great way to finish off the gaming year.
Thank you for checking into the blog in 2022 and we hope to see you, either in person or online, at some of our gaming activities in the New Year.
Wishing you all the best, James Morris & Chums