Tom in our group has long had a fascination with the Battle of Mortimer’s Cross and we’ve all dabbled in Wars of the Roses over the years (collecting the armies twice in my case!), but when Chris (Winston Ap Rees for you social media fans) joined our merry band, this was the catalyst for our latest Partizan game.

Mortimer’s Cross is an interesting battle for a number of reasons; like Stoke Field, it featured a contingent of Irish, the Tudors fought there, and it also saw the emergence of the military legend that would become Edward IV and his famous symbol ‘the Sunne in Splendour’ (later immortalised as the title of Sharon Penman’s excellent novelisation of the Wars of the Roses).
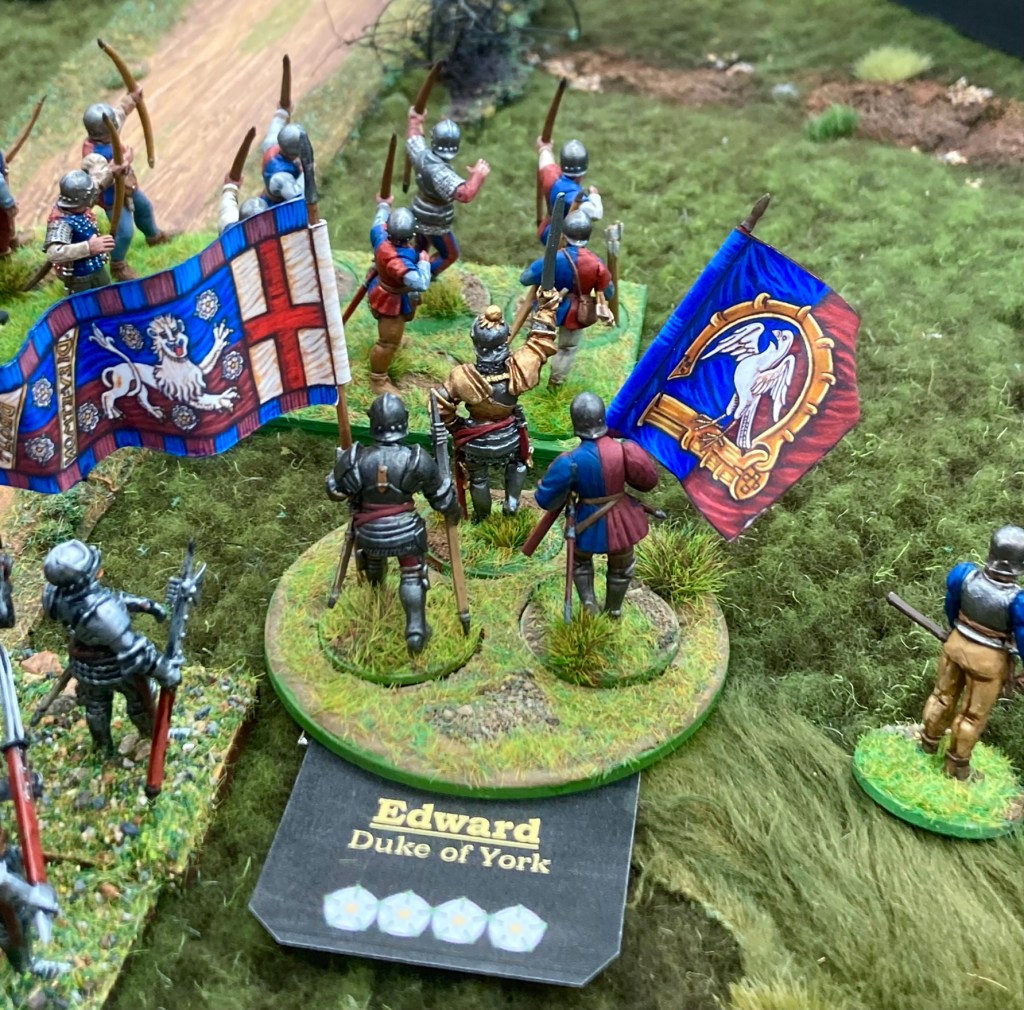
One of the most famous tales of the battle is that, as the sun was rising through the cold morning mist on February 2nd 1461 (or 3rd – the exact day of the battle is disputed), it created the atmospheric phenomenon known as a parhelion – the appearance of a triple sun. Although the Yorkists were frightened by this, Edward (Earl of March and Duke of York, soon to be King) is said to have interpreted the vision as a sign of God’s favour. We were able to replicate this in our game by giving Edward the ‘Omens’ trait that allowed him a (randomised) chance of raising (or lowering) morale before the game. Fortuitously, Fraser (playing Edward) rolled a 5, giving the Yorkists extra tokens in their goblet of reputation, and the rest, as they say, is history.

We considered the very enjoyable Never Mind The Billhooks for rules, but my own Midgard won out because it was specifically designed for fighting large battles. We stripped out the more heroic elements by banning single combats and cutting back on some of the more mystical traits, leaving the basic game engine that, I’m pleased to report, worked very well indeed.
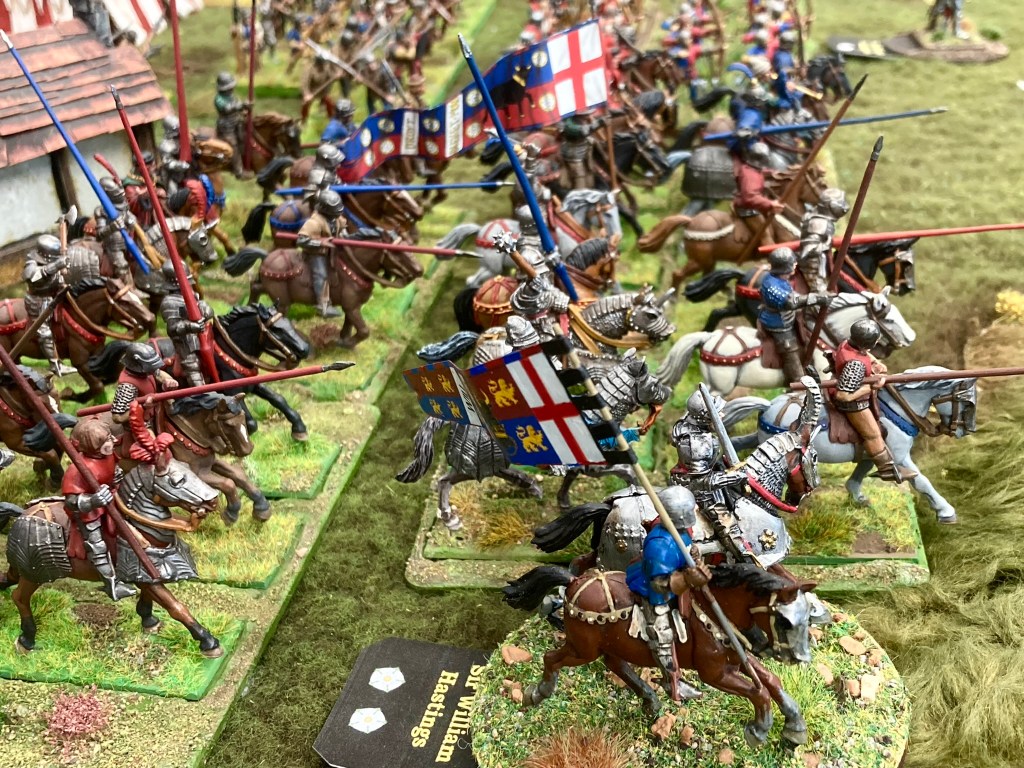
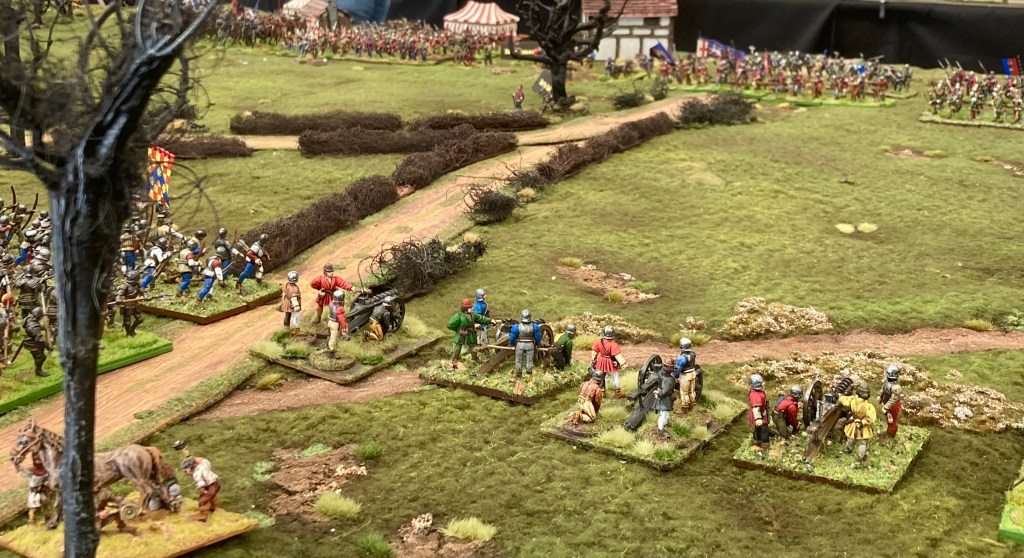
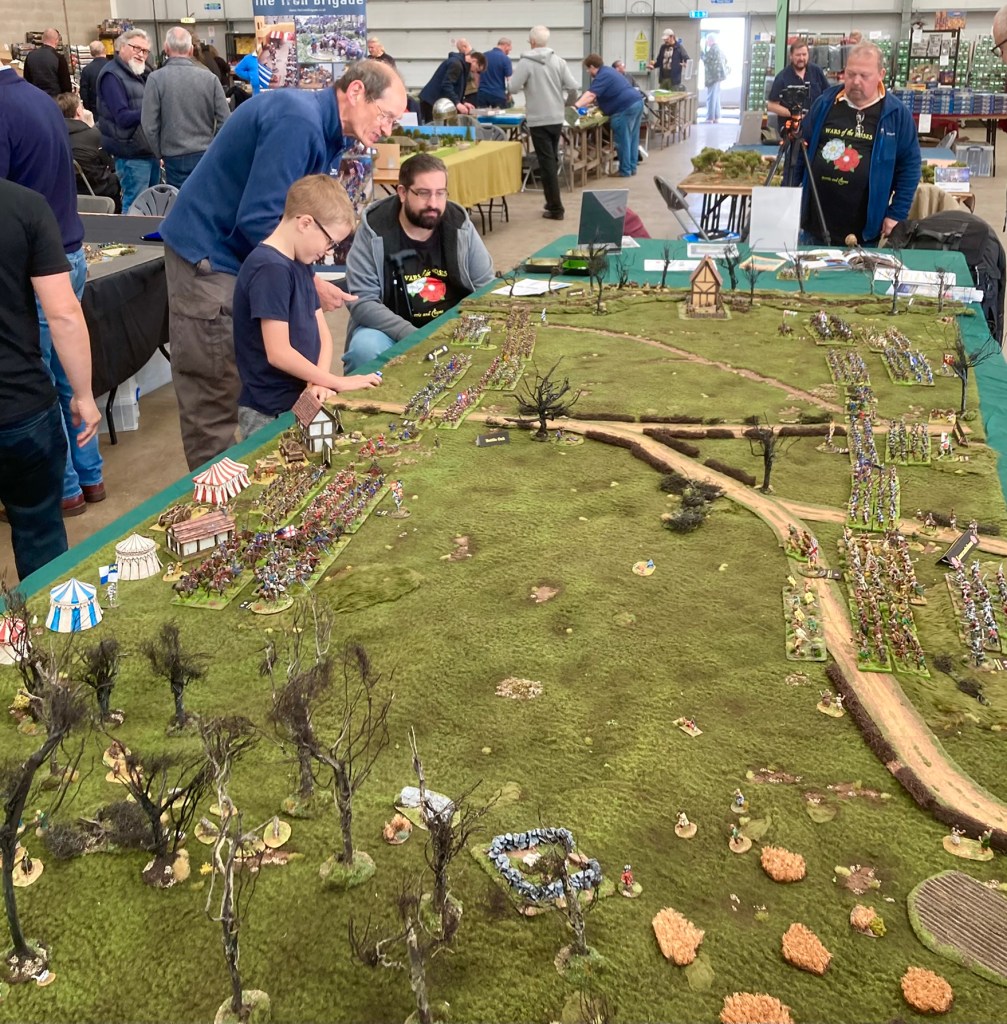
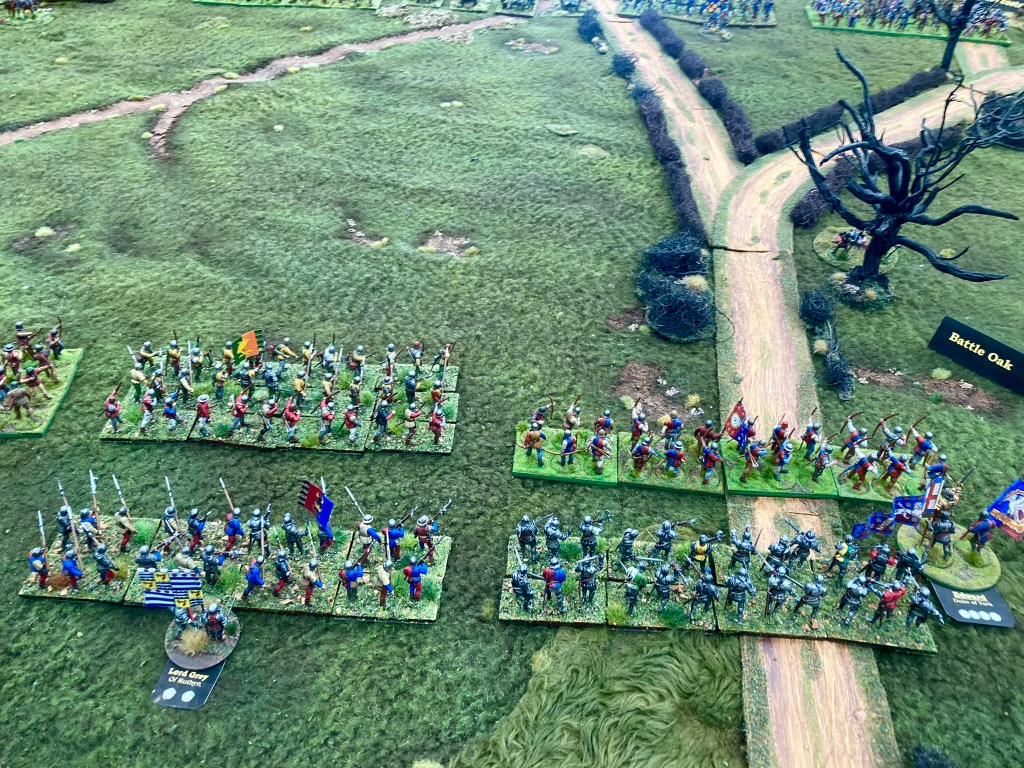
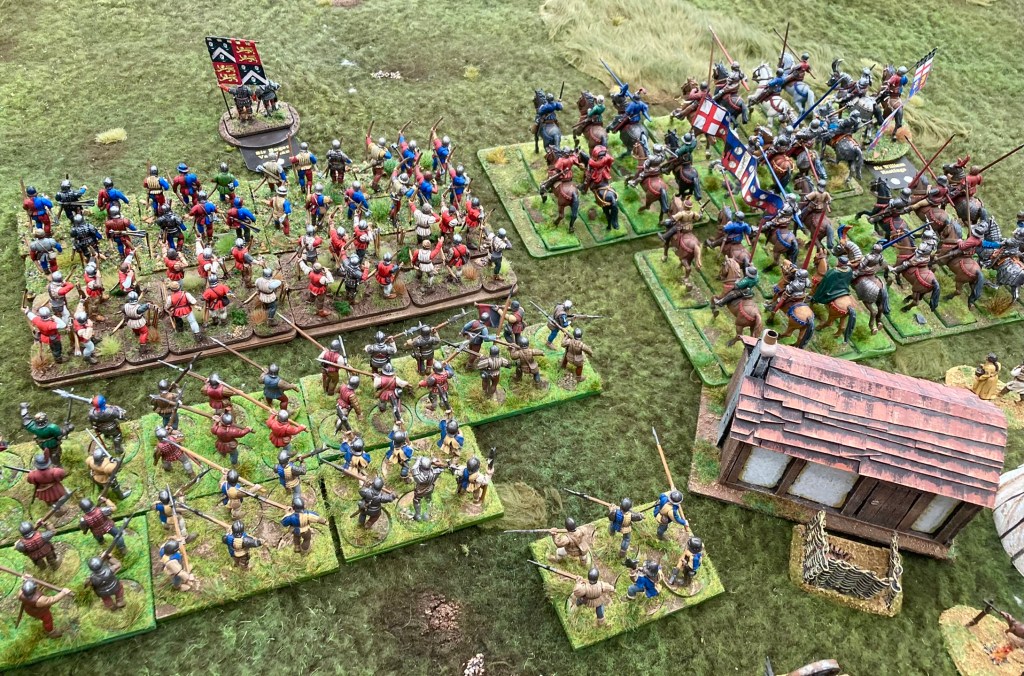
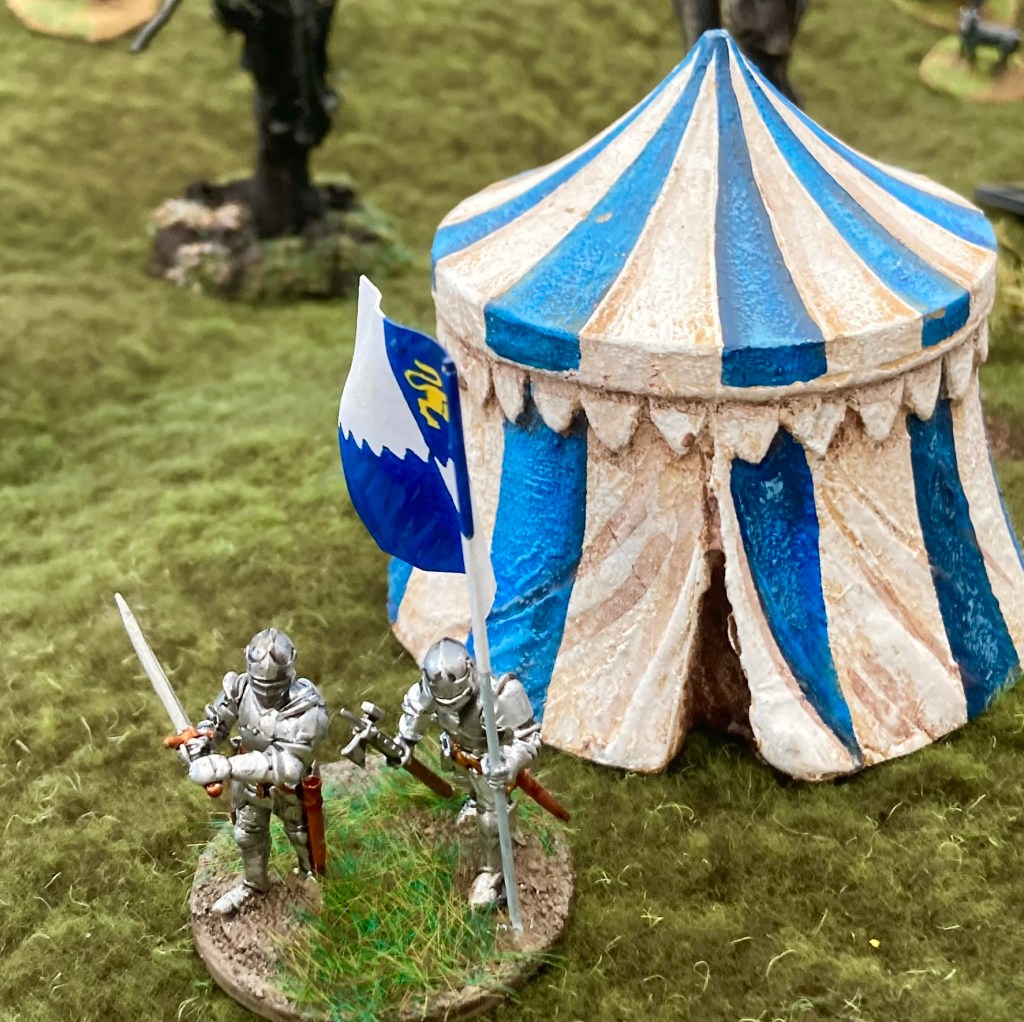
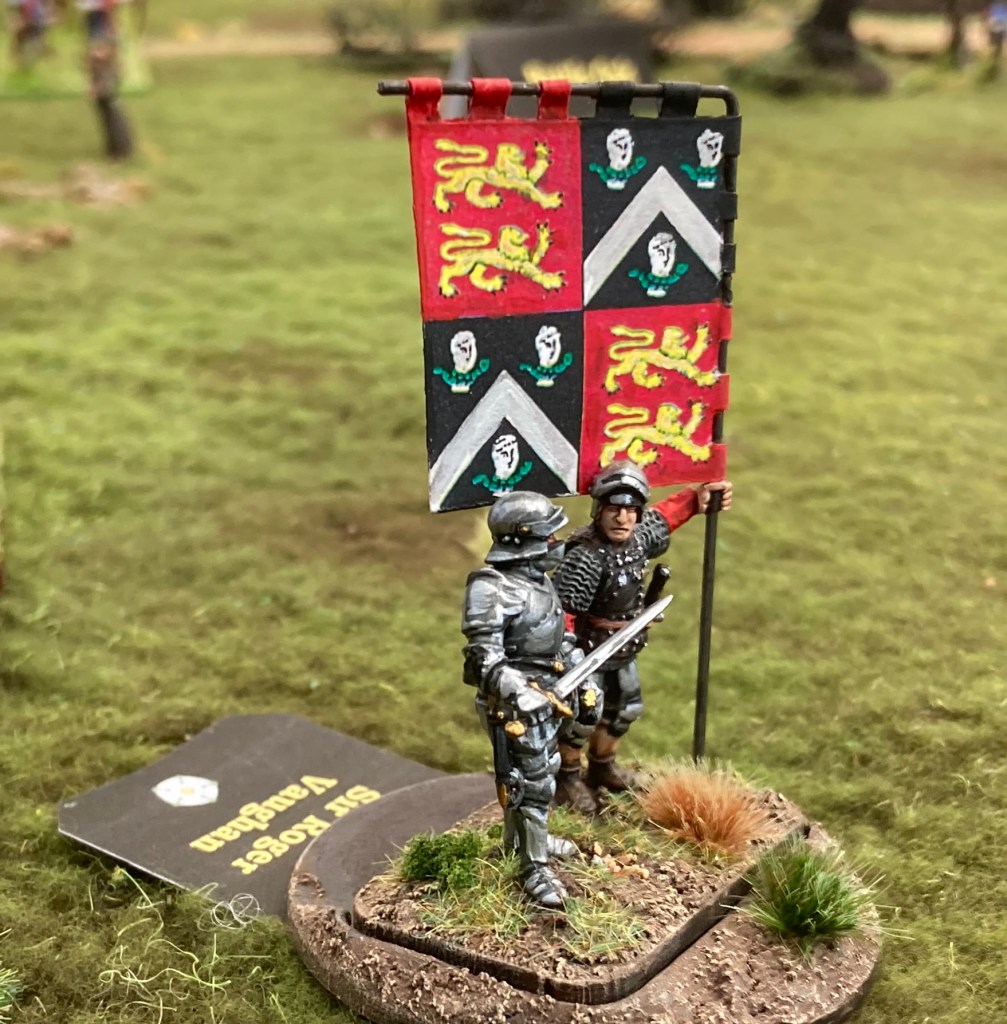
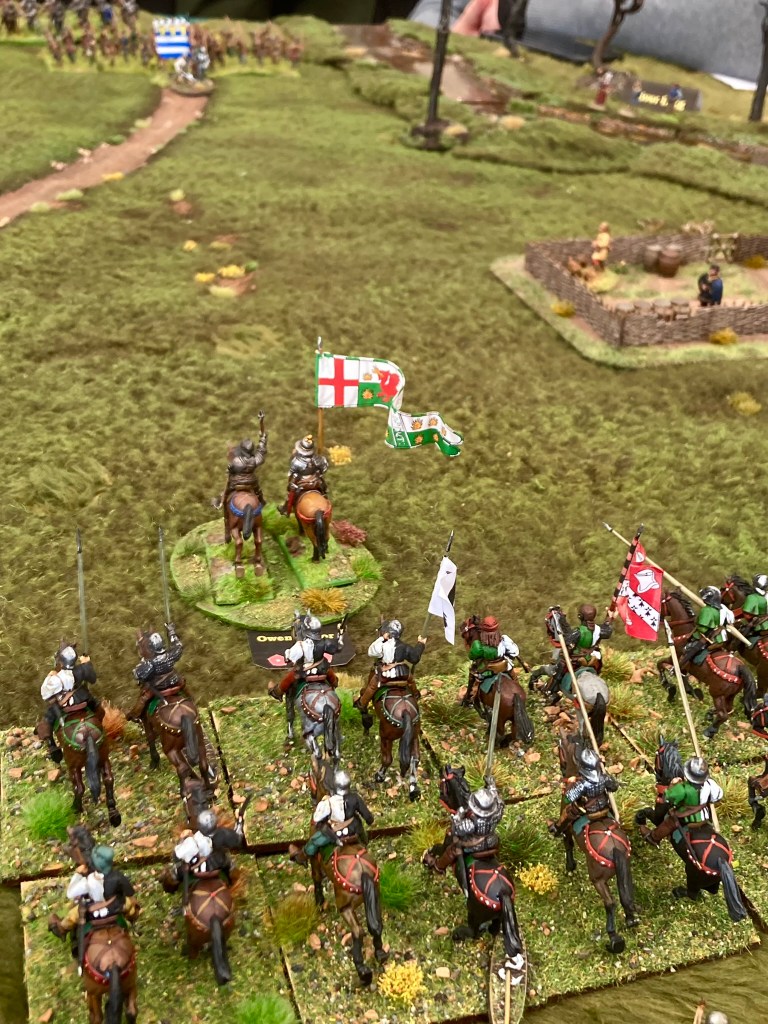
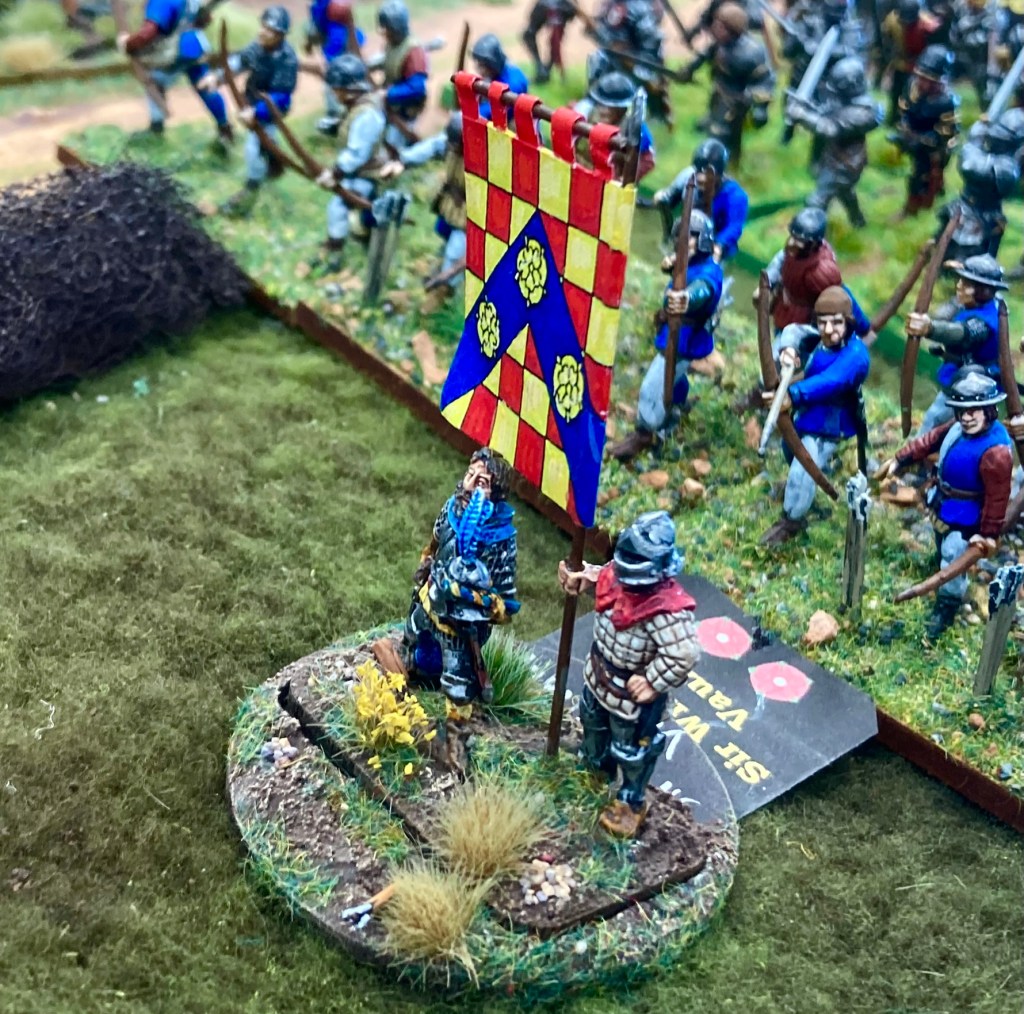
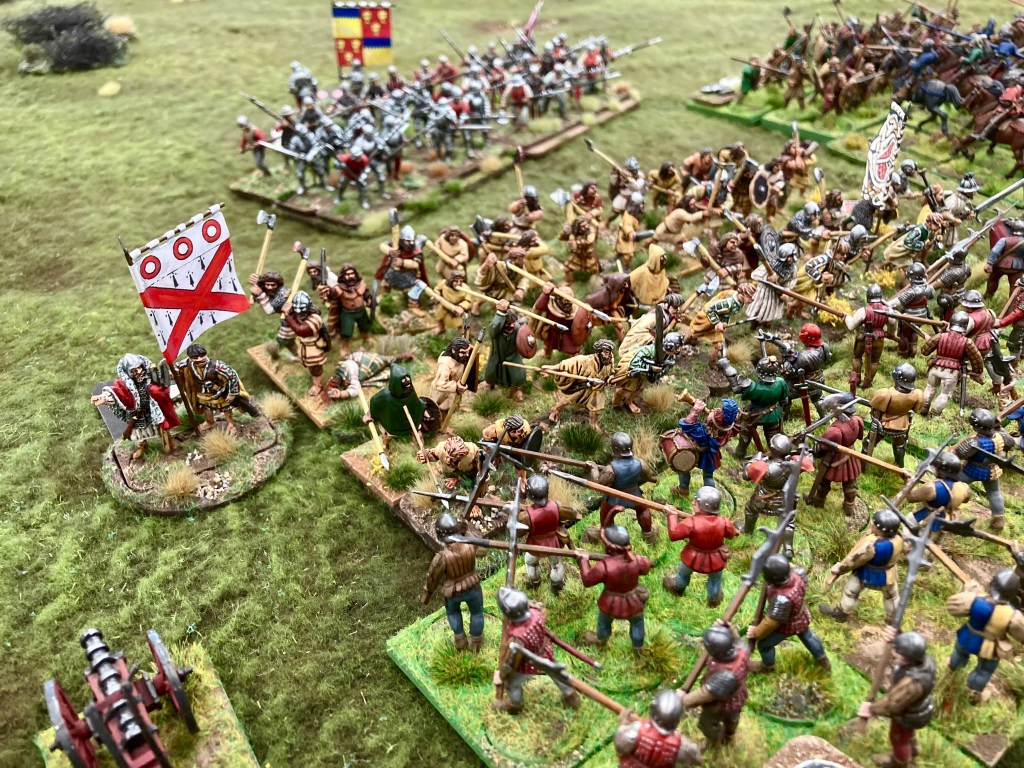
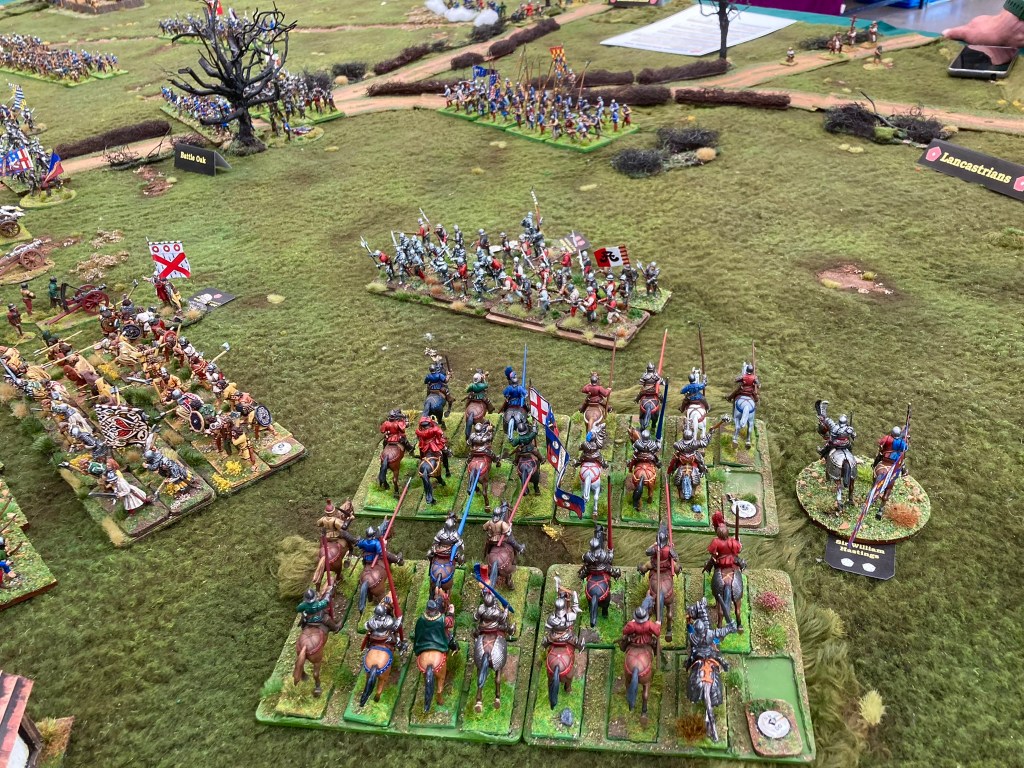
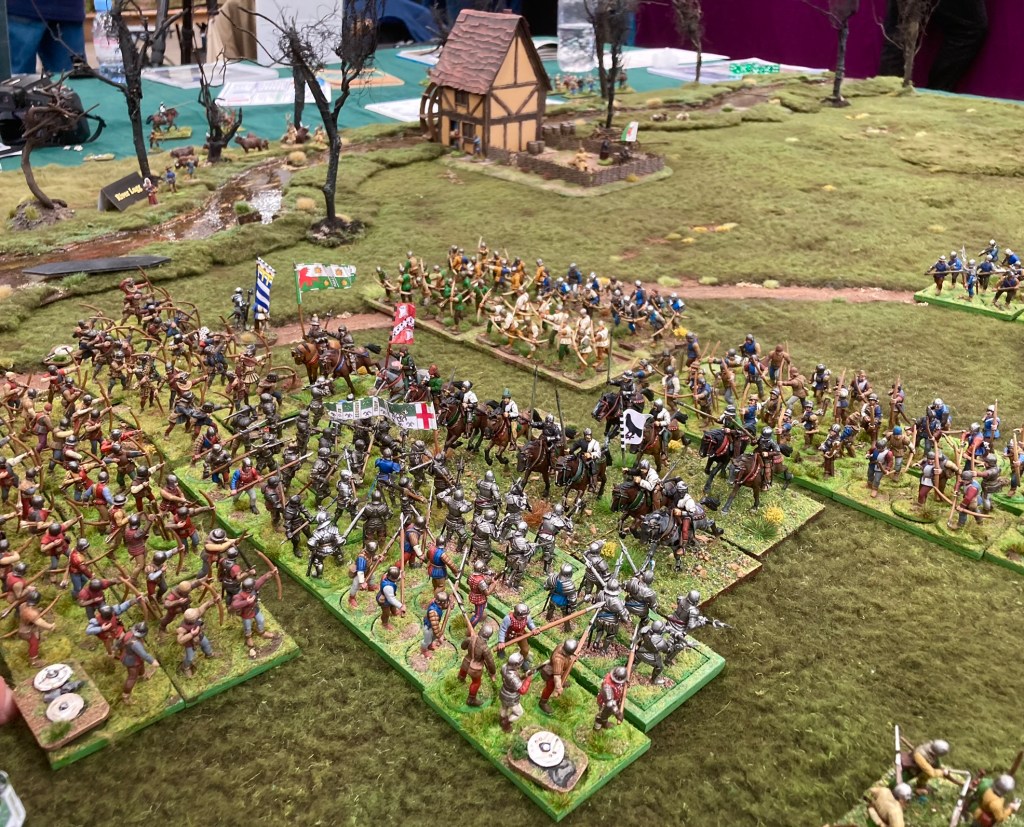
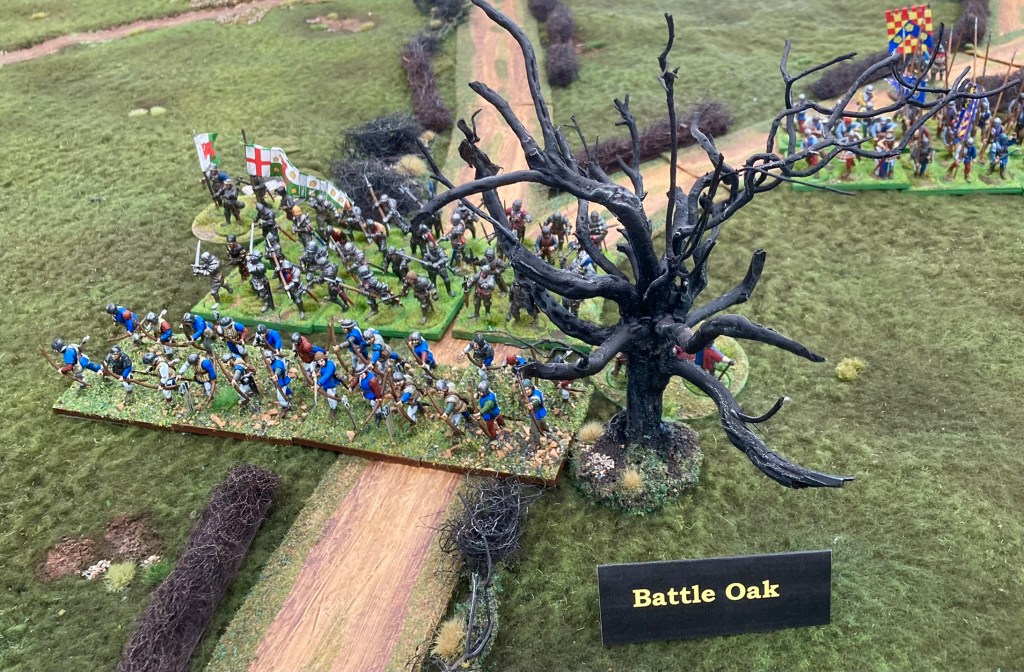
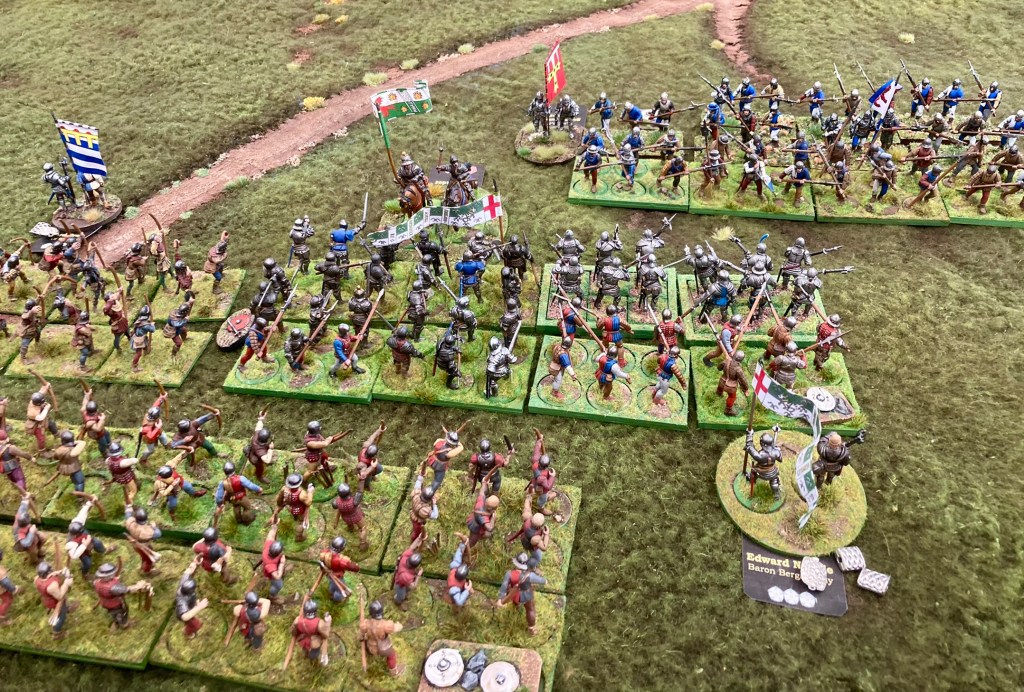
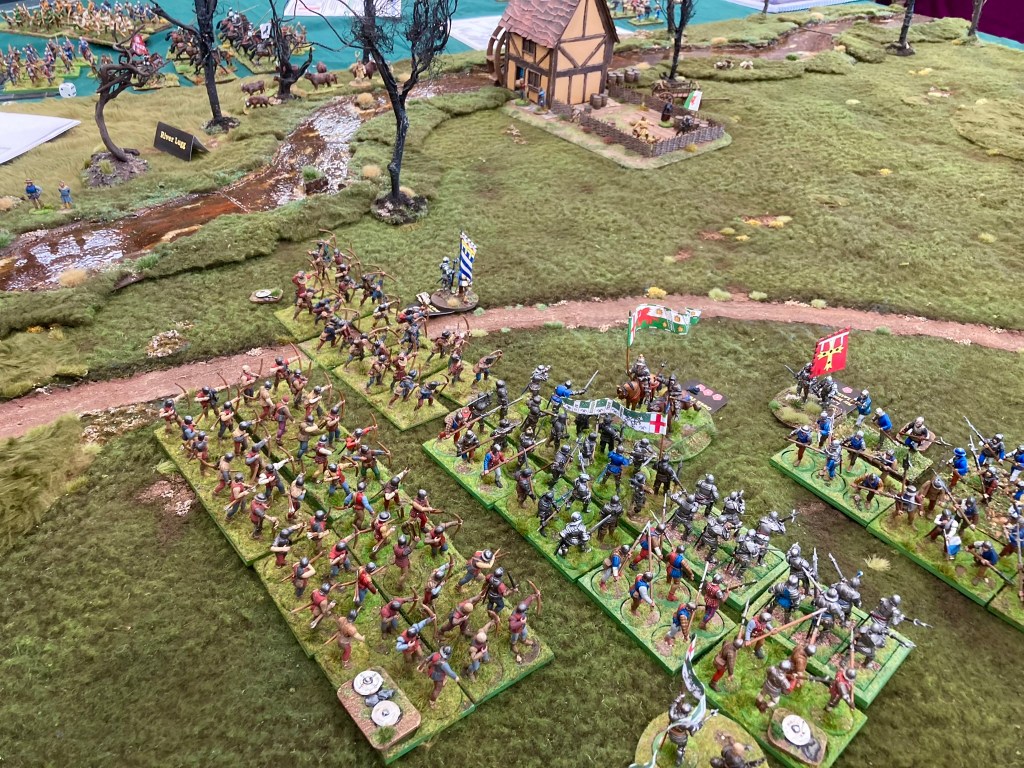
By combining our various collections, we were able to put around 900 28 figures on the table. Units were composed of around 36-48 infantry or 16 cavalry, depending on the various basing systems in use. Midgard usually works with a standard unit frontage of 12 cm, but for this game we doubled that to 24 cm, giving us the appearance of a big battle but without too many units to keep track of. The army lists were sorted out by Chris, juggling our collections into a possible order of battle for the two forces. We followed tradition by appointing Jasper Tudor, Owen Tudor and Edward as the main commanders, but fitted in various other models from our collections as likely sub-commanders and leaders.
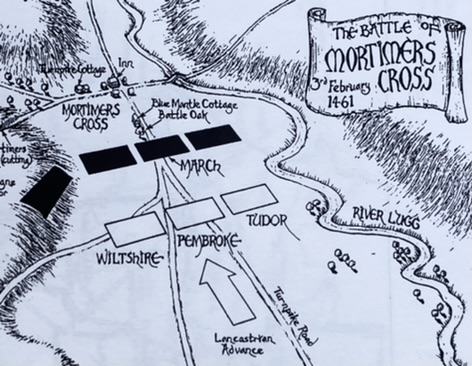
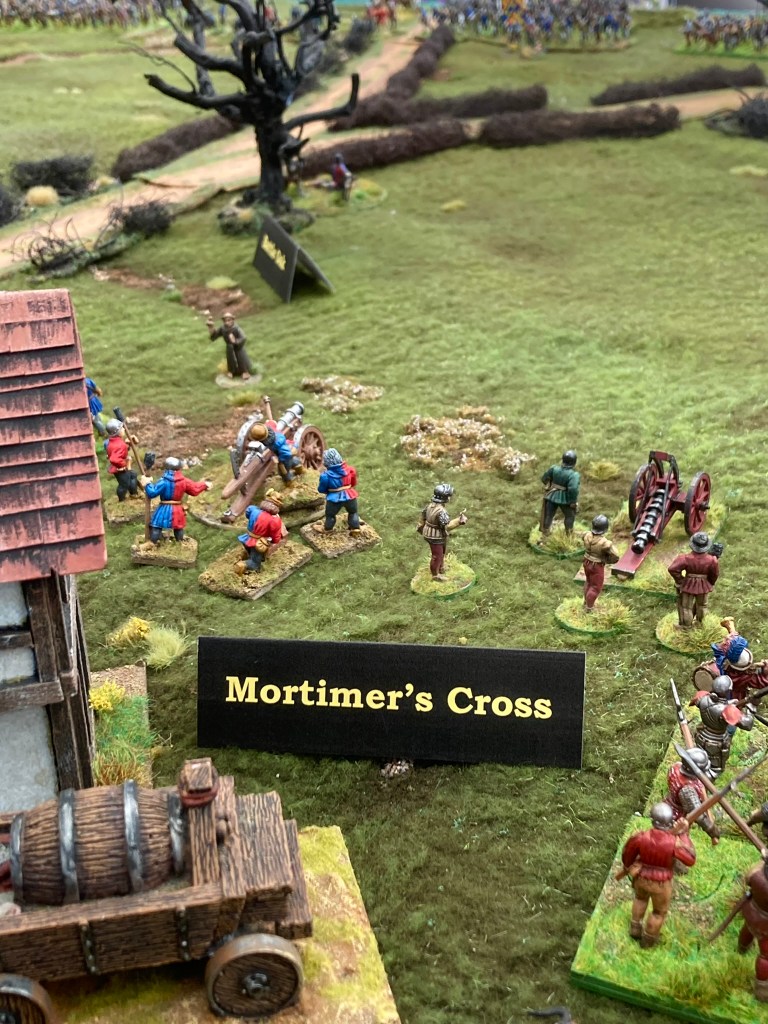
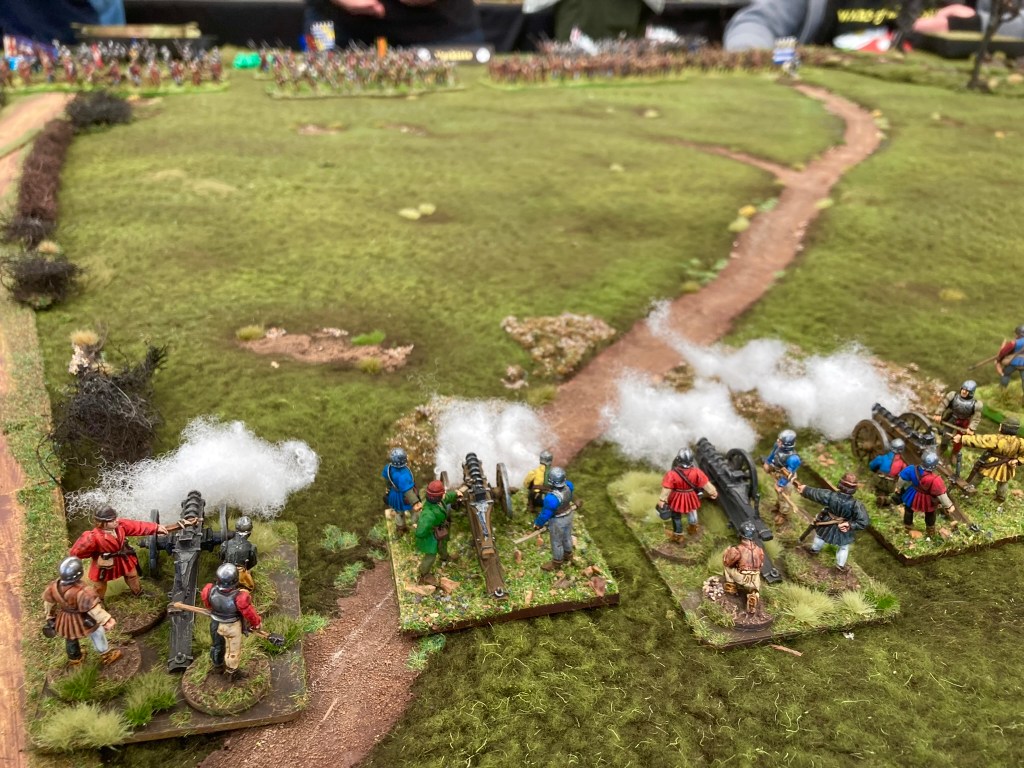
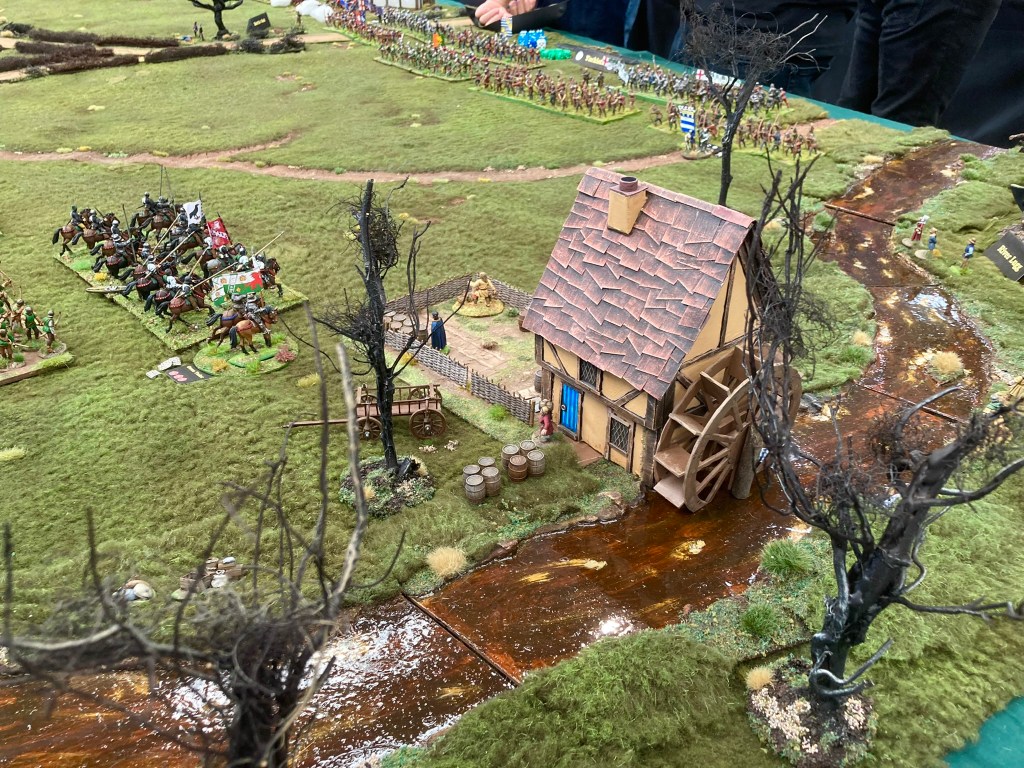
After a number of discussions about the different options (the alignment of the armies has two popular variants), we plumped for the traditional one with the north-south alignment shown above. During the show, I had fascinating conversations with a member of the Battlefields Society who favoured the other alignment (east-west) but who also confirmed the finding of three stone cannon balls on the suggested battle site. Whether these are related to the battle requires further investigation, but as we’d already deployed a few cannon, that was enough for us!
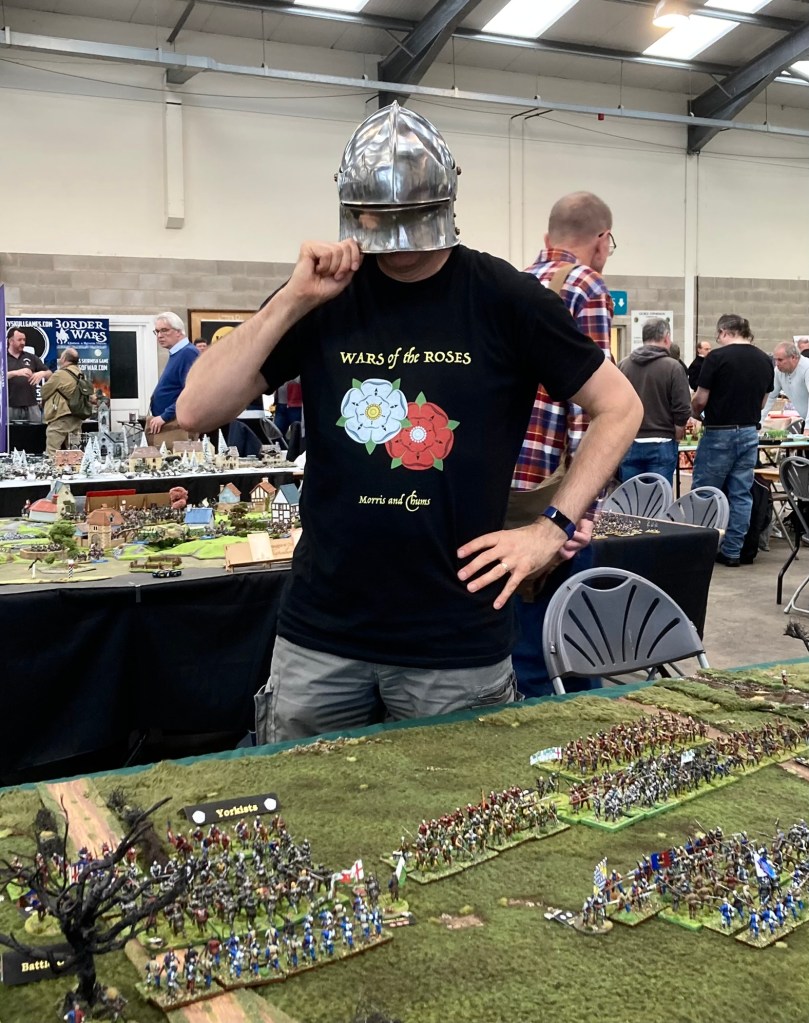
Minutes later, Barry Slemmings (author of Bills, Bows and Bloodshed and the Wikipedia page on the battle) arrived to congratulate us on choosing the correct alignment! We had a lively natter and he also lent me his splendid sallet for a quick comedy photo. Barry was followed up by a self-proclaimed descendant of Richard III, reminding me what a broad and fascinating church gaming is!
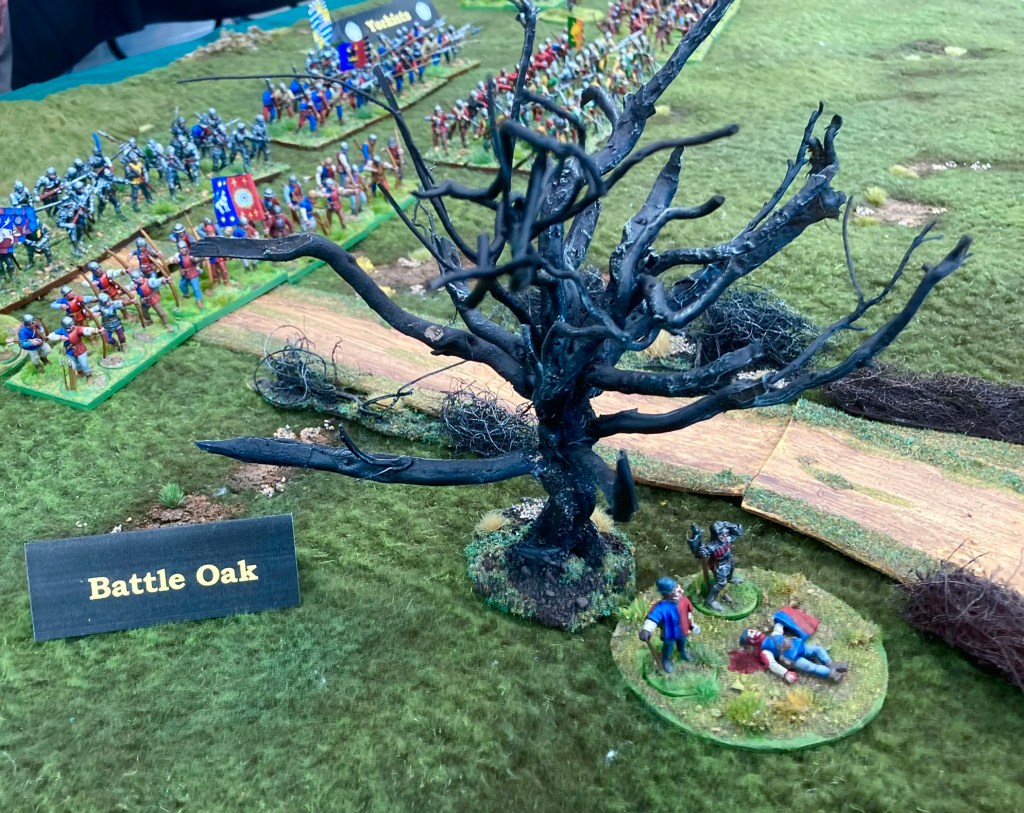
Anyway, after this flurry of debate, we got stuck in to the battle proper. I’m not going to give a full blow-by-blow account, but will rather dwell on some highlights as I work through the pics. Martin posted a rather nice video of the game (plus some general highlights of the show) so do have a look at that if you get time!


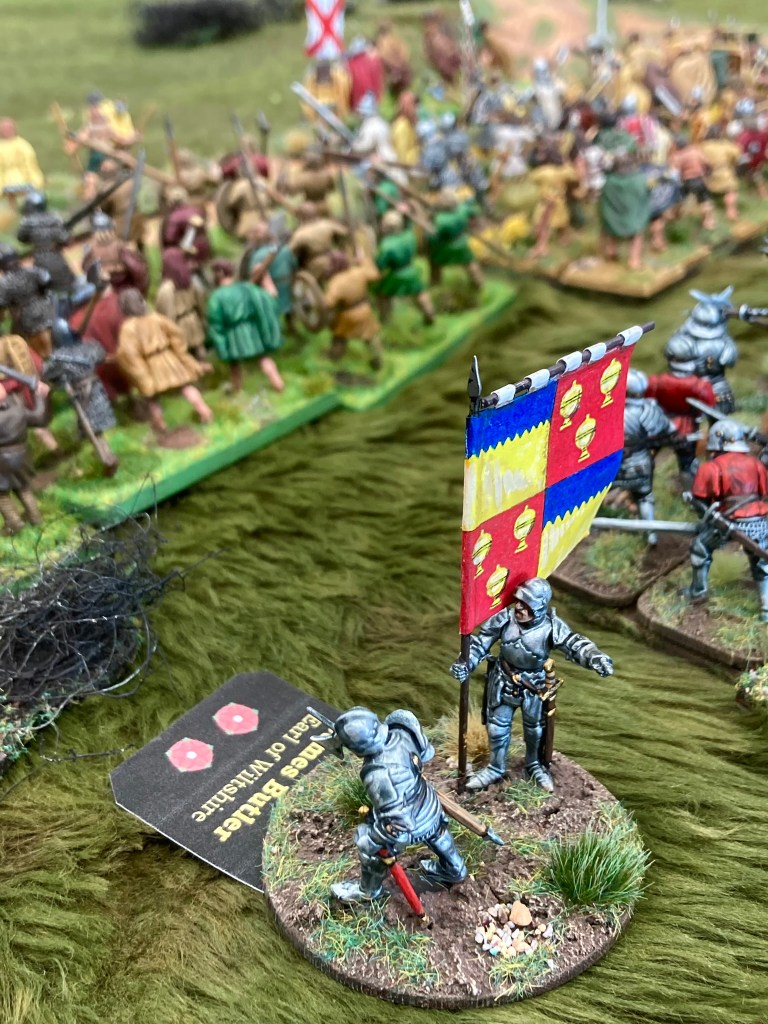


It was, as ever, a fun but exhausting day out. Fortunately, with a great team of chums on board, we shared the load and enjoyed the game. The spectacle of two substantial medieval armies meant that the game had plenty of visual punch despite the understated winter terrain, and it was nice to one of several WOTR games. It’s always a pleasure meeting up with old friends and making new ones, something that Partizan always does well. After helping to pack up 900 figures, I’m now considering a small skirmish for Partizan 2023! Or not.

Superb looking game. Sounds like you had a lot of fun too!
Seeing all these games over the last two plus years is making me very “hungry”. I’m going to do my level best to make sure I’m at Partizan next year. Hopefully with a game!
LikeLiked by 1 person
Would be great to see you!
LikeLike
Tell me about it LOL
LikeLiked by 1 person
One day!
LikeLiked by 1 person
I’ll PM you via Facebook James. Give you the latest.
LikeLiked by 1 person
Great looking game once again buddy! I miss doing those big battle show games with your god self!
LikeLiked by 1 person
Good self obviously 🙄
LikeLike
Thanks Andy! If you fancy a trip out…I’m considering Salute 2023?
LikeLike
I’m definitely up for Salute 2023
LikeLiked by 1 person
Ooh, brill, I’ll message you.
LikeLike
Missed the game because we were too busy doing our own! Visuals look very appealing and an excellent write up.
LikeLiked by 1 person
No problem, I know how busy it is! Saw your game only briefly but it looked fab.
LikeLike