A few weeks ago, I was lucky enough to be invited by Tamworth Wargames Club to run a Battle of Bosworth 1485 game in Tamworth Castle’s great hall. This was quite an experience and I’ve put together a 15 minute video about it which you can see on the Mogsymakes YouTube channel – please do have a look, and like and subscribe if that’s your thing. We used Midgard Heroic Battles for the rules with a custom scenario (which I’ll hopefully publish at some point in the future after some further play testing).
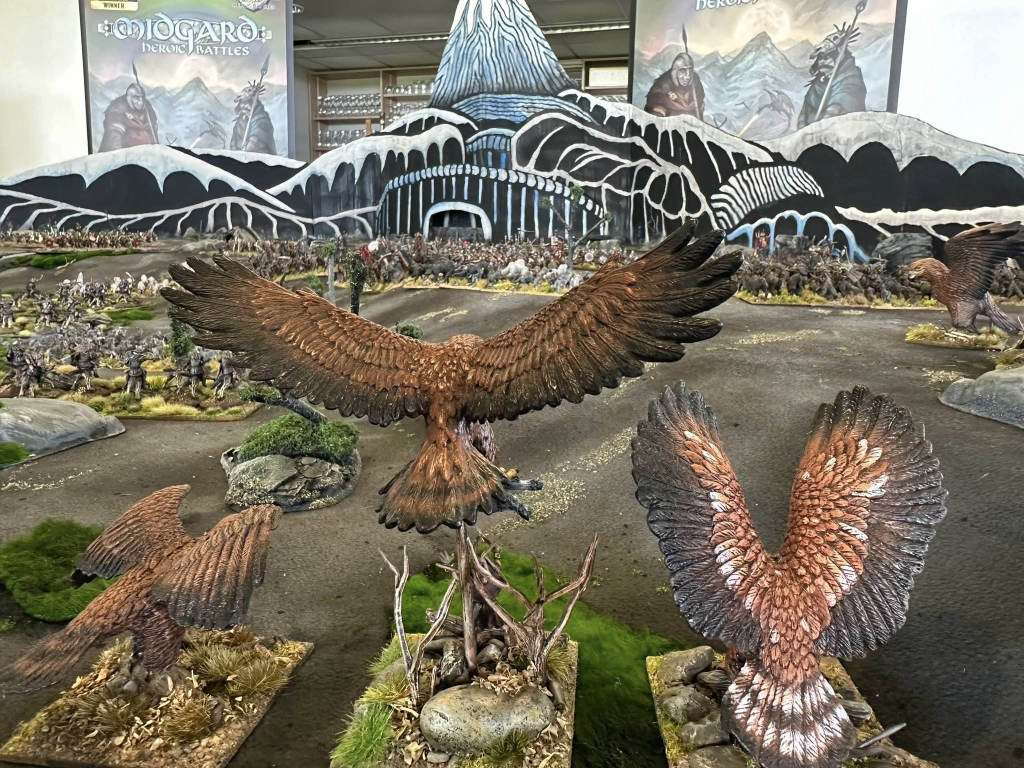
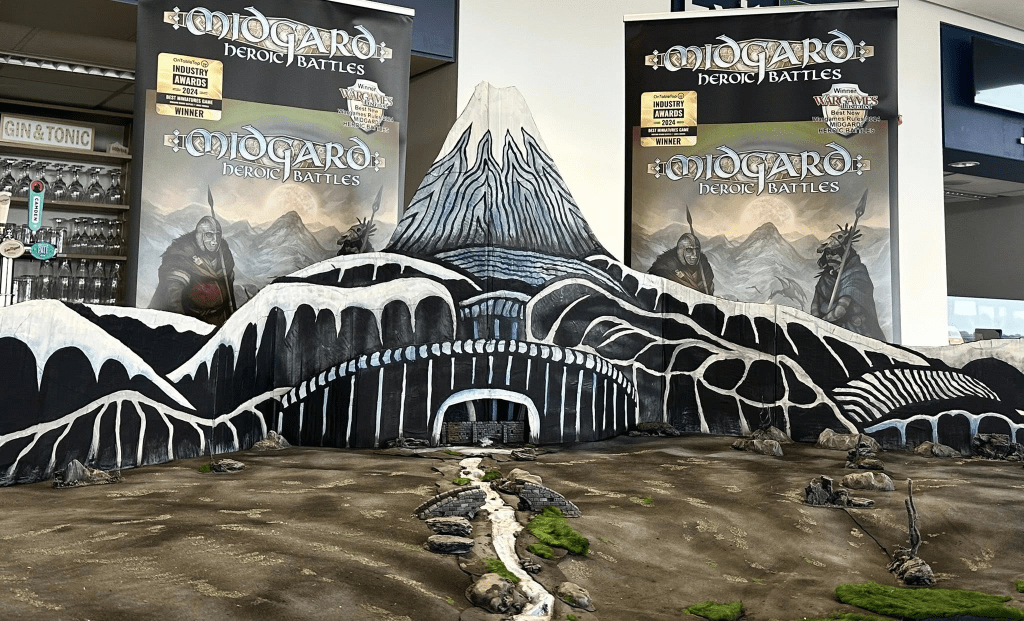
The chums & I took our Battle of Five Armies game for its second outing to the Colours Wargames Show in Newbury, UK, last weekend. It was a brilliant day out and a pleasure to see everyone to chat about Midgard Heroic Battles and Tolkien.
I’ve used the footage and pictures from the weekend to create a video of the game for the YouTube channel. Please do have a look and let me know what you think! Views and subscriptions are greatly appreciated.
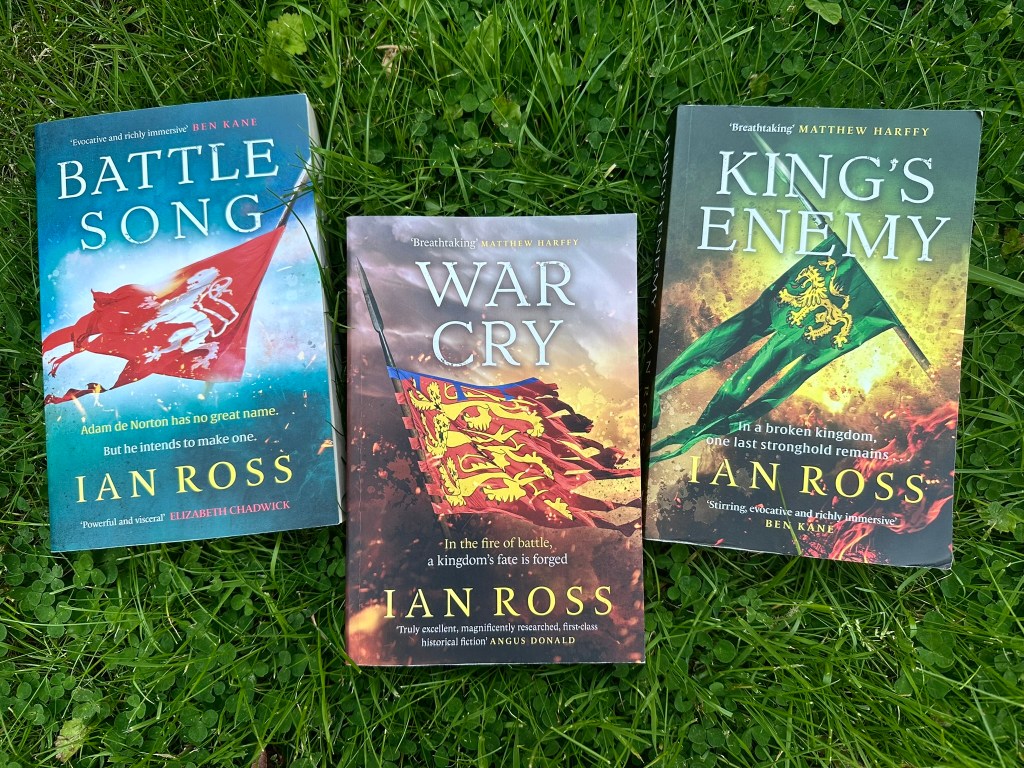
I recently read this wonderful series of historical novels by Ian Ross which really kick started the project. These are very well researched and highly recommended!
Having tried out both Hairfoot and Wartnose Jousting, Mike B and I decided to get some all-goblin bouts in down at the club.
In case you’d missed it, Hairfoot Jousting is a fun little game from Joseph McCullough and Osprey Games. It’s a very low figure count game that plays in around an hour, so ideal for drop in/ drop out games at a show or a club night.
Axeman, Bellend and Pothead – Mike’s second team (3D prints painted by Mike Bradford)
The first half of the book is about Hairfoot Jousting – a sport played for cheers and laughs by halflings riding twee oversized animals. However, turn into the second half and you find Wartnose Jousting – essentially the same set of rules, but re-skinned for goblins jousting each other for jeers and pain. Mike and I had both felt drawn towards the goblins so that’s what we were playing with.
Game 1 saw us taking on the challenge of the Spikefoot Run – a race/ combat event in which both sides take a three goblin team, designating two as the ‘runners’ (who have to complete laps of the arena) and one as the ‘blocker’ who has to, you know, whack the other team.
The main piece of scenery required for the scenarios is something to demarcate a 75 cm diameter arena. This doesn’t need to be anything special – Mike used a set of standard wargaming walls from Treefellas. Of course, being a goblin arena, there were also some unpleasant obstacles, including some spiked fences and pits that Mike had knocked up.
Hairfoot/Wartnose Jousting uses a very entertaining (if somewhat random) movement system. You begin your move by pointing your mount in the direction you want it to go, then roll a D6. There are six templates and you get one of these according to the number rolled! If you run into an opponent, you can whack them, hopefully causing Endurance loss, and if you run into an obstacle, you lose Endurance (though you gain a Jeering token as the crowd laugh at you. Get ten of these and you can trade them for a dice reroll).
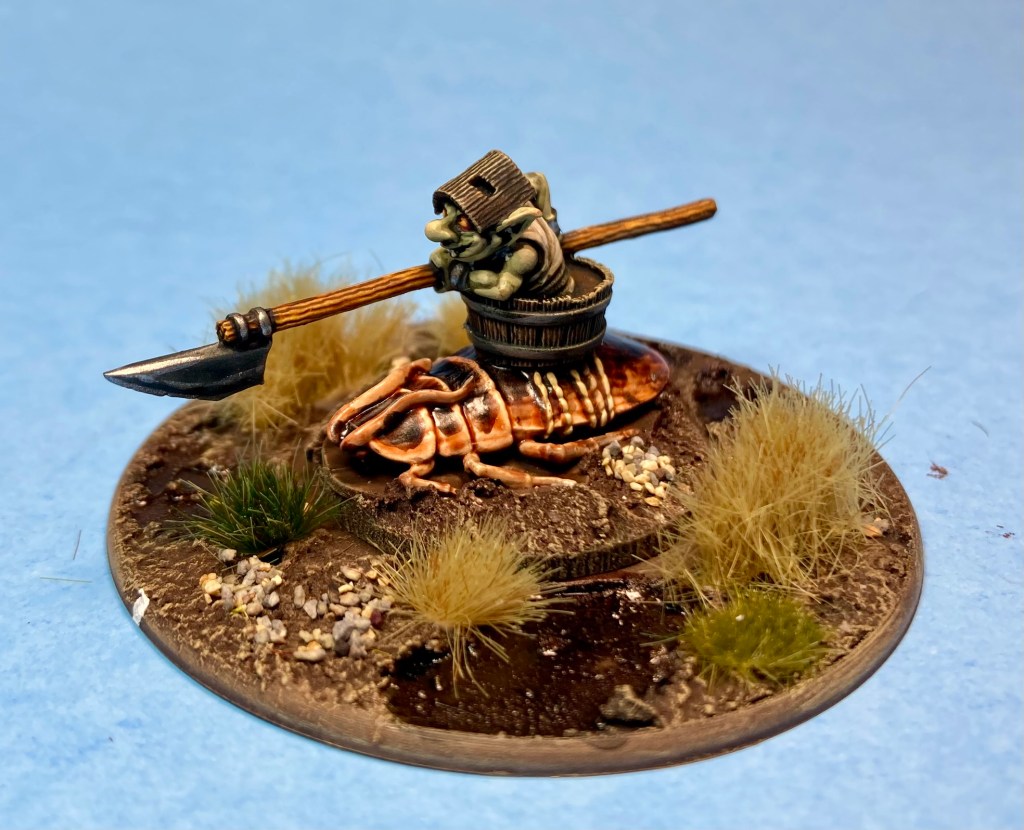
Once you get into it, it’s not quite as mad as it sounds, as there are some special rules for each mount that can help you to plan your move. Frogs (being bouncy) can jump over obstacles in your path, avoiding damage in many situations. Cockroaches (being tough) ignore damage from running into obstacles. And several creatures have the ability to swap between different movement templates, giving you just a little bit more control. If you’re charging an enemy, because the templates are 60mm wide (the same width as the bases), you’re likely to hit them even if the direction wasn’t quite what you planned.
Anyway, back to the Spikefoot Run. My three challengers were Skulwig, riding a frog, Prince Charming (on a centipede) and Erbert on his trusty cockroach. Skulwig and Charming were sent to be the ‘runners’ (having some special rules giving me a bit more control over movement); Erbert was the ‘blocker’ as he could run into obstacles without damage.
Both pairs of runners set off, ricocheting off walls and obstacles as they progressed. Erbert had some success as a blocker, taking out one of Mike’s runners, and both sides progressed to rack up two laps apiece. Whoever could take the third lap would win it. Unfortunately, my runners had taken so much damage from their inept navigation of the course, Skulwig soon dropped out. Charming was limping towards the line when he was felled by a random event – a hail of pine cones from the spectators which did for his final point of Endurance! This left Mike with one runner in the race and he was ruled the winner.
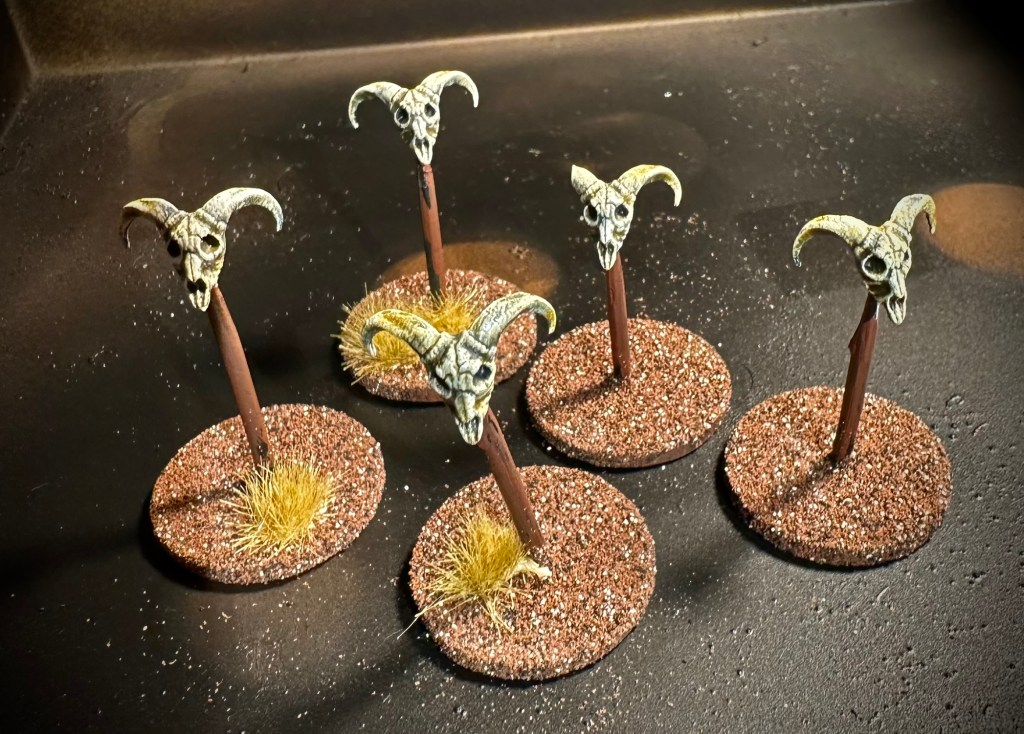
Skulls on sticks, quickly created from spare parts from the Wargames Atlantic Classic Fantasy Skeletons box.
Game 2 involved a more formal joust with the Boneyard Arena scenario. This involved a bit of a tourney spiced up with five skulls on sticks; there were bonuses for hooking the skulls with your lance, and if a single jouster managed to hook three skulls, they were the winner and the game was over. This sounded like a big ask but I thought I’d give it a go.
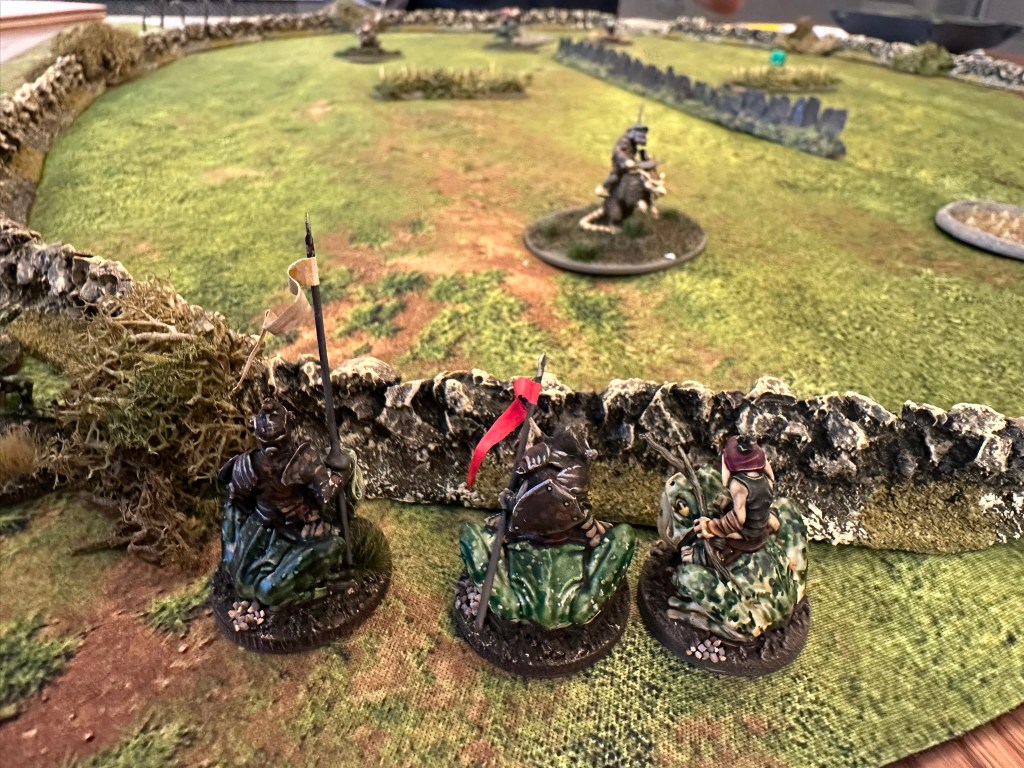
Skulwig, Sir Orrid and Kashan the Mighty!
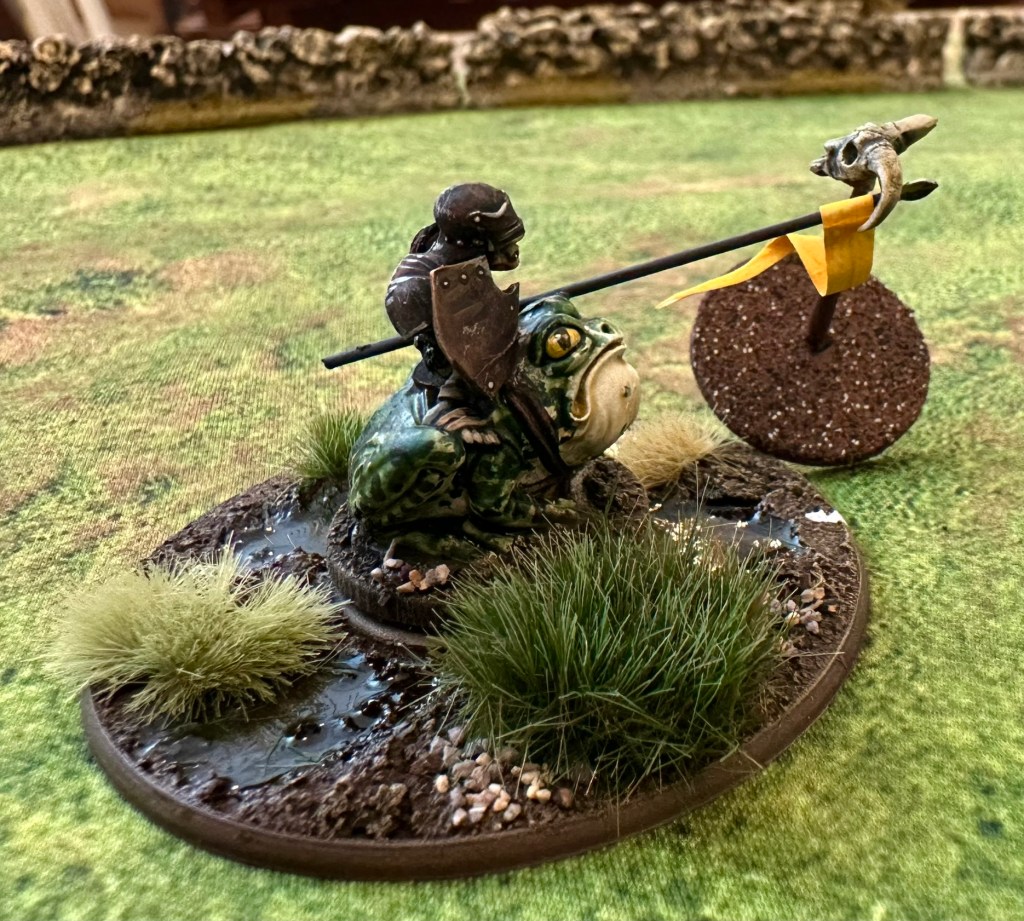
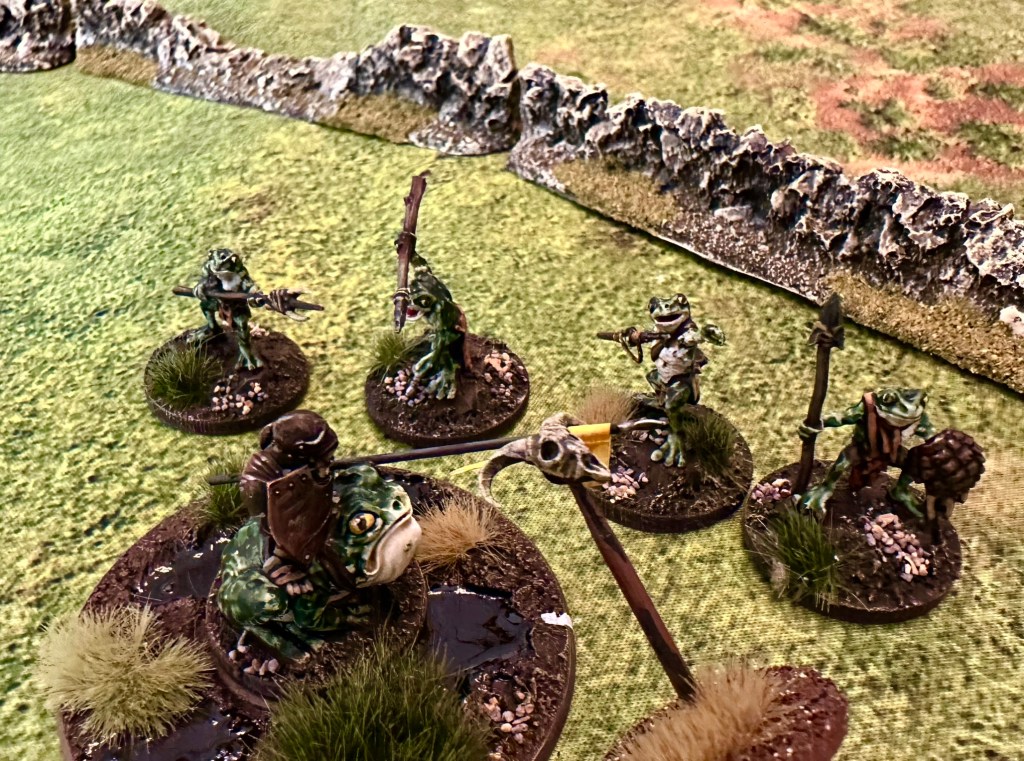
For this game, I fielded my complete team of frog-mounted riders (inspired by the art of Brian Froud – you can see a short video about making them here) converted from the official Northstar Miniatures for the game. These were Skulwig (yellow pennon), Kashan the Mighty (white pennon) and Sir Orrid (red pennon). Mike put out three unpleasant types wearing/ wielding different kitchen utensils – Pothead, Bellend and Axeman.
The game got off to an exciting start as both Skulwig and Axeman managed to hook skulls but started to settle down as we then kept missing (you need quite a high dice roll to pull it off – I think we’d both got lucky at the start). Attrition was lower in this game than usual as we were mostly focused on trying to hook skulls, though Mike’s goblins seemed to be hitting the wall an awful lot. I eventually figured out that this was down to Mike trying to gain ten Jeering tokens to be able to get a re-roll in order to hook more skulls! Typical goblin tactics :-).
Once Skulwig had hooked the first skull, I’d decided that he’d go for all the others, while his team mates concentrated on blocking the opposition. This soon paid off as Skulwig got his second skull.
However, by now Mike had got his ten Jeering tokens for a re-roll and just beat Skulwig to the skull by virtue of his initiative roll. However, even with the re-roll, he just failed to do it and Skulwig pulled it off, winning the match. At which point the goblin and frog-men supporters invaded the pitch.
This was a lot of fun and a great diversion from the more serious projects that I’d been working on. It’s not a hard game to learn and, if you can cope with the lack of total control over your mounts, is a brilliant choice for a club night when everyone needs something lighter. We will definitely play again!
Skull no 3! Skulwig is victorious and the pitch is invaded (Toadmen by Bifrost Miniatures/ Warbases)
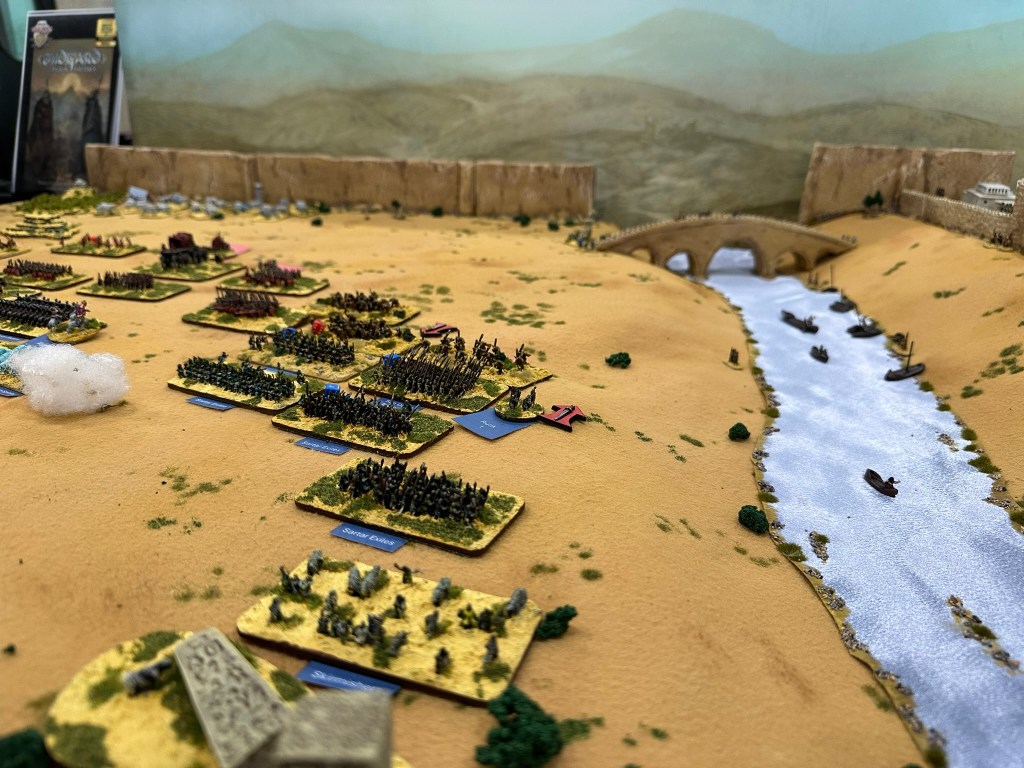
Following a successful trip to the Joy of Six show at the weekend, I’ve added a full picture report of our Midgard Heroic Battles game.
This was an excursion into Glorantha (the world of the Runequest RPG) with chums Matt and Tom using 6mm miniatures and terrain (background by Jon Hodgson). Have a look here!
It’s been a busy week and a number of video projects have come together all at once!
First up, we have my Brian Froud-influenced goblin jousters! These started off as Wartnose Jousters by Northstar with a bit of extra conversion work and are accompanied by some Toad Men from Bifrost Miniatures (Warbases) plus a giant frog leader from Crooked Dice. I made a short video about this project if you’re interested. If you enjoy this, please do like and subscribe!
I also had a video chat with Nick of Medieval Wargamer to discuss future plans for Midgard and specific rules for high to late medieval gaming. We talk about stuff like arrow storms and command and control in medieval battles as Nick is planning to refight Poitiers in the next few weeks using the rules.
Finally, more video…back in January I met up with Alex of Storm of Steel wargaming for some WW1 gaming at Verdun. This new video follows a game based on Operation May Cup, the German attack on the Verdun front in May-June 1916. This is on a much wider scale than the 1/56 skirmish that we played inside the tunnels of Fort Vaux in Alex’s previous video; using the Square Bashing rules and Kallistra 12mm (1/144) miniatures, we played out a game covering several miles of front.
Finally, I’m busy prepping 6mm terrain for our forthcoming visit to the Joy Of Six show in Sheffield on July 13th. I’ve always wanted to visit this one, and the gang were keen to put on a Glorantha game using Midgard Heroic Battles in 6mm. Might see you there?
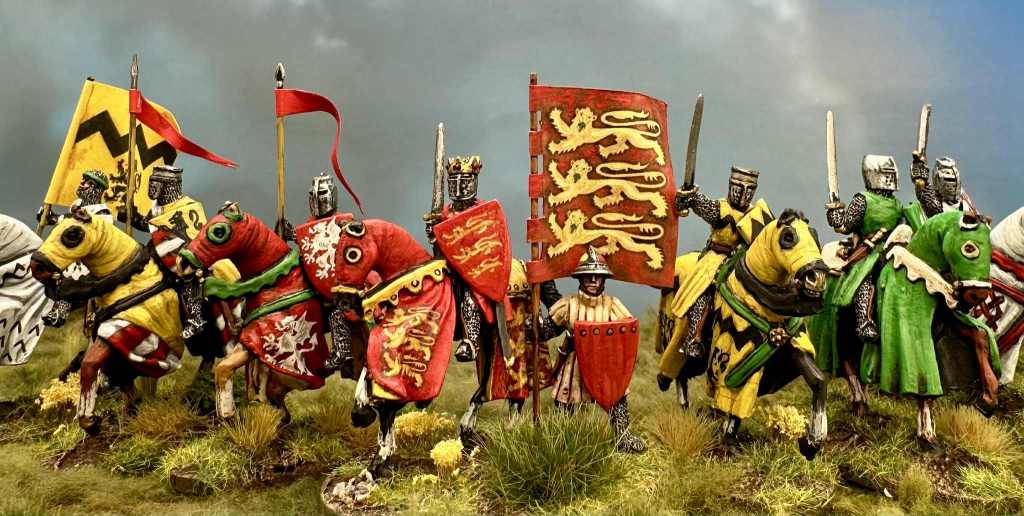
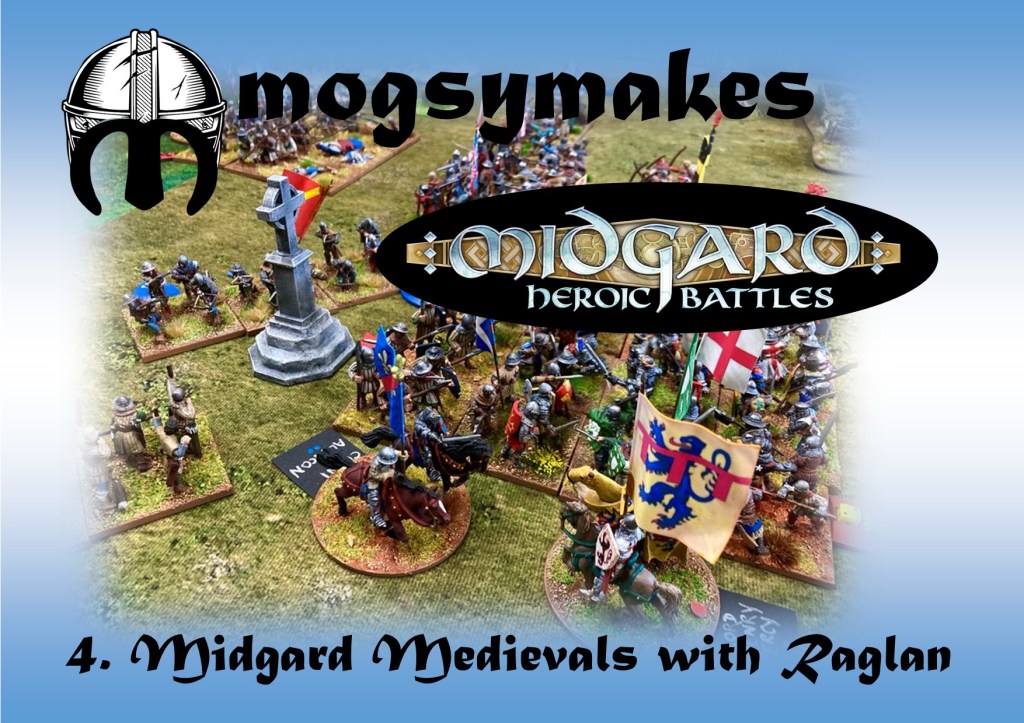
I’ve just posted my latest video, a picture report of a mini-campaign that I played on my visit to Wales a few weeks back. Lord Raglan (Gareth Lane) hosted and providing his amazing Hundred Years’ War collection for two games of Midgard Heroic Battles.
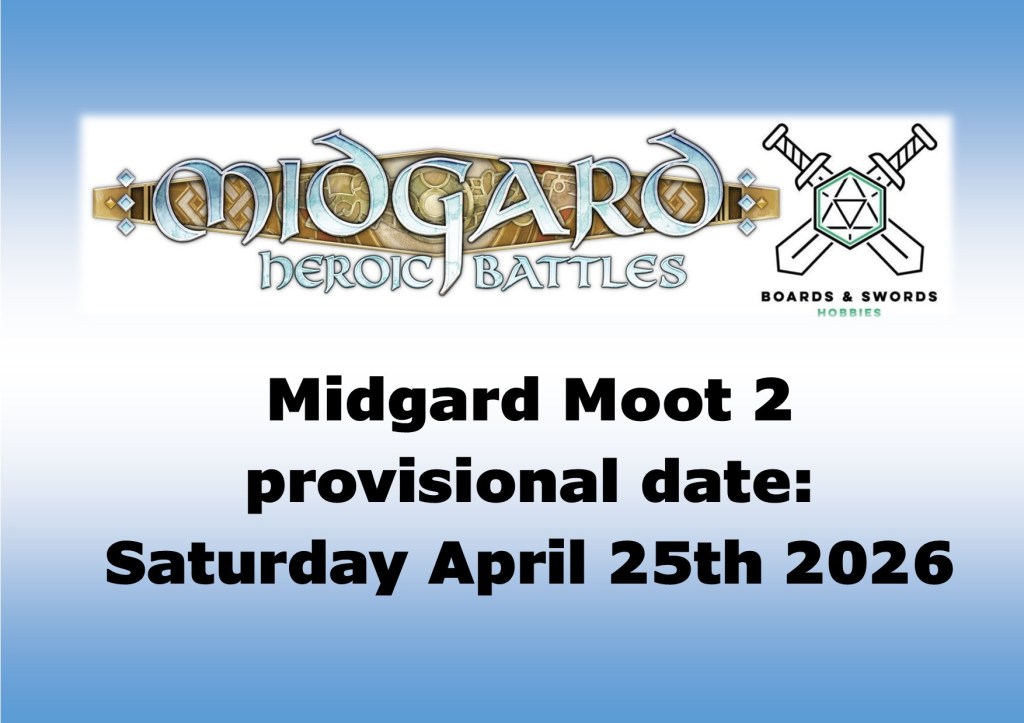
I’ve also got a provisional date in the diary for Midgard Moot 2 next year! No booking information yet but I’m looking forward to this.
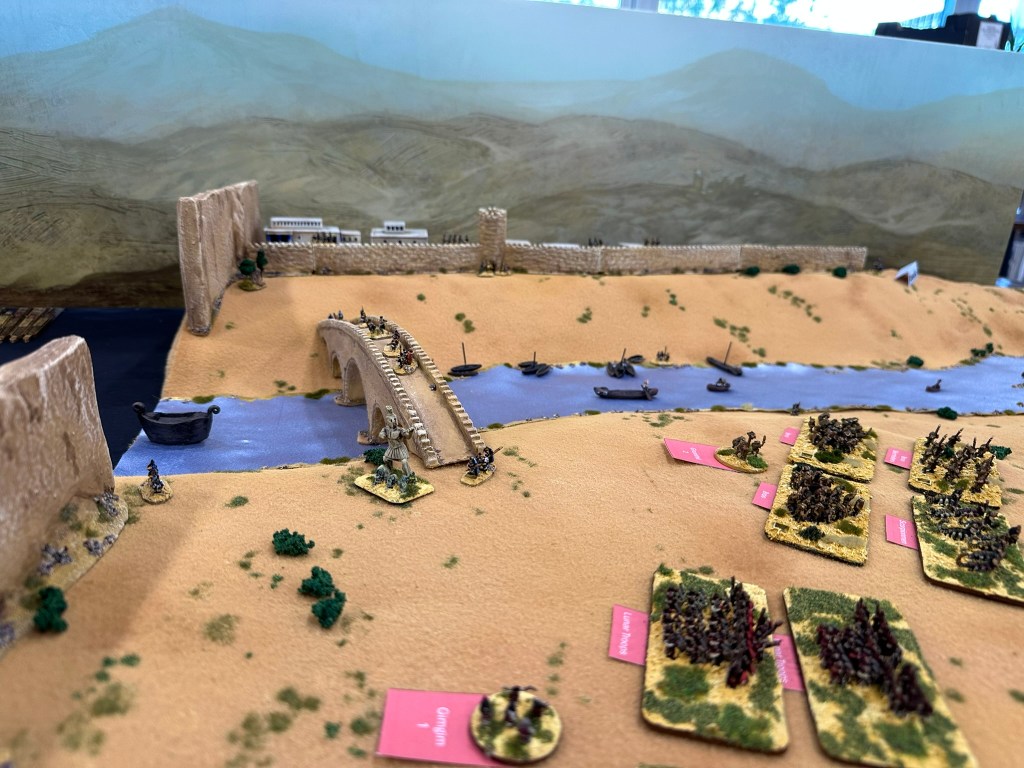
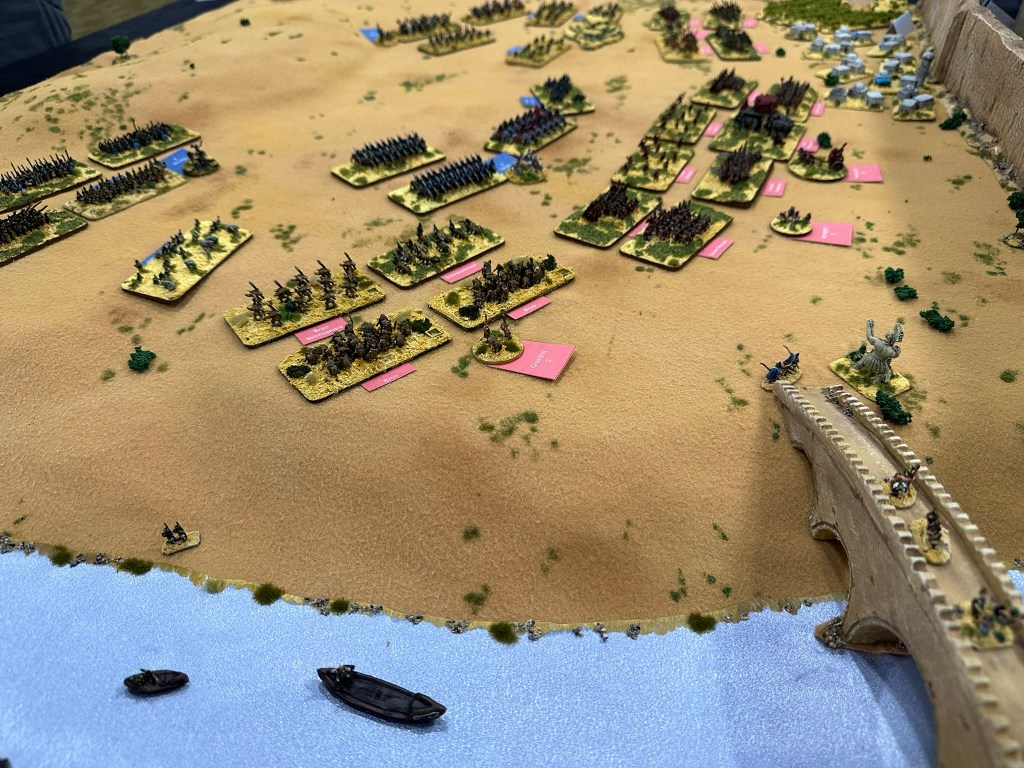
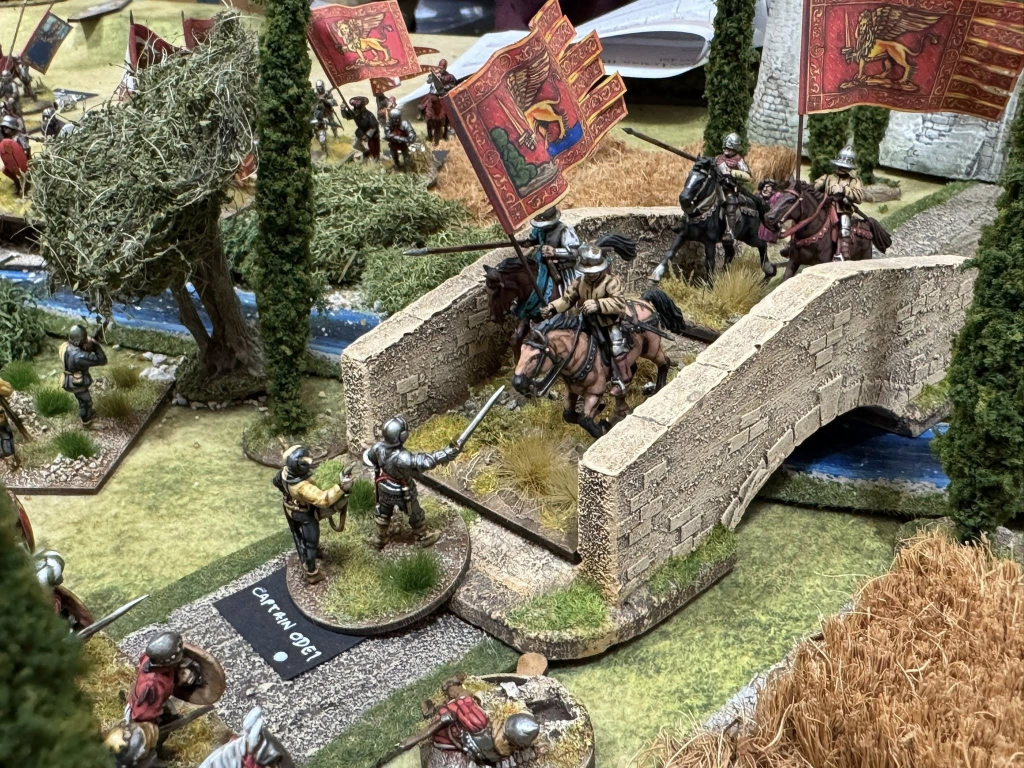
Back in April 2025, John Savage ran a superb early Italian Wars game inspired by the Battle of Fornovo in 1495.
I initially expressed my concern that it was a bit late for Midgard, but he talked me round! It turned out to be the most-requested hosted game of the event and was an impressive spectacle to boot.
John has kindly penned us a pair of 300 and 400 point lists for the French and Italian League Forces, including all manner of blokes with pikes, some guns and a bear mascot as well. There are also new Traits for Pike Blocks and Hatred which might adapt well to other settings.
Well, it had to happen. I’ve finally put Mogsymakes onto YouTube. After the success of the videos recorded by Too Fat Lardies last year for the release of Midgard Heroic Battles, I knew that I needed to generate some content myself. This is all a bit of an experiment at the moment, but please do have a look and Like and Subscribe if you’d like to see more. Find the Mogsymakes YouTube channel here.
Currently there are three videos up covering Miniature Photography, Painting Plate Armour and Movement in Midgard Heroic Battles.