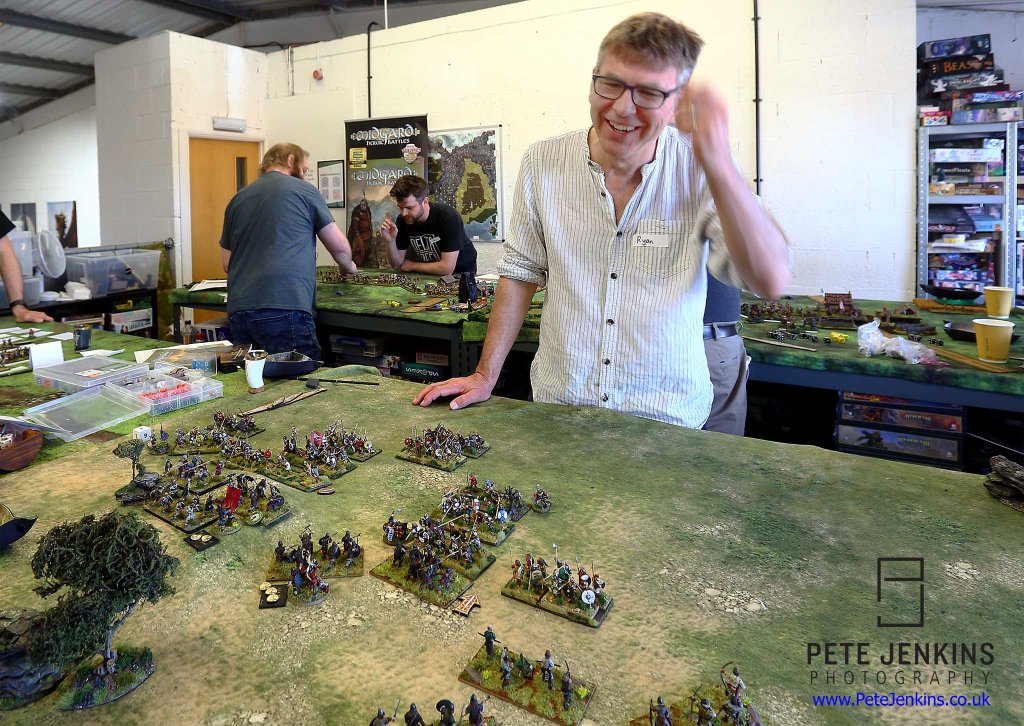
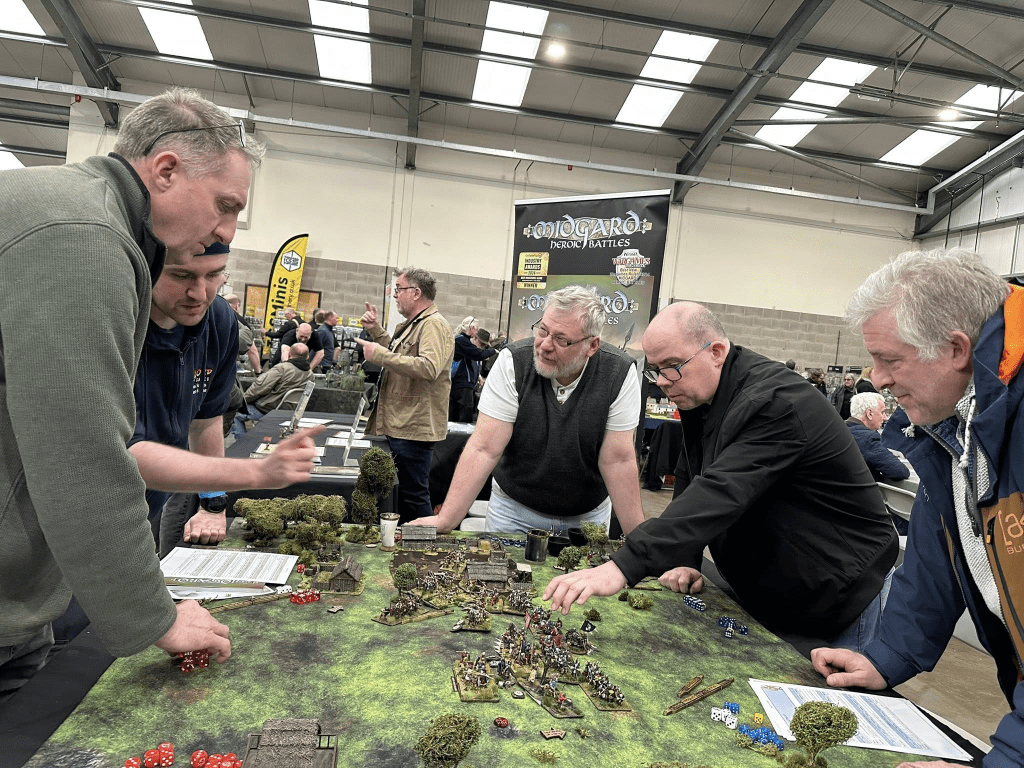
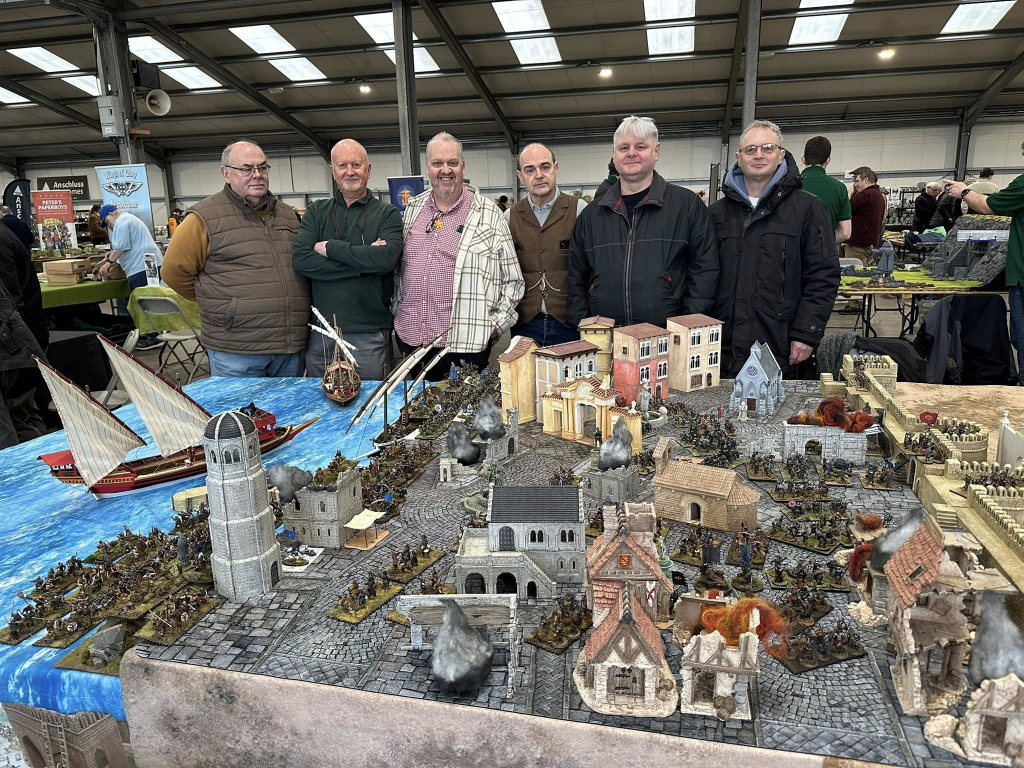
Midgard Moot 2 ran at Boards And Swords Hobbies last weekend and it was an absolute joy; 45 gamers, 10 games hosts, 48 games of Midgard Heroic Battles. You can see the whole picture report here. Thanks to Pete Jenkins for the photos!


Midgard Moot 2 ran at Boards And Swords Hobbies last weekend and it was an absolute joy; 45 gamers, 10 games hosts, 48 games of Midgard Heroic Battles. You can see the whole picture report here. Thanks to Pete Jenkins for the photos!
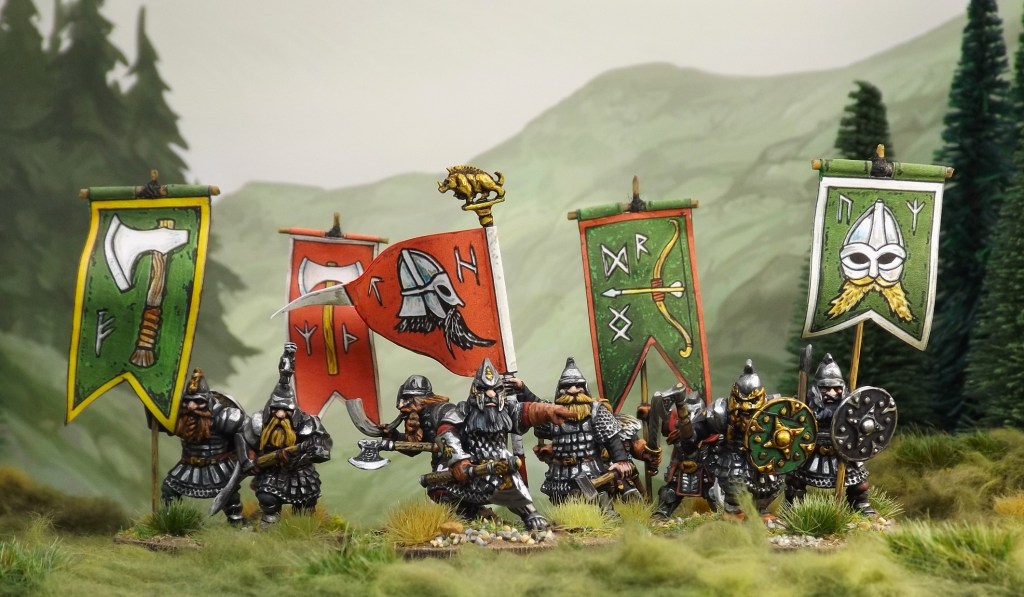
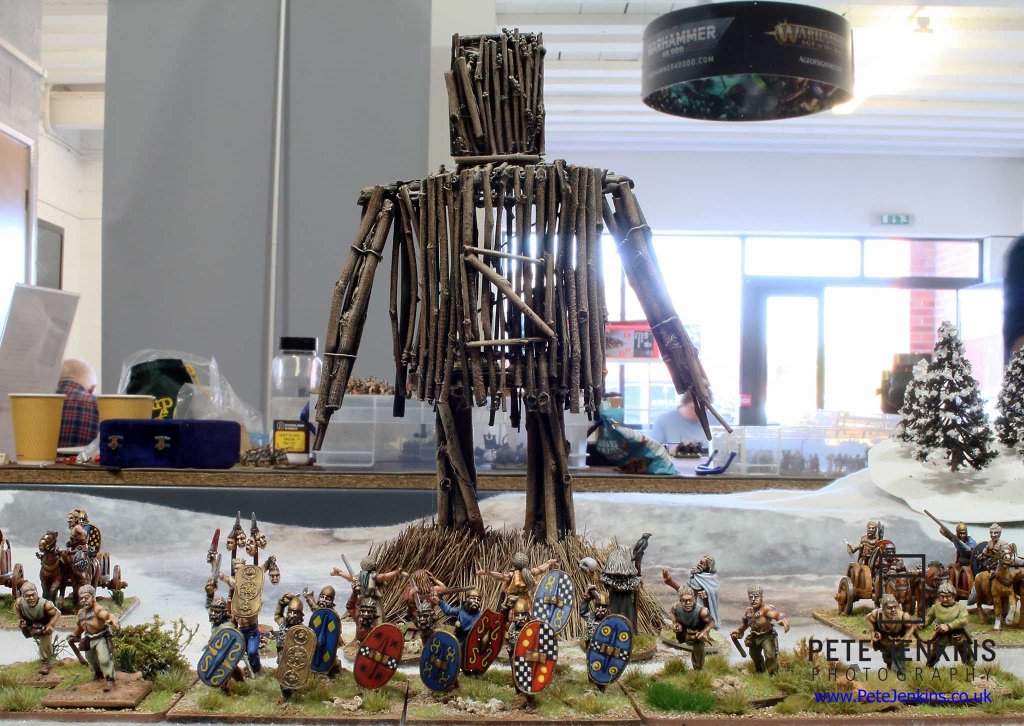
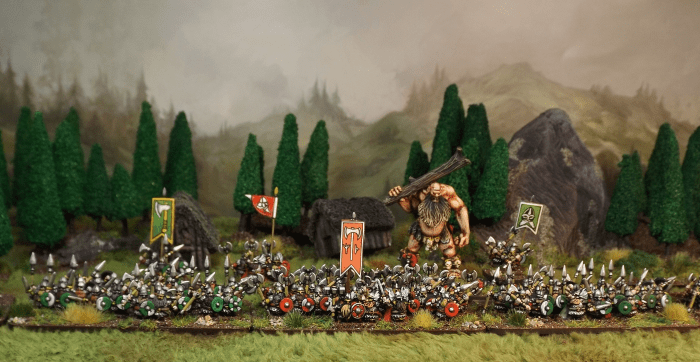
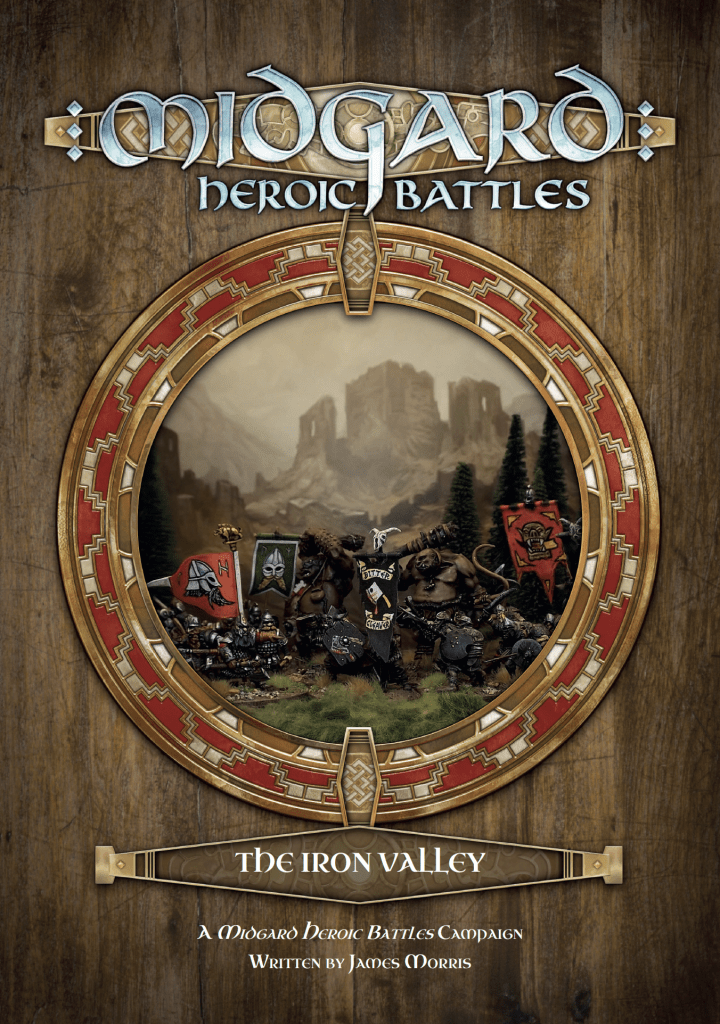
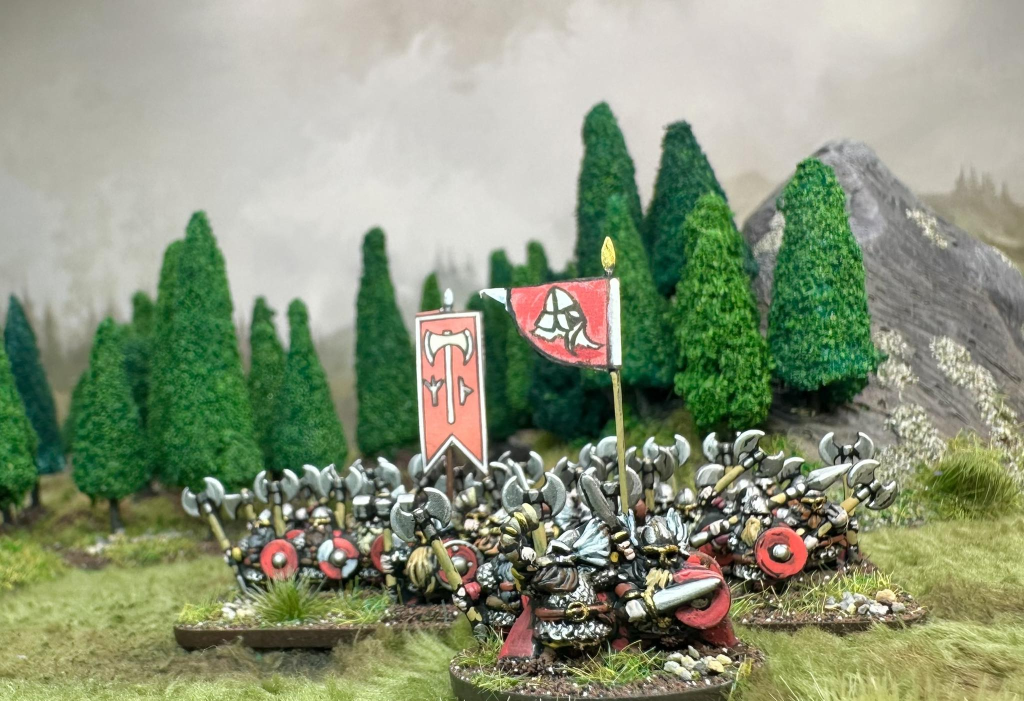
My latest Mogsymakes Banners release on WargameVault.com is the Orc & Dwarf banners to accompany The Iron Valley goblet-sized campaign from Reisswitz Press.
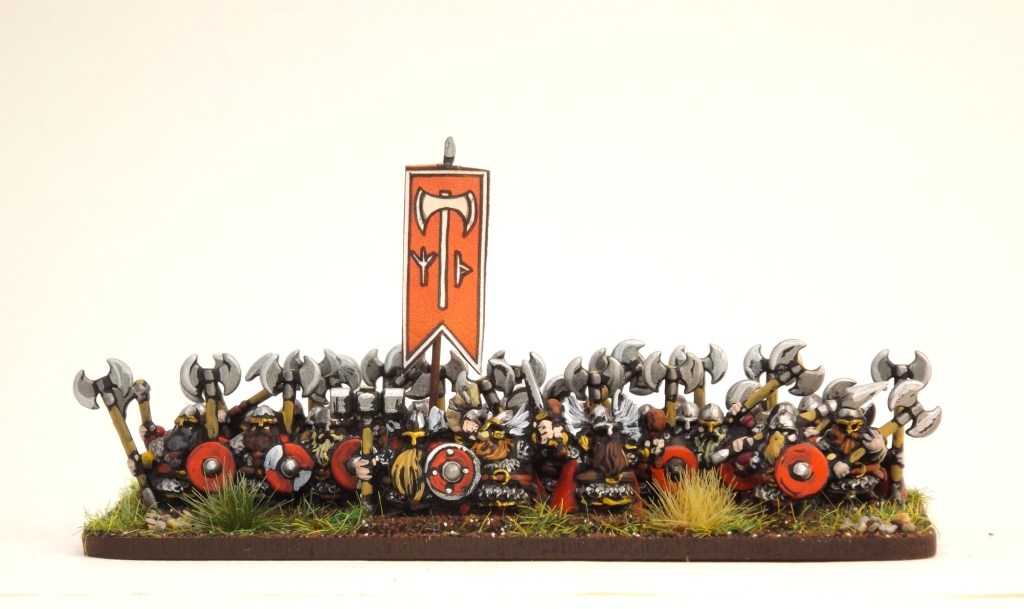
Here you will find PDF banners for the Orc & Dwarf leaders and clans, available for both 28mm and 10-15mm sized miniatures!
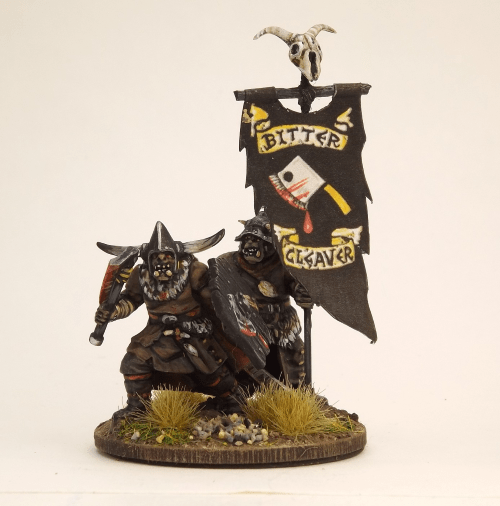
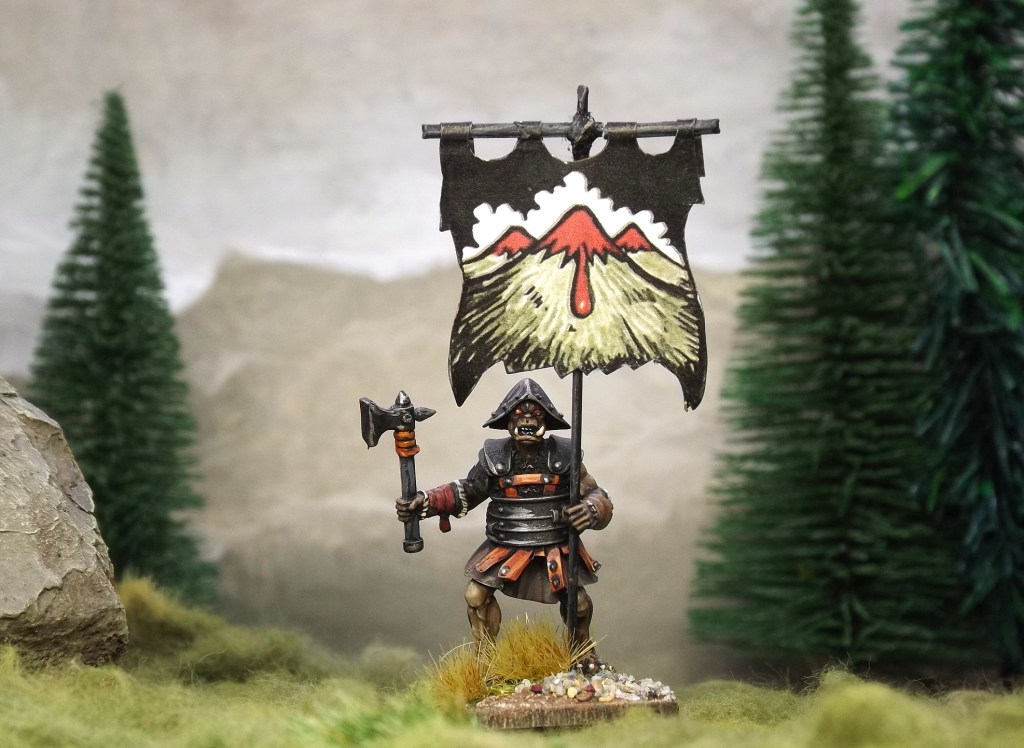
Examples shown here use the marvellous Oathmark 28mm and Wargames Atlantic 10mm minis (plus a Copplestone Giant) with Jon Hodgson Backdrops behind. You can get the banners here: https://www.wargamevault.com/en/browse?keyword=mogsymakes
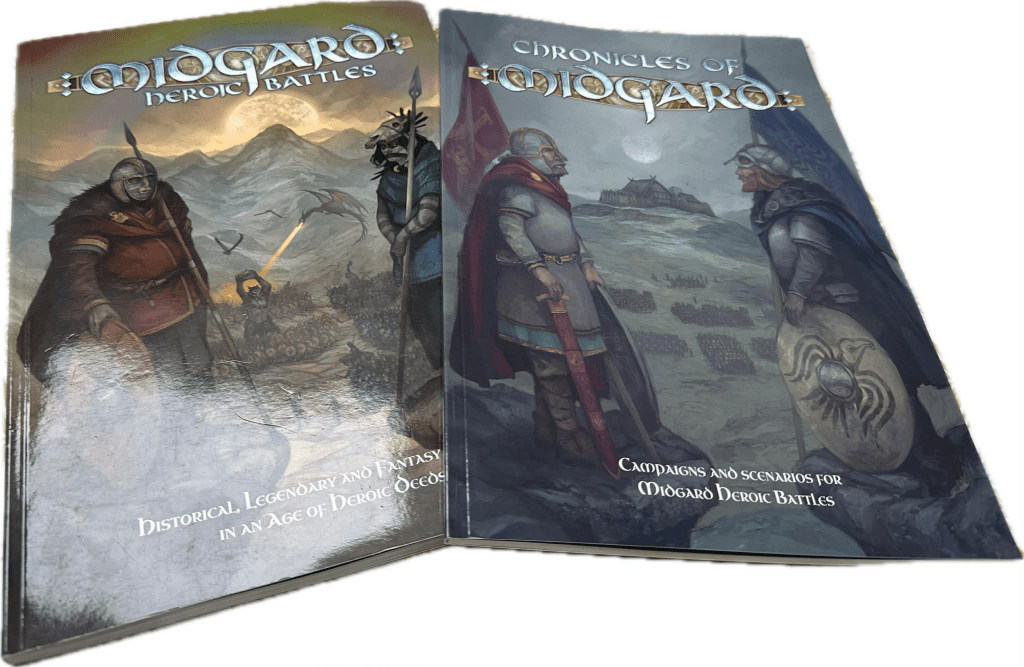
The wait is now over and copies of Chronicles of Midgard are hitting doormats and shop shelves around the world. Our chums North Star Military Figures now have it in stock, meaning that it’ll be easily available to shops worldwide.
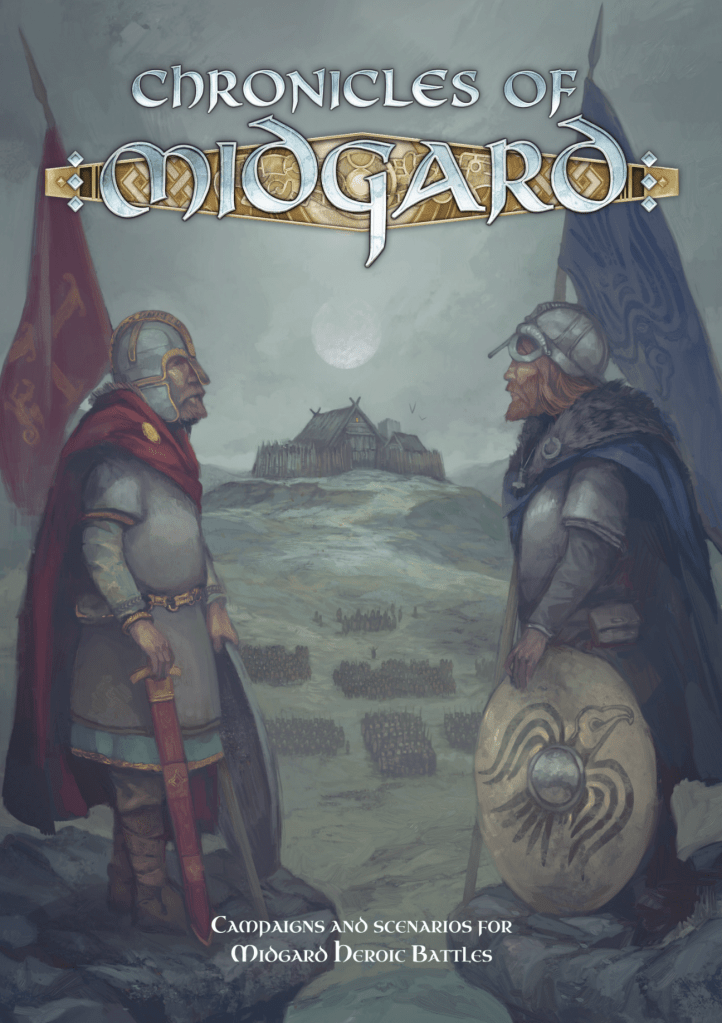
Too Fat Lardies/ Reisswitz Press also now have the Chronicles of Midgard PDF available by itself. Not only that but the first Goblet-Sized Campaign, The Iron Valley, is also available. This is the first of the planned campaign packs that will be available for specific settings, containing new scenarios, Muster Rolls (Force lists) and campaign maps.
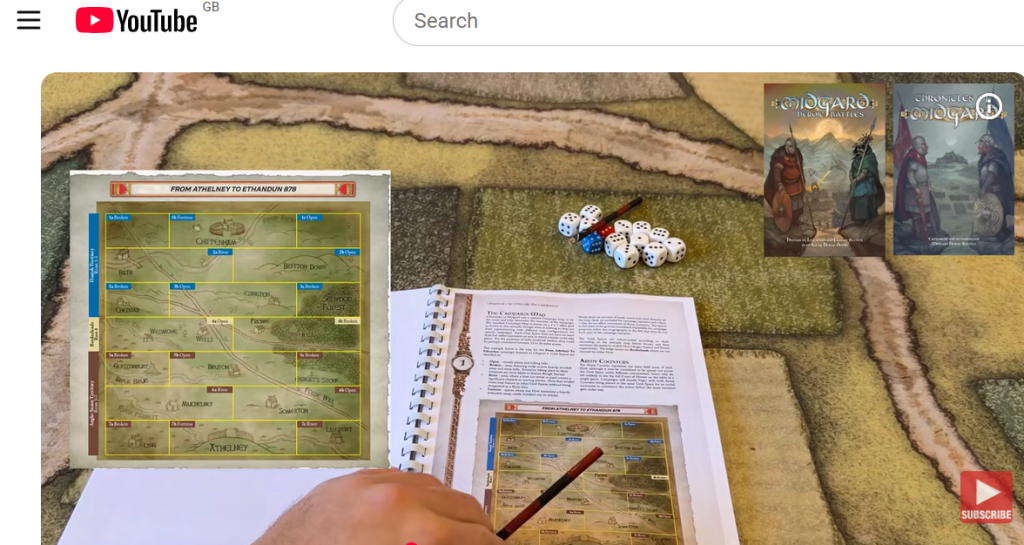
Nick of Medieval Wargamer did a YouTube review/ flip through of Chronicles of Midgard recently which might be of interest if you want a closer look at what’s in the book.
That’s all for now, much more coming up!
I’ve sent off a few advance copies of Chronicles of Midgard for review and Nick at Medieval Wargamer hasn’t hung around! He printed out his copy from the PDF and already has a video on it – watch it here!
Pre orders are going really well but there’s still time to get one in before release on April 16th (and to collect at Salute on April 11th, if you’re there). All details (including TFL distributors for non-UK orders) here.
Many thanks to everyone who’s pre ordered already and I’m looking forward to seeing copies out in the wild!
I collected together some of the photos and footage from the sessions for Chronicles of Midgard to make a short preview trailer.
If you want to know more, there is a longer video from Too Fat Lardies, with an interview and play examples of Chronicles of Midgard.
The supplement is now available to pre-order here:
UK & Rest of World (not covered by distributors below)
Australia & New Zealand (Battlefield Accessories Australia)
Good news from Richard just now about the Too Fat Lardies website. He understandably wants to check it’s all functioning properly before launching the Chronicles of Midgard pre order, so please keep your eyes peeled for an announcement. Thank you for your patience. James.
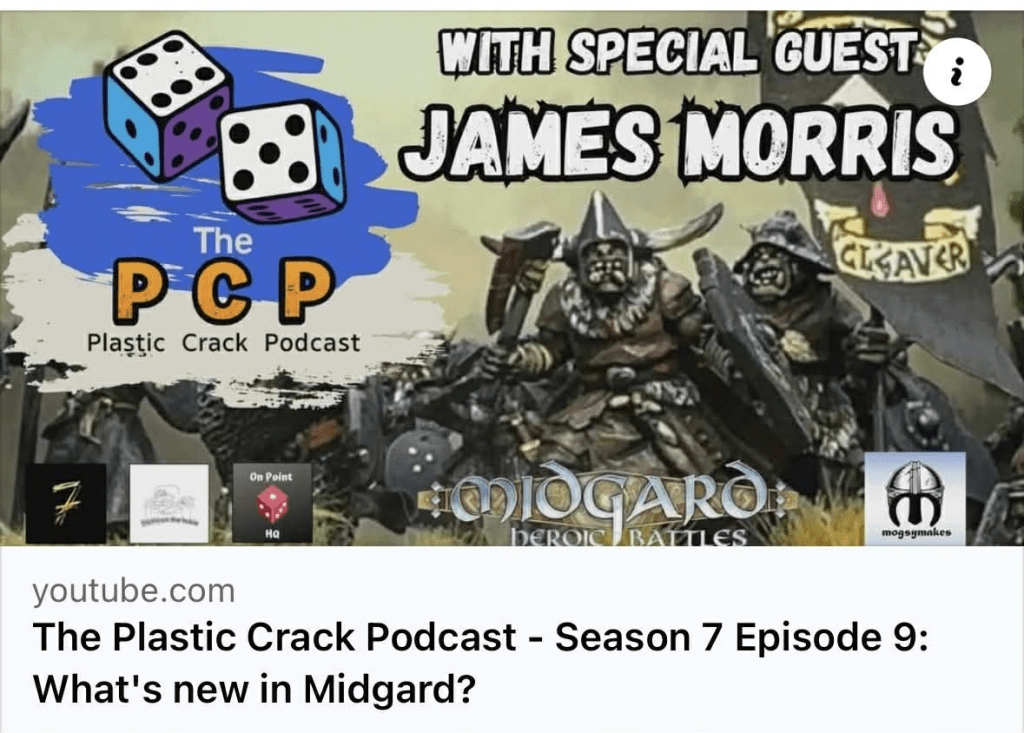
Last night’s Plastic Crack Podcast with lots of Midgard talk is now available on YouTube. It was lovely to chat to Dom, Martin and Ste and great to see so many familiar names tuning in, though I think my wife’s highlight was when our daughter attempted to commando crawl under the camera on her way to the kitchen! https://www.youtube.com/live/L2nUIfGuR4o?si=GKGNdkrkgEscYFmW
For those who’ve not seen it, news from Too Fat Lardies about the issues affecting the TFL website and delaying the pre orders for Chronicles of Midgard.
I’ll post as soon as this is resolved and the Chronicles of Midgard pre order is available.
Hi! I’ll get the bad news out of the way first. We were hoping to get the Chronicles of Midgard pre-order live today but I have just received news from Richard at Reisswitz/ TFL:

This is really frustrating as I know he was working over the weekend to get everything aligned with the overseas distributors, but nothing we can do about this apart from wait for an update. I’ll share news as soon as we have it.
In much better news, I’ll be on the Plastic Crack Podcast tonight (8 pm GMT, 16th March) to talk about all things Midgard. Please do join us if you can or watch the recording afterwards.
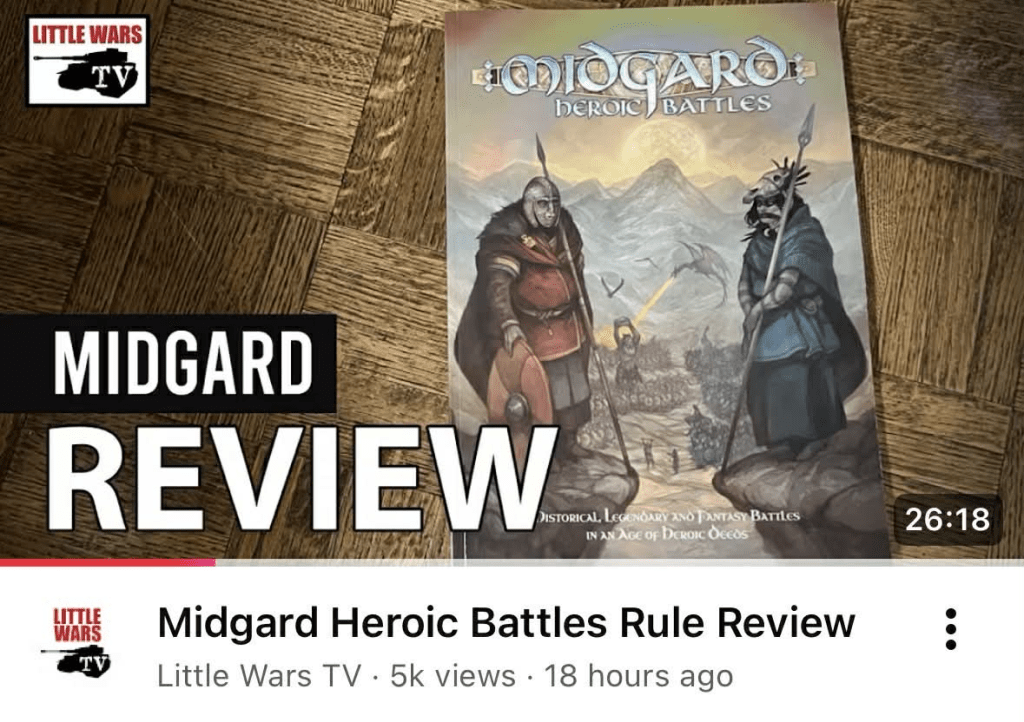
In further YouTube news, I’m very honoured that Little Wars TV delivered a glowing review of Midgard Heroic Battles in a recent episode. Watch it here.

It’s been an exceptionally busy few weeks (aren’t they all?). On February 27th I took possession of the proof copies of Chronicles of Midgard and then demoed the campaign system the following day at the Hammerhead Show in Newark.
Big thanks to Pete, Paul and Mike who ran games all day too.
Not forgetting Boondock Sayntes, who also had a stunning Relief of Minas Tirith game at the show, also using Midgard…
Although the book is done, there’s a couple of final things that need sorting before Reisswitz Press get the pre-order up and running. I’ll let you know as soon as it’s live.
I’ve been hunched over the camera capturing images for The Iron Valley – this will be the first of the Goblet-Sized PDF Campaigns for Midgard and features both 28mm and 10mm miniatures.
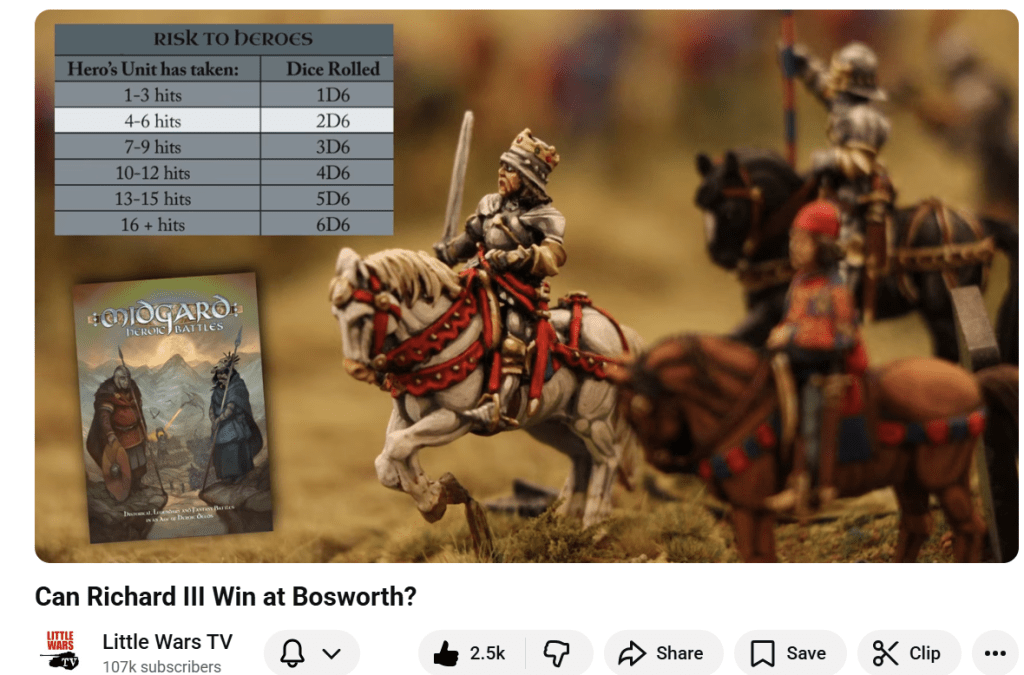
In case you missed it, Little Wars TV have a fab new video up on their site – the Battle of Bosworth using Midgard Heroic Battles. This is very entertaining and it’s extremely flattering that they enjoyed the rules so much (you may spot a couple of minor errors in the video but it doesn’t seem to have stopped them having a blast, exactly as it should be!) Well worth 30 minutes of your time.
