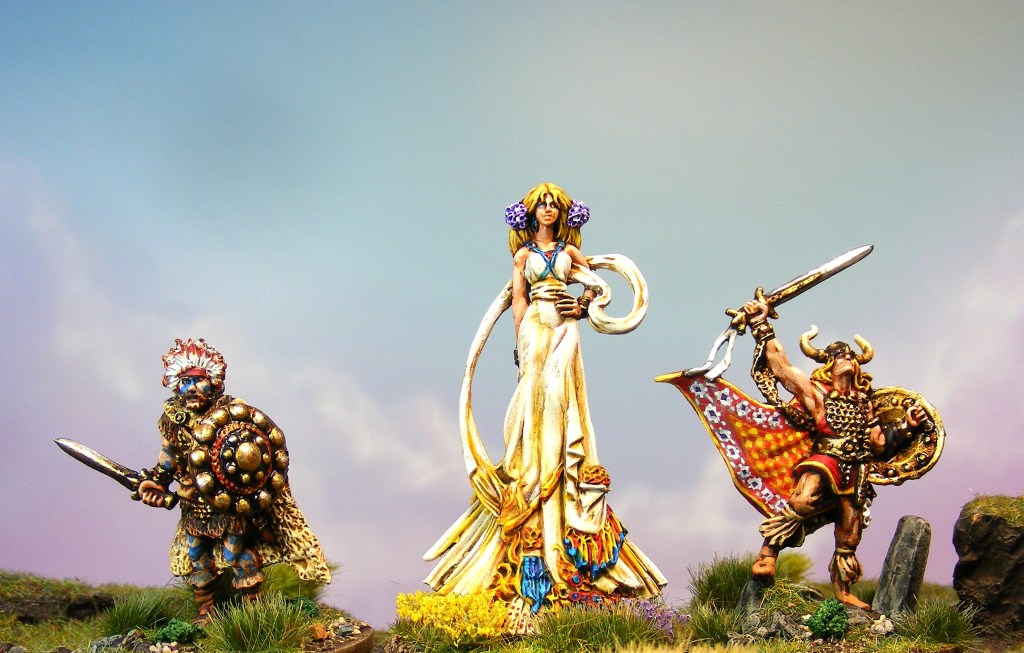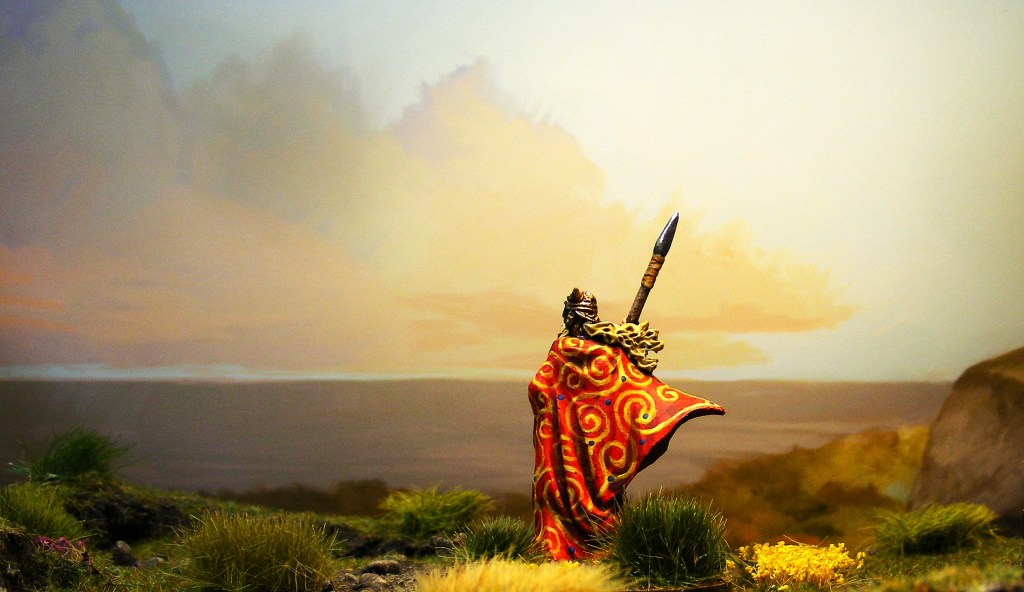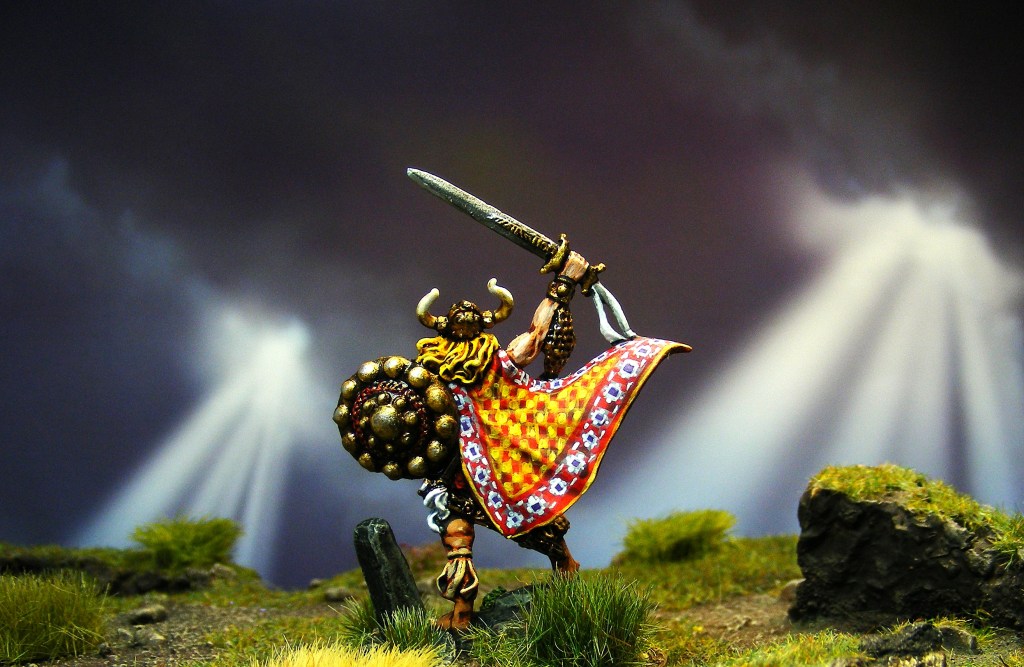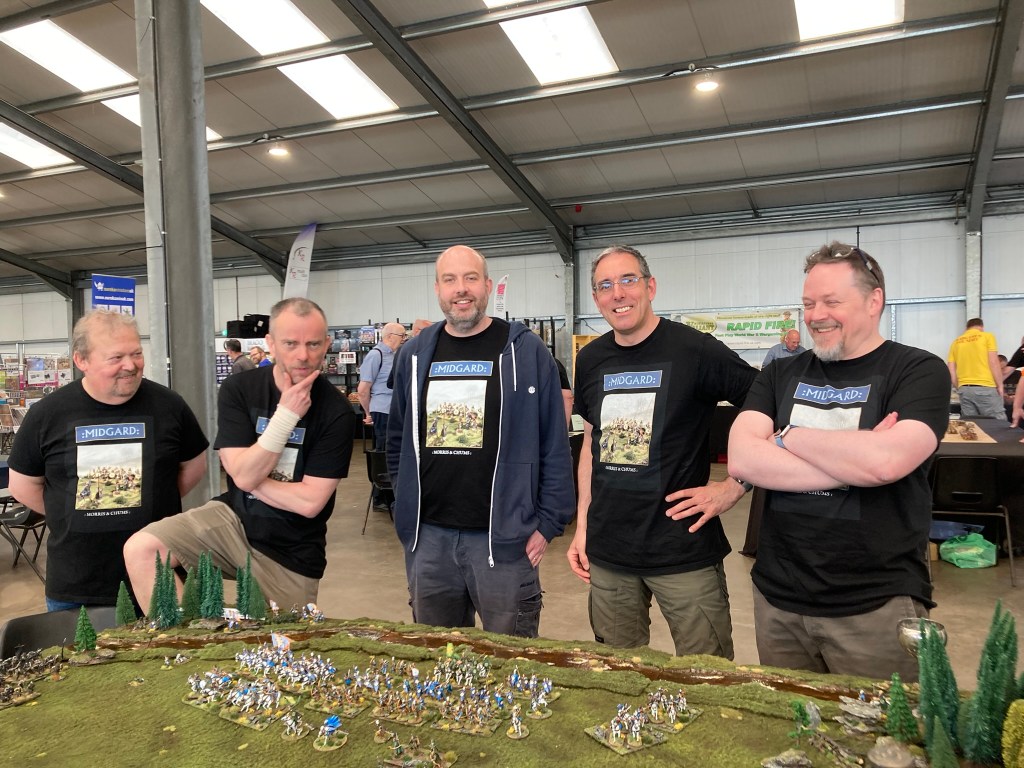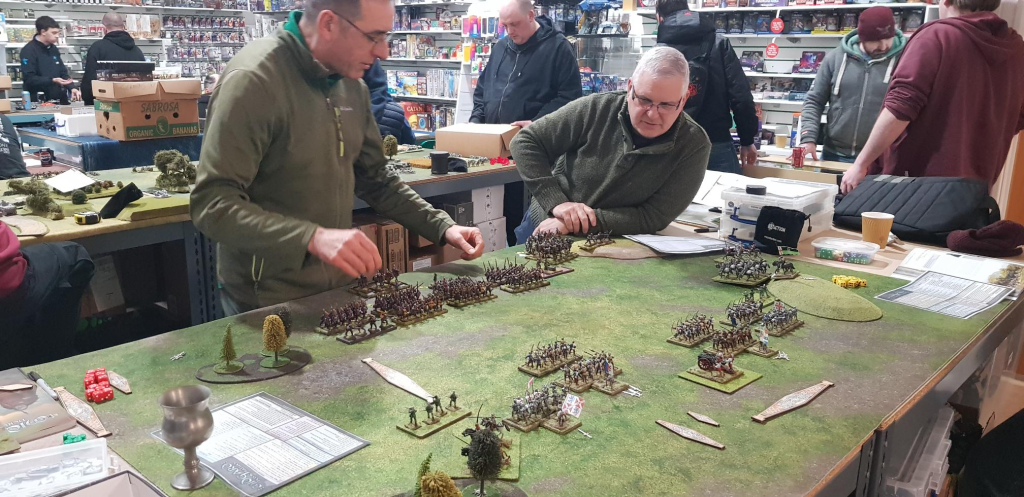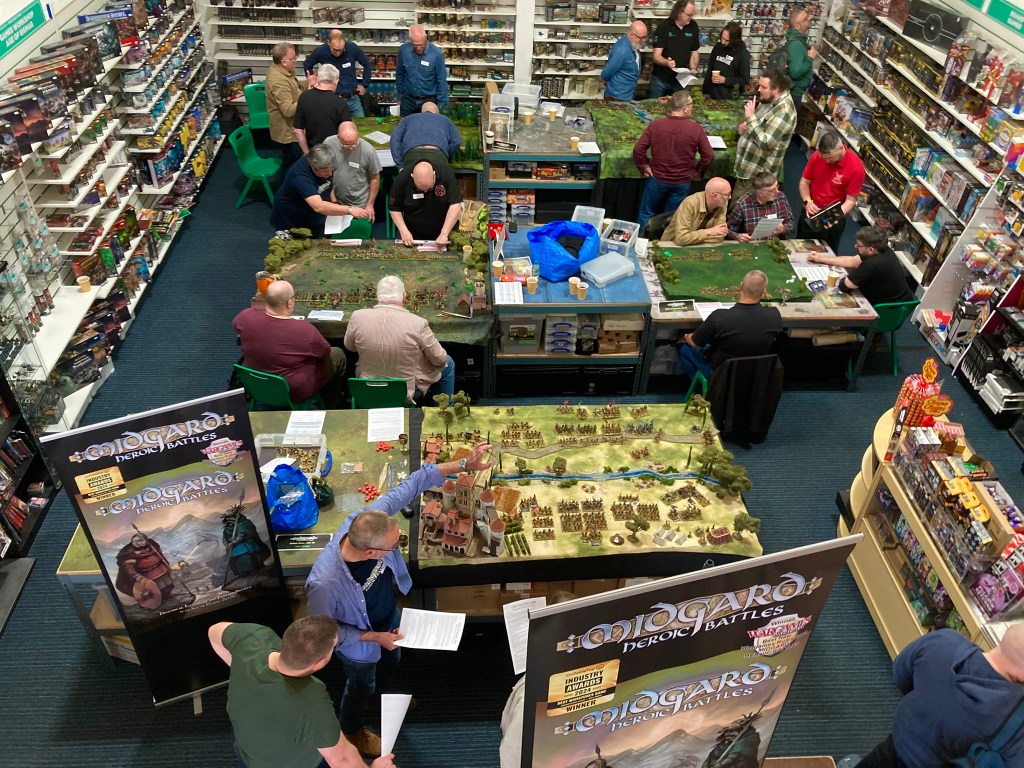
Here follows a brief account of Midgard Moot 2025, a day dedicated to playing Midgard Heroic Battles in a variety of settings. I’ll leave it to others to fill in the details of great deeds and heroic toy soldier action, but suffice to say that I was delighted with how it ran. Whoops and cheers could be heard emanating from the games at regular intervals which is always a good sign!
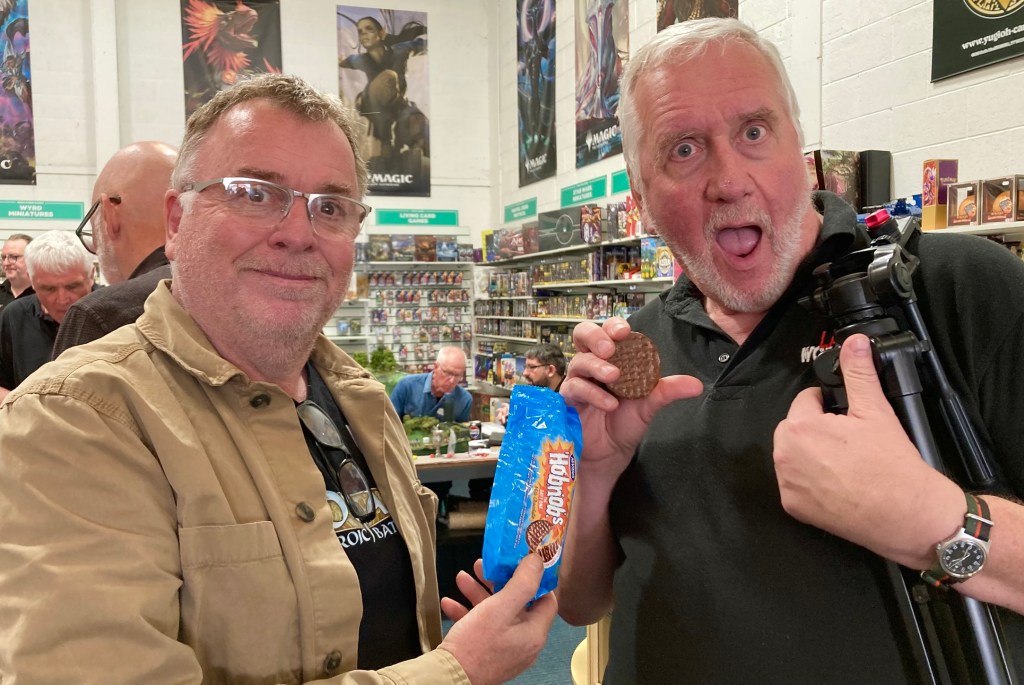
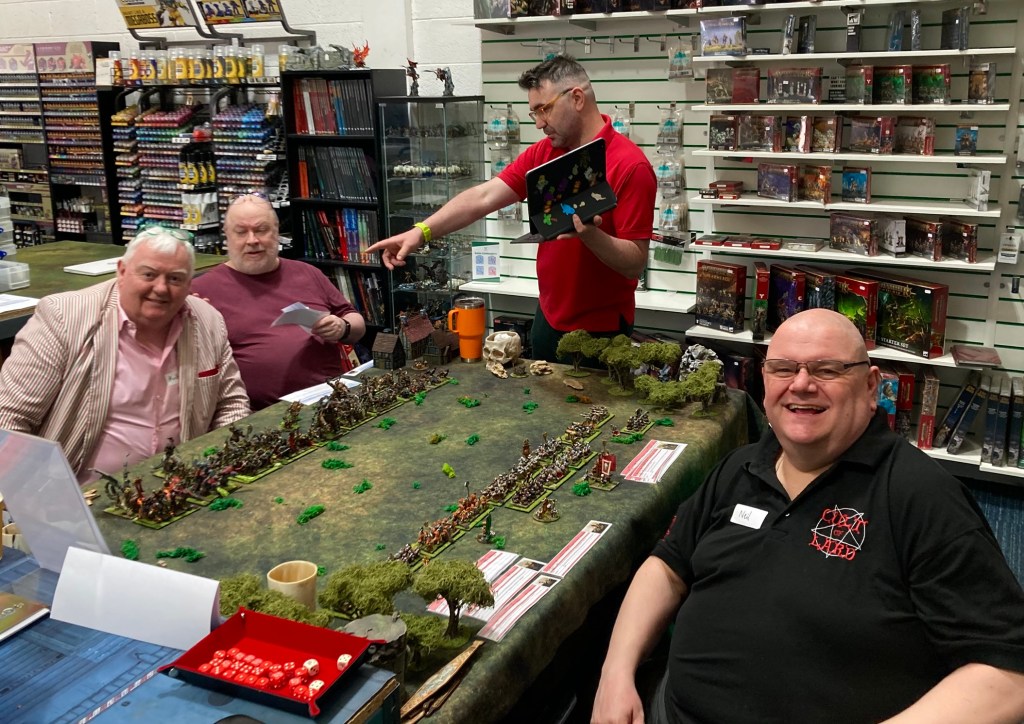
After a few unavoidable absences, we had 30 players and seven game hosts attending, running two themed campaigns and five hosted games. Richard Clarke of Too Fat Lardies/ Reisswitz Press also attended to film the proceedings, though it is rumoured that the presence of chocolate Hob Nobs was also a motivating factor.
Here’s a quick run down of the games that were on offer.
Hosted games
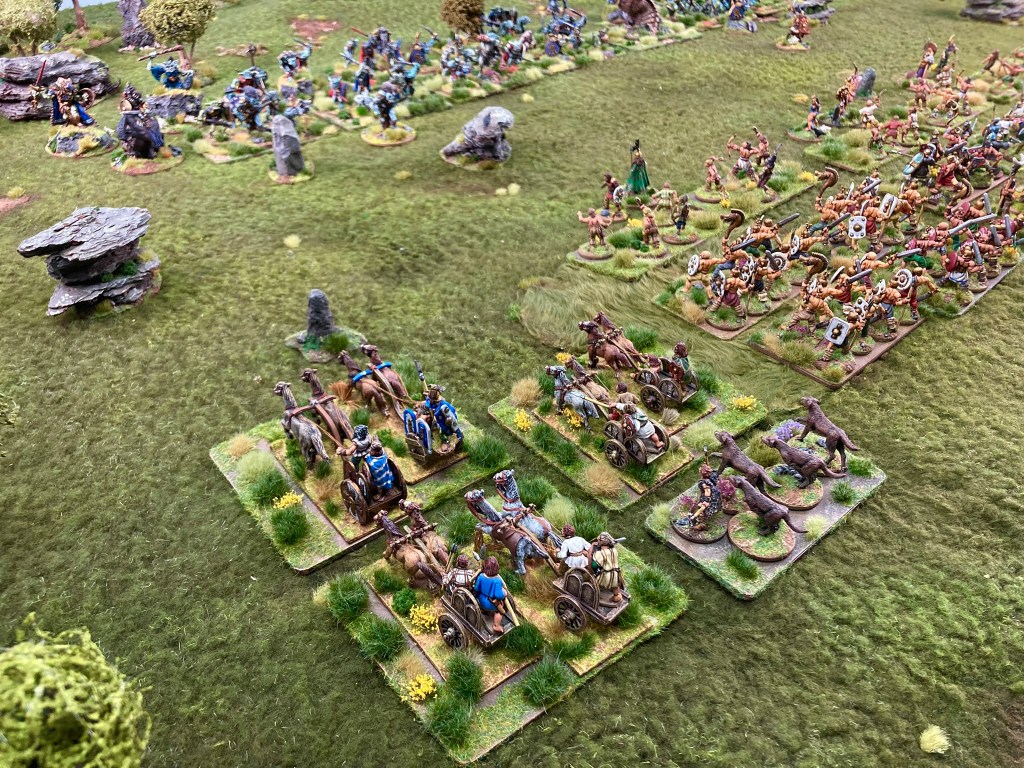
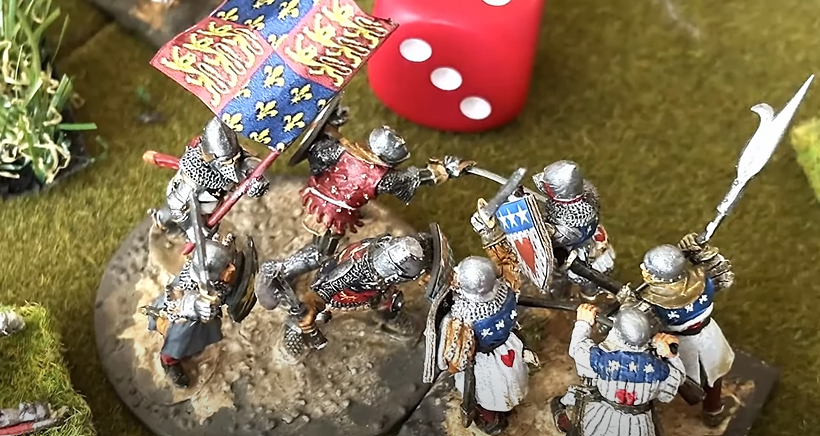
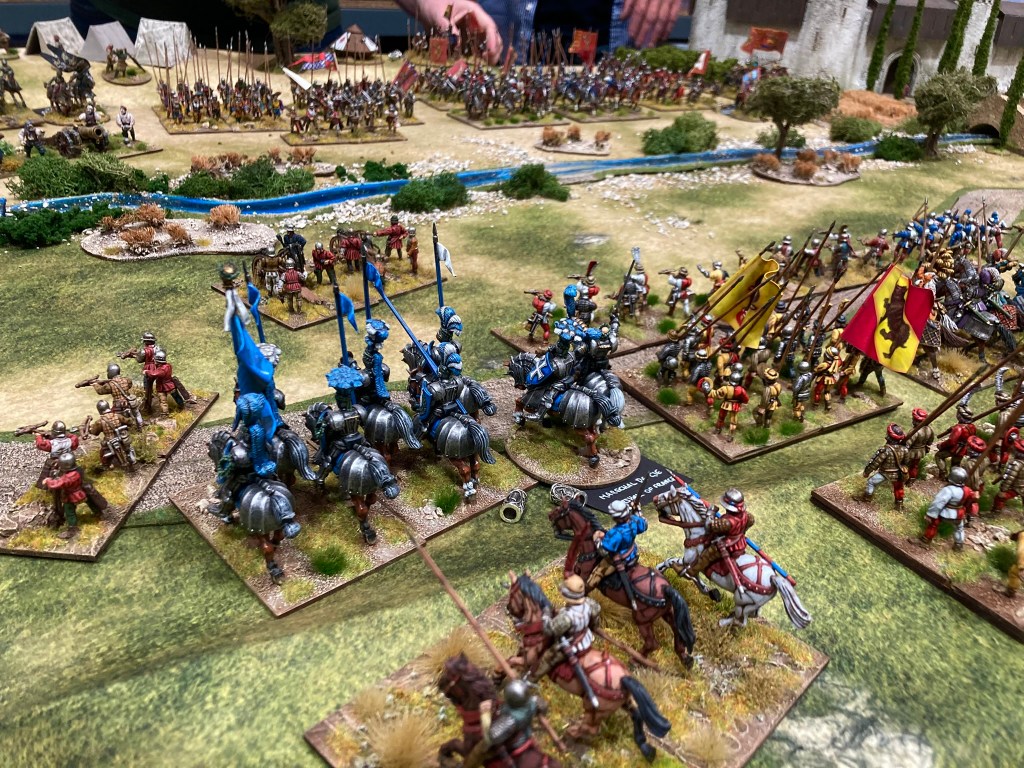
Italian Wars 28 mm
Bringing a historical scrap loosely based on the 1495 Battle of Forrnovo, John Savage pulled off another spectacular game. Both games were very close, with a French and Italian victory apiece, and frankly it was just a treat to look at.
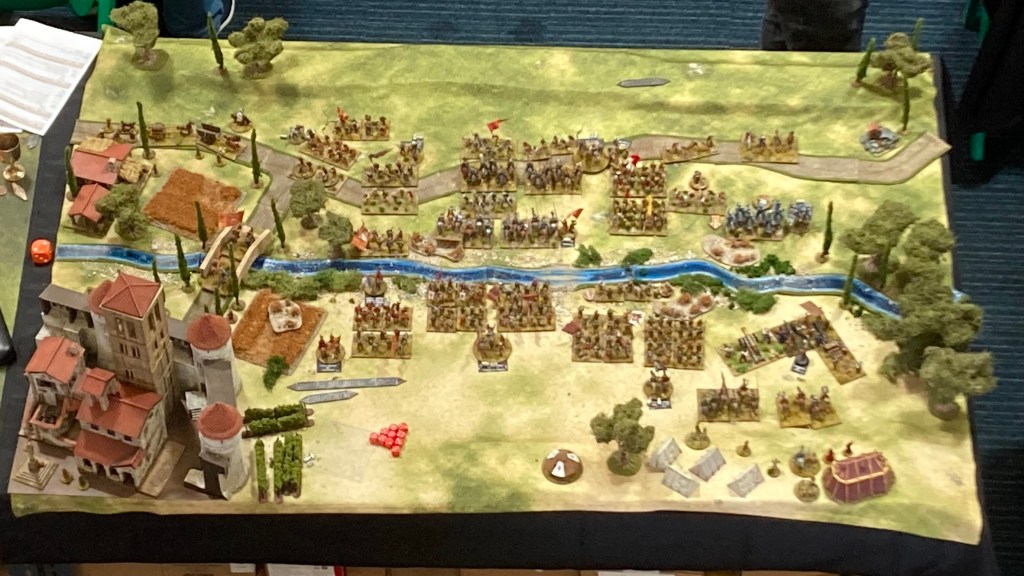
Battlefield of Degsastan 15 mm

Matt Moran stepped in at the last minute to run this epic early medieval clash from 603 AD between the kingdoms of Northumbria and Dal Riada. Using Wiglaf and Forged in Battle minis, the game used an 8 cm Spear Throw and was played on a 3 x 4’ board.

The Old World 28mm

Jeremy Short put on a wonderful fantasy game set in the Old World using his stunning Warhammer collection from the 1990s.
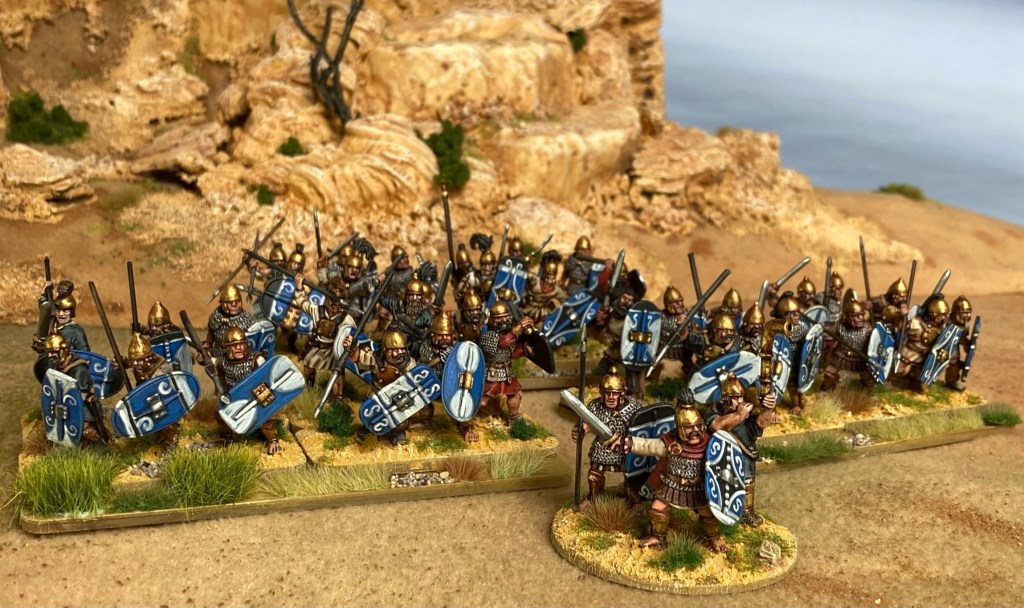
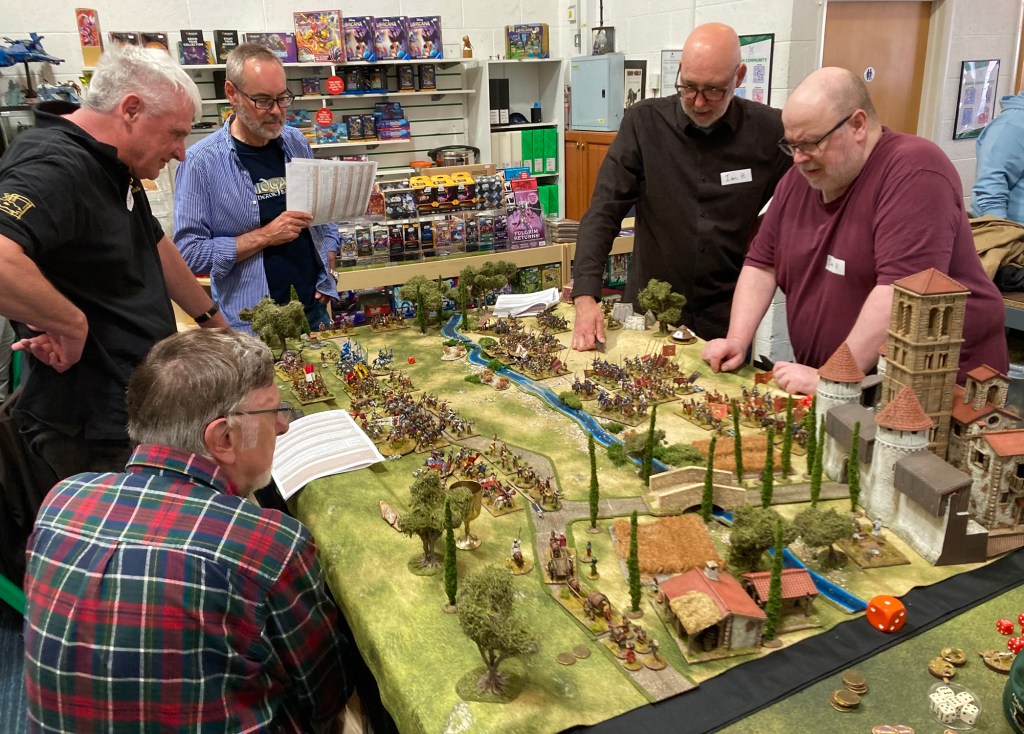
Teutoberger Wald 9 AD
This game, based on the infamous loss of three Roman legions in Germania, was run by Mike Wilkins. One player was so enamoured with the period that they booked to play on this all day!

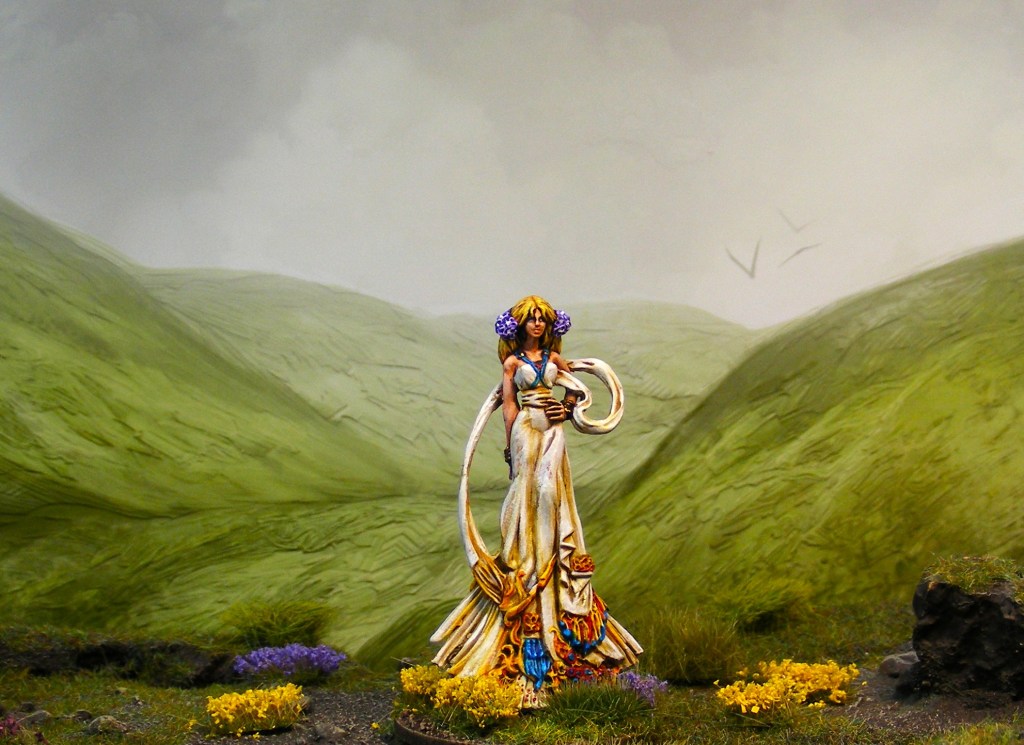
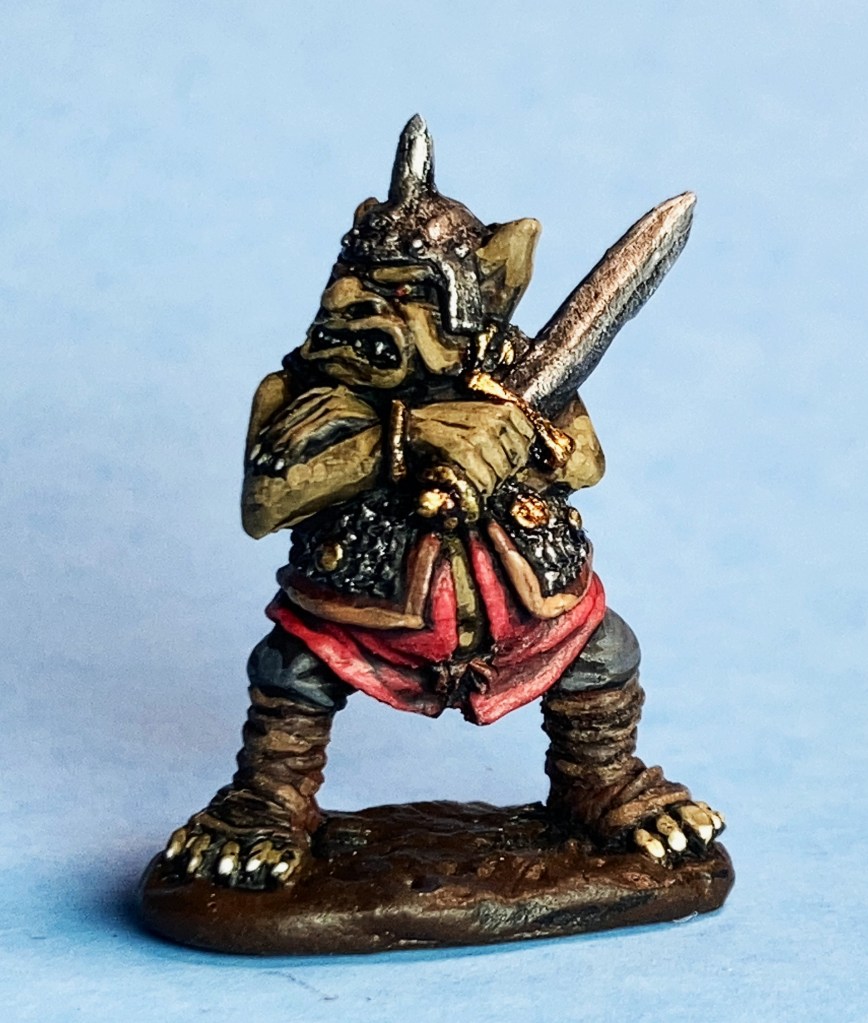
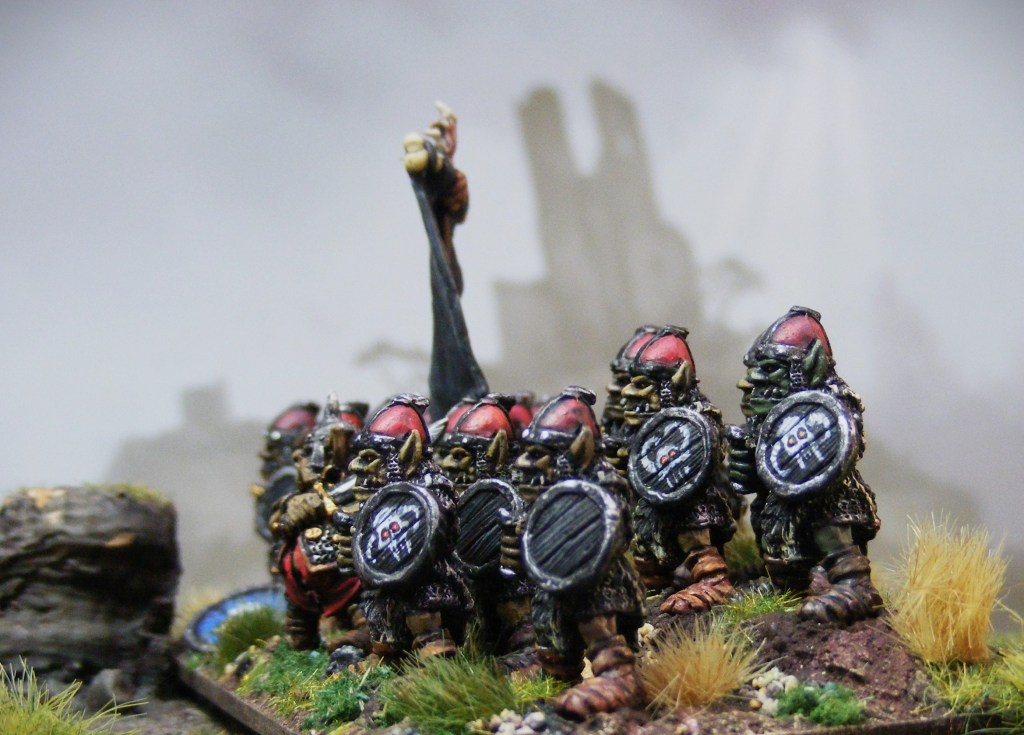
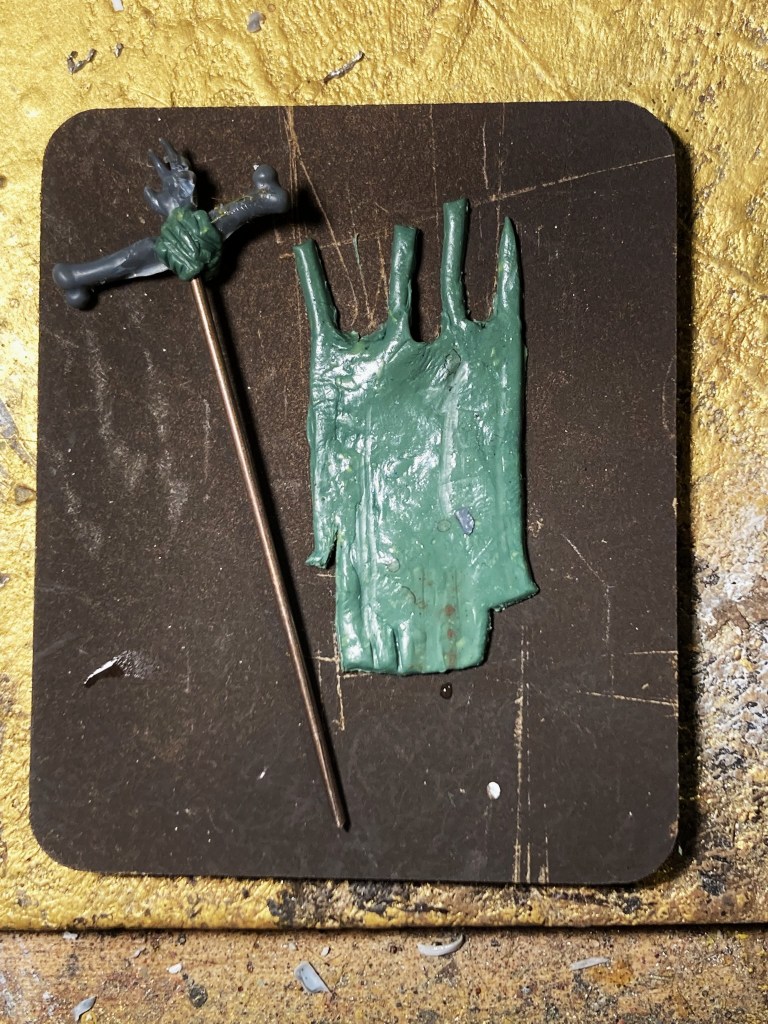
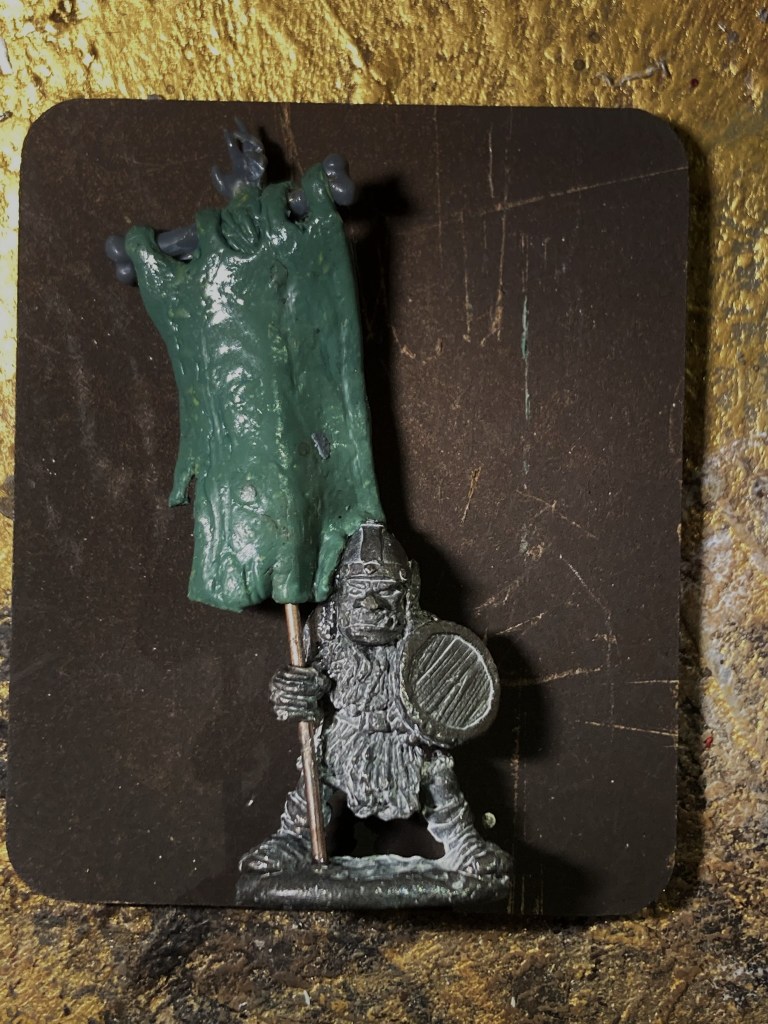
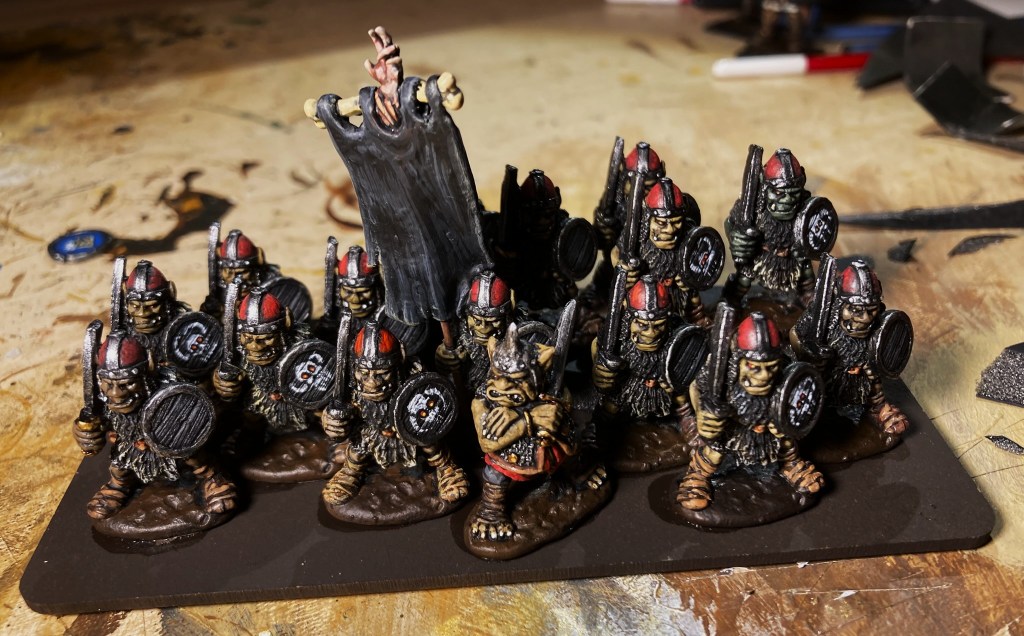
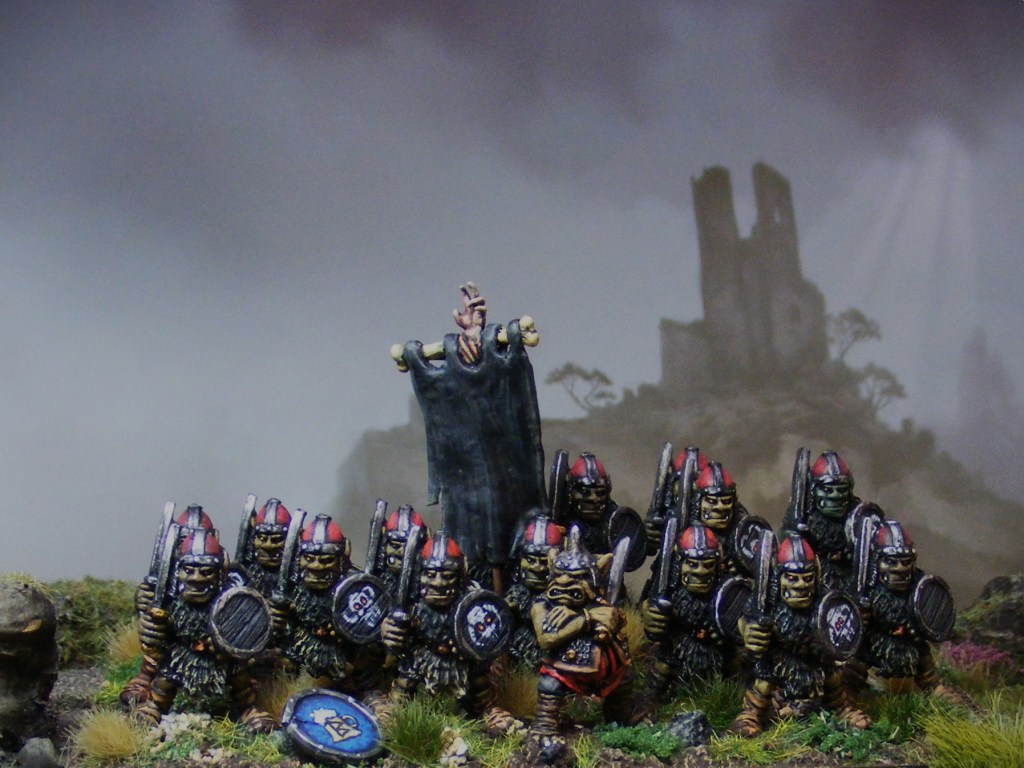
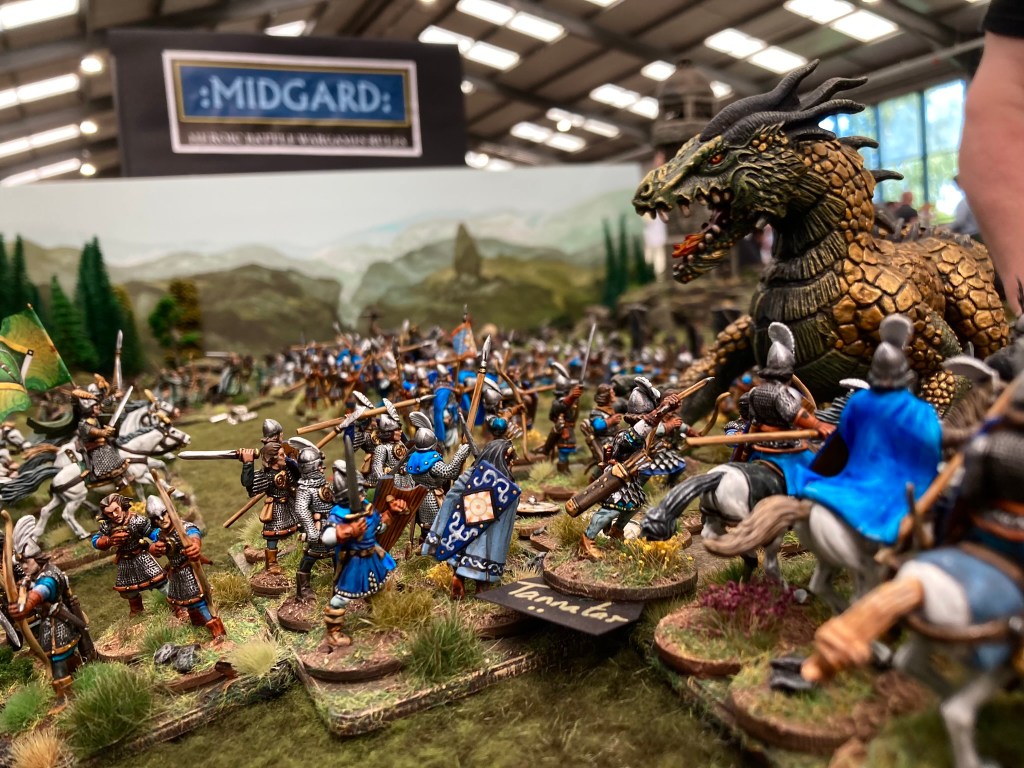
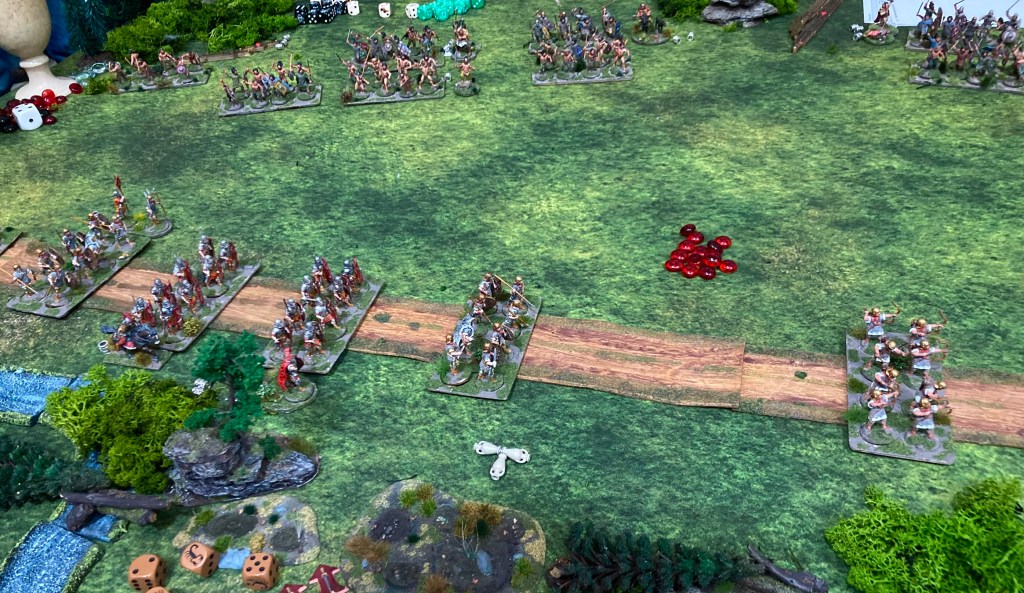
Lord of the Rings 28mm
Matt Slade is well known for hosting brilliant games at both shows and Lardy Events. This was no exception as he ran a clash between Rohan and Isengard.
Themed Campaigns
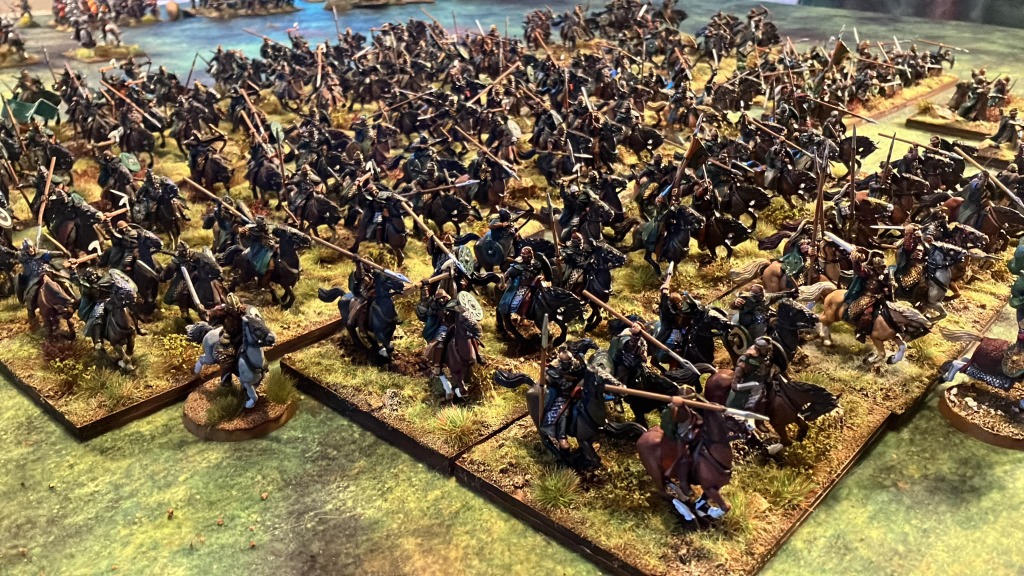
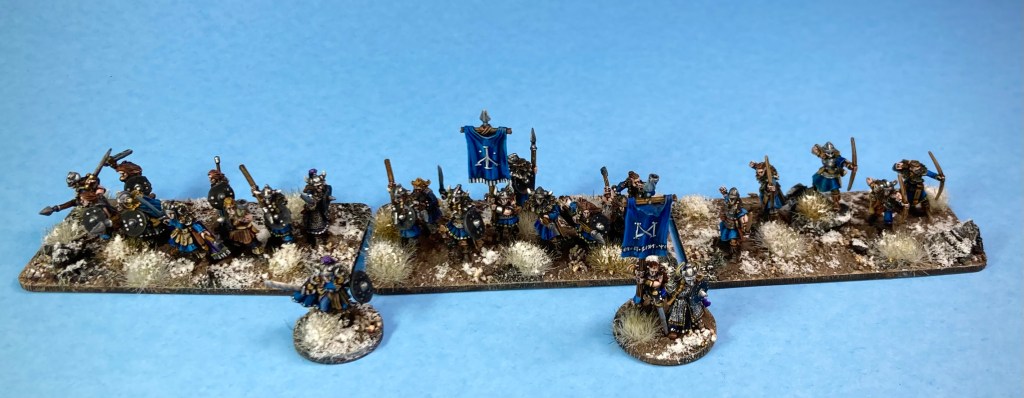
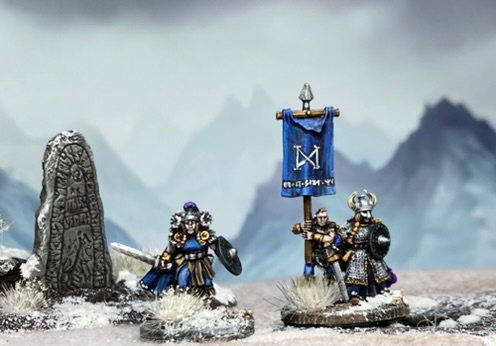
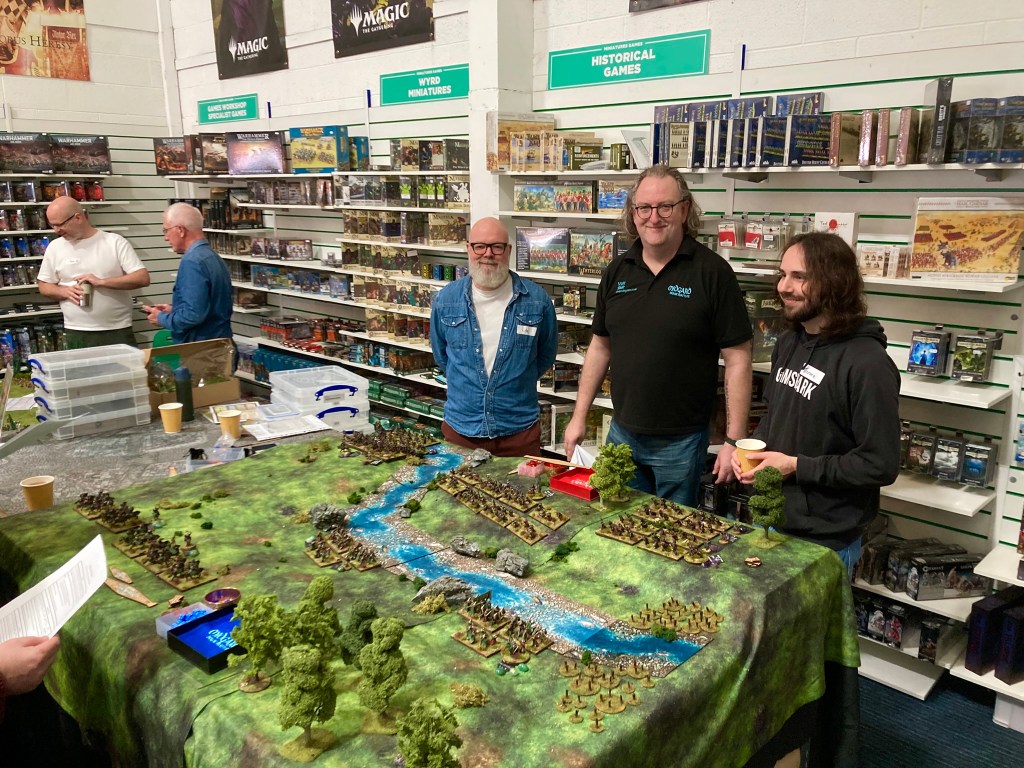
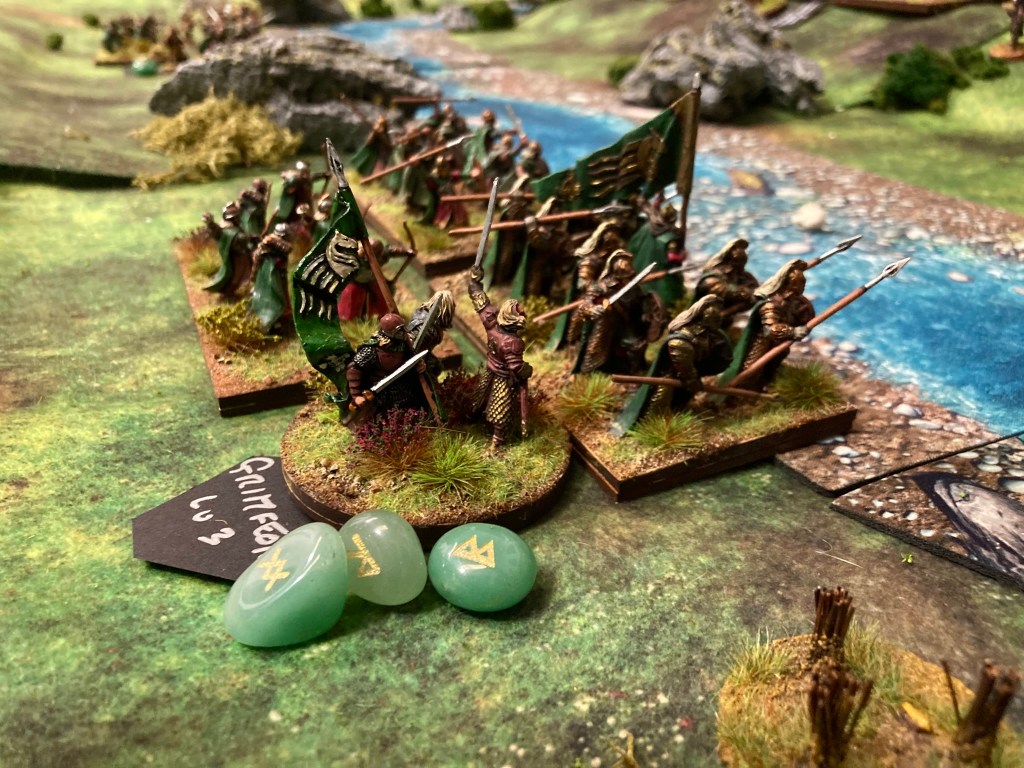
Middle-Earth: Of Eorl And Cirion

This campaign, organised by Dave Hunter, took place 500 years before the events of the Lord of the Rings, with Gondorians and Eotheod (Rohan types) fighting off an Orcish invasion. Much fun was had in the initial two games before all the forces combined for a big 3 vs 2 battle to decide the campaign.

Arthurian Britain: Warlords of Dumnonia

Returning to my roots, this campaign was somewhat inspired by Bernard Cornwell as the Saxons under Aelle mounted an invasion of Arthur’s Dumnonia.

After some initial hard-fought battles across fords and hillsides, the Saxons were beaten back and then destroyed in a series of last stands. Heroic stuff!

Awards
While by no means a competition, there were a number of small awards presented at the event for mighty feats that had been spotted by game hosts during the event.

Food for Ravens – Paul Welsh . Not many players can manage rolling three double Ravens in the course of a day, but Paul broke the stats and did just that! 🙂
Food for Ravens – Lee Sanders. I’m informed that the Orc known only as ‘Numnacka’ perished early on in the battle with the Rohirrim with an unparalleled display of dice rolling. No wonder Tolkien didn’t mention him.

Battle Smiter – Andy Hawes. Not content with stunning the Saxons in the Arthurian campaign with his beautifully painted Britons, Andy’s commander gamely accepted a single combat in the first game and was gone in 60 seconds.
Battle Smiter – Jamie Tattersall. I’m told that the Swiss brought a cute and cuddly bear along to the Italian Wars game which didn’t survive its encounter with Jamie and his French. Shame!
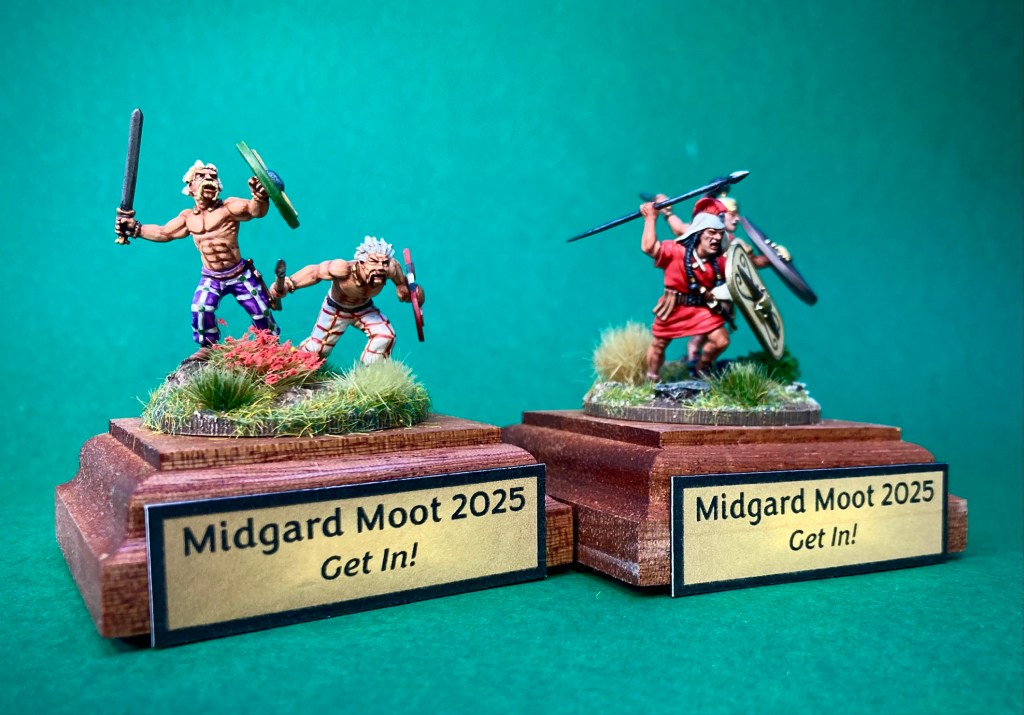
Get In! – Pete Harris. Pete showed admirable fighting spirit during the Battle of Degsastan and also succeeded in rolling a 6 for his Hero’s ‘Today We Fight To Win’ Trait, thereby ensuring victory and a place in the chronicles.
Get In! – Neil Shuck. As well as smiling all day long (and well into the evening at the curry house ), Neil hurled himself into the spirit of the game and was noted for charging everything in the Old World battle.

Hold Fast – Ian Hemingway’s Hero Cormac single-handedly held off an entire wing of the Northumbrian force during the Battle of Degsastan. Heroic!
I Foretell Mighty Deeds – Paul Bedford. In another display of heroic defence (or statistical improbability), Paul’s Romans managed a jaw-dropping 18 out of 24 hits on a unit of German warriors during the Teutoberger Wald game. Auf Wiedersehen!

Mightiest Host – randomly drawn from the other game hosts (easier than trying to pick a favourite), Jeremy Short took home this prestigious trophy and is apparently now equal with John Savage on major title wins!
Massive thanks to Gripping Beast and Warbases who both chipped in generously with prizes to accompany the awards. A huge thank you also to Boards And Swords Hobbies who provided a great venue and looked after us impeccably during the day.

Cheers to everyone who came and especially our game hosts who put on such a great show for the players. Discussions are already underway about running Midgard Moot 2 next year. Watch this space!