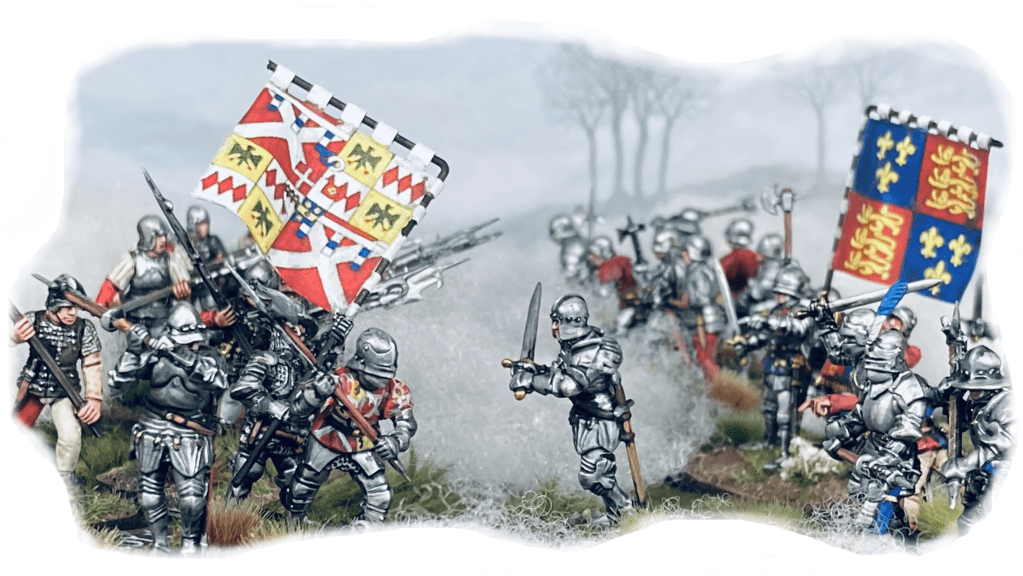
HYW Perry Miniatures, all painted by Paul Scrivens-Smith
Nikolas of the Medieval Wargamer YouTube channel and I put our heads together and created a couple of Hundred Years’ War lists suitable for the Agincourt campaign of 1415, along with my designer’s notes (on why the French have such limited Heroes! and other stuff). These are free to download from the main Midgard Heroic Battles page on my site, along with the previous lists and a Play Sheet for Midgard with page numbers thoughtfully added by Andy DrBeard.
Not only that, but Nick also recorded a play through game of Midgard set during the Baron’s War and has recorded an interview with me that will be heading for a future video release. If you’re not sick of hearing my voice, Henry Hyde has also made his latest Battlechat Podcast available to all this week, in which I talk about gaming, Midgard and growing up down the road from a castle, which explains a lot…
A box of hard copies of Midgard has arrived at Shieldwall Miniatures in the USA. Jeff of Shieldwall is also 3D printing the official measuring sticks and rulers under licence, so check them out if you’re in the USA.
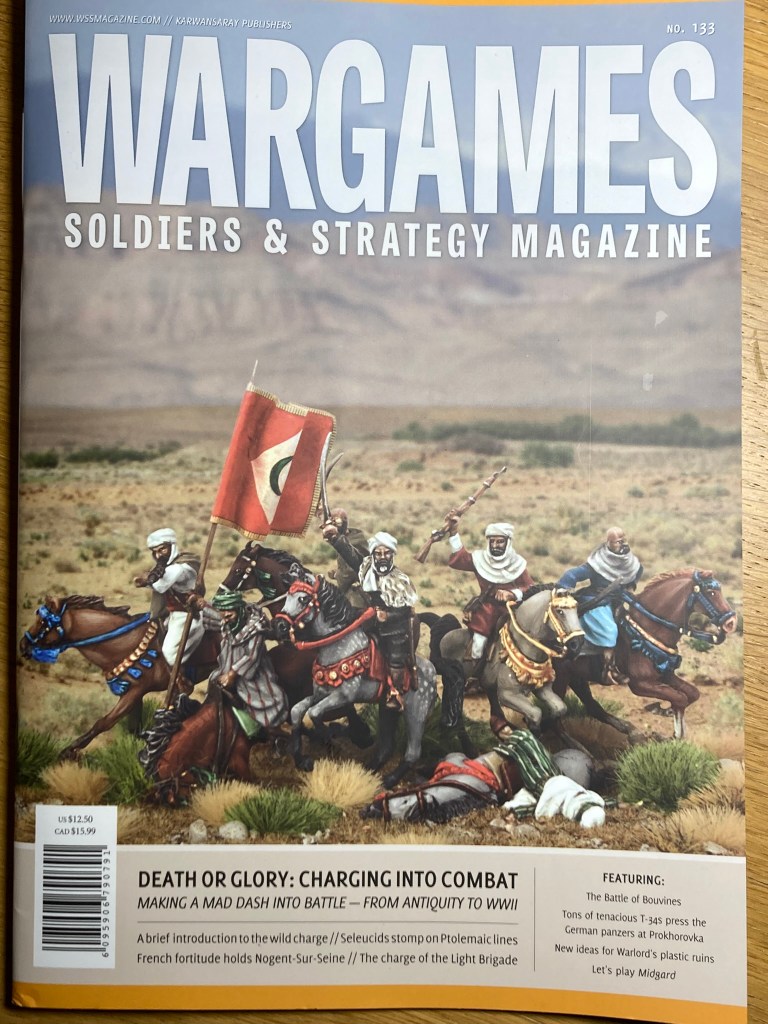
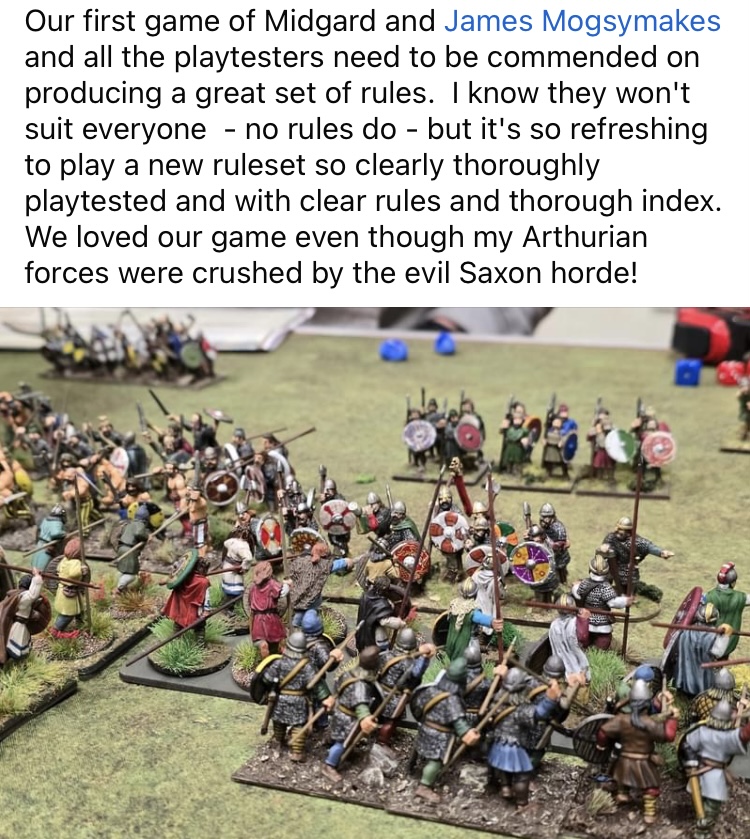
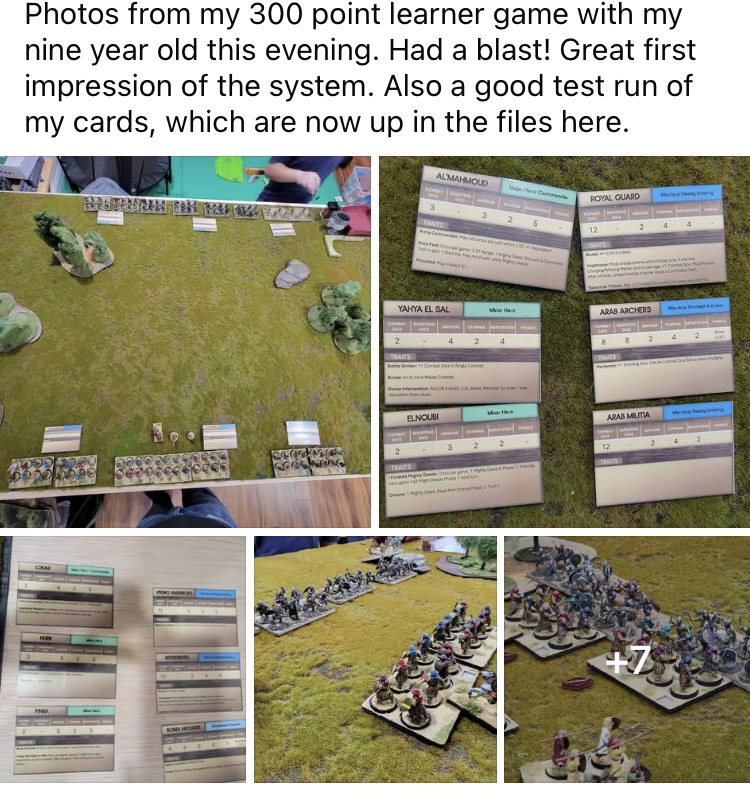
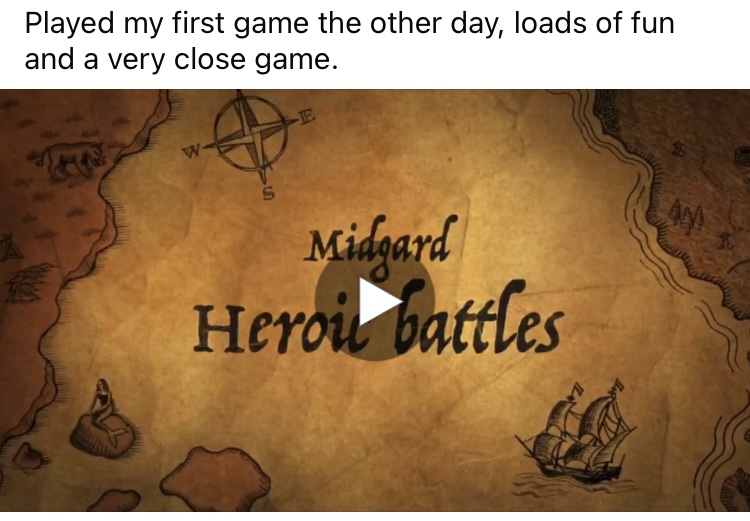
People still seem to be enjoying the game out there! The latest WSS magazine carries a nice review, and below is a selection of posts from social media this week.
Plans are afoot for a Midgard event in the UK next year with a mixture of themed campaigns and hosted games. I’ll announce the details as soon as I can.
Last but not least this week, I have a new logo for Mogsymakes. Based on my ape-like sketches, Asun from Wargames Illustrated kindly put this together for me. I’m planning to redesign parts of the website over the next month, so watch out for this putting in an appearance.
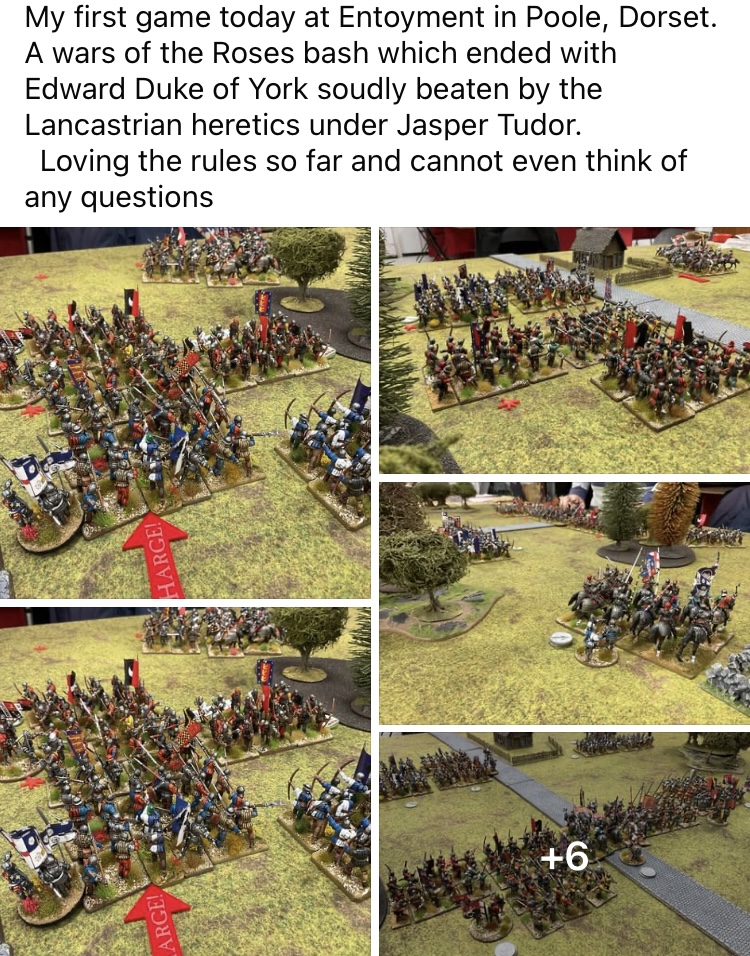
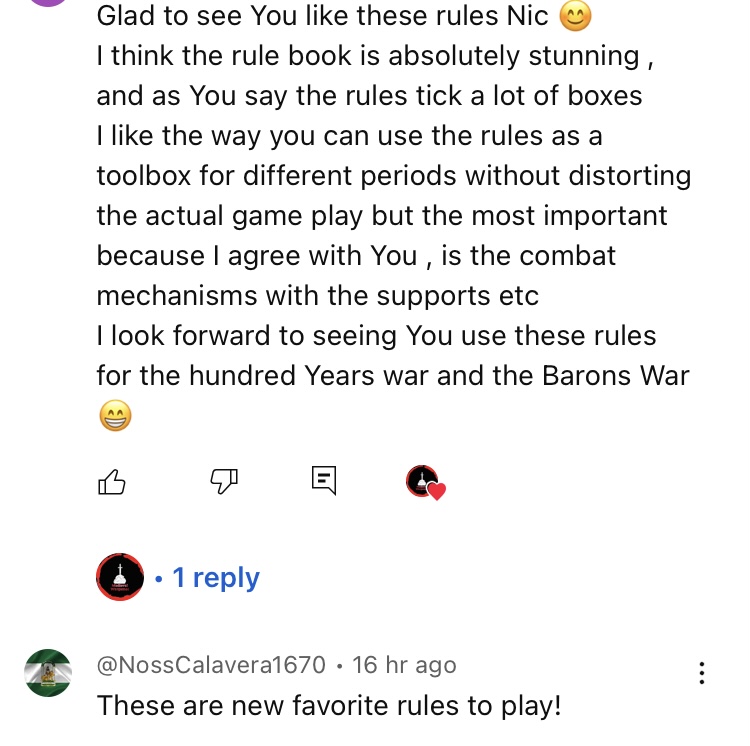
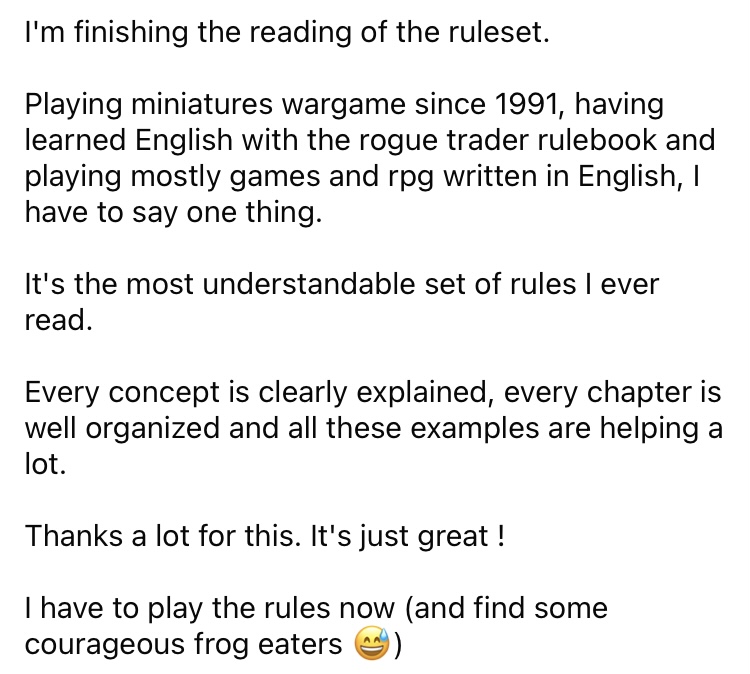
Hi everyone, it’s been a bit of a wild week with Midgard Heroic Battles finally being released a mere six days ago. Since then, everyone’s been getting their toys on the table and it’s been awesome to see so many games being played with lots of positive feedback. Here’s a selection:
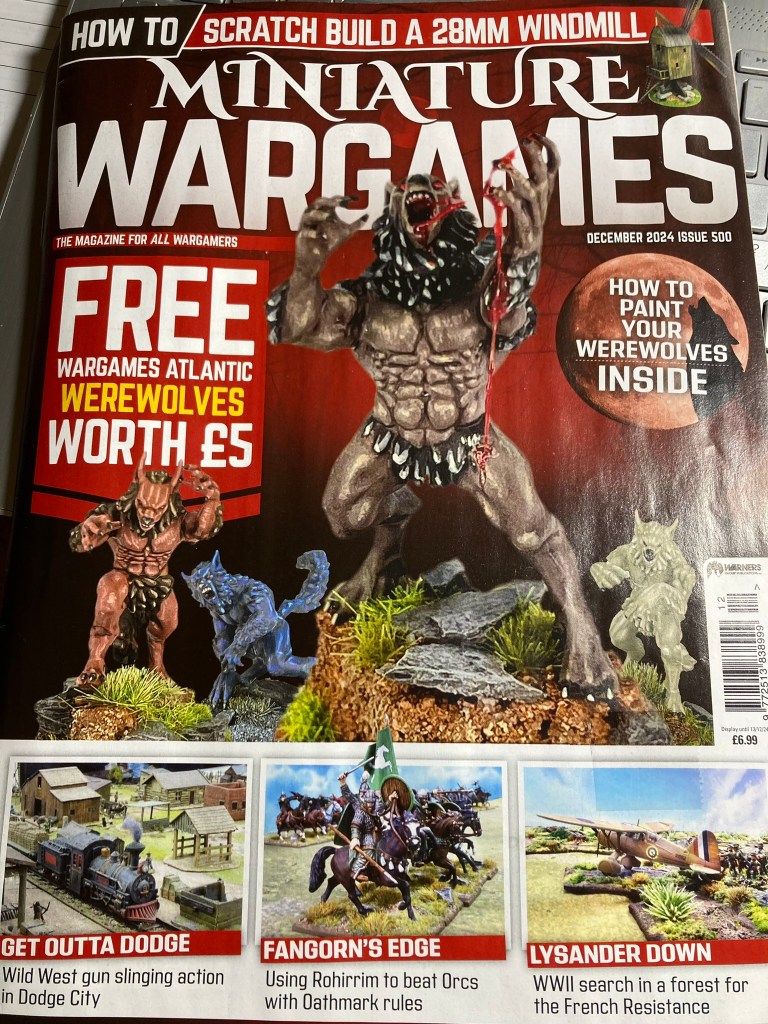
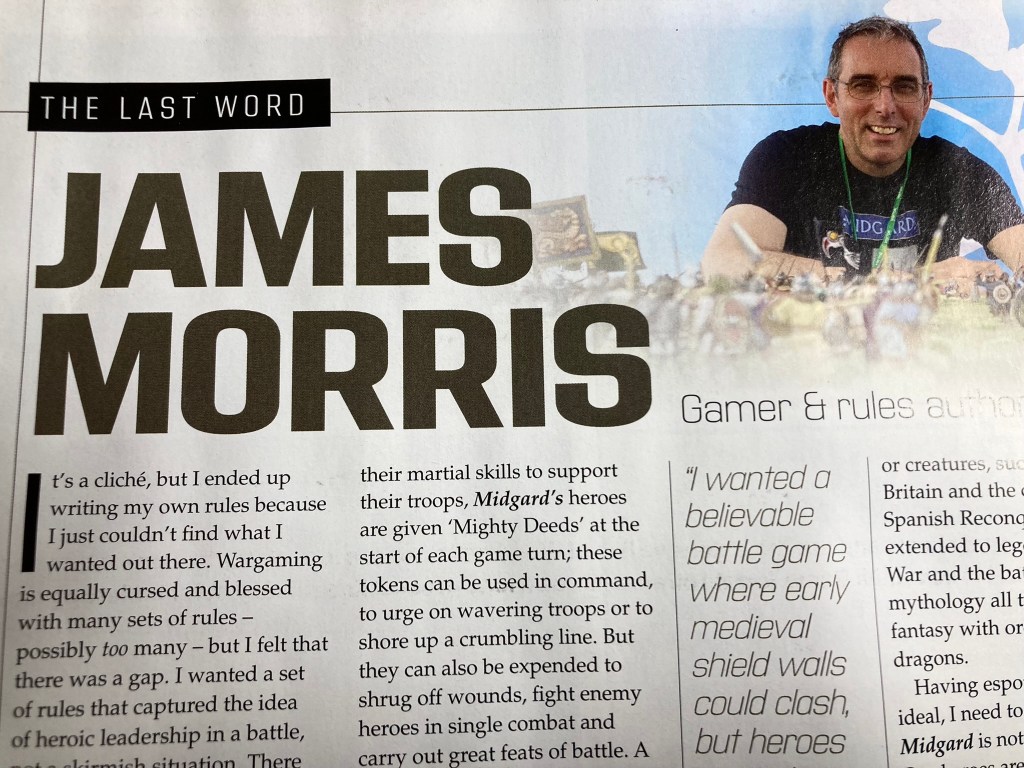
Magazine coverage of Midgard has also started, with articles about gaming Homer’s Iliad with Midgard in Wargames Illustrated 444 and a one-page discussion of what inspired me to write the rules in the back of Miniature Wargames 500.
The Midgard Heroic Battles Official Facebook Group has been a hive of activity, with players posting their own Force lists to the site. I have posted four additional ‘official’ lists as well, covering the Wars of the Roses and the Ancient British and Early Imperial Roman Forces that we used in playtesting. These are available both on Facebook and on myMidgard Heroic Battles page for free download, as is a MS Word Excel Force Creator document.
The official STLs to 3D print your own Midgard measuring sticks and tokens are now also available as a paid download with both personal and commercial use covered. Full details of where to do this are again on the Midgard Heroic Battles page.
Finally, if this wasn’t enough and you’re not bored of the sound of my voice, there are more podcasts to listen to while you’re painting. The Too Fat Lardies Oddcast came out first, in which I was grilled on John Keegan and other topics linked to Midgard such as the national goblet shortage before being unceremoniously chucked out of a tower window in the ‘defenestration of Lard’ section of the show! (Sidney Roundwood is now off the Christmas card list!)
This was followed up by an appearance on Henry Hyde’sBattlechatwhere I was treated much more gently but we still had a great conversation about games design and Midgard (of course). (Note that this is initially a patron only chat, it’ll be free to listen to at a later date).
Lots more happening over the next few days, but I’m going to take a break now. Cheers!
Well, it’s finally out there. Huge thanks to all of you who pre-ordered the game – all hard copies have now been posted and PDFs have been sent during the day. If you’re in Canada (in the midst of the postal strike), I’m thinking of you guys now, but hopefully the PDFs will help!
I’ve updated the Midgard Heroic Battles page on the website with the links where you can buy the book, the PDF, the tokens and the STLs for 3D printing, so check that out if you want any of those. The MS Excel spreadsheet Force Creator and a sample set of Wars of the Roses Force lists are also on there as well.
Massive thanks to everyone who worked on the book, including Jon Hodgson and Paul Bourne of Handiwork Games who produced the distinctive art, logos and layout; Pete Jenkins for his superb and patient camera-work; and the playtest gang around the world.
And, in particular, thank you to all of you who have bought and supported the rules. Cheers!
It’s been another busy week here as the Too Fat Lardies/ Reisswitz Press machine (OK, Richard Clarke and his dog) gets into gear for the release of the rules on November 18th. Here’s a little note from Richard about the advanced orders:
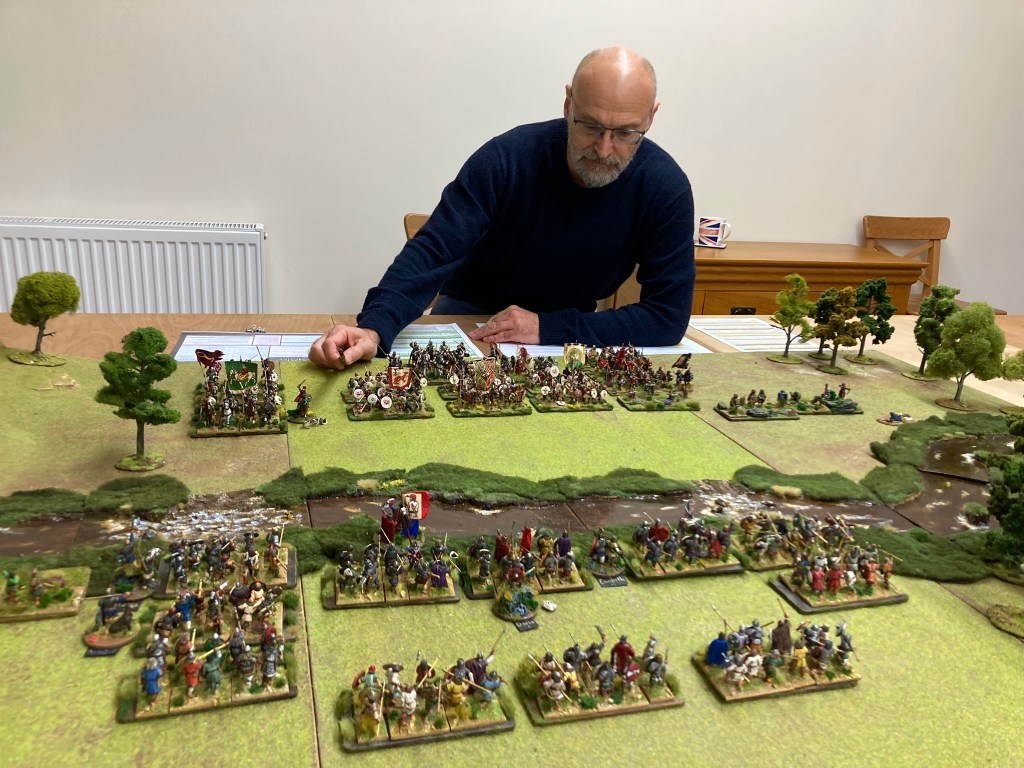
I’ve run three games of Midgard in the last five days testing new scenarios and am having the weekend off chucking dice, especially as my family would like to see me sometime. However it was a fabulous experience demoing it for Rick Priestley, which you can read all about here.
Richard finished editing and put up a couple of videos with a more fantasy bent, one about Force Creation and the other, the start of a battle between Trolls and Elves based on Poul Anderson’s classic novel The Broken Sword. All these links are on the main Midgard Heroic Battles page of the site along with ordering details (there’s still time to get a pre-order in, which means that you get the PDF for free alongside a hard copy, and will likely get them before the shops).
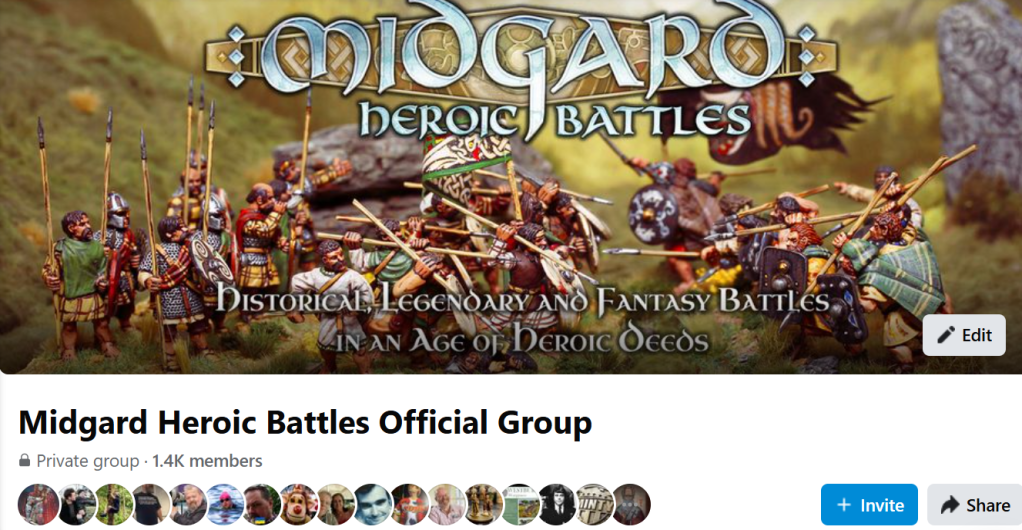
The Midgard Heroic Battles Official Group on Facebook has grown to over 1400 members during the week as well and there’s a lot of frothing and discussion going on about what people are going to be using the rules for. Join us there if you’re not allergic to Facebook!
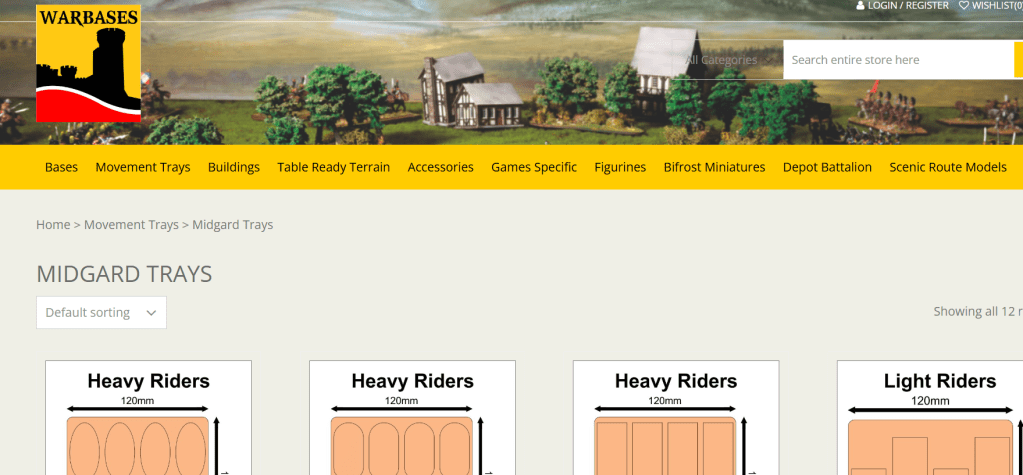
Glenn at Warbases has been working hard on putting together a whole range of MDF movement trays suitable for Midgard, which I’ve checked over and approved. Midgard is different to other rules sets in that the basing sizes are highly flexible, but Glenn has done a fine job on making a range that will suit the standard 12cm Spear Throw/ Unit base frontage for the game.
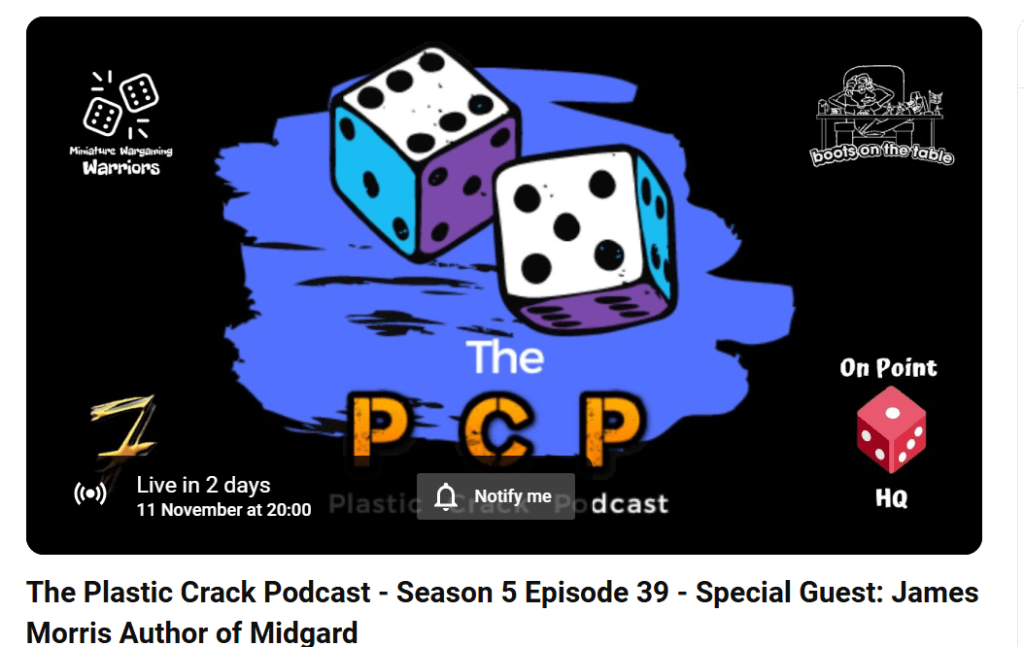
And finally, I’m very excited to be appearing on the Plastic Crack Podcast on Monday at 8pm GMT. This is a 2-hour video podcast on YouTube that’ll be live at 8pm and available to watch as a recording afterwards. I’ll be answering questions and possibly showing some more of my early wargaming photos – let’s see if I can find one with my eighties haircut! You can set a reminder to watch the podcast using the link above.
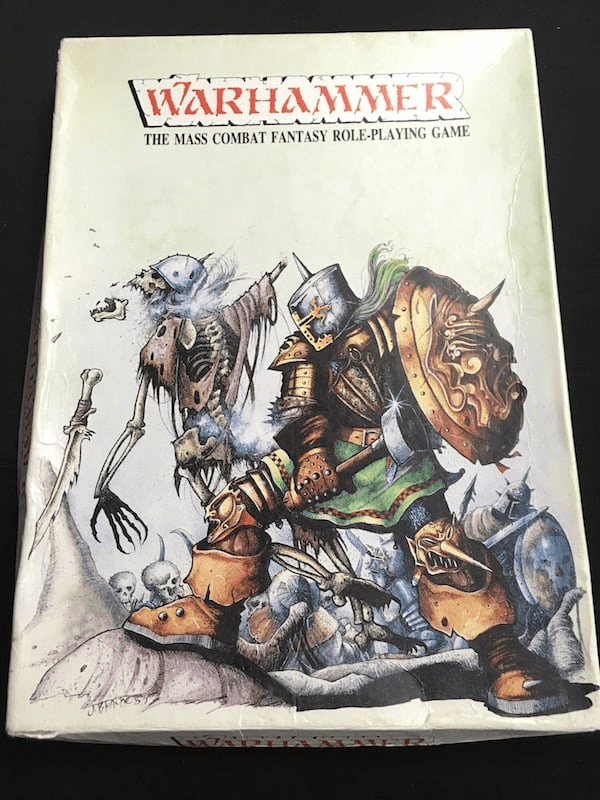
I was a bit young, only 11, but this game looked pretty good (we’d seen the adverts in White Dwarf), and I think I received it for Christmas. There wasn’t a wargames club anywhere in the town where I lived, so I got together a small group of like-minded friends and we did the best we could on my parents’ table tennis table (which, at least, was green). Having played D & D, we saw all the figures as individuals rather than units, and anyway, the initial tagline of this game was ‘the mass combat fantasy roleplaying game’, so it was all a bit confusing. And brilliant fun.
Photos from my early gaming career are somewhat rare, perhaps fortunately in the case of eighties’ haircuts! This shot (from around 1988 I think) shows me and my fashionable C&A jumper adjudicating a melee in one of our Warhammer battles. The scenery is basically a table tennis table with some rocks and sand on it, but I was very proud of my balsa wood stockade, and the Citadel cardboard buildings designed by Dave Andres helped to raise the bar
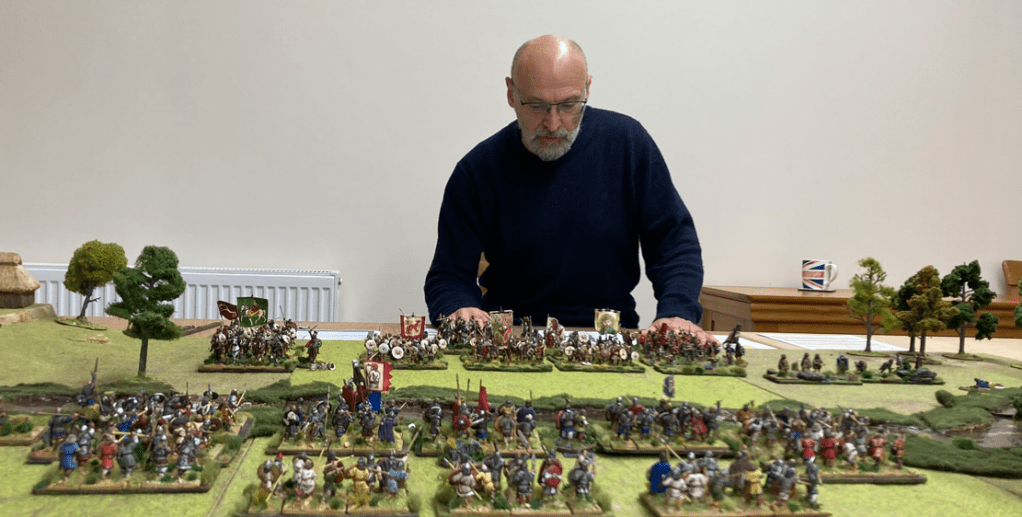
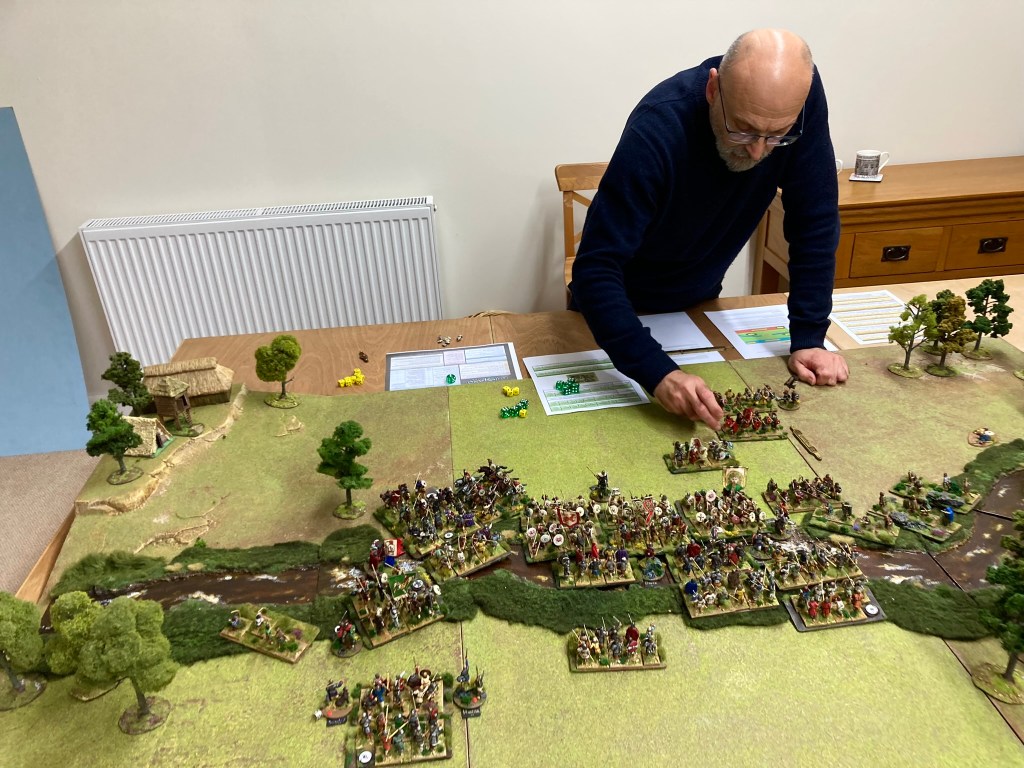
Fast forward forty-ish years, and I’m sat at a gaming table with one of the original authors of Warhammer, about to demonstrate my own ‘mass battle’ game to him. I’m not sure that twelve-year old me would have believed it, but there you go.
I got to know Rick during the heyday of Warhammer Ancient Battles, the historical game produced through Games Workshop in the early noughties.
WAB Age of Arthur, cover art by Jon Hodgson, 2006
I was fortunate enough to write two supplements for WAB (El Cid and Age of Arthur, the latter with Steve Jones) which Rick maintained an involvement in before the project’s end.
Mount Erebor: a popular meeting place for old chums and rivals
Having run into Rick behind Mount Erebor at a recent show, he kindly expressed an interest in Midgard Heroic Battles, so I agreed to pop over to demonstrate the game at some point in the future. Arthurian Britain was picked as the theme, we agreed a date, and it was game on. Having survived a savaging (well, licking) from his ferocious cockapoo as I entered his house, we carried the boxes through and set up on a portion of the mighty wargames table.
I brought a couple of Forces over, the same ones that have been appearing in our official videos with Richard Clarke – Artos and the Britons and Aelle’s Saxon Raiders. These were slightly different versions of the 300-400 point sample lists that appear in the rulebook.
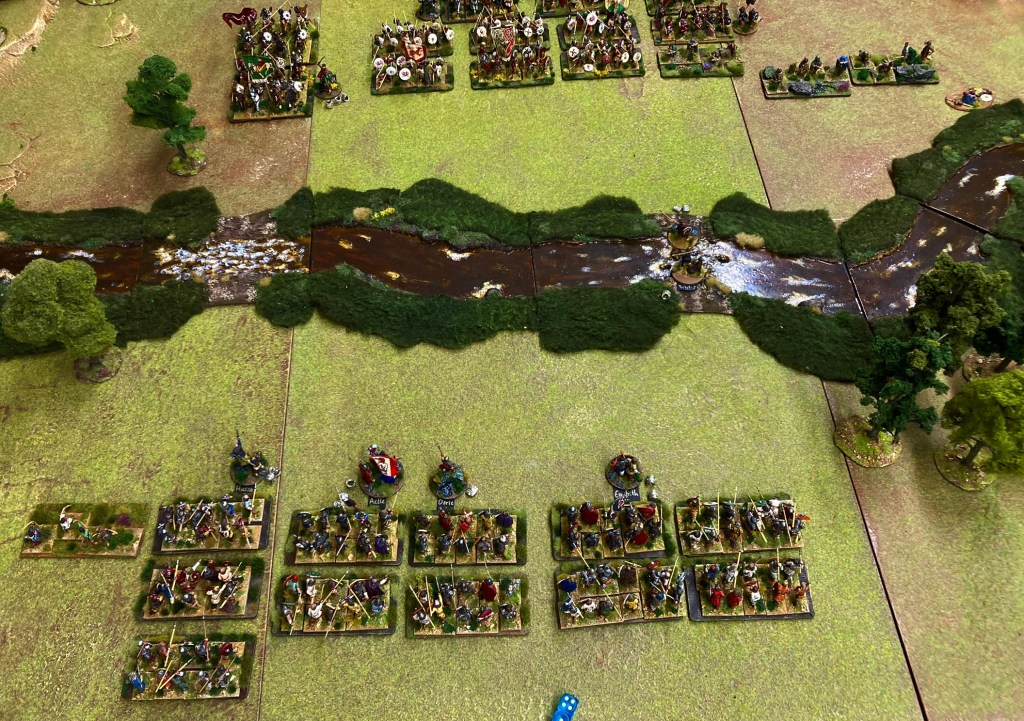
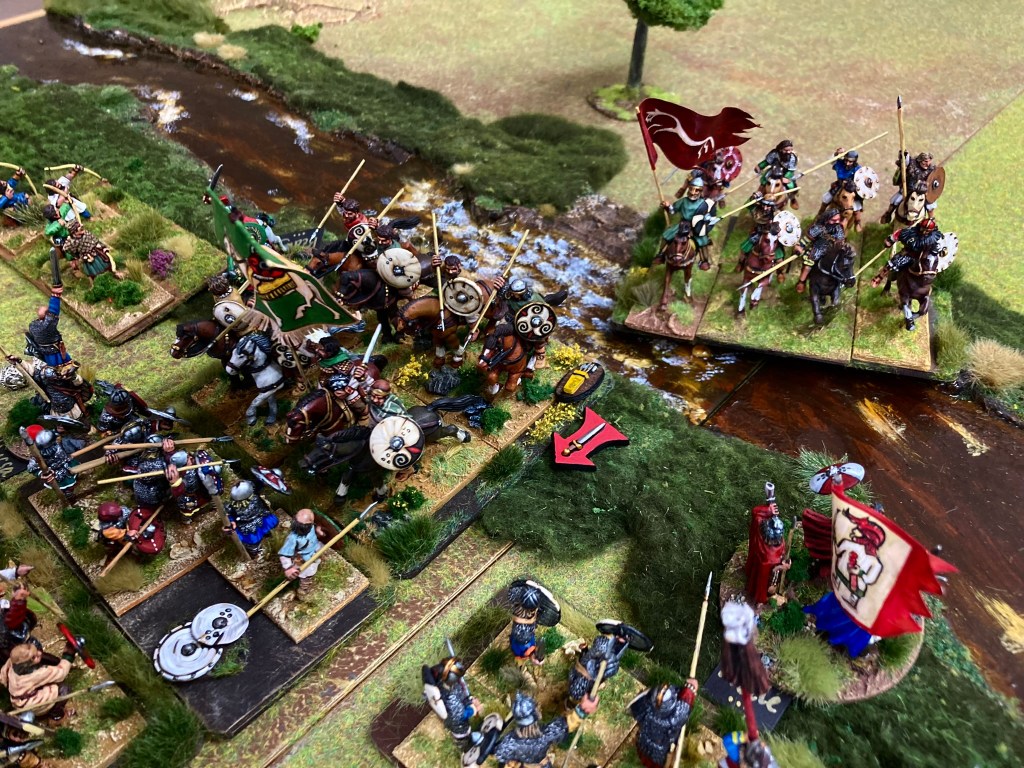
The scenario was to be The Red Ford – a new one currently undergoing play testing that is likely to appear in a future Midgard supplement. Rick had set out some of his terrain tiles in a 6 x 4′, to which I added my ‘drop on’ river terrain piece. The lush green banks of mine didn’t quite fit the traditional green flock of Rick’s boards, but so what?
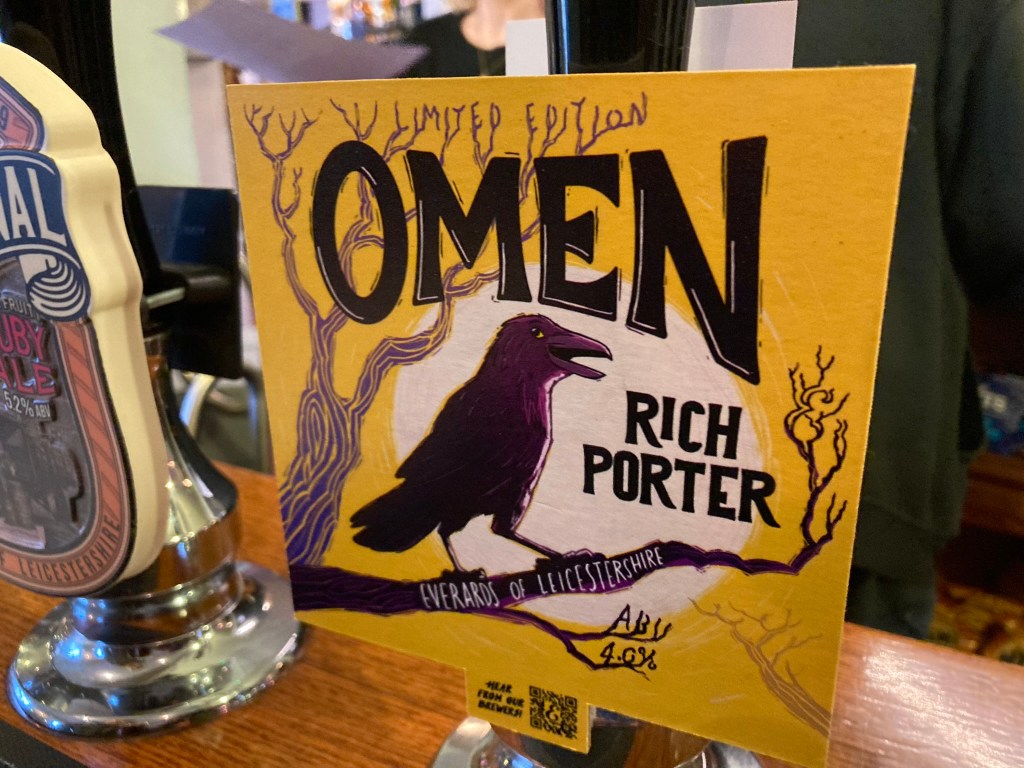
We both had soothsayers in our ranks with the Omens Trait and elected to spend a Mighty Deed each to gut a goat (or similar oppressed small animal) and read its entrails to foretell the future. We each rolled a 5, with our prophets each reporting that it was a good day to fight, my lord, and that surely we would win the victory! (Someone must have been fibbing, but we both added two Reputation tokens to our goblets). We were therefore much amused to find this porter on in the pub at lunchtime!
It’s an omen! Rick felt obliged to sample a glass at lunchtime
Anyway, back to the plot. Artos (Rick), determined to hold up the horde of West Saxons (me) about to pour into Dumnonia, sent Gwalchmai (AKA Gawain) down to the ford. He issued a challenge to single combat which Wiglaf (and his hound) was glad to take up, as turning it down would have meant a loss of Reputation.
With both Heroes succeeding at keeping their footing in the water, the combat went back and forth as Wiglaf first wounded Gwalchmai, then was wounded back in return. In the third and final round, however, my dice came up trumps and Gwalchmai ended up in the ford, ruining his day, his trousers and his fancy shield. The Saxon Force gave a great roar of victory and surged forwards towards the crossing.
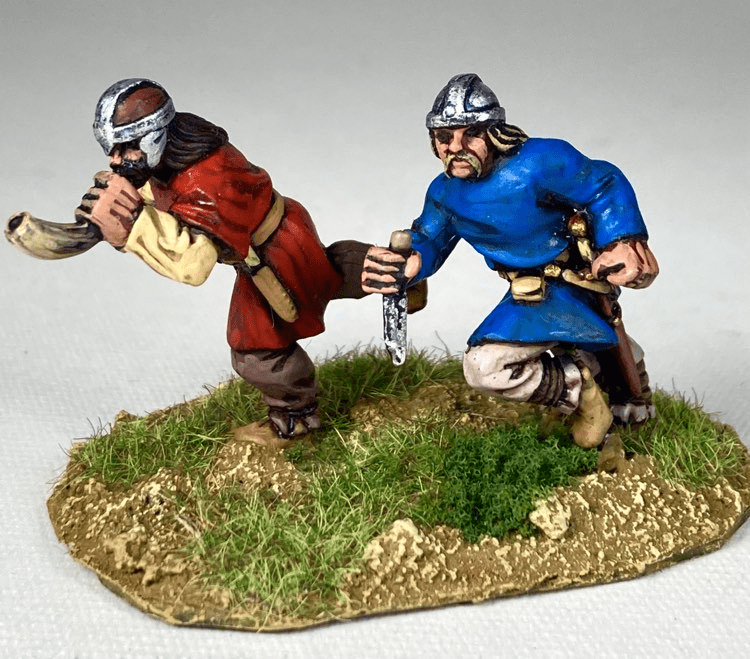
Wiglaf nonchalantly finishes off Gwalchmai!
Unfortunately for Aelle, while the front of the Saxon line surged forwards, the back ranks were clearly feeling a bit reluctant and refused to obey orders despite repeated yelling and bawling from the Heroes!
The Saxon back ranks are in disorder despite the yells of their leaders
A round of dreadful Command Tests – and failed rerolls using the Heroes’ Mighty Deeds – left Aelle’s front line unsupported. The Britons, in contrast, had managed an orderly advance!
Here come the Britons! Rick picked up the movement rules very quickly
Seeing Hussa and his Saxons taking the left side of the ford, Rick did what any good Arthurian hero would have done and sent Artos’s warleader Bedwyr and his heavy cavalry smashing into the Saxon lines, hoping to break them before Aelle and the rest of the Saxons got their house in order. Reputation was duly gained (+1 for a Hero leading a charge and +1 for the first charge of the game – hurrah!), helping to make up for the loss of Gwalchmai in the single combat at the start.
Bedwyr deals death as his men boldly charge across the ford
I’d like to say that the battle for the ford was hard-fought, but Hussa and his Saxons turned in a desultory performance, inflicting no Stamina damage on the Britons while losing half of their own. Some superb ‘support saves’ from Rick meant that the cavalry Unit shrugged off a number of blows from the Saxons.
Bedwyr’s supporting Unit, having helped to win the combat, use their momentum to swing round and block Aelle and his Saxons
Worse, Saxon thegn Hussa was hit by a javelin in the melee and took a wound (this was me rolling 1 on my raven dice and sadly not for the last time in this game!)
Game on! The Britons are across the ford at the bottom, but the main scrap has yet to commence
With the combat won, Bedyr’s mounted comitatus pushed the Saxons out of the river. Using the momentum of their win in combat, the supporting Unit (with the red banner) swung round to cover off Aelle’s Saxon hearthguard who would otherwise have threatened the flank of Bedwyr’s men.
Are they in Spear Throw range? Aelle finds out
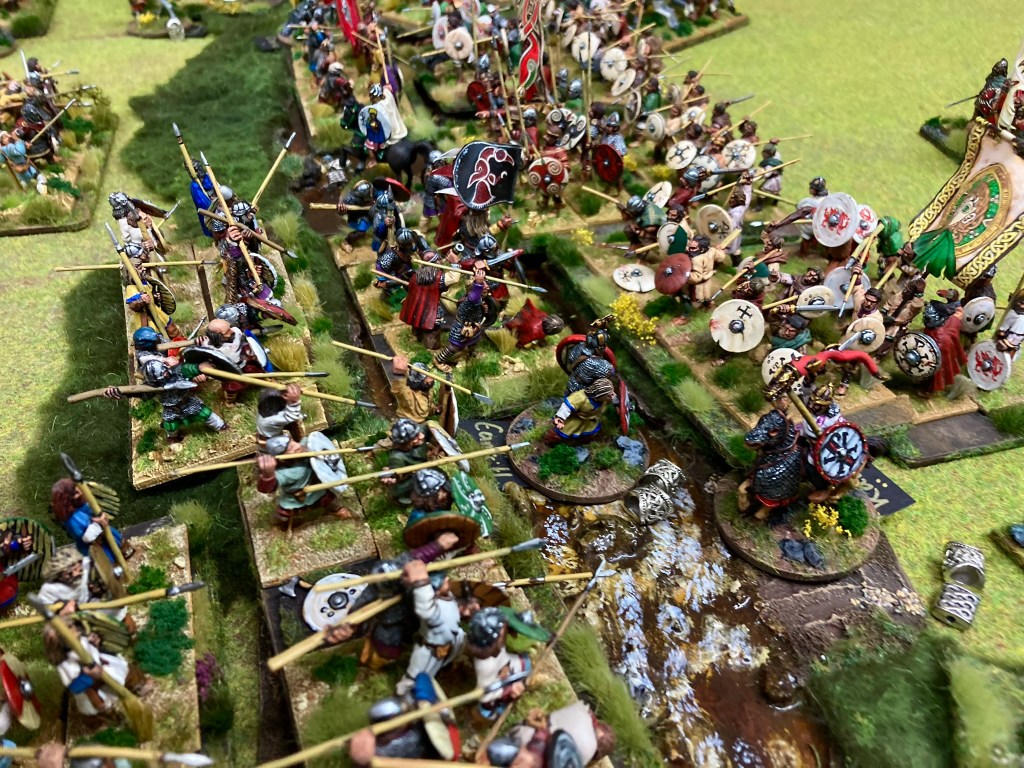
Reeling from the defeat on their left, it was time for Aelle to commit everything to battle. Along the length of the river, he issued the order to charge, and an enormous melee broke out in the knee-deep water. Many Reputation tokens were earned for this glorious deed, giving the Saxons a slight edge at this point in the battle.
CHAAAAAARGE!
On the Saxons’ left, Bedwyr’s gamble of an early charge was paying off. As the fighting continued, he broke Hussa’s Unit and forced the Saxon leader to choose discretion over valour as his men fell around him; Hussa chose to retire to the rear, but at the loss of a Reputation token as Bedwyr’s riders jeered him!
Hussa is wounded (bottom left) and retreats; (top right) Aelle’s impetuous charge is blunted by the British reserves
Bedwyr’s supporting Unit was now fully engaged with Aelle’s Saxon hearthguard who – with indifferent dice rolling – had to settle for pushing the British cavalry up the bank and on to Artos’ side of the river. This had almost immediate consequences as Rick had held back a third Unit of mounted companions as a rearguard. Seeing the potential crisis, they hurled their javelins and plunged in to join the melee.
Now it was action all along the ford, with Artos himself riding in and joining in the melee. Despite being in the thick of it, with both sides taking damage, Artos couldn’t roll a raven to save his life, passing all his Risk to Heroes tests. What a Hero!
In sharp contrast, Osric, another of the Saxon champions fighting in the ford, promptly rolled a 1 and found himself with a sword in his head. Ouch.
Kai is supported by skirmishers who cause some damage on the Saxon right
On the Saxon right, Artos’s foster brother Kai found himself face to face with his opposite number, Eanfrith. It would have been rude not to issue a challenge and Kai duly did so, dispatching the Saxon in two rounds.
I rolled on the Hero Death in Combat table, hoping for at least a glorious death, but found that Eanfrith had ended up as no more than ‘food for ravens’. Which is why he doesn’t get a mention in the Arthurian legends, I guess. 🙂
The fighting on the Saxon left continued, with the wounded Hussa and Wiglaf trying to shore up their flank. A change in fortunes finally saw the lead two British cavalry Units broken, but Bedwyr survived (albeit at the cost of a Reputation token) and Artos’s rearguard had held the line.
The last known photo of Aelle as he boldly plunges into the British cavalry (bottom centre)
Unfortunately for him, Aelle paid the price for pushing so deep into the British lines. Having little support, he was wounded and then killed by Artos’s cavalry, leading to a catastrophic loss of Reputation (four tokens out of the goblet). The battery on my iphone took a sudden nose dive at this point as well, so I’m afraid our chronicler was forced to use stock pictures to illustrate the rest of the report.
Not a great day for Saxon leadership! Minis by Tantatus, Gripping Beast and Foundry in front of a Jon Hodgson backdrop
Although the Britons had been damaged by the loss of two of the noble cavalry Units (three Reputation points apiece), the gains resulting from Kai and Artos’s heroics managed to shore up the Reputation of the Britons. The Saxons were now almost leaderless; although they were inflicting casualties upon the British Units, several of which were on the verge of breaking, the momentum was with Artos and his warriors.
One, two, three…retreat!
The final turn saw the critical damage done, with the Saxons losing the wounded Hussa and another Unit, emptying their goblet of Reputation. With no Heroes left in position to lead a charge, the Saxons were broken and fled, leaving the Red Ford filled with their dead. Artos and his Heroes had defended Dumnonia once again, the great warleader having an apparently charmed life in the midst of battle. The bards would sing of this for a long time.
Winning in Dumnonia! Artos and his team
It had been a thoroughly enjoyable game, with Rick being ever the genial host and gaining the favour of the Gods in his dice rolling as a result! (Apparently this is not a normal occurrence – the dice rolling, not the geniality). It was a massive privilege to be able to demonstrate my game to someone who has been a major influence on the wargames scene and my gaming in particular.
I was especially pleased that Rick enjoyed the game and commented favourably on the rules, in particular the ‘support saves’ mechanism. We had a chuckle about nothing really being original in wargames rules, but I hope that MidgardHeroic Battlesmanages to assemble them to create something new. Unsurprisingly for someone who read The Iliad in his youth, Rick picked up the heroic ethos very quickly and got stuck straight into the game with a winning combination of single combats, heroic charges and sound tactics.
The only surviving Saxon leader, Wiglaf
My thanks again to Rick for his hospitality and hosting the game. Anyone seen that soothsayer though? The Saxons would like a word!
Well, it’s been quite a week with advanced orders for Midgard Heroic Battles going live on October 21st and all the attendant promotion! Thank you if you have placed an advance order – it is very much appreciated.
Since I last wrote, we have been kindly featured by On Table Top in both their news and YouTube weekender (see the team discussing Midgard from 1:05 in the video).
I was interviewed last week by Mike Whitaker for The Miller’s Tale Podcast – this is quite an extensive chat about my gaming history and probably the most in-depth recorded conversation about the core values behind Midgard so far. Definitely worth a listen while painting!
I’m updating the Midgard Heroic Battles page on mogsymakes.net every couple of days – this contains all the up to date information and links, however you like to get your news. Richard is about to share the fourth video in the YouTube series, with others following every couple of days. We will also be recording further footage this week for future release, this time focusing on the more legendary and fantastical side of things.
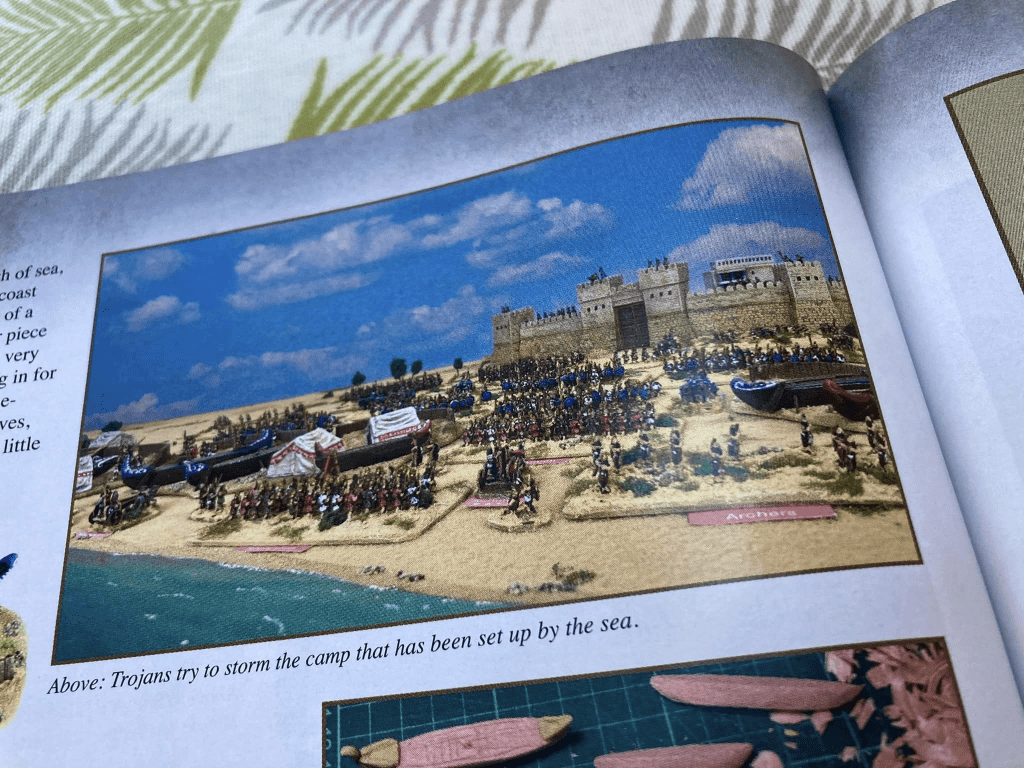
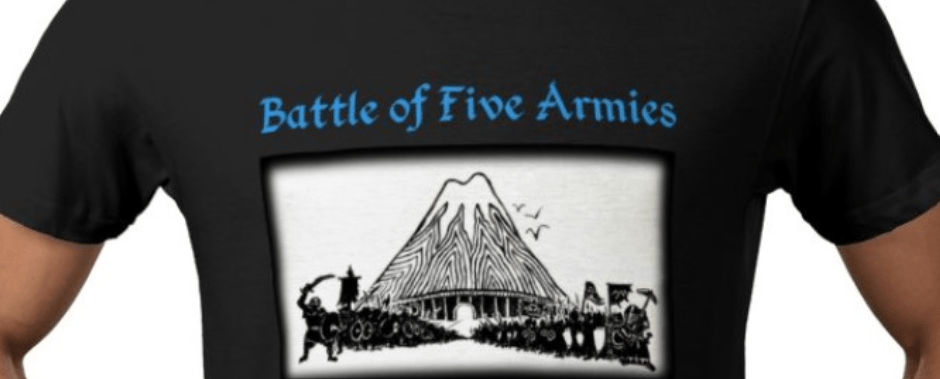
I was very chuffed to have my 6mm Trojan Wars collection featured in an article in Wargames Illustrated magazine (Issue 443, Nov 2024). This creates both Trojan and Greek 300 point Forces from the rulebook using 6mm miniatures on 8cm wide bases, giving an 8cm Spear Throw and a 3×4′ playing area, hopefully showing that not all Midgard games need to be on the scale of the Battle of Five Armies at The Other Partizan a few weeks ago!
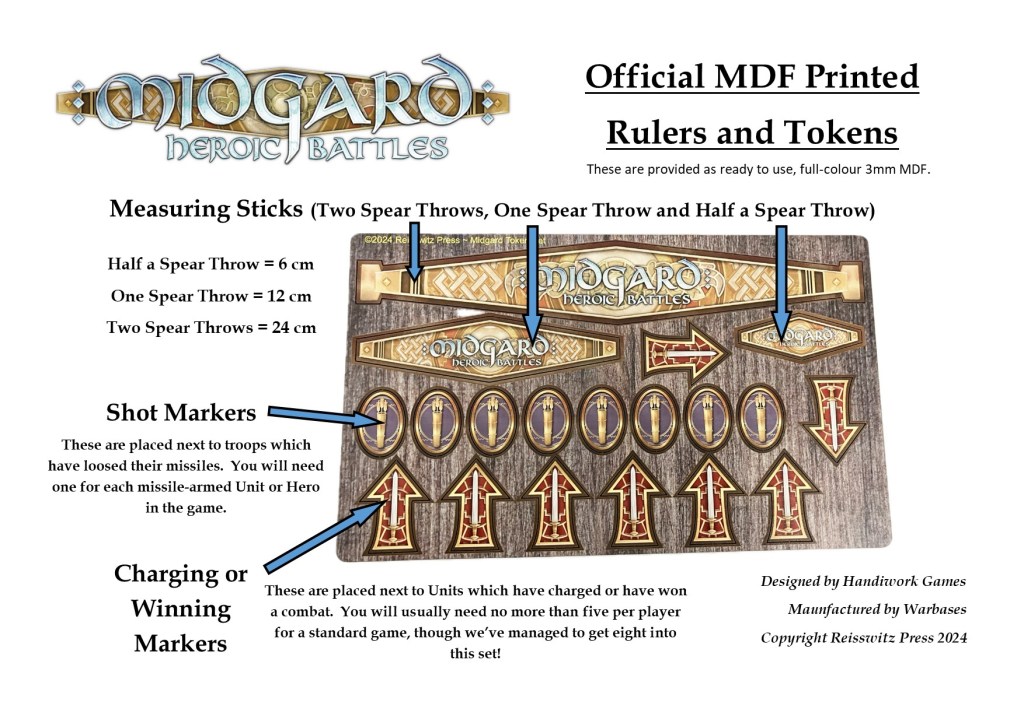
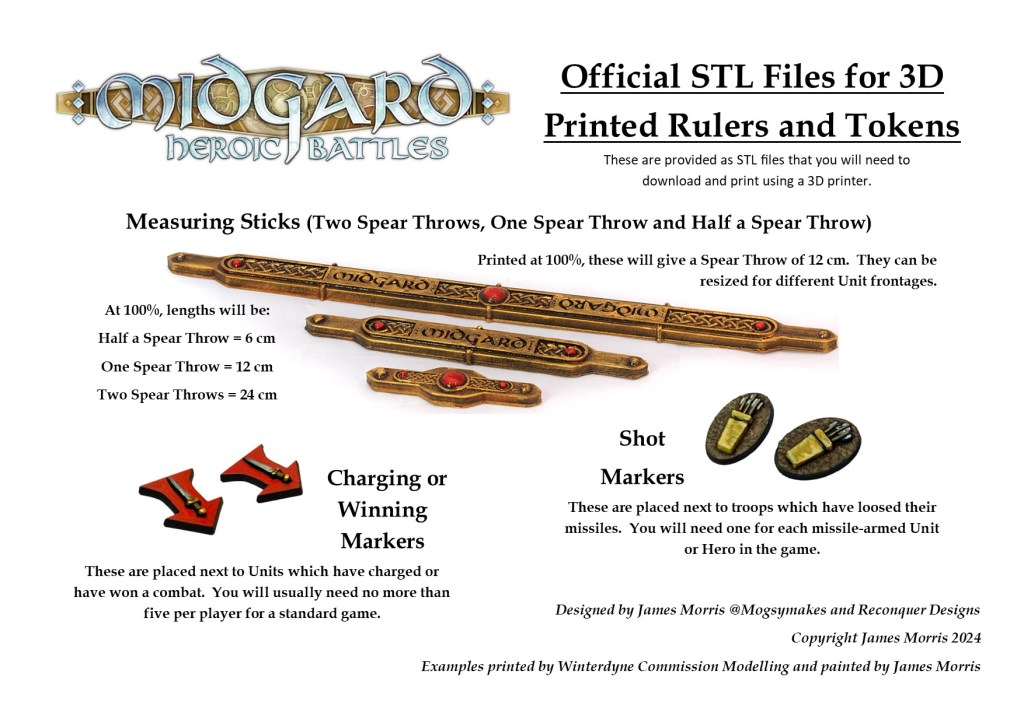
There are two official sets of Rulers & Tokens, detailed in the images below. First is a set of 3mm MDF measuring sticks and tokens which will be available from Reisswitz Press and are also included in bundles in the advance orders. These are only available in the one size (12 cm Spear Throw) as shown below. The outstanding art on these is by Handiwork Games, who also designed and illustrated the rulebook for that proper heroic battle feeling!
There are also STL files for 3D printing your own measuring sticks and tokens. These will be available from Reisswitz Press as STLs only from 18th November 2024. Being print files, they can be scaled up or down for different sized games. There will be an option to purchase the STLs for both personal and commercial use.
These were designed by me and then turned into STLs by the 3D wizard behind Reconquer Designs, whose superb miniatures also feature prominently in the rulebook!
Not only that, but the first official video has been released on the Too Fat Lardies YouTube channel. It’s already garnered 2.5k views in less than 24 hours, quite an achievement! Watch it here:
That’s all for now, but we’re expecting the next official video to drop tomorrow! All the best, James
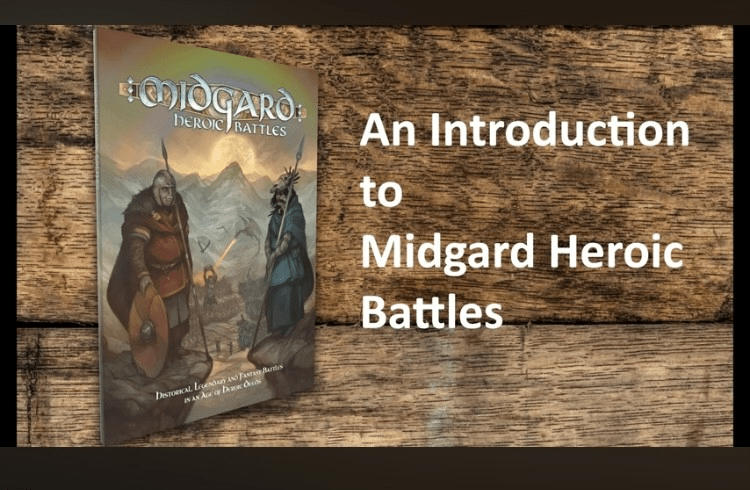
Just a short post today, but a momentous one: I’m delighted to be able to show you a low-res version of the cover art for Midgard Heroic Battles. We wanted something that encapsulated the ‘Historical, Legendary and Fantasy Battles’ referred to in the tagline, and Jon Hodgson of Handiwork Games has delivered that and more!
Art by Jon Hodgson of Handiwork Games, copyright Reisswitz Press 2024
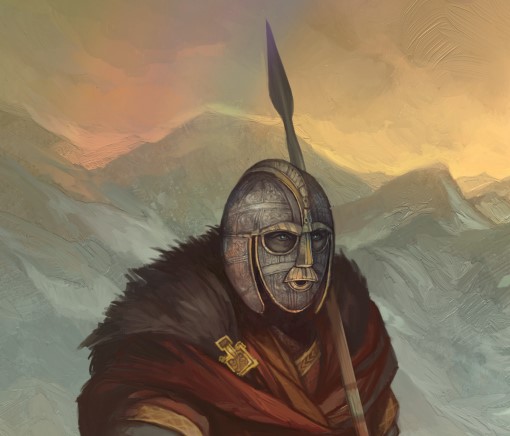
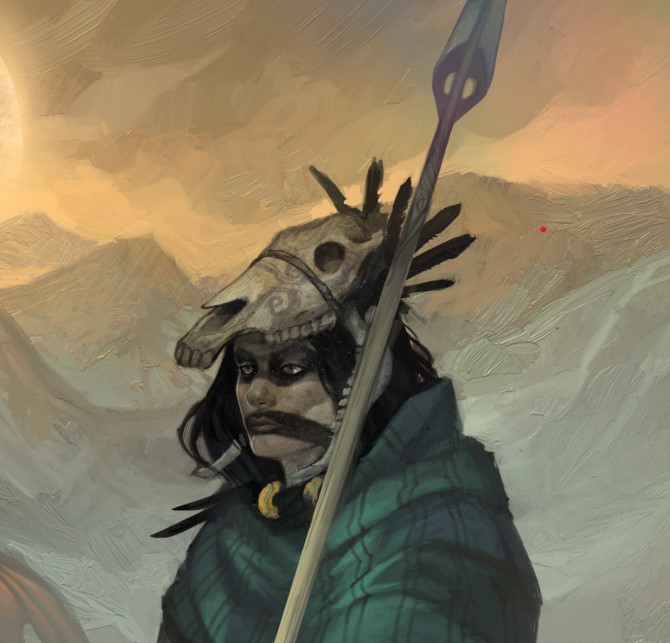
On the cover, we see Raedwald, King of the East Angles in the first quarter of the 7th century, (representing the ‘Historical’ element) and Celtic Goddess Morrigan (pushing ‘Legend’ and ‘Fantasy’) – these two act as guides within the rulebook, offering advice to the would-be warrior and hero throughout its pages.
Art by Jon Hodgson of Handiwork Games, copyright Reisswitz Press 2024Art by Jon Hodgson of Handiwork Games, copyright Reisswitz Press 2024
Behind them, the ‘Battle’ element is fully in progress in a mountain valley, with warriors facing off, a challenge to single combat being issued, and some fearsome beasts pushing their way out of the tales of myth and legend onto the battlefield.
Art by Jon Hodgson of Handiwork Games, copyright Reisswitz Press 2024
Of course, in addition to Jon’s outstanding art, the whole thing is topped off by the awesome logo by Paul Bourne of Handiwork Games. Gentlemen, a heartfelt thank you to you both.
Logo by Paul Bourne of Handiwork Games, copyright Reisswitz Press 2024
Midgard Heroic Battles is due to be published by Reisswitz Press in November 2024, with pre-orders going live soon.
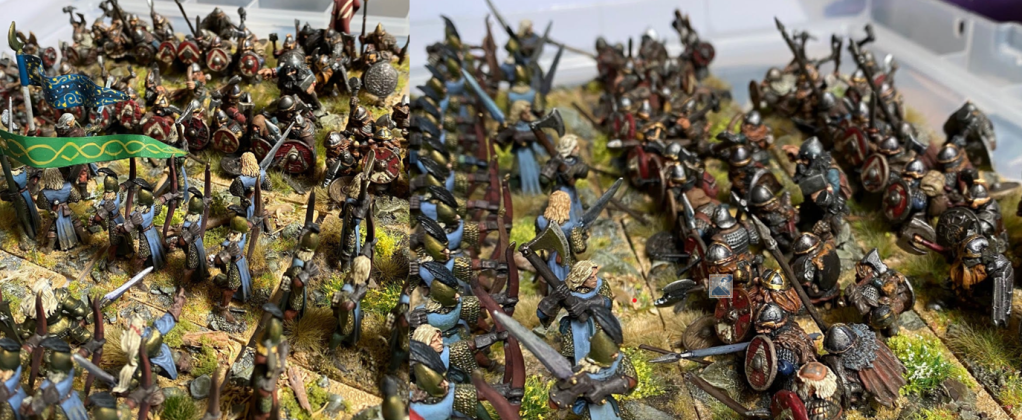
Somehow the second Partizan show of the year has snuck up on us, so it’s time to show what I’ve been quietly working away on over the last six weeks. This is the biggest game that I think Morris & Chums have ever put on, with around 1500 28mm miniatures on a 12′ x 8′ L-shaped table. It’s part wargame, part art project, and I hope you enjoy it!
Tolkien’s 1937 artwork for the Hobbit book jacket, which has influenced the colour scheme for our terrain
I reckon the project started when I was around 15, creating a large sculpture of the Battle of Five Armies at school, having been inspired by reading The Hobbit and playing Warhammer.
Lake Men from Simon Toey’c collection – all manner of 28mm conversions
Sadly this clay artefact has been lost to the mists of time, but the idea remained, and was poked back into life by two things: reading The Hobbit graphic novel to my son (a joy) and then watching the Peter Jackson Hobbit movies with him (some fun bits but largely a travesty of JRRT, especially the Battle of Five Armies).
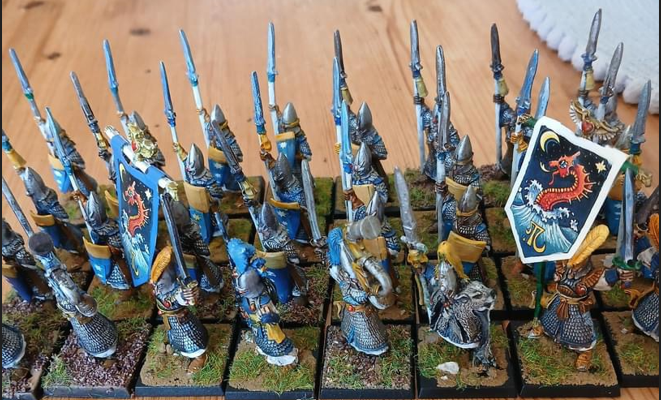
Just part of Paul Welsh’s rather superb collection of 1990s Elves who will be gracing the table at Partizan
While browsing pics of Historicon 2021, I also came across a lovely game of the Battle of Five Armies by David Kujit. What struck me about this was the painted backdrop, immediately setting the scene for the battle, which planted the seed for our game.
David Kujit’s game at Historicon 2021 that got me thinking. Fab terrain and backdrop!
The plan then went a step further as Middle-earth games became very popular within the Midgard Heroic Battles play test group and Dave Hunter – a bit of a Tolkien fan – joined and got involved with running games. We’re going to be playing the Midgard rules on a grand scale at the show, hopefully their final appearance before expected release by Reisswitz Press in November 2024.
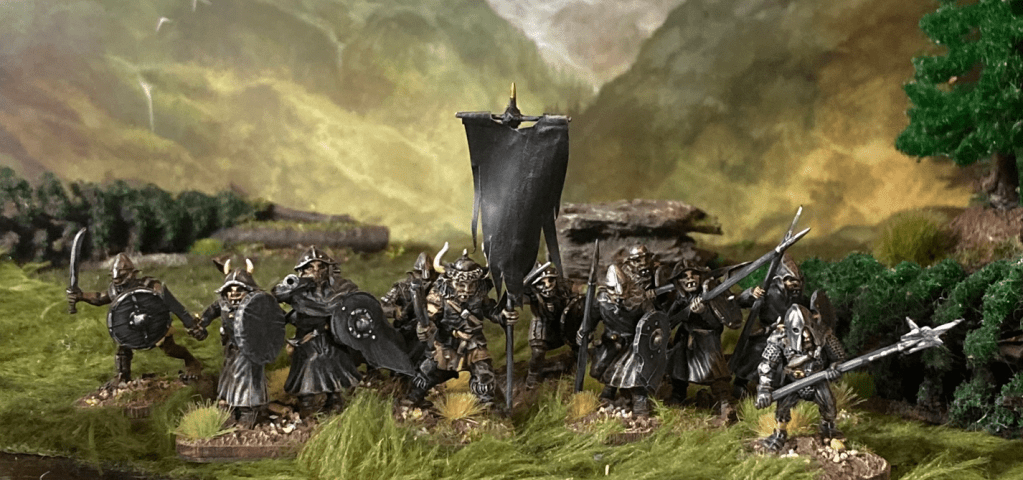
Converted plastic 28mm Orcs by me in front of a Jon Hodgson Backdrop. There will be many hundreds of these making an appearance at The Other Partizan!
From there. it was perhaps a slippery slope. I can’t remember what finally pushed the button, but it may have been James Deering from the play test group suggesting he come up to Nottingham and we put on a big Middle-earth game. Anyway, one day I woke up, and told myself that’s what we were going to put on at Partizan in October. And here we are.
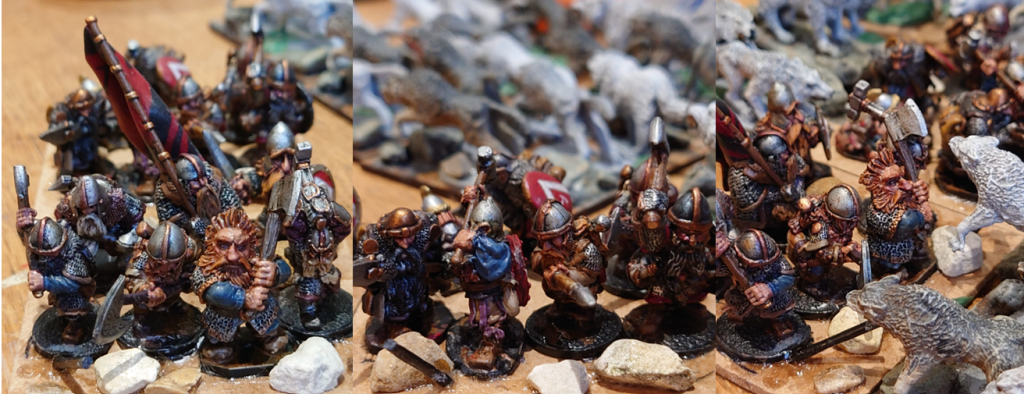
Top drawer WIP – Dwarves of the Iron Hills from Simon Toey’s workbench
I dropped a line to Simon Toey, well-known on the Facebook Wargaming in Middle-earth group for his cracking Tolkien miniature projects. I’m a huge fan of Simon’s style, where he combines classic metal and newer miniatures onto diorama-style bases with some conversion and stunning basing.
28mm Elves and Dwarves by Simon Toey from a variety of manufacturers
Not only did Simon agree to get involved, but he also added additional pieces to the collection to bring units up to size.
A tiny portion of Simon’s box of wolves and wargs!
Simon’s dedication is demonstrated by his new Beorn model; we had a brief discussion about the original Reaper mini being a little small for the scale of battle that we had planned.
A few minutes later, he’d ordered up a new model and then set to work swapping heads and sculpting new fur as soon as it arrived. Following a quick suggesting from me about basing, and he was hard at work putting together Beorn’s goblin victims…
Other members of the group have also chipped in and we hope to have a veritable host of Goblins, Wolves, Dwarves, Elves and Lake Men to show you at the weekend!
An honourable mention needs to go to Sam Lancashire, who is pitching in with the hobbit himself, Mr Bilbo Baggins (wearing his magic ring, of course).
Dave Hunter and I sketched out the plan for the table with help from the Facebook group; I had an idea for an L-shaped table, leaving out the ruins of Dale but keeping in both spurs of the Lonely Mountain involved in the battle. With Dave’s expert Tolkien knowledge, we put together a possible battlefield that would also meet our gaming requirements and I built a maquette to test it out.
The initial maquette – you”ll have to wait to see the real thing!
After several design changes, I got to work creating the battlefield. This is all work in progress at the moment – I’ll do a full photo game report once Partizan is over.
Colour schemes and designs were heavily influenced by Tolkien’s artwork for the book, as this was very much the inspiration for the game.
Anyway, I need to head off and finish the layout, so hope to see some of you at The Other Partizan on October 13th!
This was an excellent question that I was asked last week on the Lead Adventure Forum (a very civilised corner of the internet, if you still do forums), so I thought I’d tackle it in this week’s Midgard article. While it’s not difficult to adapt historical rules sets for fantasy, and vice versa, I always saw Midgard operating on a spectrum of historical – legendary – fantasy, so felt it’d be useful to explain this a bit further. You can read the latest article here: https://mogsymakes.net/fantastical-elements-in-midgard-heroic-battles/
As you can see, all these articles pertaining to Midgard Heroic Battles are being stored up on one page to make them easy to share.
Cheers!
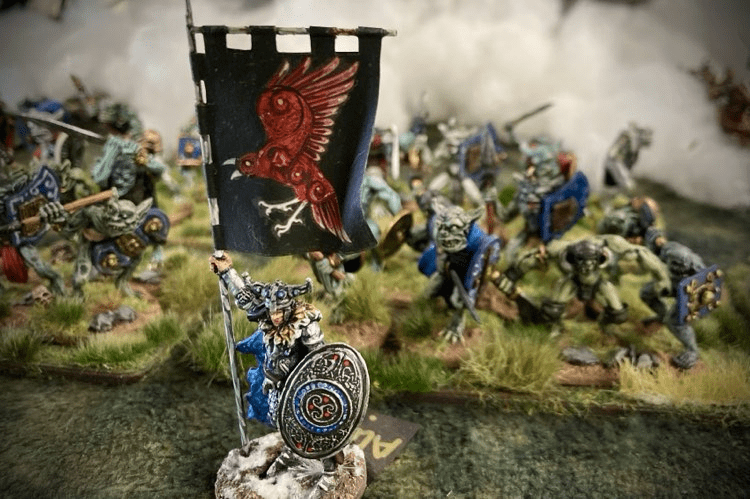
28mm Draugr from Ragnarok Miniatures, background by Jon Hodgson Backdrops, painting and photo by James Morris