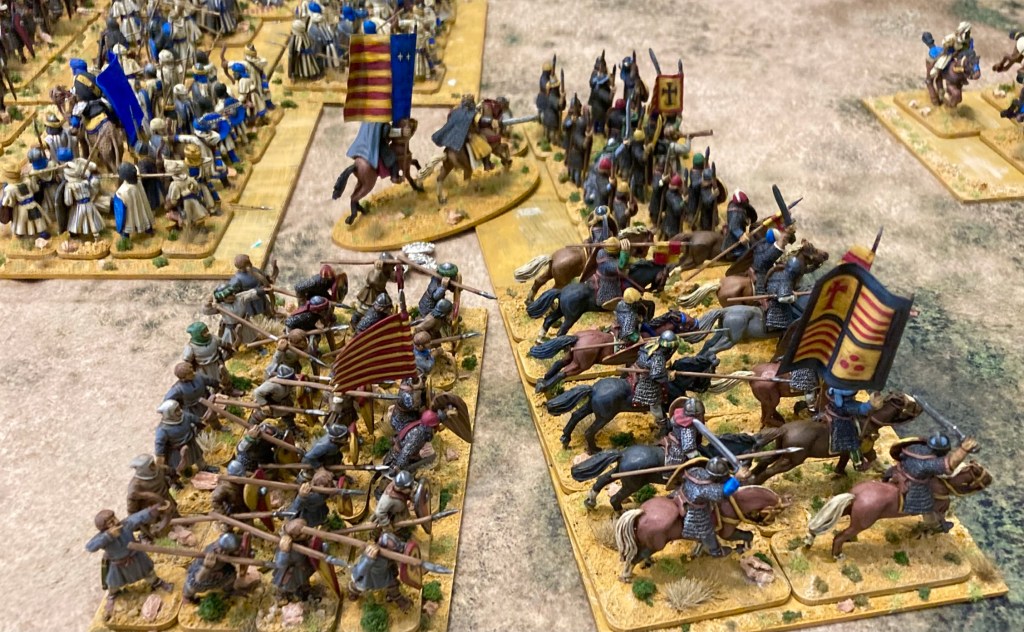
Sunday 10th October 2021 saw the return of Partizan, the showcase East Midlands wargames show at Newark Showground. To say that I was excited about this was an understatement. I had plans to run a game set in 1800s Alaska, but the return of Scrivs from the US with his substantial El Cid collection of minis put me on to a different track. When we did the Battle of Graus a few months back, we struggled to fit all the figures into Tom’s shed, let alone onto an 8×4′ table. Fortunately Newark Showground is a little bigger, so the plan was hatched: El Cid for Partizan!
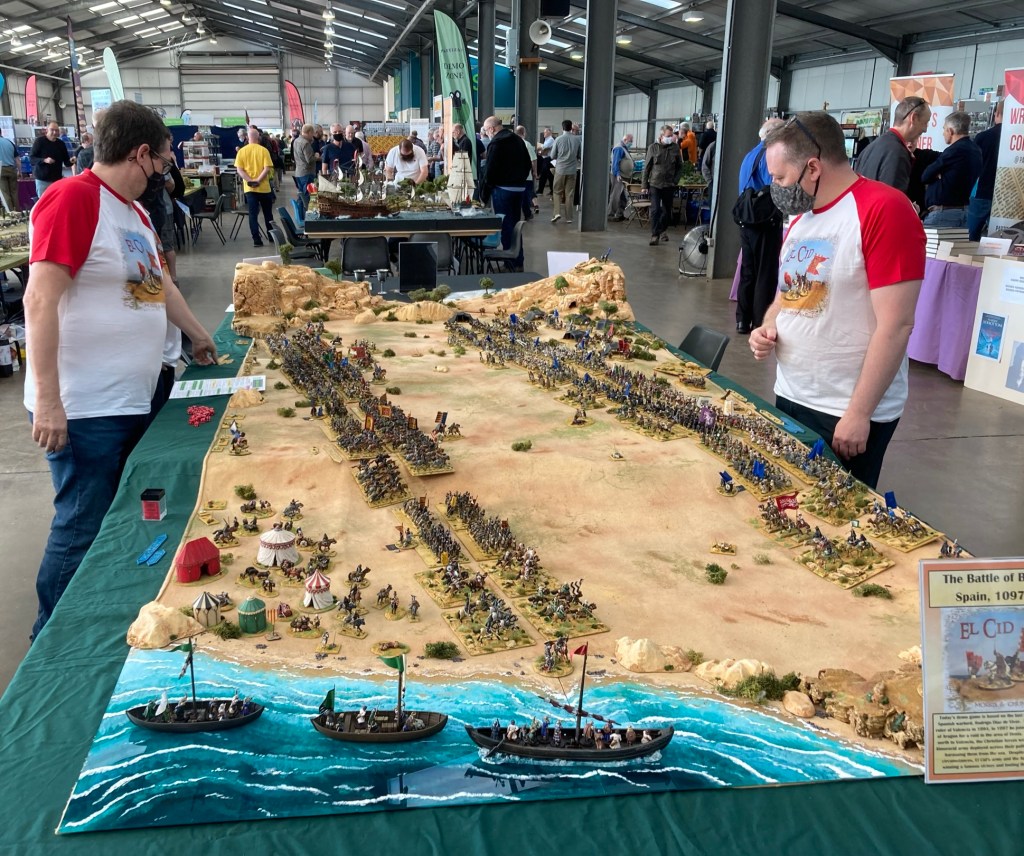
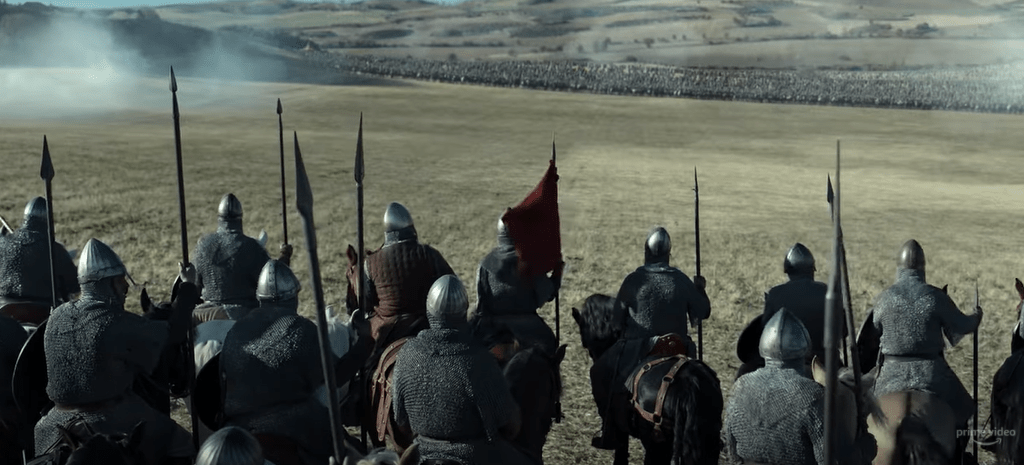
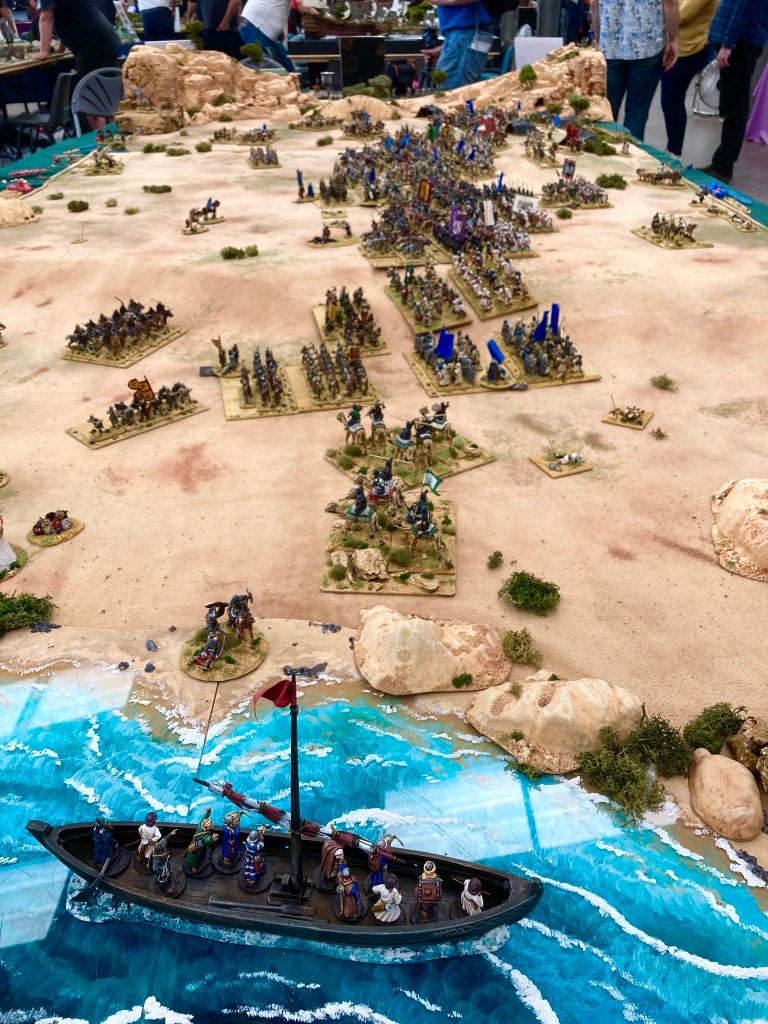
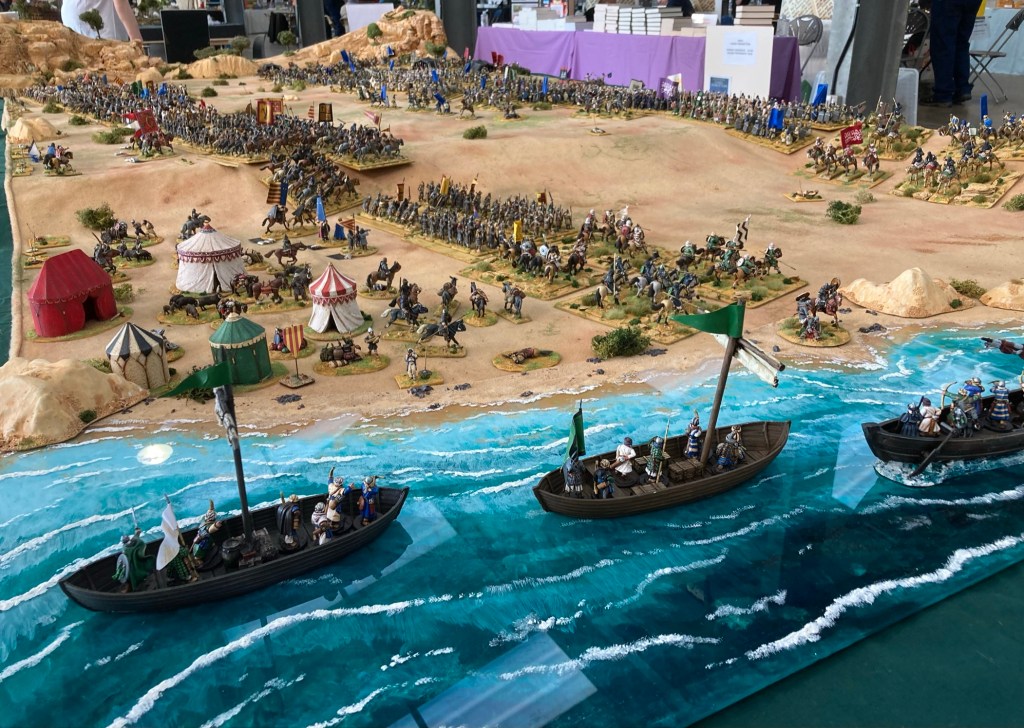
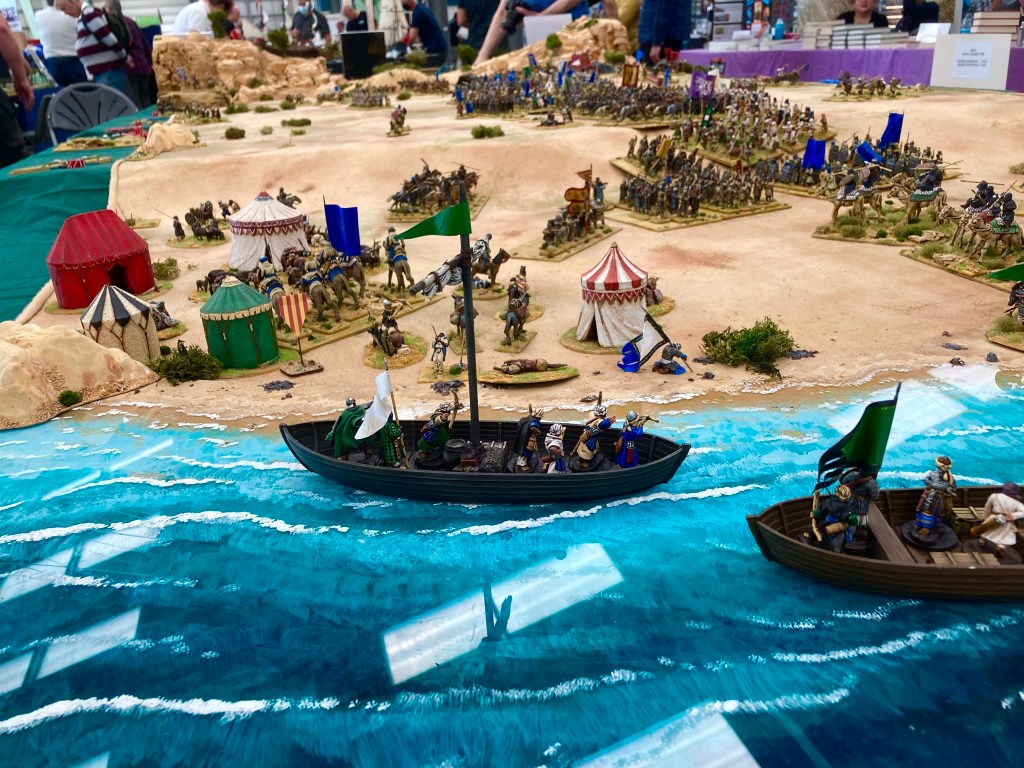
The next question was, which battle to do? El Cid was involved in around ten major battles in his time and pretty much won every one. The classic Battle of Cuarte in 1094 when he destroyed the Almoravid force surrounding Valencia was an obvious one, but we’ve played this several times at shows before. However, the Battle of Bairen came to mind. We played this once at New Year about ten years ago using Hail Caesar, but it occurred to me that it would be an ideal game for a show. The most unusual feature of this battle is that it was fought right on the east coast of Spain, so close to the sea that Almoravid archers and crossbowmen in boats were able to shoot arrows at El Cid’s forces on the beach (very similar to the final battle scene in the Charlton Heston movie El Cid, except that this actually happened.) This would give us a nice slice of Mediterranean coastline and an interesting twist on a stand-up battle, so Bairen it was.
Bairen was, like Agincourt, a fight that the eventual winners really wanted to avoid. In Spring 1097 CE, Rodrigo Diaz (by now ruler of Valencia) and his ally King Pedro I of Aragon had been conducting a joint raid in the vicinity of Denia. They had taken booty and had already avoided one conflict with the Almoravid army under Mohammad Ibn Tashfin, nephew of the famous Yusuf Ibn Tashfin (‘Ben Yusuf’) . Trying to return north to Valencia along the coastal strip between the sea and the mountains, they found themselves cut off by the Almoravids and were left with no choice but to fight. (In a more vernacular version of the tale, the manuscript of which has long since been lost, it is understood that Rodrigo and Pedro had been on a bender on the Costa del Sol and managed to dodge the Guardia before being cornered on the beach after too much sangria.)
For a more circumspect view, we can have a look at the Historia Roderici, a contemporary chronicle of the Campeador’s deeds: ‘On the hill…was the Saracen camp. Opposite it was the sea, and on it a great number of…ships, from which they harassed the Christians with bow and arrow. And from the mountain quarter they attacked them with other weapons. When the Christians realised what was happening they were not a little afraid. When Rodrigo saw how frightened they were, he at once mounted his horse and armed himself, and began to ride among his army, greatly cheering them with these words: ‘Listen to me, my dearest and closest companions. You must be strong and powerful in battle. You must be fearless.’ …
‘At the middle of the day the king and Rodrigo with all the Christian army fell upon them and engaged them in strength. At length by God’s clemency they defeated them and turned them in flight. Some were killed by the sword, some fell into the river and enormous numbers fled into the sea where they were drowned.’
[This passage is taken from the Historia Roderici (available in English translation as part of The World of El Cid – Chronicles of the Spanish Reconquest translated by Simon Barton and Richard Fletcher, Manchester University Press, 2000 – well worth a look if you’re interested in primary sources for this period).]
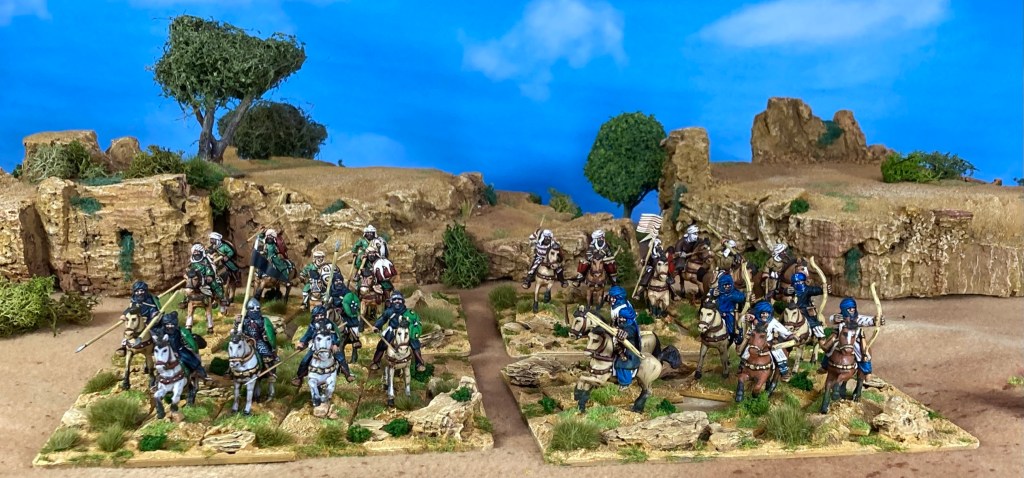
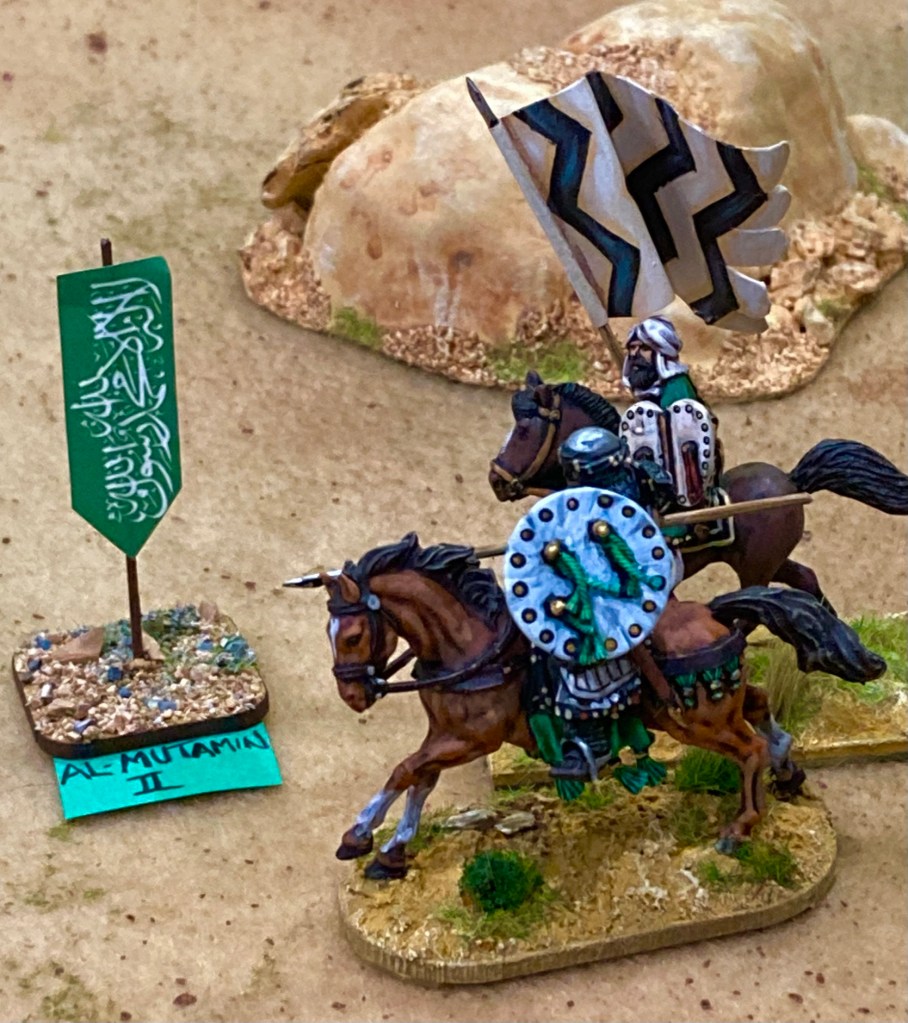
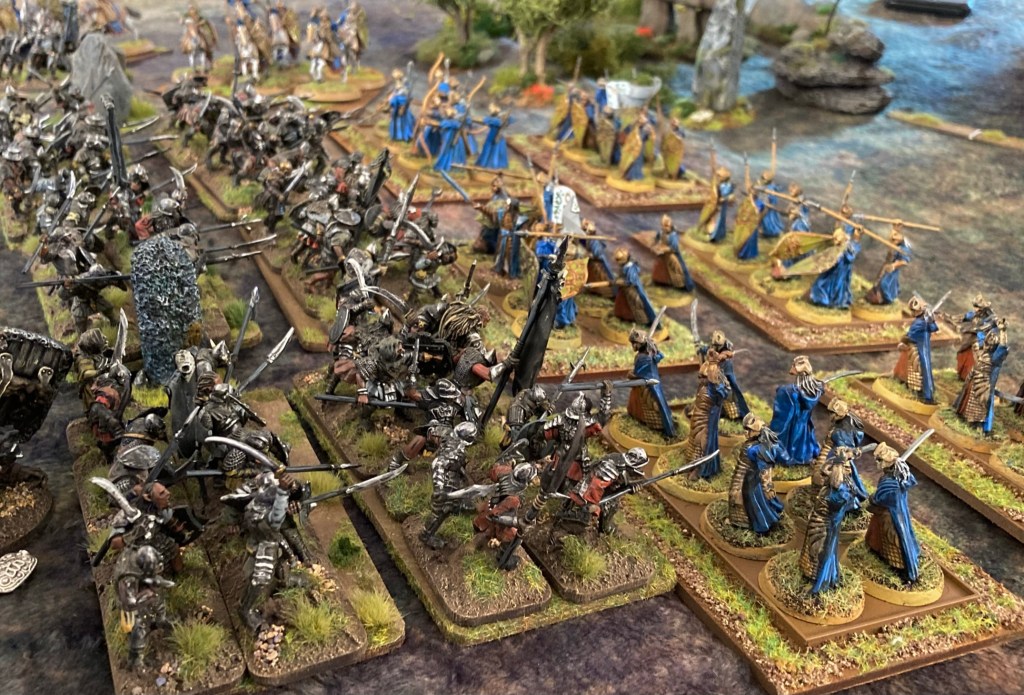
Anyway, back to the plot. Translating this into a game wasn’t too hard, pitting Christian forces attacking uphill against Almoravid spearmen. El Cid’s leaders were all given a special trait called Today We Fight To Win, which allowed them extra combat dice once per game. In the end, it didn’t do them much good! We combined our collections and ended up with the following (give or take a couple of units):
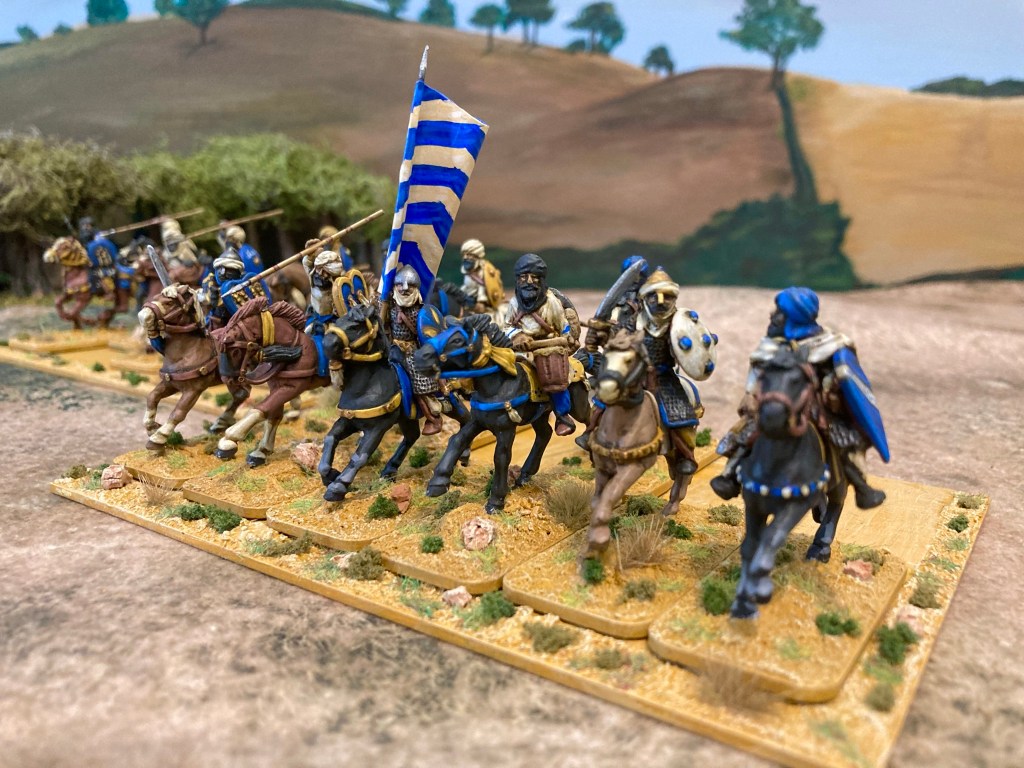
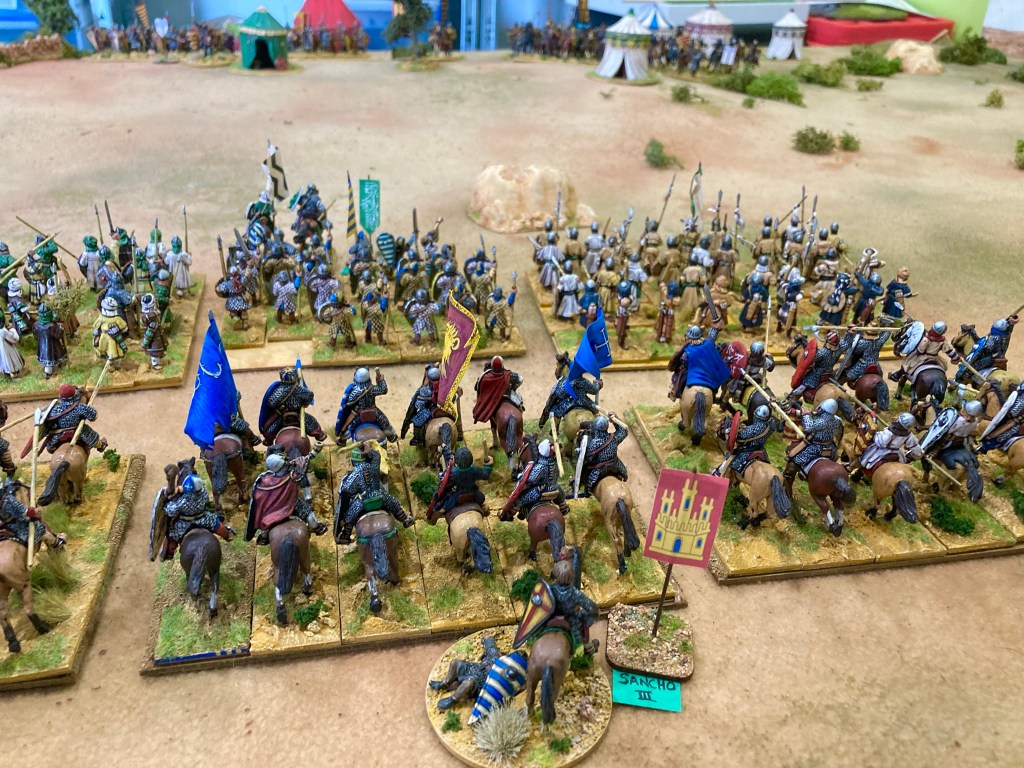
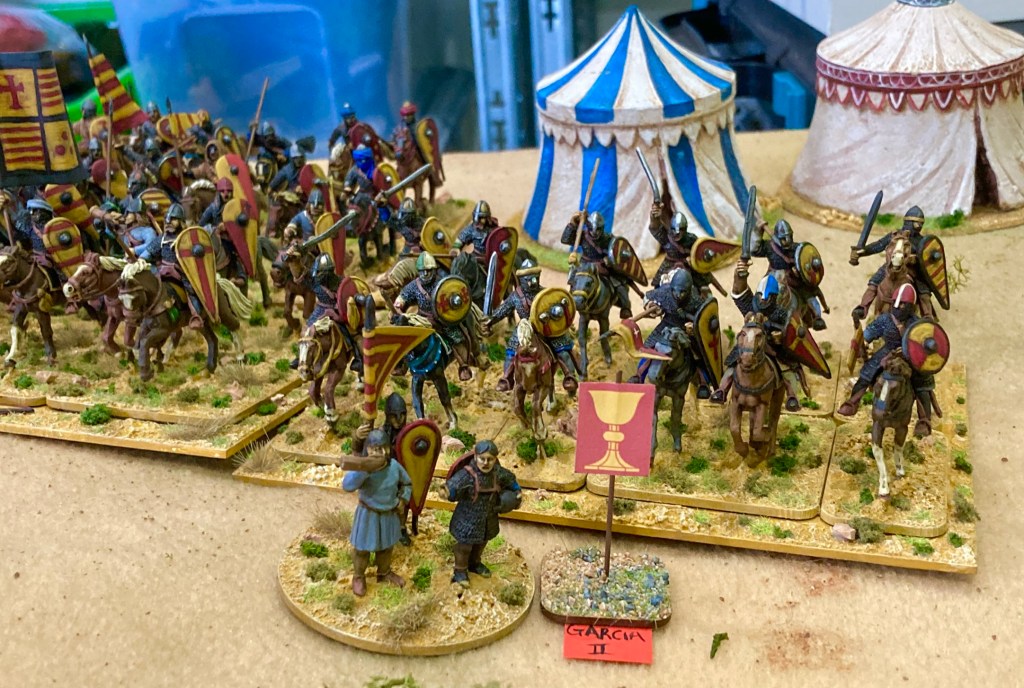
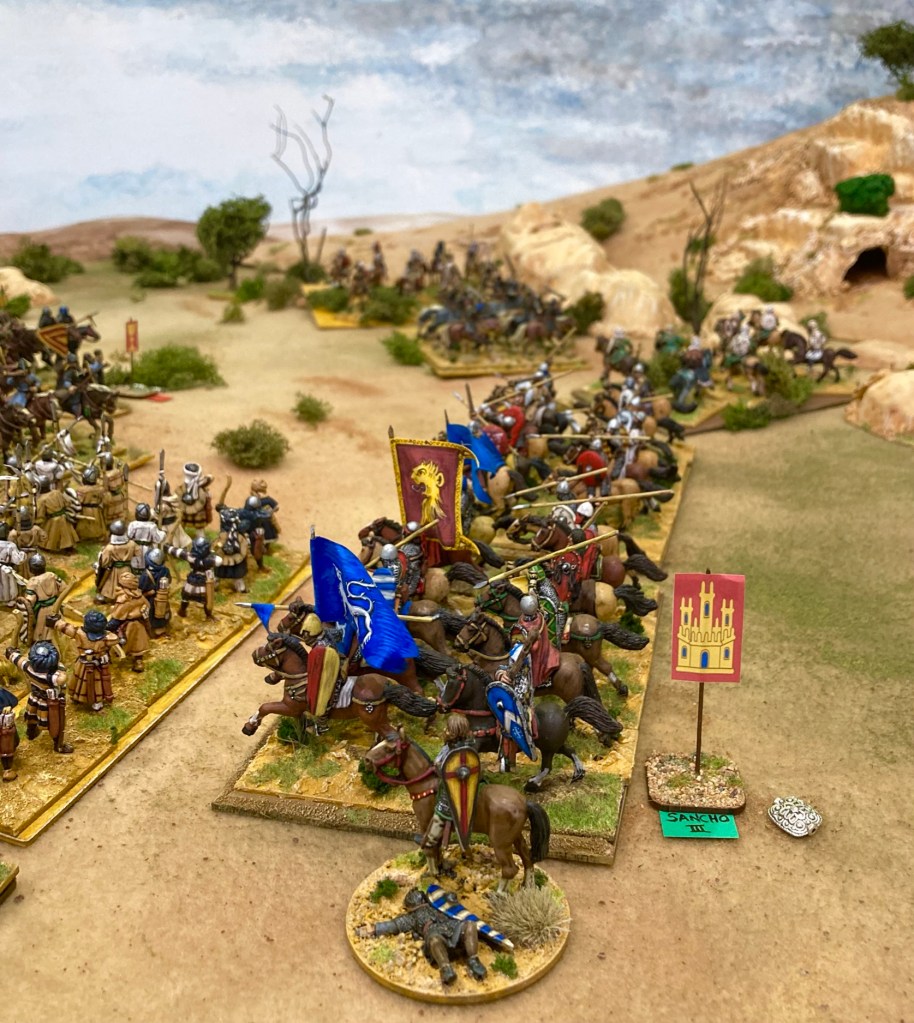
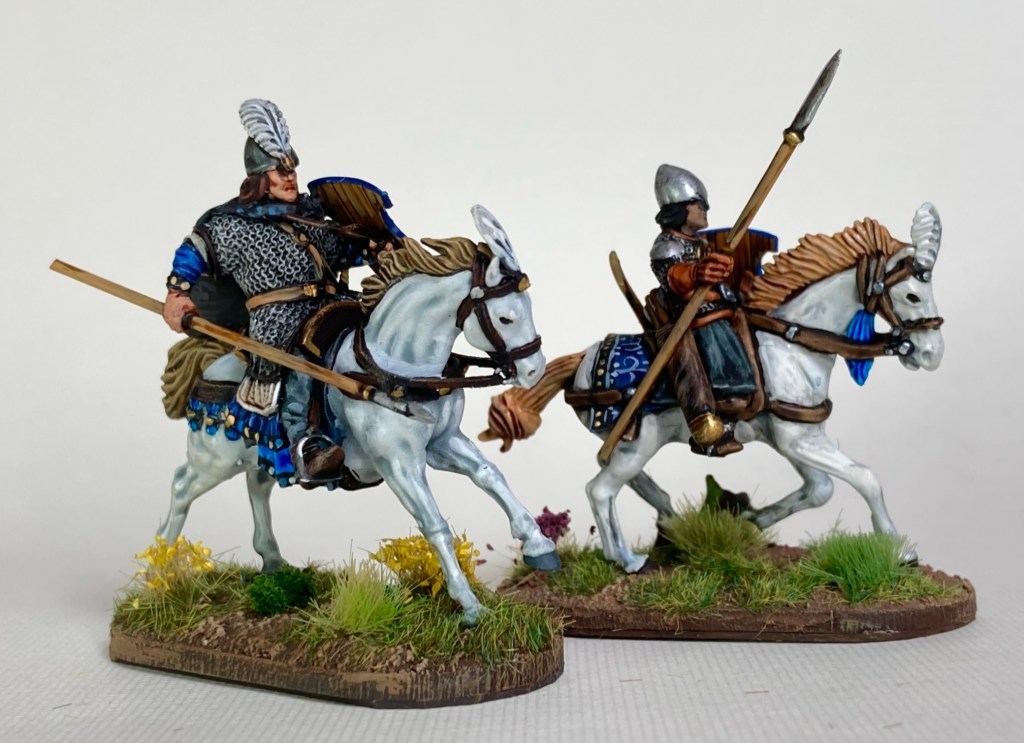
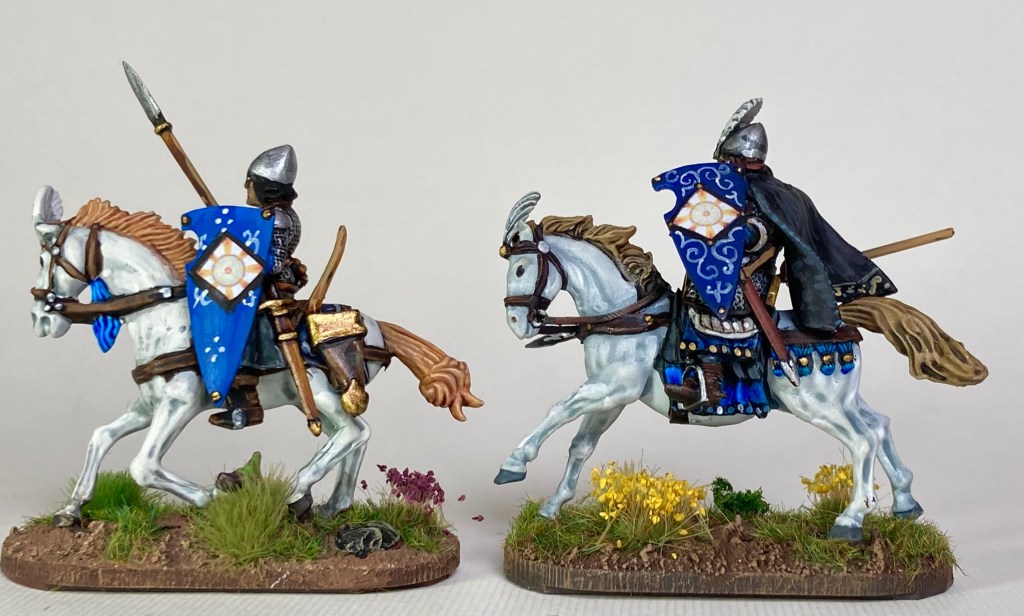
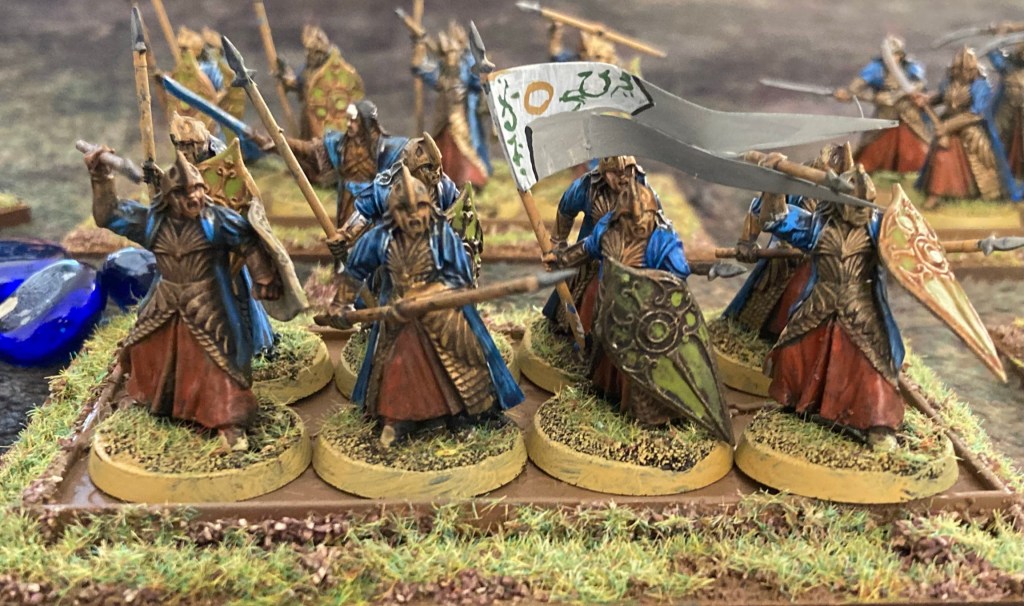
El Cid & Pedro of Aragon:
6 heroes (commanders)
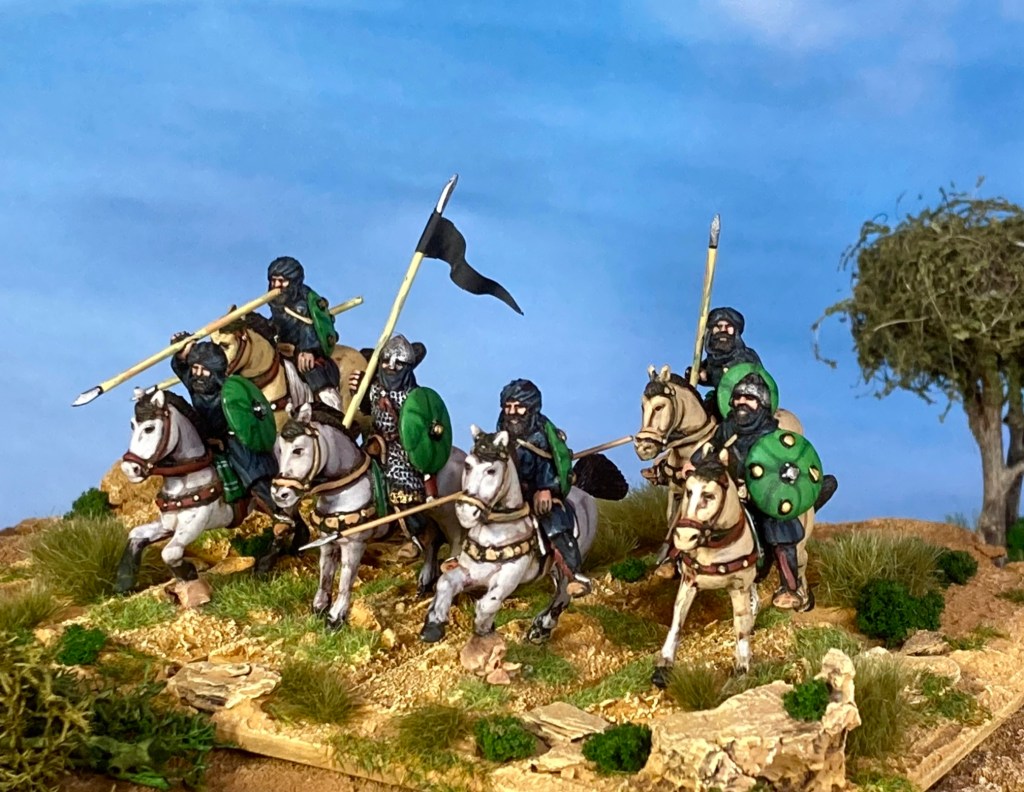
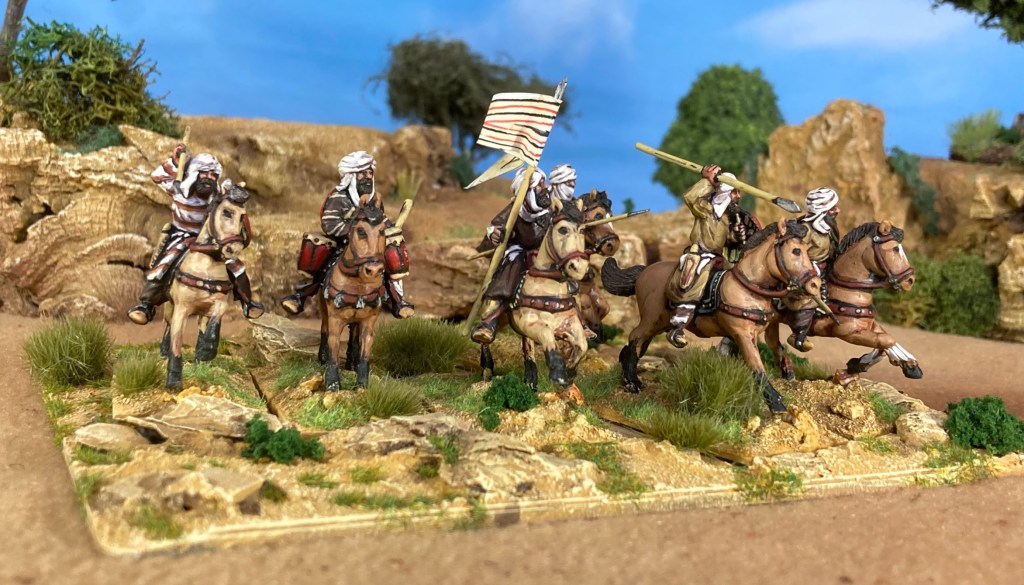
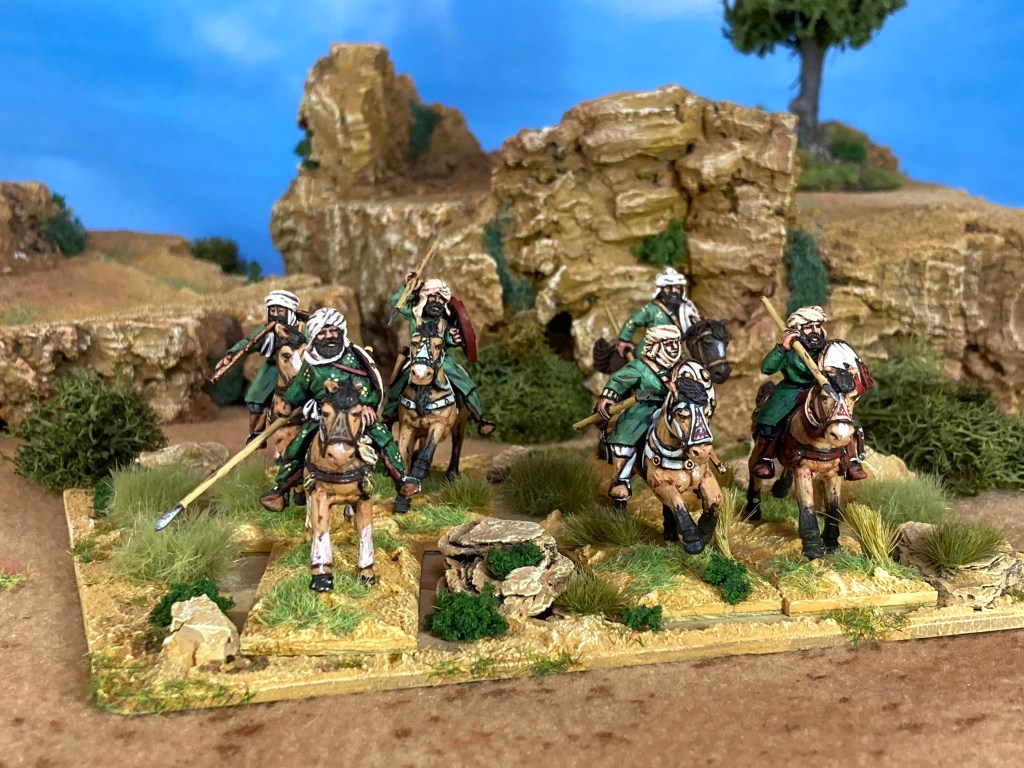
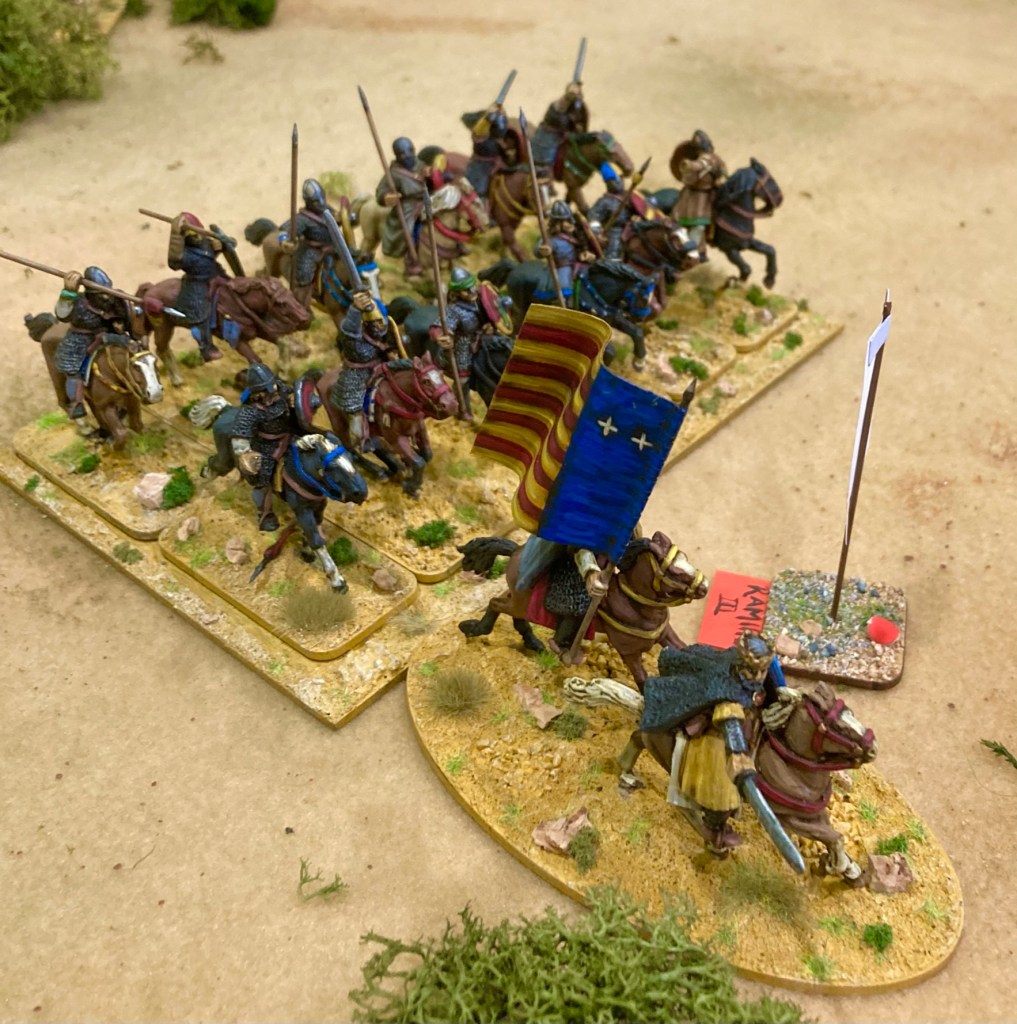
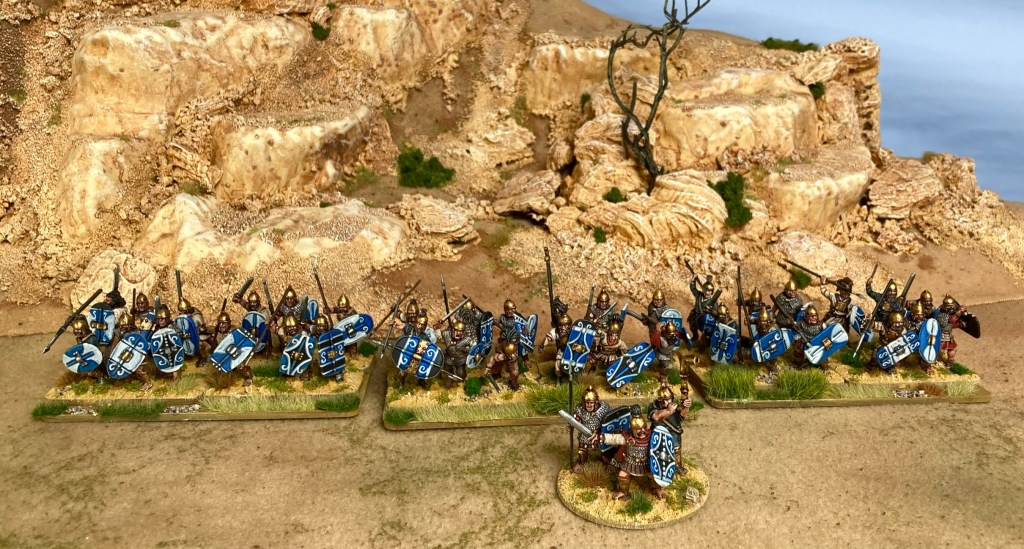
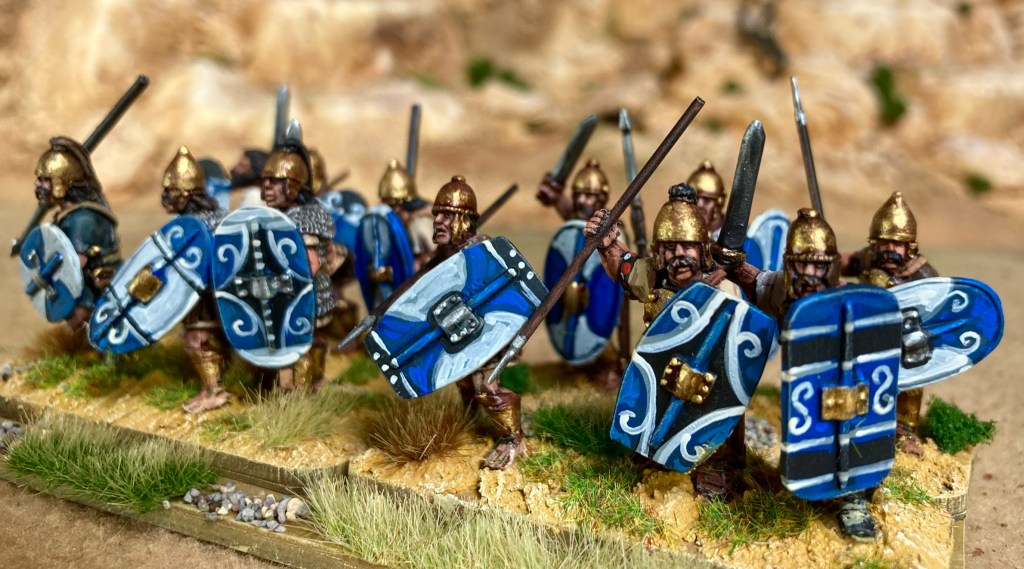
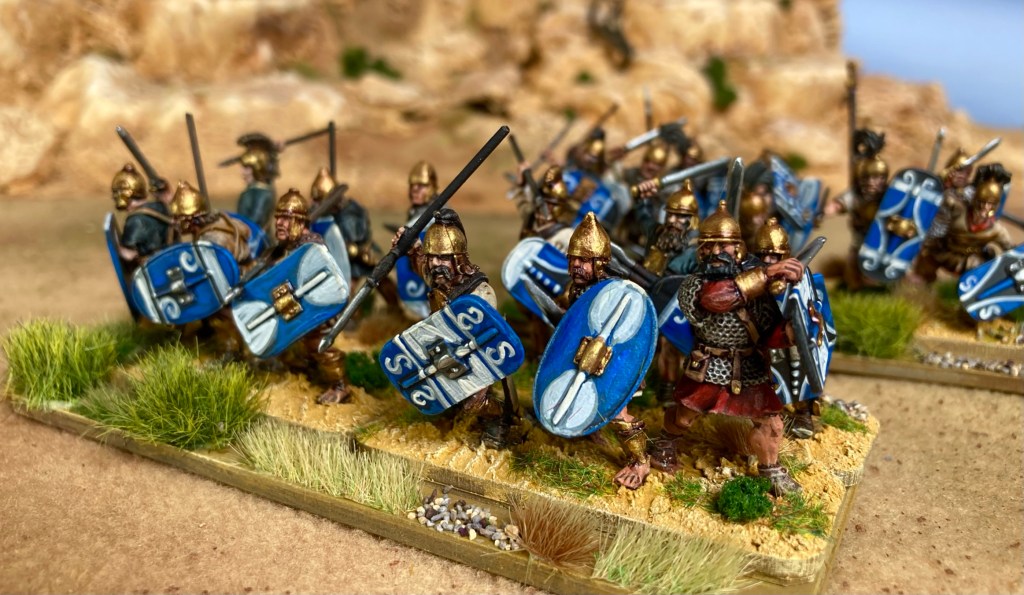
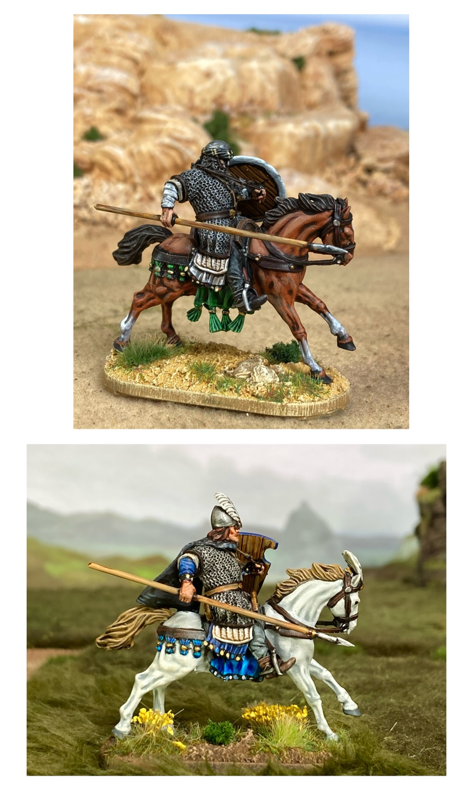
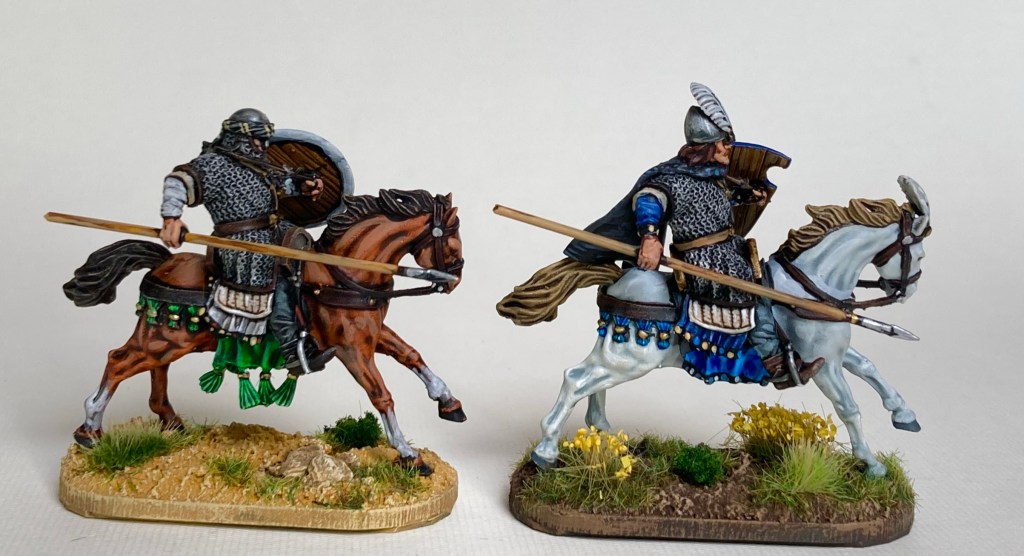
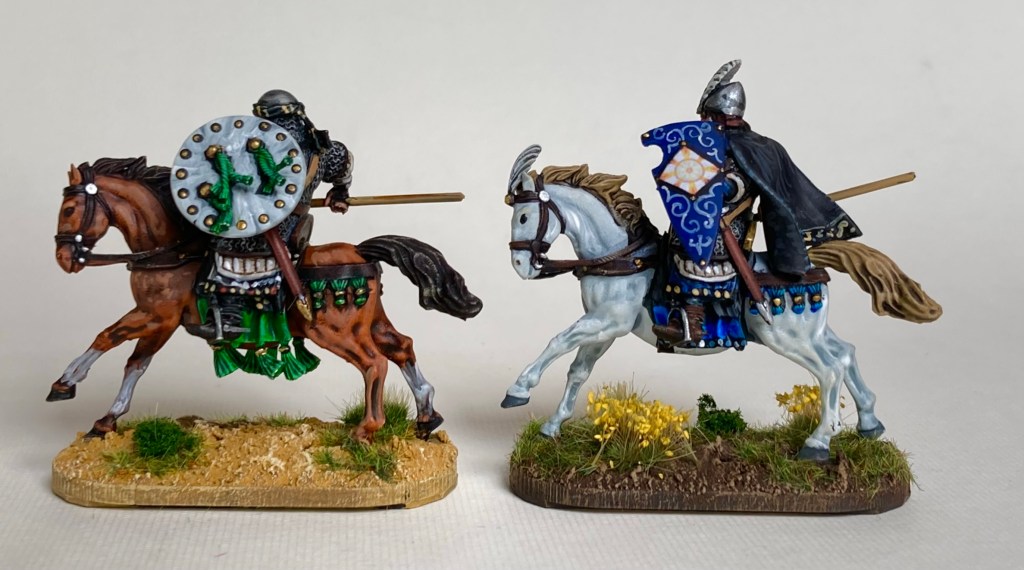
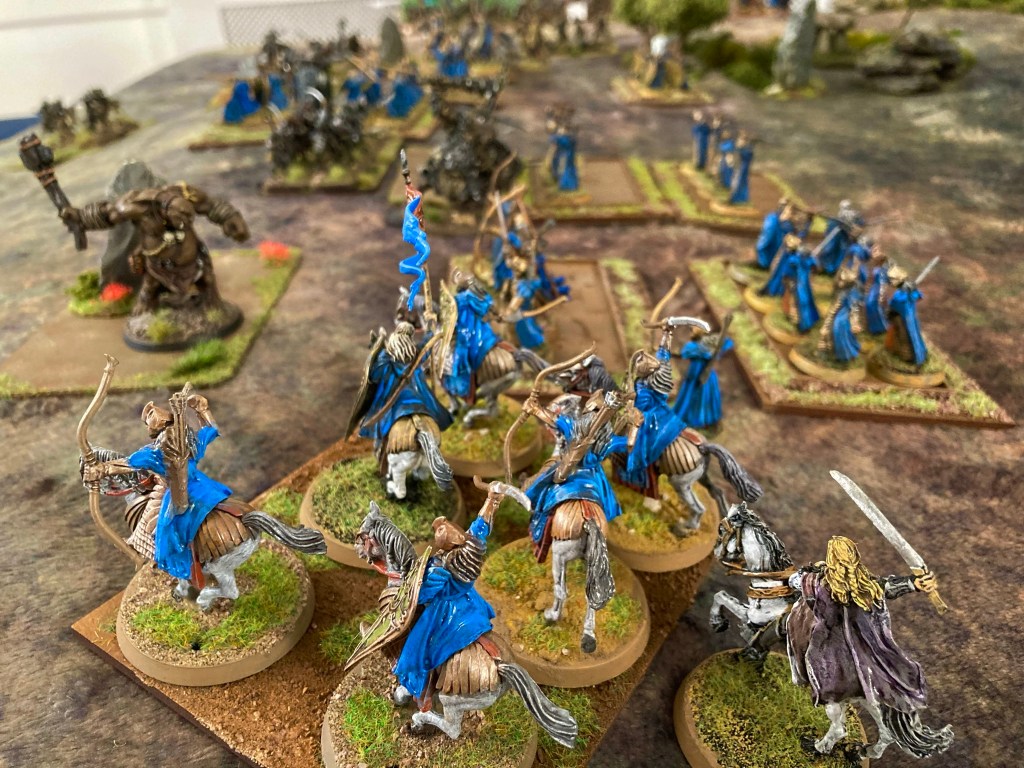
10 units of knights
9 units of jinetes (light horse)
1 unit of Andalusian noble cavalry
2 units of spearmen
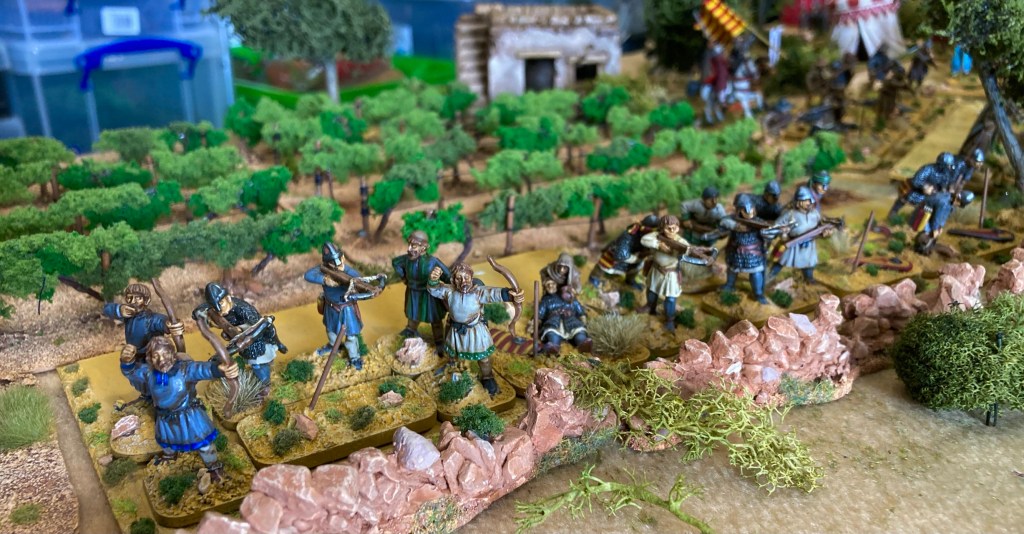
4 units of spearmen and archers
3 units of archers
4 units of skirmishers

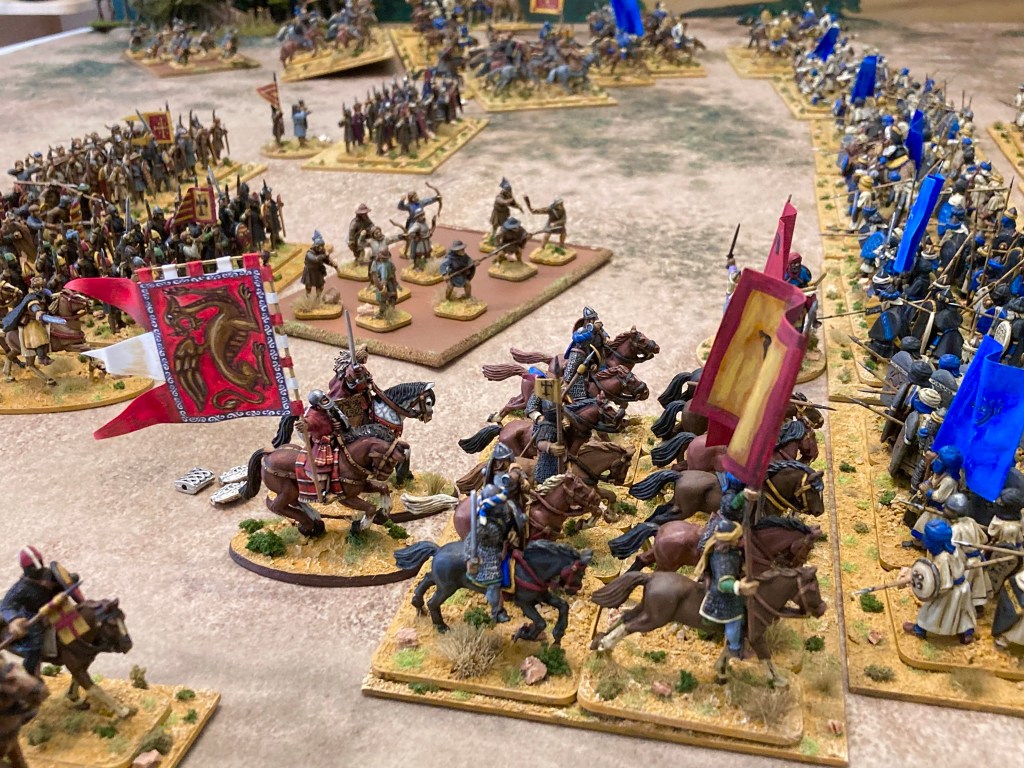
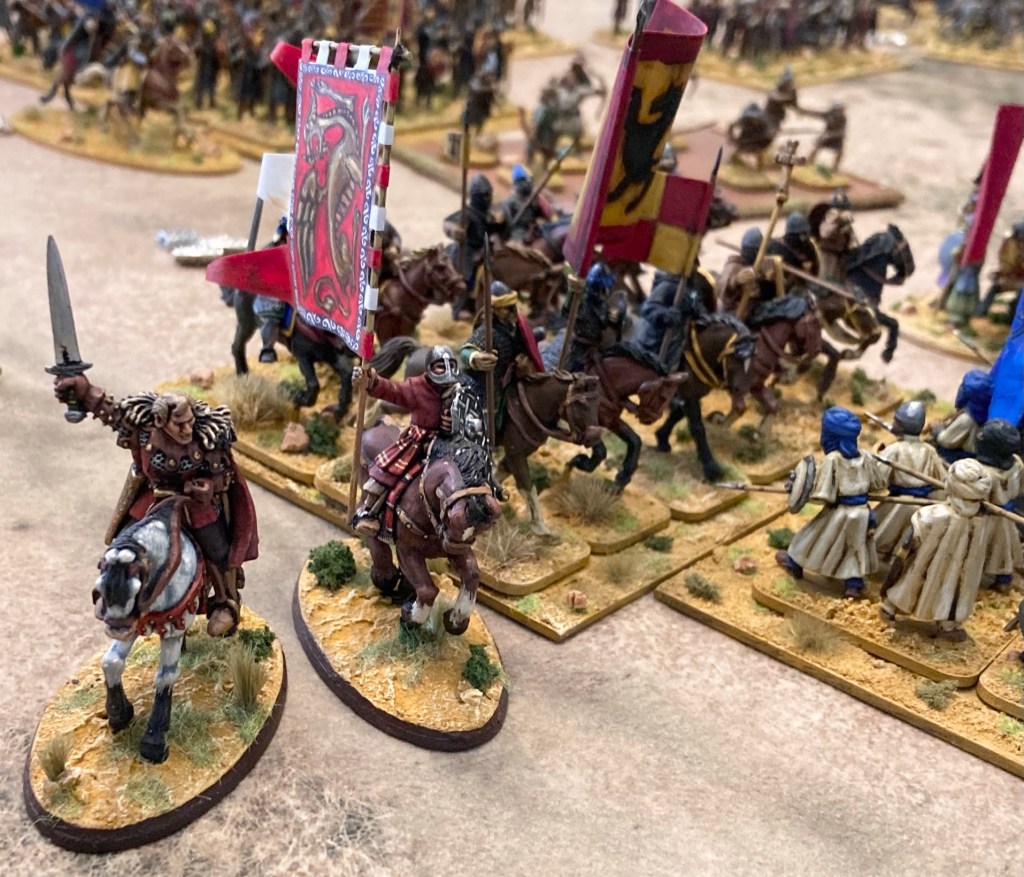
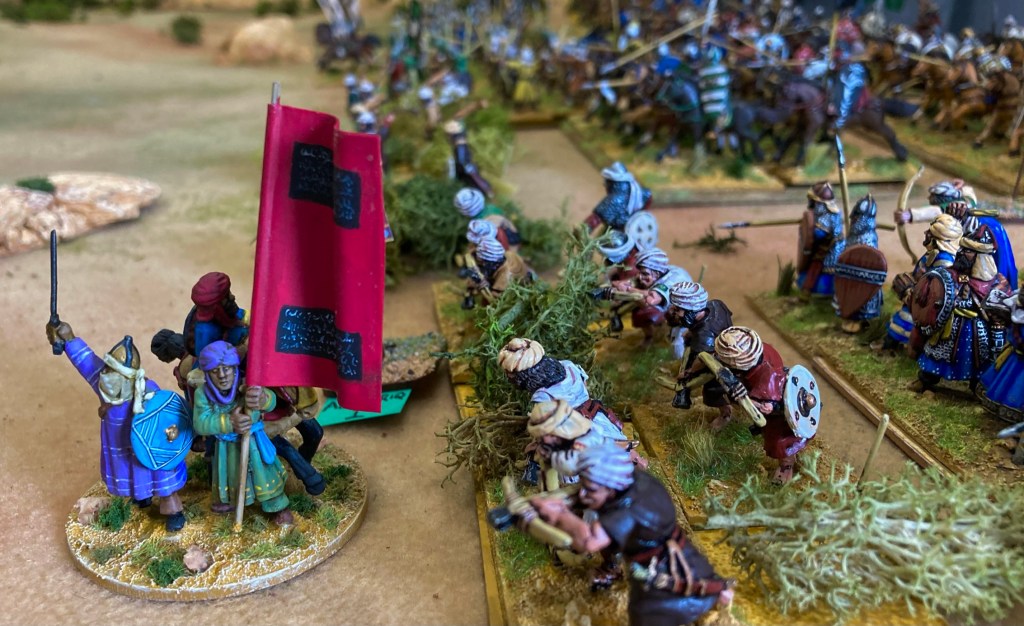
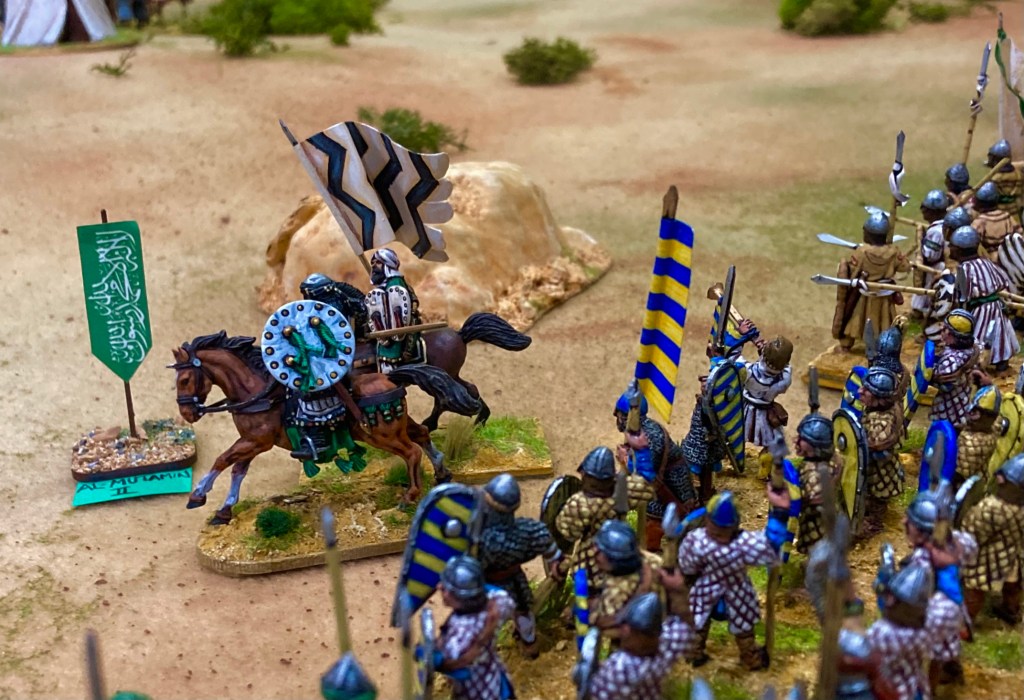
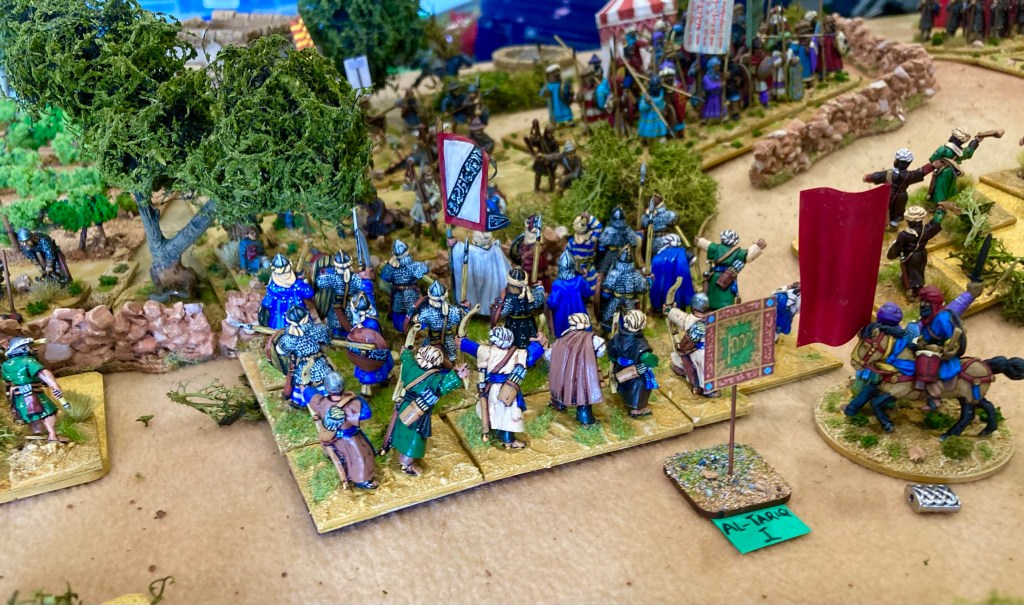
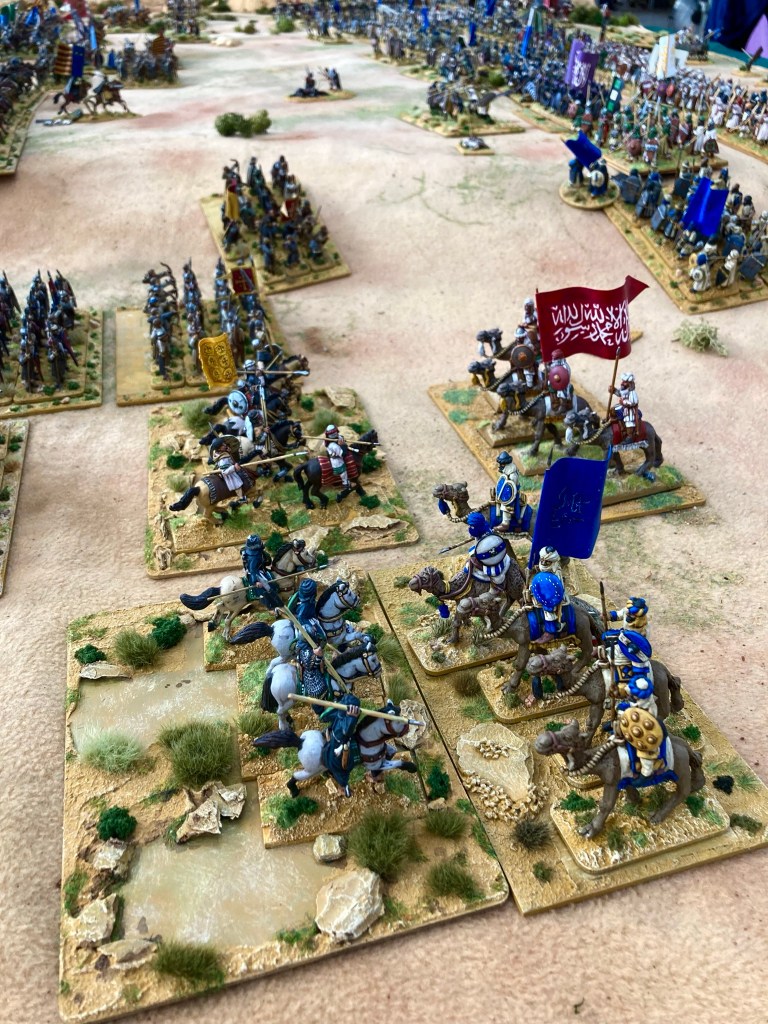
Almoravids under Yusuf Ibn Tashfin:
5 heroes (commanders)
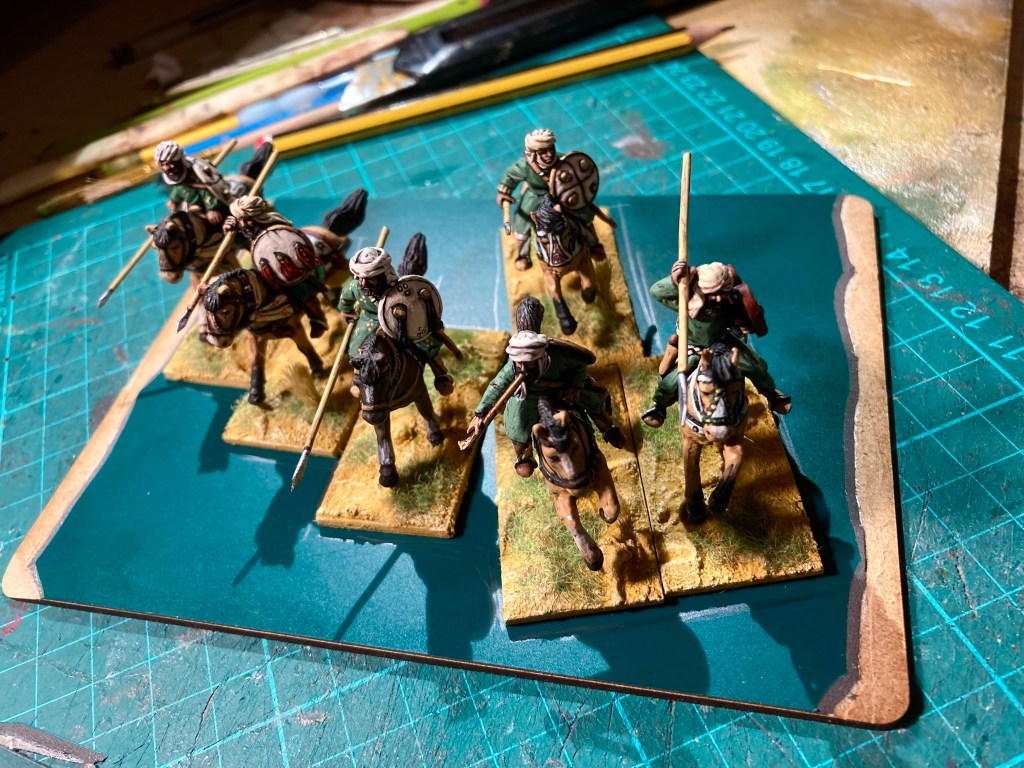
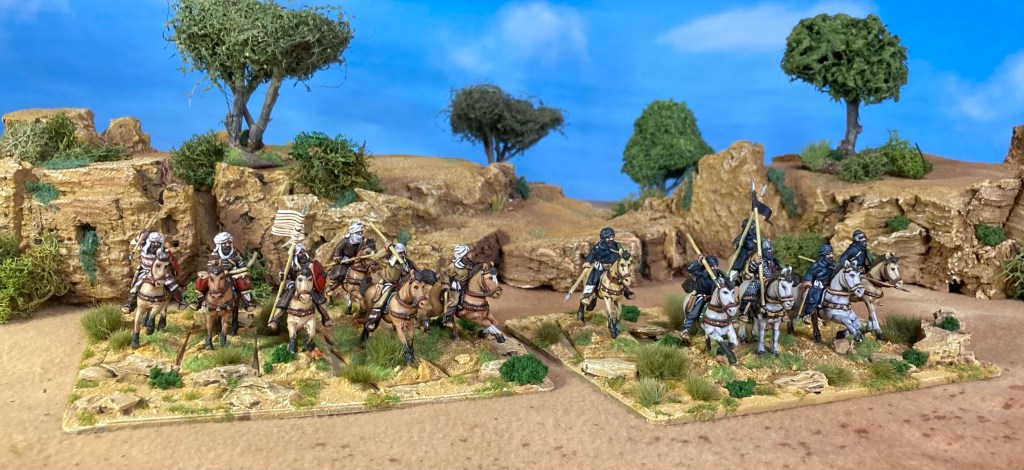
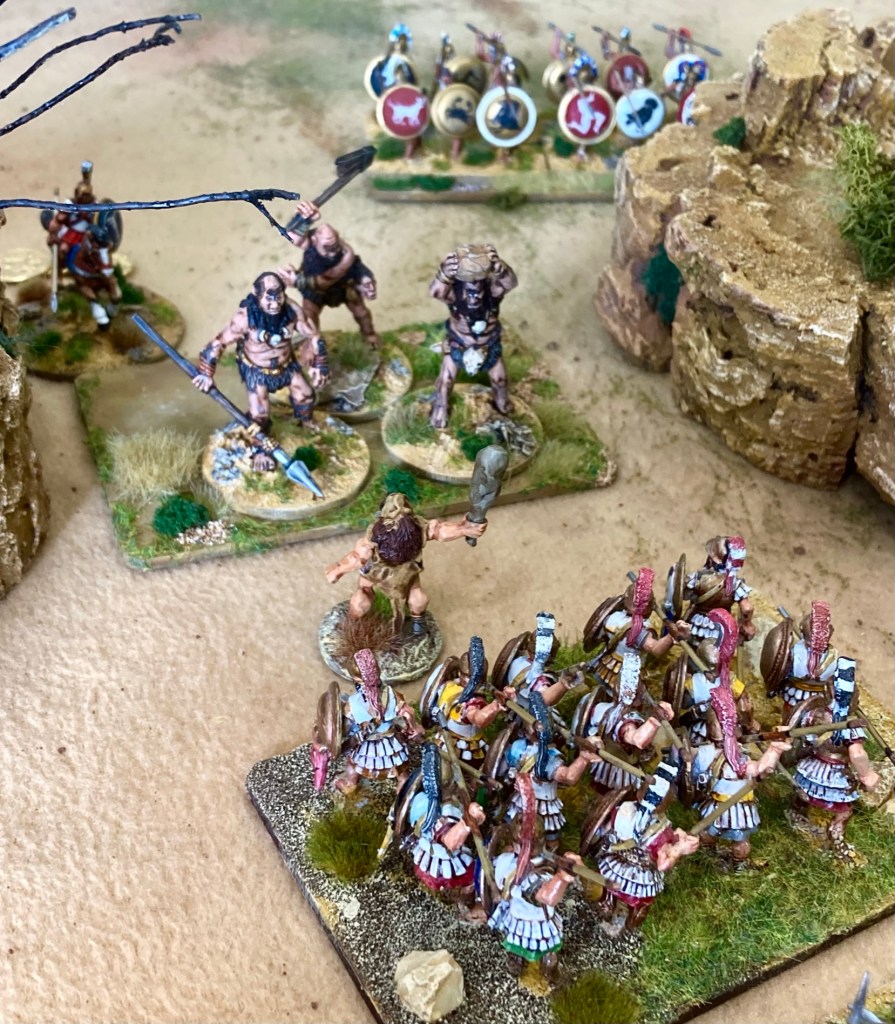
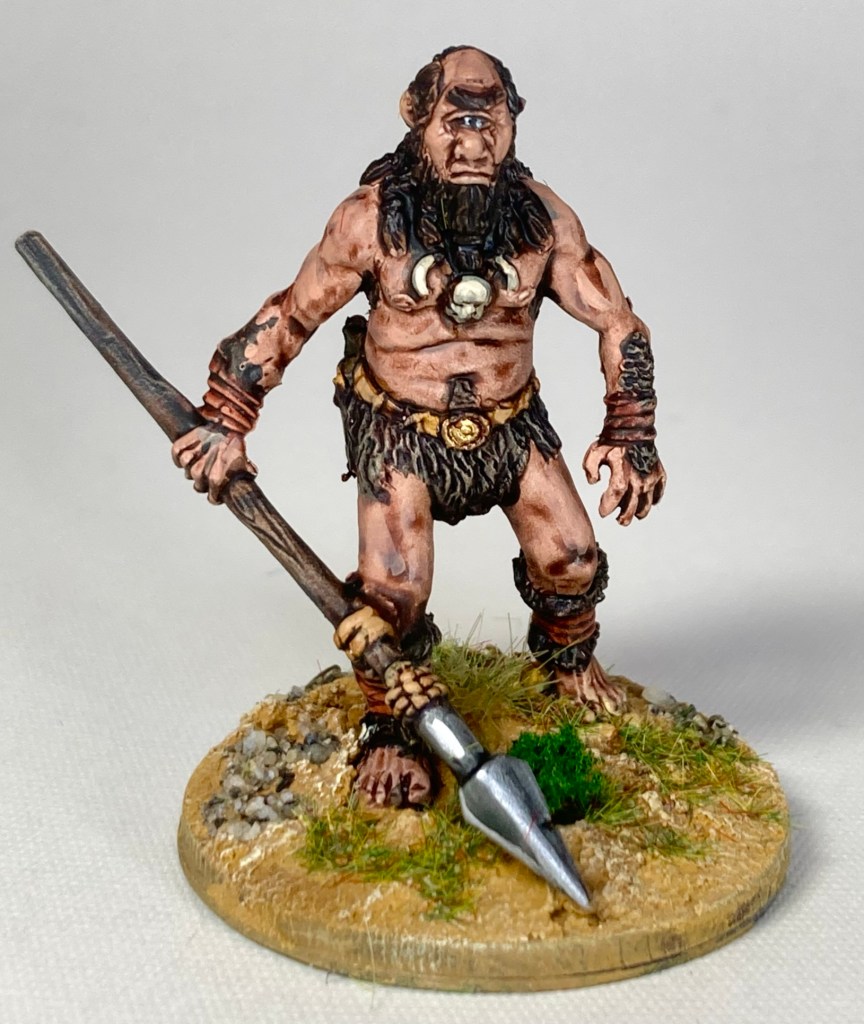
8 units of Berber spearmen
7 units of Berber spearmen and archers
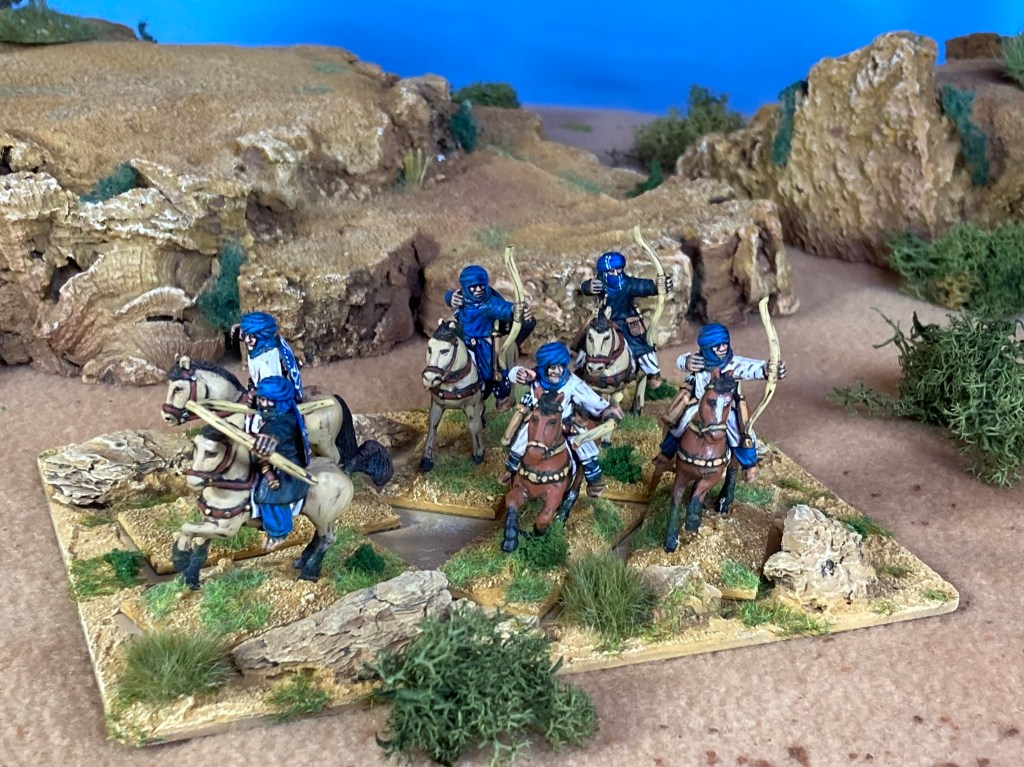
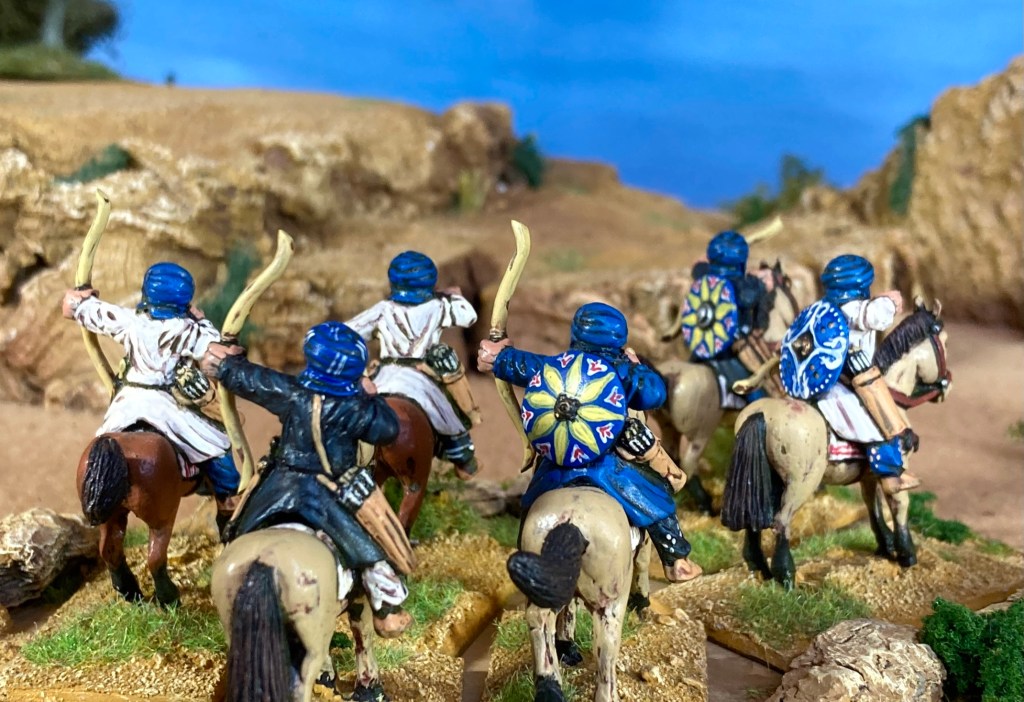
4 units of Berber archers
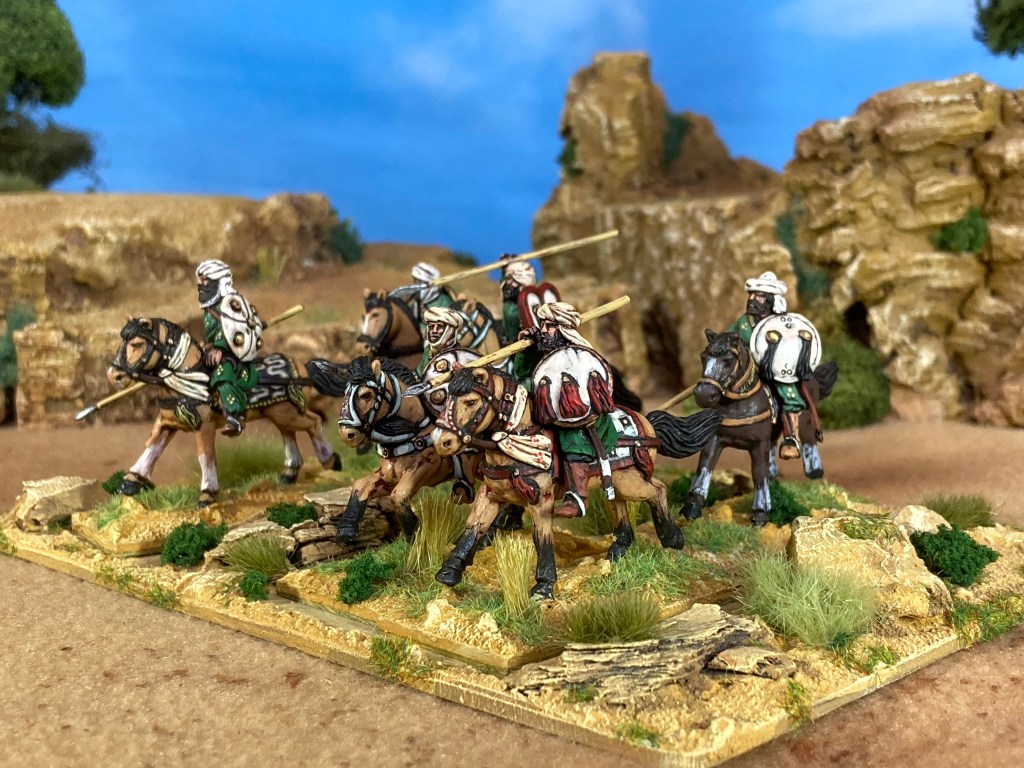
1 unit of Berber heavy cavalry
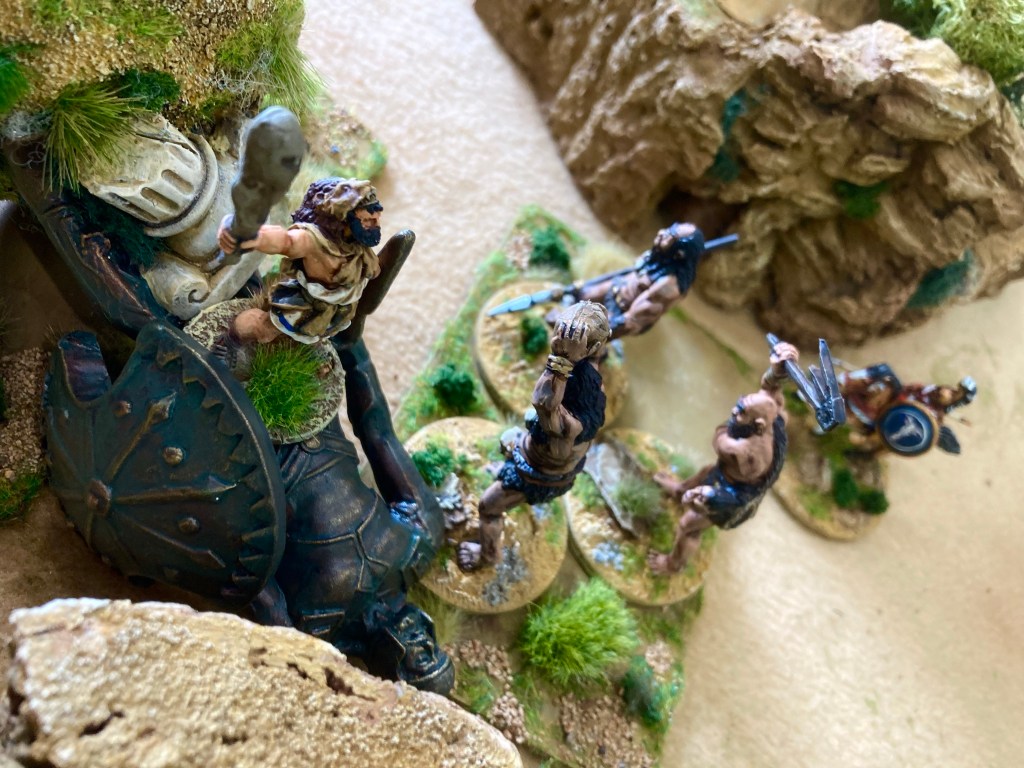
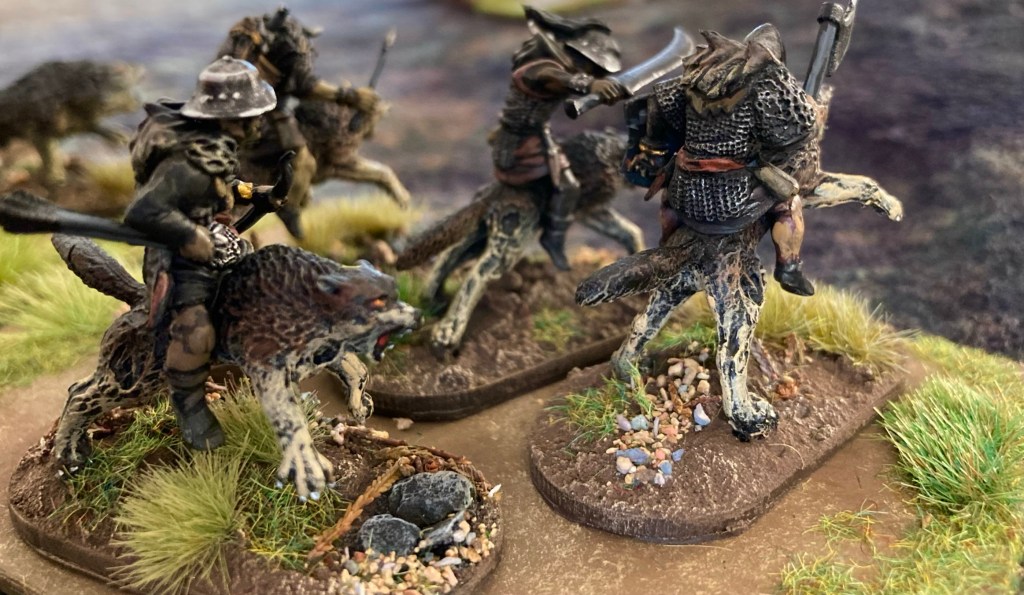
4 units of Berber light cavalry
4 units of camel riders
4 units of Berber skirmishers
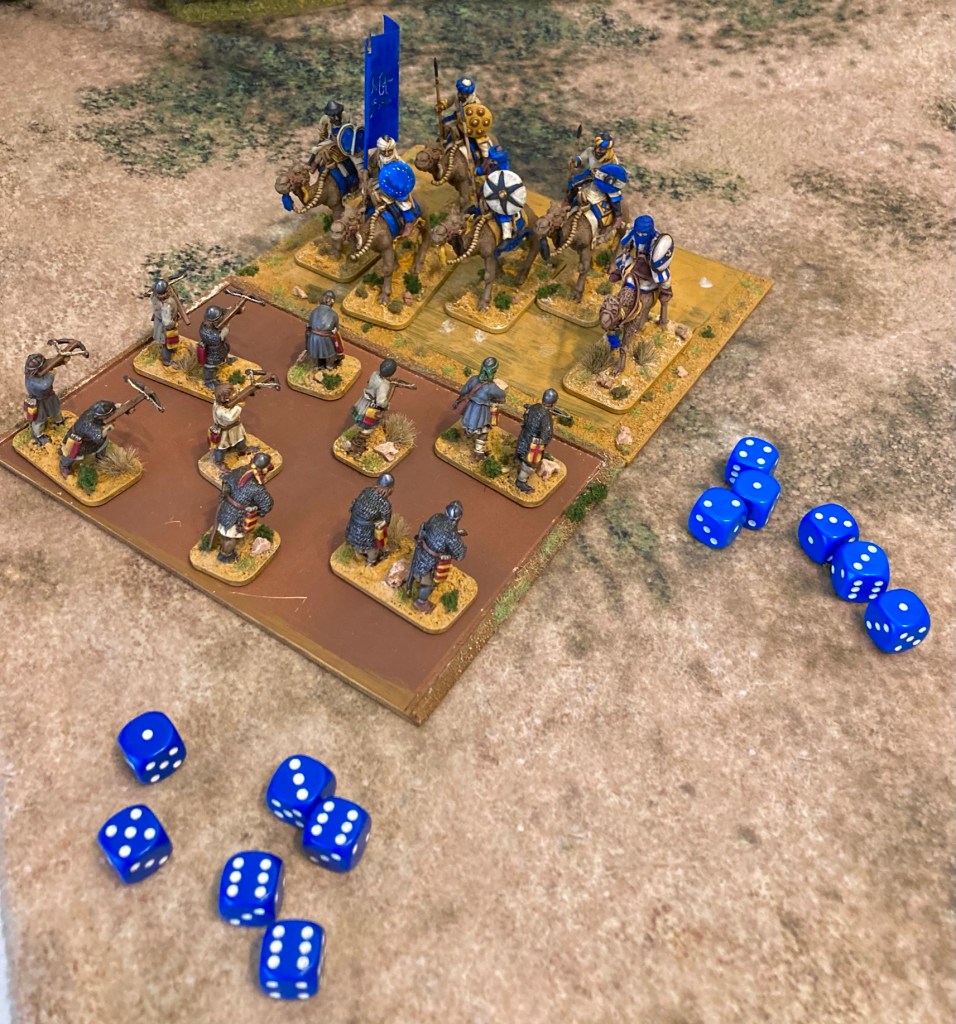
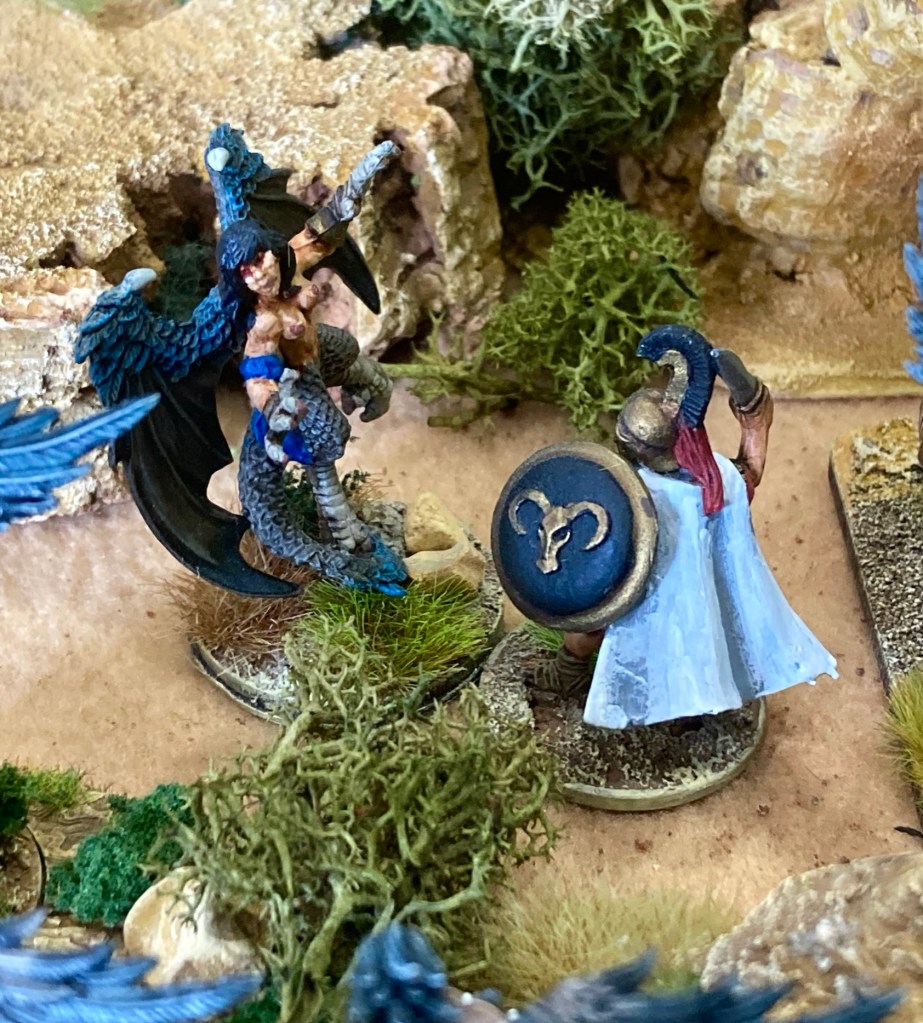
Plus 3 units of archers in boats offshore
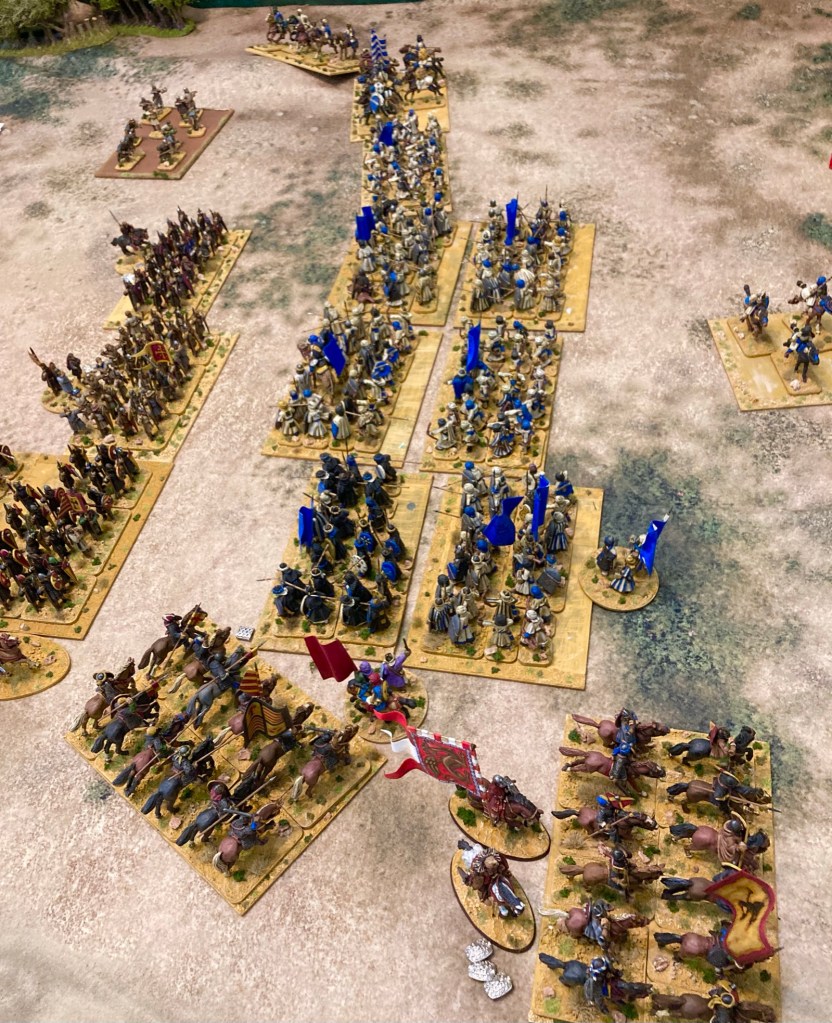
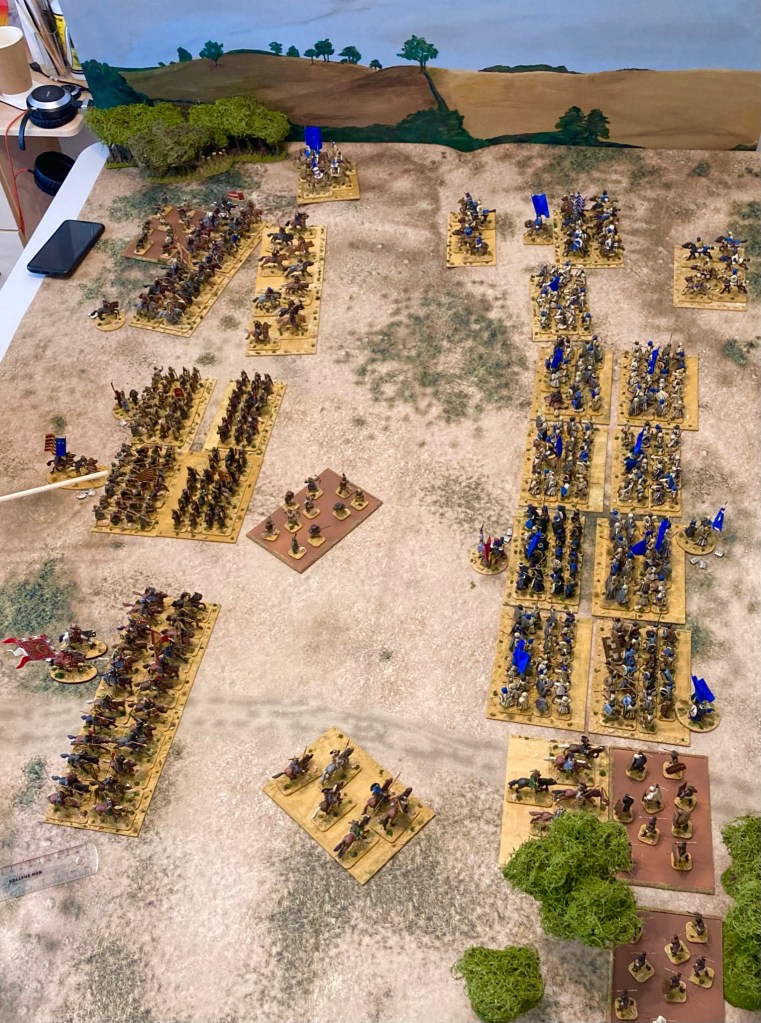
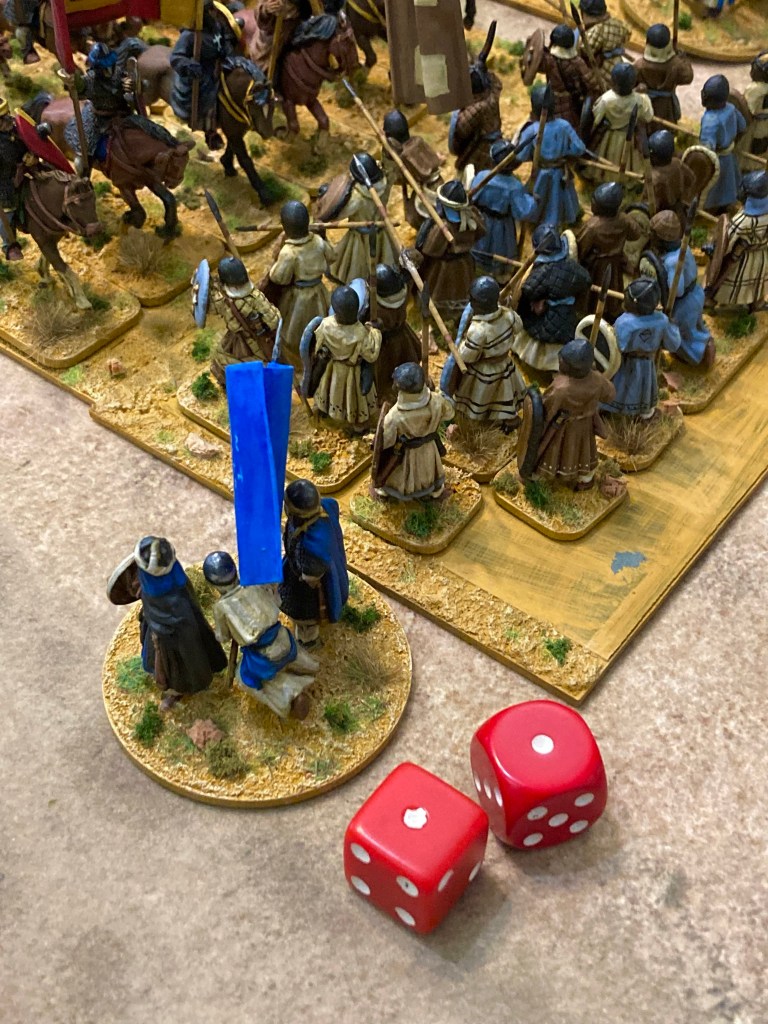
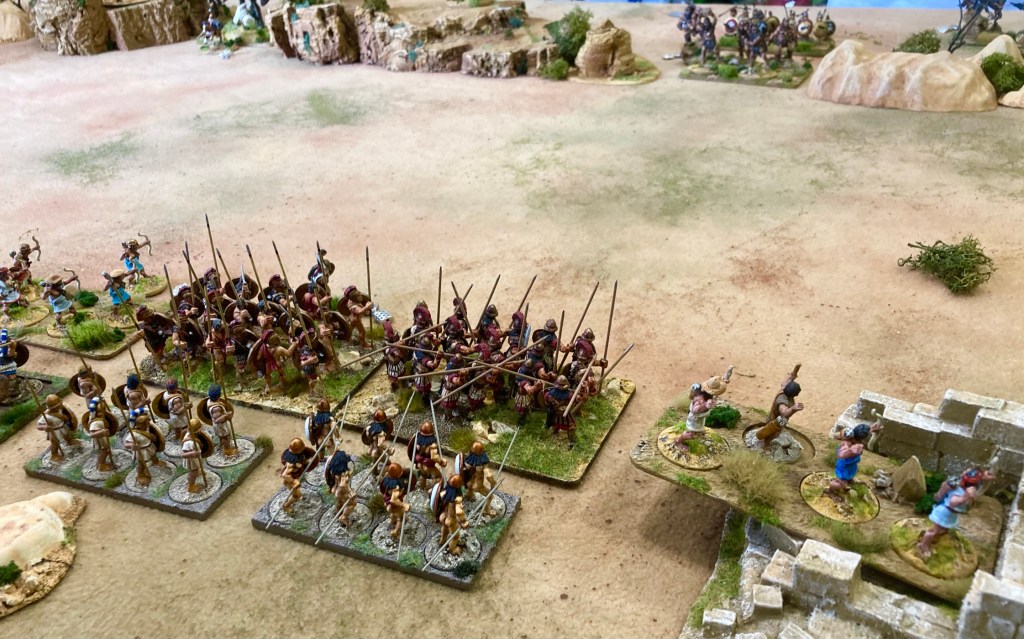
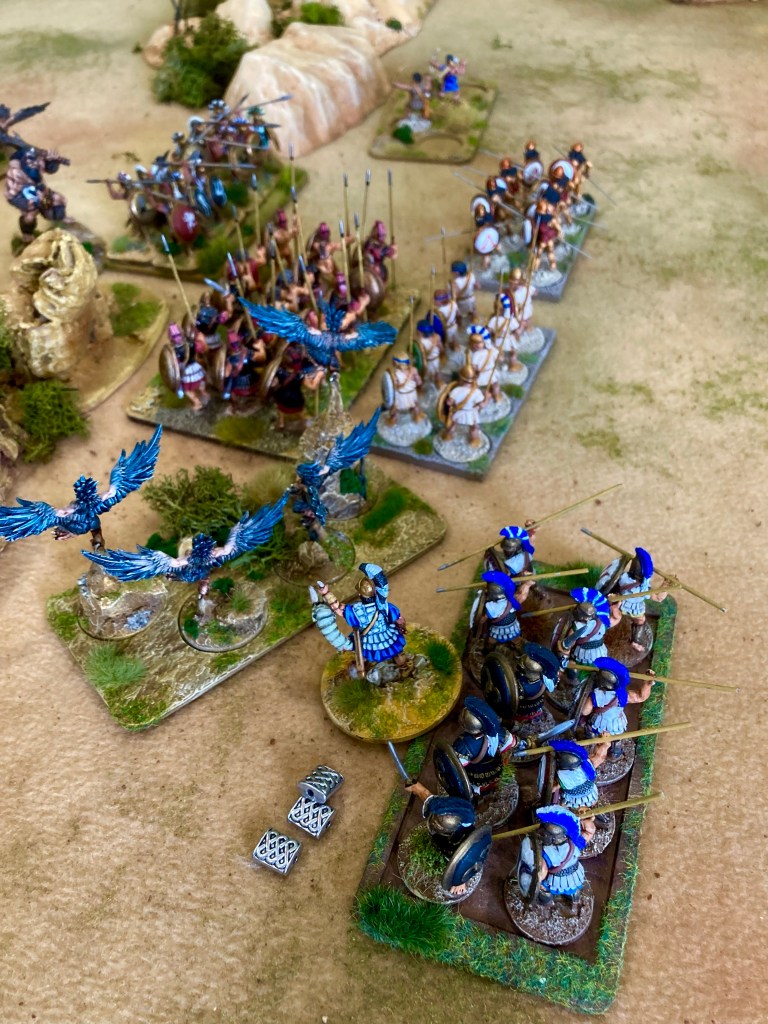
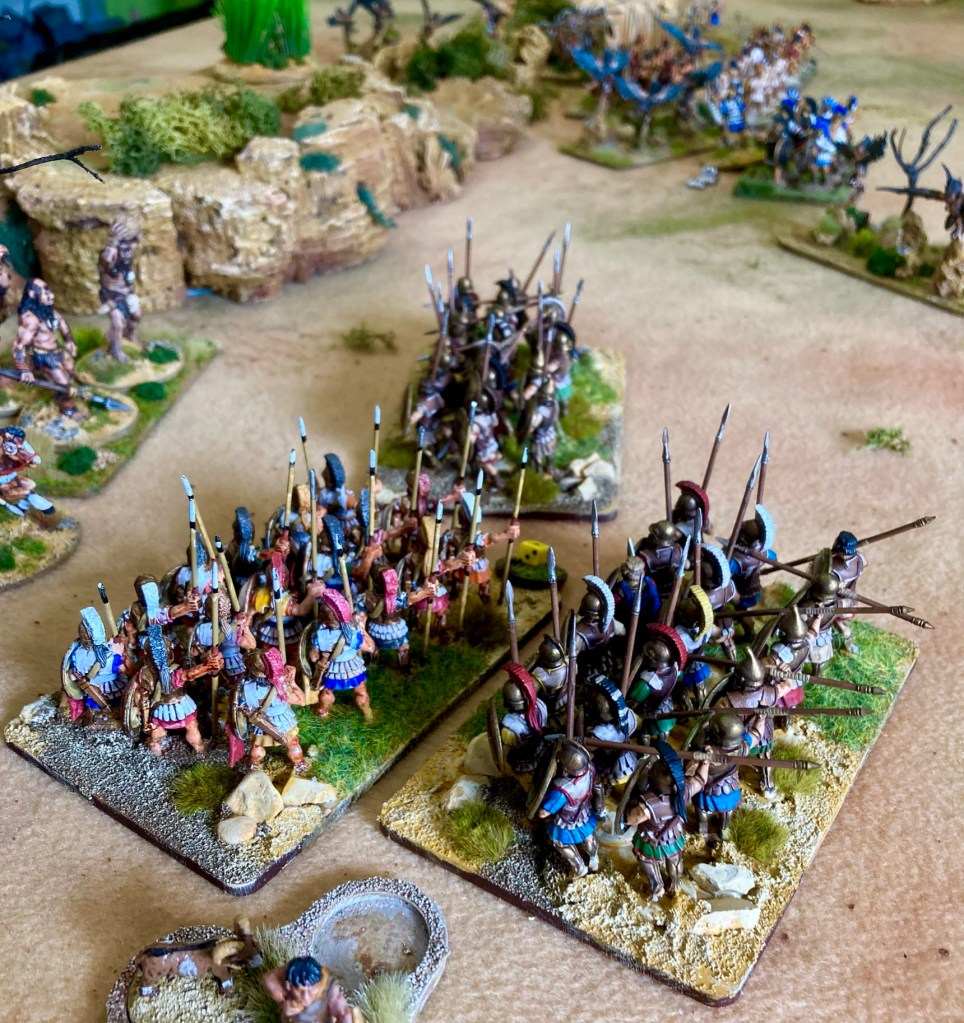
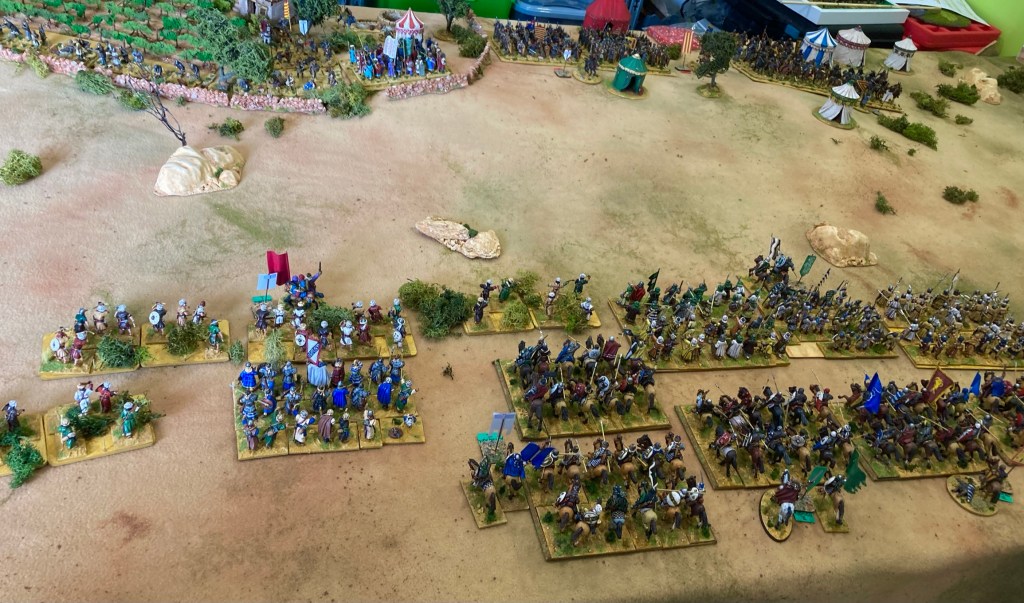
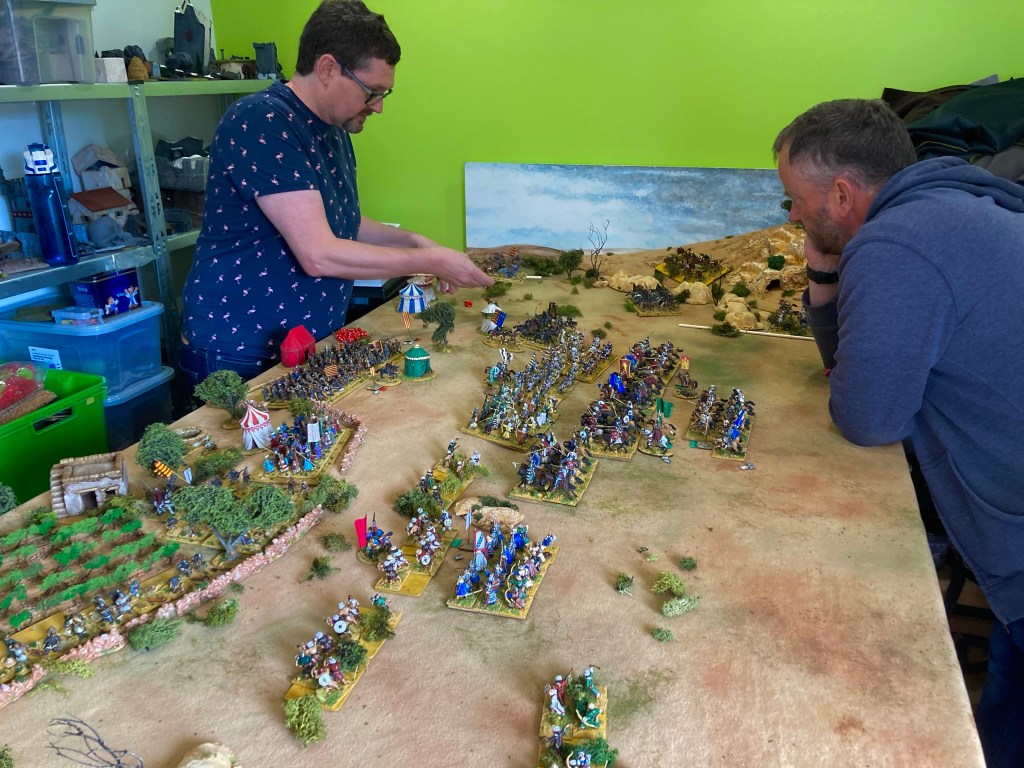
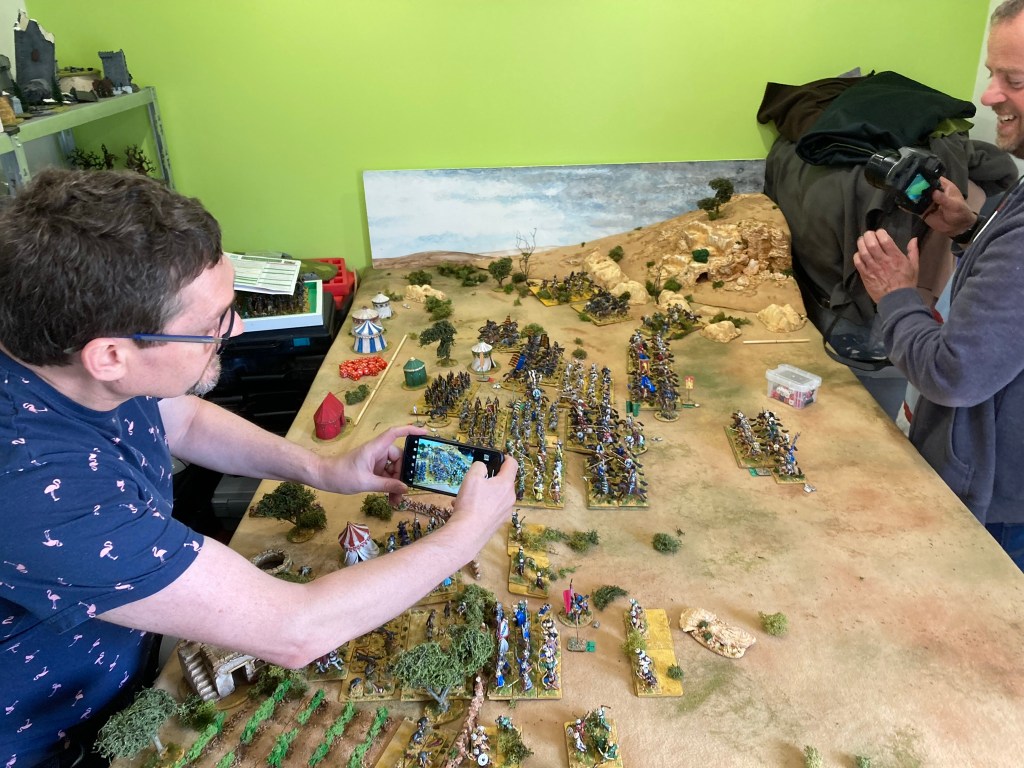
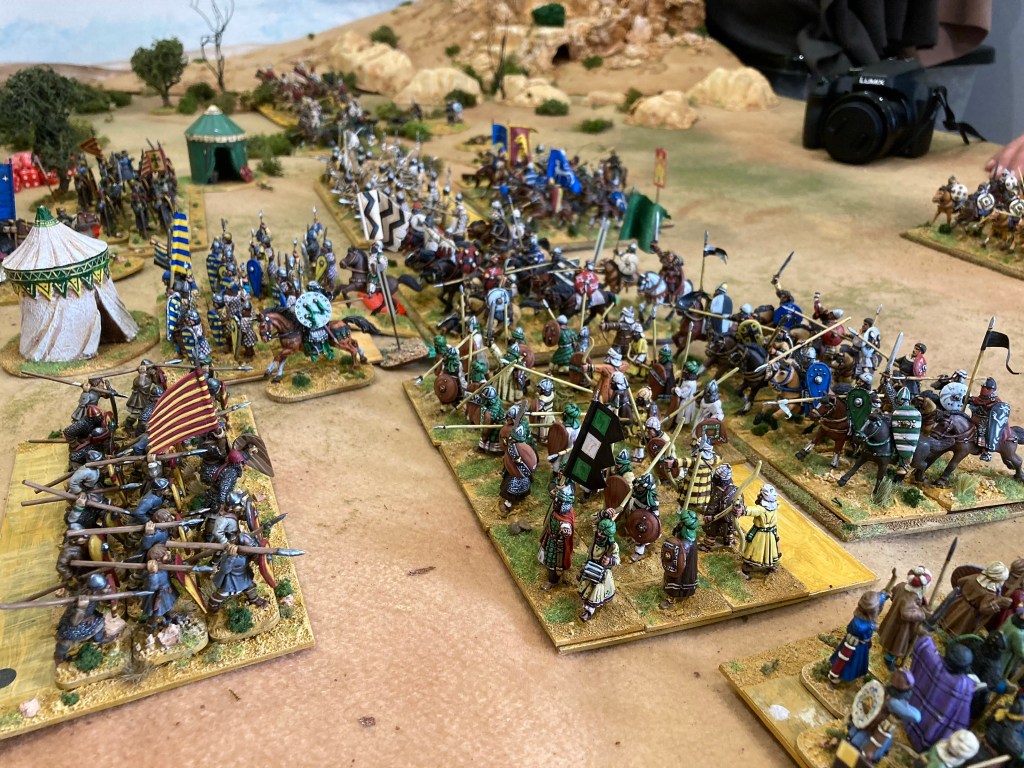
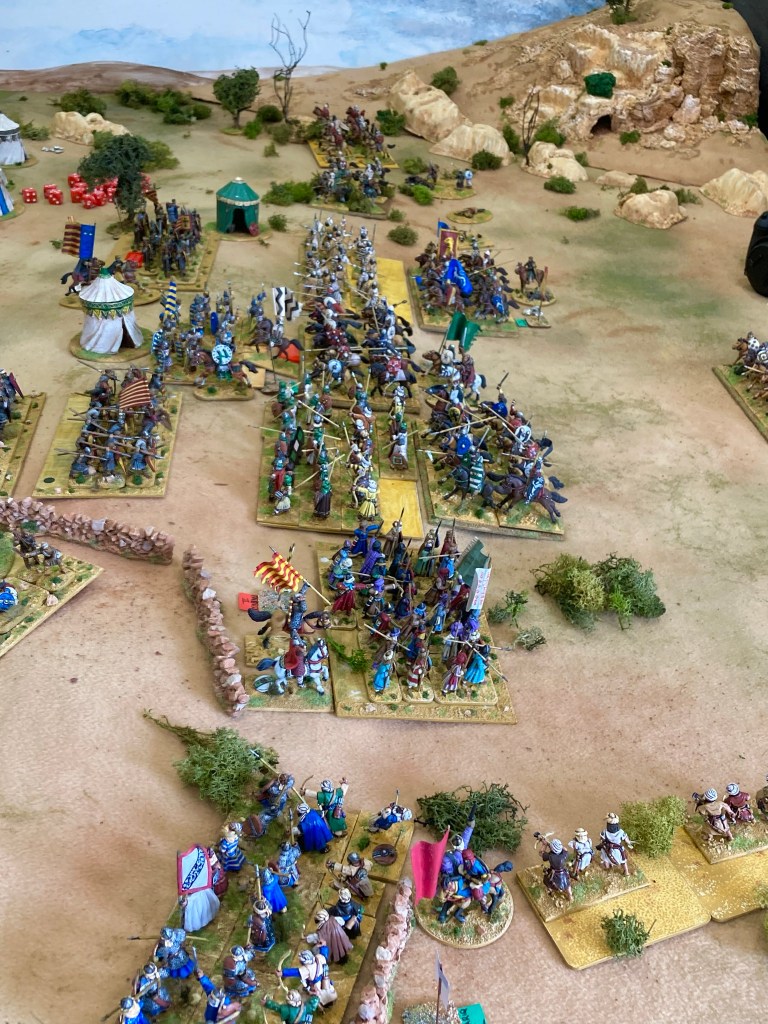
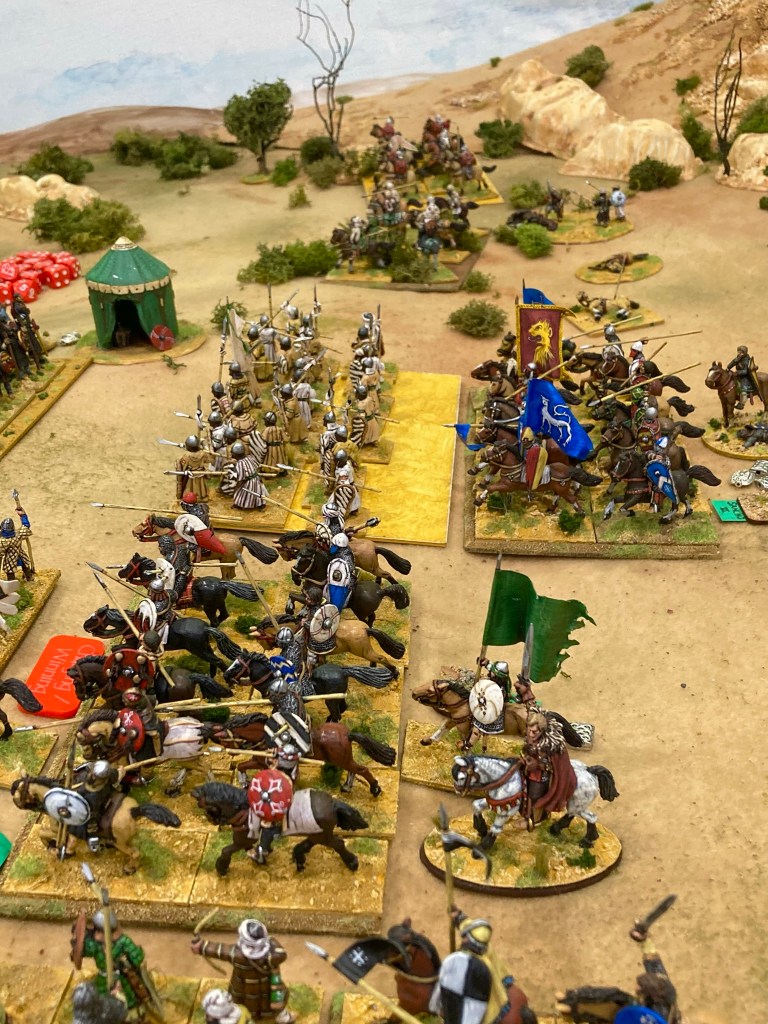
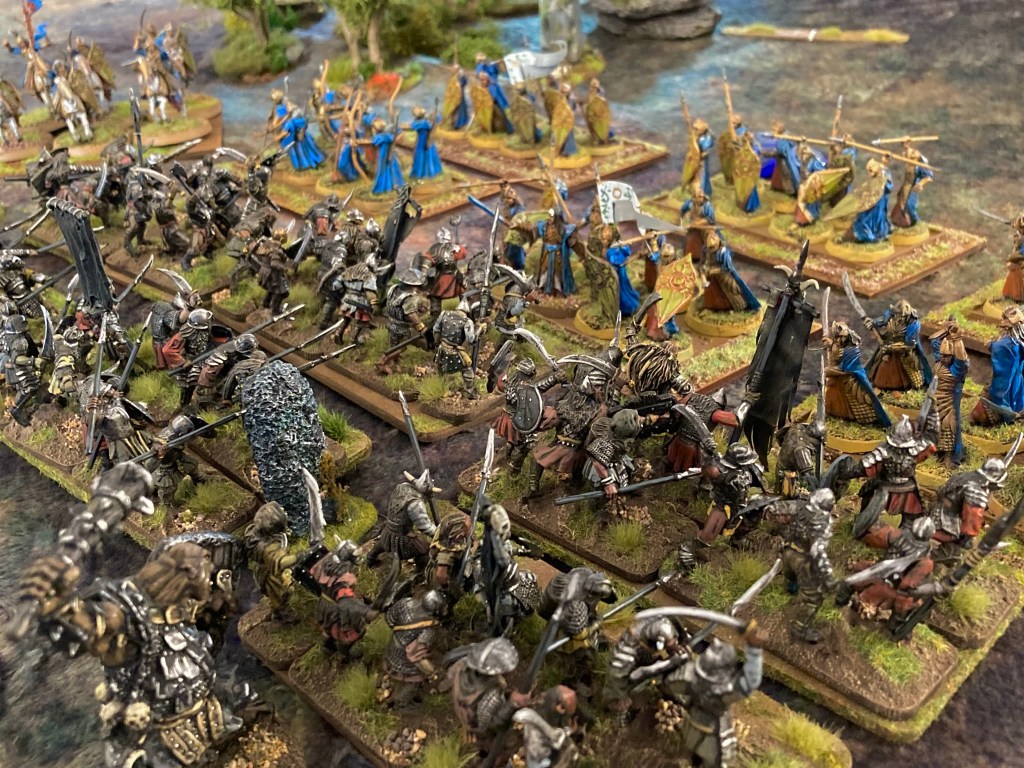
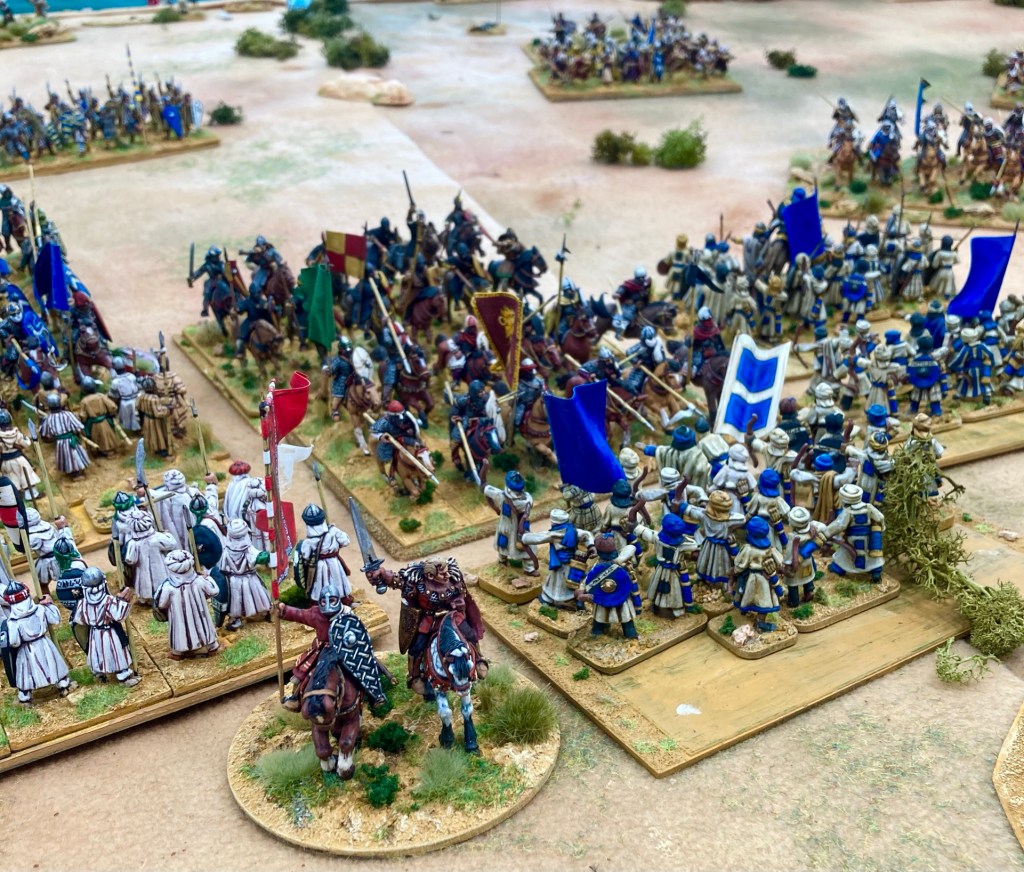
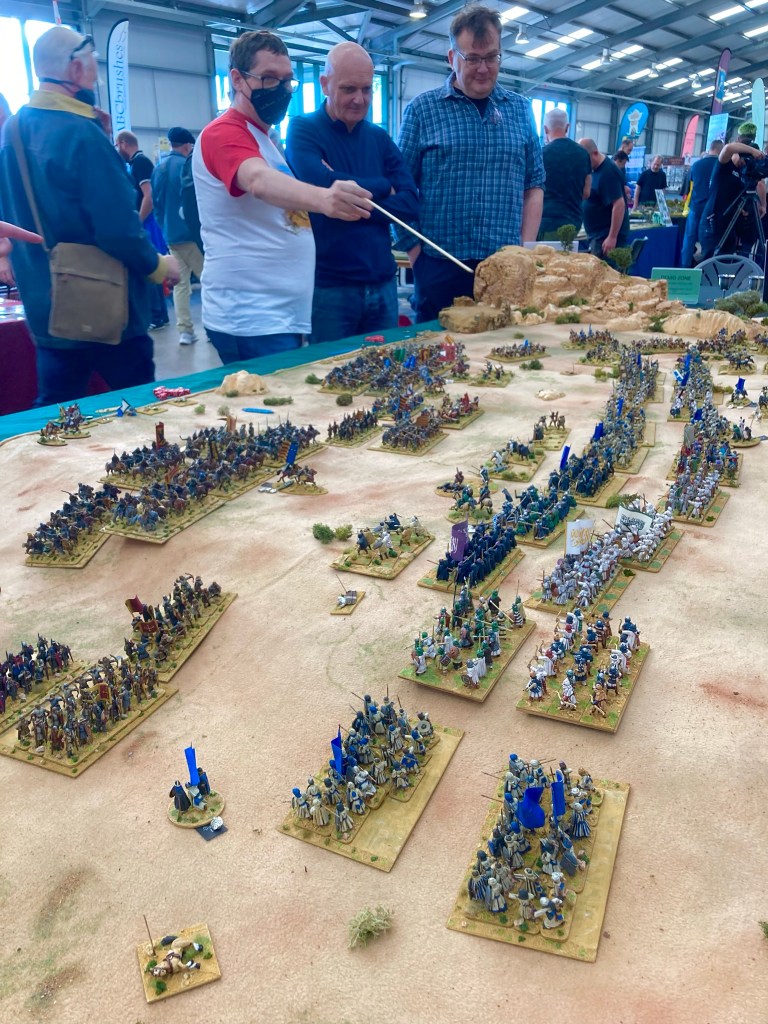
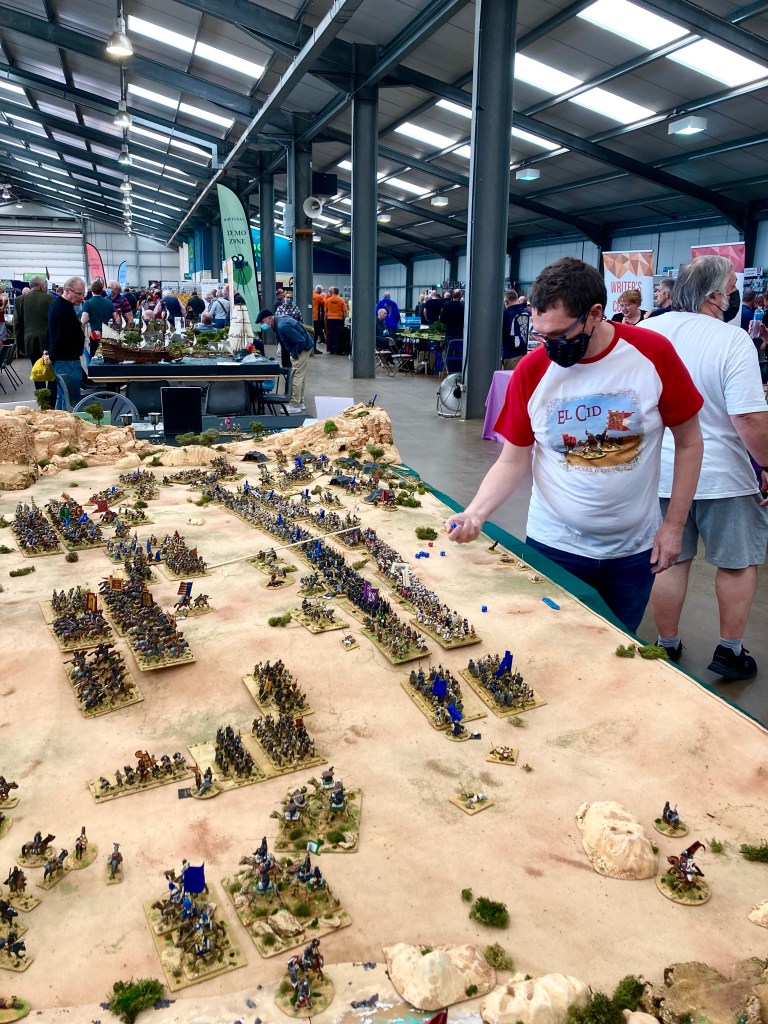
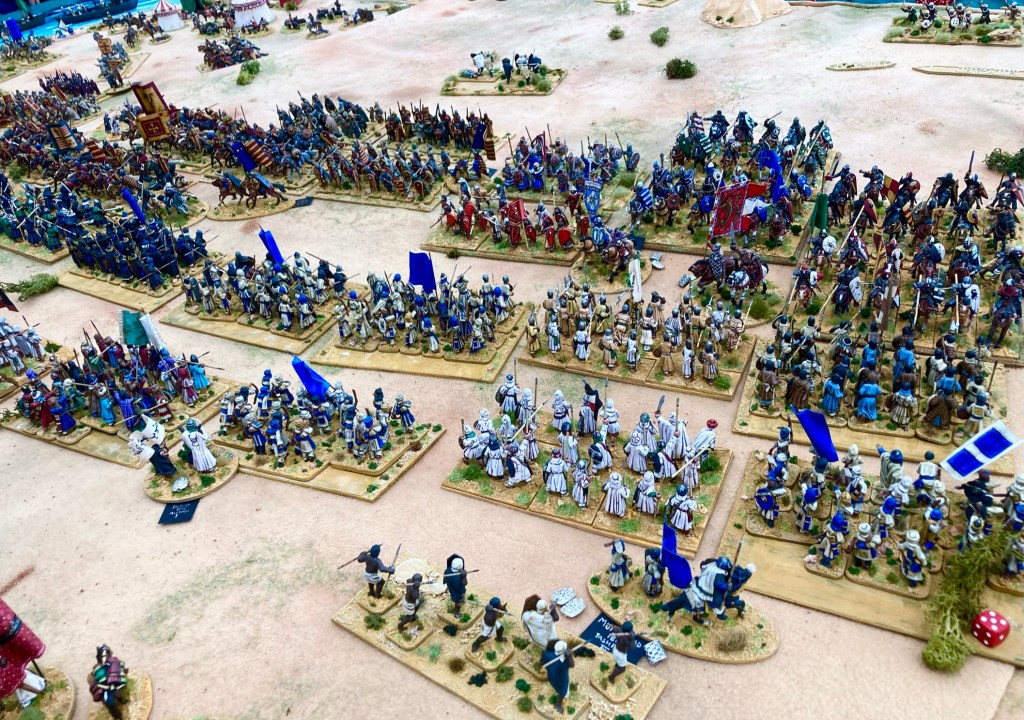
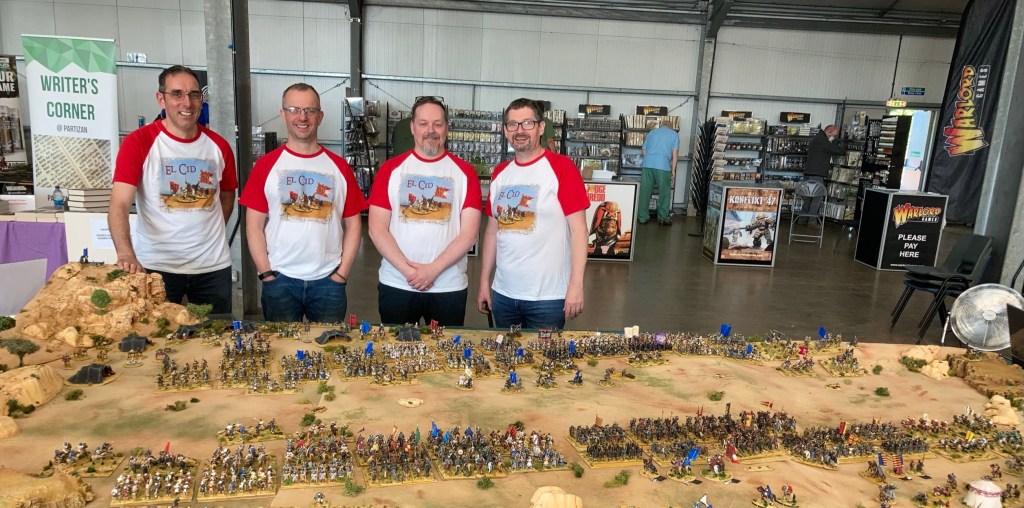
Someone asked how many figures were on the table and I hadn’t the foggiest, but looking at those rosters again, I think we were playing with around 68 units, giving us over 1,000 miniatures on the table plus vignettes and heroes.
Rules were, once again, my own Midgard heroic battle rules. They coped pretty well, keeping the game moving throughout the day with several stops for chatting and explanations. We managed to get a decisive result by 3pm as well – quite a result for a demo game of this size.

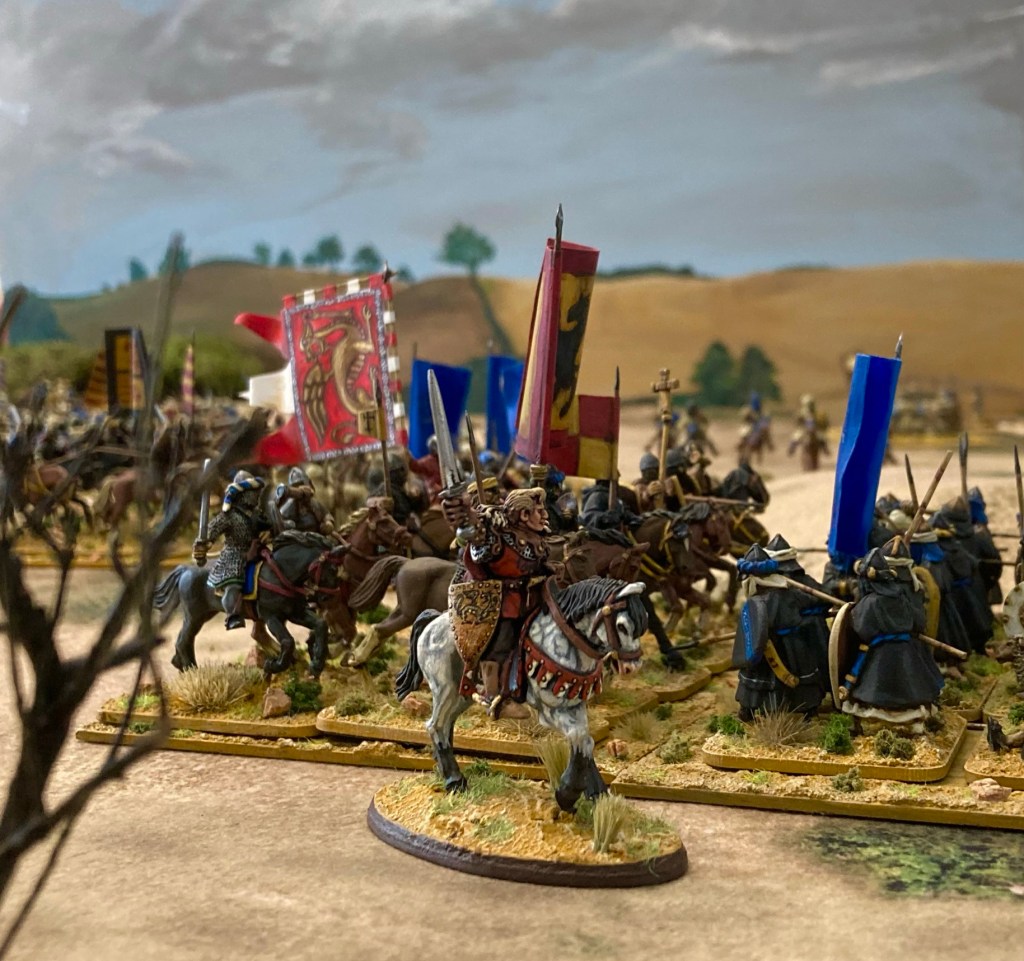
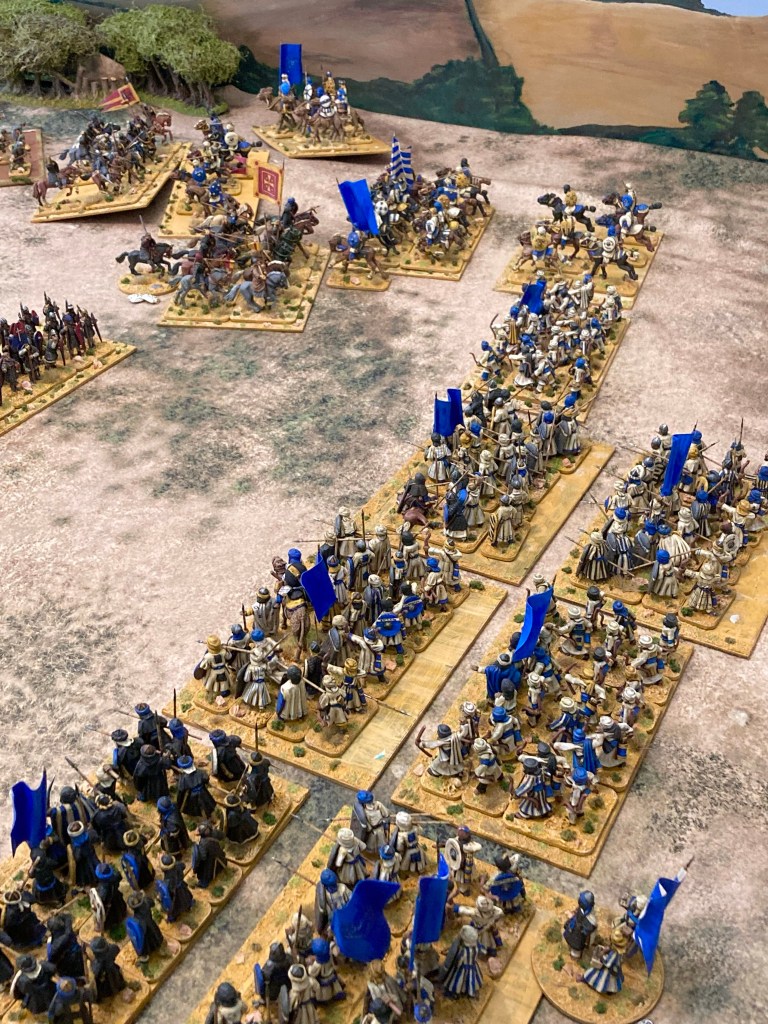
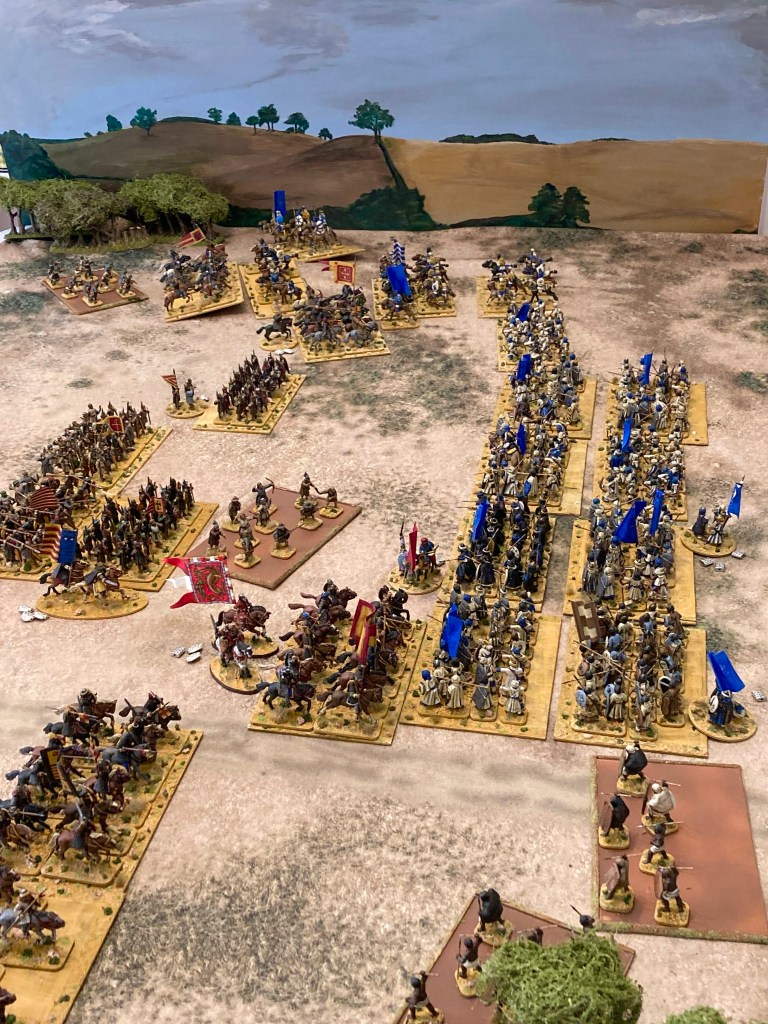
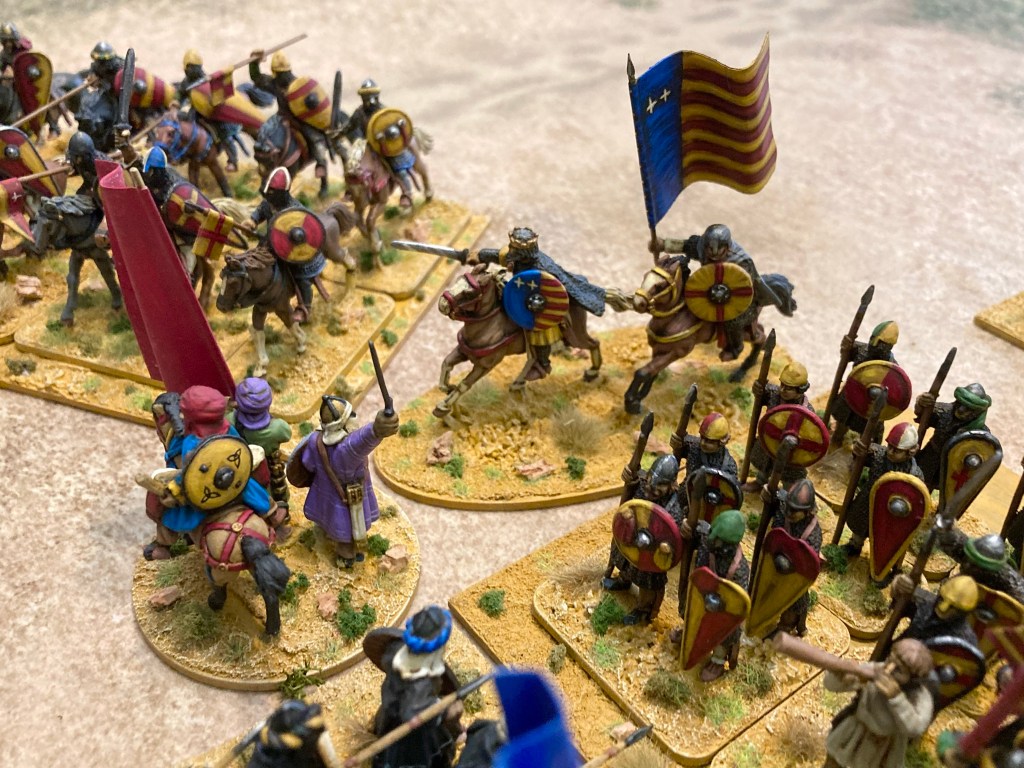
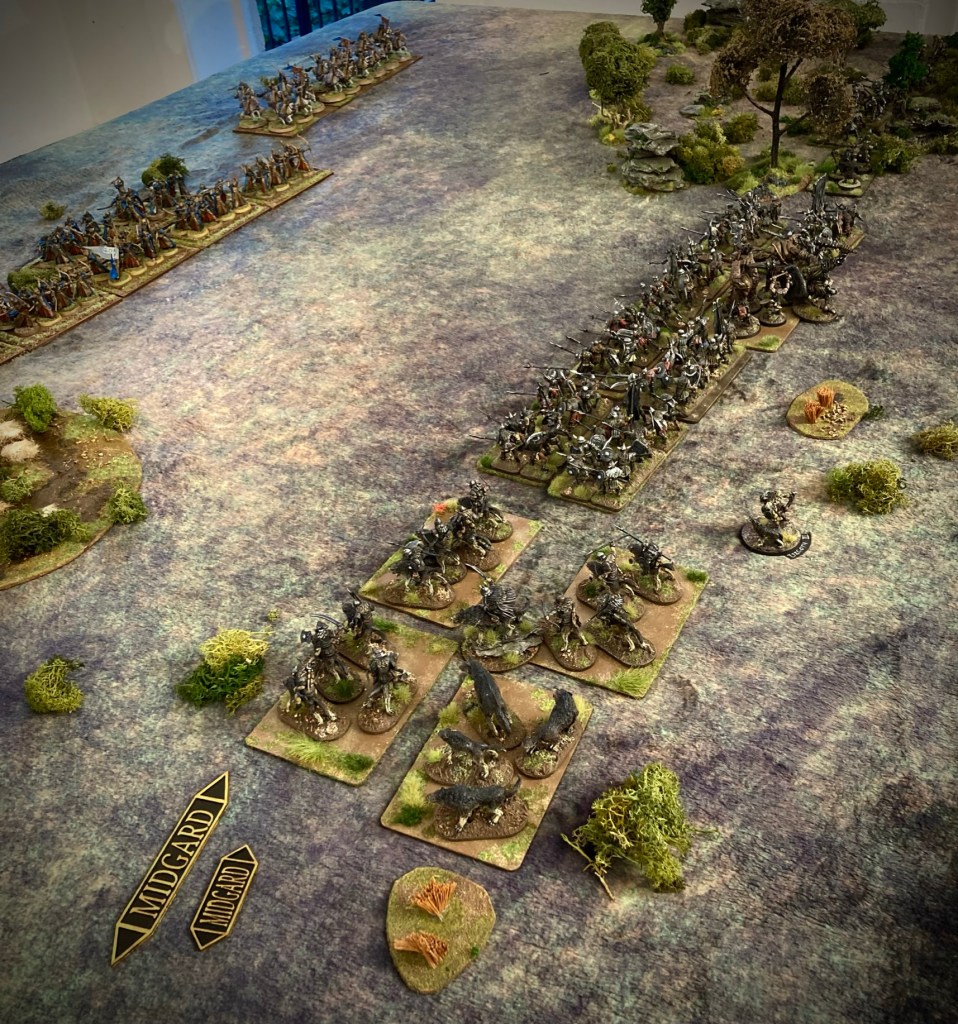
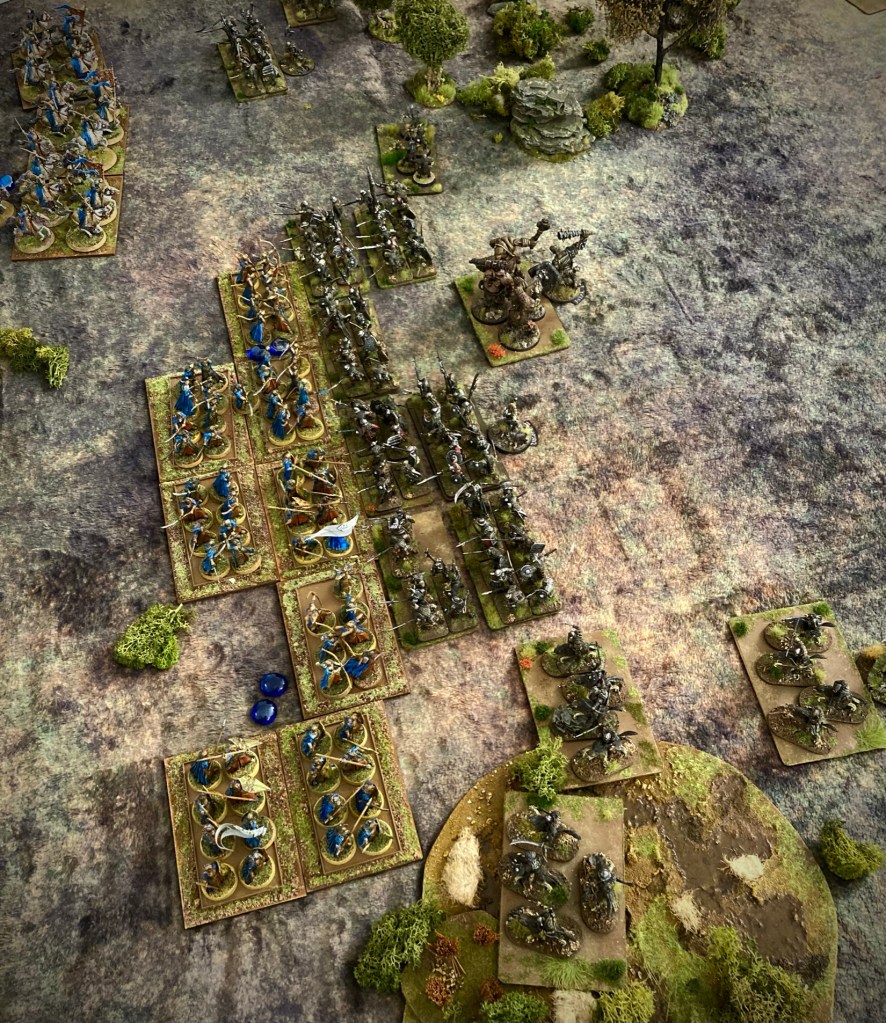
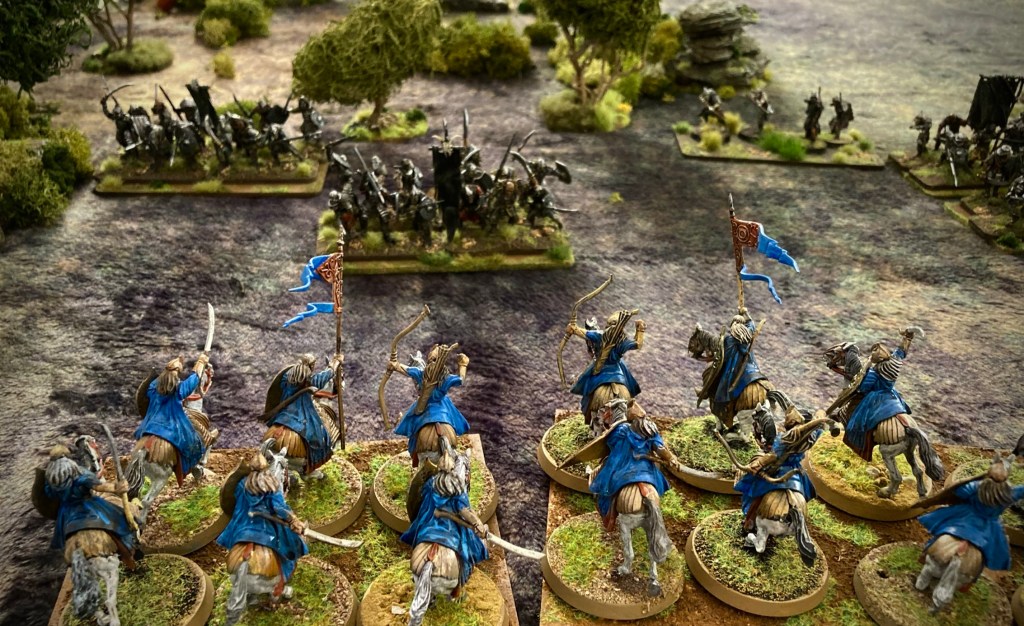
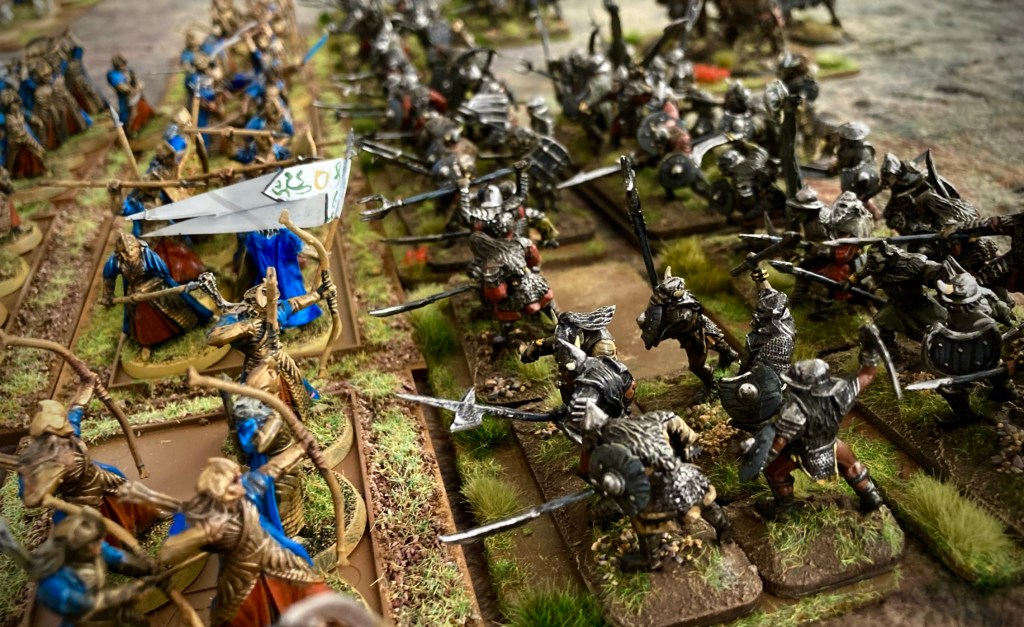
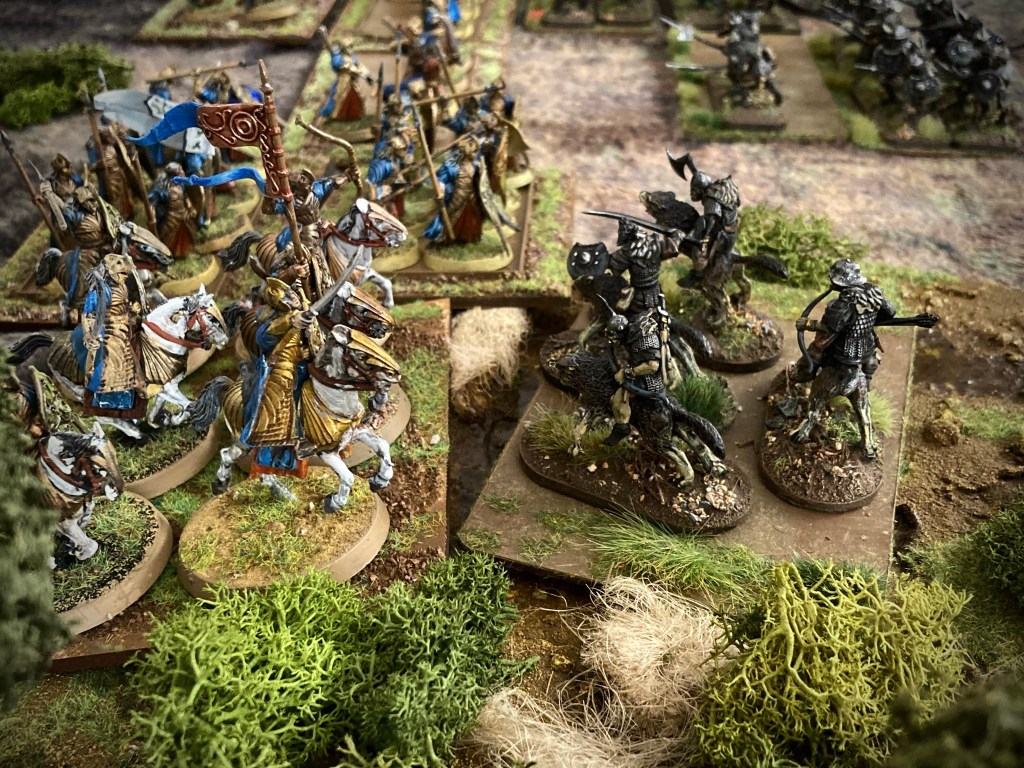
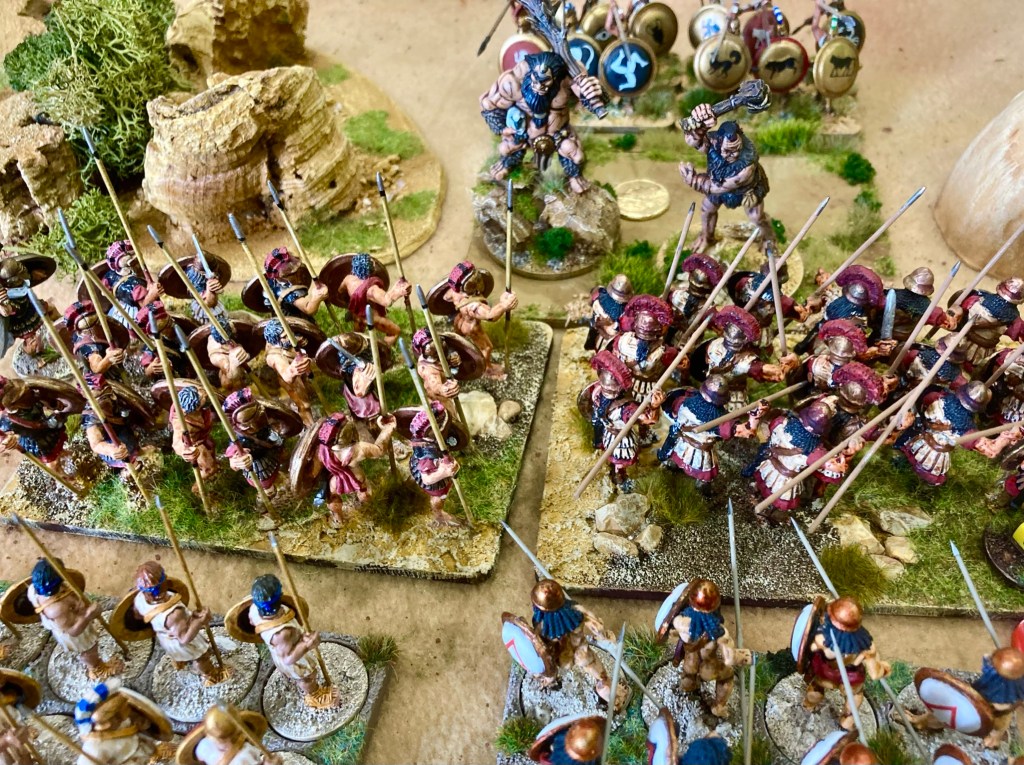
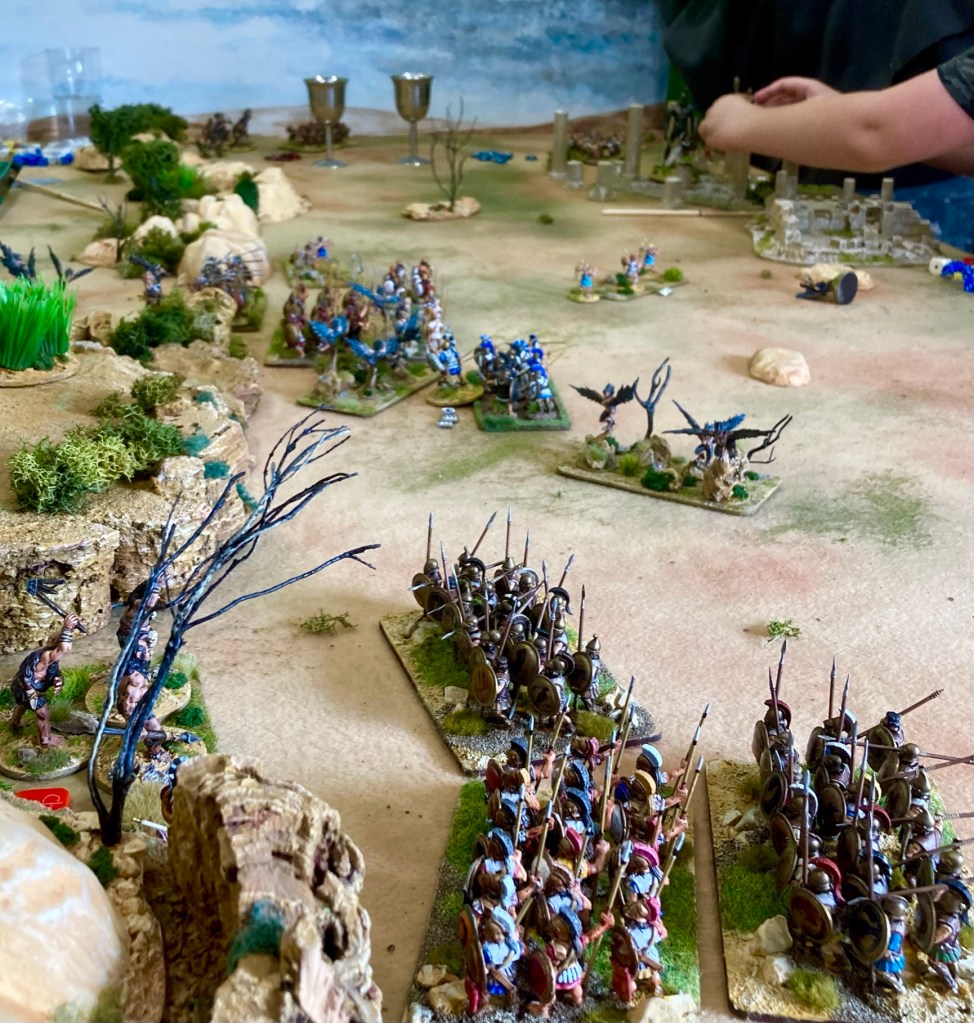
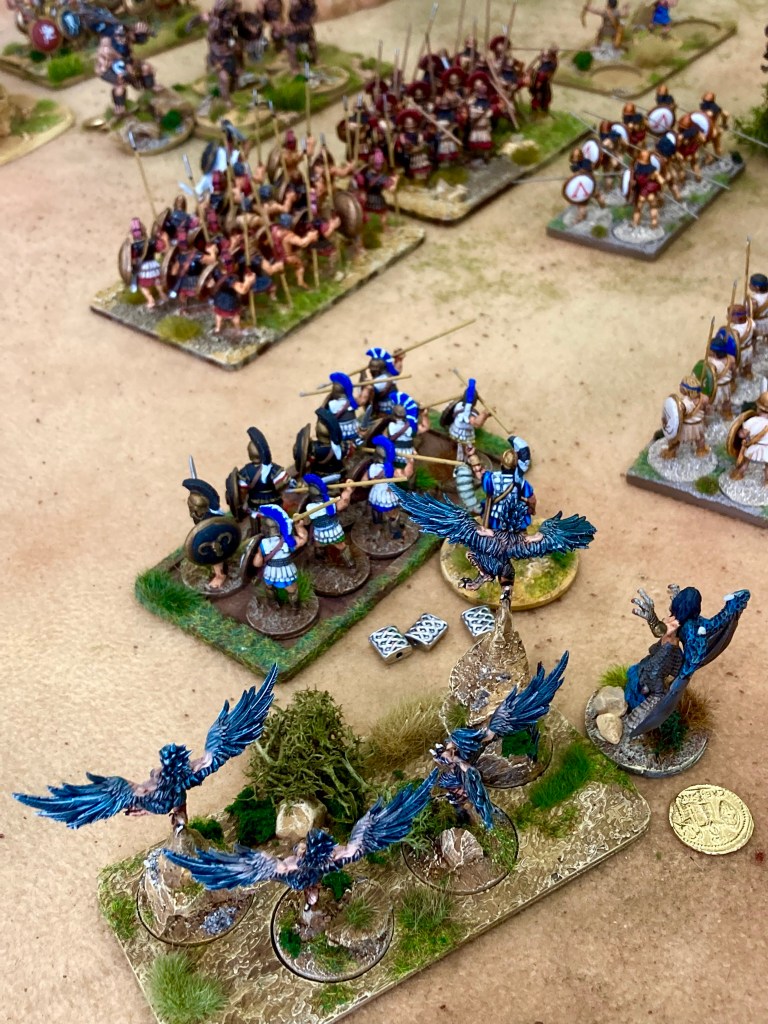
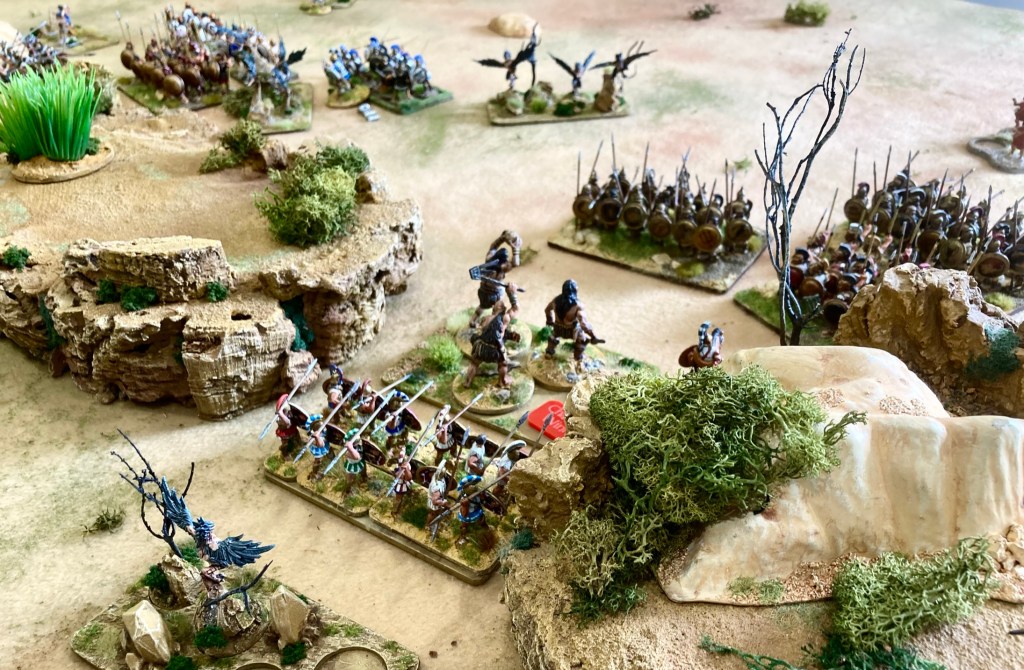
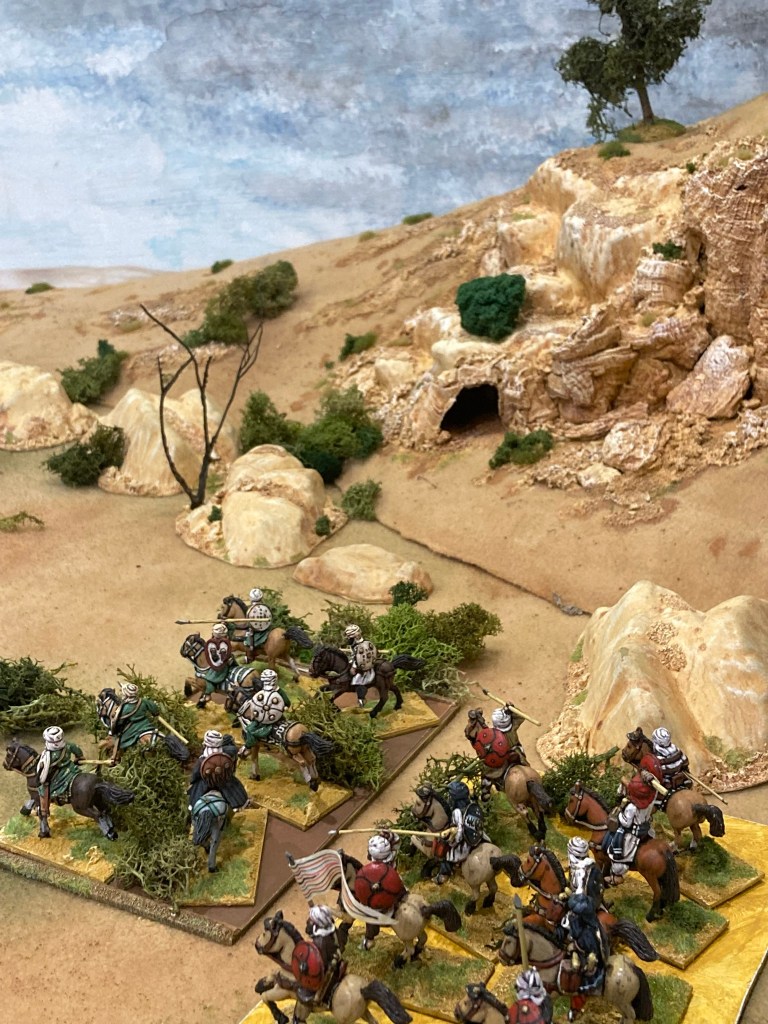
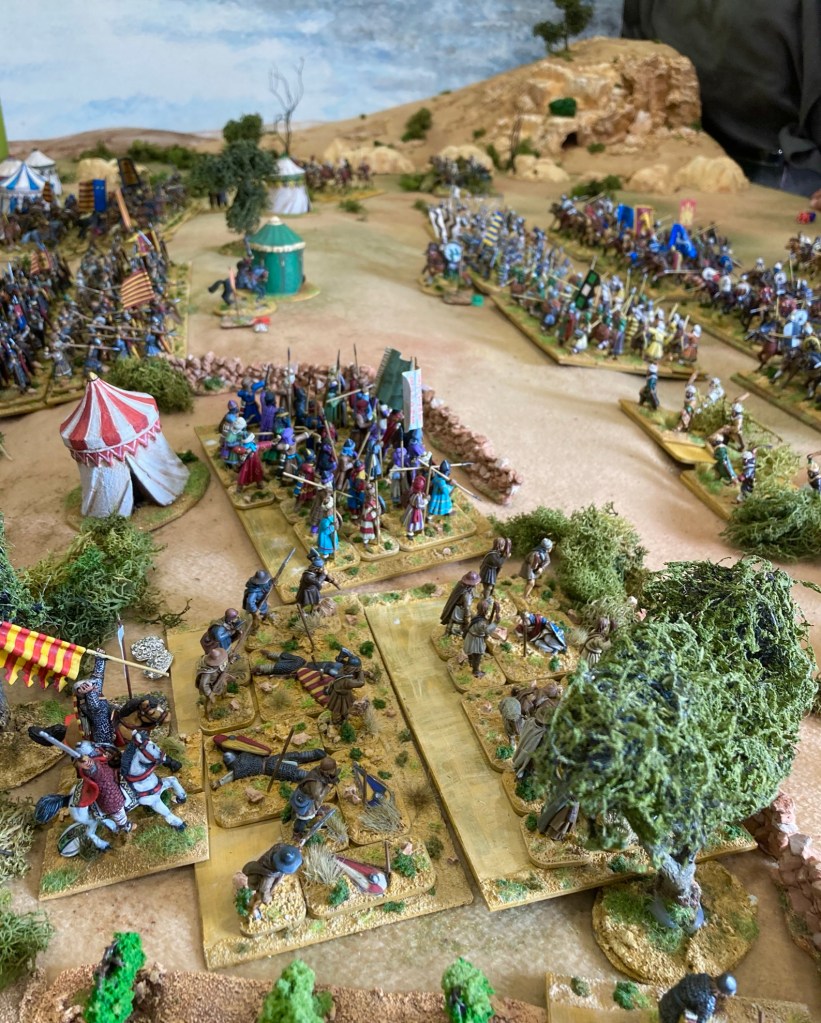
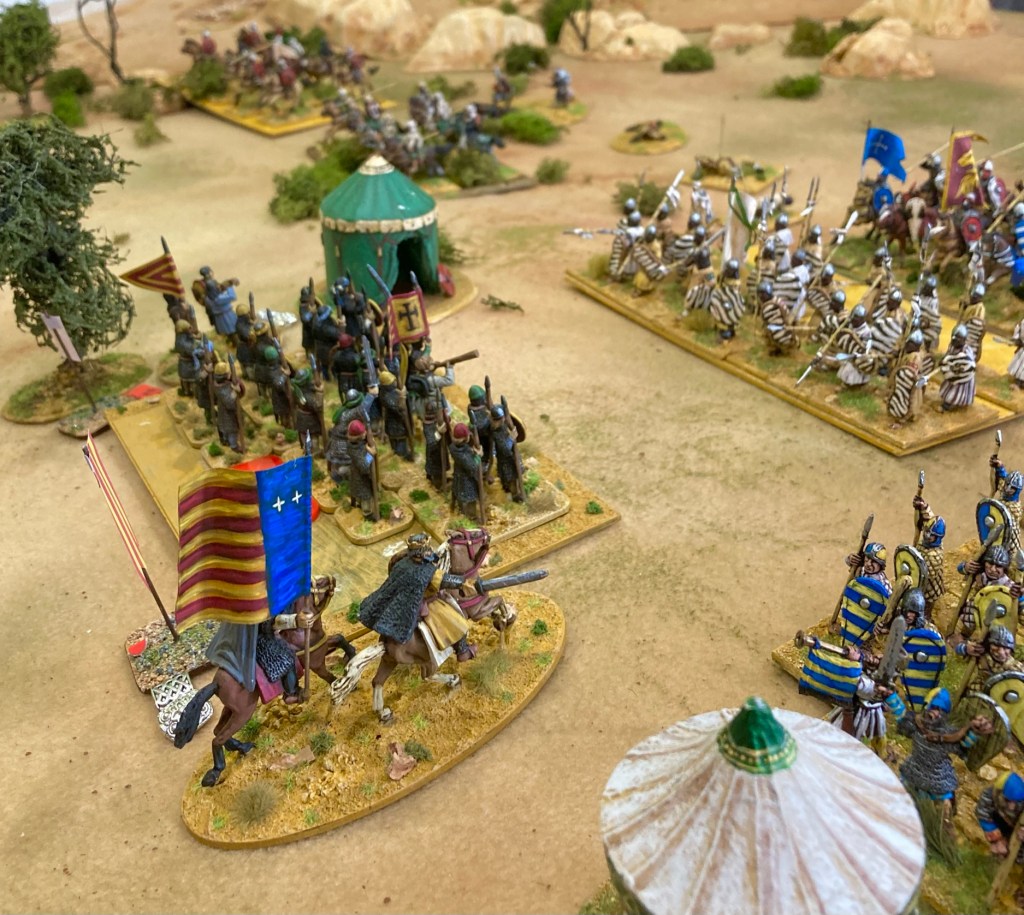
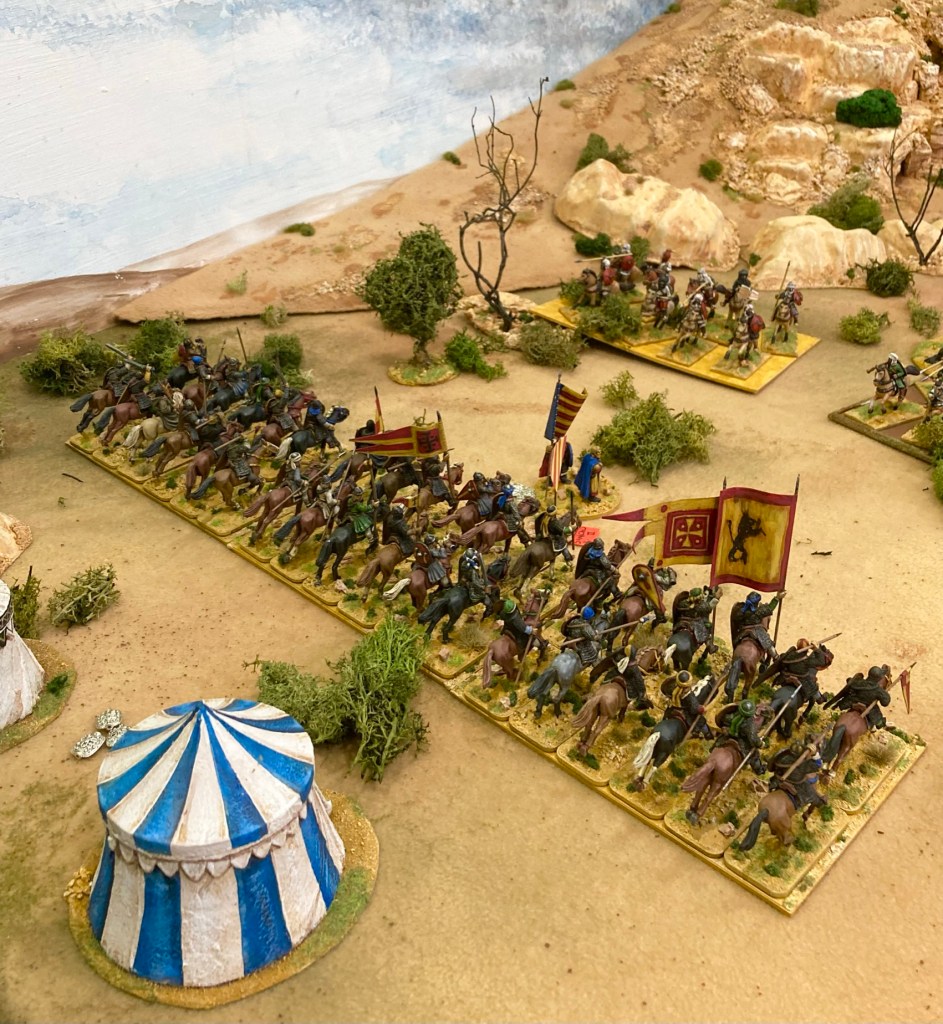
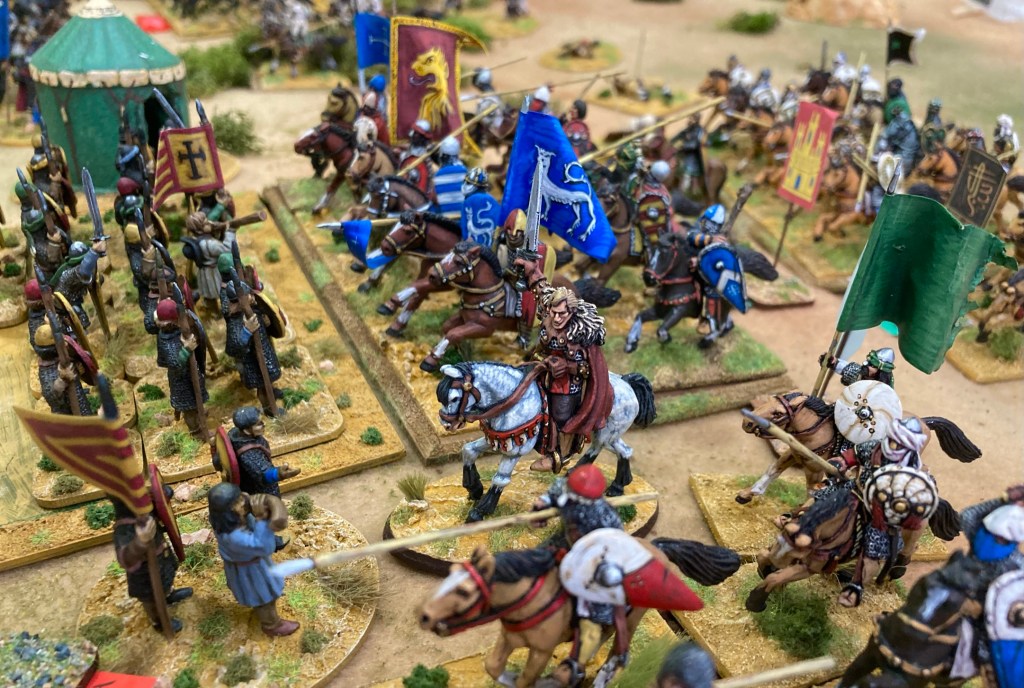
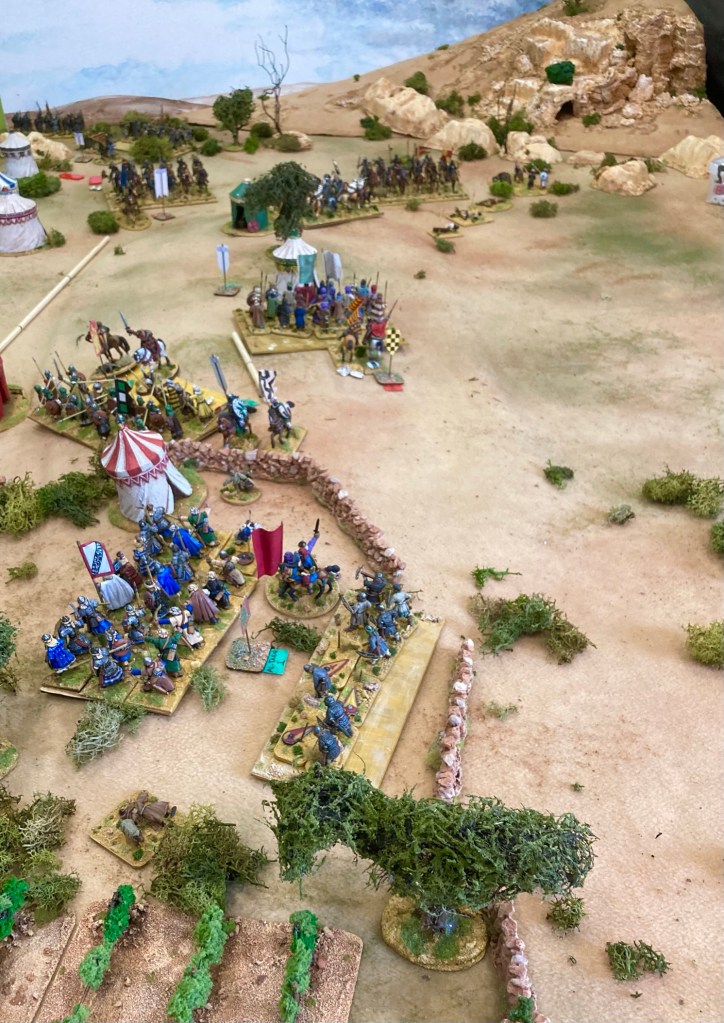
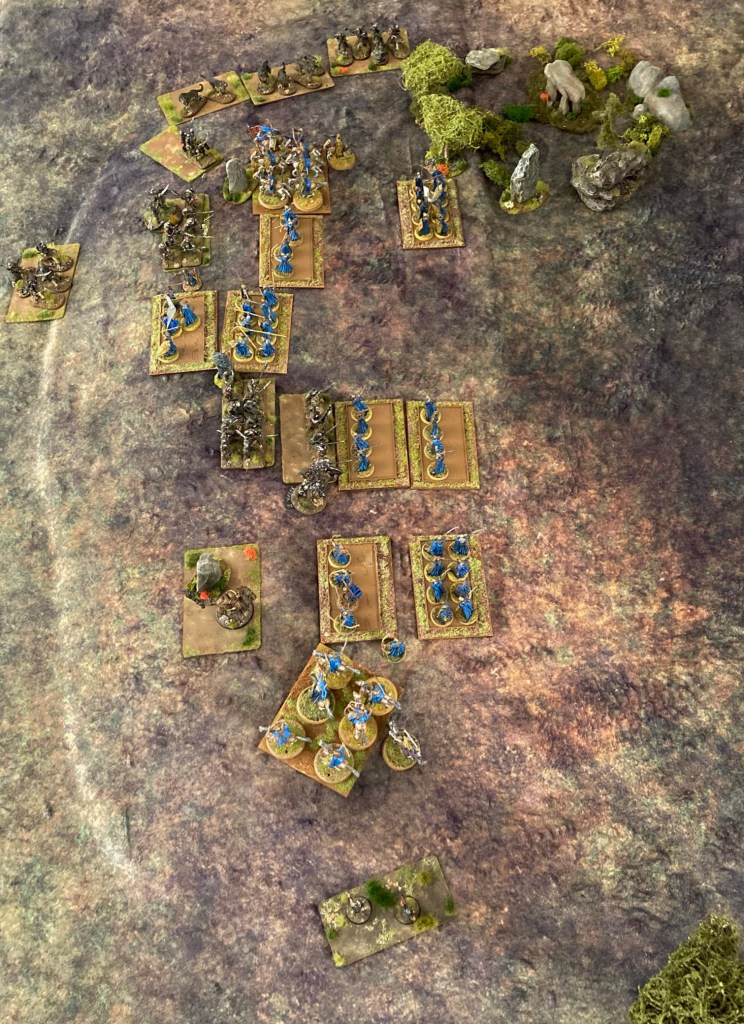
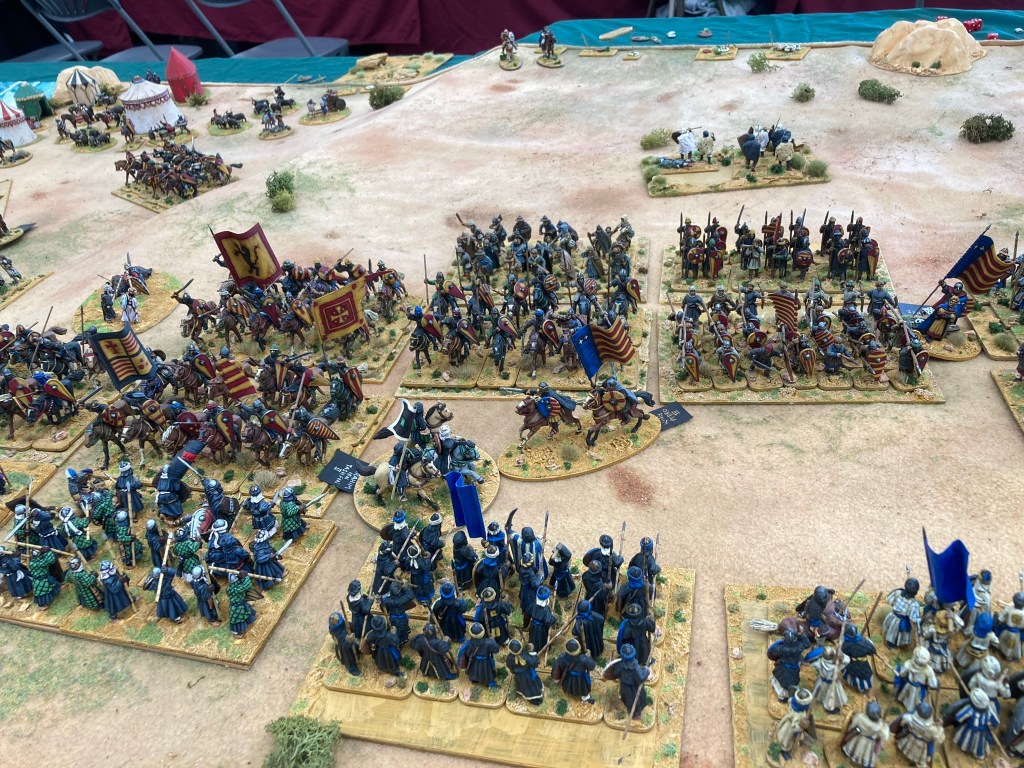
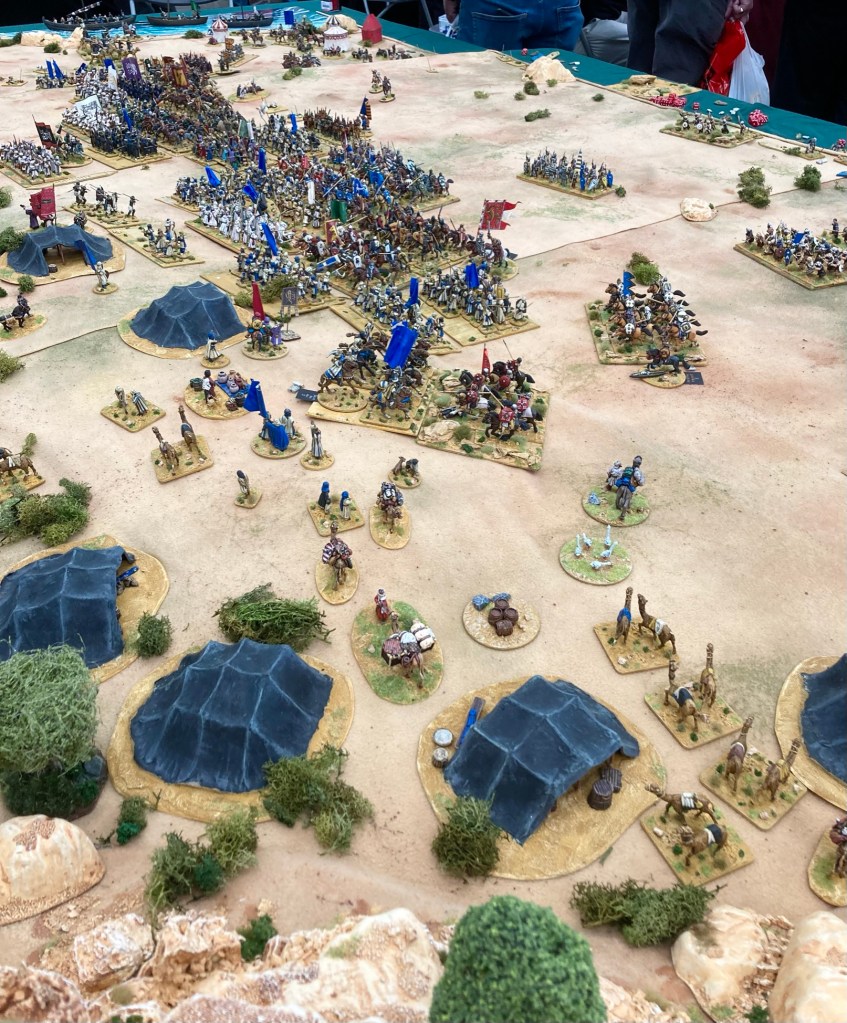
On to the scrappage. Having given ourselves a hernia lugging the boxes of metal cavalry out of storage and into the hall, we laid out the battle lines, going for a slight diagonal to represent the awkwardness of the Christian deployment (and to break up those linear 90 degree formations that seem to typify ancient and medieval wargames.) Having laid out a fairly classic battle line with light troops on the flanks and a double line of spearmen, archers and knights in the centre, Paul and Martin took charge of the Christians and pursued a cautious policy of probing both flanks while holding off the all-important charge of the caballeros.
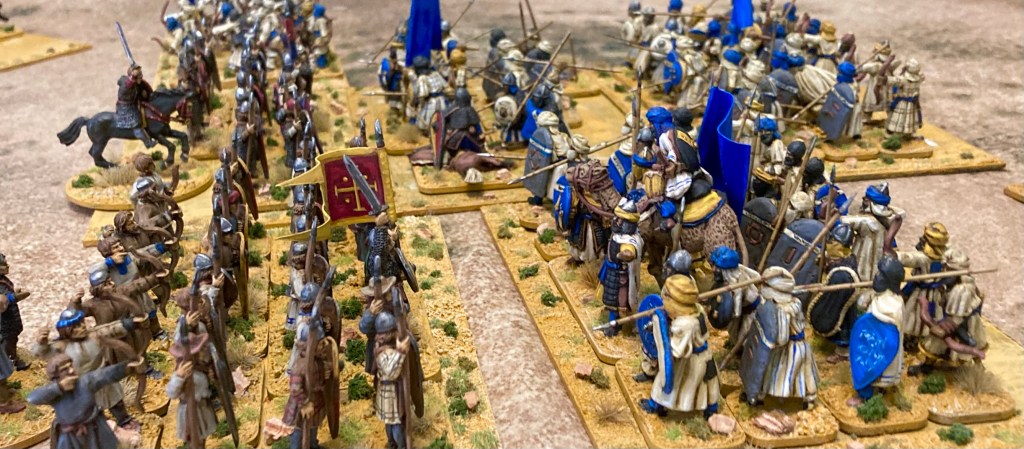
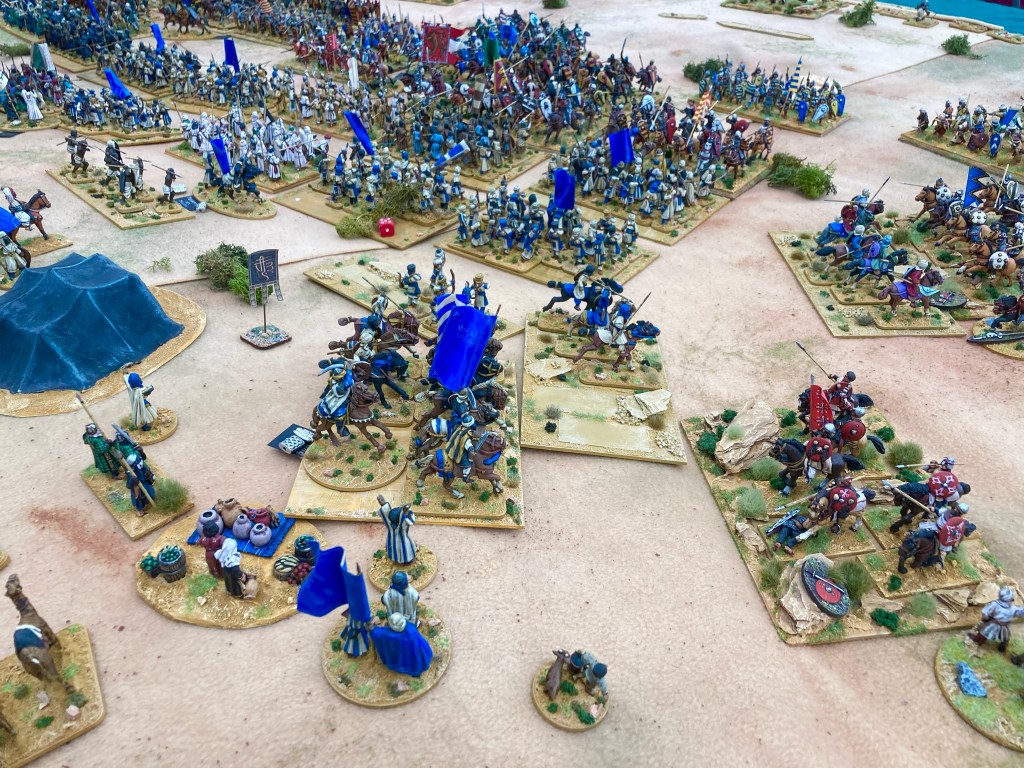
The result of this was the Christians making headway on their left flank, but the virtual collapse of their right as the Berber camels and light troops pulled off a stunning victory, driving back the defenders before the camp assisted by the offshore missile fire.
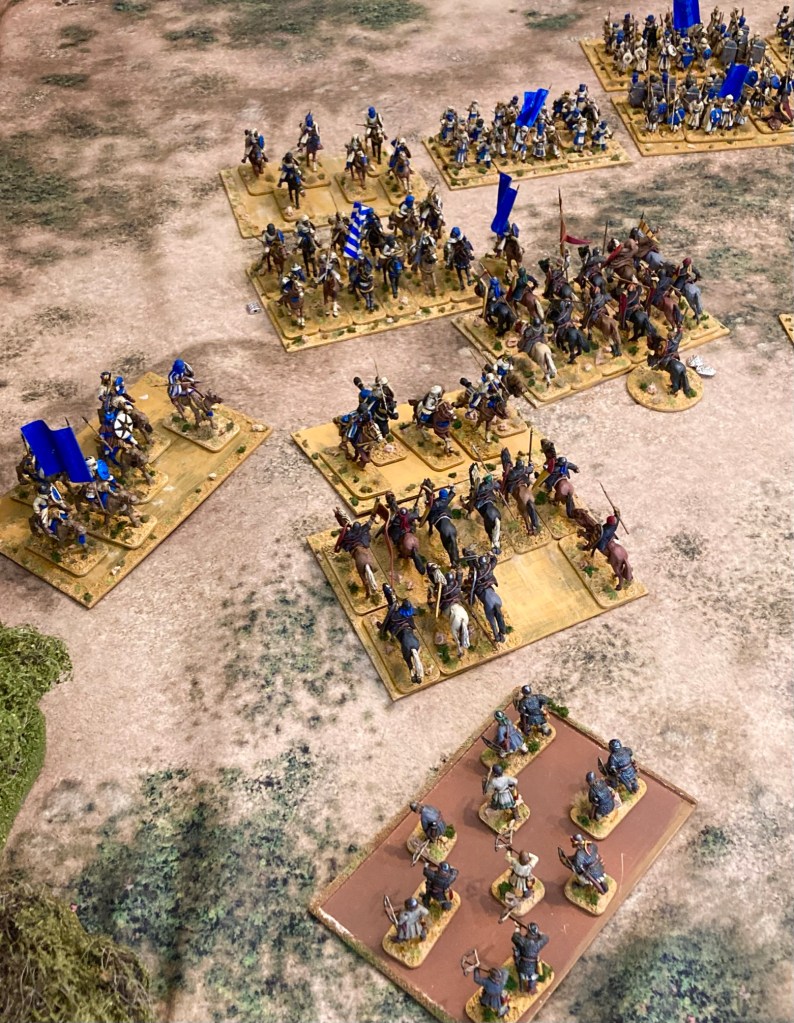
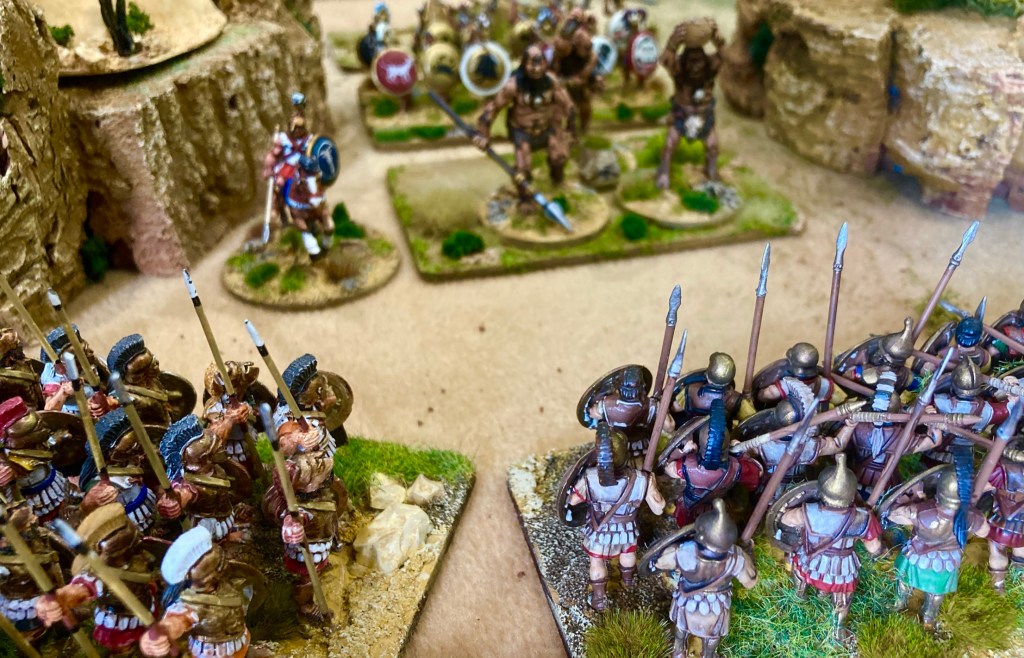
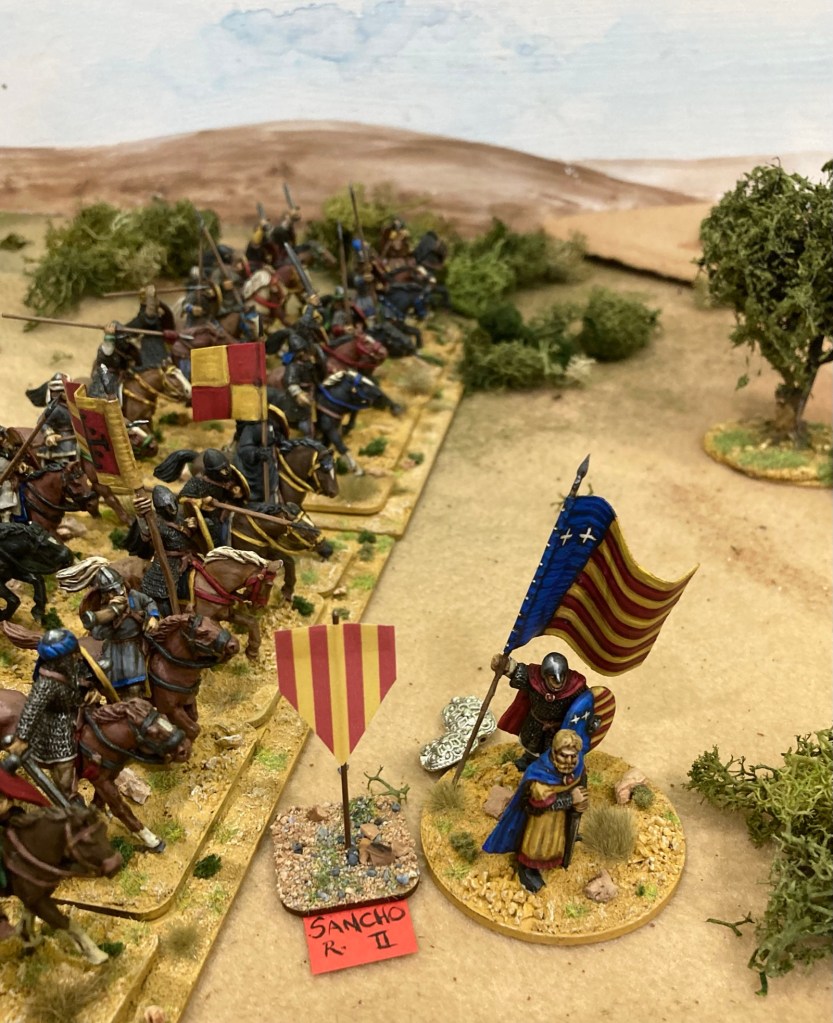
This left the Christian centre in a potentially sticky situation, which I inherited as Martin had to leave early. It’s probably an exaggeration to say that my tactical aplomb and dice rolling then caused the downfall of the Christian forces, but it may not be too far off!
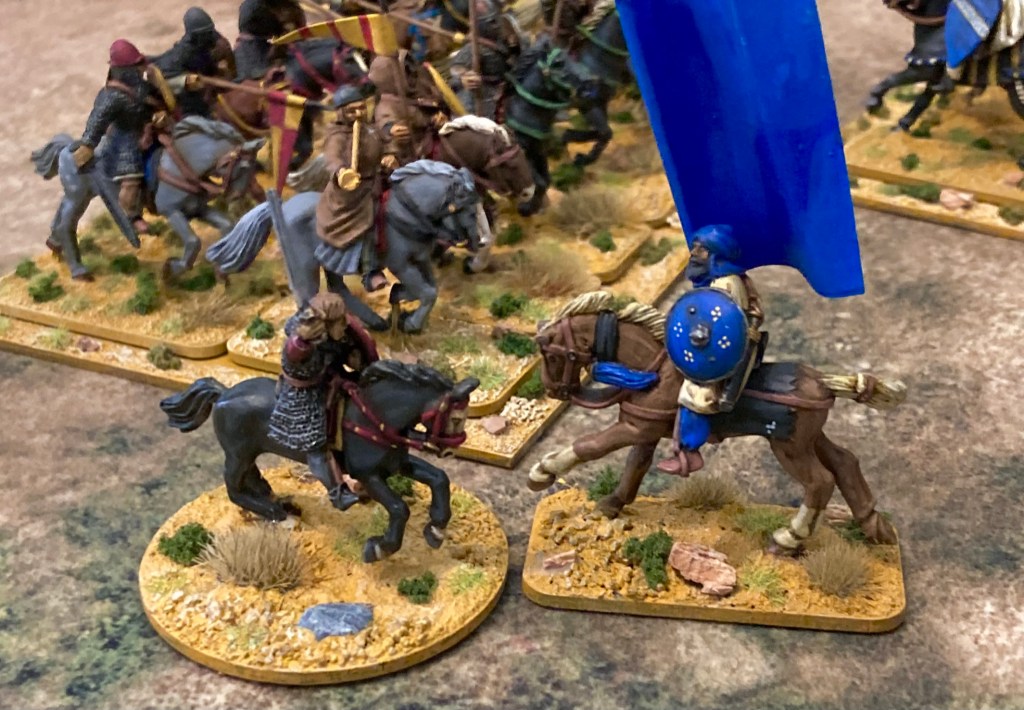
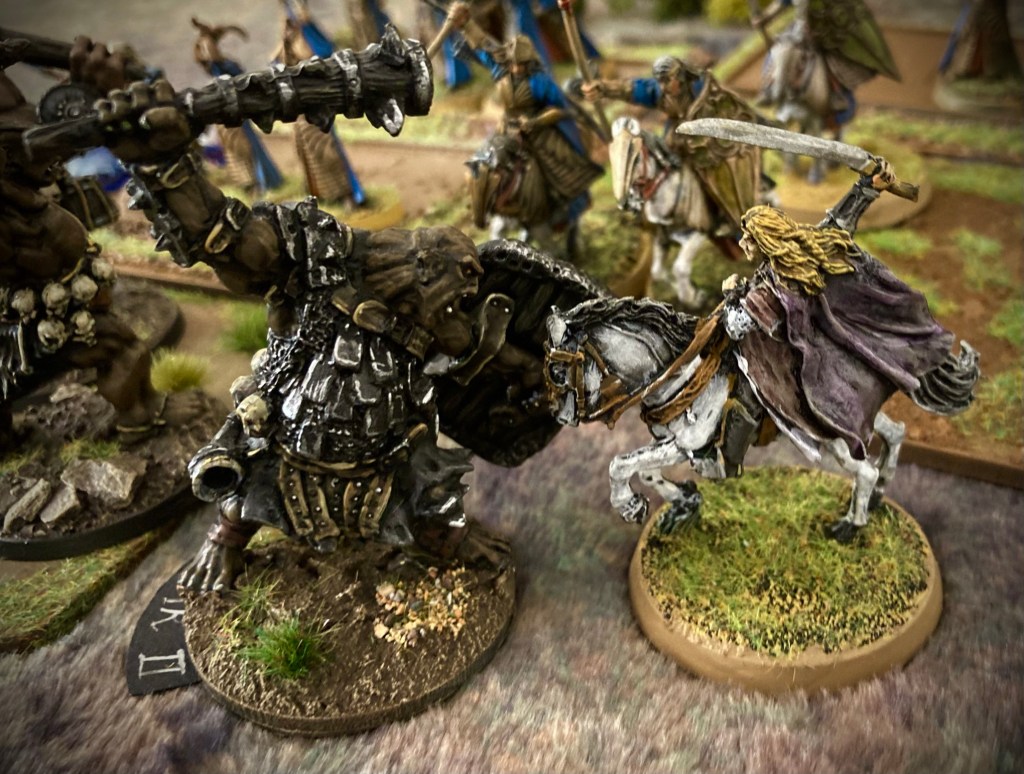
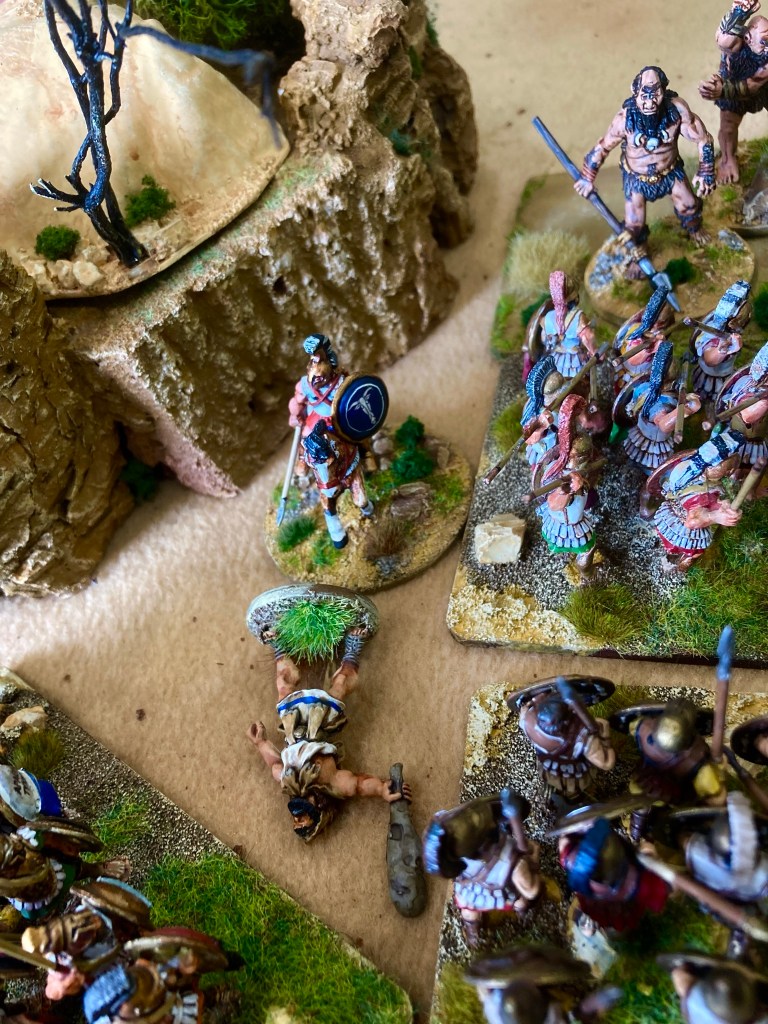
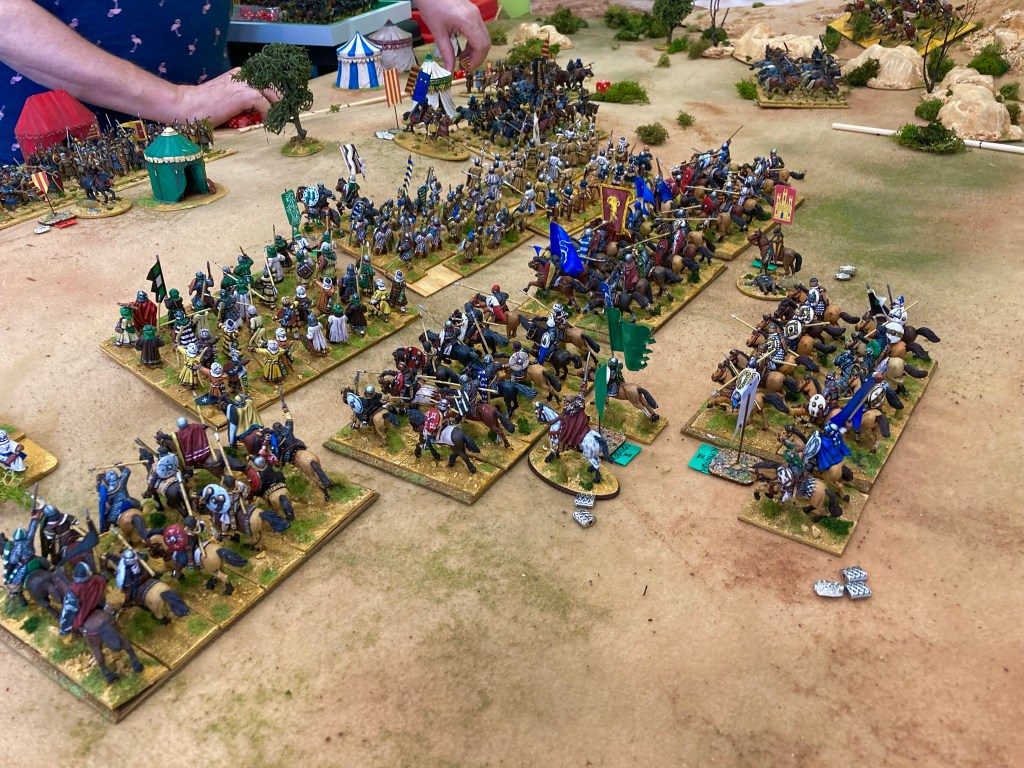
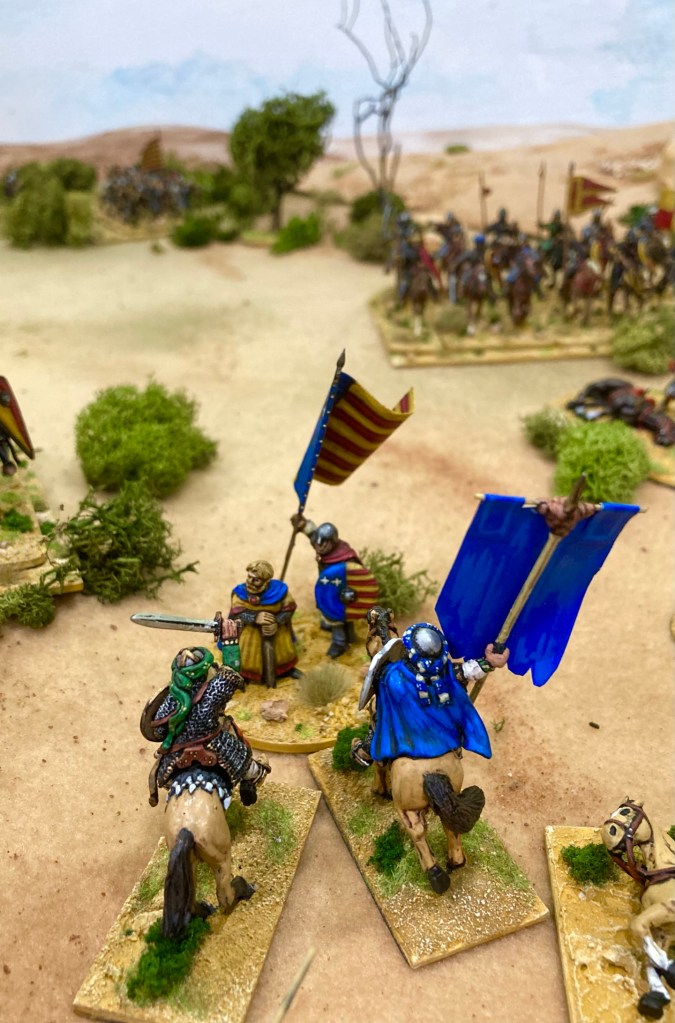
Having peeled off a unit of caballeros to try to deal with the Almoravid camels and the threat to the camp, I decided to charge with the knights all along the line. King Pedro of Aragon then went one better and took on Ibrahim ibn Tashfin in single combat (a great idea until I started rolling dice). Although wounded, the heroic ibn Tashfin took down the Aragonese king in the third round. Ouch! This caused some serious damage to Christian morale, I can tell you.

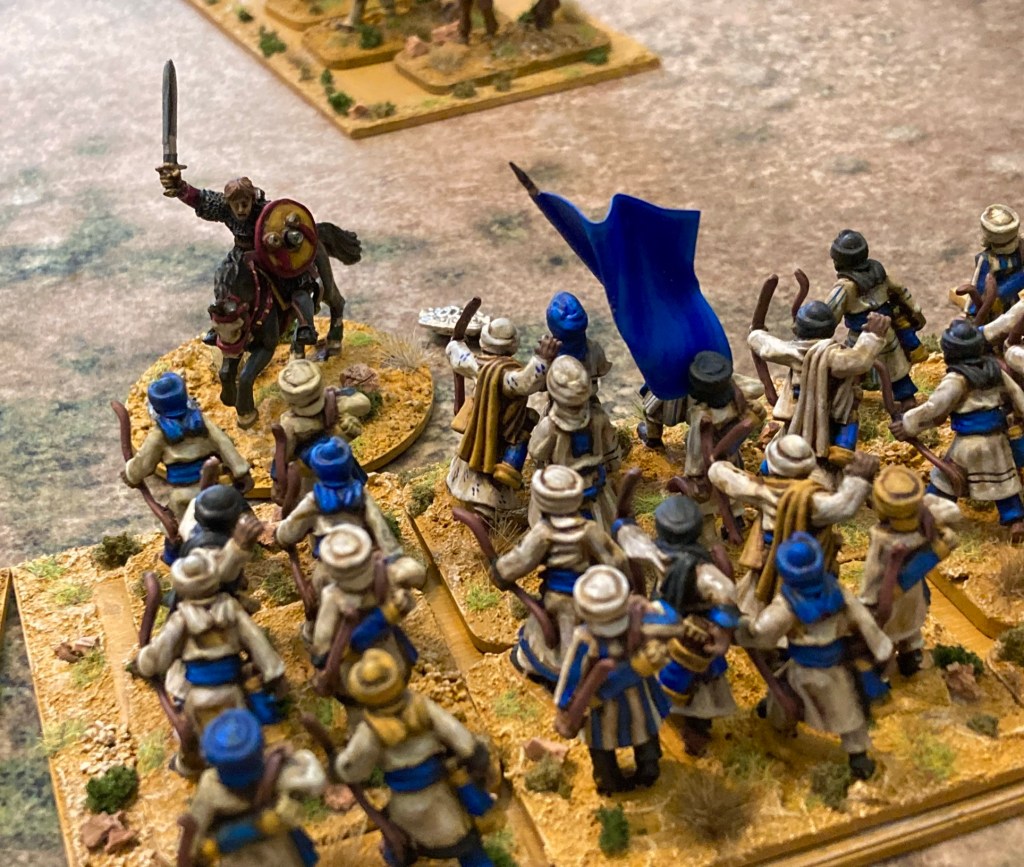
The other units in charge got stuck in but failed to break through, apart from El Cid himself who was unstoppable as he raced up the hill. His faithful lieutenant Alvar Fanez was also killed in the fighting. With the loss of the camp, El Cid’s reputation plunged and his army started to break off and leave the field. Rodrigo himself was last seen trying to fight his way out towards Valencia, but the field belonged to the Almoravids.
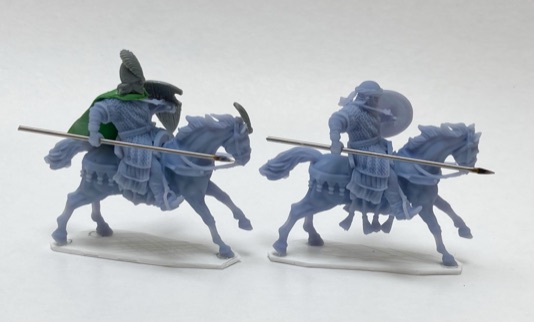
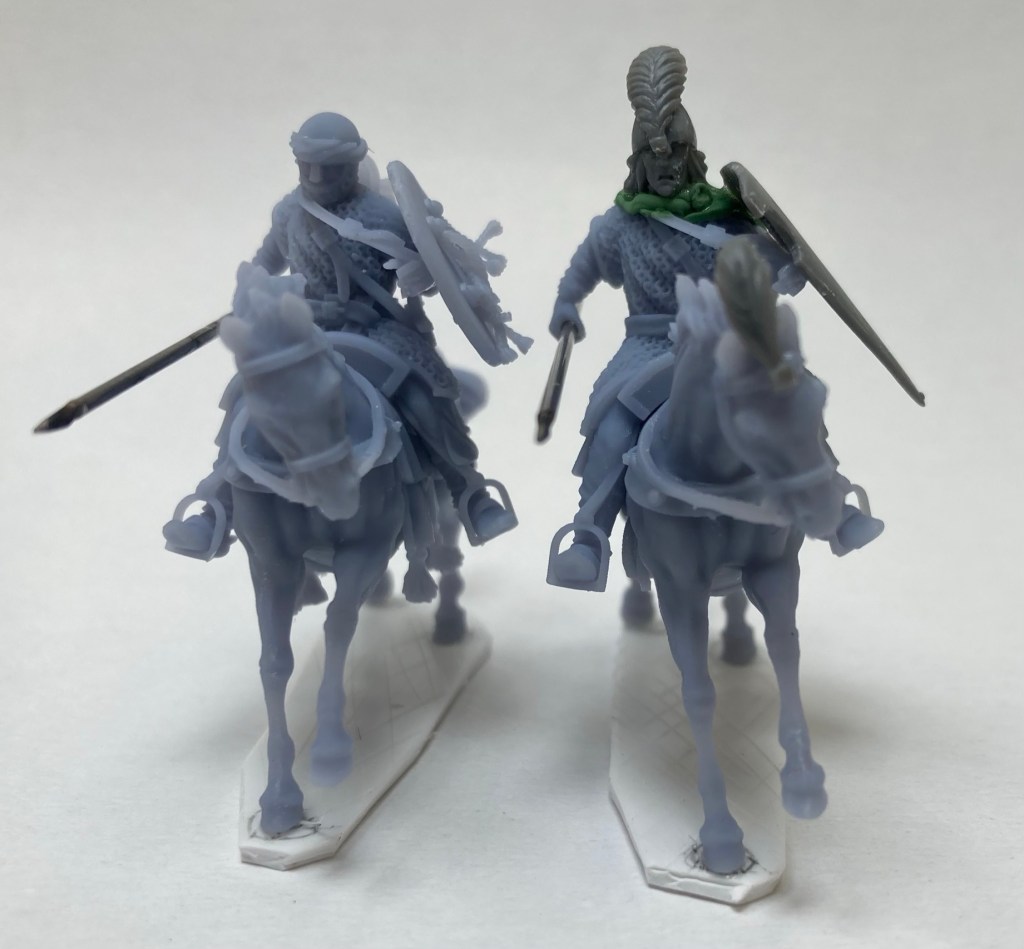
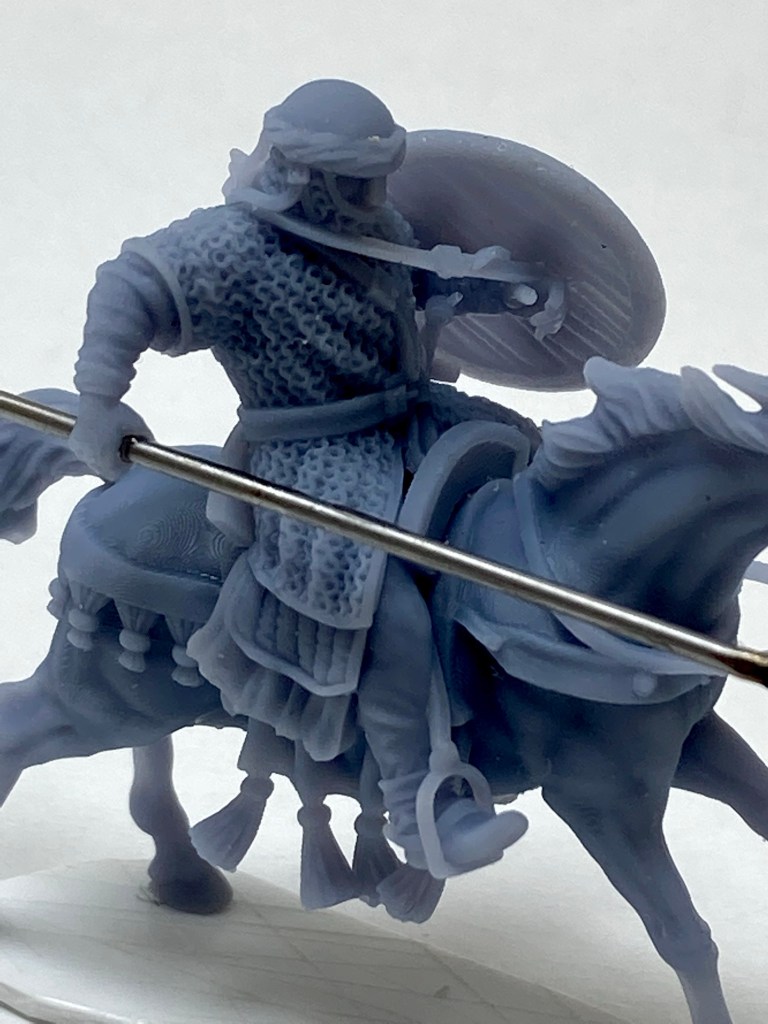
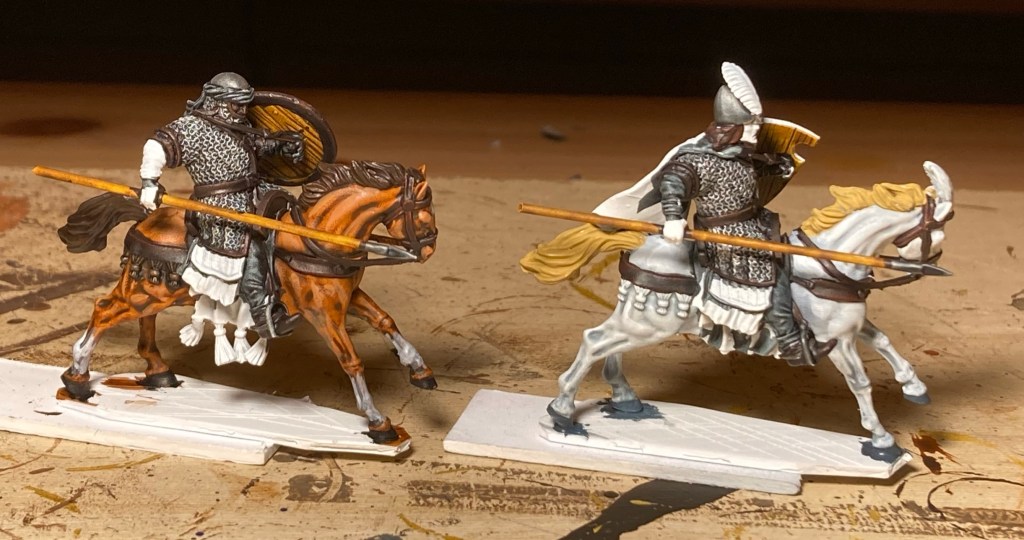
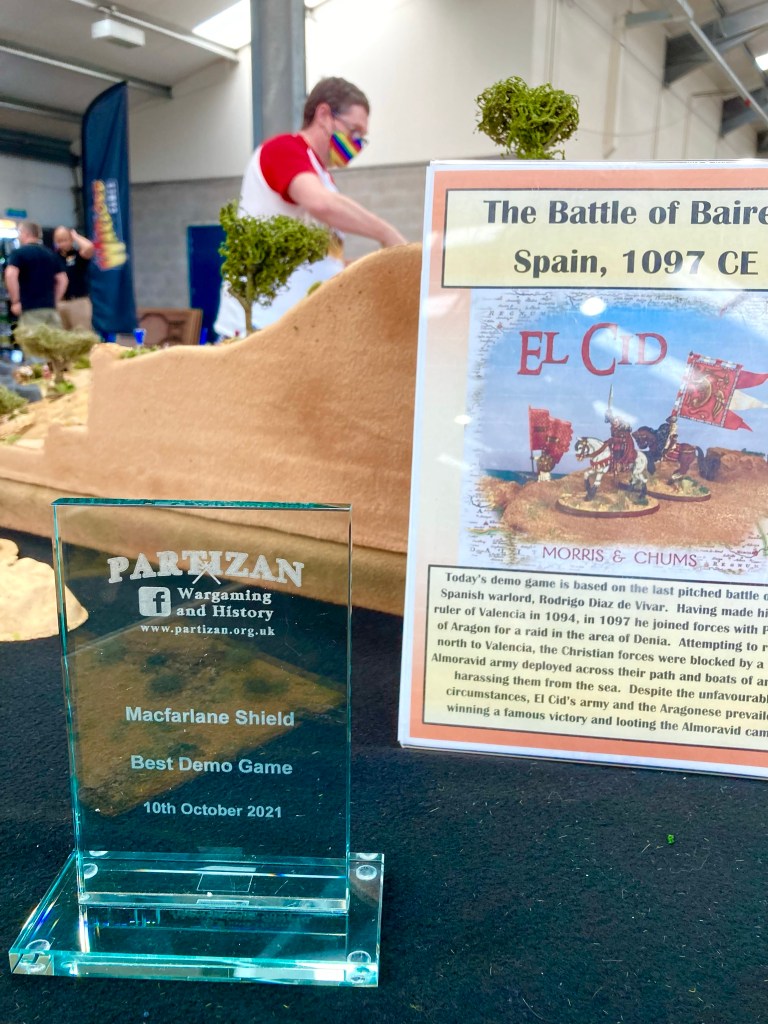
With the game over, we were very surprised and flattered to receive the Macfarlane Shield for Best Demonstration Game from the Partizan guest judges. They explained that they had appreciated the mix of old and new (1998 Gripping Beast metals alongside 2021 3d Caballero Miniatures prints), the presentation of the game, the sloping hill and the fact that we had somehow managed to talk to people and keep the game moving at the same time. I can only thank my companions Paul, Martin and Tom who made it all run so smoothly, as it’s well known that I spend 95% of my time at shows talking and no more than 5% throwing dice!
It was an absolute pleasure to get back to a live show, albeit with several good friends missing due to the continuing pandemic situation, Hopefully things will improve and we will all be able to get back in the same hall soon.
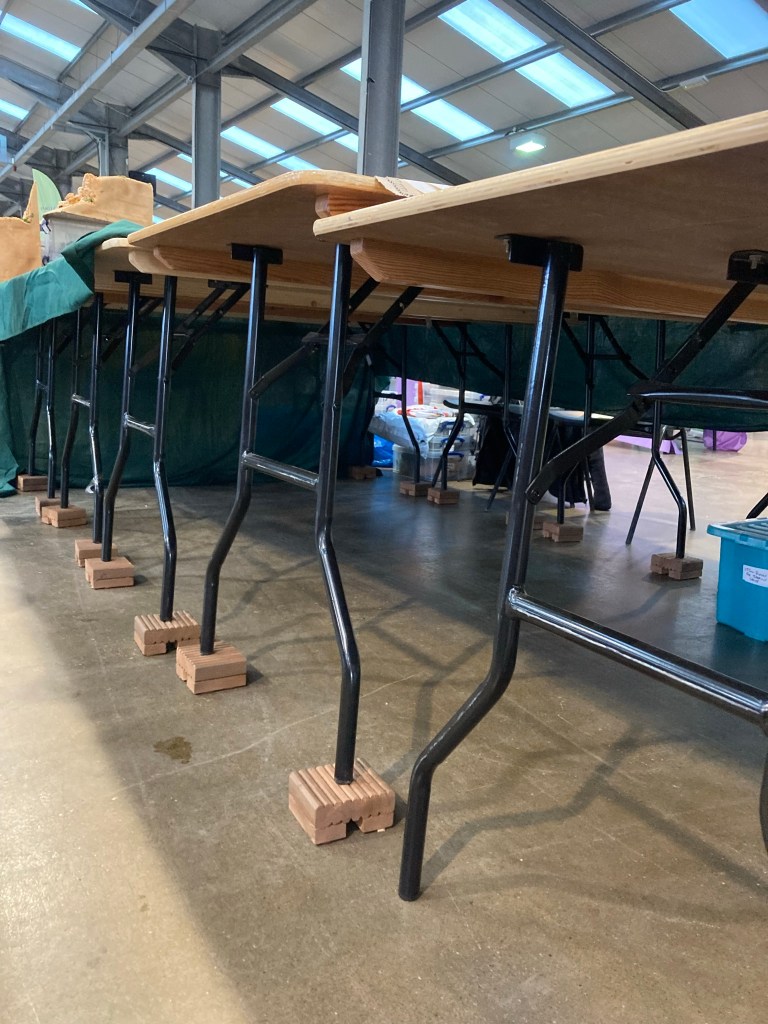
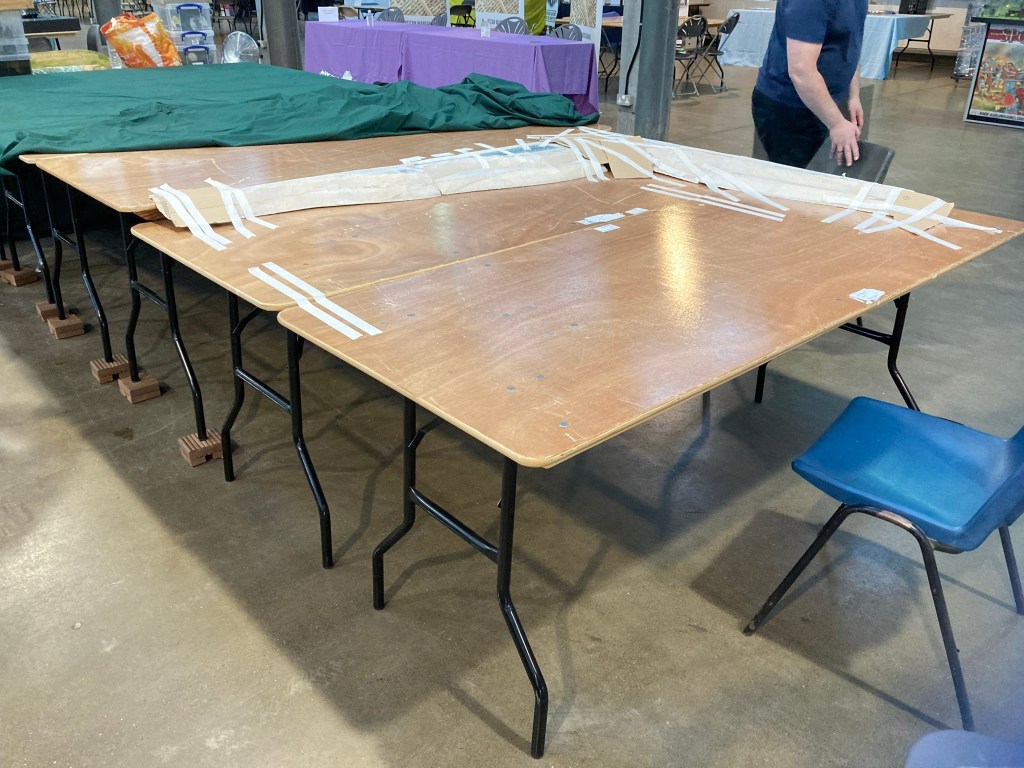
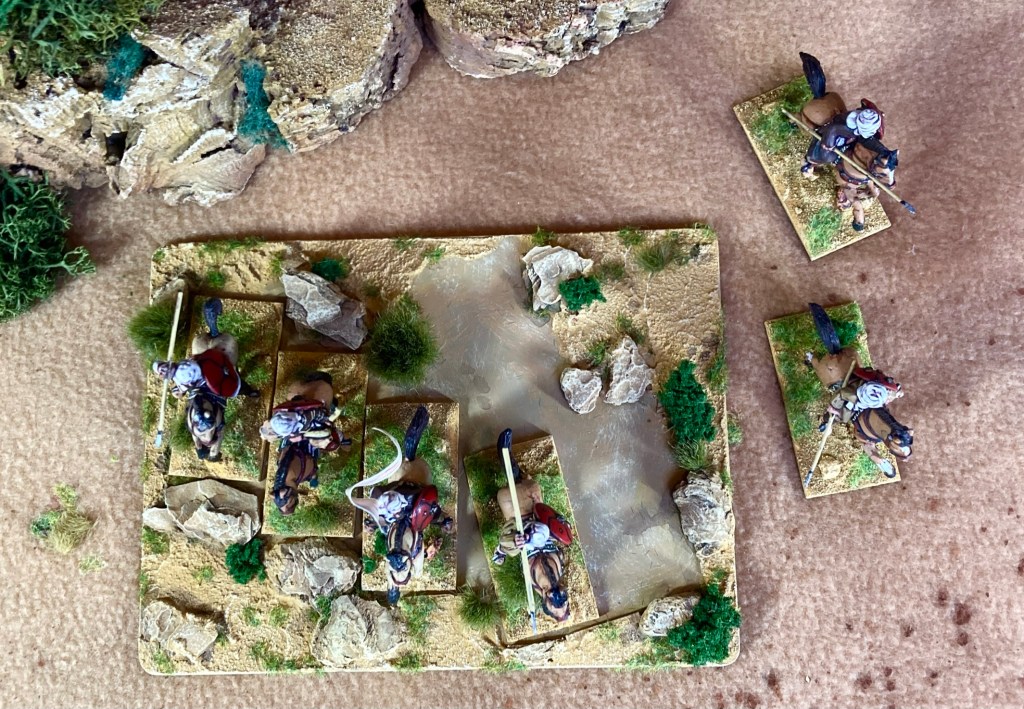
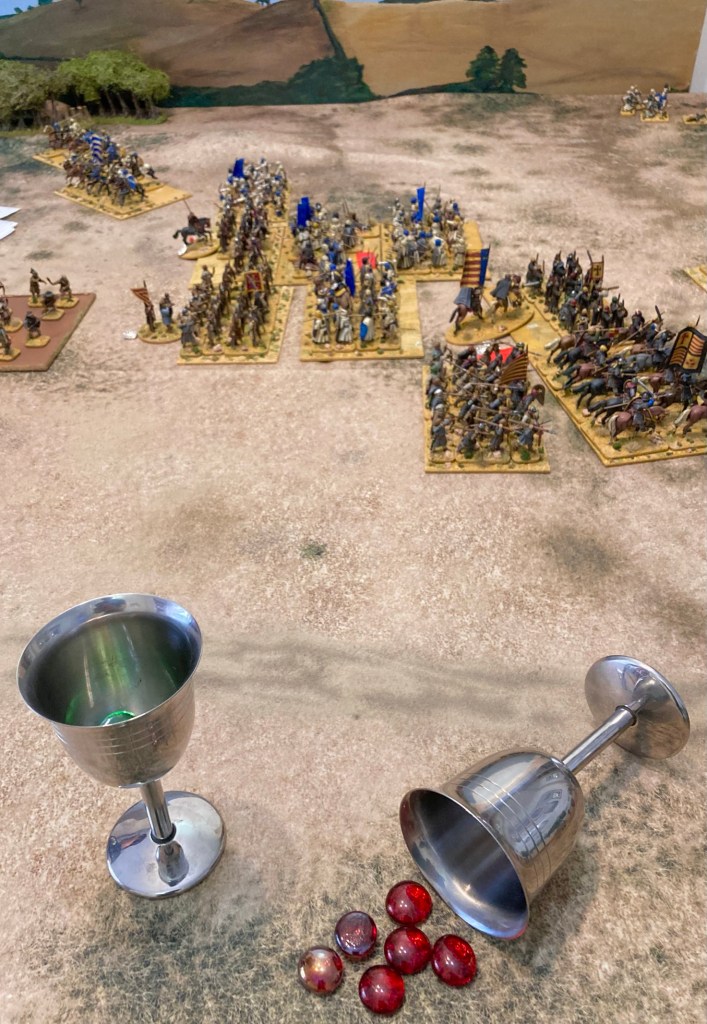
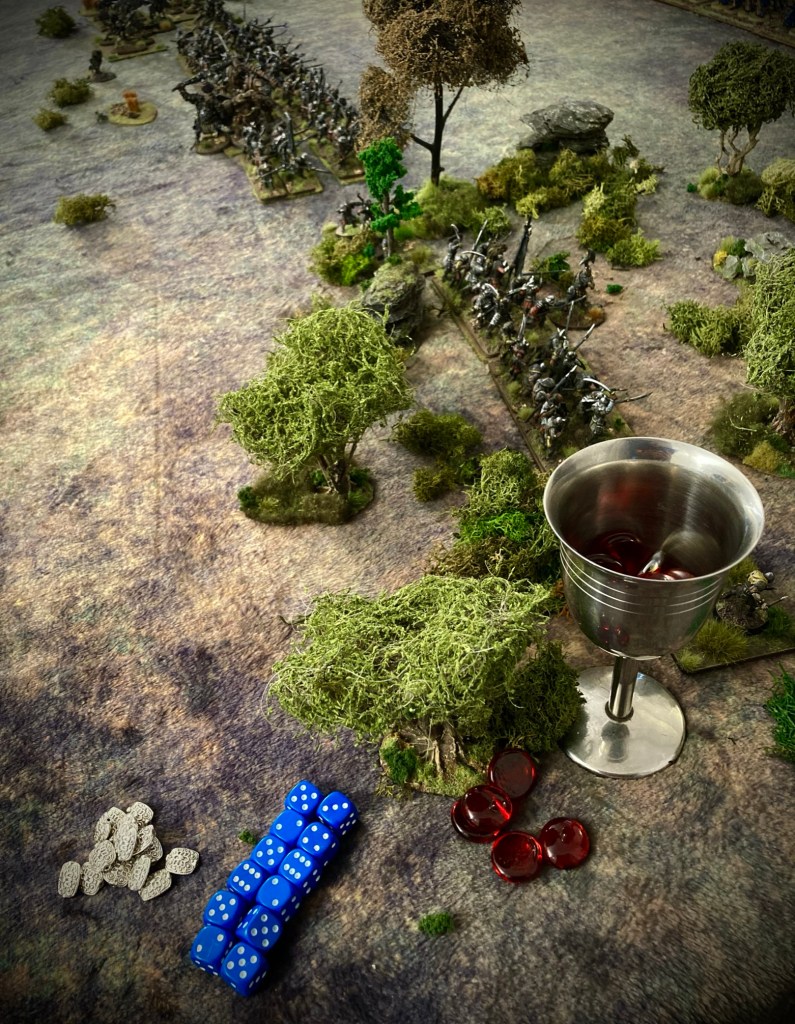
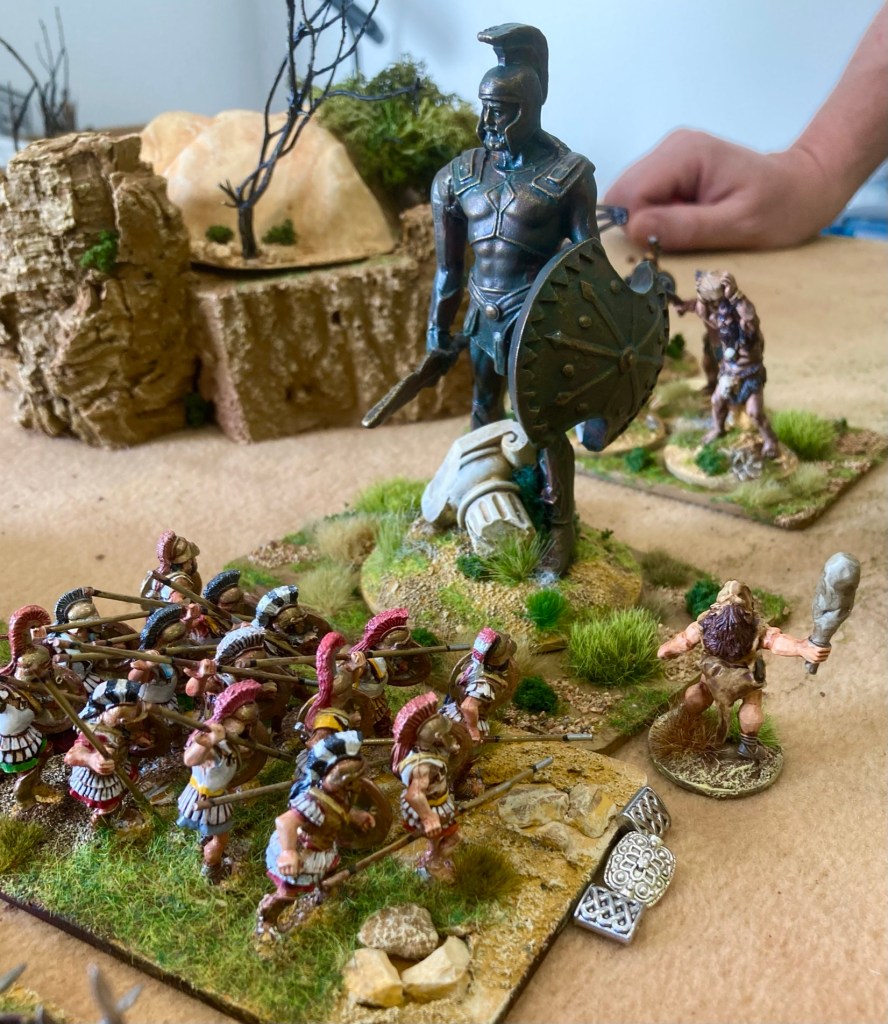
As a final extra, I thought I’d share a couple of shots of the game set up. Since giving up terrain boards in favour of cloth playing surfaces, I have been experimenting with different ways to create contours and sloping battlefields. Here’s how we did the hillside: