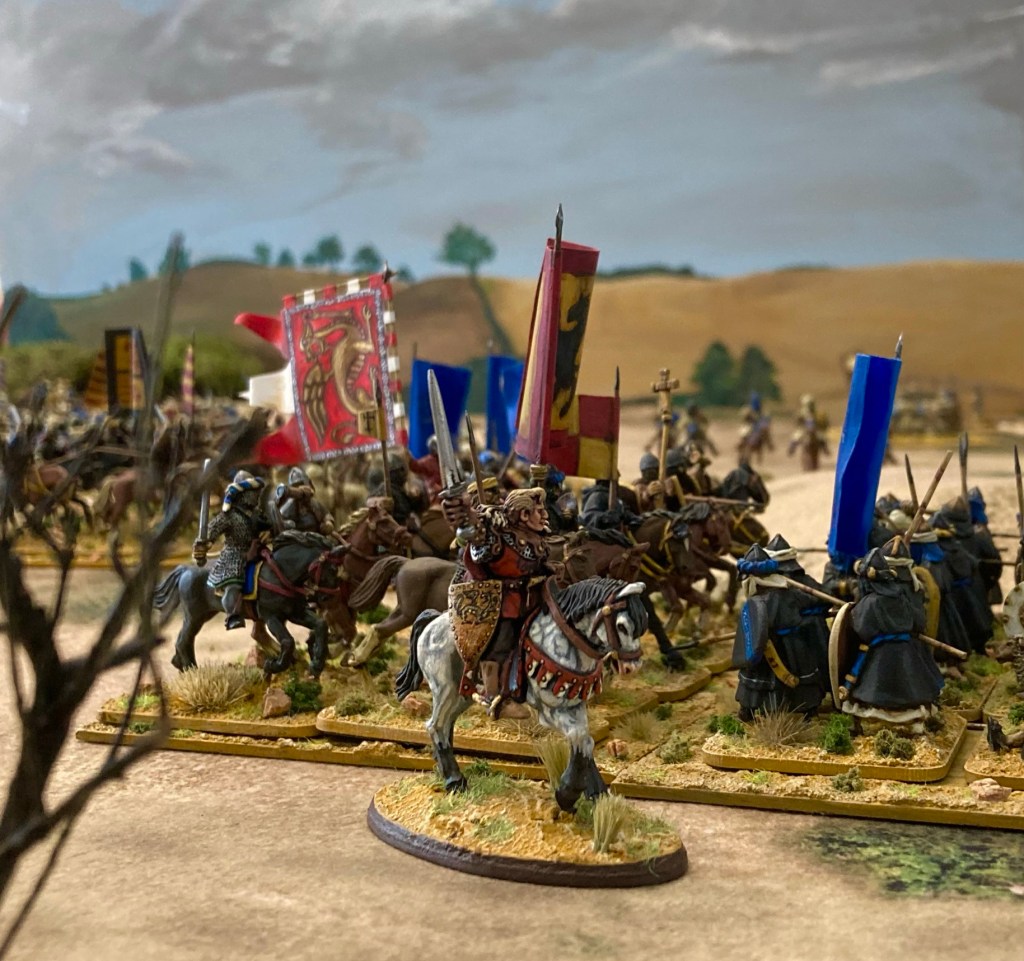
Yesterday I was able to get in a game set in medieval Spain with old mucker Scrivs. Using my own Midgard rules (now into yet more testing), we were preparing for the game that we are planning to put on at the Partizan show in Newark on October 10th.
Today’s game was to be a very straightforward battle to test some of the interactions between troop types, especially the balance between charging knights and Almoravid spearmen that is critical for games set in this era. On a less critical note, it was also our first game involving the feared Almoravid camel riders…
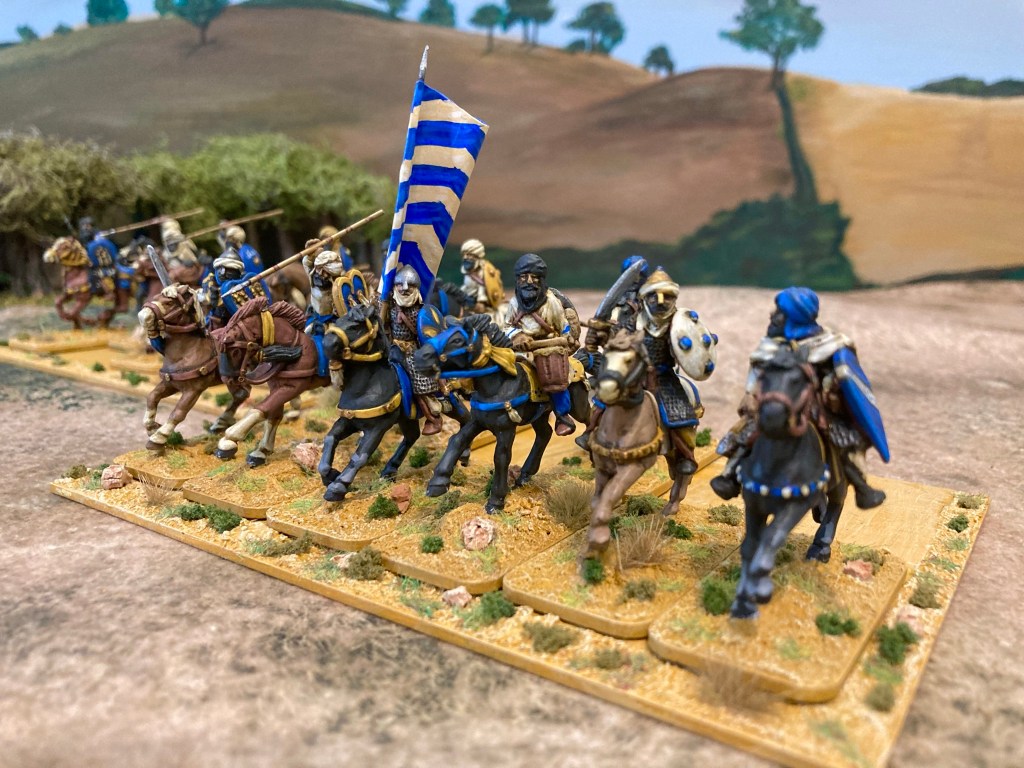
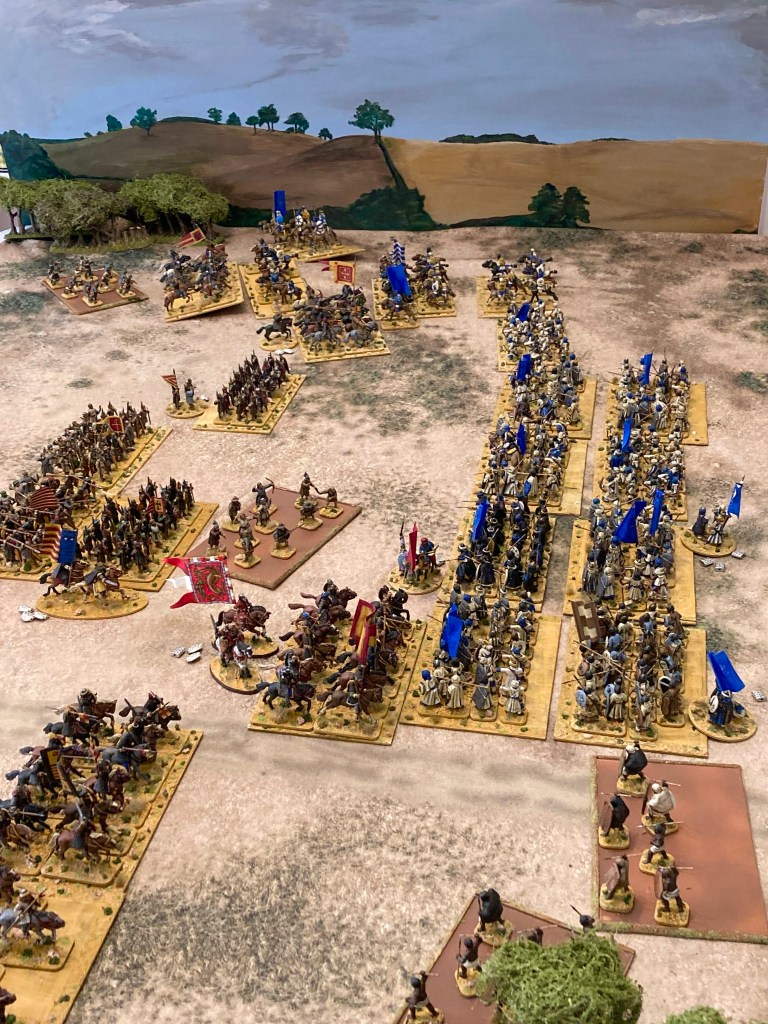
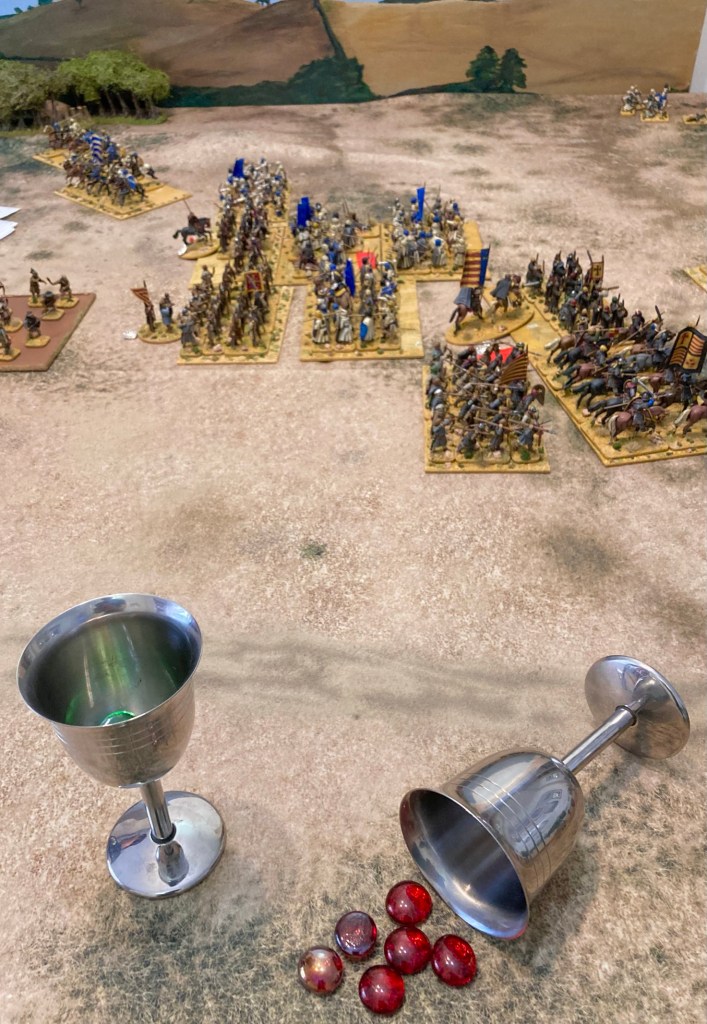
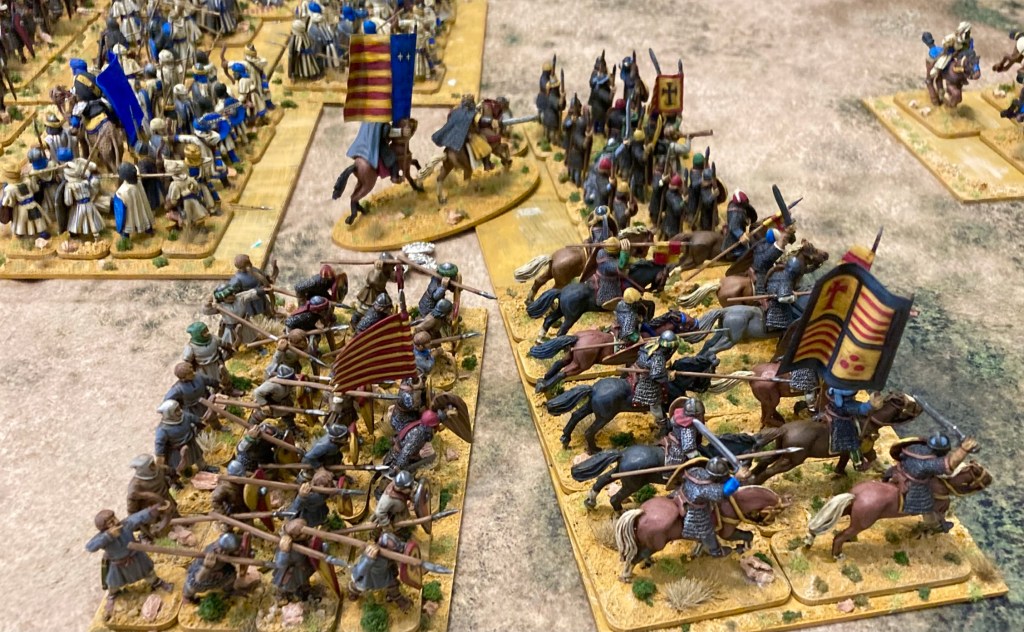
Scrivs provided both armies, having painted every single figure in his El Cid lead mountain over the last few years; my contribution extended to writing some army lists and putting in my El Cid mini and standard bearer. The gaming mat is the Geek Villain ‘El Alamein’ one with some trees by Last Valley, scatter terrain by Paul and a backdrop painted by the talented Mrs Scrivs.
Paul took the role of the combined forces of Aragon and Rodrigo Diaz; I commanded the Almoravids. The two forces consisted of:
ARAGON/ RODRIGO DIAZ
4 heroes including Pedro I of Aragon and El Cid
1 unit of household knights
3 units of knights
4 spear and bow units
2 units of jinetes (light horse)
2 units of skirmishers with crossbow or javelin
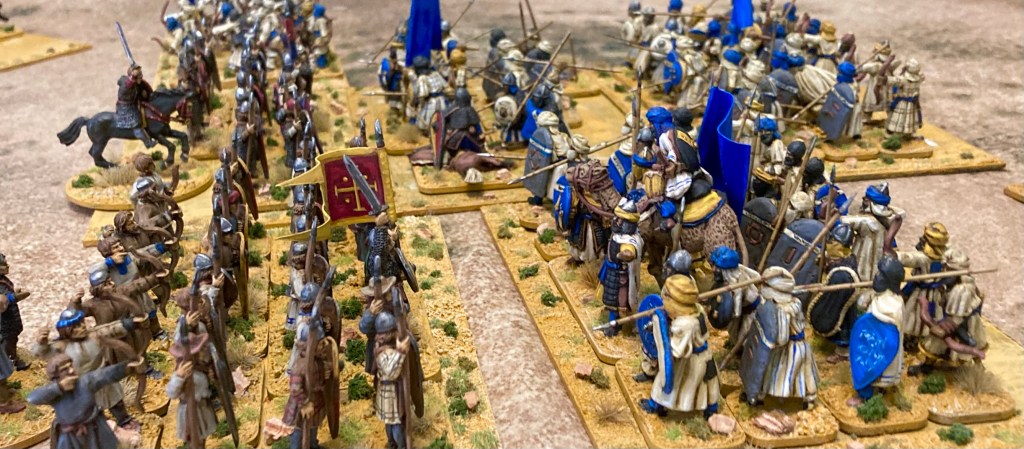
ALMORAVIDS
4 heroes
1 unit of Black Guard
3 units of spearmen
3 units of spear/bowmen
2 units of skirmishers with javelins
2 units of jinetes
1 unit of noble cavalry
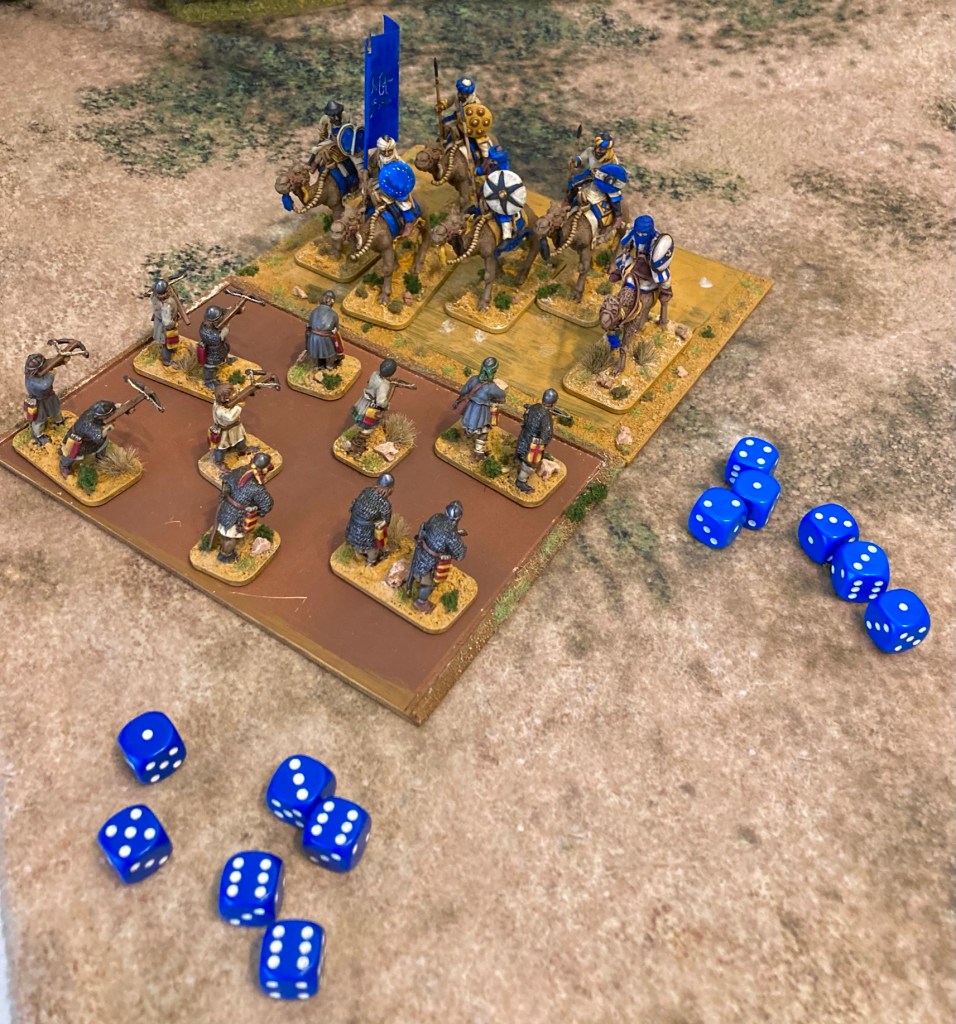
and…1 unit of camel riders. Spurious but entertaining!
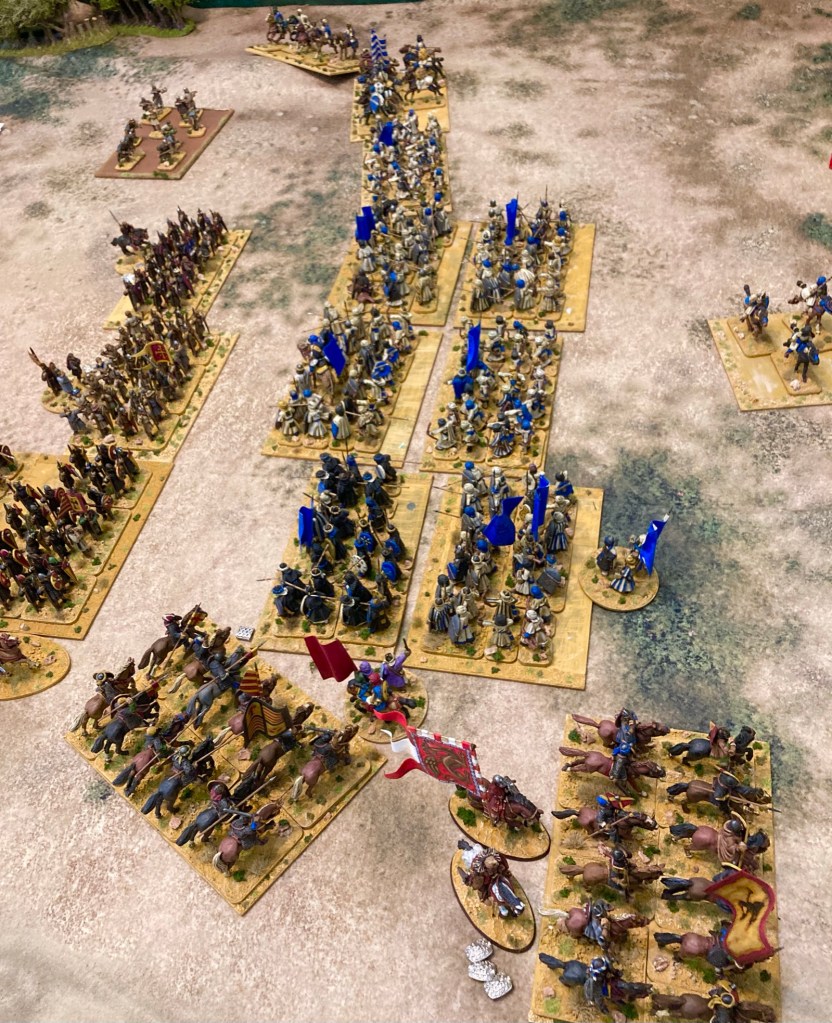
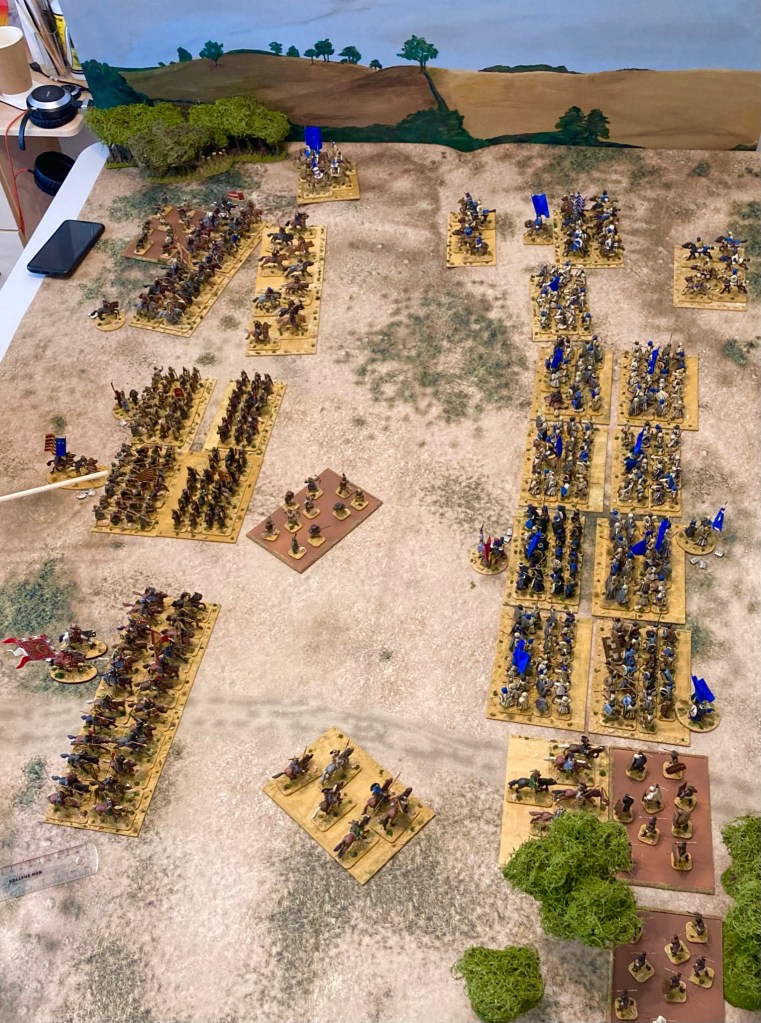
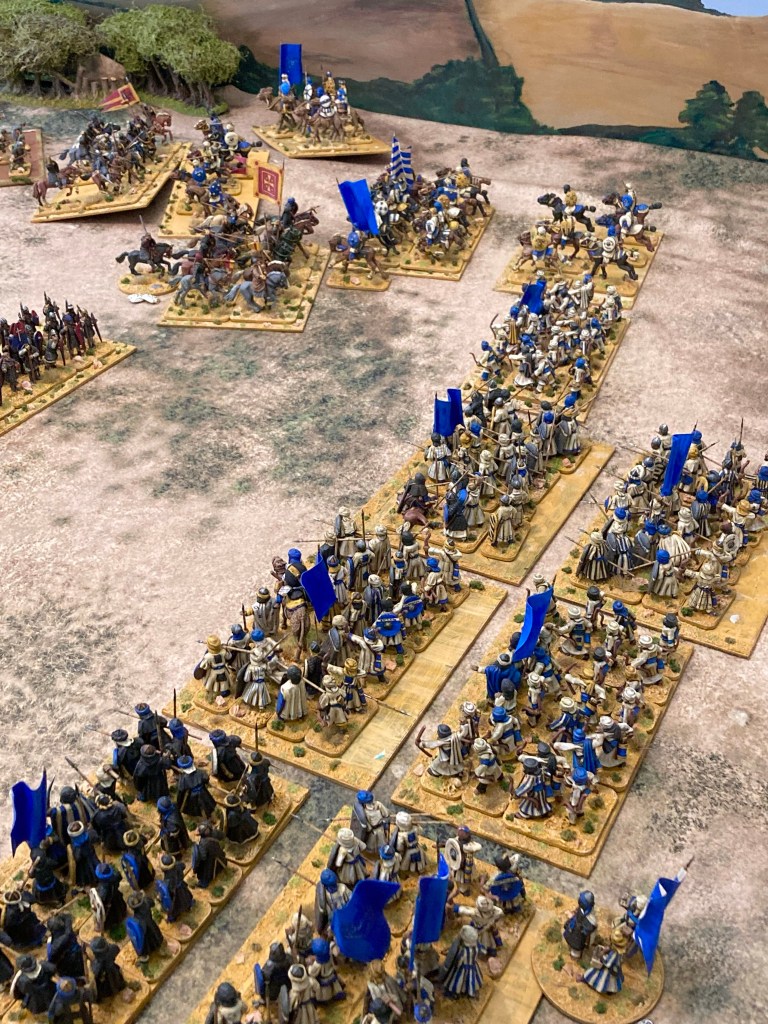
We both deployed in double lines – supporting units are essential in Midgard, and archers are useful to shoot over troops in front. Paul deployed his knights to the left and right, clearly looking for an opportunity to roll up either flank.
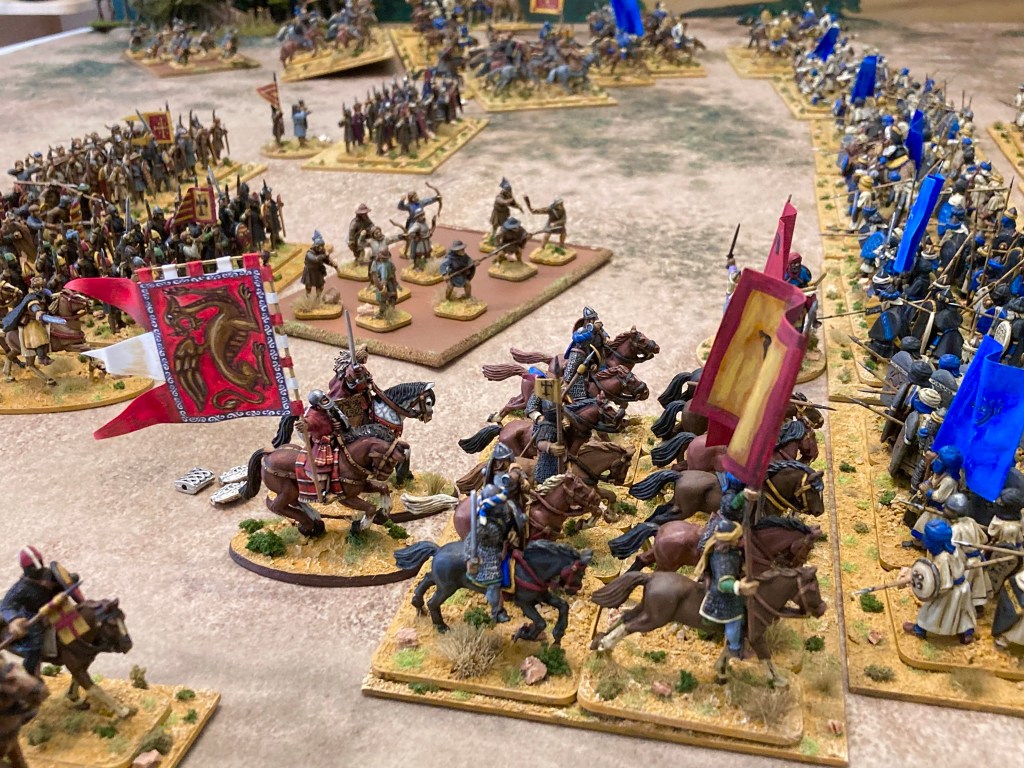
The game started very cautiously- I resisted my usual urge to charge straight up the middle, hoping to hold on to the woods protecting the Almoravid left flank. Instead, I sent forward my light cavalry and camel riders on the right to try to draw out their opposing numbers and disrupt the knights behind them. There was some desultory bowfire between the two forces and an exchange of javelins but to little effect overall.

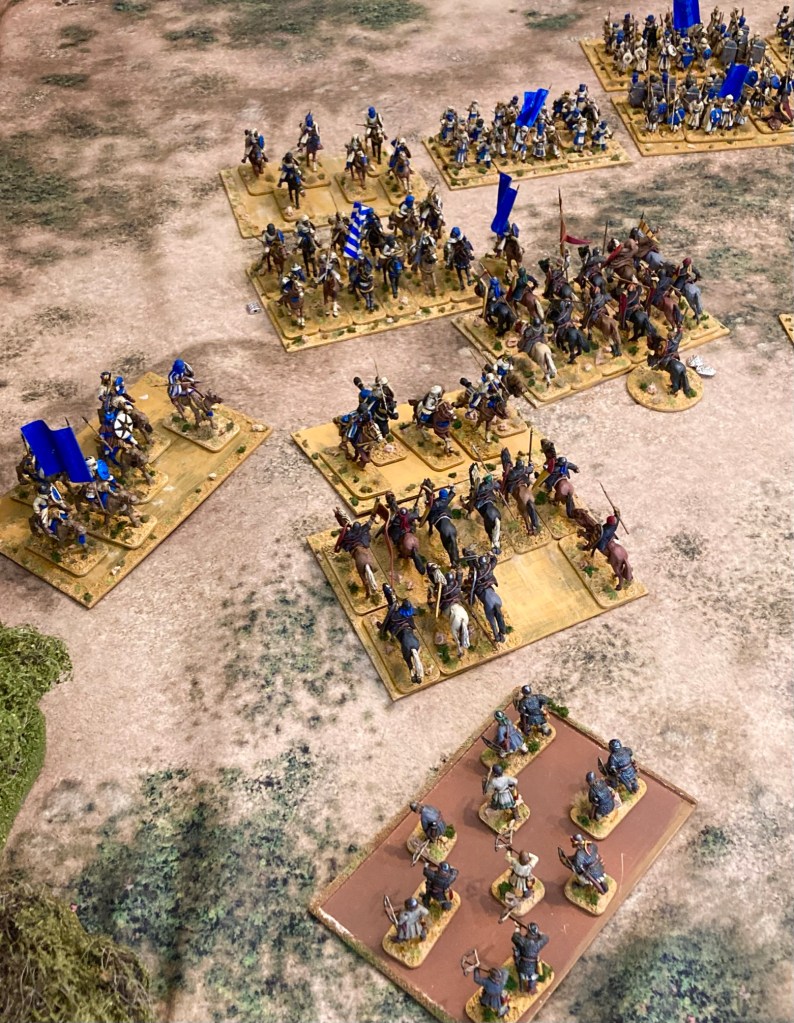
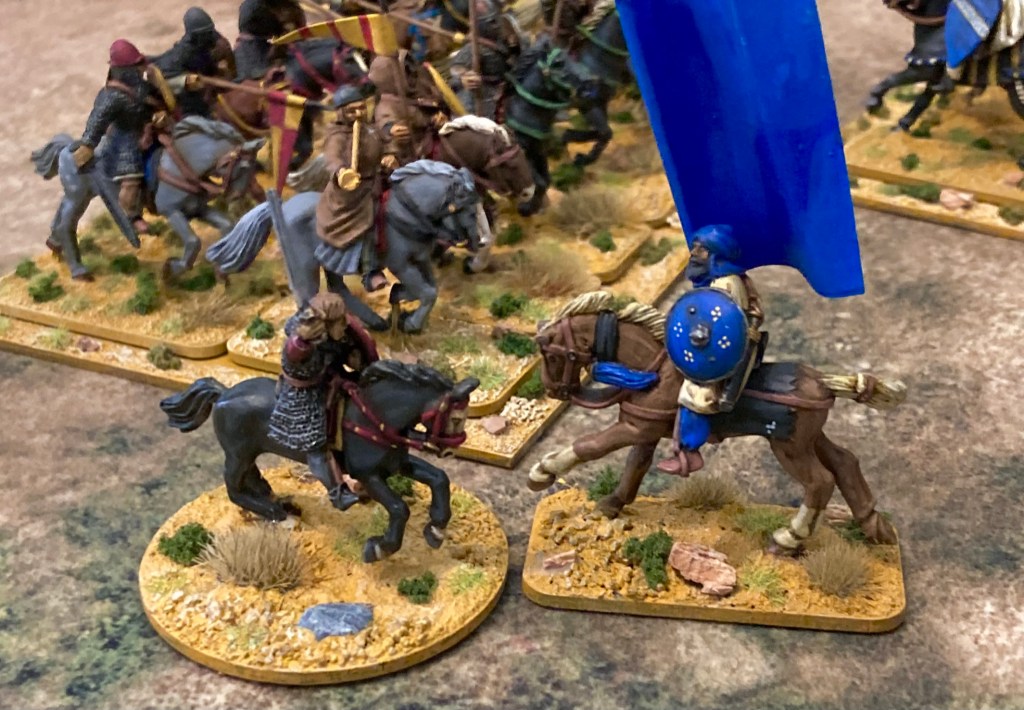
Everything kicked off in turn four though – my jinetes on the right flank got the breakthrough they were after. The Christian knights facing off against them met their match in the Andalusian noble horsemen, then broke and fled from a hail of javelins and sustained pressure from my jinetes. Even the camel riders trotted through the gap, threatening the Spanish centre. Sadly they took on a unit of crossbows- on paper, an achievable task – and paid the price as they rolled appallingly and fled the field. (In twenty years of playing Almoravid camels, this has been the result. Clearly they were never meant to rule the battlefield.)
Now it was all getting a bit interesting in the centre. Paul’s Spanish archers and javelin men had been causing a fair bit of disruption, forcing my leaders to expend their Might Points to keep the troops in order; second-in-command Ibrahim ibn Tashfin had narrowly escaped injury after being struck by an arrow, causing consternation amongst his spearmen.
On the Almoravid right, El Cid’s right hand man Alvar Fanez ended up in a gripping single combat with my cavalry commander, Salim ibn Ali. Alvar pulled it out of the bag and struck down his opponent, only to find himself fighting for his life as his battered knights were charged and routed by Almoravid cavalry and bowmen. However, the loss of their cavalry commander cost the Almoravids dear – they were unable to keep the momentum without his leadership.
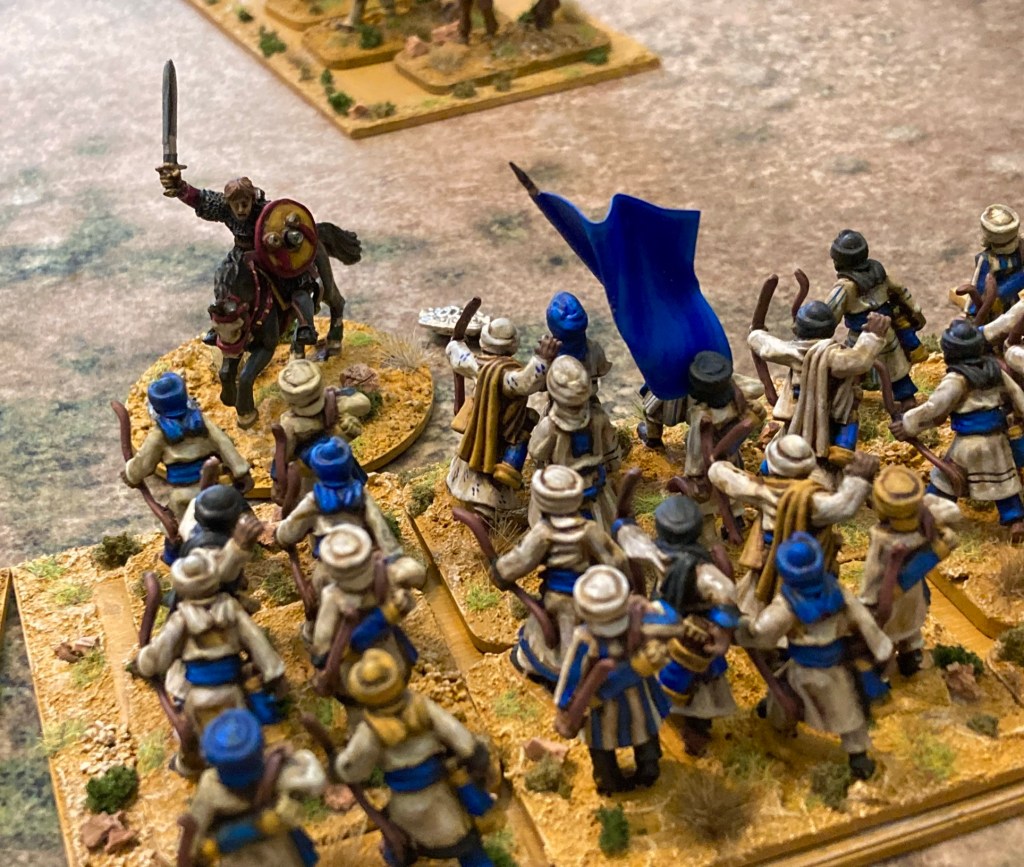
The main charge of the knights now came in on the Almoravid left. King Pedro of Aragon stormed in and challenged Ibrahim ibn Tashfin, thinking himself the stronger. Both leaders put up an impressive fight, bolstering their reputations while exchanging blows, but eventually Pedro landed a wound on the Almoravid commander, who dropped back into the protection of the ranks. The Aragonese knights crushed the front rank of African spearmen and the luckless Ibrahim was run down by a Spanish warhorse. Things were turning.
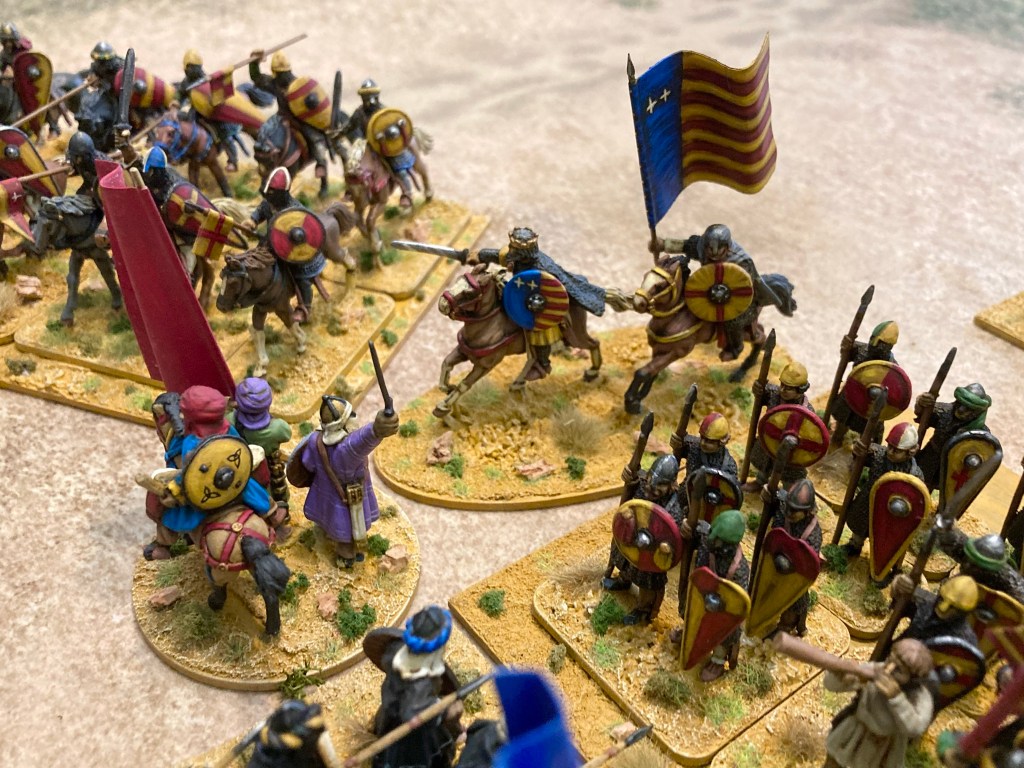
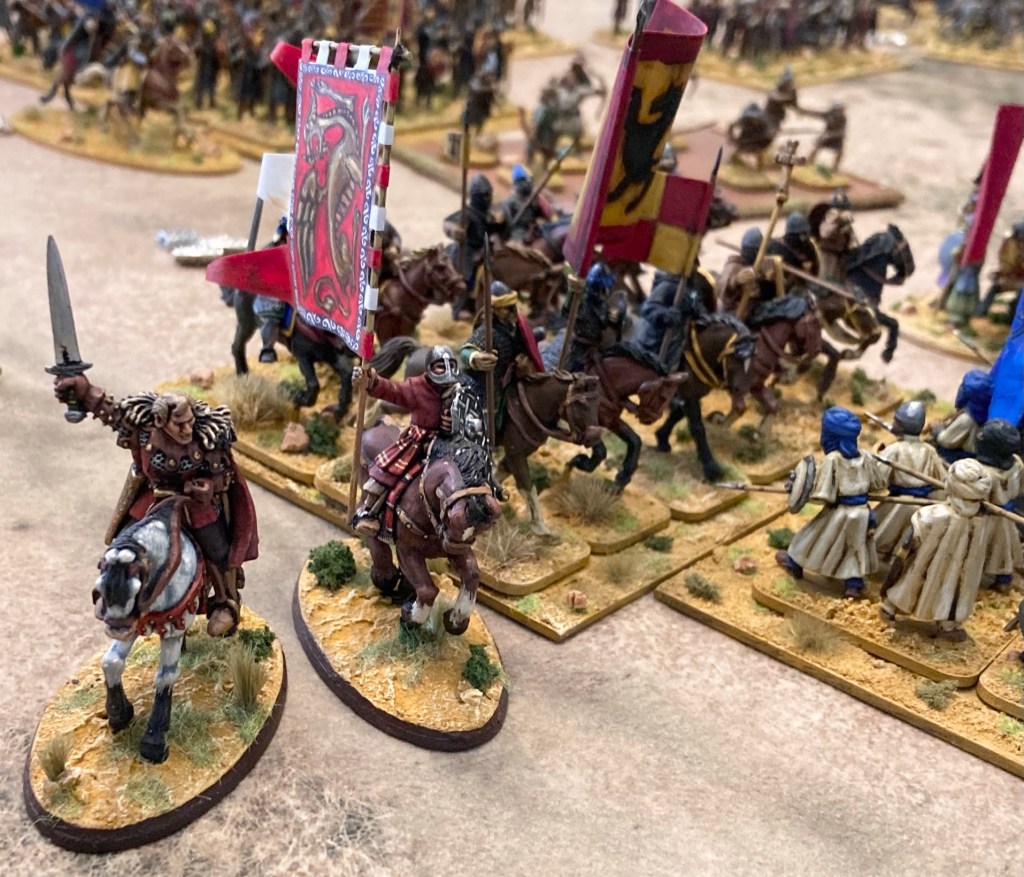
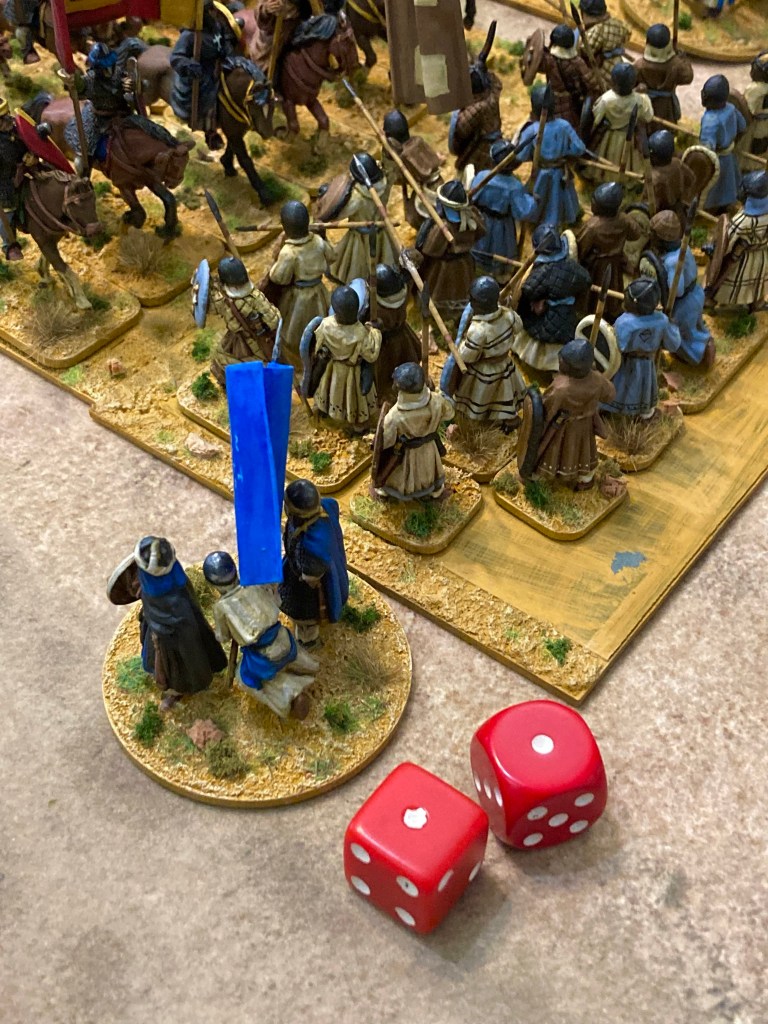
Now the Campeador himself joined the charge, taking his knights right into the Almoravid left. With the expected verve, Rodrigo all but destroyed one unit and ploughed into another. The last action of the battle was the misfortune of another Almoravid commander, al-Tariq, the captain of the guard, who found his unit taking substantial damage from El Cid’s knights. Making the required ‘risk to heroes’ roll, he excelled himself with a double one – the worst possible throw – and expired forthwith.
This was the end for the Almoravids – after a promising start, they had been decisively crushed by the Spanish. From a game point of view, the charging knight rules worked very well, giving the Spanish a substantial but brittle advantage on the charge. We had enjoyed two single combats which lent a real narrative feel to the game. What we still haven’t quite resolved is how we’re going to fit everything on the table for Partizan, but there will be a way!
Thanks to Scrivs for hosting, providing both armies and playing.

Fab game. Love the double one’s! Reminds me of the old days lol
LikeLike
Indeed, the old days, but with simpler rules!
LikeLike
But vintage dice rolling, for sure.
LikeLike
Superb looking game. One of my favourite periods
LikeLike
I keep on coming back to the pictures of your great collection. Congratulations!
Just one question: do you use magnets in your miniatures or movement trays? Or are they superfluous? Could you please explain your system?
Thanks in advance.
LikeLike
Hi, thanks – I’m glad that you enjoyed the pics. All the figures except two in the battle report are by Scrivs, but we use the same basing system. Every figure has magnetic strip under its base, then all the movement trays have steel paper on top (painted the same as the base). This means that we can stick the figures on the unit bases for different games.
LikeLike
Thank you very much for the explanation.
LikeLike