Wales 1, Pictland 0: a Midgard battle report

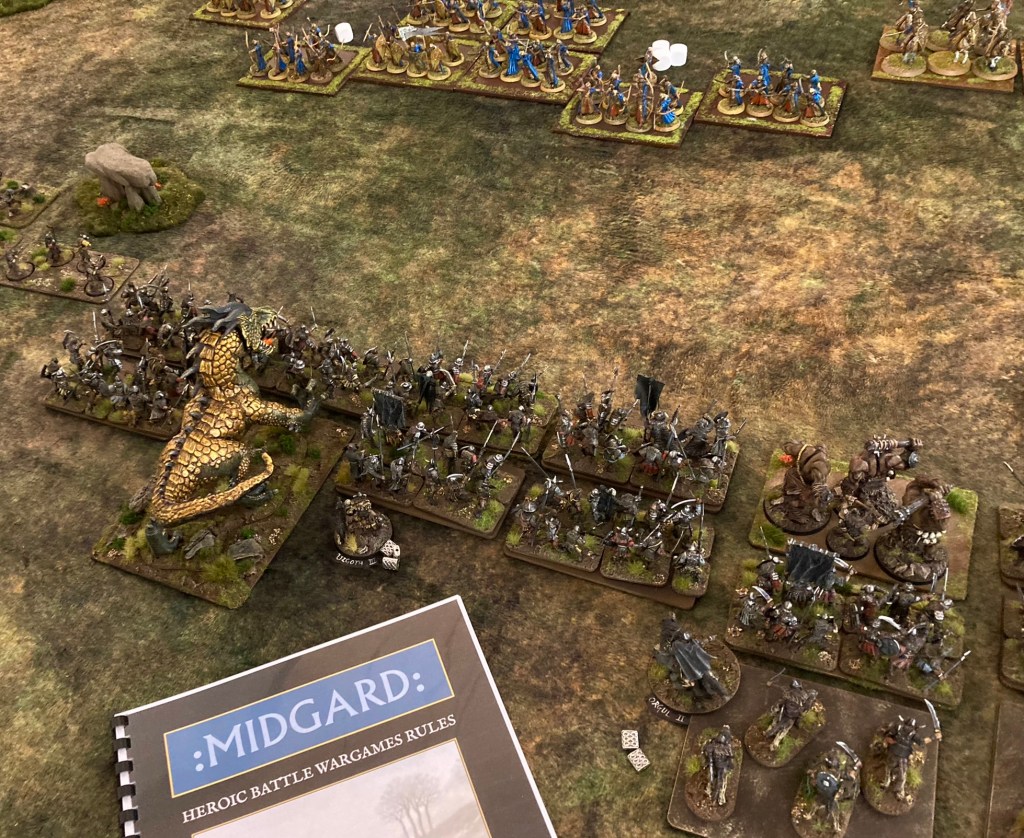
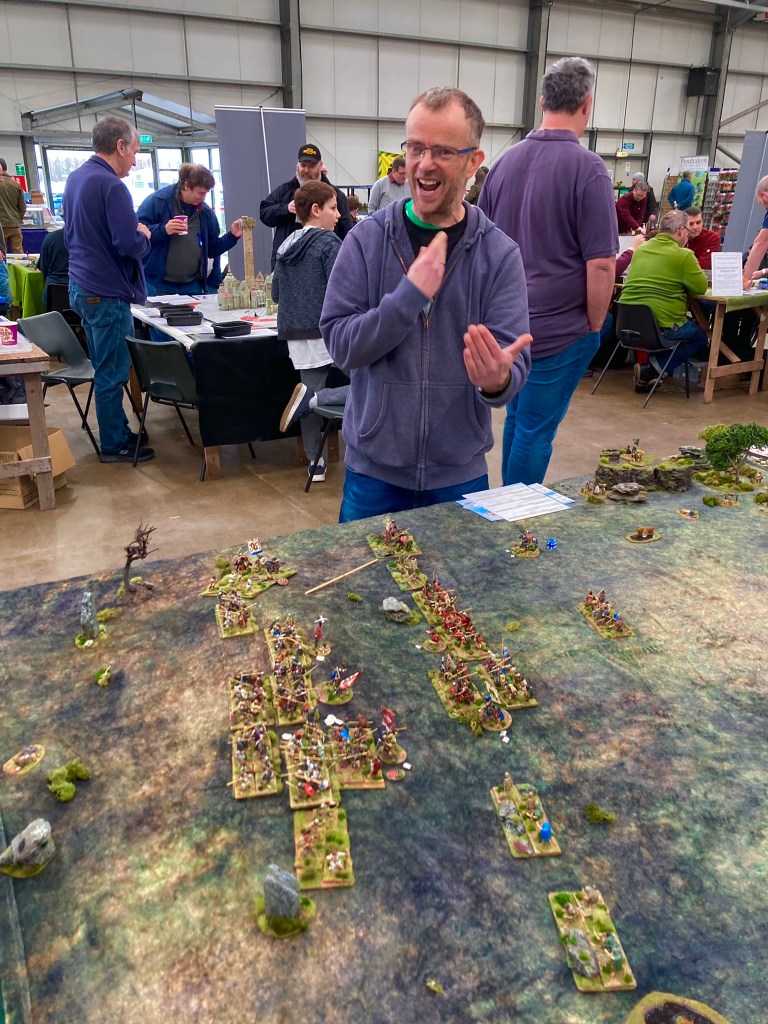
I’ve been busy developing my Midgard set of wargames rules over the last few months and my chum Pete, who has recently taken up gaming again, expressed an interest in collecting a Welsh force for the 7th century. While he was busy getting the new Gripping Beast plastics on to the painting table, I pulled out my metal collection for a game with him. Seeing as it was designed as an introductory game, I thought it’d also make a good battle report if you’re interested in Midgard.

Picts line up for battle opposite the Welsh. The vast majority of my collection are Gripping Beast and Foundry Miniatures. The mat is an OOP deep pile type from Cigar Box Mats.

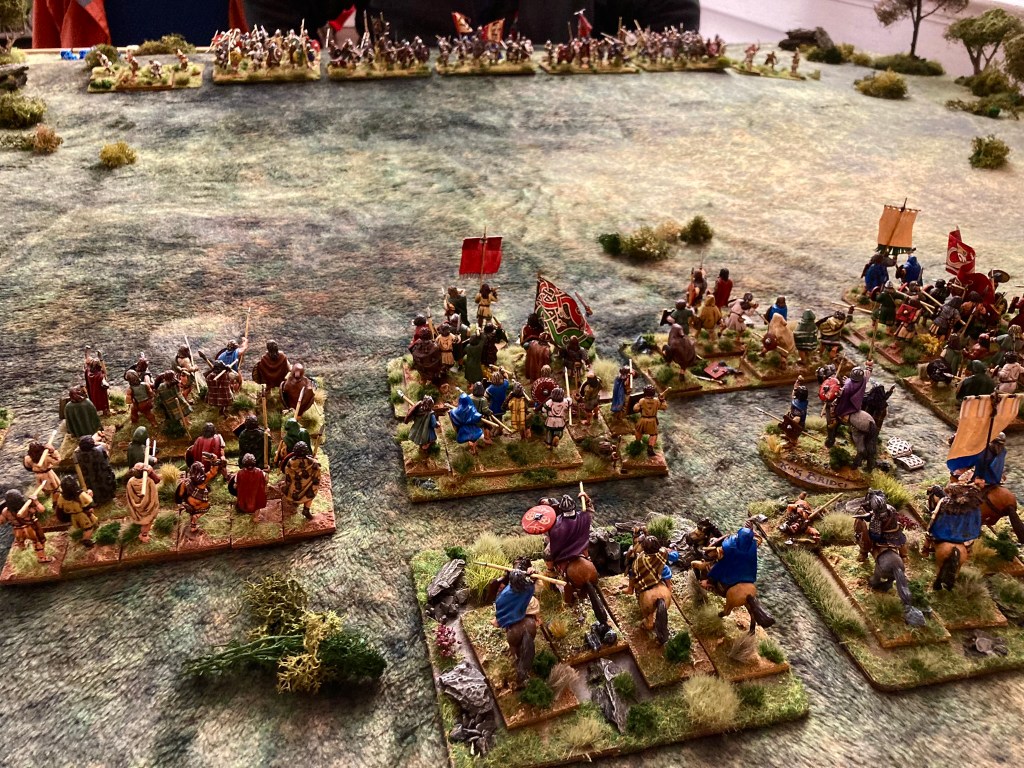
While we often play historical scenarios, this game was a straightforward battle. I put together two forces – Welsh and Picts – with a total of just over 300 points apiece, adding a dash of mysticism with both forces containing a wise woman and bard for inspirational purposes (you can play Midgard on a scale anywhere between ‘straight historical’ and ‘high fantasy’ by choice of units and traits). This gave us the following armies:
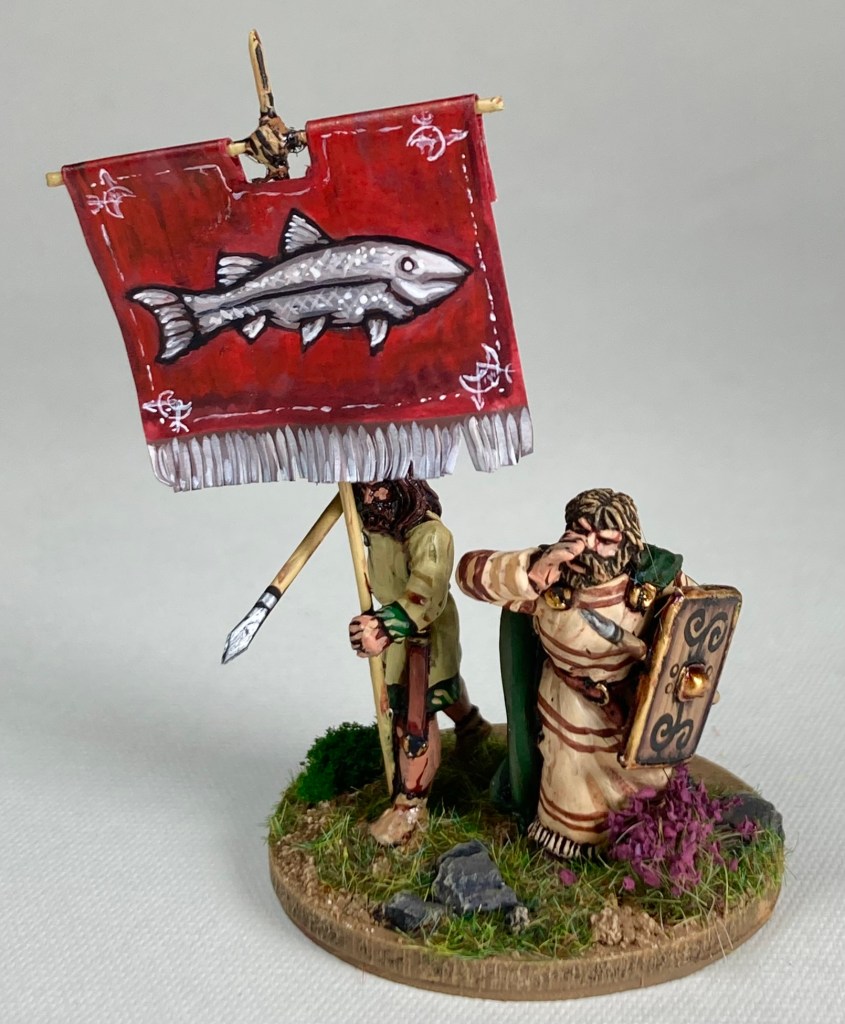
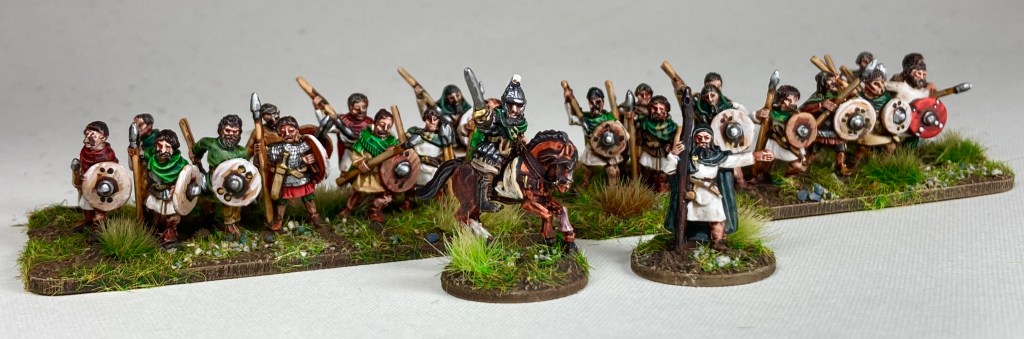
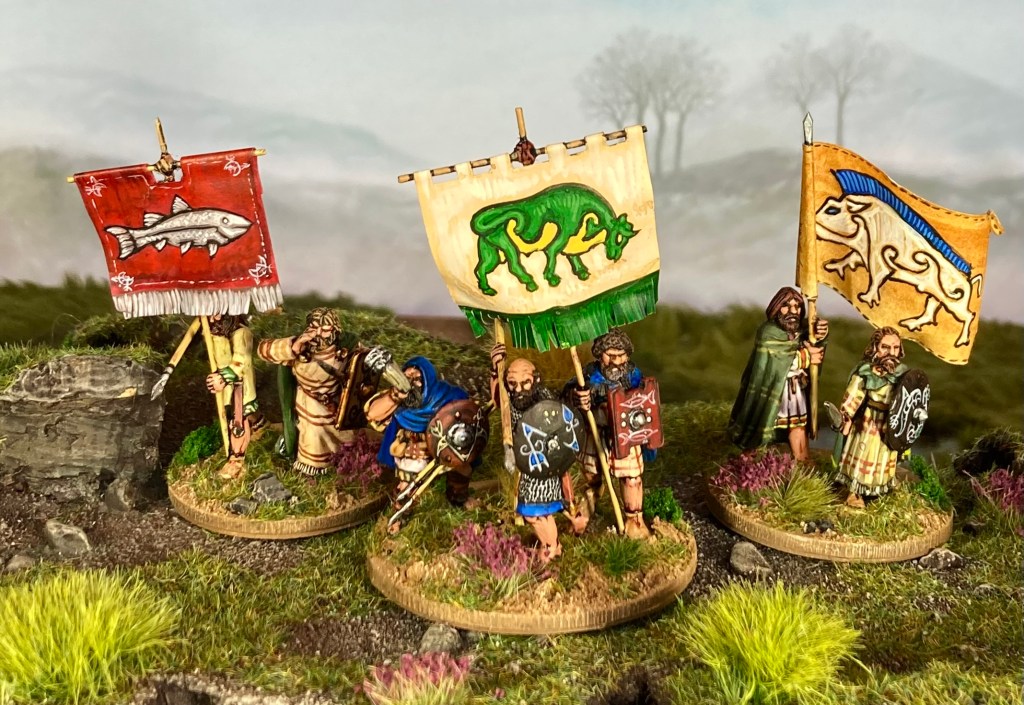
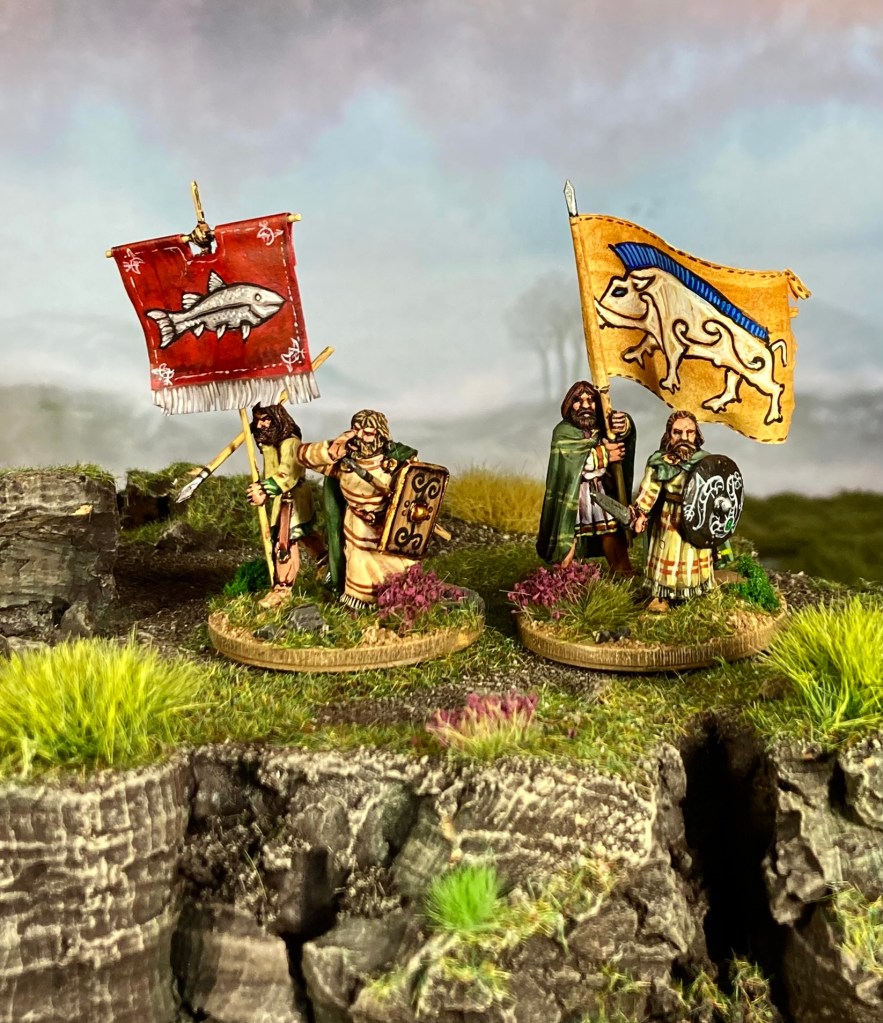
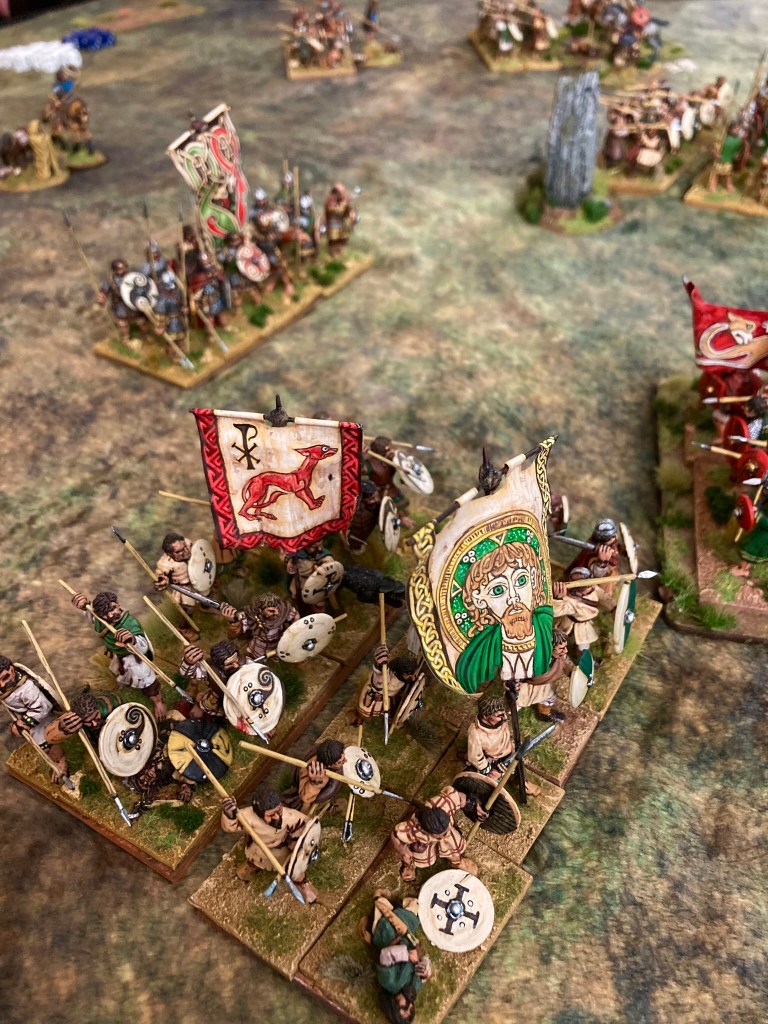
Prince Cadwaladr leads from the front

WELSH OF GWYNEDD:

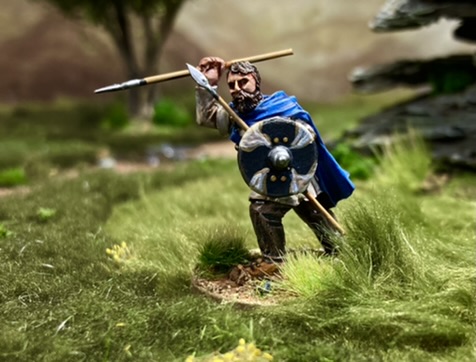
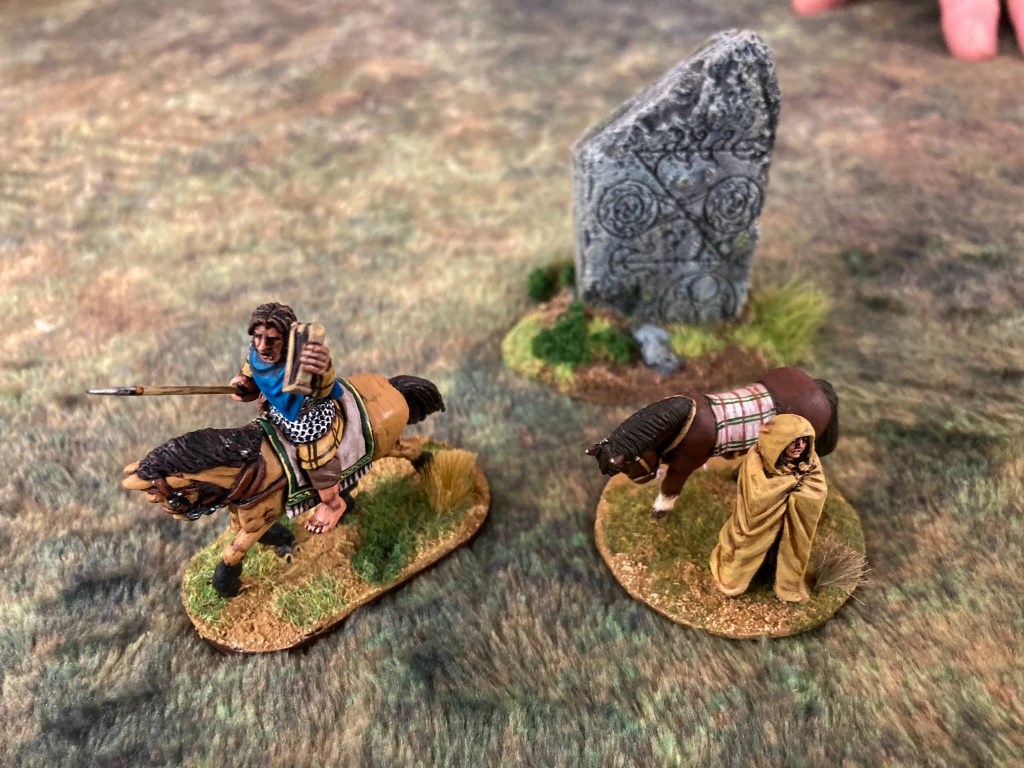
5 x Heroes (Prince Cadwaladr – Army Commander and Major Hero; Brochmael and Belyn of Lleyn – Minor Heroes; Marchlew – Champion; Gwenyfach – Wise Woman)

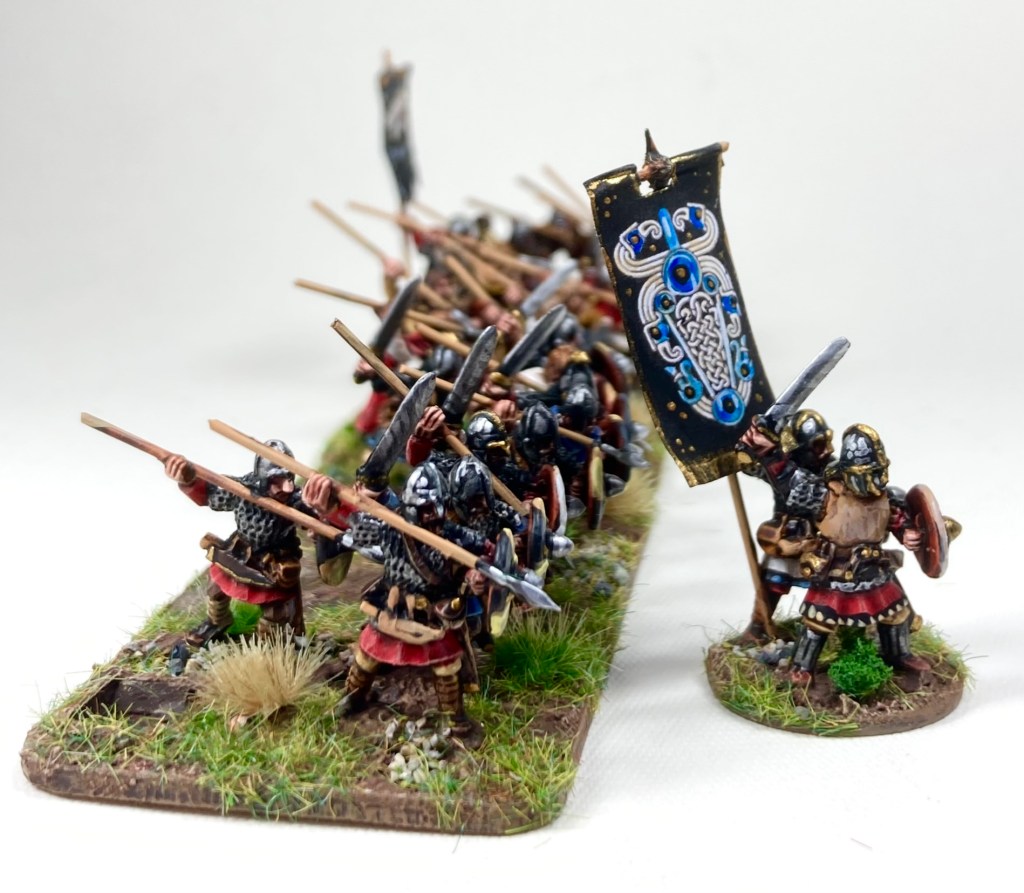
2 x Teulu (Welsh nobles on foot)

1 x Mounted Teulu (Cadwaladr’s bodyguard)
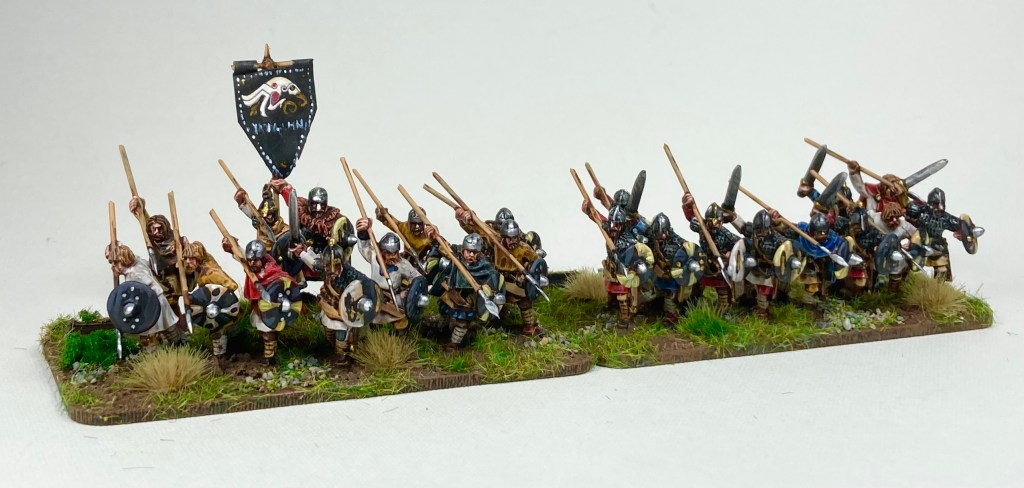
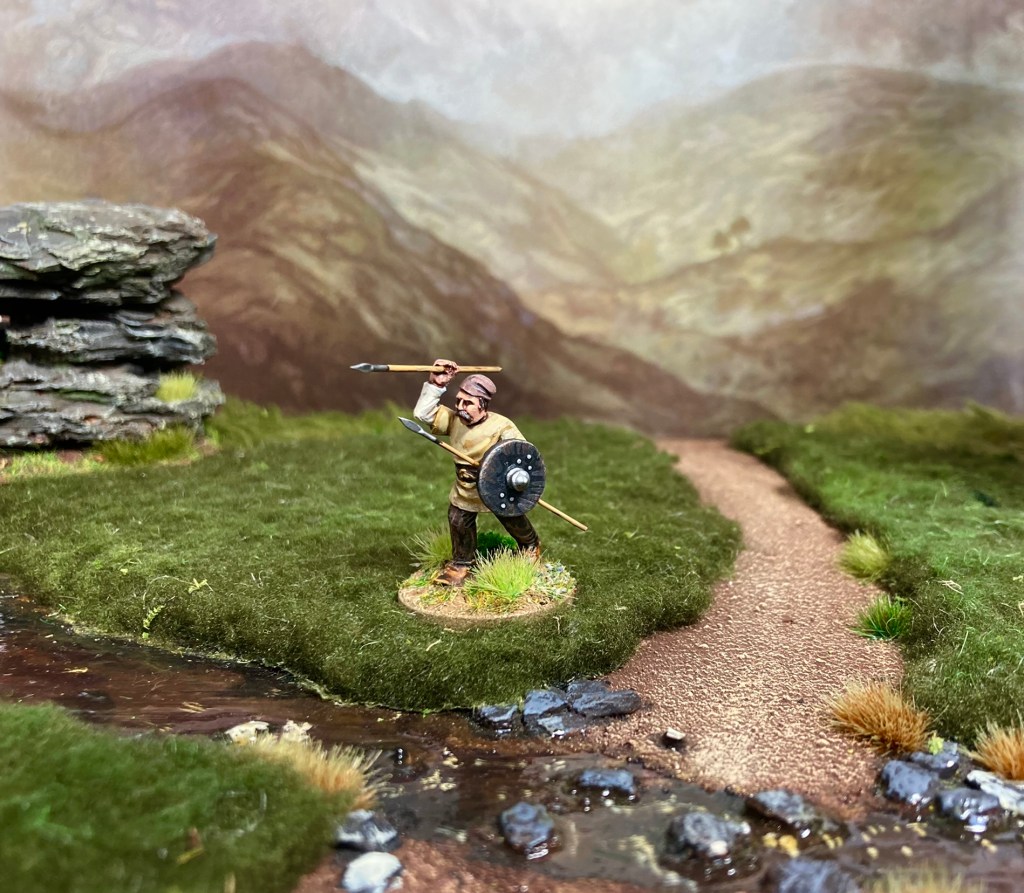
6 x Welsh Spearmen

1 x Skirmishers with Bows
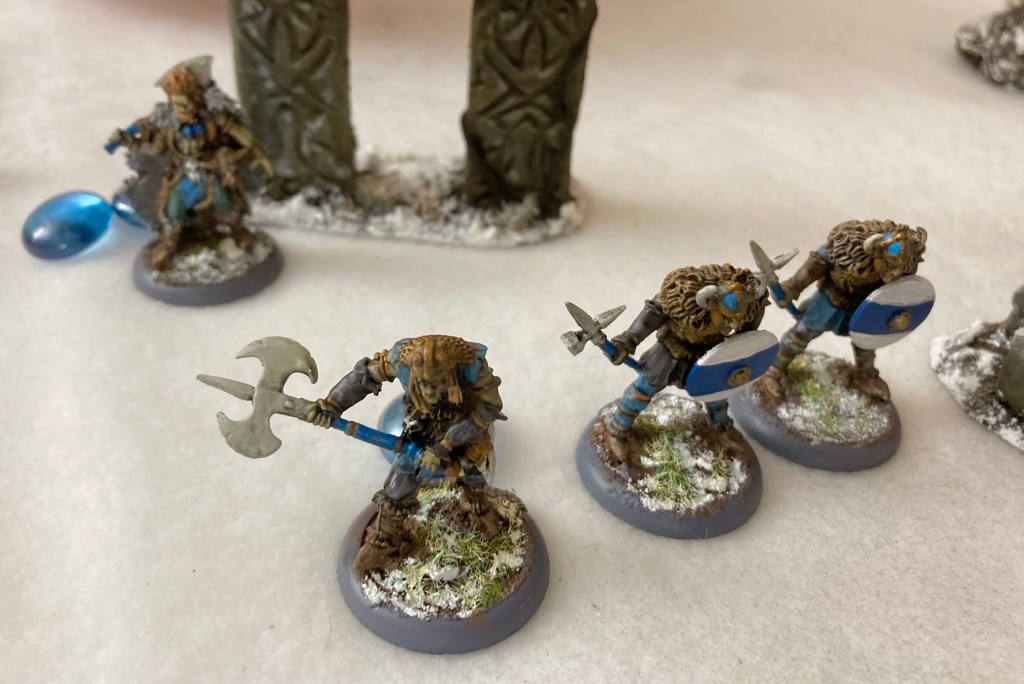
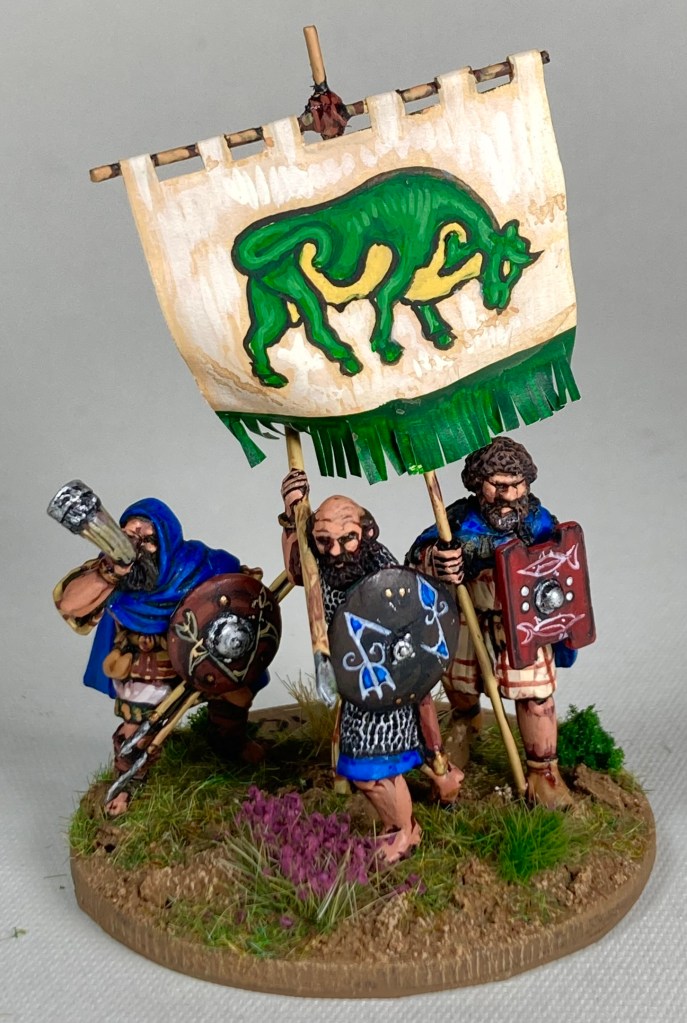
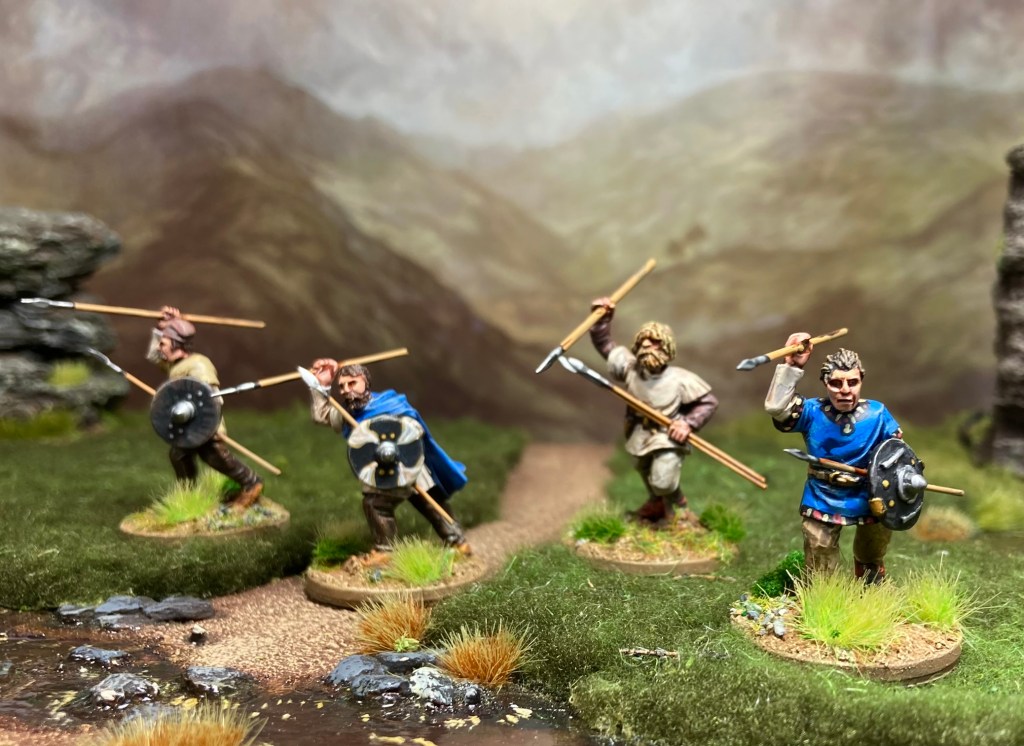
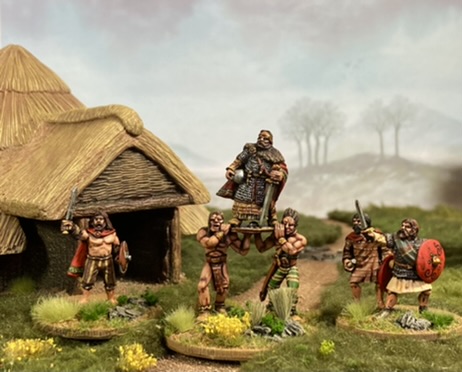
Spearmen clash at the height of the battle

PICTISH RAIDERS:

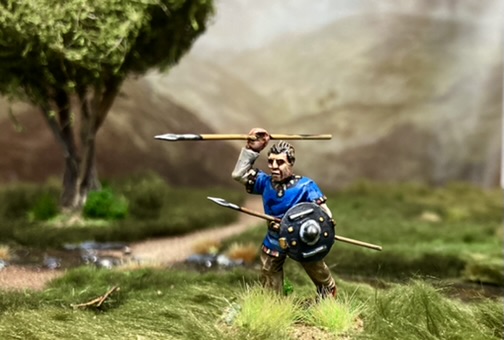
4 x Heroes (King Bridei – Army Commander and Major Hero; Talorcan – Minor Hero; Drust – Champion; Brianna of Skye – Wise Woman)

2 x Mounted Nobles

1 x Pictish Nobles on Foot

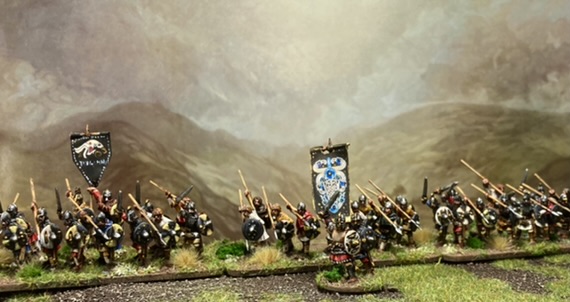
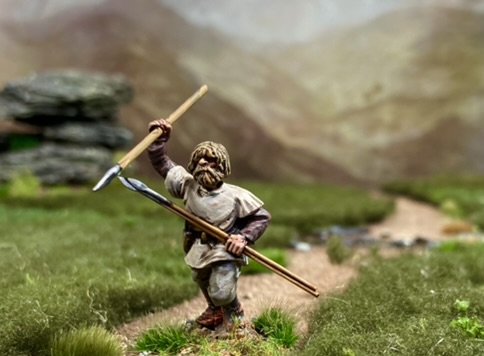
5 x Pictish Spearmen

3 x Skirmishers with Bows

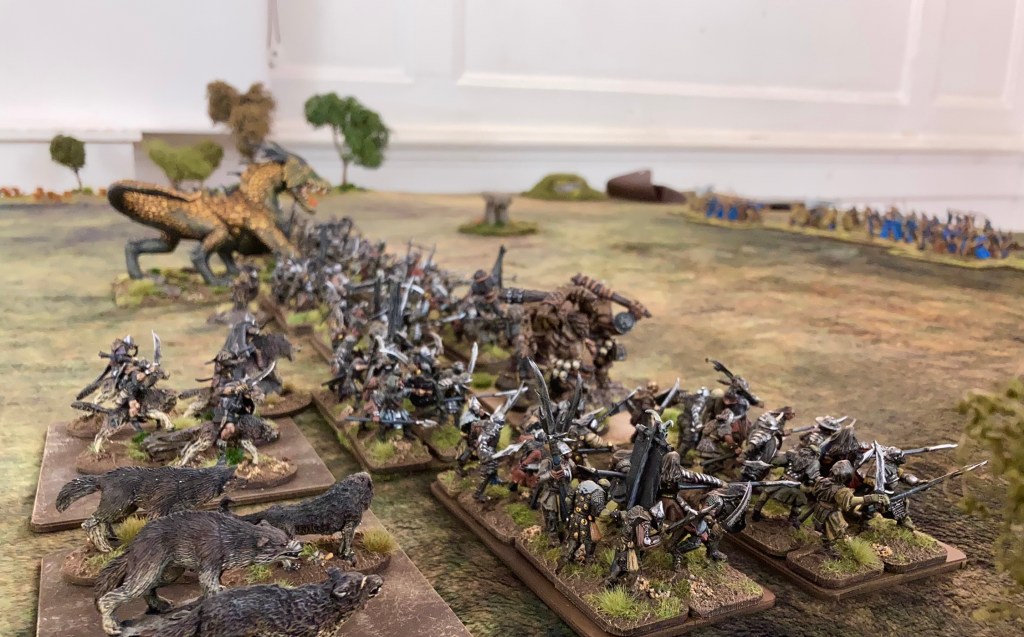
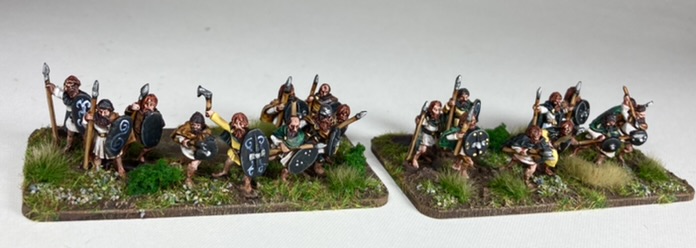
These are about the minimum size armies for a game of Midgard (10 or 11 units apiece) – while you can play smaller, it’s designed as a battle game where having a supporting line of warriors is critical, so just playing with five or six units won’t give that experience. Recommended number of Heroes is around 3-5, and these are rated from Champion (Level 1) up to Legendary Hero (Level 4), which means that you can model different armies by levels of leadership. My Middle-earth Orc army often takes to the field with just one strong army commander and a couple of low-level ones, meaning that it will have lots of troops but struggle with overall command and control. By comparison, its Noldor opponents are fielded with a very high level commander (often Legendary Hero, Level 4) and a good number of strong subordinate Elf lords to provide leadership across the battle line.

Anyway, enough about Middle-earth, we’re here for some Dark Ages hacking, so on with the battle report….

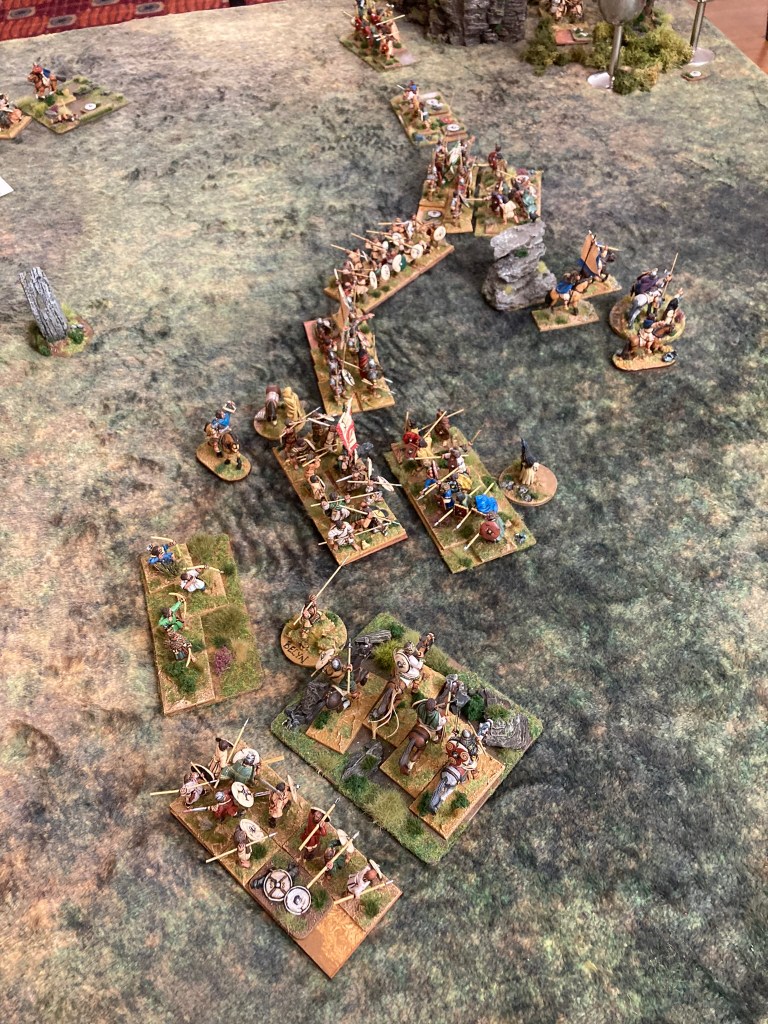
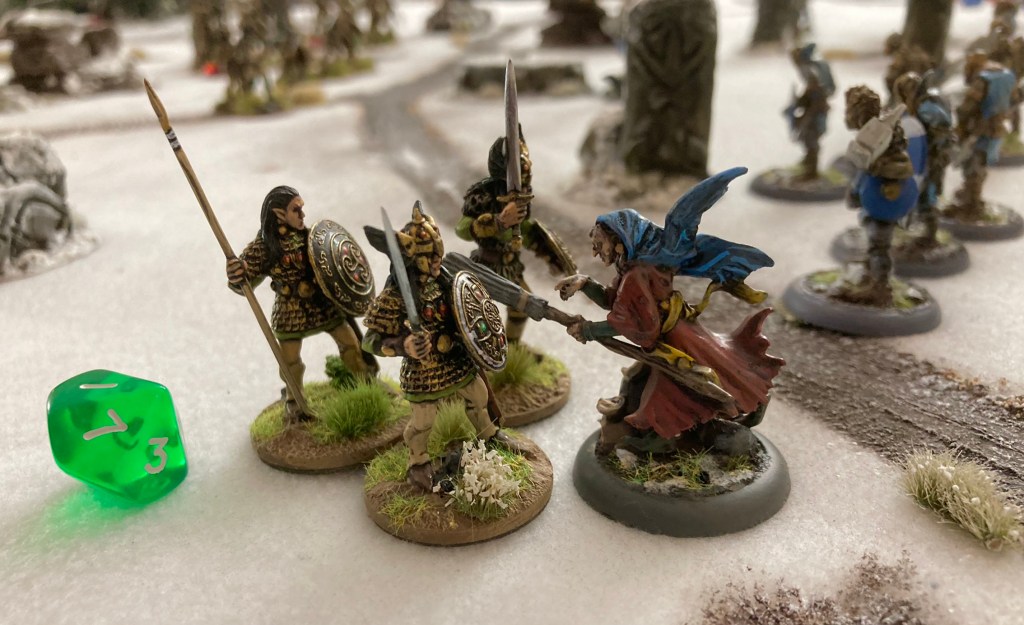
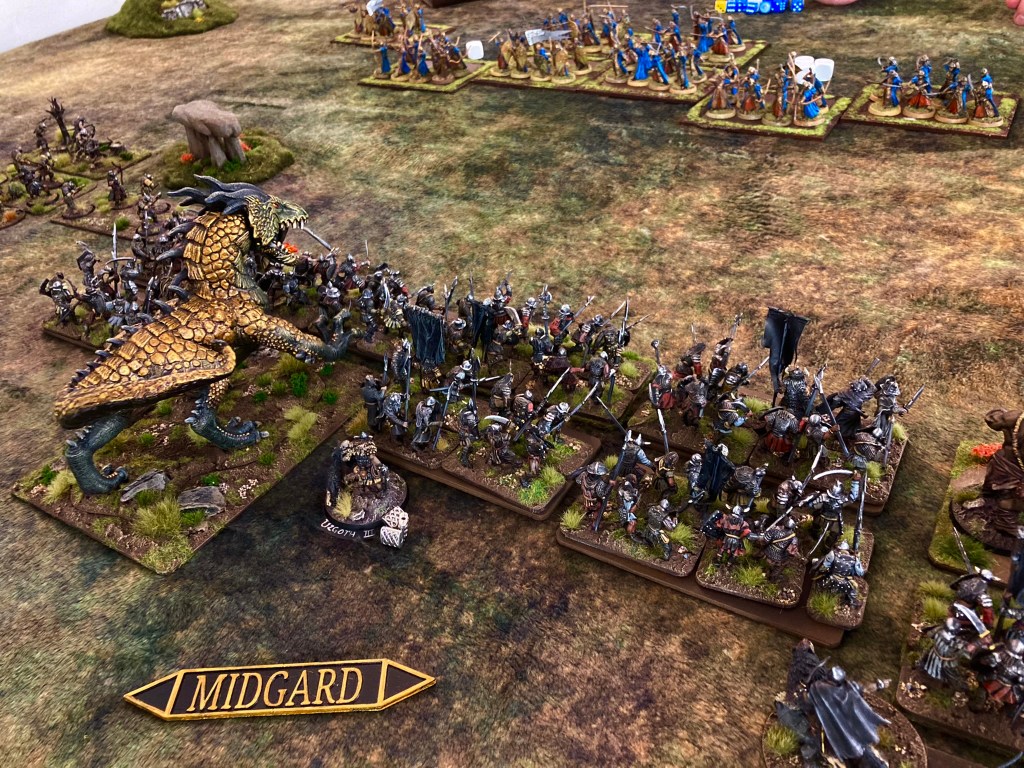
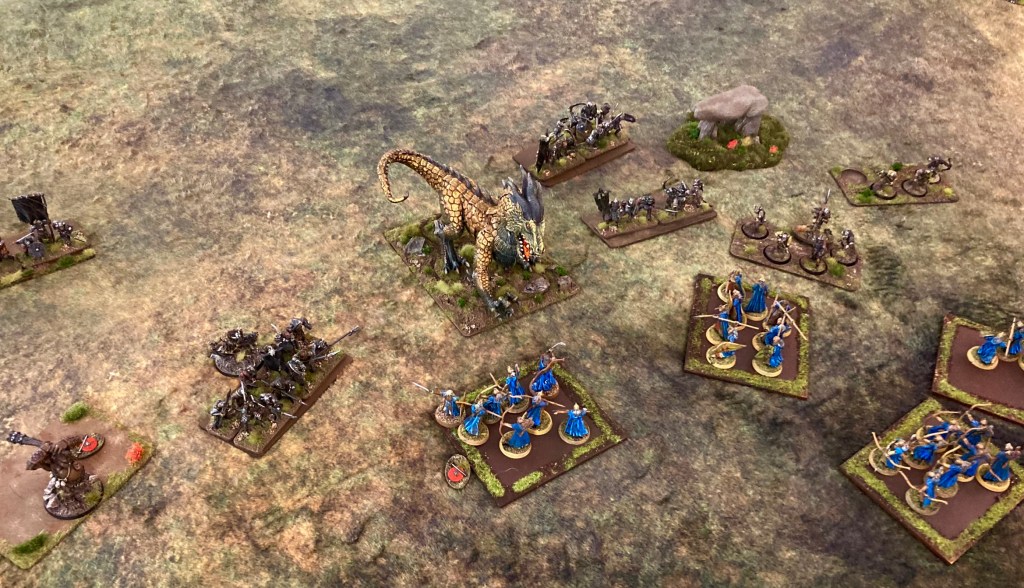
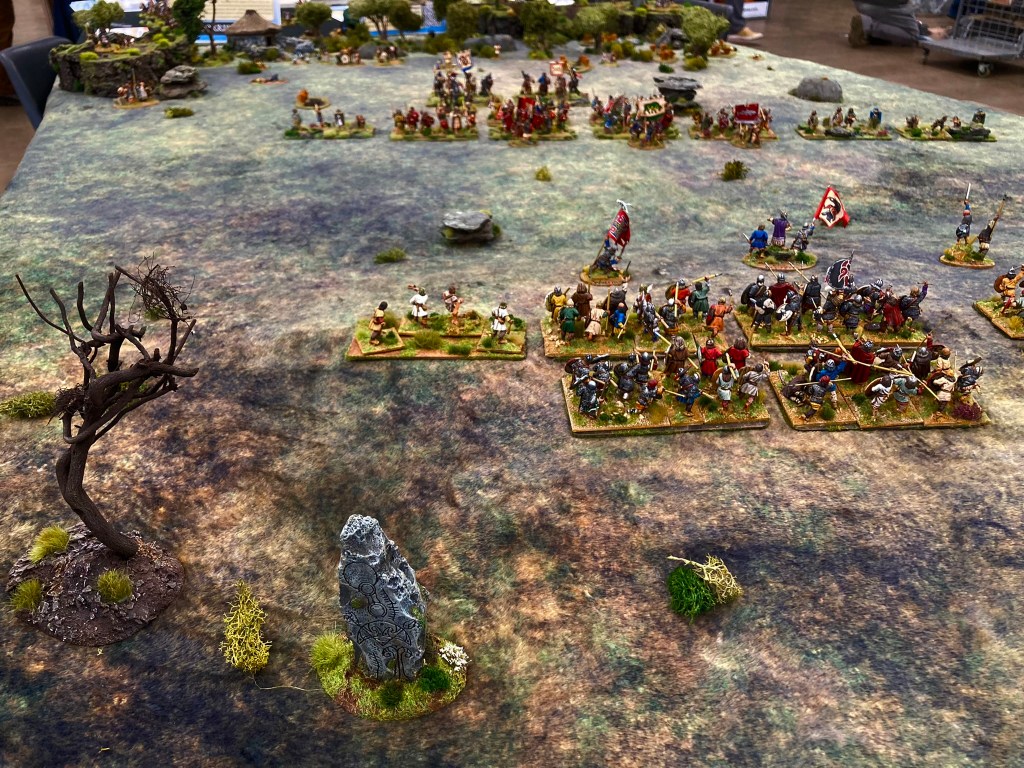
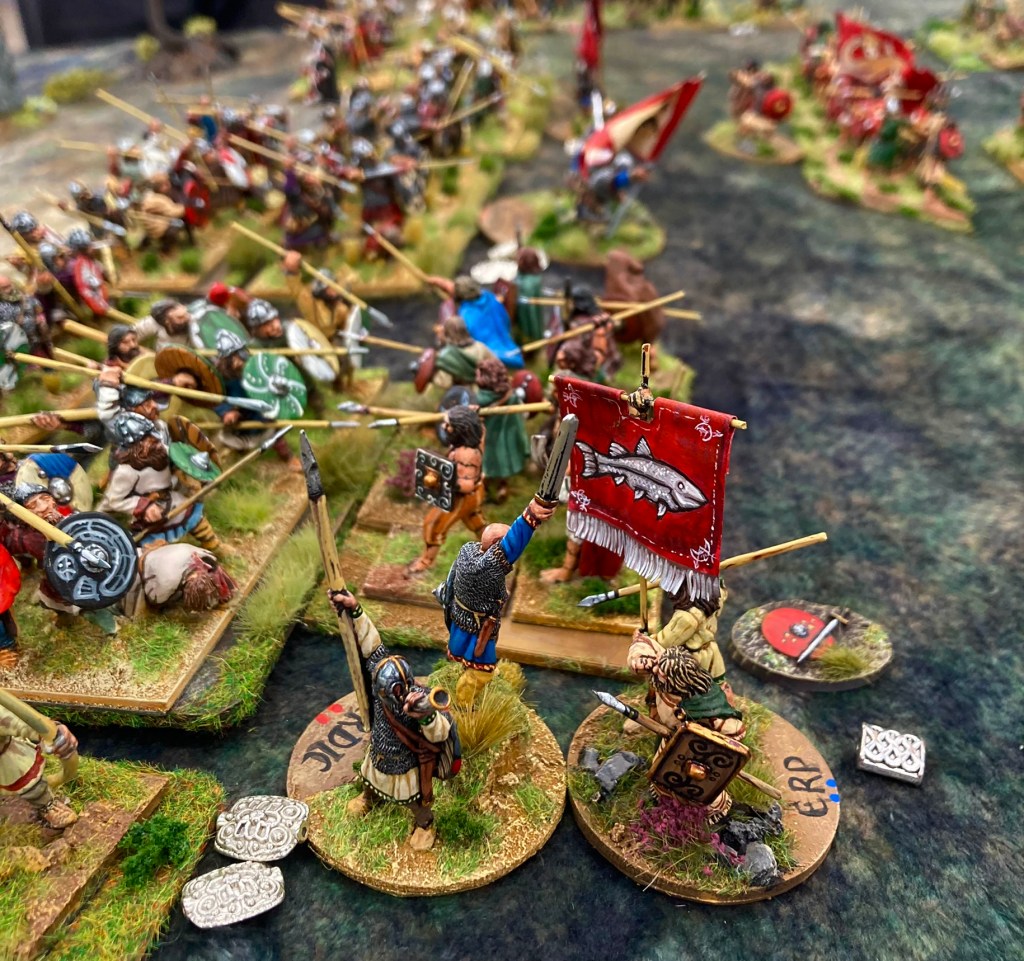
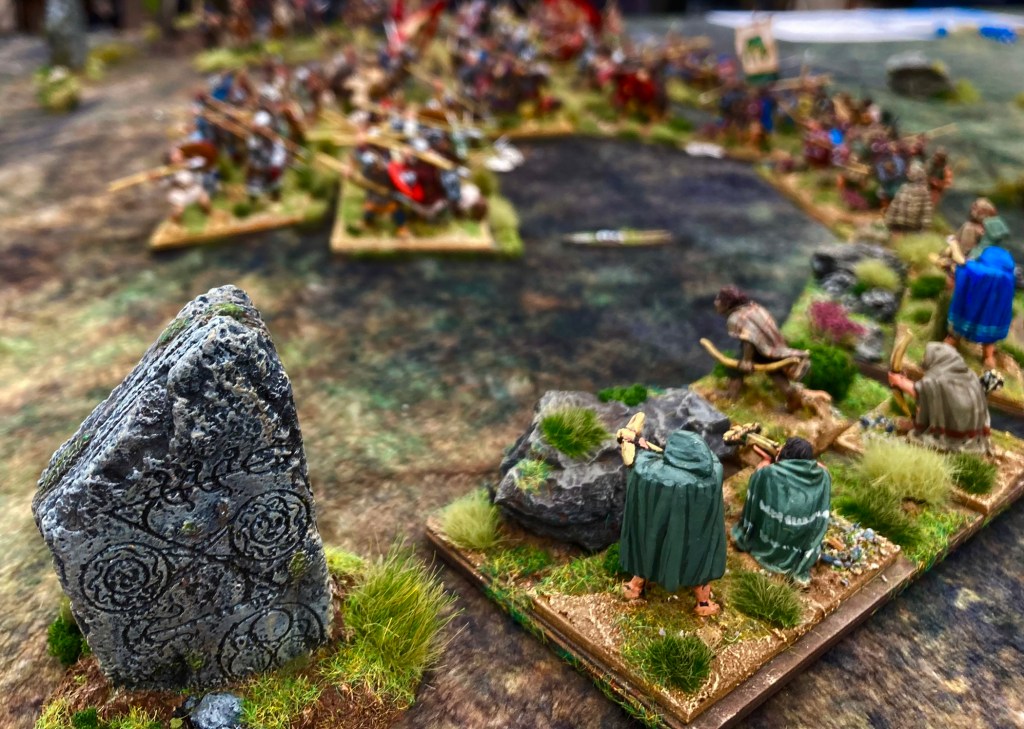
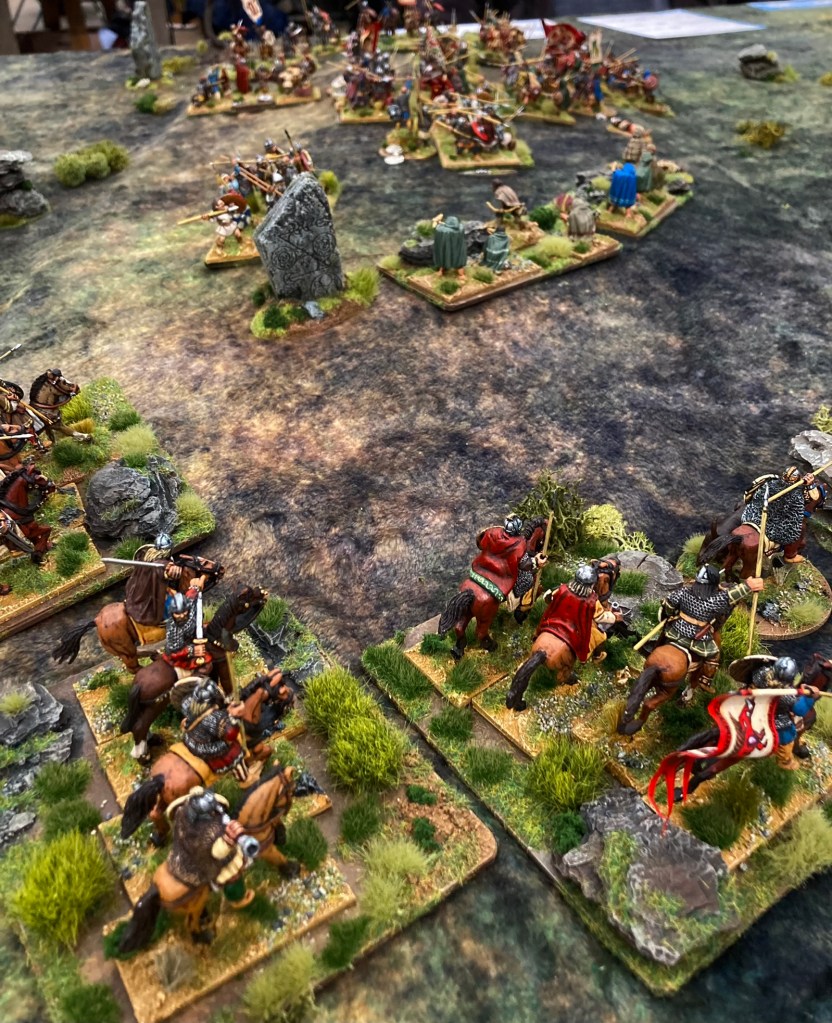
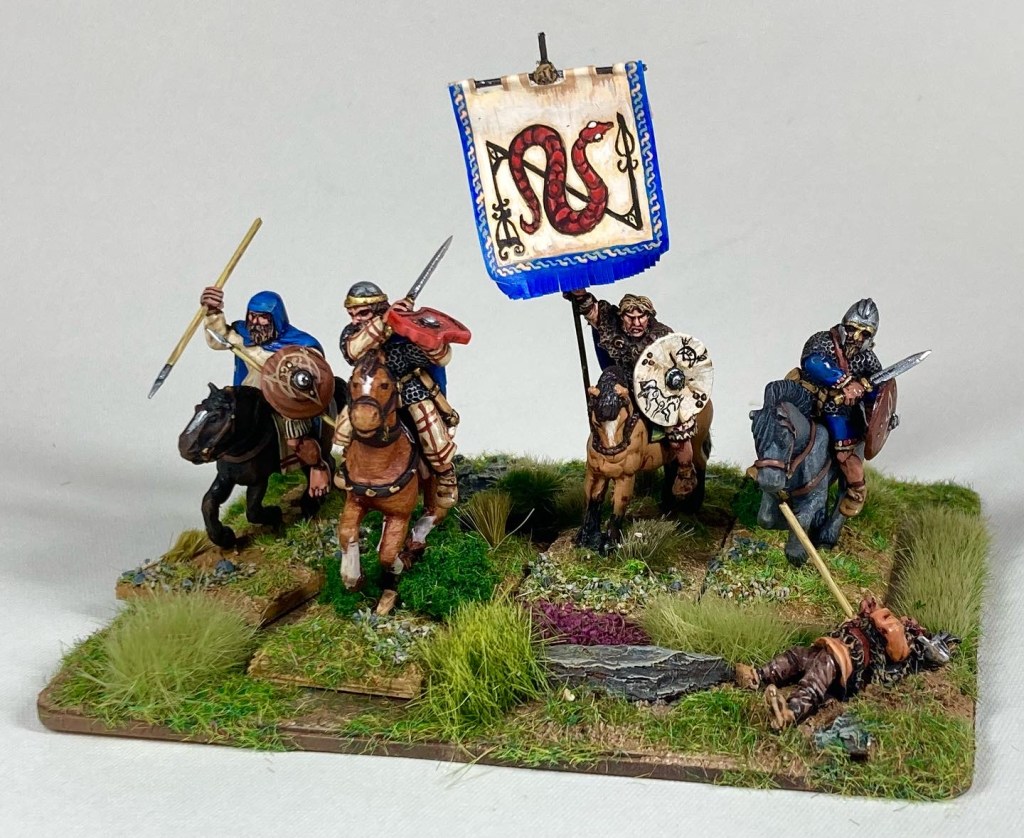
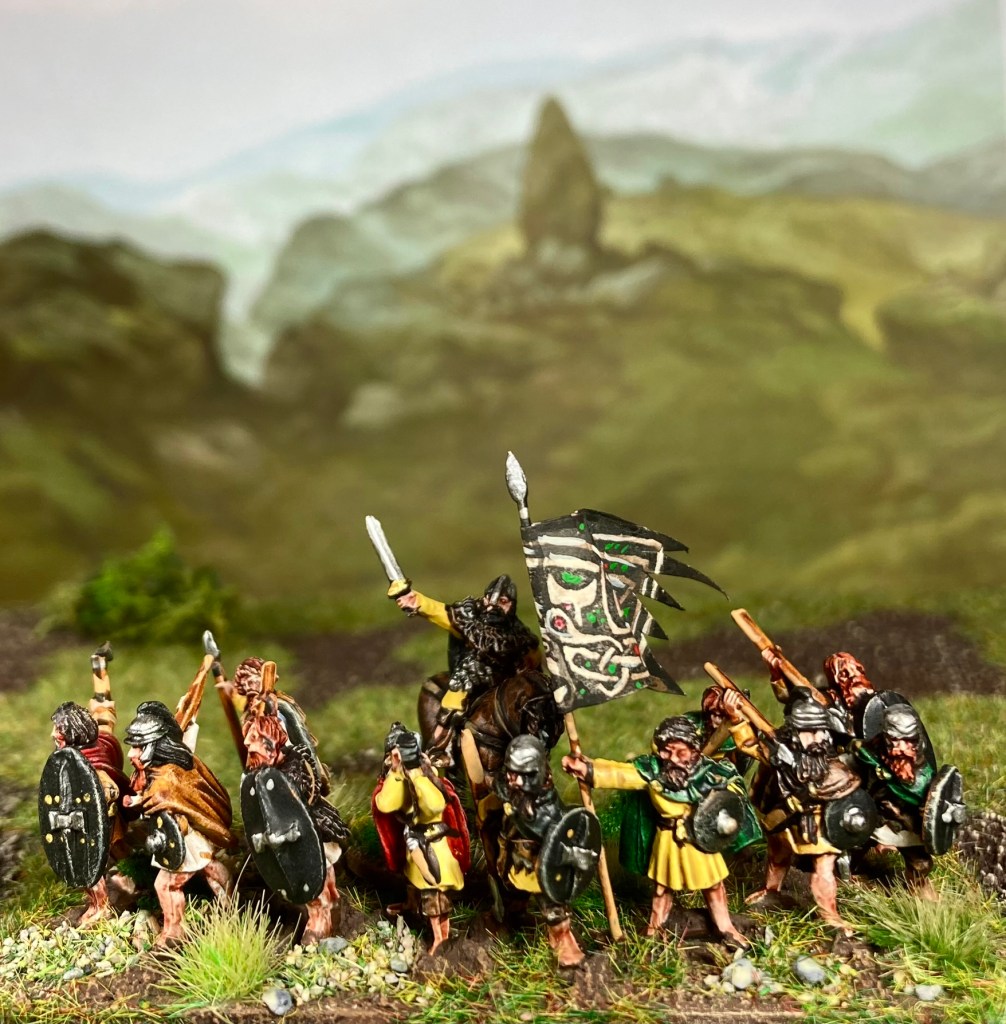
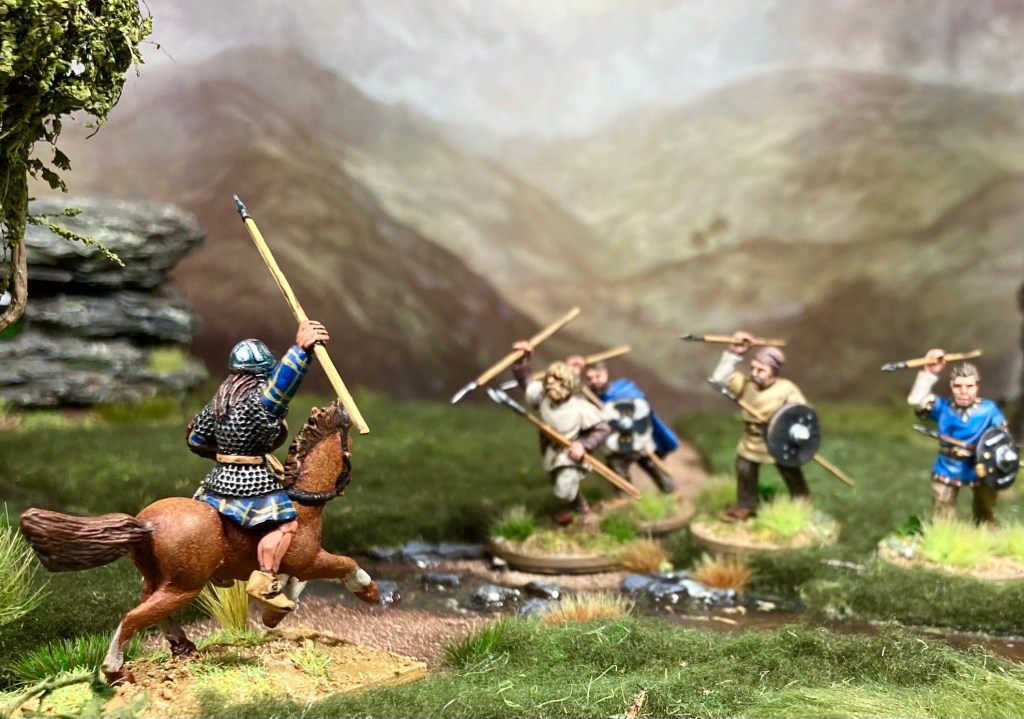
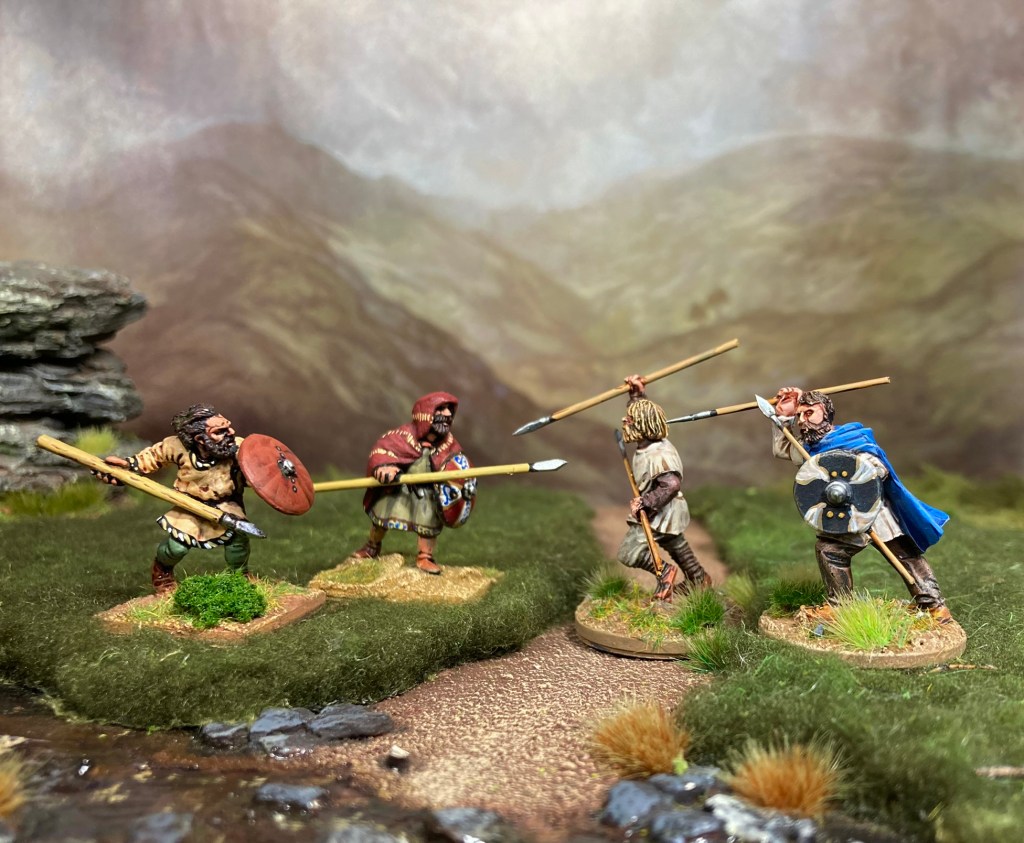
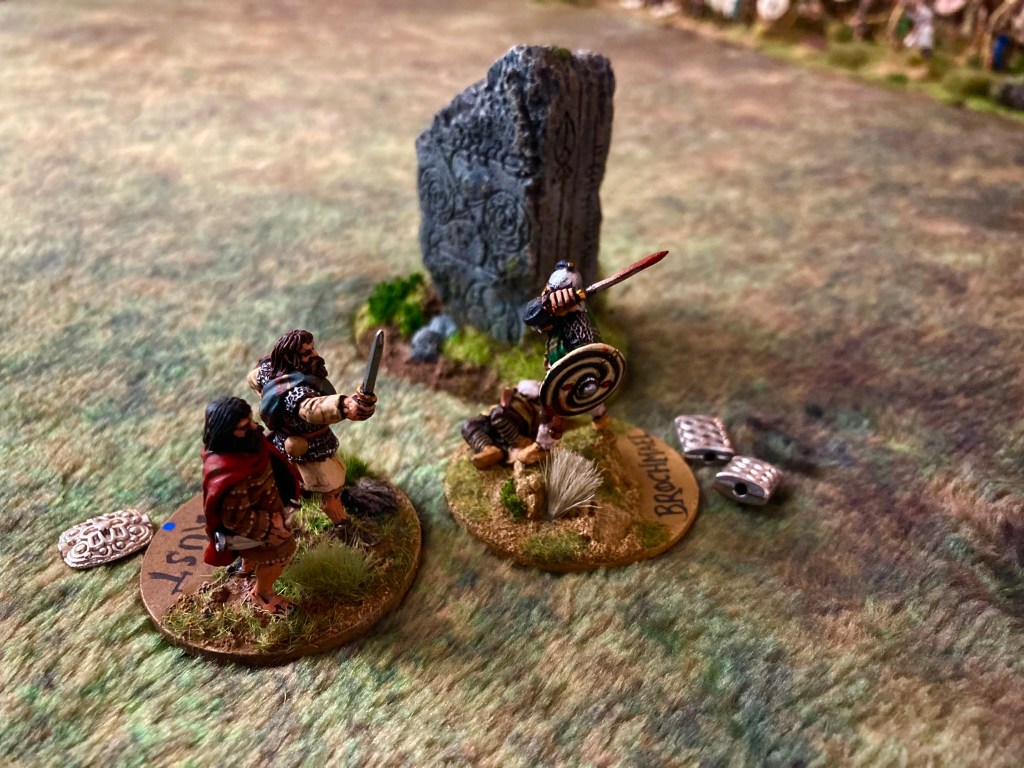
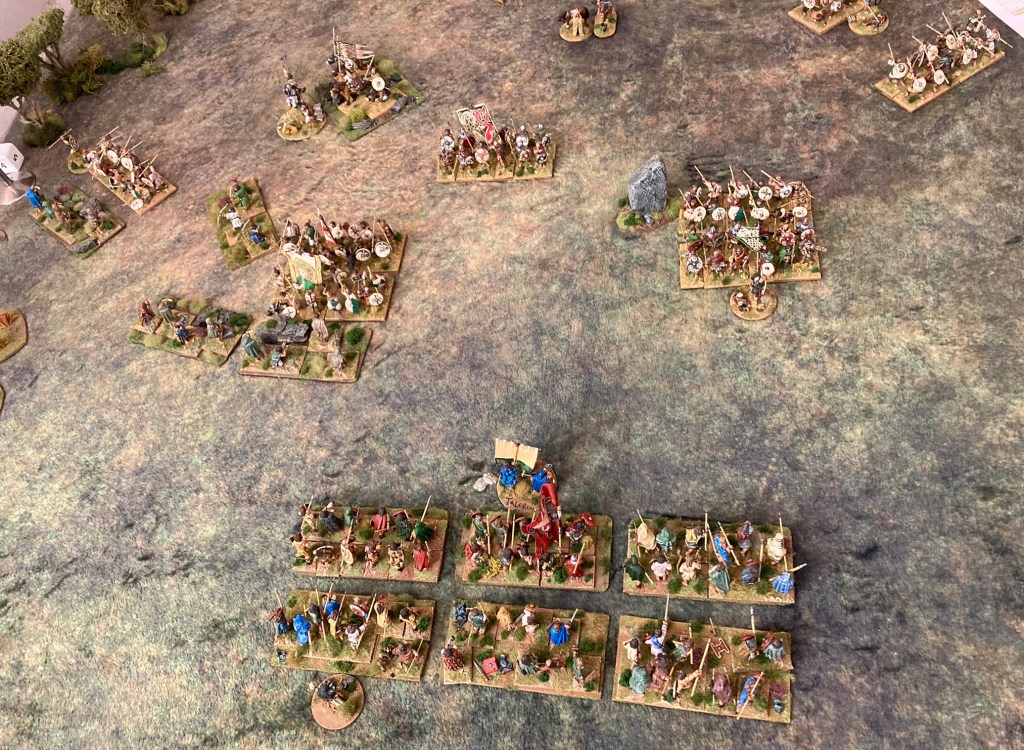
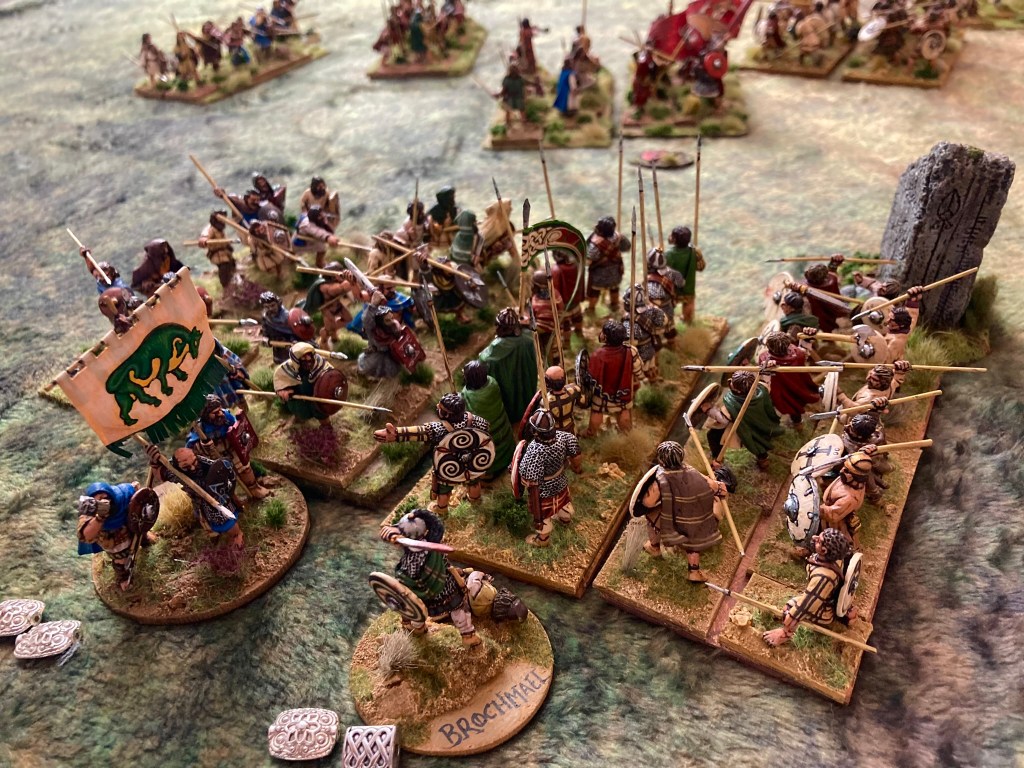
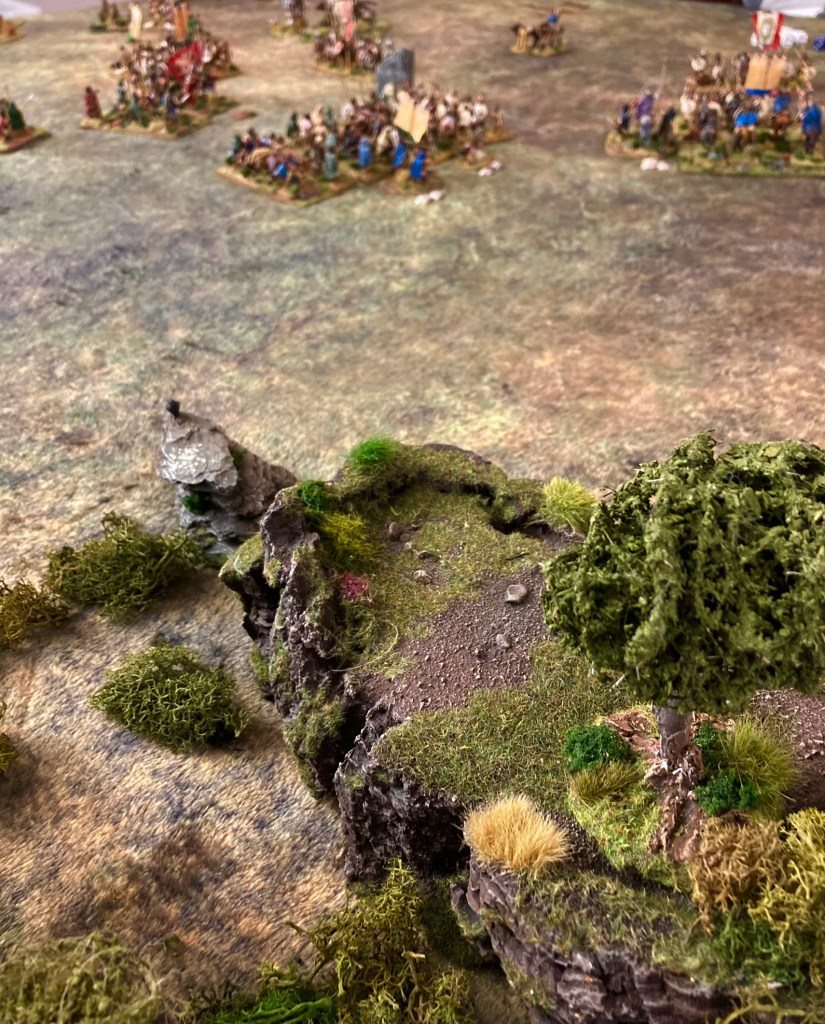
At the borders of the Pictish lands, marked by a standing stone, Cadwaladr (Pete) deployed his Welsh to block the invaders. Seeing that a battle was now inevitable, Bridei sent out his personal battle-smiter, Drust, to issue a challenge to the enemy. Despite being no more than a champion, Drust was known as the deadliest blade in Pictland, carrying his grandfather’s sword from the time of Magnus Maximus. The challenge was immediately taken up by Brochmael of Gwynedd. The armies watched in fascination, expecting a mighty duel, but it was brutal and short; aided by my appalling dice roll rolling, Brochmael took Drust’s head off with a single swing of his sword. This boosted the morale of the Welsh no end as they gained more Reputation tokens in their goblet. Battle was on!

‘I am Drust, Battle-Smiter to Bridei of Pictland, the mightiest blade north of Gwynedd, – ERK!’

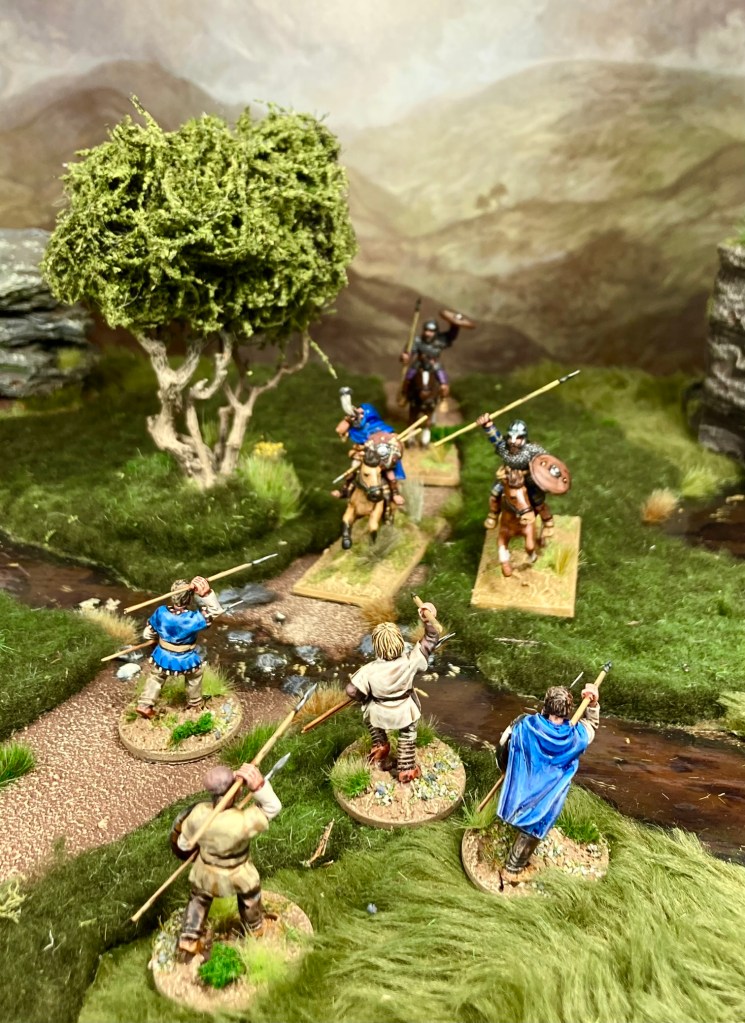
With the Welsh starting on the front foot, I decided to go aggressive with my Pictish archers who I had clumped together on the left flank for the express reason of peppering the enemy unit opposite with arrows. Skirmishers in Midgard are allowed to evade enemy charging them as long as they pass a Command Test – I reckoned that I would get in a shot or two at the approaching Welsh before scampering away. Lo and behold, the Welsh warriors advanced faster than expected (with Pete passing all his Command Tests) and my archers failed to flee as they were charged. Farewell, Picts.

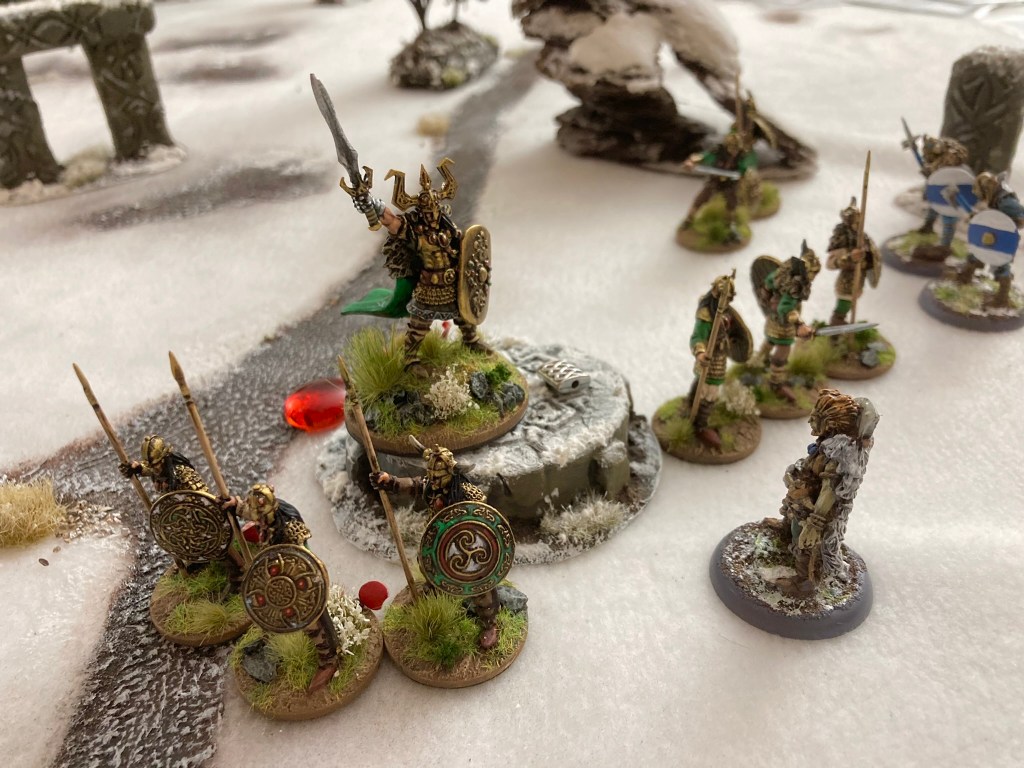
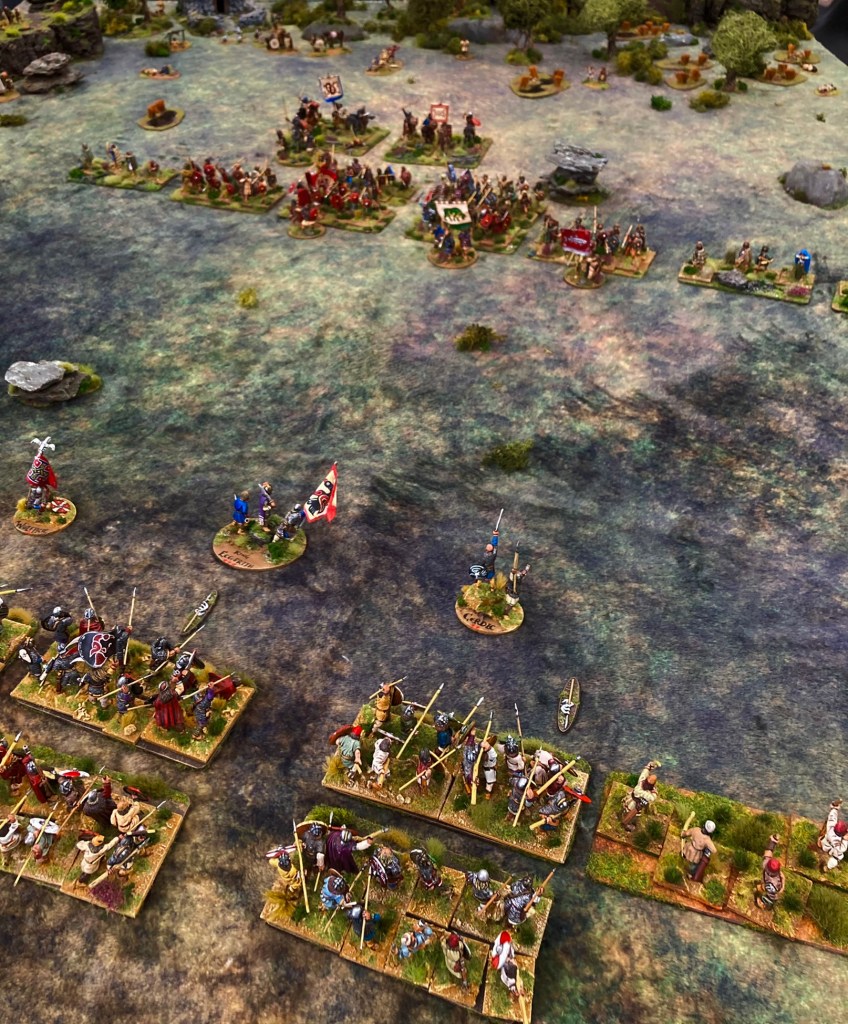
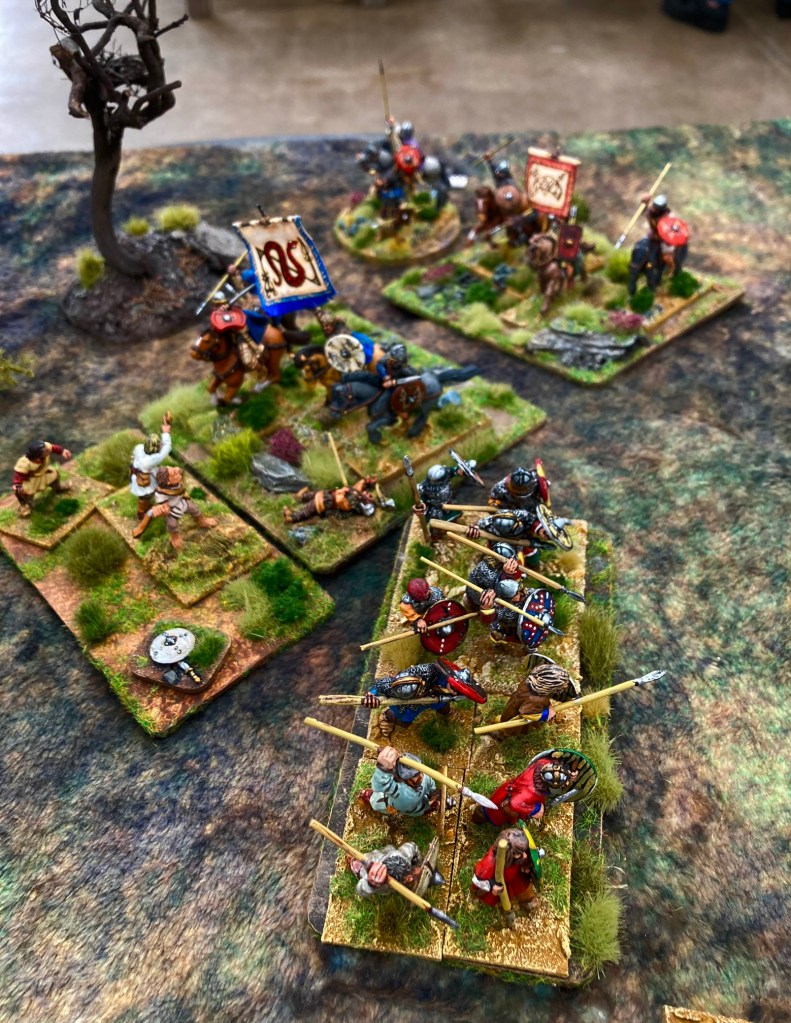
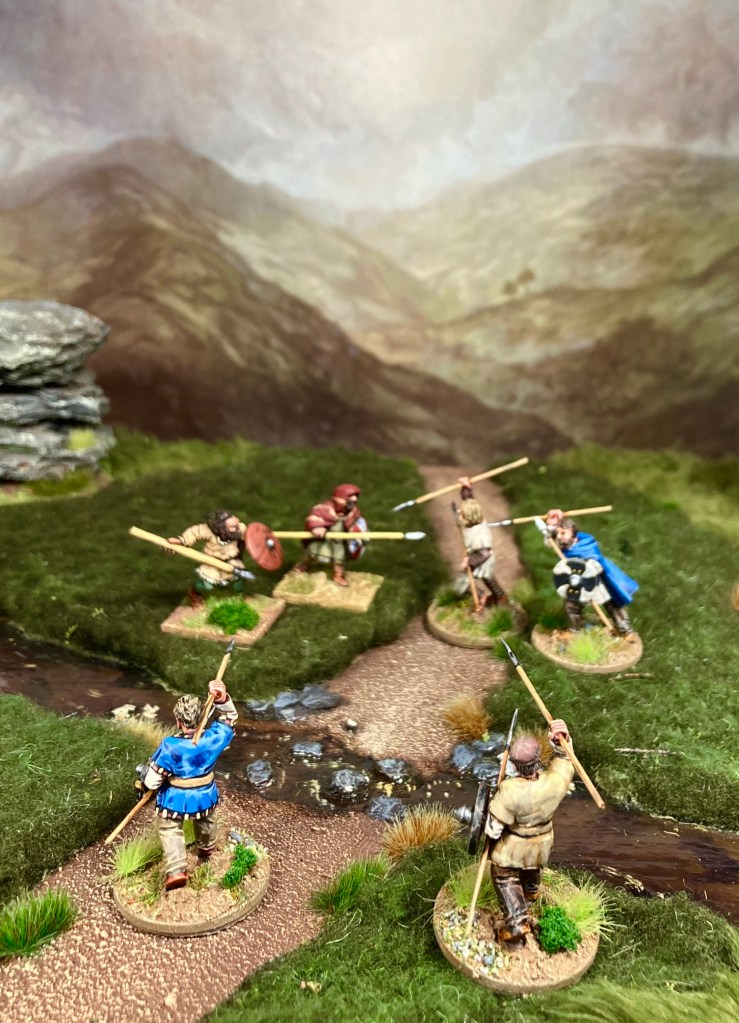
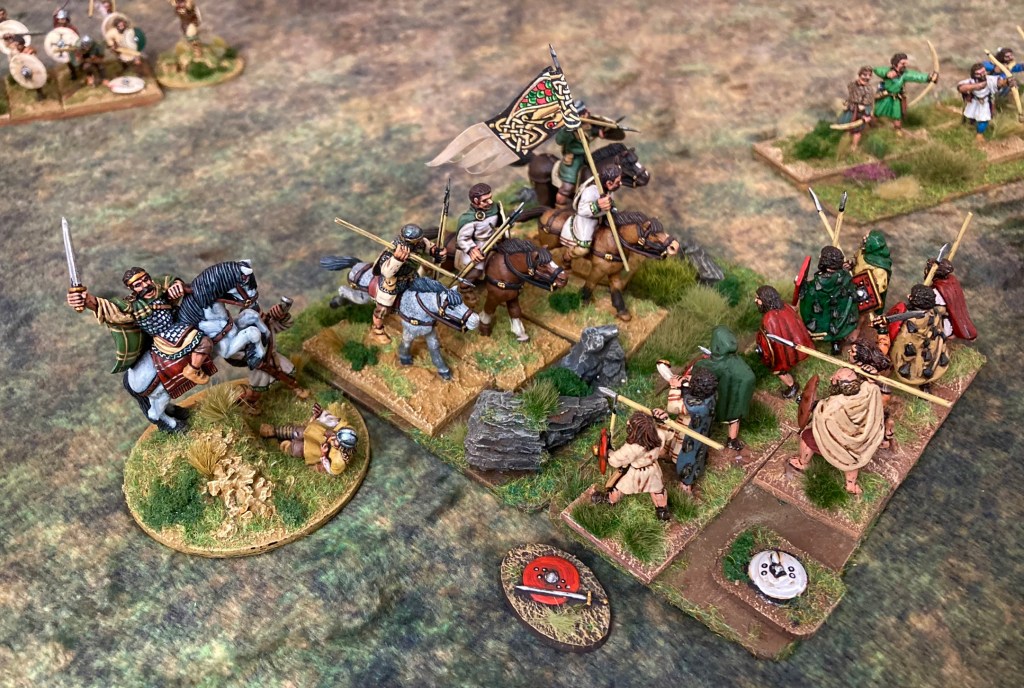
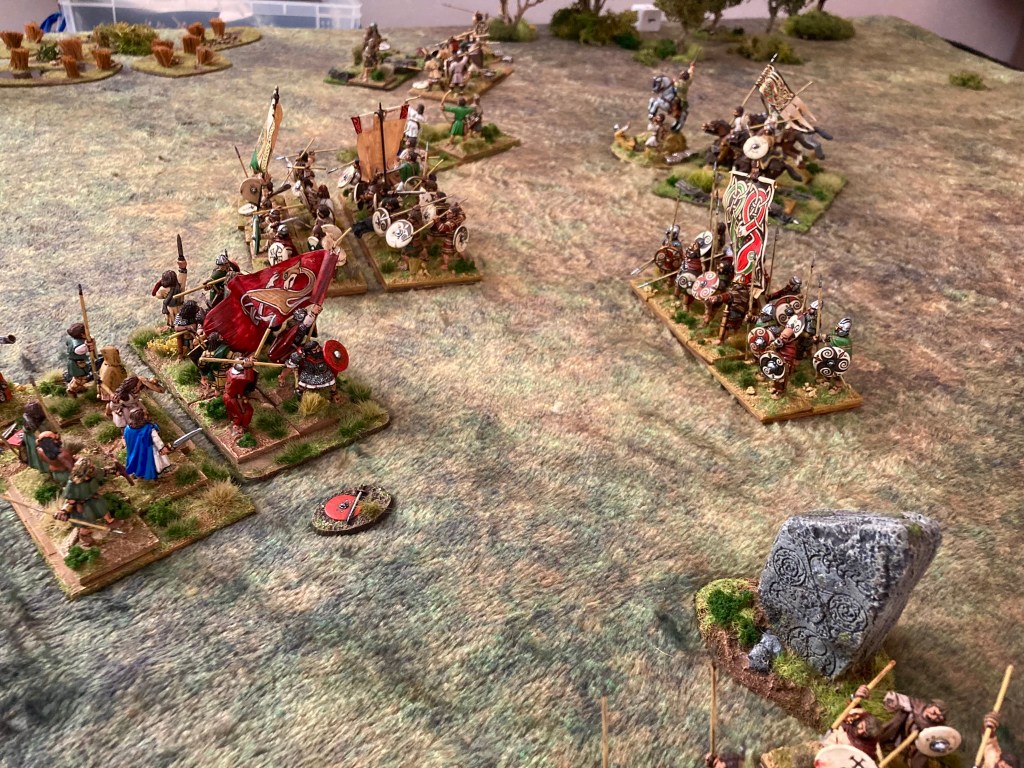
After this second blow, Bridei put his (slightly desperate) cunning plan into action: ride round to the right flank and attempt to get round the rear of the Welsh line. Marchlew, the Welsh champion on this flank, quickly drew off two spear units to counter this. The Welsh line was now fragmenting into three different directions, but could the Picts exploit this?

The Pictish centre holds back, waiting for the Welsh to be disrupted by the flank attacks…er…not.

Bridei’s nobles weren’t too keen on this new tactic and lagged behind, failing to make as much ground as they were capable of (they failed a number of Command Tests despite Bridei’s encouragement). Faced with his sullen hearth guard and seeing the poor state of his left wing, the Pictish king opted for a calculated risk – charging the nearest Welsh spear unit. This also raised the morale of the troops as Reputation tokens are awarded when Heroes lead their warriors into combat, and even more when the army commander is at the head of the charge. Unsupported, both sides took casualties in the ensuing combat, but the Welsh held on.

Help! Despite inflicting some damage on Belyn of Lleyn’s Welshmen, the last Pictish archers have run out of space and are run down.
Brochmael takes down a second Pict hero in single combat!

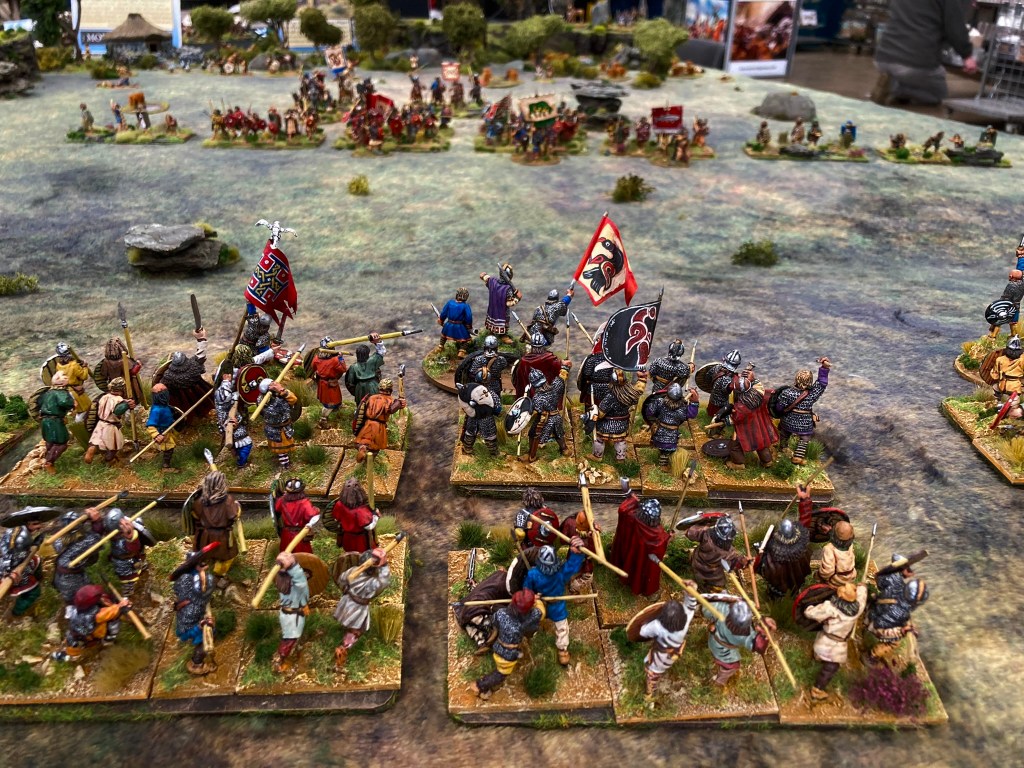
Meanwhile, in the centre, Brochmael’s Welshmen and Talorcan’s Picts came to blows next to the boundary stone. Brochmael, the hero of the duel at the start of the game, now challenged Pictish chief Talorcan to a second single combat. Reputation can be lost if Heroes turn down a challenge, so Talorcan pulled out his spear and charged! This was a longer combat, but Talorcan took an early blow (presumably in the foot – some of these Picts just don’t like shoes) which wounded him. Both sides gained Reputation as sparks flew from the heroes’ file-hard blades and in the final round, Brochmael and Talorcan wounded each other, the Pict dying in the process. The twice-victorious Brochmael rejoined the ranks of his Teulu as the two units closed for more spear-work, but the Picts were now outclassed by the Welsh nobles.

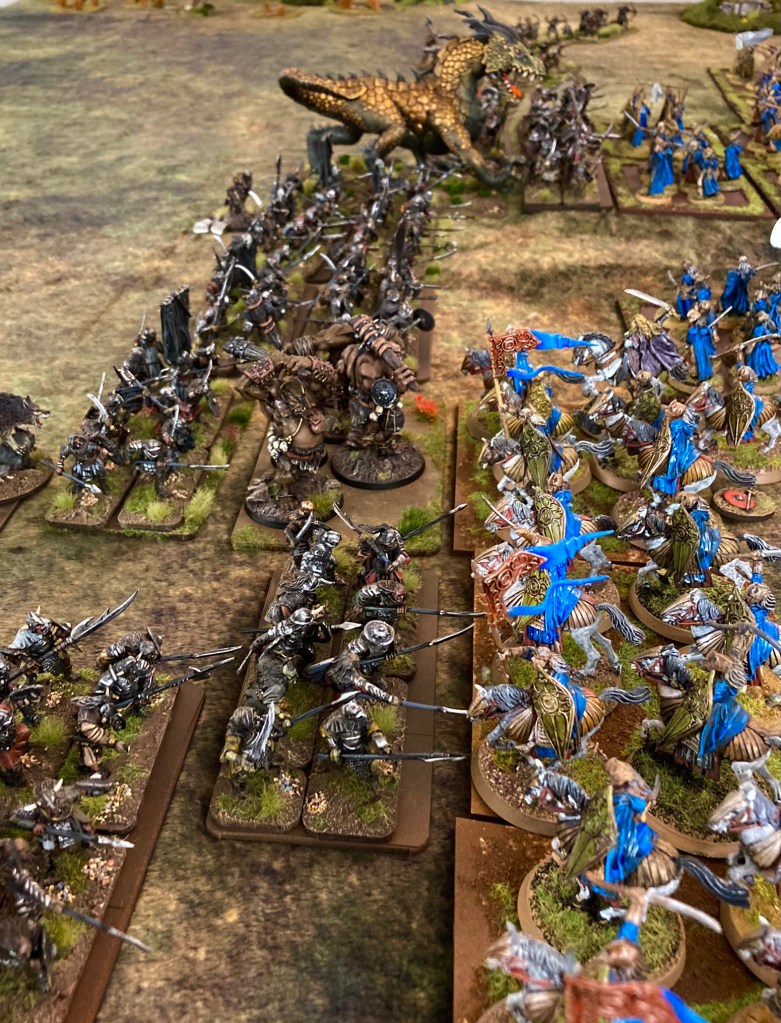
Now the other half of the Welsh centre advanced and was met by the Pictish noble warriors. Surely these battle-hardened northerners could blunt the flashing blades of the Welsh? Well…

Pictish dice (left), Welsh dice (right)….nuff said!

Battle was now joined all across the centre and the Pictish nobles weren’t doing too well. Pete was making great use of his wise woman and accompanying bard, using the ‘Inspiring’ trait to keep his units in the fight. That said, one of the Welsh units broke and fled, closely followed by the heroic Brochmael who took a javelin in the neck during the fight and succumbed to his injuries.

Welsh bard and wise woman, inspiring the troops at the key points of the game. Both miniatures by Gripping Beast, the standing stone is from Scotia Grendel

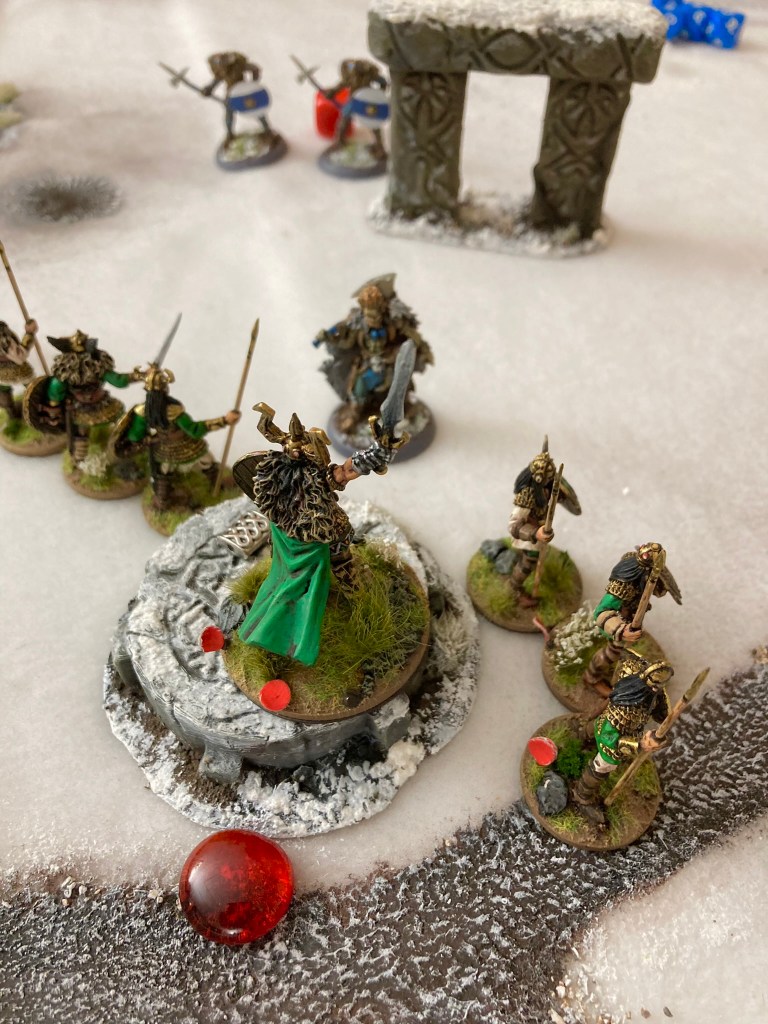
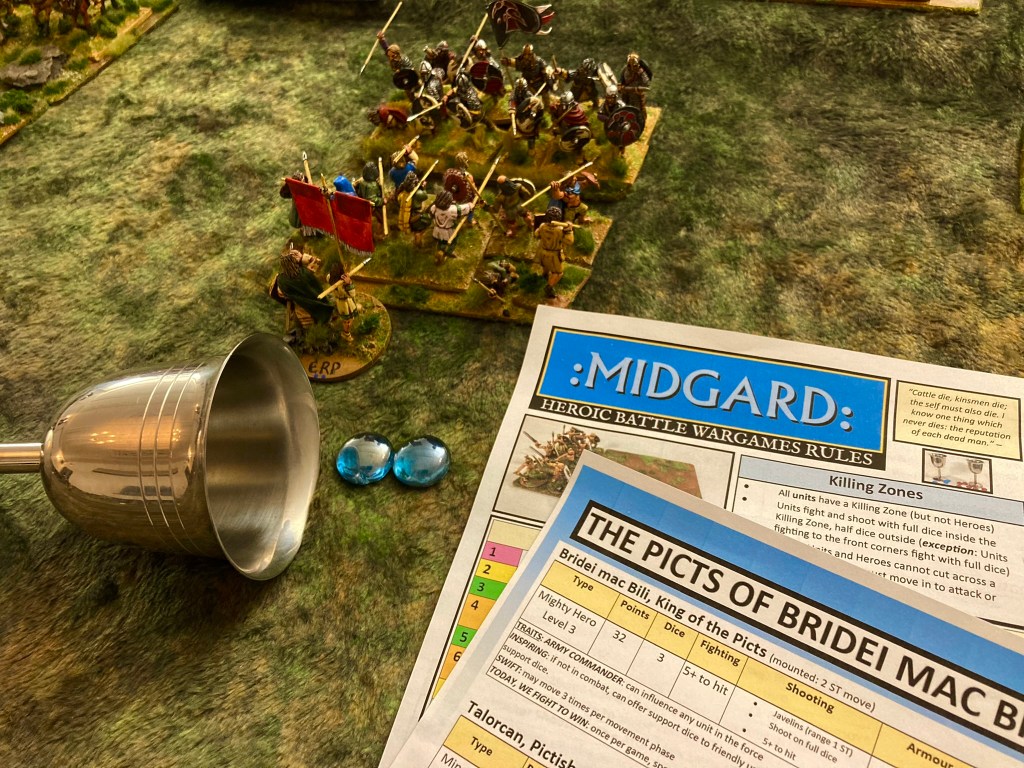
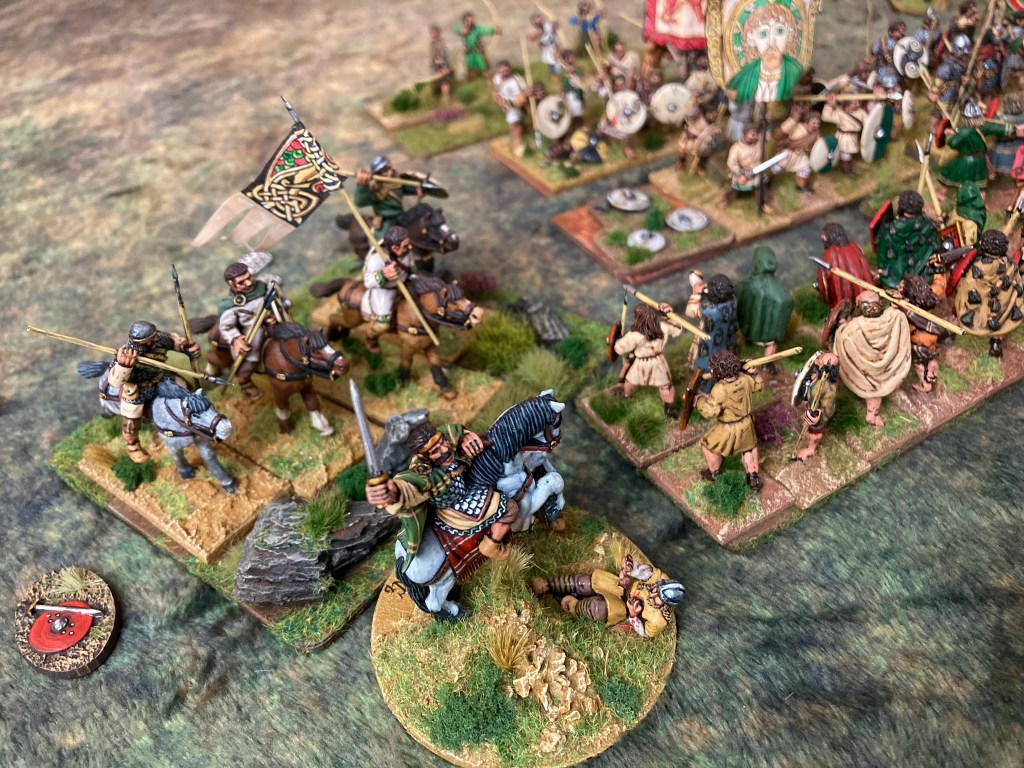
Then, disaster struck for the Welsh. Prince Cadwaladr, leading his mounted Teulu from the front, crashed into a Pictish spear unit. Using all his ‘Mighty Deeds’ (the silver markers that you can see in the pics which allow Heroes to do…er…mighty deeds in the game) to attack, he had nothing left to save himself when he rolled a double one for his ‘Risk to Heroes’ roll following the combat. Down he went, and the Reputation poured out of the Welsh goblet! The combrogi were finally teetering on the edge of defeat.

Cadwaladr throws caution to the wind and gets decked for his troubles.

However, it was not to be. Even as Cadwaladr fell, the Welsh broke two more Pictish units.

By the end of the turn, the Welsh goblet had only one Reputation token remaining, but the Picts had been reduced to zero – signifying defeat. King Bridei took his surviving warriors and rode back to Pictland, leaving the Welsh to bury their dead prince.

This was a cracking game – the Welsh had the best of it throughout, but the slaying of Prince Cadwaladr gave us a very tight finish.

Bridei and his Picts (right) flee the field

Near, Far Away Part 4: More Wiglaf Saxons

So, despite the fact that I’m busy painting my backlog of 28mm Picts at the moment, I’ve been quietly working away on some extra troops for the 15/18mm Dark Ages project at the same time! I’ve had some more of the 18mm Wiglaf Saxons on the workbench, aiming for a quick paint job using mostly GW Contrast Paints.

While the Wiglaf Minis are a nominal 18mm, they size up pretty well with Forged in Battle 15mm that form the remainder of my forces.

Wiglaf Saxons (left) vs Forged in Battle Welsh (right)

I’ve gone for 80 x 40mm round-cornered bases from the ever-reliable Warbases with a small dice frame on the back left corner to track damage for gaming. The plan is to try out the Age of Penda rules when time allows.

As advised by ‘Wiglaf Dan’, the models are cast in a fairly pliable metal, so I was able to vary some of the poses with some simple bending of arms. This was most useful with the archers which have two head variants in the same pose, but I think I managed to vary them sufficiently to create an all-archer skirmish unit.

Archers with bent arms to vary the poses.

Moody stuff as Raedwald marches his men north. Top quality background bu Jon Hodgson Maps.

Wiglaf currently have Mark Copplestone working on some additional figures for the range – next up are Vendel-style warriors and more command groups, including a hornblower – exciting stuff if you like the 7th Century as much as I do!

Red Book of the Elf King: Star Fall

Paul W and I recently hauled out the Elves and Trolls for a Red Book of the Elf King clash. It’s a game we both really enjoy despite the lack of recent releases – you can see more about it on my Red Book of the Elf King page here – and always provides a challenging scrap.  

Taking on the Pel Witch!

We had started playing through the Troll Wars scenarios in order a couple of years ago, but had forgotten where we’d got to, so decided to just pull a scenario out of the original rule book. This was Star Fall – a fairly simple quest to retrieve a piece of star iron from the centre of the table.  The problem was that only the Thane (the leader of each circle, or warband) had sufficient power to carry the star iron off the table – and would automatically take a penalty counter for doing so, thus inhibiting their actions.  As it turned out, this would decide the game!

Vachel Goldenhand, my glorious leader

I was playing Vachel Goldenhand – the most powerful warrior Thane in the game – along with his companions, the Circle of Towers (18 elves in units of three).  Paul selected Troll Lord Ragnvhar Earsplitter – who bears a striking resemblance to a blue version of Slaine – and his gang of cronies (15 trolls in units of three). By sacrificing a further unit of trolls, Paul was able to take a Pel Witch, a human spellcaster.  

Troll commander Paul and onlooker Pete gear up for the battle. Green activation tokens can be seen next to my Elves in units of 3.
The fabled star iron – a Celtic bead on top of one of my 3d-printed scenery pieces (I’m told by Mike W, who printed the stones, that the files are from Thingivserse)

Terrain involved pulling out one of my snowy cloths (created from fleece fabric) plus a number of frosty stone circle pieces – either repurposed pine bark chippings or 3d prints. 

Fleece fabric home-made cloth with various drop-on features. Trolls can be seen at the top with blue activation beads, Elves at the bottom with green.

The activation system in Red Book is rather good, being a much evolved and (in my opinion) far superior version of the Bolt Action draw bag.  Both sides roll a d6 for their number of activation tokens but the roll of a ‘neutral’ d6 is also added to both sides, giving a total of 2-12 tokens each.  Units can activate more than once, but only after each unit has had one activation. Also, Thanes have various special abilities and glamours (spells) that can mess with the time-space continuum and therefore add or take away from the tokens in the bag. 

My elves got the worst of it at the start, with Paul getting the most activation tokens.  I countered it with the Geas glamour that gave me more tokens, but the Trolls were certainly making the best headway into the stone circle in search of the precious star iron. 

Fight for the star iron! The Elves of the Tower hold off the Trolls.

Various clashes occurred around the periphery of the circle. I attempted an outflanking manoeuvre and there were a couple of bloody clashes between outlying units of Elves and Trolls. I got lucky and managed to wound the Pel Witch with a surprise attack – before she flew off to safety and healed herself. 

Get the Pel Witch! A ‘1’ was needed to score a hit and I managed just that!
Raghnvar Earsplitter’s Trolls occupy the stone circle, but hold back from the star iron

Vachel deals out death and wounds to the Trolls on his way to the star iron.

Paul had some success with some pretty nasty spells that wounded or killed a number of my Elves near the star iron. However, I had a plan involving the spell Wyrmwing, which would (if successfully cast) allow me to fly my Thane and the star iron off the table. Easy. All I needed to do was to rush Vachel Goldenhand up to the star iron! 

Vachel claims the star iron as his loyal followers stand guard.
Vachek Goldenhand holds out despite three wound markers (from the Pillar of Ash glamour) and a penalty marker!

Well, I managed that part. Vachel proved his warrior prowess by carving his way through the Trolls and grabbing the star iron. Unfortunately, after that it was all downhill.  With a penalty counter inflicted at the start of every turn and a number of poor activation rolls, Vachel was stuck for several turns, during which Ragnvhar attempted to turn him into a pillar of ash before belting him with a final attack that took down the Thane. Game over!  As ever, great narrative fun. 

Vachel gets decked by repeated dirty tricks and axework from the Trolls!

 The minis are, as ever, glorious to play with and the rules are simple and challenging at the same time. Need to get that Troll Wars campaign back under way again!  

More Middle-earth Midgard

My Midgard rules are still in play testing prior to publication (at some point in the future but no date yet). After several weeks of Dark Ages battles, I wanted to return to a playing a fantasy scenario including a dragon – in this case, Glaurung, the wingless wyrm from Tolkien’s Silmarillion.  (The model is a Schleich toy that I converted and painted last year – see here). 

Hence regular opponent Paul W and I lined up our Orcs and Noldor for a straight-up fight somewhere in the First Age of Middle-earth.  Forces were 400 points per side (the Hammerhead Battle of Dunnichen game was 300, by comparison) allowing the Orcs the following troops: 3 Heroes, Glaurung, 10 units of Orc soldiers, 5 units of Orc scouts plus one each of Wargs, Warg riders and Trolls. I didn’t do an exact count of the Elves (I’m not sure Orcs can count beyond ten anyway) but they were outnumbered, taking spearmen, archers and heavy cavalry with Glorfindel and Celeborn among the leaders. 

The Reputation goblets at the start of the game. In Midgard, you gain Reputation for heroic deeds and lose it for craven ones. The measuring stick (a ‘Spear Throw’) is a 3d print designed by chum Mog
The not-too-shabby Orc host assembles with Wargs to the rear right flank

Right flank commander Orgul the Swift marshals his troops, remembering not to die in Turn 2!

Wary of the hail of arrows that had greeted Glaurung in his first game (Paul had sportingly reduced his archery quota in the interests of play testing), I put a line of Orcs in front of the dragon in a effort to distract the pointy-eared bow fans. I eschewed my usual tactic of ‘charge them in the face’ (copyright @ Tom WD) and opted for a slower advance that wouldn’t burn up my Heroes’ limited Mighty Deeds (the key leadership mechanism in Midgard).  However, I went aggressive on the left flank, sending all five units of Orc scouts up to harass the two units of Elves in position there. 

Looking down the Orc line

Uzgoth, Orc general, lines up his troops to the right of the old barrow, scouts to the left

The Elves consolidated their position by unleashing a hail of arrows prior to throwing everything in to a frontal attack in the centre and on my right wing. Glaurung suffered a slight wound that raised the Reputation of the Elves but the Orcs held firm despite taking multiple casualties.  Learning from past experiences, I had held all my Orc commanders back in the second line (getting your head removed by an Elf in Turn 2 inhibits your ability to lead, I have found). 

Turn 2: the full glory of the Elven heavy cavalry crashes into the Orcs. Ouch! Paul’s collection is entirely GW miniatures

Orc trouble: the scouts pepper the Elves with arrows (fun to turn the tables for a change)

Although the Orc line was taking serious punishment, I was able to launch a counter attack in Turn 3 that restored the morale of Angband. Glaurung unleashed a blast of fire that fried some Noldor in front of him but suffered a wound in the melee with the Orcs and Elves just in front of him. This not only weakened him but also made him less predictable (in Midgard, he has the ‘Aloof’ trait which means that he cannot be influenced by friendly Heroes) which cost me badly in the next turn.  Having dispatched the Elves in front of him, I was unable to get the great wyrm into a charge that would have helped to destroy more Noldor at this critical phase of the game.  Annoying but fair!

Glaurung prepares to unleash a deadly blast of fire on his opponents

Meanwhile, on the right flank, Elf cavalry were causing severe damage to my Orcs, held up only by a heroic unit of Trolls that just would not break! 

The Trolls fight like demons. er, Balrogs, to hold off the onslaught of the Noldor
Man of the Match: the last Troll defies the Elves, battering them into stalemate turn after turn

 I was forced to throw in my reserve of Wargs and Warg riders, which resulted in the only single combat of the game – Glorfindel taking on my Warg rider captain.  Two rounds of Orcishly poor dice rolls later and my Hero was toast. Ah well. 

“Hey! You can’t use that on me, Glorfindel! The Prof said that only one Elf had a curved sword, and it wasn’t you…agh! agh! Geddoff” (last reported words of Orgul the Swift)

It was now all to play for as we went into Turn 5. What had looked like an even match in Turn 3 now turned into an Orcish rout as the Elves pulled it out of the bag.  Several units of Orcs broke and fled, followed by a devastating final round of shooting that took out Glaurung (I like to think that he turned and fled to come back for another day). 

The great wyrm takes a final arrow that drives him from the field
The end of the game after some tidying up. Both battle lines are pretty ragged but the Noldor hold the field (Glauring is just there to look pretty)

Great fun and one of the closest games I’ve played for a while! 

Hammerhead Show after action photo report: Battle of Dunnichen

Yesterday saw the first Hammerhead Show for two years, and a great experience it was too. I saw plenty of old friends, met some new ones and had a good time running our Battle of Dunnichen 685 game with the Morris & Chums gaming group.

Jeepers, it was cold in that hall to start with! (Fortunately it warmed up during the day and we were near one of the heaters thoughtfully provided by the organisers). Me, Tom and Martin modelling our new Midgard T shirts with as many layers underneath as possible!

We played a single, relaxed game over the course of the day, but it was a close-run contest that finally saw victory for the Picts. The strategy for Bridei Mac Bili seemed to be a combination of ‘charge them in the face’ (Tom WD’s preferred tactic) and ‘get round the flanks’ (every sensible commander in history).

The game all set up and ready to go: Picts at the top of the shot, Saxons holding the hill at the bottom. Ecgfrith’s goblet of Reputation is visible at the front.

A closer view of the Saxon battle line. King Ecgfrith is centre right with the raven banner.

We had some great conversations over the day with gamers, with several enquiries about how the Midgard rules worked, which periods they could be used for (any setting where you have heroes leading warriors armed with swords, spears and shields) and when they are likely to be published (no date yet I’m afraid – watch this space). I also managed to slip away for some shopping, acquiring the Victrix Norman Knights set (straight onto the workbench for conversion into Noldor); the Bello Ludi WW1 rules, cards and dice from Caliver Books (looking for a 28mm large skirmish set for some Battle of Arras 1917 action); more magnetic basing supplies from Coritani/ Magnetic Displays; and some metal Picts from Gripping Beast (Andy Sherwell was shocked to hear that I had a couple of gaps in my collection – now sorted!)

New signage: Tom WD somehow worked his marketing witchcraft to provide QR codes for the posters, giving a direct link to the game details on this site.

Next show up for us is Partizan in May, for which we have started hatching plans for a much bigger battle in this period: Degsastan 603. I managed to play this on my kitchen table over Christmas with Matt, but I’m hoping we can pull out the stops to get something momentous onto the gaming table this time out for a very large game of Midgard. See you there!

Curious Pictish locals gather to watch the fight (sadly no popcorn in those days)
Horses being held while waiting for their masters to return from the battle.
The Picts close in: King Bridei (centre) leads the charge from the back.

The spear markers on the ground mark the ‘salient points’ for this scenario – any unit holding this position at the end of the turn gain Reputation, which goes into the goblet.

‘Charge them in the face!’
As the battle lines clash, Pictish chieftain Erp gains great Reputation by leading the first charge of the battle AND calling out Saxon thegn Cerdic in single combat! Cerdic dispatched the Pict pretty swiftly (you can see that he brought his best kit) but battle is most certainly joined.

Pictish skirmishers harry the Northumbrians while Erp leads his ‘death or glory’ charge into the Saxon centre.
Bridei’s mounted Picts begin to work their way around the Saxon left flank, starting with the hapless skirmishers, but progress is slower than expected.
Pictish hunters coming round the Saxon right flank. The standing stone is by Scotia Grendel, available from Coritani/ Magnetic Displays
Turn 4: the sound of horns and thundering hooves is heard as Northumbrian thegn Berct and his warriors finally arrive on the Saxon right flank. Not bothering to dismount, the vengeful warriors chase off the Pictish skirmishers. However, Berct falls, shot through the neck by a Pictish archer.
Ecgfrith holds firm against the Pictish onslaught with his heartguard. However, he is struck by a javelin and wounded – being ‘Fated’, he cannot use his Mighty Deeds to prevent this.
Although the Northumbrians have held the centre so far, Ecgrith’s hearthguard are now losing the fight. Things come to a head as Ecgfrith is hit by yet another Pictish javelin and falls, dead. With a Reputation loss of 5 for the Saxon king, the goblet is now empty and the Northumbrians break and flee. Victory to the Picts!

Hammerhead Preview: the Battle of Dunnichen, 685 CE

The Hammerhead wargames show is being held on Saturday 5th March at Newark Showground, UK, and, as usual, I’ve been busy preparing a game for the day. Hammerhead is unique for the UK in that every single game in the show is a participation game; it’s an inclusive and rather wonderful opportunity to go and try out new systems or learn existing ones from experienced gamers. The last Hammerhead (March 2020) was the final show before Covid hit the UK so this one will undoubtedly be something special. You can find full details if you click the link above.

If you follow the blog, you won’t have missed the fact that I’ve recently been doing lots of Dark Ages gaming, encouraged by a visit to Northumbria last year, Wiglaf Miniatures’ offerings and reading Matthew Harffy’s Bernicia Chronicles novels. Plus, it’s in the blood really; if I had to choose one period to game over all others, it would be Early Medieval.

I’ve also been busy developing my own Midgard rules which we’re going to be using for the game at the show. Midgard is probably best described as a ‘narrative heroic battle’ game, in which tactics are important but the mighty deeds of heroes make the difference between victory and defeat. Using it, we have played games ranging from Greek mythology, Tolkien-based Middle-earth and the Wars of the Roses, but it’s absolutely ideal for this period of the Dark Ages where individual leaders could – and did – lead by example and reputation.

Which conveniently brings us on to this year’s game. It’s based on the Battle of Dunnichen (also known as Nechtansmere) that occurred on May 20th, 685 CE. The simple facts are that Ecgfrith, King of Northumbria, took a raiding party into Pictish territory and was slain by the Pictish forces of his cousin, Bridei mac Bili. The details of exactly what happened have been hypothesised by many researchers and historians – was it a Pictish ambush or did the Saxons seek battle? Does the mysterious Aberlemno stone depict a Biblical event, or does it show Pictish spearmen defeating Northumbrian mounted warriors in this historic battle? Much ink (and ale) have been spilled debating these very issues, and more than one range of miniature Picts has been based on the carvings shown here, some of which you will see in the armies in play.

Scene from the Aberlemno Stone – is this Picts fighting the Northumbrians?

I have chosen a course somewhere between the two for this scenario: Ecgfrith and his Saxon vanguard have become separated from his thegn, Berct, and his hearthguard. Facing a gathering host of hostile Picts, the Northumbrians have sensibly dismounted and taken up position on the slopes of a hill while waiting for Berct to turn up.

Can the Picts storm the position and kill Ecgfrith, or will reinforcements arrive in time for the King of the Northumbrians to save his reputation and make good his escape?

If you’d like to come and play the scenario, we’ll be running the game several times during the day. Games will last around 90 minutes but could be longer with all the inevitable chatter. Multiple players per side are to be encouraged to achieve the appropriate atmosphere of heroic competition!

Bridei’s Pictish cavalry – a mixture of different generations of Gripping Beast miniatures.

You can find us at GA04 inside the main hall at Hammerhead – see map below – and watch out for the black t-shirts (original, I know) with a natty Midgard scene on the front. Tom, myself and Martin look forward to seeing you there.

Find us at stand GA04 – through the main entrance and turn left. We’re near the cafe!

THE COMMANDERS

Being a heroic game, it’s important to know your leaders – and your enemies – before going in to battle. The opposing commanders – Ecgfrith and Bridei – were actually cousins, despite ruling different kingdoms. The Early Medieval world was far more inter-connected than you might think!

NORTHUMBRIAN LEADERS

King Ecgfrith of Northumbria, depicted wearing a version of the famous Coppergate Helmet recovered in York. Forty years old at the time of the battle, he was a renowned warrior who had already beaten the Picts in a battle in 671. Ecgfrith and his horn blower are Black Tree Designs miniatures; his standard bearer is from Gripping Beast. All shields and banners have been painted by hand.
Berct, Thegn of Northumbria. Berct is a historical figure who was clearly close to Ecgfrith and a trusted commander. We don’t actually know if he was present at Dunnichen but it seems likely.
Cerdic, Thegn of Northumbria. This fellow is a fictional character – one of Ecgfrith’s hard men (so hard he doesn’t need a helmet). OOP Tanatus Miniatures Saxons.
Wulfhere, Champion of Northumbria. An awesome Gripping Beast sculpt from many years back.
Berct’s Saxon cavalry – hopefully riding to the rescue! These are a mixture of Gripping Beast and Crusader Miniatures.

PICTISH LEADERS

Bridei mac Bili, King of the Picts, with an advisor and bodyguard. All Gripping Beast miniatures.
Drust, Champion of Bridei, bearer of the deadliest blade in Pictland. He managed to deck Ecgfrith in one of our play test battles and Cerdic in another – a dangerous fellow indeed! Both Black Tree Designs miniatures.
Erp, Chieftain of the Picts. A Black Tree leader with a standard bearer by Gripping Beast.
Talorcan, Pictish Chieftain with his retinue. The hornblower is an Old Glory figure, the other two are Gripping Beast.

Small, Far Away Part 3: More 15mm Dark Ages

Wiglaf Miniatures Saxons take on Forged in Battle Irish. Background from Jon Hodgson Maps.

It’s been a few days since I’ve updated the blog, mostly due to being busy with work, real life stuff and editing my Midgard rules for the latest play test draft. However, I’ve been quietly basing up a load of 15mm Forged in Battle miniatures to go with my small scale Dark Ages project. My chum Matt offered to get involved so I’m busy collecting and painting full armies for both of us (it was always going to happen!)

Irish warriors out on the moors

I also received some of the Wiglaf Miniatures 18mm Saxons – actual production models this time – and was able to do some size comparison shots. It’s interesting to see that the Forged in Battle 15mm minis stand around 18-19mm tall and are only marginally smaller than the Wiglaf ones (19-20mm tall). The posing of the Wiglaf minis takes up slightly more space, largely because of the separate spears allowing more dynamic poses, but I won’t hesitate to have both of these on the gaming table at the same time. You can see more the of Wiglaf Saxons in my earlier post here.

LEFT: Forged in Battle 15mm Dark Ages x 3 (WL4 Welsh Spearmen, 2 x GX5 Saxon Raiders). RIGHT: Wiglaf Miniatures 18mm Saxons.

First up we have a band of Scots-Irish warriors. While they are perhaps a little early in style for the 7th century, I picked these figures because they are very different in feel to the Saxons/ Welsh (and also Wiglaf won’t be doing Irish just yet). I’m trying to colour theme my armies to aid recognition on the tabletop, so these chaps got black shields (bit of Bernard Cornwell influence there) and a mix of yellow and white tunics with various brown and green cloaks.

Painting was carried out mostly with GW Contrast Paints using exactly the same techniques as in my previous Welsh blog post.

To distinguish my upper-class warriors, I gave each unit a flag using a print out of a Celtic pattern: once cut to shape and over-painted, these did the job nicely. They are unlikely to be authentic but look the part.

Irish skirmishers
Irish warriors

Figures were based up on 80x40mm 2mm MDF round-cornered bases from Warbases. I went for a less-organised look for the Irish, with warriors dispersed around the base; the noble units received more figures to create the impression of a chieftain’s hearthguard. As per last time, I left a space in the centre of most of the units to accommodate leader figures on round bases.

80 x 40mm basing showing gaps for leaders and micro dice holder (top right)
The Irish host musters for battle. The mounted leader is from the Arthurian characters pack (WE-AR09)

All the Irish figures were from the following packs:

WE-GS 2 Dal Riatan Mercenaries

WE-GS 3 Scots Irish Warriors

WE-GS 4 Scots Irish Levy

I also added to my Welsh warband – more units of warriors and skirmishers plus a couple of leaders, again from the Arthurian Character pack. Definitely a bit of Merlin going on!

Welsh warriors and leaders
The Welsh force is growing!

Welsh skirmishers and their mystic leader…

Old School Elves

The Elven trio – Marauder Miniatures 1990s classics with a lick of new paint. The background is, as ever, one of the fab downloads available from Jon Hodgson Maps

I’ve managed to resist the ‘Oldhammer’ wave that seems to be sweeping the social media of middle-aged gamers at the moment, although I really enjoy seeing people producing much better painted versions of the old 80s and 90s miniatures. Piers Brand (better known for his incredible 20mm WW2 collections) is turning out some inspirational paint jobs of old classics right now. I happen to be a member of several Oldhammer groups and, while I have fond memories of gaming ‘McDeath’ and ‘Bloodbath at Rorke’s Drift’ as a teenager, I don’t really want to go down that particular rabbit hole at the moment – I have enough distractions already!

However, my gaming chum Paul W has managed to retain many of his original figures, including an impressive 1990s GW Elven force that frequently slays my Orcs on club nights. When Paul recently celebrated a ‘big’ birthday, I felt that the only suitable present was some vintage minis.

Hunting around on eBay, I experienced the usual emotions: “Wow, I remember that!” and ‘How much? I wish I’d kept mine.” Finally I settled on a rather nice Elf command trio from Marauder Miniatures – the side project run by Citadel’s Ali Morrison and Trish Morrison (now Carden). These 1990s veterans arrived rapidly, in great nick, and I got to work getting some original GW slottabases on them and an undercoat in place.

As per my Saxons that I posted earlier this week, I’ve been experimenting with using GW Contrast paints plus selected highlights, so this was the method I used here. Cloaks were GW Contrast Dark Angels Green with highlights from various acrylics pulled off my paint rack. The highly-stylised detail of these models really lends itself to these techniques. Some tunics and trousers were painted with GW Contrast Snakebite Leather before having Vallejo Iraqi Sand highlights. The leather work was largely done with the most excellent GW Gore Grunta Fur before having a variety of light brown highlights.

I left the metallic layers until after the matt varnish as it has a habit of killing the shine, especially as I’m still using up my stash of Testor’s Dullcote. Generally, the metal was basecoated black before painting with either Vallejo Brass or AP Gunmetal, an ink wash and a final top layer of Vallejo Gold or AP Shining Silver. Paul likes painted spear shafts in his armies, so I did these one grey with white highlights to match his current forces.

Finally, I added a flag, again copying one of Paul’s from his existing army. This is just printer paper cut to size, painted with acrylics and them glued in place with PVA. Fortunately, the birthday boy was pleased with his gift and I may now be further tempted into more ‘Oldhammer’…maybe.

A handful of Saxon skirmishers

West Wind 28mm Saxons sculpted by Andy Cooper

With the resurgence of the Dark Ages in my gaming activity, I revisited some old models from the bits box last week. The West Wind range of Arthurian/ Dark Age miniatures was released after I had collected most of my 28mm armies, so I don’t actually have that many in my collection. This is a shame, as they are terrific sculpts and I always fancied getting some more done.

Siglac Smurf-Hat gets his file-hard spear ready for chucking.
Hengist the Hairy wields his North Star spears with vicious intent

Fortuitously, I had a pack of Saxon javelin men handy, so I set to work getting these prepped and primed for painting. They have separate heads, which is great fun as you can really vary the models (my favourite is ‘Hengist the Hairy’ who is clearly in need of a barber.) These were a bit of an experiment as my original Dark Ages armies were painted with a black undercoat, base coat, wash and highlights. Recently I have converted to using a white undercoat with GW Contrast paint base coat followed by highlights, therefore cutting out one of the stages, but I wasn’t sure it would be quite right for these chaps.

I needn’t have worried as I managed to pull off something appreciably similar. Using Contrast Guilliman Flesh speeded up painting the skin areas and will certainly be something I do again. Other base colours used were Wyldwood, Gore-Grunta Fur, Snakebite Leather, Cygor Brown and Ultramarines Blue, all with various amounts of thinners. Once done, I just highlighted key areas with similar acrylic paints from my collection.

The pics here were taken against the new background from Jon Hodgson Maps, ‘Two Tree Valley’. This has distinct shades of the English Peak District but could equally be the Scottish or Welsh Borders.

A Gripping Beast Pictish horseman challenges our brave javelinmen to single combat!
Call that a ford? Saxons clash with Pictish riders by Gripping Beast

The West Wind models (right) are very compatible with other manufacturers’ 28mm offerings – Black Tree and Gripping Beast (left)
Bloodshed in Two Tree Valley!

Pictish and Irish Commanders

The warlords of the Picts, with my favourite misty trees background from Jon Hodgson Maps

My recent Battle of Degsastan game got me thinking that I should refurbish my beloved 28mm Dark Age armies. These were originally mostly based up for Warhammer Ancient Battles, with each model being on a small square base. I’ve always liked vignettes, so my later armies featured command bases on 40, 50 or 60mm round bases, but I’d never done this for my Irish and Picts.

We muster at dawn! The Irish come out to fight. The King is a heavily converted Gripping Beast figures carried on his shield by two figures from the Alternative Armies Erin range.

Collecting the armies for this period was great fun, very much encouraged and enabled by two particular ranges: Gripping Beast’s Irish and Foundry’s Picts, which both trailblazed the better representation of ‘Celtic fringe’ types in 28mm wargaming. Now, of course, we have the miracle of two plastic boxed sets of Irish from GB and Wargames Atlantic, but back when these were collected, it was metal or nothing!

Pictish king – two Gripping Beast models with a hornblower from (I think) Old Glory. I always liked the idea that the ‘broken arrow’ Pictish motif might be a protective symbol so I painted it on the king’s shield.

To create the vignettes, I went back through my units to pull out my favourite standard bearers, horn blowers and commanders and played around with arranging them on various bases. These were painted (and in some cases, repainted) over a number of years, dating back to my earliest dabblings in 28mm historicals, so you can probably see some variations in the brushwork!

Irish King – a wonderful miniature sculpted by Duncan Patten for Gripping Beast, based on the Angus McBride painting. Flanking him are a banner bearer (a Colin Patten sculpt from GB) and a horn blower (a Pict from Black Tree Designs)
Angus McBride – Irish Sub-King from the Osprey book Arthur and the Anglo Saxon Wars

Flags and shields were all done by hand, using sculptural and pictorial references. It’s unlikely that any banners were as large as these in history, but for me , the visual appeal and ease of identification on the table is just as important.

It was lovely to revisit these old fellas, so much so that I impulse-ordered a few West Wind Picts to create a new command stand for these armies. More soon!

Irish champion from Crusader Miniatures

These chaps are both Black Tree Designs Picts masquerading as Irish

This banner is really hard to photograph! The black colour scheme was inspired by Owain’s Blackshield Irish in the Bernard Cornwell books

Irish warlord and standard using Gripping Beast figures
Pictish chieftains. Both standard bearers are Gripping Beast; the shouting commander is a Pict from Black Tree designs, the commander with sword is a Foundry Pict.