Following January’s game, I had the urge to scratch the WW1 itch again and fixed up a game with fellow Great War enthusiast Tom WD. This time, I decided to run something very loosely based on the Ypres battlefield we had visited in November 2018, where the Mk IV tank ‘Fray Bentos’ broke down while attacking a series of farms that had been fortified by the Germans.

In the last Chain of Command game I ran, I hadn’t allowed enough support for the British (please note I am improvising my own scenarios here rather than using the templates, so all design errors are my own). This time around, I wanted to see whether a single British platoon would have a chance of taking a dug-in German position with a decent amount of support.
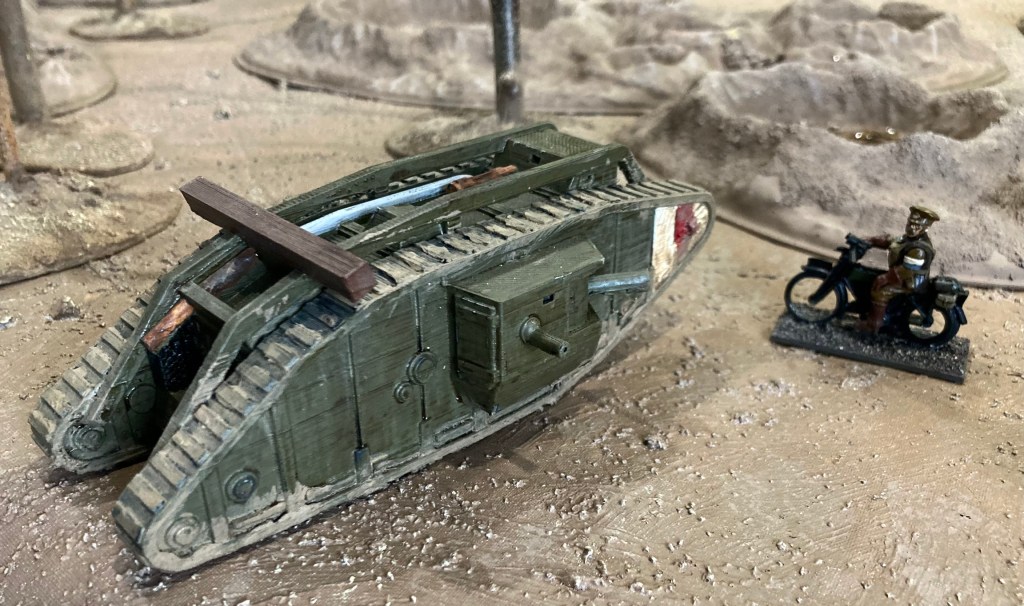
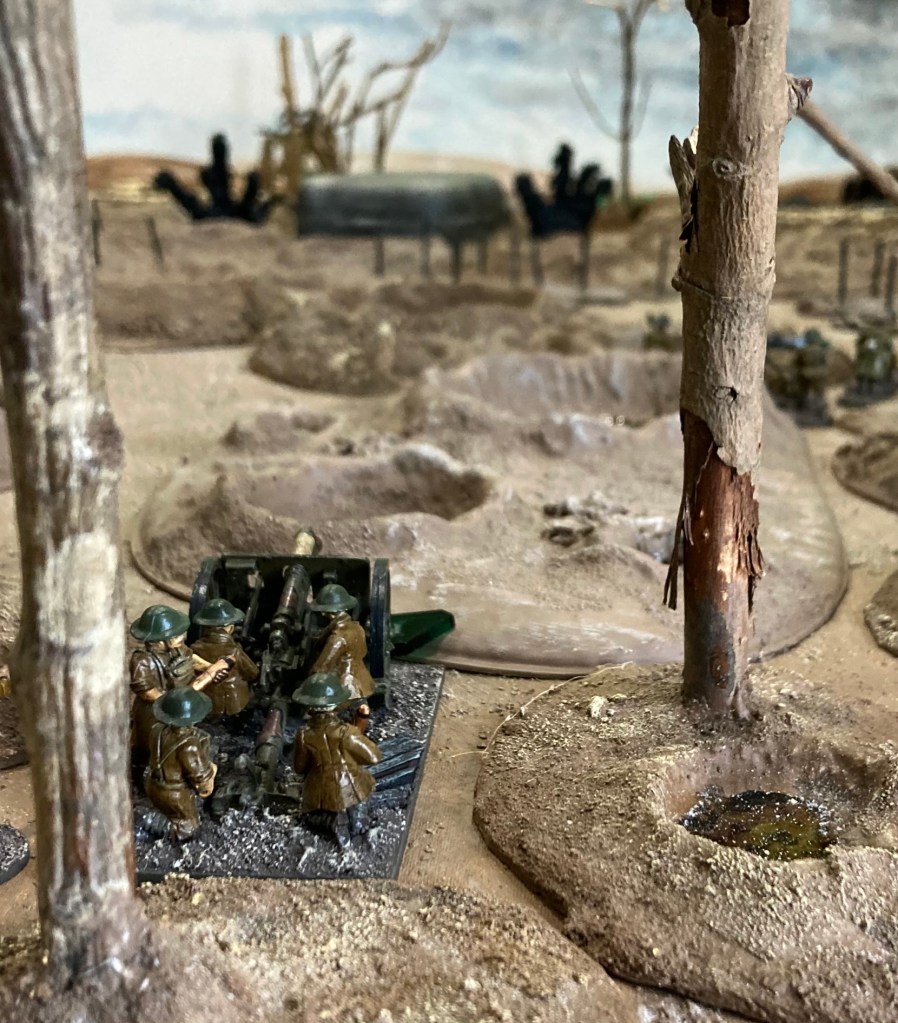
Using the supplement ‘CoCing Up Through The Mud And Blood’ from the 2014 Lard Christmas Special, I gave the British a 1917 platoon with the following additional support: Mk IV Tank (Male), 13 pdr gun with 5 crew and junior leader, Vickers MMG, pre-game bombardment (the standard one from CoC which inhibits deployment of enemy units during the first turn).
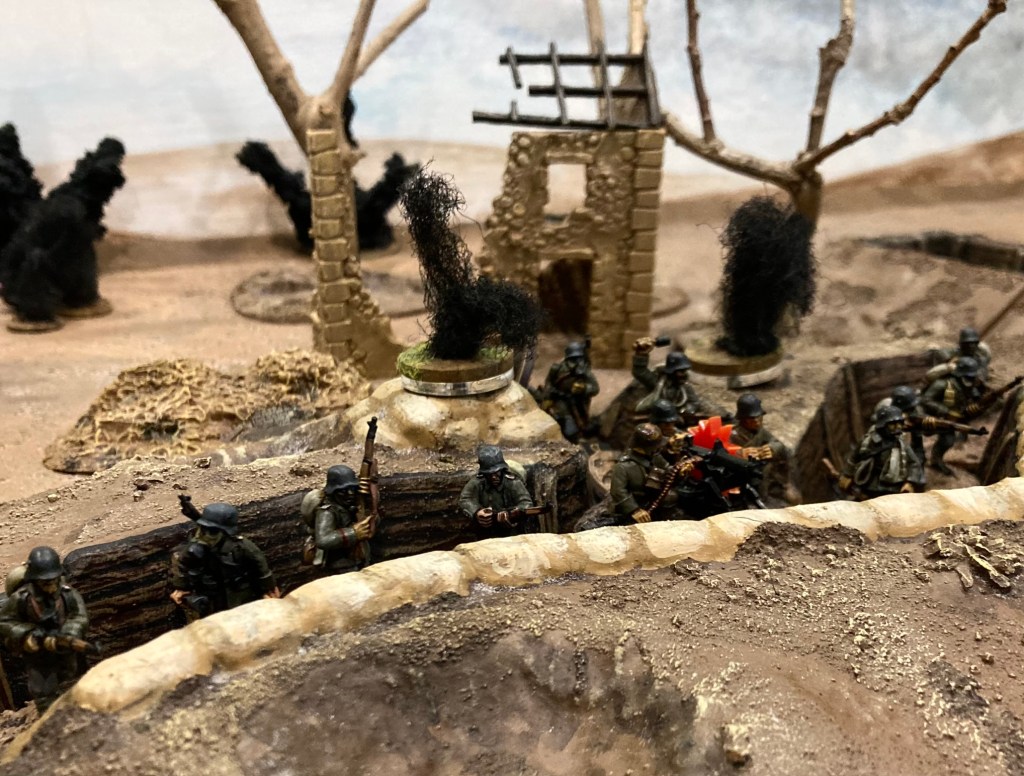
The Germans had a standard platoon with the addition of a Maxim MMG with 5 crew.
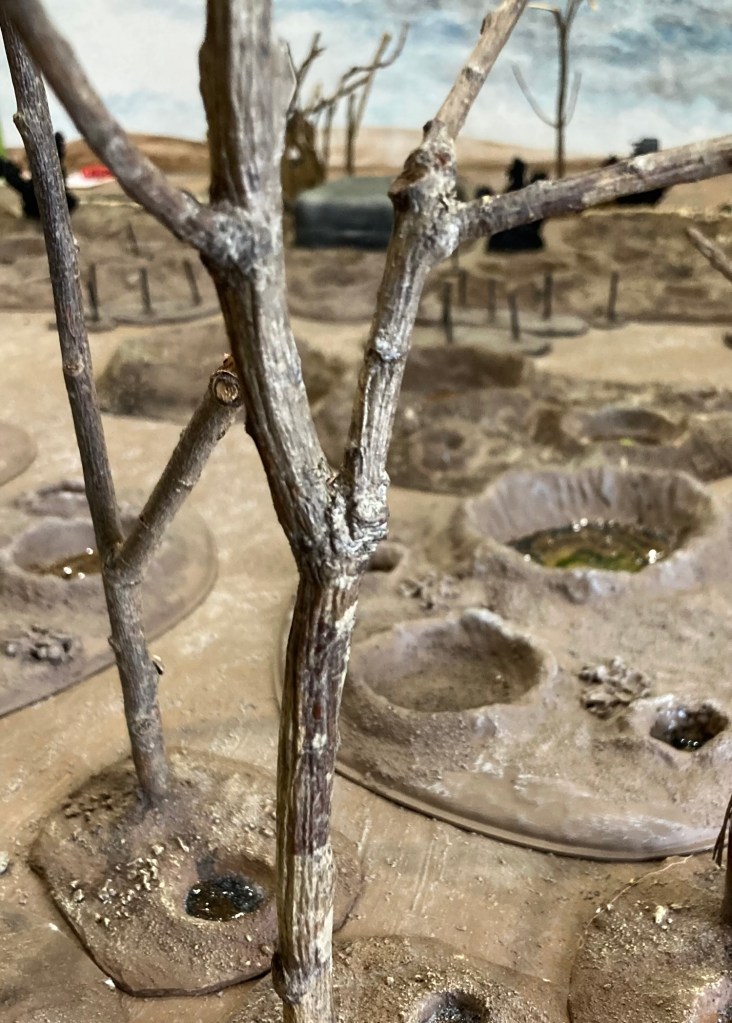
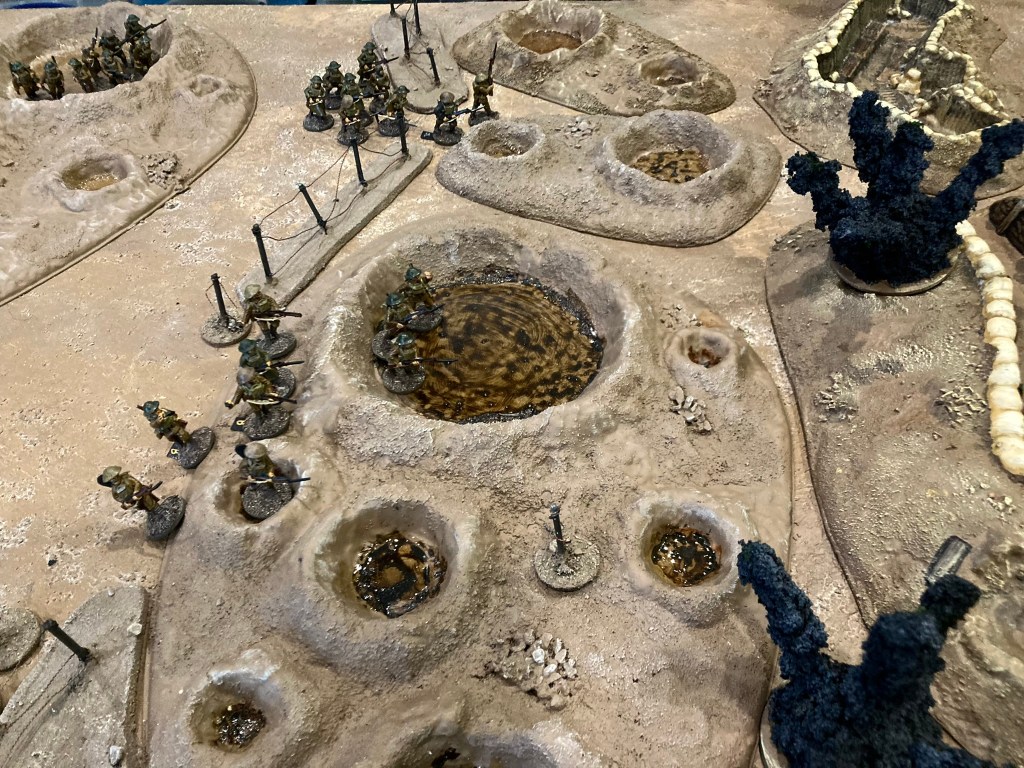
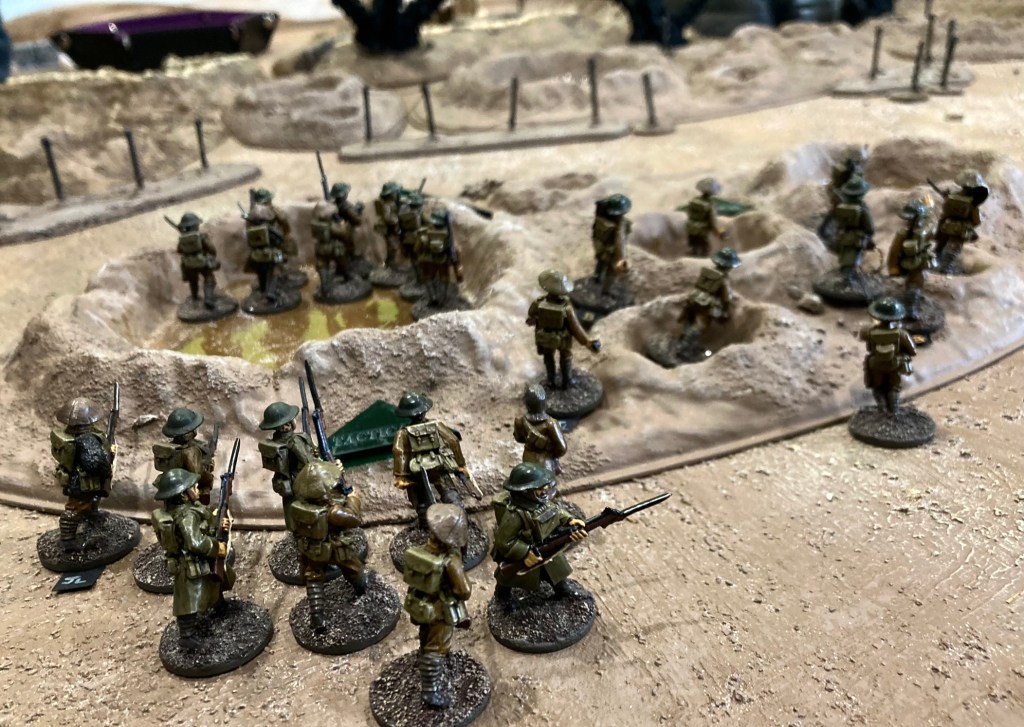
Terrain-wise, we were playing up the length of a 6 x 4′ table. The British deployment area was liberally scattered with craters and trees which we counted as Soft Cover, Broken Ground (and Soft Ground for the purposes of the tank bogging down). The area in front of the German-held farm was partially blocked with barbed wire and designated as ‘Abysmal Terrain’ (using a set of modifications to CoC from Storm of Steel‘s Alex Sotheran; the net effect of Abysmal Terrain is that a dice roll is made when units move into it, giving random hindrances to movement. As it happened, the British barely made it into this area of the table, so it was a moot point).

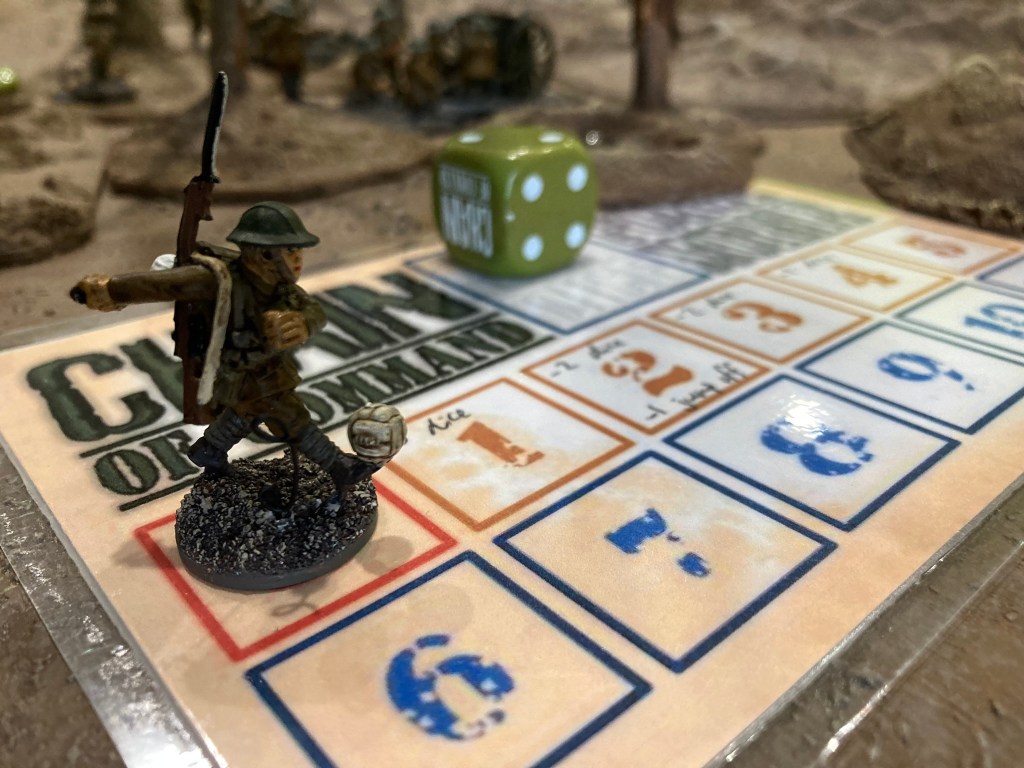
I decided to pre-set jump-off points given the nature of the scenario; Germans and British both had four each. Following this, we rolled for Force Morale, getting an average 9 for the Brits and below-average 8 for the Germans.

I took the first phase as the attacking player. Traditionally, my favourite tactic is ‘charge’, but recently I’ve been reading Mark Bretherton’s blog and Len Tracey’s ‘Fire and Manoeuvre’ article in the 2023 Lard Magazine which have both encouraged me to take a less hasty approach! I had several good command dice rolls right at the start and decided to make best use of these to get my support units onto the table. With the tank’s slow movement – and having to deploy on the rear table edge – I brought this on first, closely followed by the field gun (on Overwatch) and Vickers MMG.

Tom rolled multiple 5s for the Germans and was content to sit back racking up the CoC points while I got on with it. However, I’d decided that I needed to push forwards while the German deployment was restricted by the barrage.
Next up, my ‘fire’ units – Lewis gun and rifle grenade sections – came out in cover to the left and right of the German position.
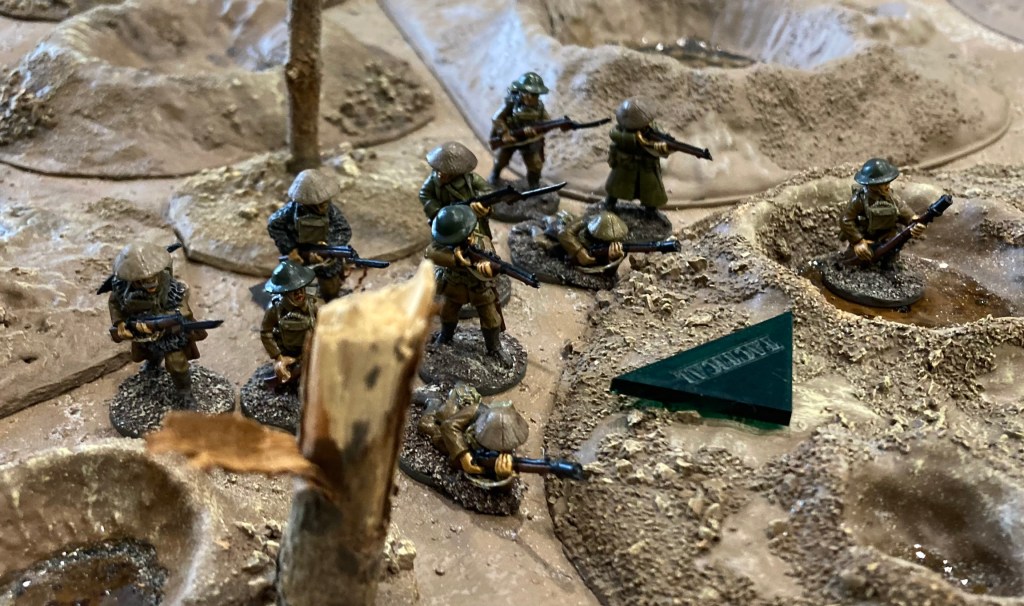
With no action from the Germans, I was possibly over-hasty in deploying my bombers and finally my rifle section and Sergeant well forwards, albeit on tactical.
Then it all went a bit Pete Tong!
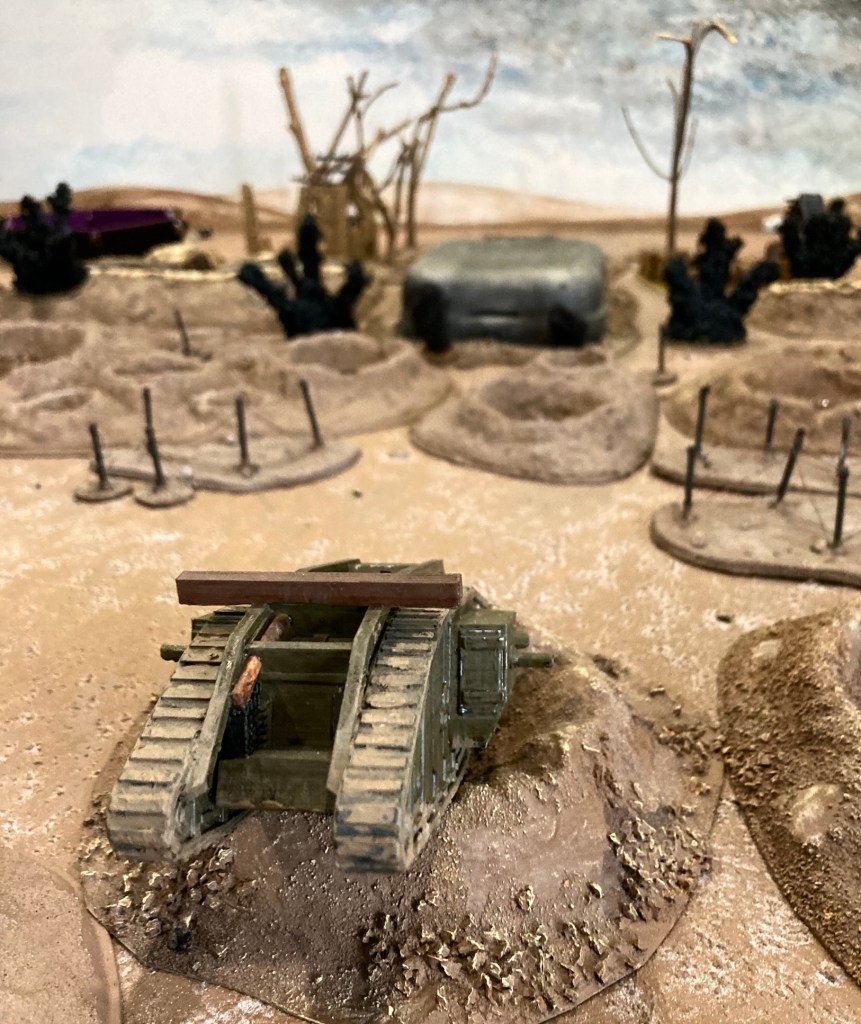
Firstly, my tank rolled a double 6 and bogged down in a shell hole, needing to wait until the end of the turn to attempt to free itself. This also neatly blocked the line of fire for the field gun in the meantime. With all my units deployed, Tom decided to spend his first CoC dice to end the turn, meaning that my barrage ended just as the first Germans started to appear. While I was now free to try to get my tank out of the shell hole, it also meant that all the tactical and overwatch markers I had placed on my units were lost.
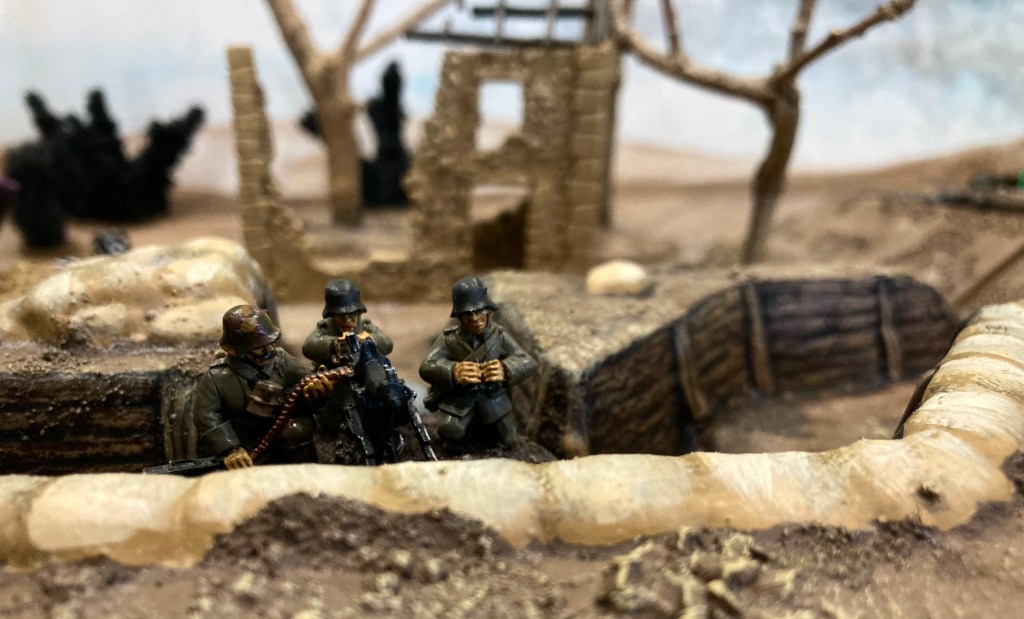
This, of course, was followed by the Germans rolling a double phase and getting their machine guns into action….

Despite a few good saving throws from the Brits, casualties and shock began to mount for the forward assault units; the bombers in particular took an absolute hiding, had their junior leader killed, and then broke and fled, causing the first hole in the Force Morale. I hastily used my only CoC dice to avoid a morale test for the junior leader getting wounded (rather than the more serious setbacks that followed) and was left on the back foot.

Fortunately, Capt J. Hunt (in command of the Mark IV) was able to get his driver on the case and revved his way out of the shell hole. The tank’s 6-pounder then caused some consternation amongst the Germans, followed up by fire from the field gun and Vickers at the back of the field being commanded by Lt M. Walker.

Unfortunately for me, the Brits were on the back foot having lost enough Force Morale to lose a command dice. My troops were stretched too thin and a few duff command dice rolls meant that the Germans were soon having a field day. The rifle section found itself trapped just in front of the German trenches, and both attached leaders were wounded. In a triumph of awful dice rolling, Sgt J. Clark was hit twice in succession, then rolling the maximum -2 Force Morale for ‘senior leader wounded’ each time. We were now down to 1 Force Morale (compared to the Germans’ 7) and the end was inevitable. Despite bold attempts to shell and bomb the German MMG, which was pinned and came close to breaking, the continual fire on the rifle team eventually broke it and ended the game.

Lots of fun, albeit a game of two halves, and a good couple of hours with decent banter with Tom in between. I felt that I probably should have held my assault units back slightly longer than I did, but overall this scenario might have been better suited to Big CoC with two attacking platoons rather than one. Certainly, the fact that the support options did not come with any additional command dice meant that it was hard to activate them once the front units were engaged, but that’s how CoC is – it forces you to manage your resources very carefully.

Time to go and root out the unpainted Great War Miniatures and plan another game!


great looking game!
LikeLiked by 1 person
Cheers James!
LikeLiked by 1 person
Chillingly evocative stuff James.
LikeLiked by 1 person
Cheers Darrell. I keep thinking about all my WW1 battlefield visits while gaming this stuff.
LikeLike
Great looking game. Never played CoC or WWI but this post has made re-think the period and suitable rules.
LikeLiked by 1 person
Thank you. There’s a lot more to WW1 gaming than meets the eye, especially once you start reading up on tactical developments.
LikeLiked by 1 person