Finding myself recovering from illness and with a free afternoon, I managed to fix up a game at short notice with erstwhile chum Matt. A full year ago, we jointly invested in Forged in Battle/ Wiglaf Miniatures to put together some 15/18mm armies for the 7th century – my favourite period of the early medieval age.

However, we’d not managed to actually play a game together yet! It was great to get the opportunity to put that right, and a most excellent afternoon was had by both of us. We managed to crack through four games with plenty of time for catching up and eating cake in between.

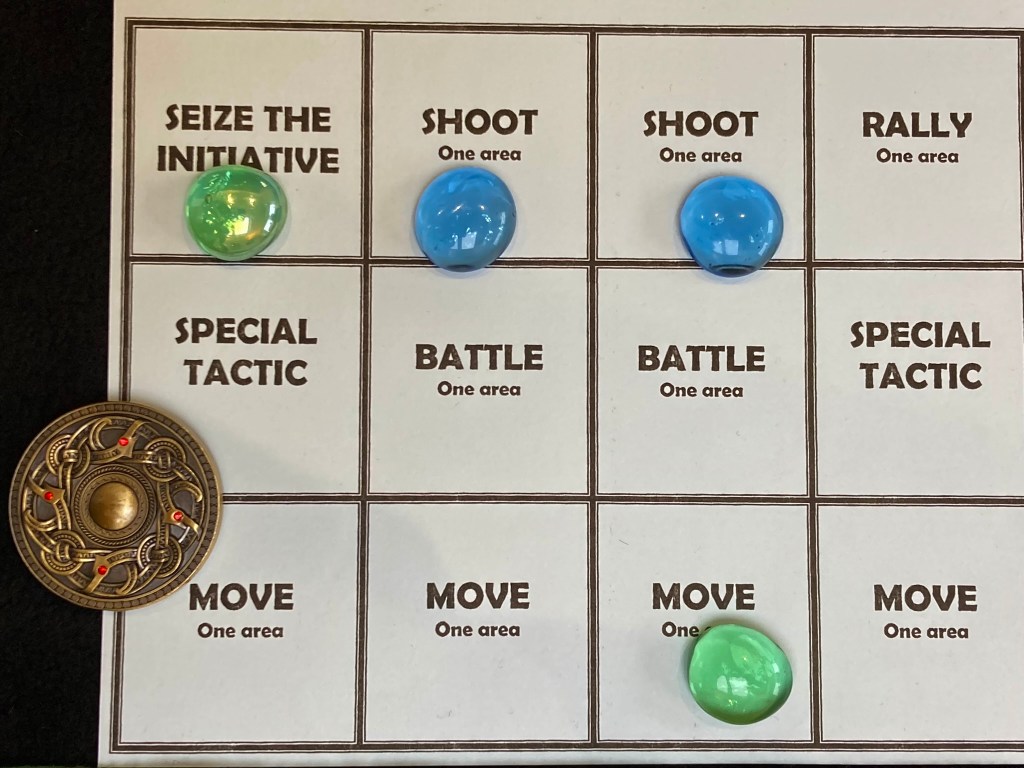
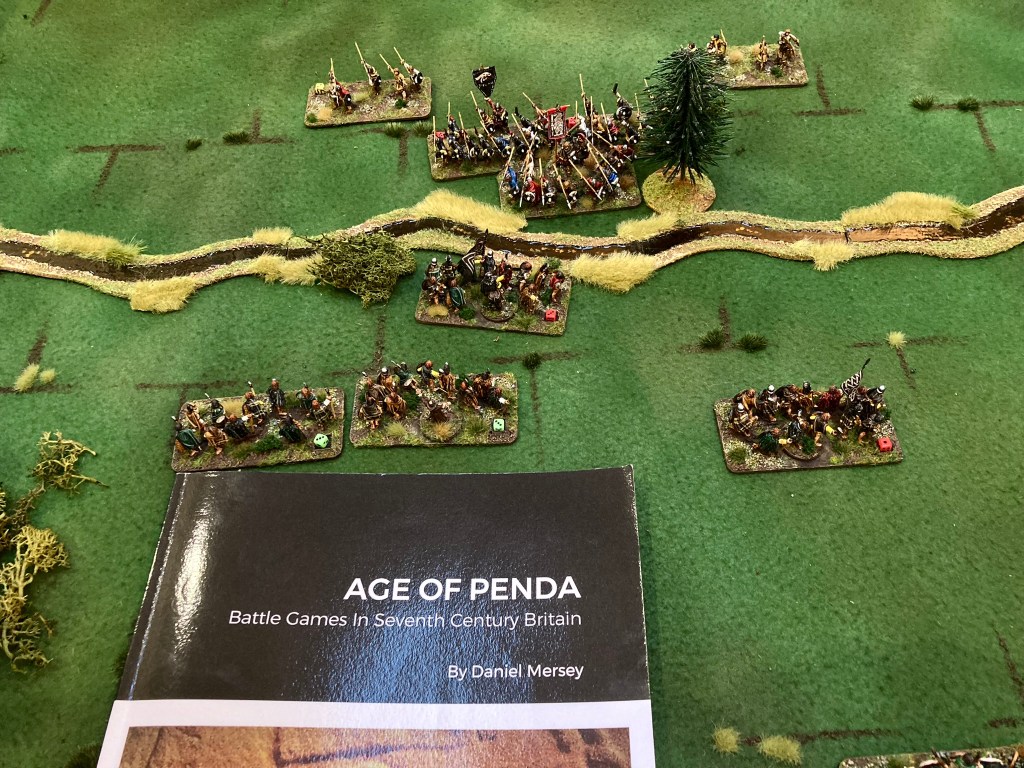
In case you’ve not encountered it, Age of Penda is one of Dan Mersey’s self-published quick play rules sets. It’s a ‘top down’ battle game played on an offset grid with a Tactics Board that drives the game play, drawing on both traditional miniatures wargame and boardgame mechanics. (I reviewed it in more detail in this earlier blog post).
Today’s armies were 64 points apiece, slightly less than the sample 80 point forces given in the rulebook but absolutely adequate for a good afternoon’s gaming.
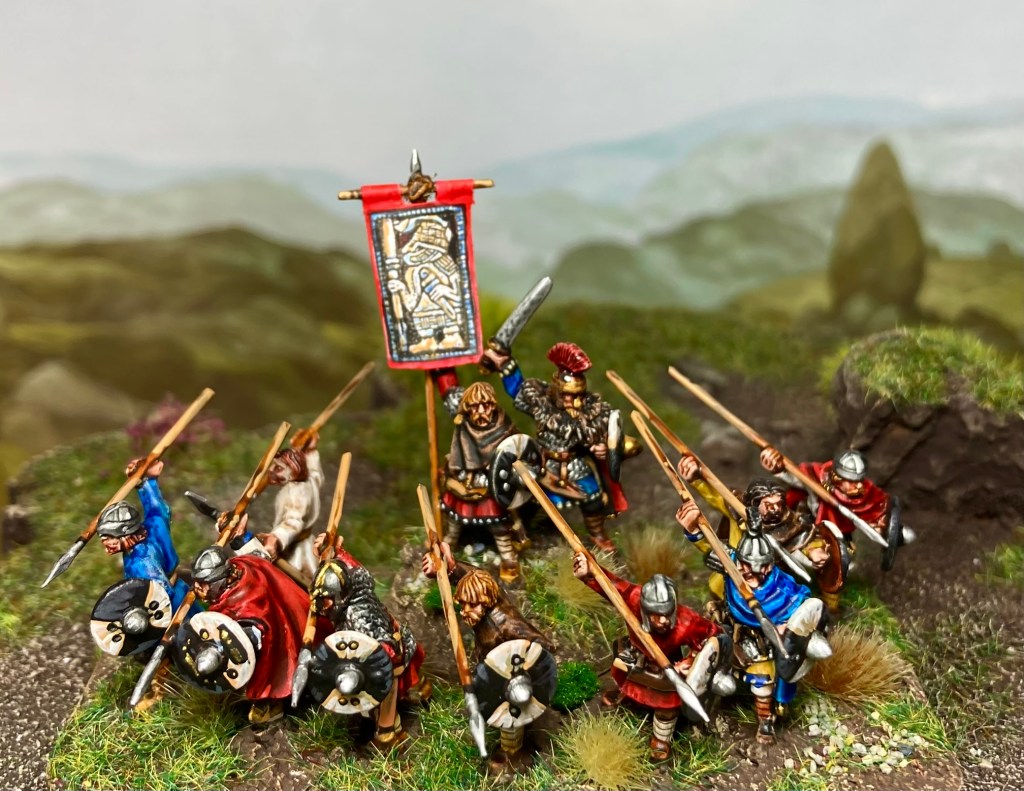
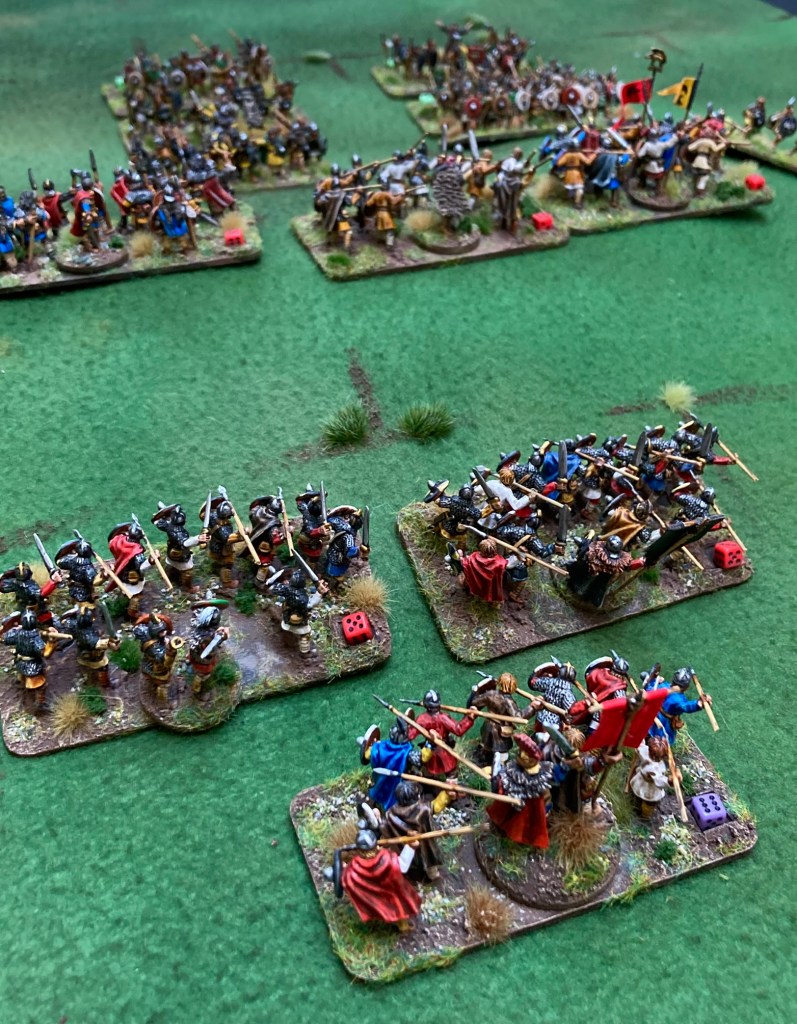
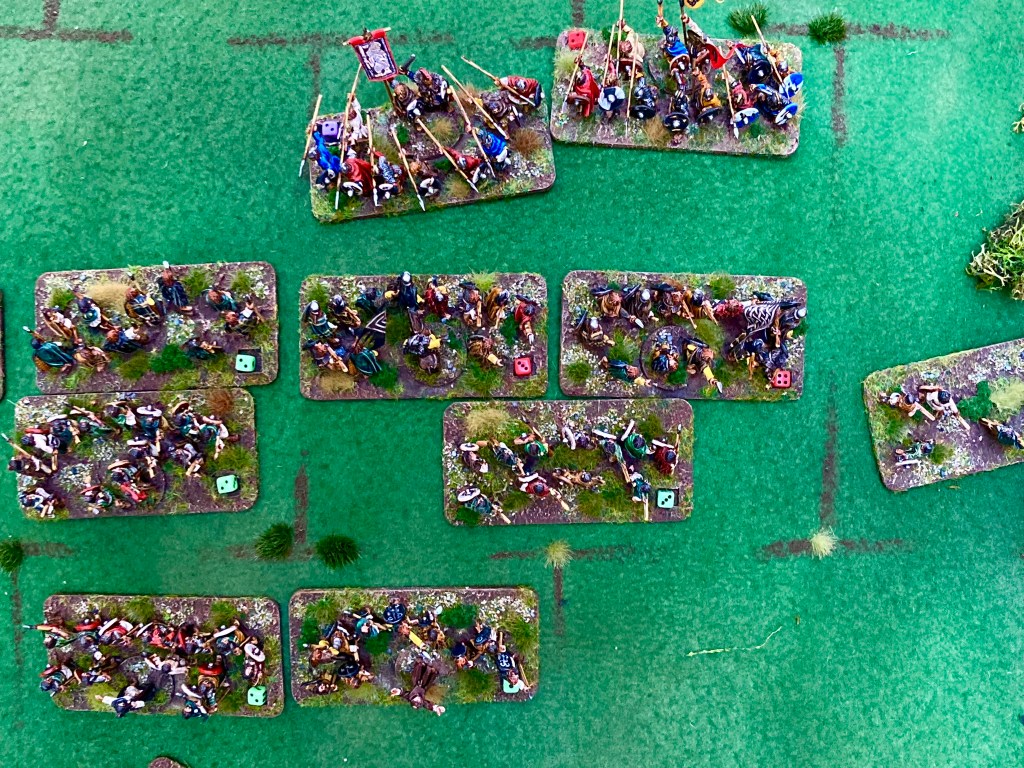
The Saxons were based on an elite raiding force composed almost entirely of professional warriors. This force is almost entirely Wiglaf Miniatures, with a handful of Forged in Battle 15mm.
SAXONS:
6 x Armoured Warrior units @10 pts
2 x Skirmisher units @2 points
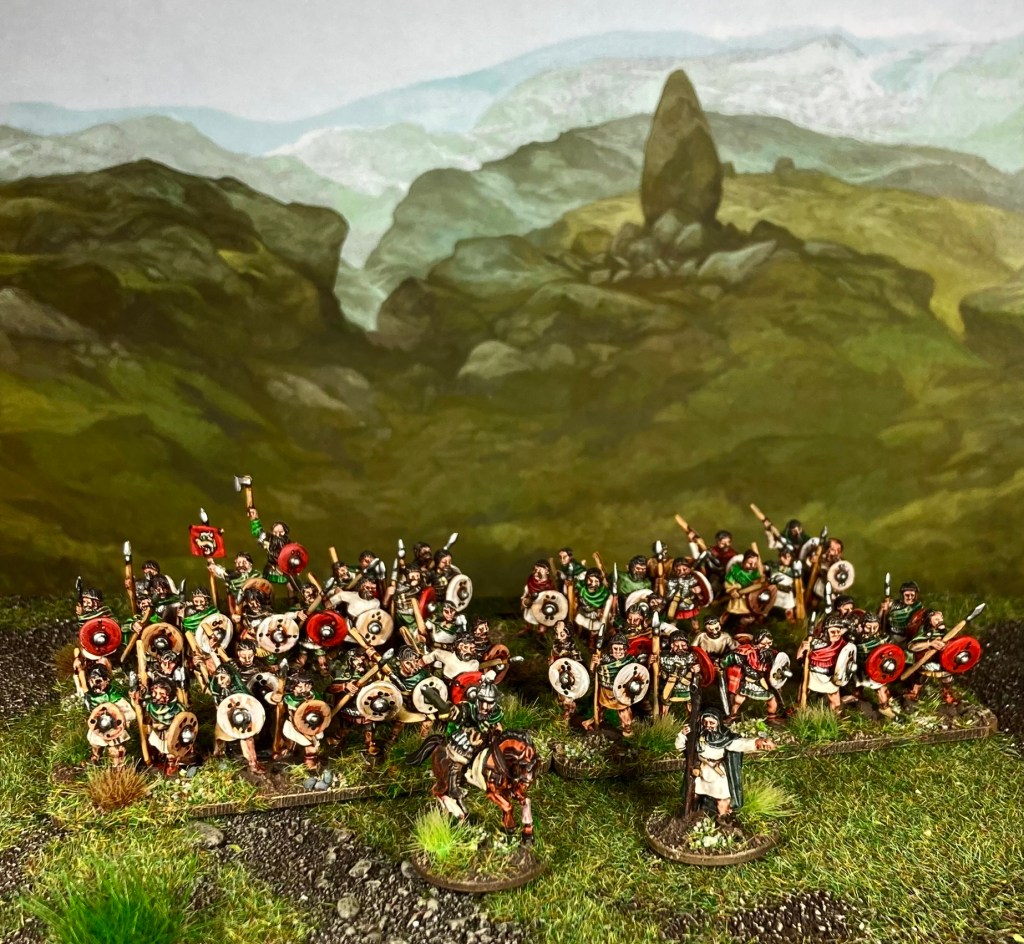
The Celtic coalition was a more mixed bag, such as may have fought at the Battle of Degsastan 603 CE. The figures were entirely Forged In Battle 15mm.
SCOTS-IRISH/ WELSH:
3 x Armoured Warriors units @10 pts
5 x Unarmoured Warrior units @3 pts
2 x Skirmisher units @2 pts
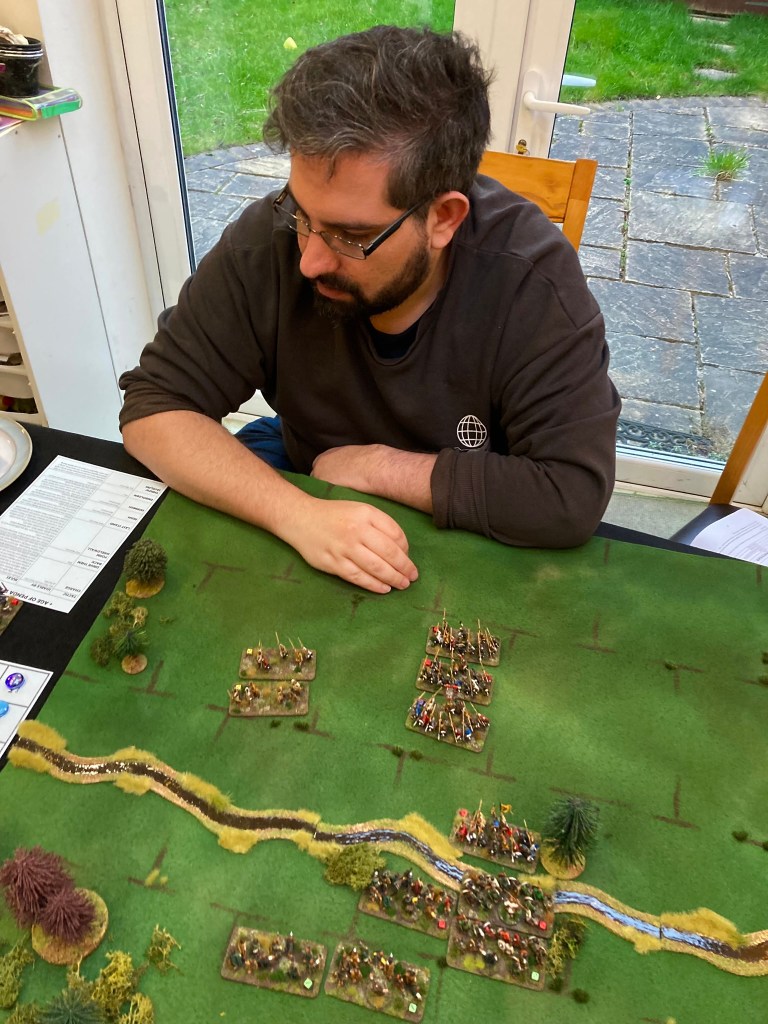
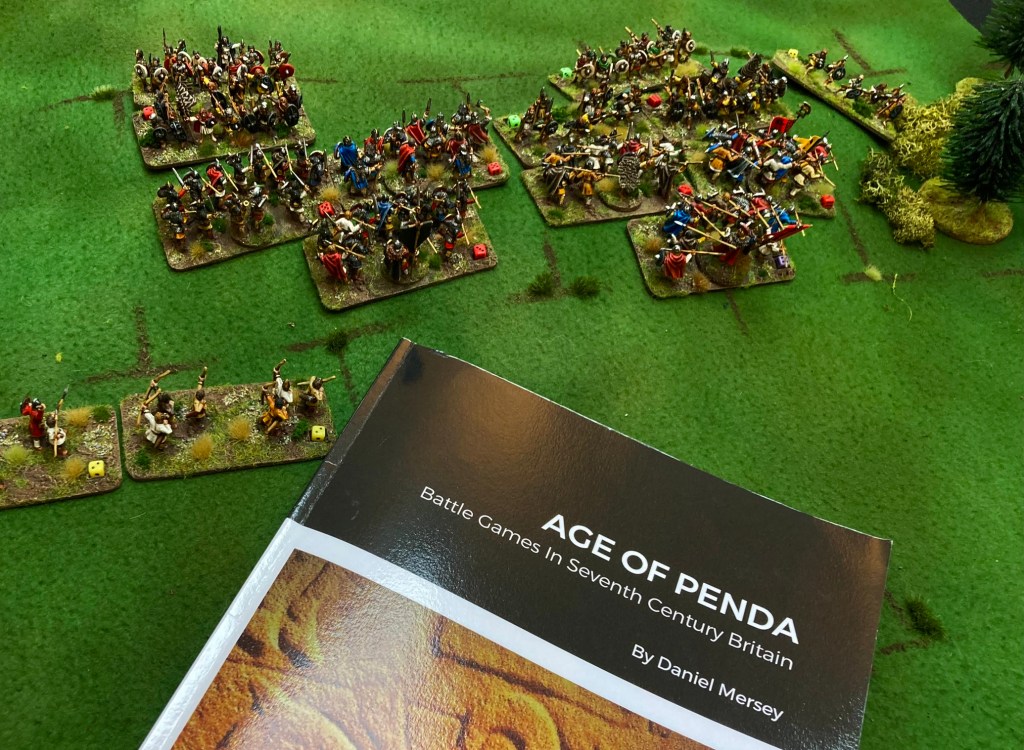
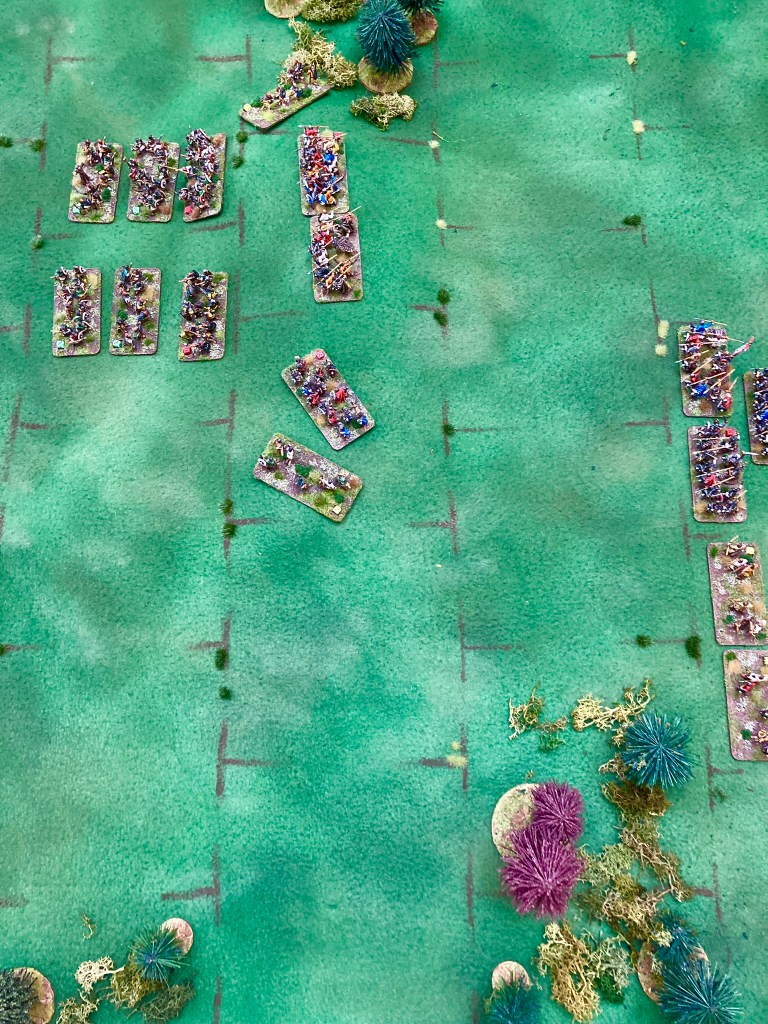
Although Age of Penda doesn’t have scenarios as such (just some guidelines in the book), I decided to set up a couple of classic situations based around (1) a hill and (2) a river crossing. First up was the hill – maybe an abandoned hillfort? – set across two grid squares in the centre of the table. Matt took the Celts, I took the Saxons, we rolled for initiative and kicked off.
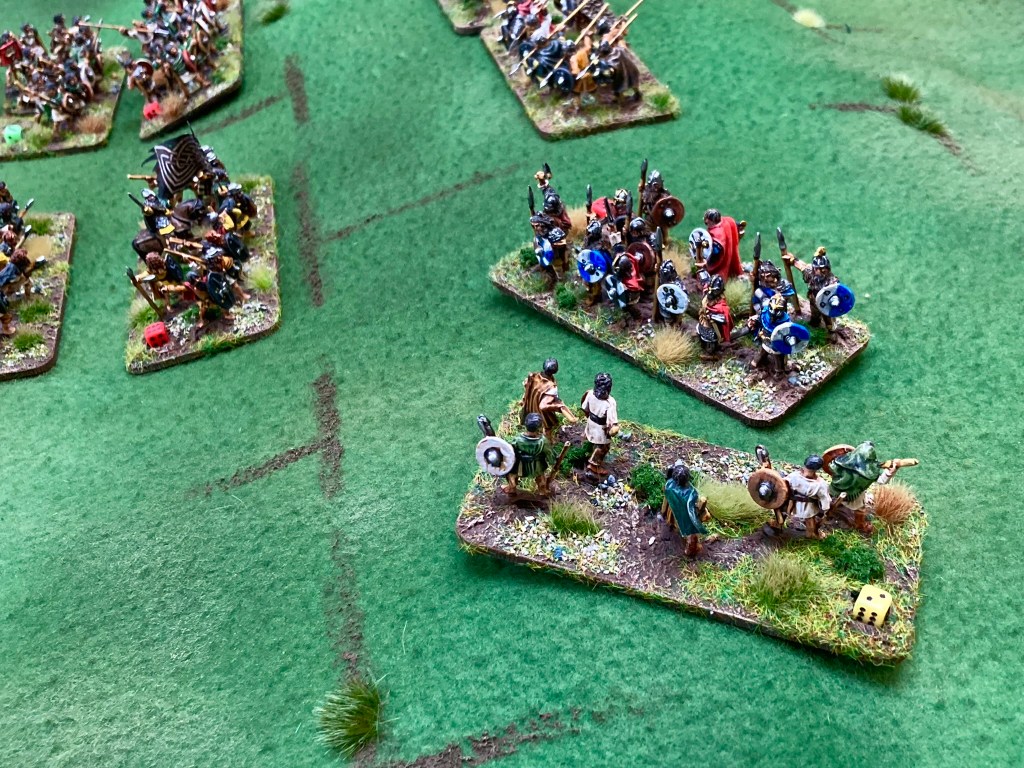
Having played several times before, I knew two things: (1) get the Armoured Warriors stuck in and (2) if there was defensible terrain, get there first. Fortunately, I won the initiative and was able to get Penda and his chums into pole position on the hill.
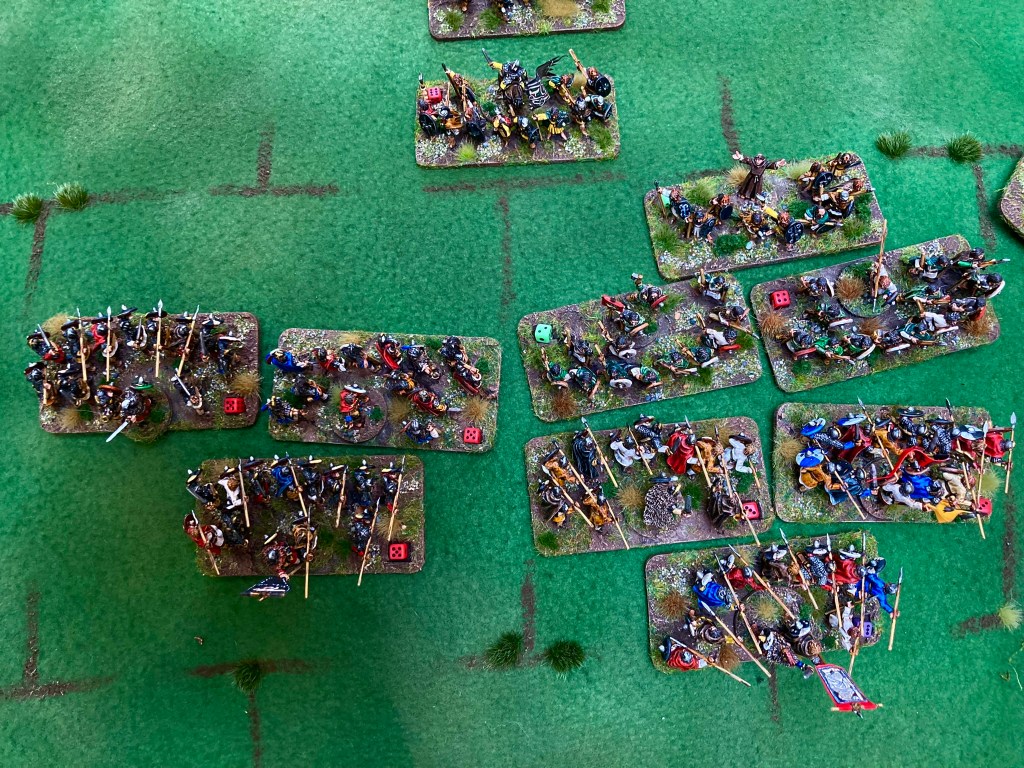
There was a stiff fight when the Celts arrived, but their skirmishers on the flanks did little, and the Saxons were able to break up the main attack and hang on to win, aided by some fortunate Rally rolls. (There are two opportunities to rally off damage, but both require a random roll to pull it off, and the Celts were certainly out of luck this time around). Victory conditions are simple – your side breaks and loses when reduced to 3 or less Warrior units (or 2 in the case of forces with 6 or less Warrior units, like the Saxons in this scenario).
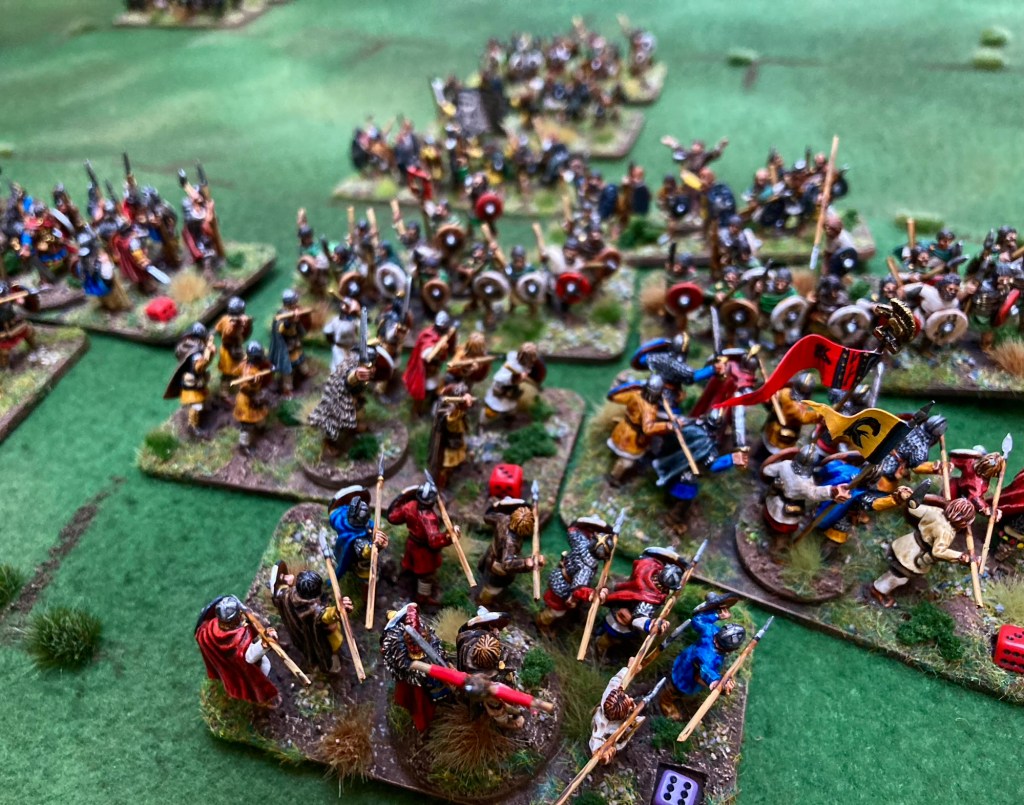
For game 2, we swapped forces and replayed the scenario. Matt was learning fast and pulled off some clever moves using the Tactics Board, including stealing the initiative off me on several occasions. (The player with initiative takes the first action each turn, which can be decisive). This was a much more even battle, as Matt got his Saxons to the hill first. However, I’d concentrated on bringing up as many Celts as possible so that I had options to reinforce the line. What I managed to get right in this game was swapping out damaged units using two Move actions, as well as successfully making Rally tests. With a little luck, my Scots-Irish king hung in there and broke the Saxons!
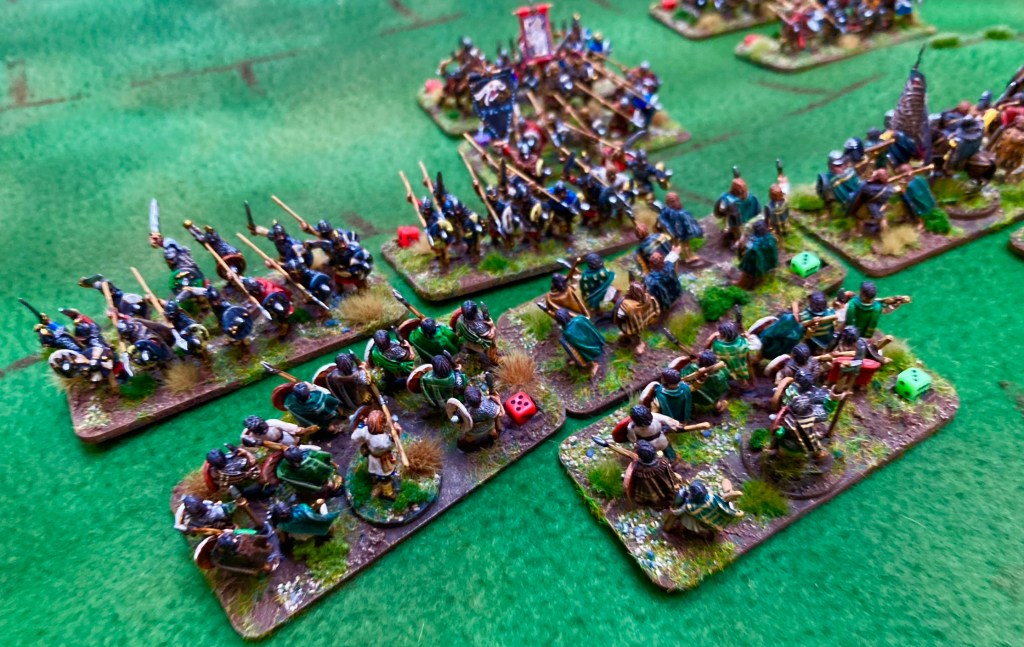

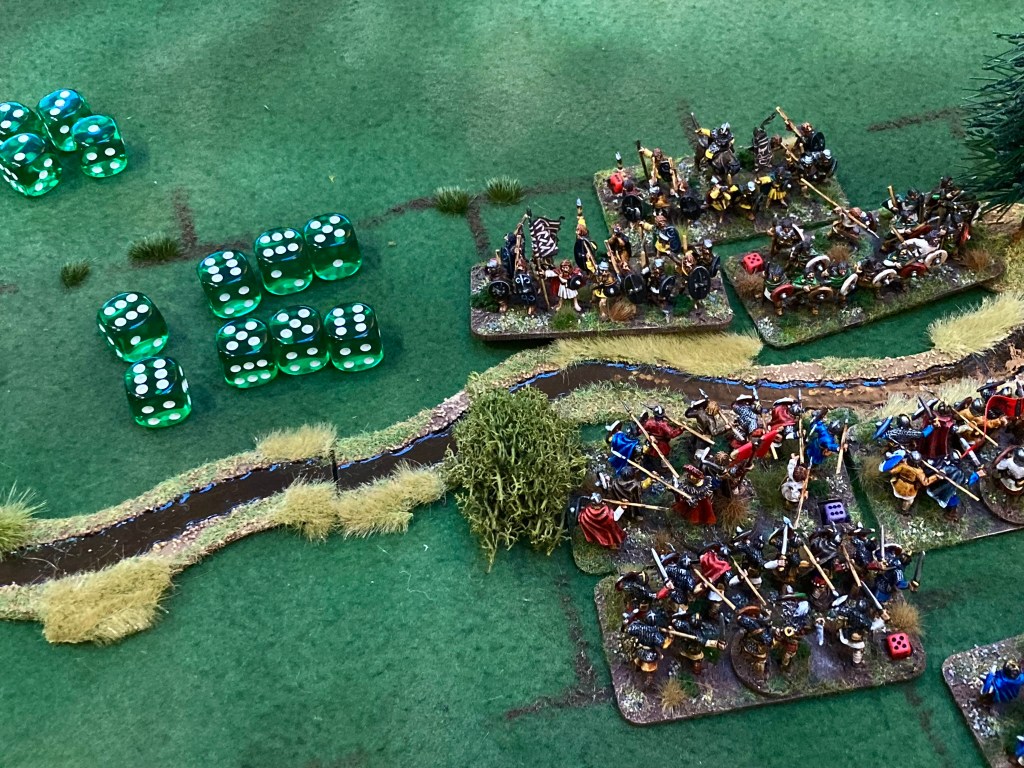
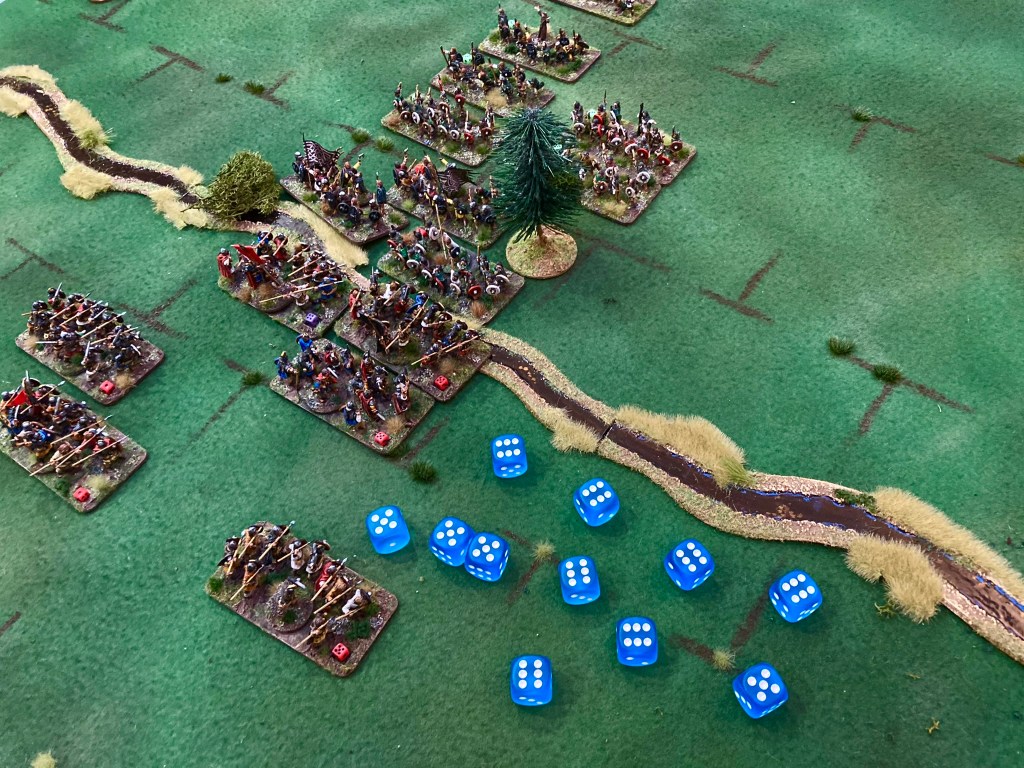
For the third game, I stuck with the Celts and Matt with the Saxons. We laid out a river across the centre of the board; following the rules exactly as written, the river created four squares of impassable terrain with a single ford in the centre box (marked by the tree in the pic above).
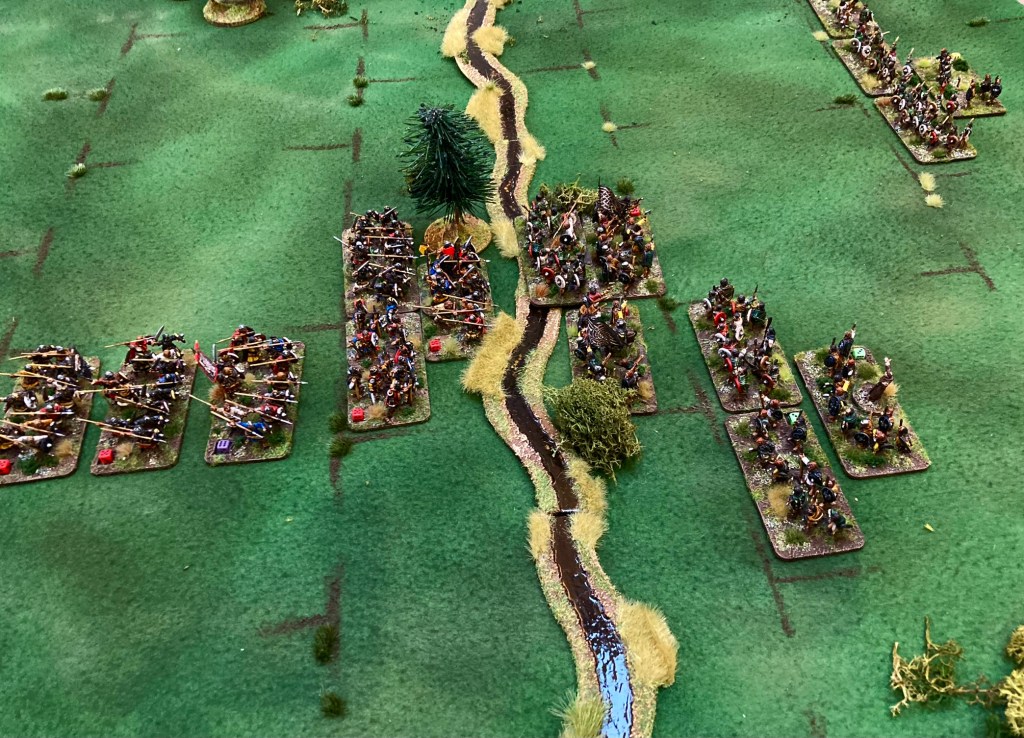
Reading up on the impassable terrain rule, we realised that this meant no unit could enter the 4 boxes on the river banks, which meant that Skirmishers could not shoot from one side to the other (missile range being a maximum of one box). We decided that it must be a very wide river and played on, but the Skirmishers stayed at the back! Effectively, this was going to be a scrap over a very tight choke point, which would probably favour the Saxons with their greater number of Armoured warriors.

This game wasn’t a long one! We both surged forwards, leading with our best units and taking as many Move orders as possible (Matt also discovered the the ‘Charge’ special activation didn’t have to result in combat, so he used that to get more of his Warriors up in support). Having prioritised getting my three Armoured units to the ford first, I enjoyed a couple of excellent rounds of combat where the attacking Saxons took quite a drubbing (defending some terrain means that your opponent has to roll 5+ rather than 4+ when attacking), but eventually ran out of steam. My king was reduced to a single unit with no-one left in close support, as I had spent all my activations on the combat in the ford! Another Celtic loss.
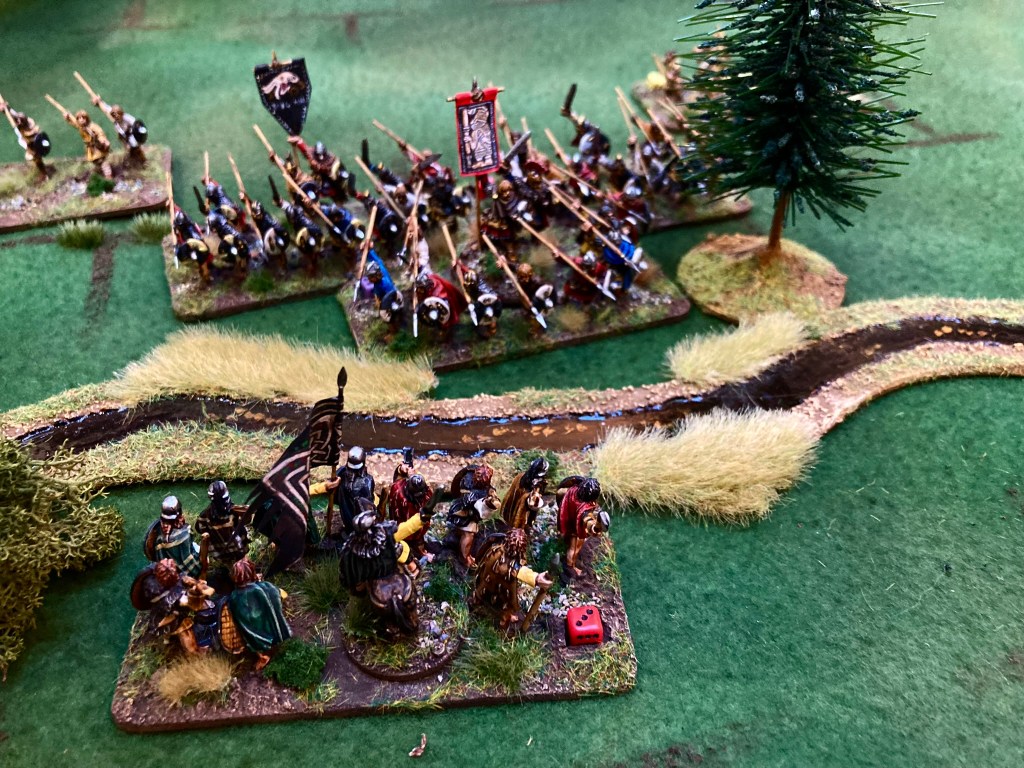
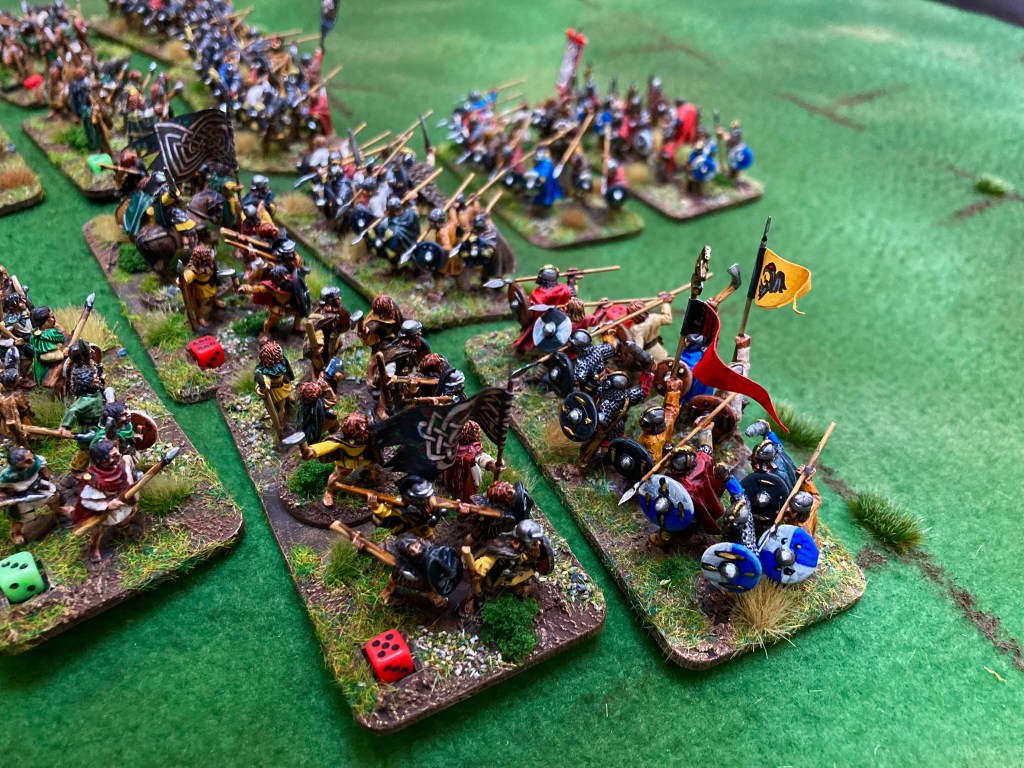
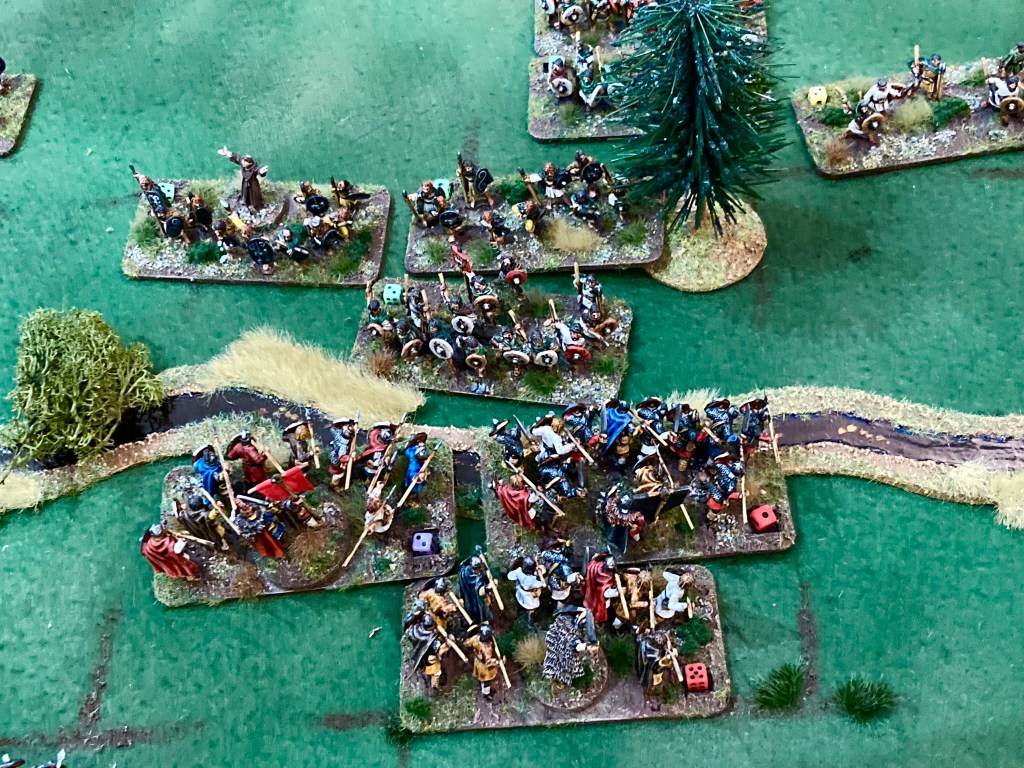
After a civilised round of tea and cake – closely based on Asterix in Britain – we swapped forces again and plunged into the bloodstained waters of the ford for the final time.
It had been a great afternoon’s gaming, and the dining room table size of the game (my mat has a playing area of 90 x 90 cm) meant that we rattled through the battles. With a similar level of detail to DBA and a very clever decision-making system, I’m enjoying Age of Penda more with every game. As we were playing, discussion turned to a possible mini-campaign, some new ideas for terrain and Special Tactics, and how I definitely need to get some horsemen (still sat in their bag) painted up for the next game. As soon as this blog post is up, I’m going to get to work on that…
PS It has just been announced that Wiglaf Miniatures came in third place in the ‘top indie companies’ category in the On Tabletop awards 2022 – well done chaps!

A superb series of battles
LikeLiked by 1 person
Cheers sir! I really want to play this again now.
LikeLike
I’ve been meaning to get both the rules and the Wiglaf figures ever since they were released but have not yet done so. Reading reports such as these should give me the impetus to do so (once certain other recruitments have been accomplished).
I noticed there seems to be a discrepancy between the statement that the armies comprised 64 points each and the breakdown, which gives the Celts only 49. My guess is that unarmoured warriors are worth six points rather than three, as that brings the total to 64. Alternatively the Celts may have had ten such units though this appears unlikely.
I
LikeLiked by 1 person
Glad you enjoyed it and yes, I’ve made a mistake on the points. Unarmoured Warriors have a Battle Rating of 3 but cost 6 points each. Cheers for spotting this!
LikeLike
Unarmored are 6, armored are 10, skirmishers 4, and mounted 10. Two points per battle rating.
LikeLiked by 1 person
Yes, there were some errors on the original post. Thanks.
LikeLike
I’ve still not played but I now have the rules and a fair amount of the minis, including the recent cavalry and princes, though I’ve yet to paint any.
On reading James’s own set The Mead Price I noticed it takes a different approach to troop classification, using a similar system to Saga for this rather than Daniel’s classification of close-order troops as either armoured or unarmoured. I’m guessing this is purely a matter of personal preference as I don’t know what, if any, evidence there is for how armies of the period were organised. (This is in spite of having acquired a copy of the fairly rare Warfare in the Age of Penda, which I subsequently loaned to Daniel, who was unaware of it).
One would assume the logical system would be to have both armoured and unarmoured troops in the same units, with the armoured ones in the front rank, rather than splitting them according to their level of protection, making the unarmoured ones highly vulnerable. I can only assume that the evidence is simply lacking and therefore neither approach can be deemed wrong, but it would be interesting to hear others’ – and particularly James’s – views on this.
Another question specifically for James: when can we expect Midgard?.
LikeLiked by 1 person
The Mead-Price rules were driven by a need to be incredibly simple and fast-playing for the Sutton Hoo games – I considered using Age of Penda but needed something even simpler and with separate leaders involved.
What we know about this period tends to indicate that most of the fighting was done by a small number of professional/ semi-professional warriors rather a horde of armed peasants (as lovingly portrayed in film, TV and many books!) I suspect that, as you have said, well-armoured hearth guards (Gesith) would be mixed in with veteran warriors (Duguth), possibly with helmets and some armour, but there would also be young warriors (Geoguth) just starting out on their military careers. Whether this means that there would be distinct units of each, or a number of mixed units, we don’t know, but I suspect that there would be a difference between the personal retinues of the great lords (with a high proportion of Gesith) and those of lesser leaders. My reading of Age of Penda is that the Armoured Warriors troop type is the former, and the Unarmoured Warriors type is more the latter.
When can we expect Midgard? I’ve been fairly quiet recently as I’ve been beavering away with Rich Clarke on the final manuscript, but it still needs to go to art, layout and proofreading, so is probably several months away. I’m going to do a blog piece update about it fairly soon, but not until the manuscript is done.
LikeLike
Thanks for your reply, which makes good sense. There’s no need, after all, to assume that ‘armoured’ means 100% armoured, or, conversely, that ‘unarmoured’ indicates a unit with no armoured – or experienced – warriors. They’re essentially descriptors of relative fighting quality, and the terms used, which ever one prefers, are primarily for convenience (and, I assume, ease of pronunciation!)
LikeLiked by 1 person
Hi, Great report. Do you think the rules would work for a bit later? I have a few SAGA warbands and would like to try Age of Penda in 28mm. Thanks, Nick A.
LikeLiked by 1 person
Many thanks. I think the rules would be fine for a few centuries later. I’ve no doubt it’ll work in 28mm, but in my mind it works well with a smaller scale as it doesn’t focus on the detail of the fighting. Worth trying.
LikeLike
Arrowstorm, Dan’s most recent rules in this series, is Medieval Britain, out to the 15th Century. They are available on Wargame Vault.
LikeLike
Really enjoyed this, James. Thank you for posting.
I picked up a copy of Age of Penda mostly with a view to helping fund the Wiglaf Welsh (the design notes on the website sounds like they’ll be a really interesting take on C7th Brits). Having had a flick through the rules they seemed a lot more abstract than the normal wargames we play, but the simplicity made me think AoP could be a fun ‘beer and pretzels’ ruleset. The fact you’re enjoying it so much is a solid recommendation for getting my Dux Bellorum armies finished and giving it a whirl!
On the subject of Dark Age British, do you have any top tips for painting tartans?
LikeLiked by 1 person
I’m very glad you enjoyed it. Age of Penda is quite abstract but I found that a nice diversion – beer and pretzels is a very apt description. Given that I got four games in an afternoon yesterday, I’m wondering about a mini campaign.
I steer clear of using the term ‘tartan’ for this period as it tends to be loaded with Victorian images of highlanders and painting terrifyingly detailed Napoleonic er kilts! That said, I long ago worked out that a few parallel stripes on certain areas gave a nice Celtic feel to my minis. I did this article last year about painting Picts and I think it pretty much covers what I do without going overboard. https://mogsymakes.net/2022/04/12/painting-the-picts/
The 15mms have had some similar treatment. I find the key is to choose a string contrasting colour for the stripe/ check (usually a very light yellow/ brown over a dark base) to make sure that it stands out. Hope that helps.
LikeLike
Perfect! That’s exactly what I’m after. Thank you.
LikeLike