
Since the release of Midgard Heroic Battles, there’s been quite a lot of interest in how it plays for the Wars of the Roses. The fifteenth century is most definitely towards the end of the ‘heroic age’ represented by Midgard; however, the expectation of leaders fighting in the front line is still strong in this era, and the command and control mechanisms work particularly well for the difficulties of controlling large bodies of troops seen in the dynastic battles of the 1450s-80s. (Indeed, many of the core combat mechanisms of Midgard were inspired by my reading of Wars of the Roses battles).

At The Other Partizan 2024, while hanging around the Lonely Mountain pushing hundreds of orcs, we ran into Chris Breese (Winston ap Rees on the socials). Chris’s hobby mojo had taken a down turn recently, so Tom proposed a Wars of the Roses game to help things along. With December being the month of choice, it had to be Wakefield 1460, one of the battles that none of us had played.

I pulled a few books off the shelf, but Tom did the bulk of the research and put us together a scenario that leaned heavily on the excellent one by Giles AKA Eric the Shed. If you’ve not seen Giles’ blog, do go and have a look – as well as hosting wargames holidays, there are a number Wars of the Roses battles fought out in grand style using the popular Never Mind The Billhooks rules).

Wakefield is, of course, a tricky battle to refight, as the Yorkists were heavily outnumbered, outflanked and comprehensively defeated. Tom had adjusted the victory conditions and added a couple of special rules to the scenario, which were as follows:
Reputation: the Yorkists start with 17 Reputation tokens, the same as the Lancastrians.
If the Duke of York is killed or captured, the Lancastrians gain +2 Reputation tokens.
If the Earl of Salisbury is killed or captured, the Lancastrians gain +1 Reputation token.
Yorkists gain +3 Reputation tokens if the Earl of Rutland escapes the battle from the Lancastrian table edge.

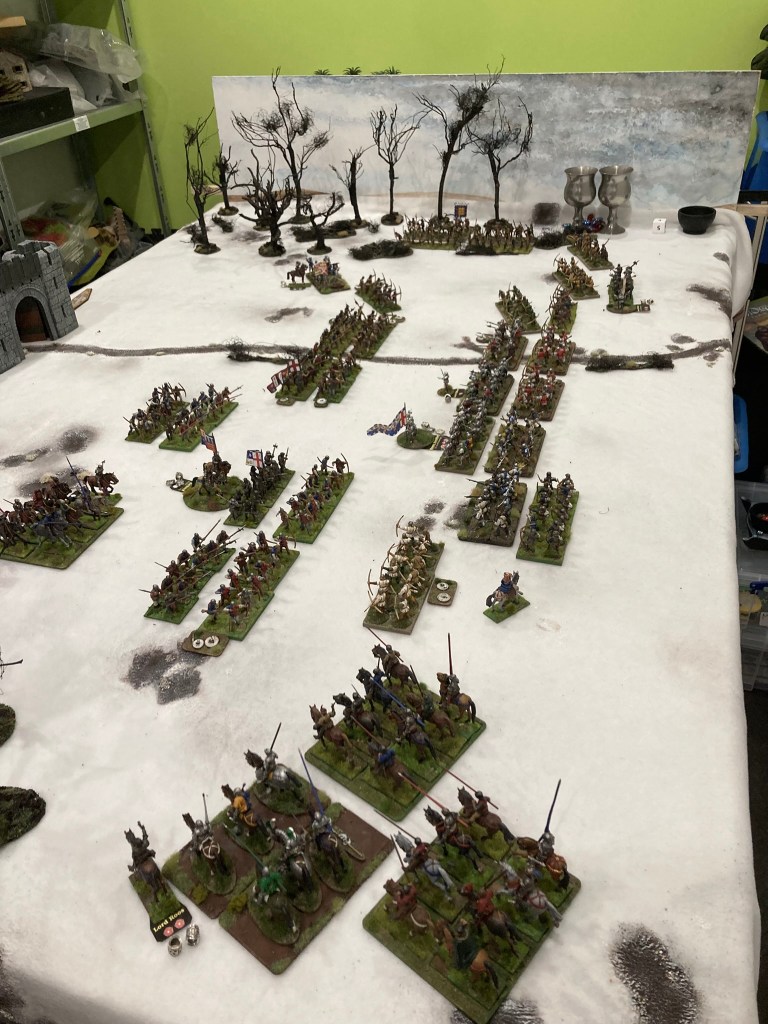
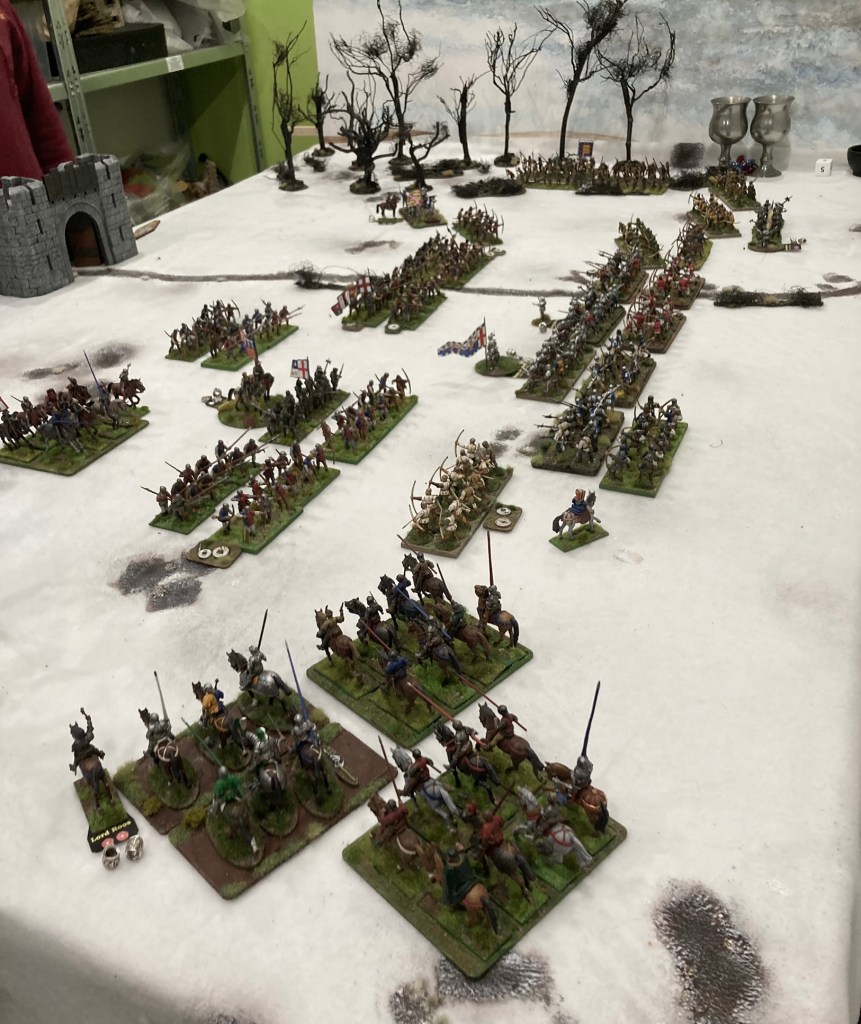
Although none of the chroniclers mentioned snow, running a battle set in December 1460 was too good an opportunity to pass up, so one of my homemade snow mats was pressed into service (making a reappearance from the Norse myth games that appear in the Midgard rulebook) along with the winter trees that Chris and I had made for our Battle of Mortimer’s Cross game in 2022. Tom happened to have the gatehouse of Helm’s Deep on the shelf, which was quite passable for the gates of Sandal Castle. The backdrop at the end of Tom’s table was painted by me ten years ago for a World War One game but seemed to fit the mood well enough!
Chris, Tom and I all combined our figures for the game, using mostly Perry Miniatures with some Foundry and Athena as well.
I drew up the Force lists based on Tom’s notes using PY Troell’s fantastic Midgard Force Creator app. We didn’t represent every leader present, so some are absent from the lists below.
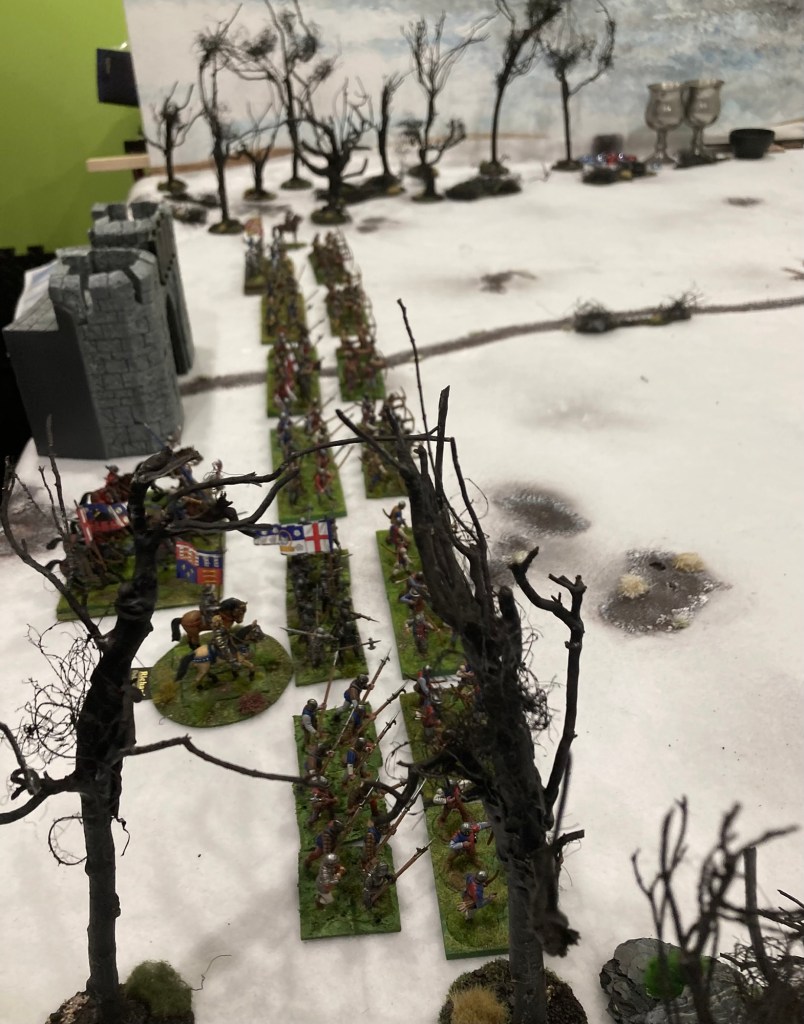
Following Tom’s narrative, the game commenced with the Yorkists deploying in front of Sandal Castle to confront the Lancastrian vanguard that had arranged itself on Wakefield Green (this is actually some distance from the castle in real life, but it felt wrong not to put the gatehouse on the table for visual effect). At this point, it looks like a straightforward late medieval battle, which is possibly what York was expecting to fight – or perhaps he knew that the odds were against him, and he’d be better of getting out there and trying to break out towards Wakefield? We don’t know.

The Forces were deployed just over a bow shot apart (the standard four and half Spear Throws used in Midgard scenarios), and the arrow storm began.

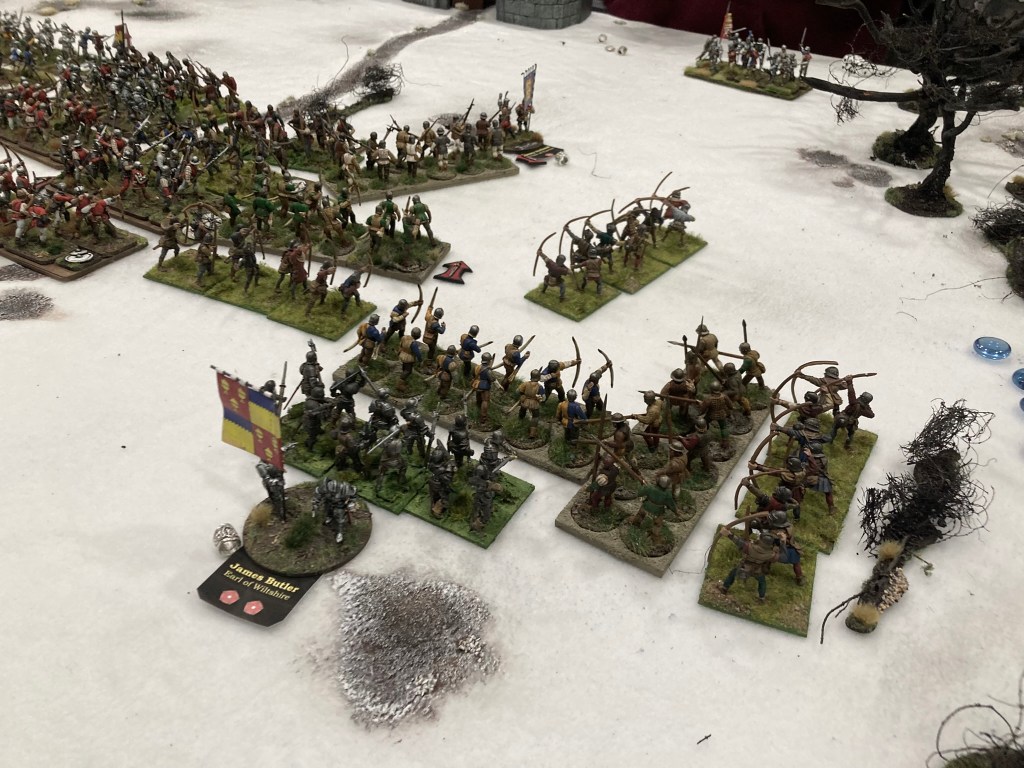
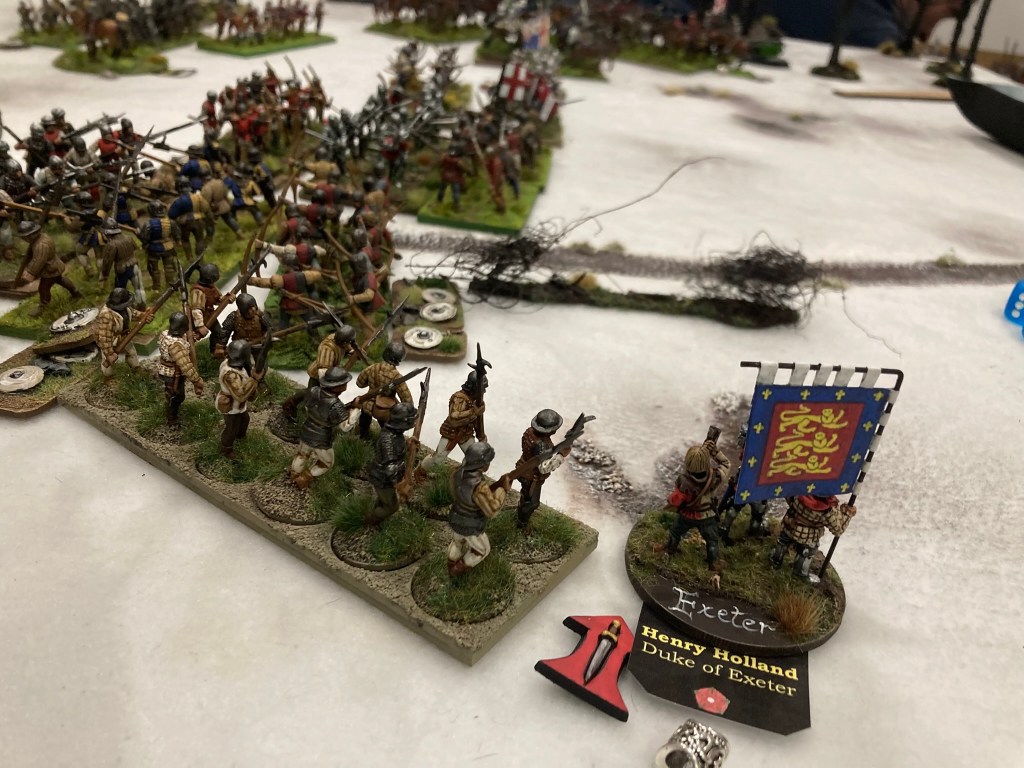
On Turn 2, the Lancastrian flanking force appeared out of the woods on the Yorkist left, led by the Earls of Wiltshire and Exeter. Tom had written a ‘Shirker’ special rule for Wiltshire which meant that his Contingent were a bit tardy getting to the battlefield, but Salisbury was still seriously outnumbered on that flank!

Turn 3 saw the arrival of the Lancastrian rearguard under Lord Roos, which effectively sealed off Rutland’s hopes of an easy escape towards Wakefield. All the troops were now on the table and the battle was fully under way.

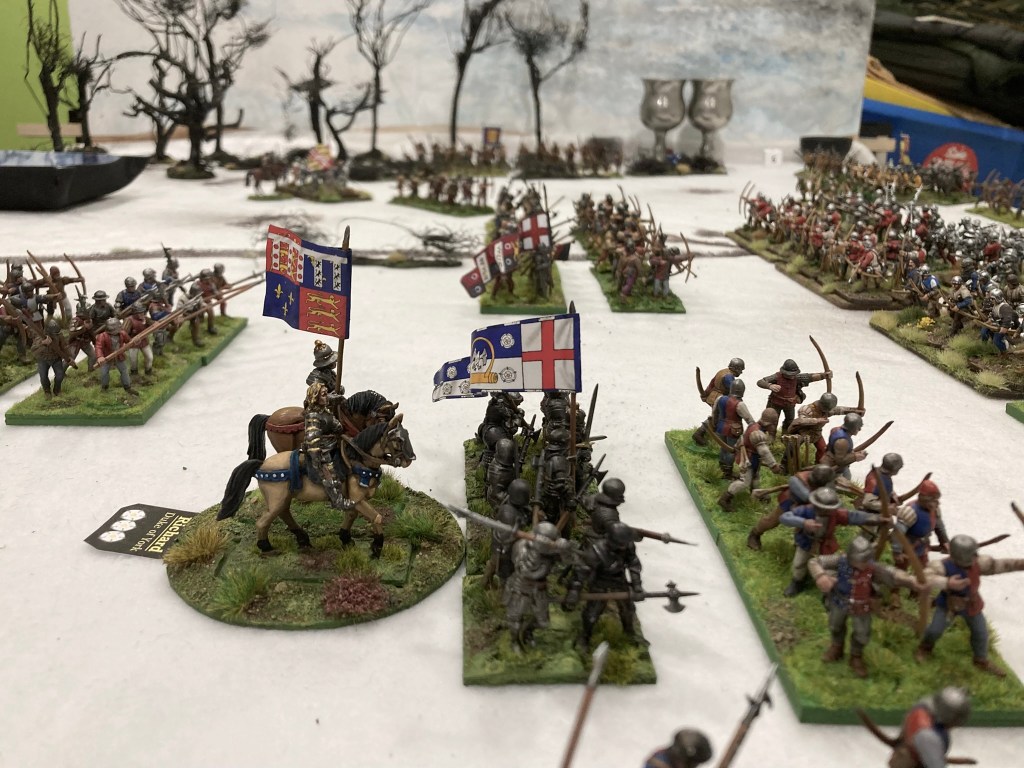
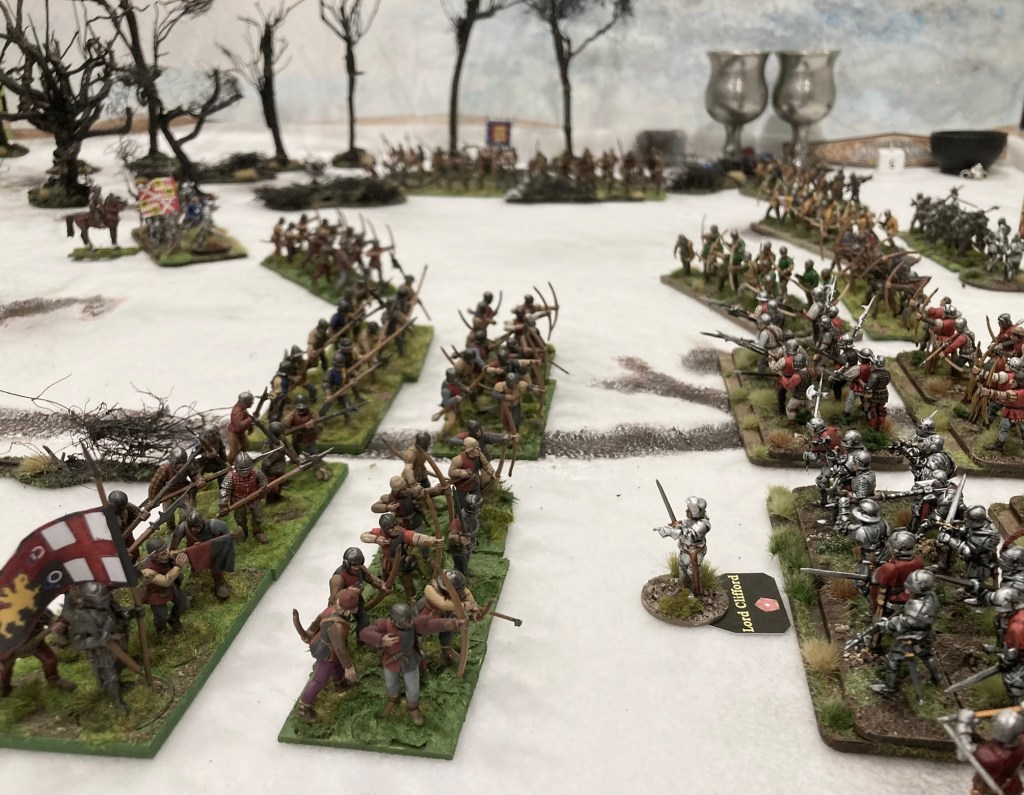
York had ordered a general advance, trying to avoid getting bottled up in his deployment area. While there were casualties from archery on both sides, the Lancastrians came off worst, so I used the Replacements Trait to withdraw my bowmen and put forward the billmen and men-at-arms to receive the Yorkist charge.

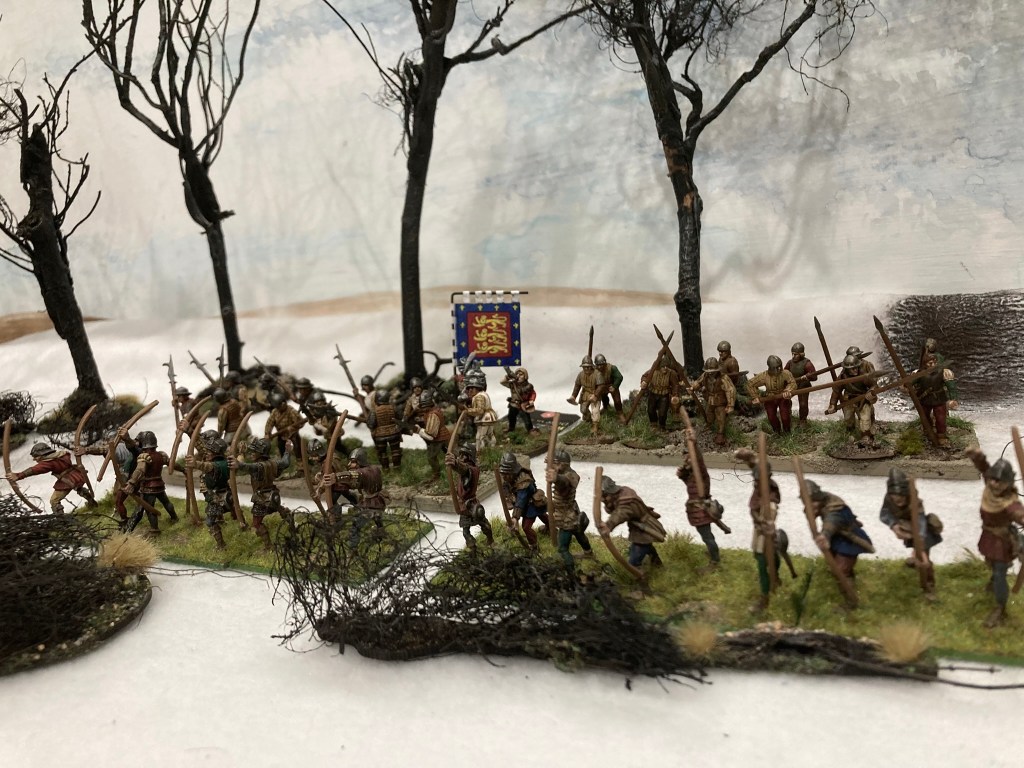
There has been quite a bit of discussion on the Midgard Facebook group recently about whether to represent bills and bows as separate or combined Units in Wars of the Roses Forces. As it’s a pretty flexible system, you can do either, but my personal preference is for separate Units. It puts another decision into the hands of the WOTR commander: when do you withdraw your archers and send in the billmen? Do you want to try to deliver a devastating hail of arrows at close range, or play it safe and pull the bowmen back before they get charged by better-armoured infantry? Thinking of Fauconberg’s actions at the Battle of Towton, it’s clear that WOTR commanders had some agency in this decision, so for me, I like the separate Units.

I’d plumped to have all the archers with the Marksman Trait for this game which allows each Unit to add +1 Shooting Dice to represent the quality of the bowmen and the feared arrow storm. This meant that Units were generally throwing 5 Shooting Dice, or a terrifying 9 at close range!
It probably would have played fine without using Marksman, but both sides had the same, and ironically, it was the Lancastrians with their greater numbers who came off worst.

On the Yorkist left, Salisbury was effectively acting as a forlorn hope to try to hold up the Lancastrian flank attack coming in from the woods. Never one to be afraid of taking bold action, Tom took York with his men-at-arms and sent them onto a pre-emptive strike into Exeter’s archers on the edge of the woods. The Yorkists took first blood, but Salisbury received a blow to the head in the melee, failing his Risk to Heroes test!
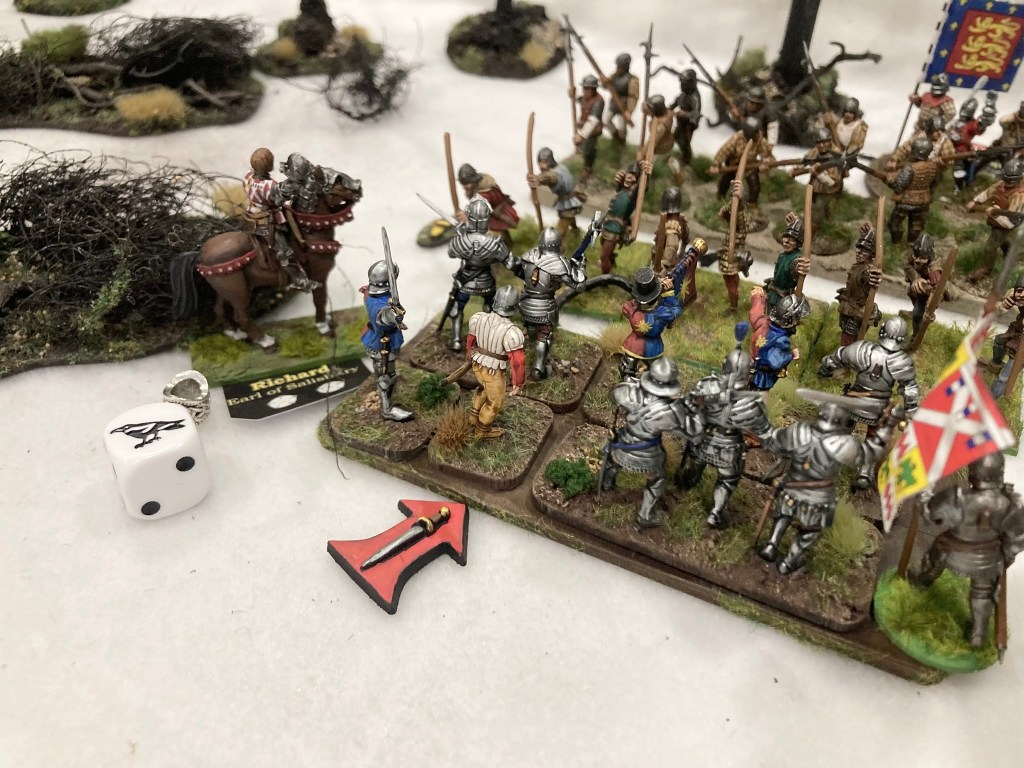
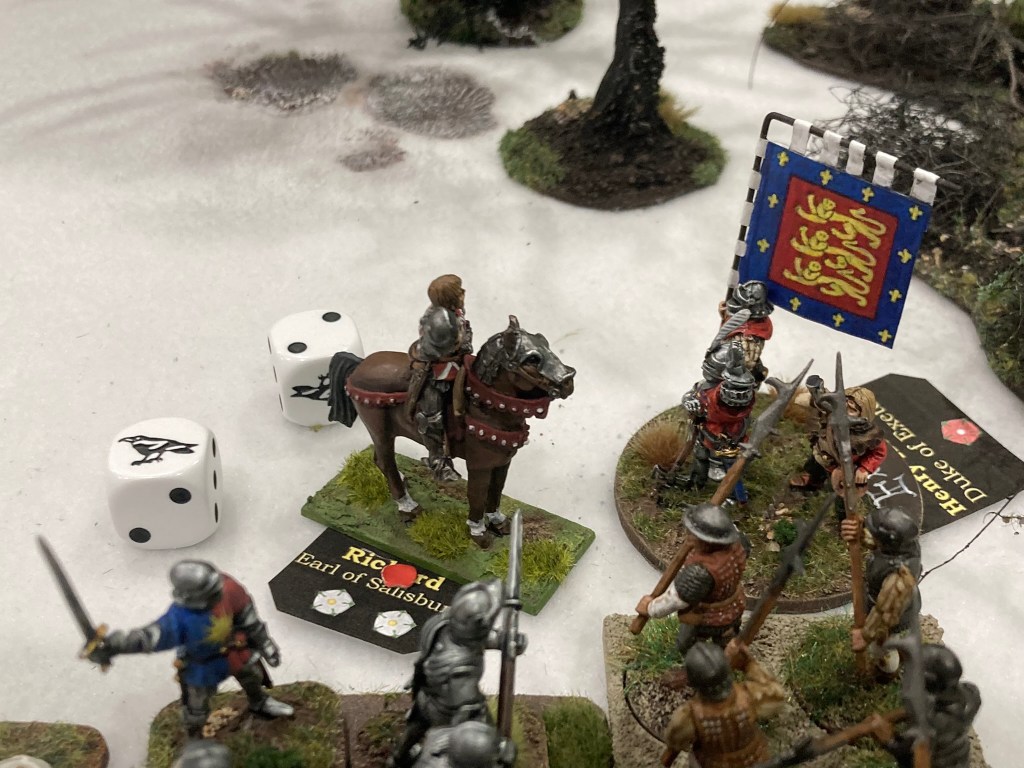
This was compounded a couple of Turns later, as Salisbury’s men were pushed back towards Sandal Castle. With yet another failed Risk to Heroes test, the Earl was pulled from his horse and captured by the Lancastrians (we were using the Capture special rule from my suggested Wars of the Roses Force lists).
On the other flank, Lord Roos and his knights had charged the Yorkist billmen in an effort to fight their way through to Rutland. The combat was indecisive, but Roos also failed a Risk to Heroes test and was wounded. (You might be wondering why Roos and Salisbury weren’t using their Mighty Deeds to reroll the Risk to Heroes tests: the answer is that they didn’t have any, having blown them all urging troops into position earlier in the Turn!)

Having none of this, Rutland joined in the melee.

However, the Lancastrians already had more horsemen in close support, who pinned the Yorkist advance.


On the other side of the table, the Lancastrian flank attack had demolished the Yorkist left.
As Turn 5 wore on, multiple Yorkist Units were destroyed and fled. Even with their enhanced Reputation, this signalled a general collapse in Yorkist morale and the game ended with a decisive win for the Lancastrians.

Salisbury was captured and Rutland was boxed in by Lancastrian cavalry; only York was still fighting with any hope of escape. It was an entertaining, fast-paced game that had given us a fair bit of excitement and a historical result. If I were to re-run it, I would probably have increased Rutland’s cavalry Contingent to give him a better chance of breaking out. Definitely something to consider – with a little bit more balancing, this would make a great campaign scenario!
Thanks to Tom for hosting and Chris for playing – I foresee more WOTR in the very near future.
