It’s no secret that Jon Hodgson Backdrops have been providing the majority of the backgrounds for my mini photos for the last few years, and indeed for the Midgard Heroic Battles rulebook shots by Pete Jenkins. However, I’d previously not looked at paper minis…that all changed in 2024.
It was an article by Conrad Kinch in Miniature Wargames magazine that got me looking twice at these. While I can paint minis to a decent standard, it all takes time, and the Peters Paperboys grabbed my attention because they are significantly quicker.
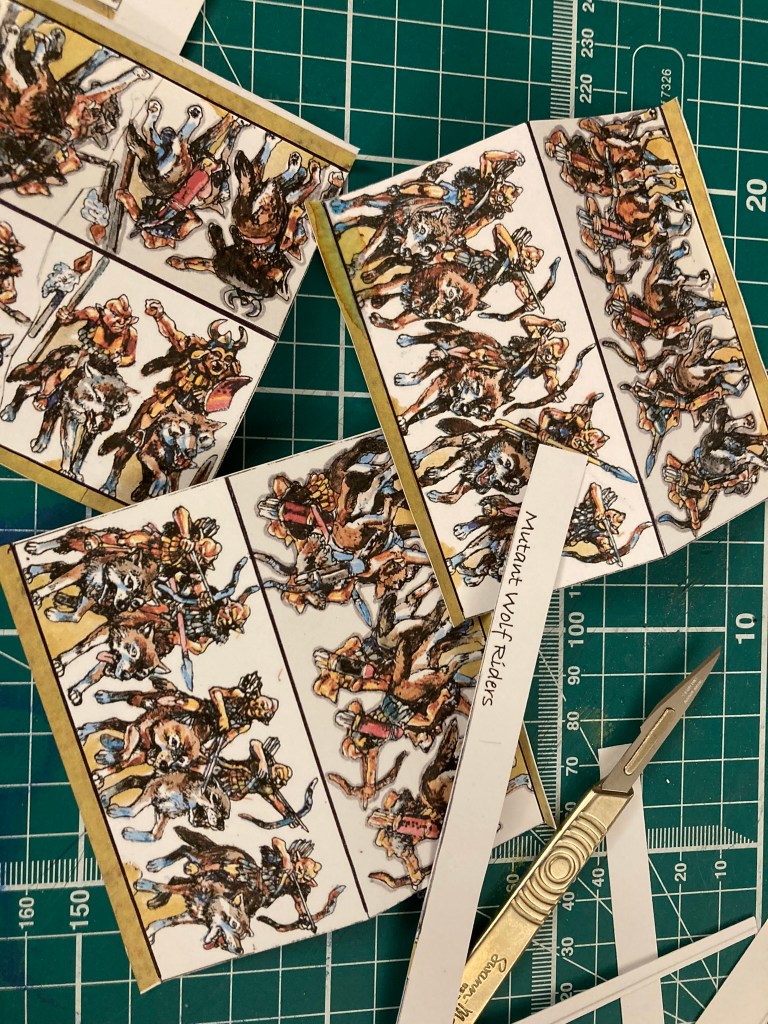
Bought as pre-coloured PDFs to download from Peter’s website, they require printing out (ideally on 160 gsm thin card) before folding, gluing and trimming. While the minis come with printable card bases, I fancied having a go at using traditional miniature basing (sand and static grass) to increase the illusion of depth.
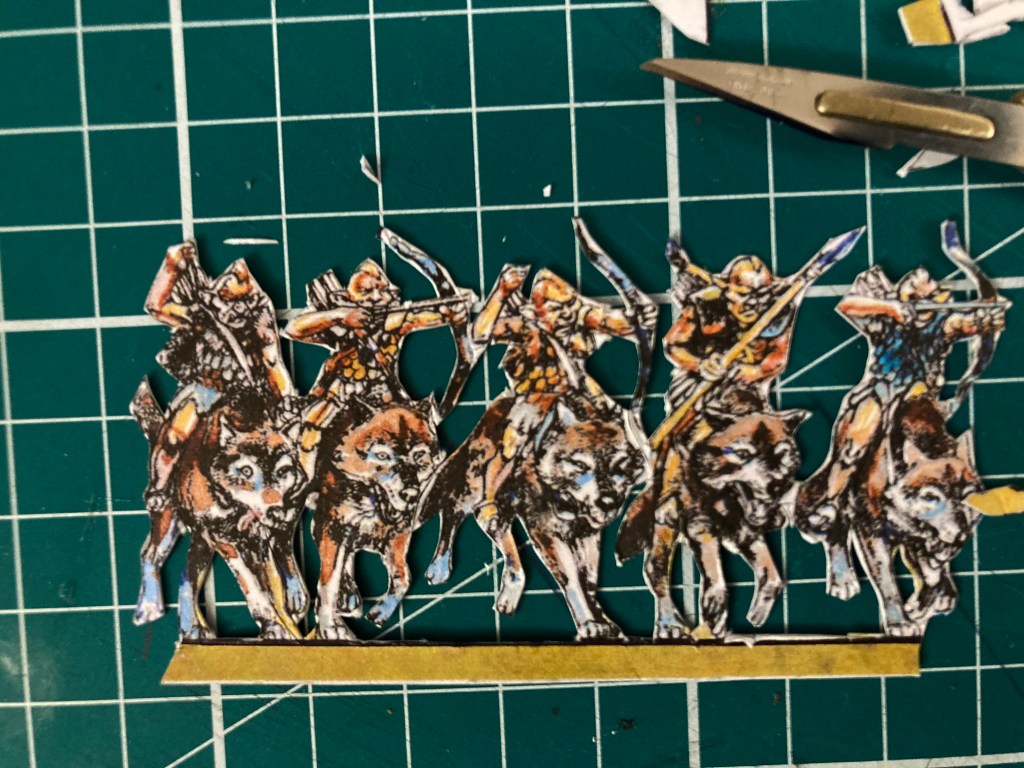
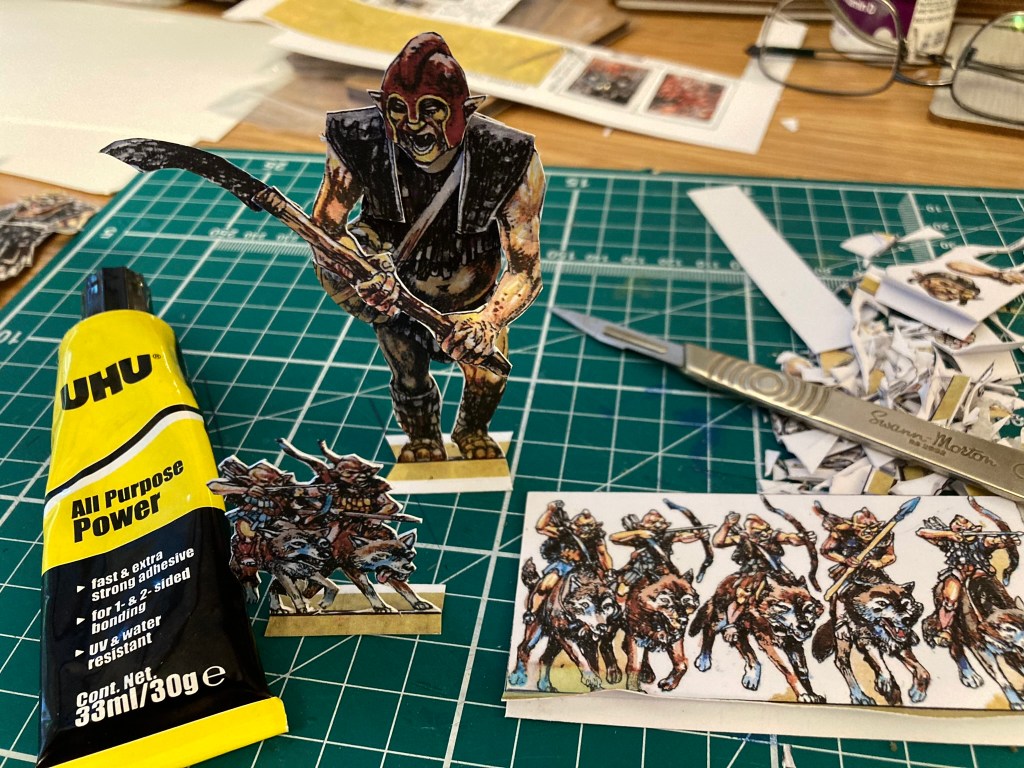
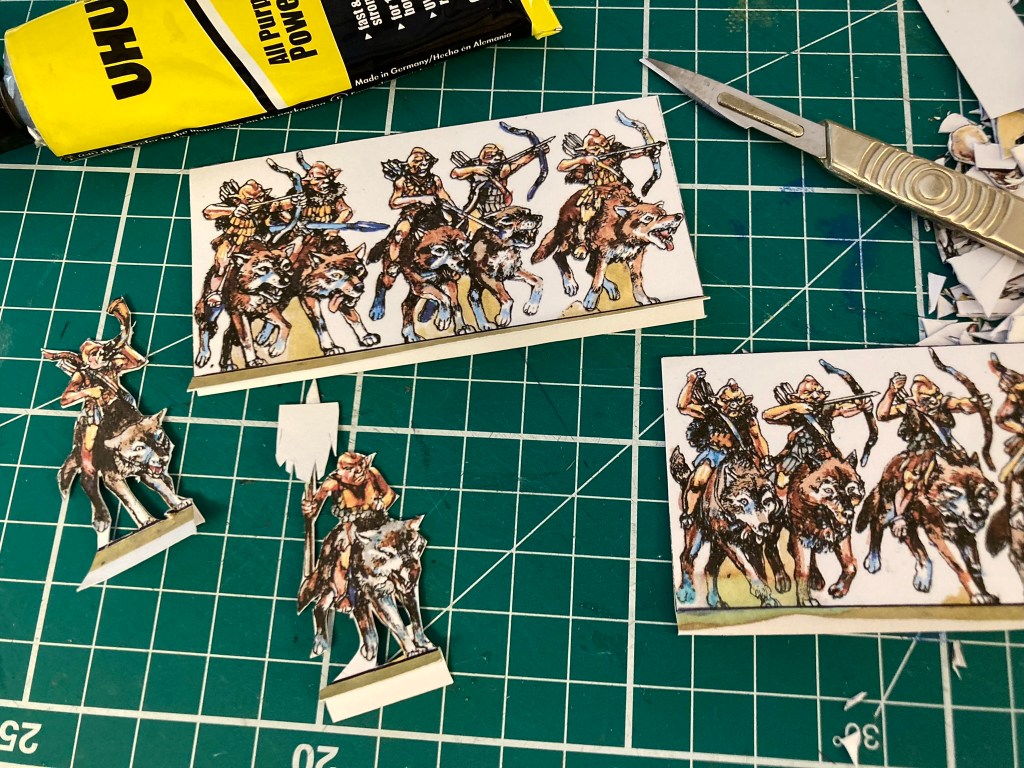
After trimming the models, I painted the edges with a thinned down dark brown acrylic. The base tabs were also painted to match. When this was dry, I glued the minis to a single unit base.

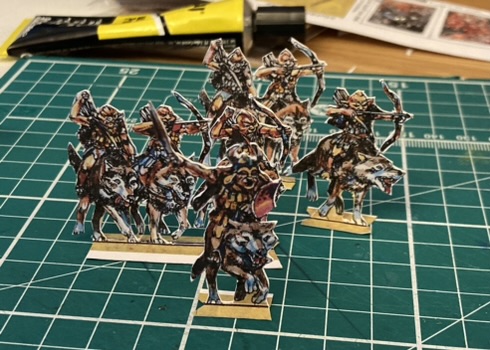
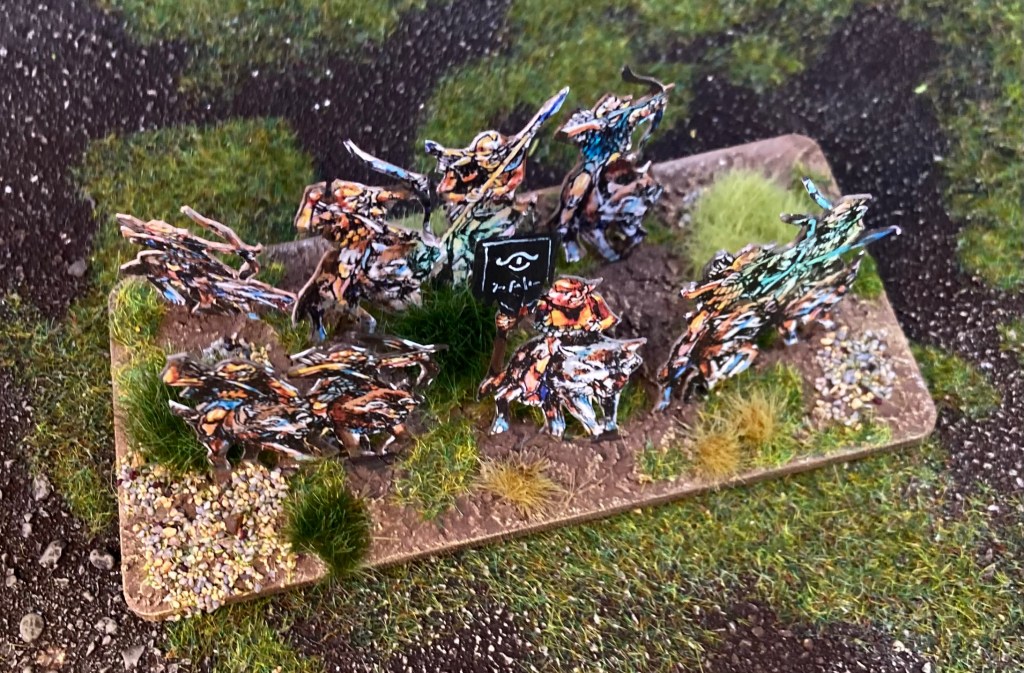
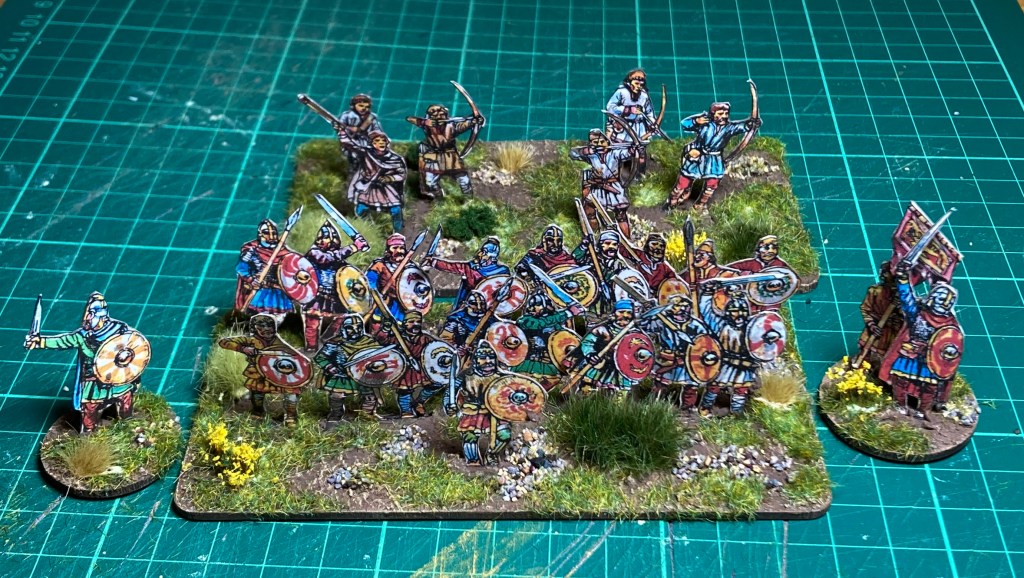
Although the majority of the 28mm range is designed to fit onto the versatile 40 x 40mm square base, I decided to combine blocks on a 120 x 60mm base suitable for Midgard Heroic Battles. I spent some time arranging the ranks and individuals for visual effect on the bases (2mm round cornered MDF from Warbases).
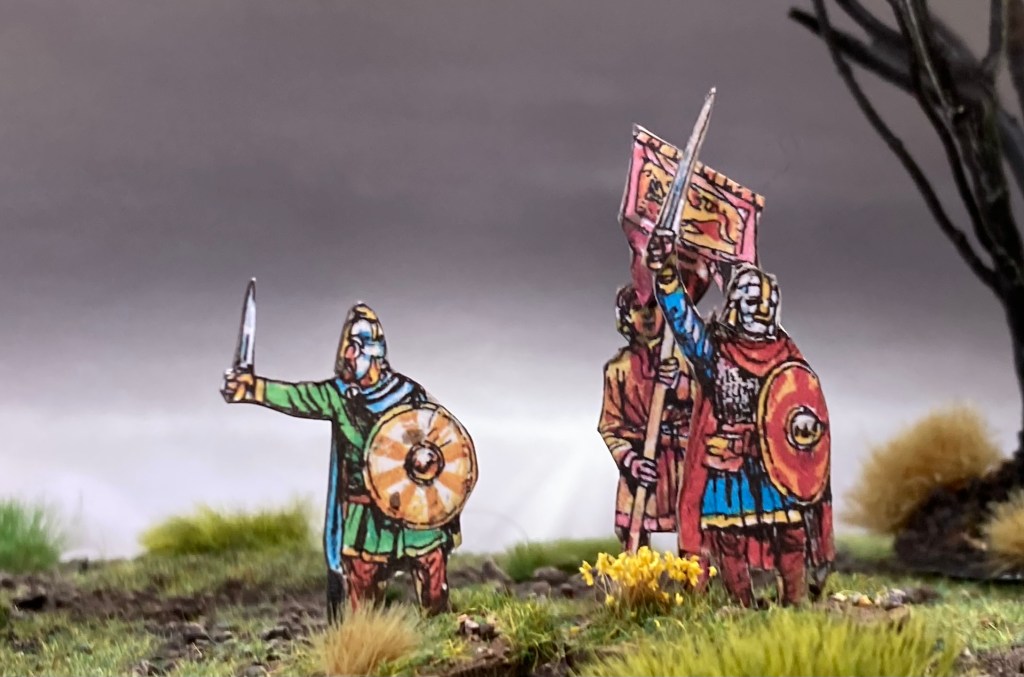
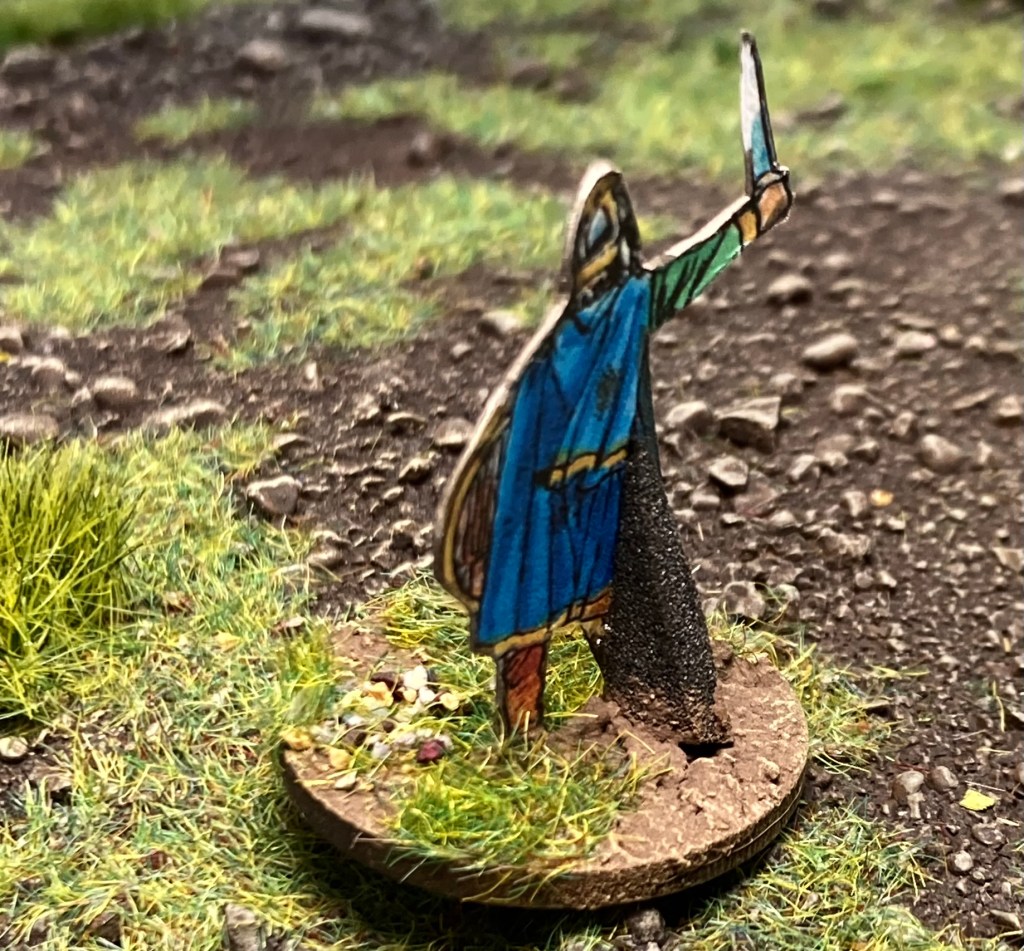
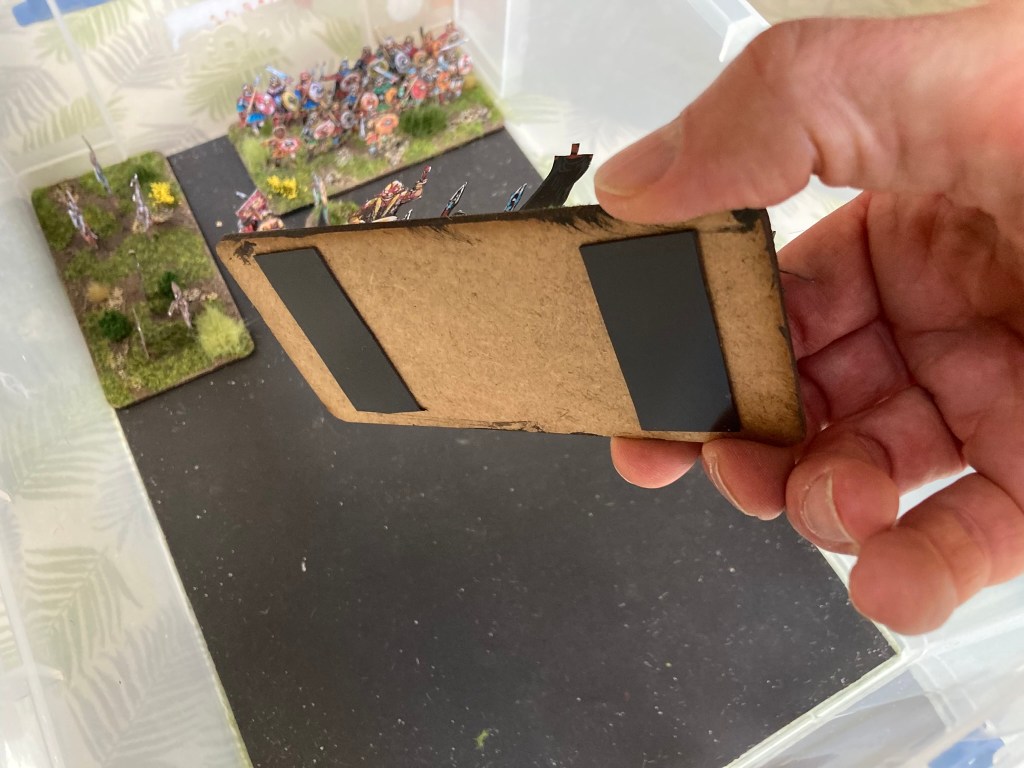
If a paper figure feels wobbly after basing, I stick a support on to the back of the leg. This is a scrap of black foamboard trimmed into a triangle shape – it’s pretty unobtrusive and doesn’t draw attention on the table.
Next up was adding some basing paste. To be honest, I could probably have got away with gluing on some sand or static grass, but I wanted to do these the same as my usual 3D minis with their ‘puddle’ bases. This is a homemade paste though any commercial product would do equally well!
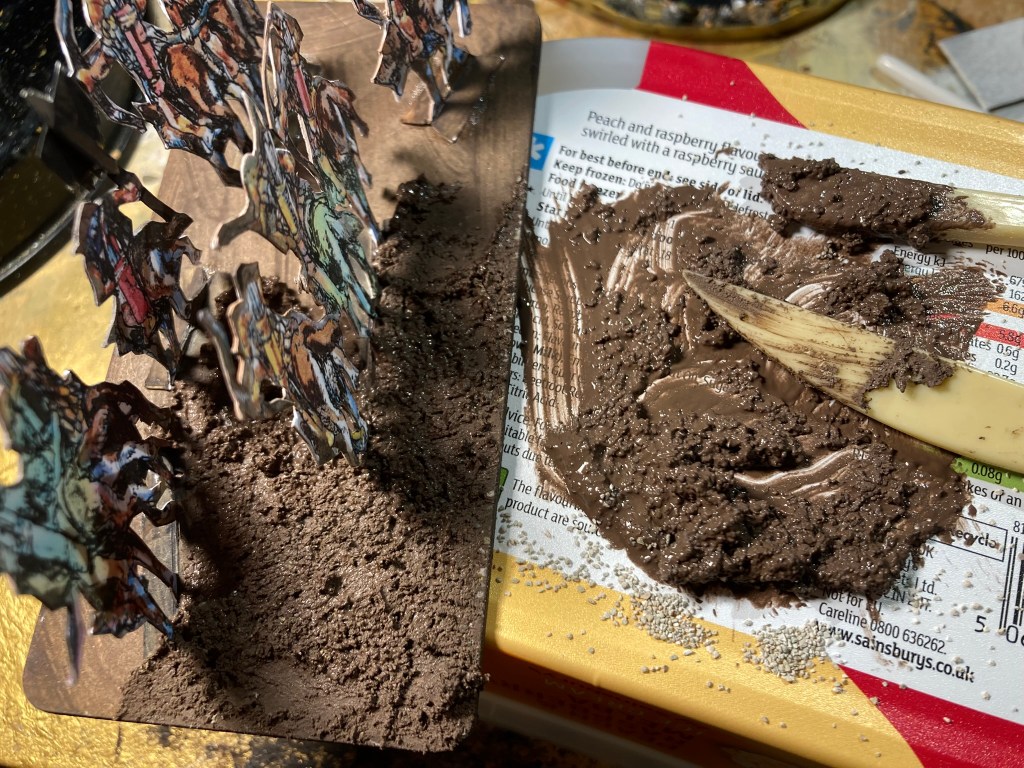
It’s a mix of Burnt Umber craft acrylic (with a touch of black), DIY filler (just a bit) and chinchilla sand, which is smeared on with a sculpting tool and left to dry.

After this, the base is dry brushed with a mid brown (I use Army Painter Leather Brown) and a highlight of Vallejo Iraqi Sand.
Patches of basing material are added with pva glue, making sure not to hide all the texture underneath. Here I have used static grass and a scatter from Javis. All the tufts are either 6mm or 12mm types from the Gamer’s Grass range supplied by Northstar. Having two or three types really helps to add differentiation to the base.
For storage and transport, I use 4 litre and 9 litre Really Useful Boxes with a layer of flexometal in the bottom. The bases themselves have some self adhesive magnetic sheet underneath to hold them in place. I get all of these from Magnetic Displays in the UK.
The finished units look great and are surprisingly three dimensional in appearance. They’re light to handle (definitely easier than lugging around boxes of 3D metal minis) but get some decent stability from the MDF bases. Most importantly of all, they were far quicker to assemble than the equivalent units in 28mm 3D miniatures, which means that I might be able to put together some armies as a side project.
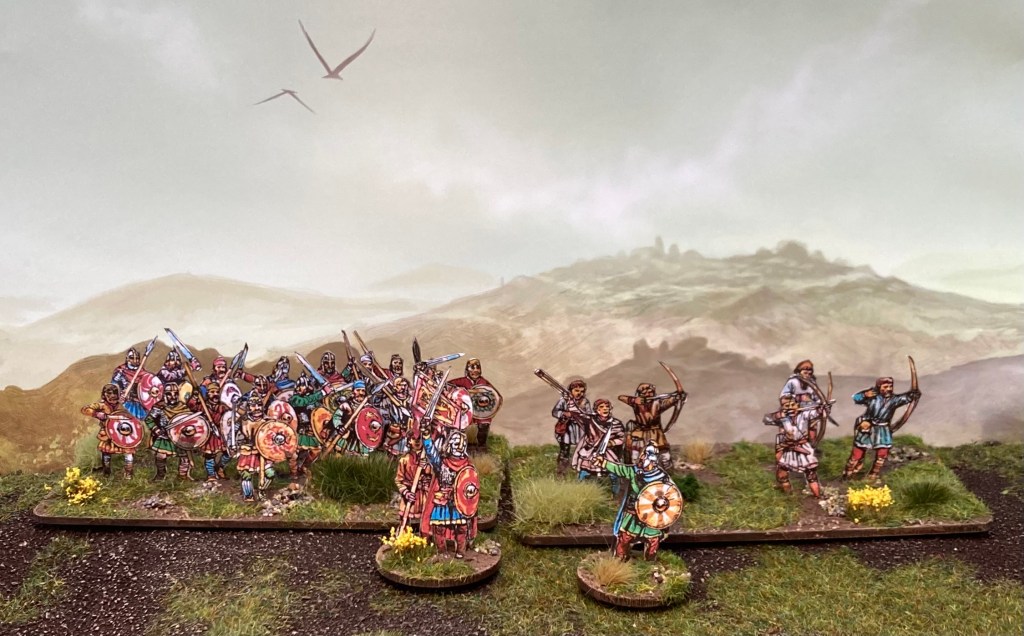
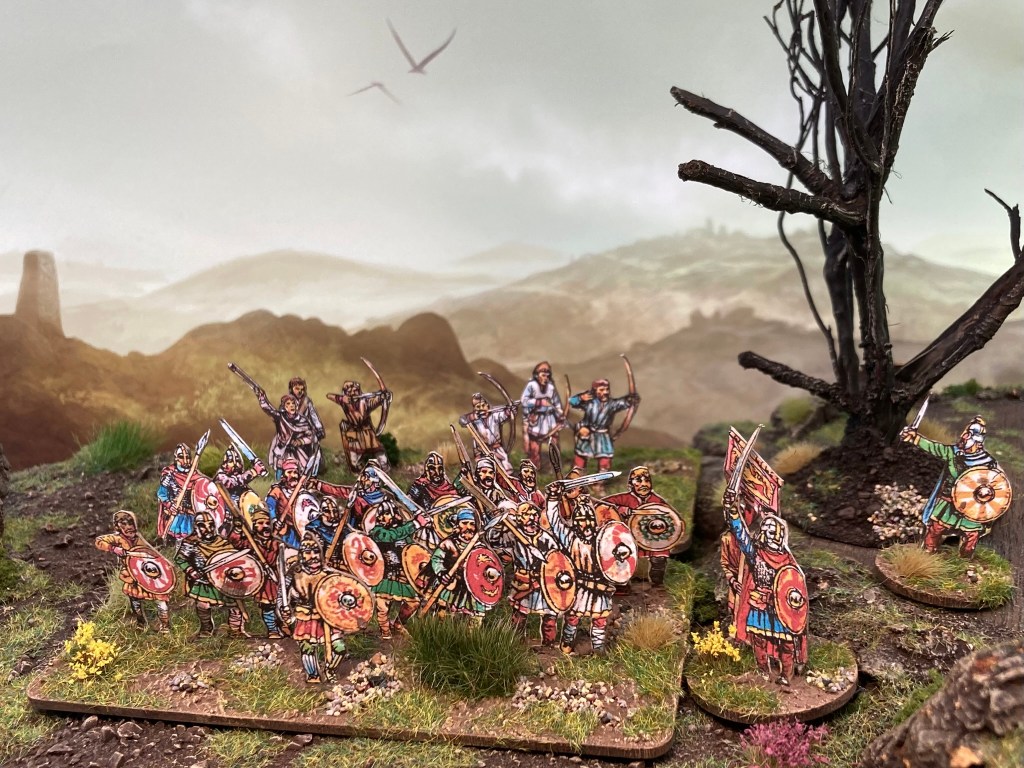
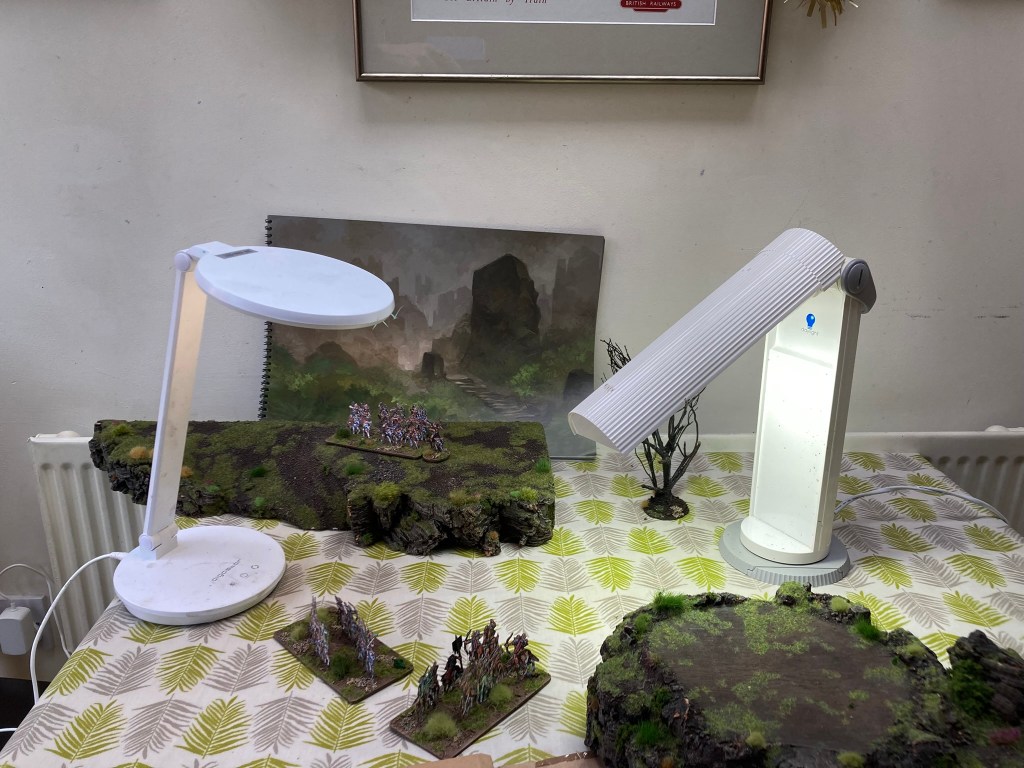
Having finished off the minis, I had to get them out for a photo session in front of the latest Jon Hodgson Backdrops.
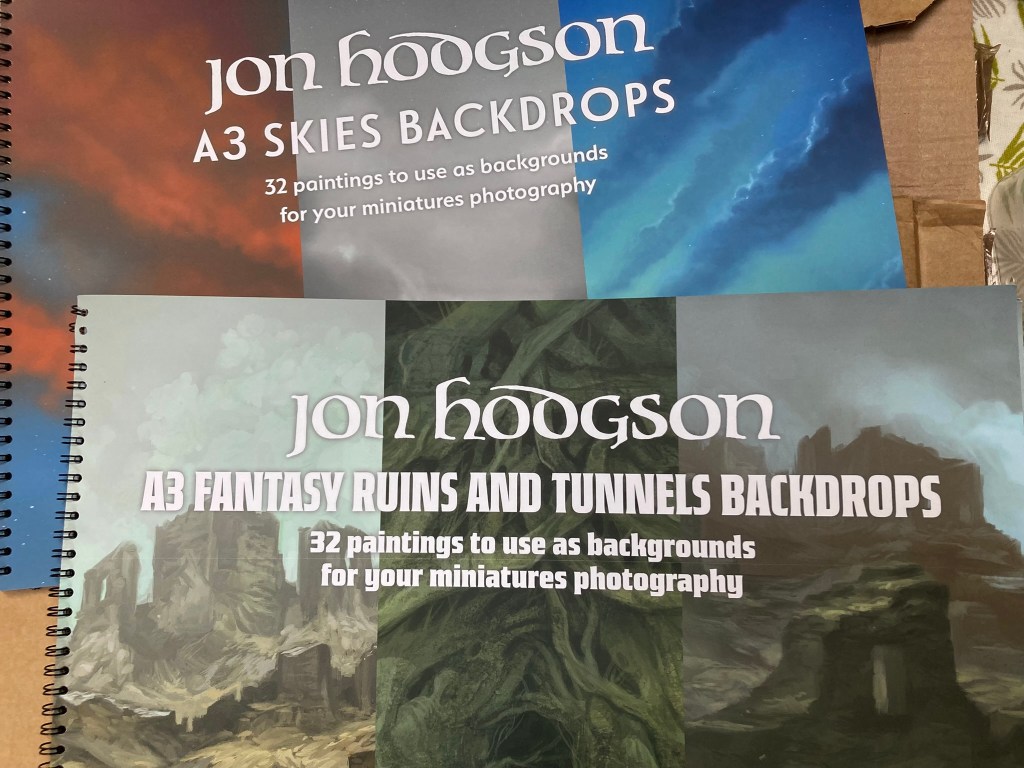
My set up is pretty basic, involving two daylight craft lamps on my kitchen table. Nevertheless, I was able to get some pretty atmospheric shots. The new A3 books do mean it’s easier to fit more units in a single shot, though I think I may trim out the pages to clip them onto a board or something for future use.
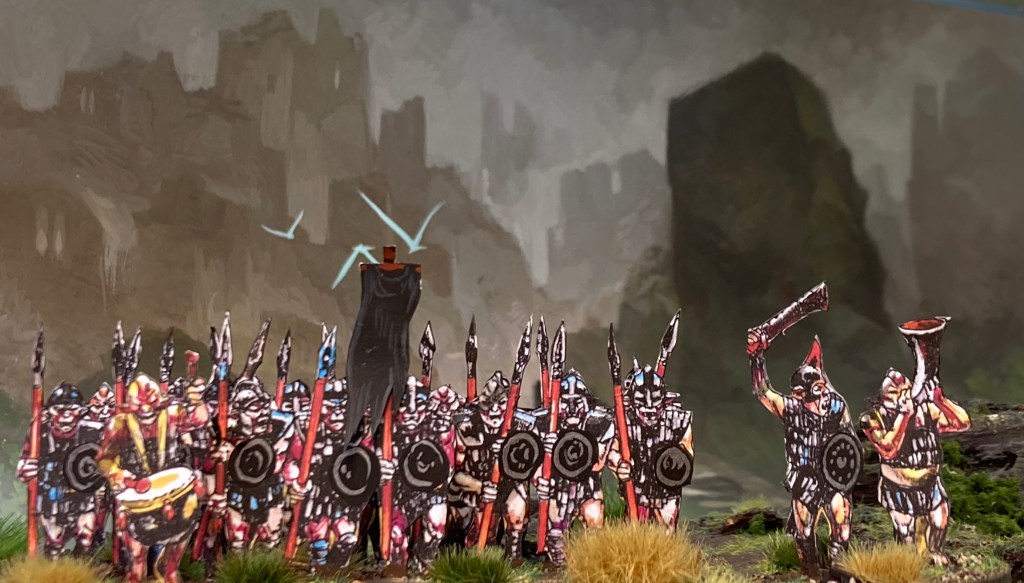
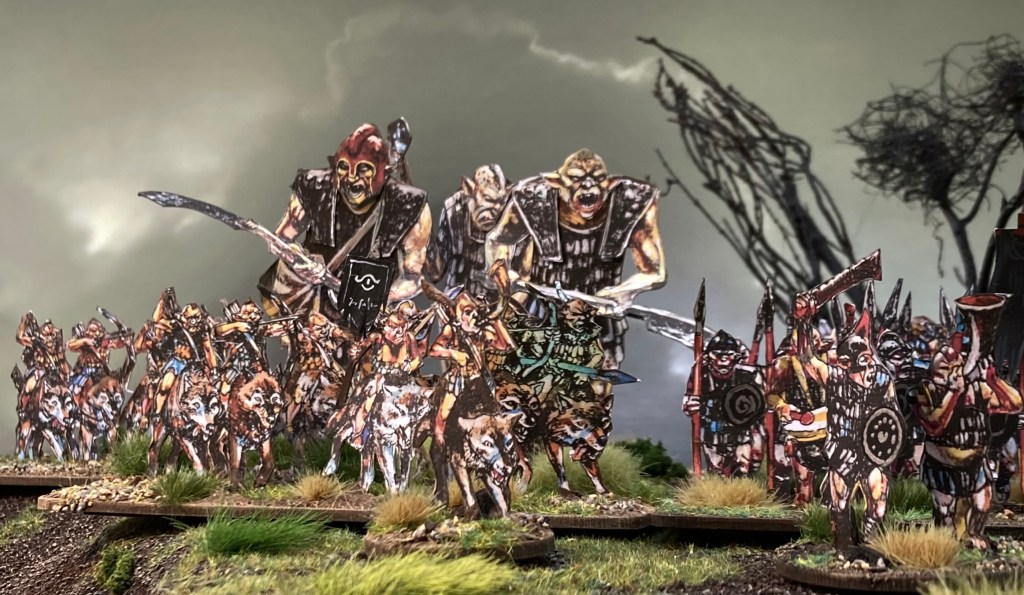
I’m absolutely spoiled for choice with the new backdrops, but settled on a very moody painting from the Skies book for the orc host. These really add some menace to the army!
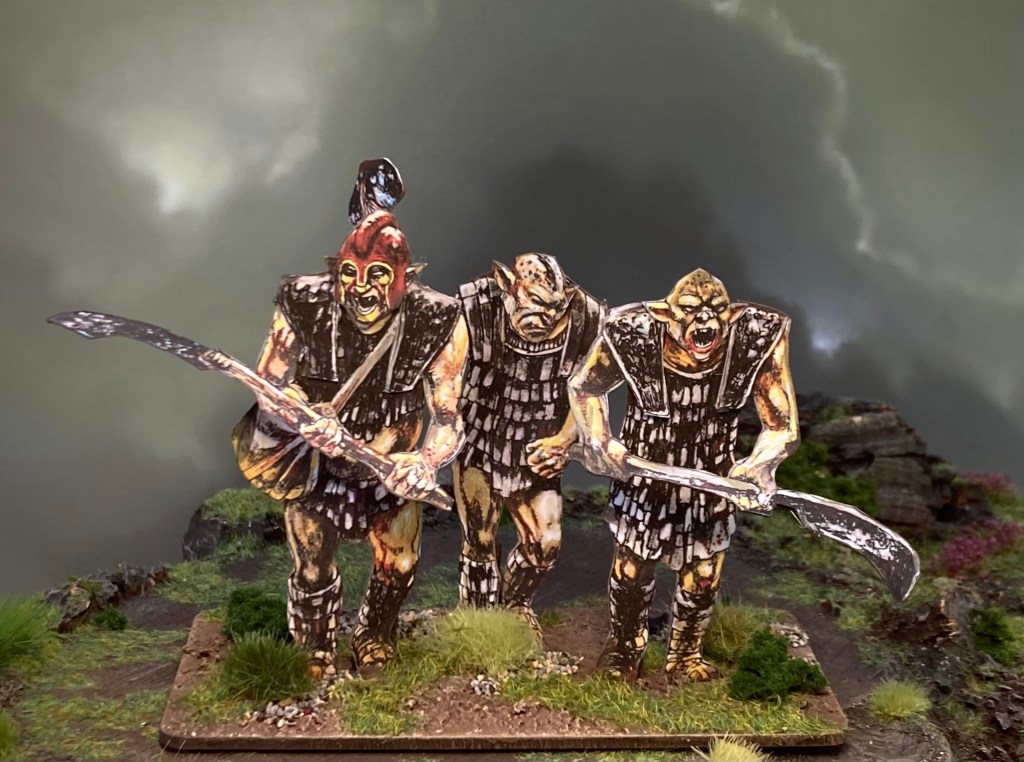
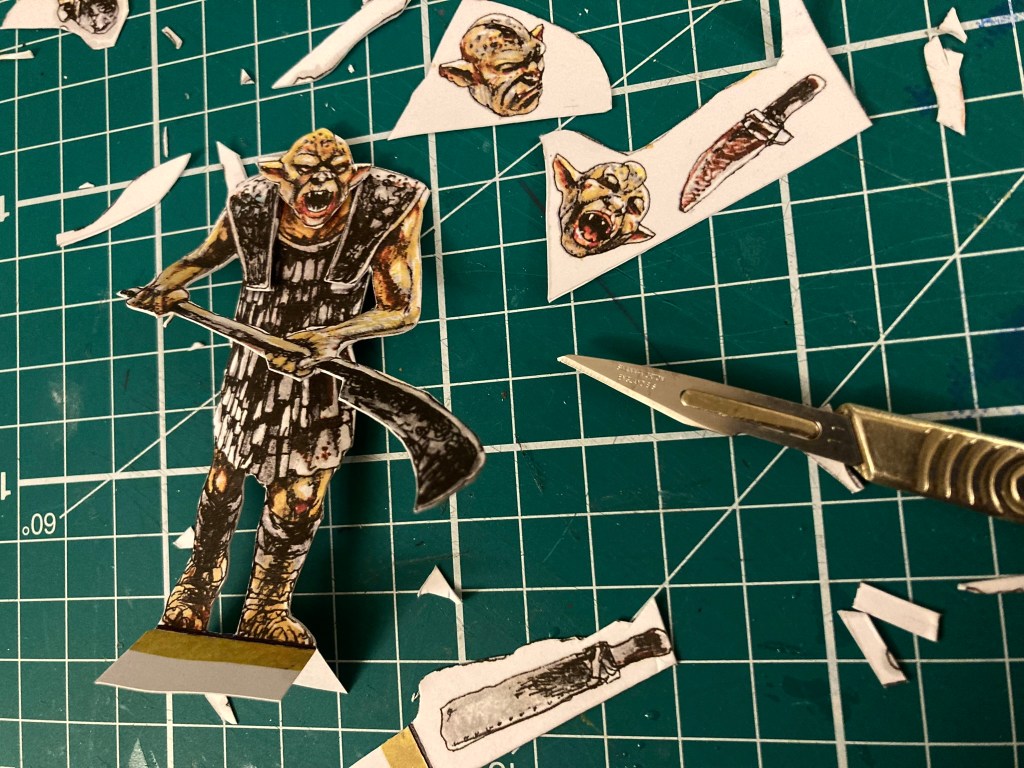
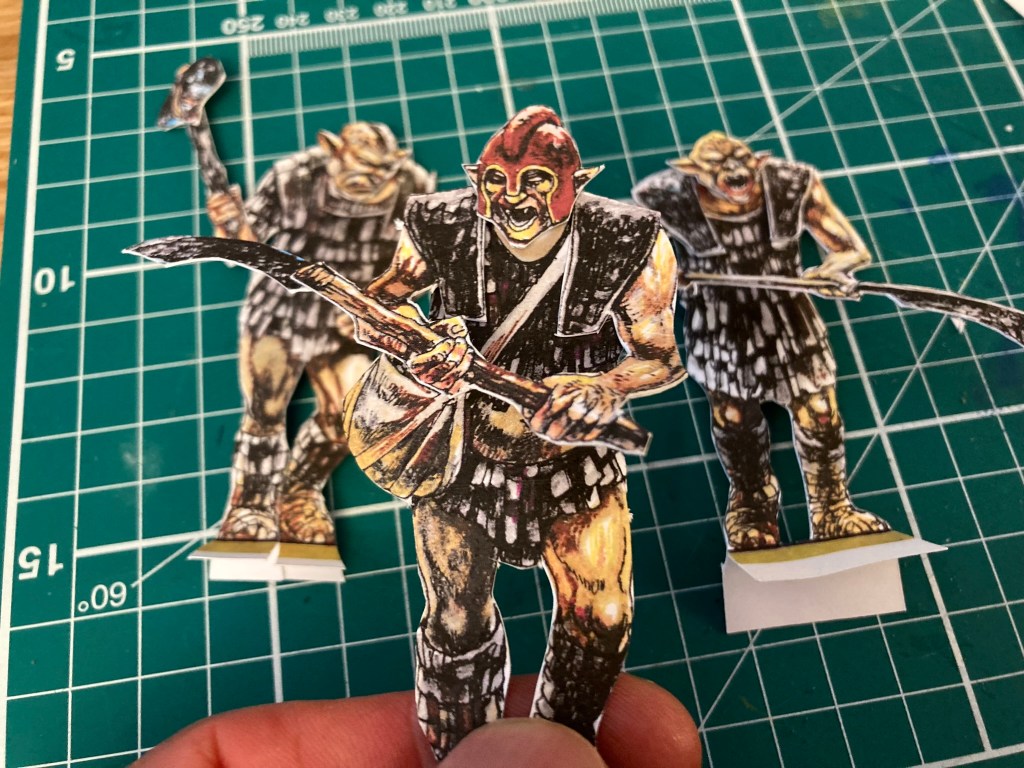
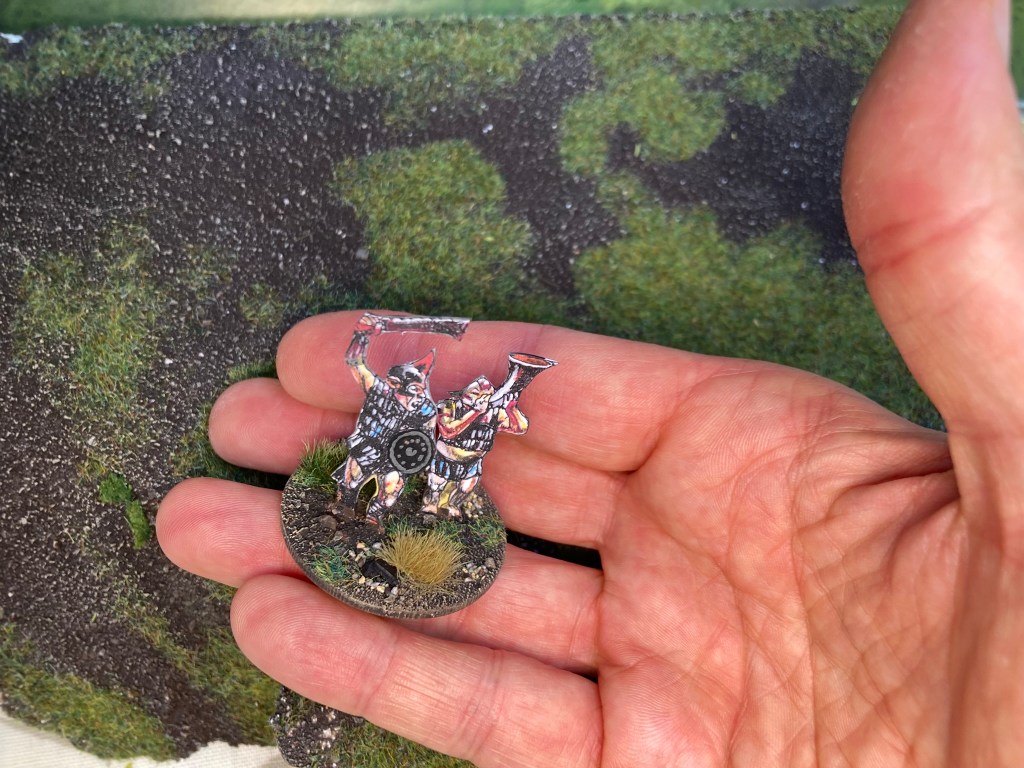
The giants photographed pretty well, especially as I’d taken some tips from Peter Dennis and bent limbs and parts to add to the illusion.

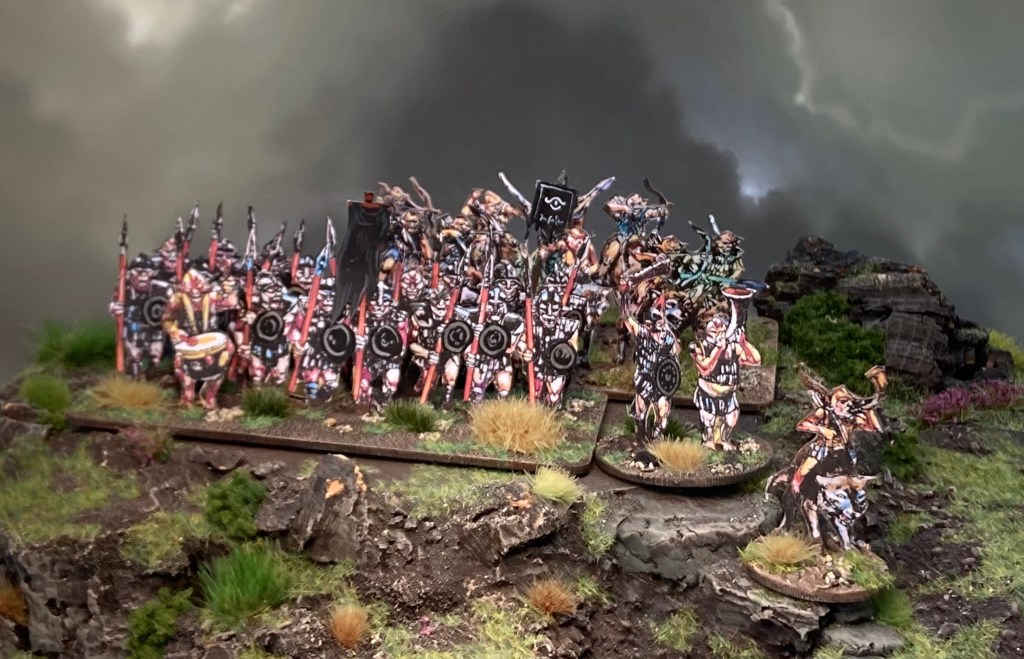
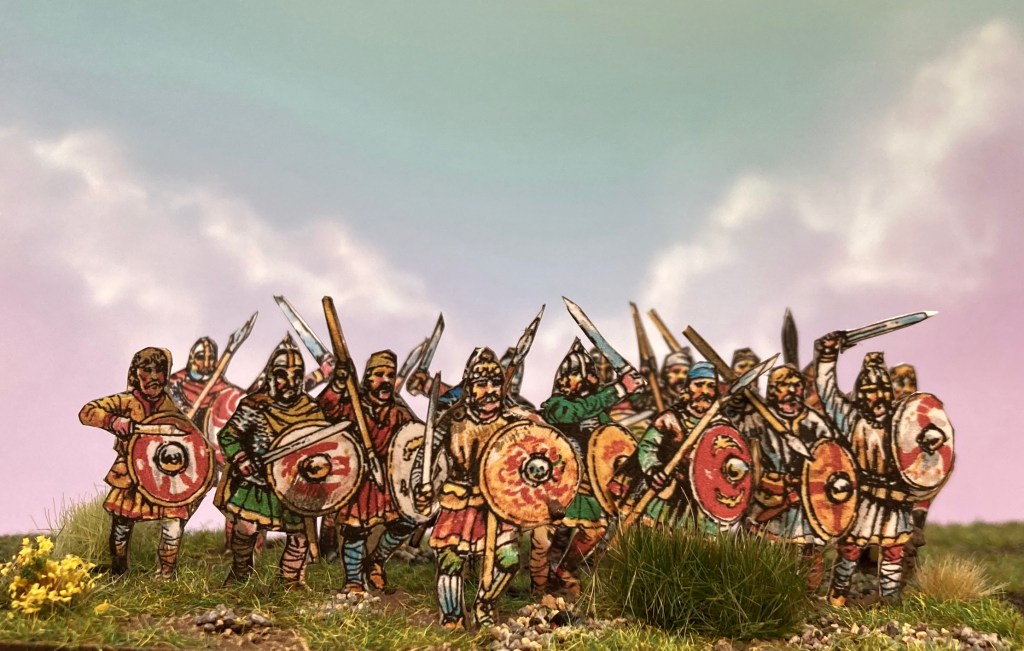
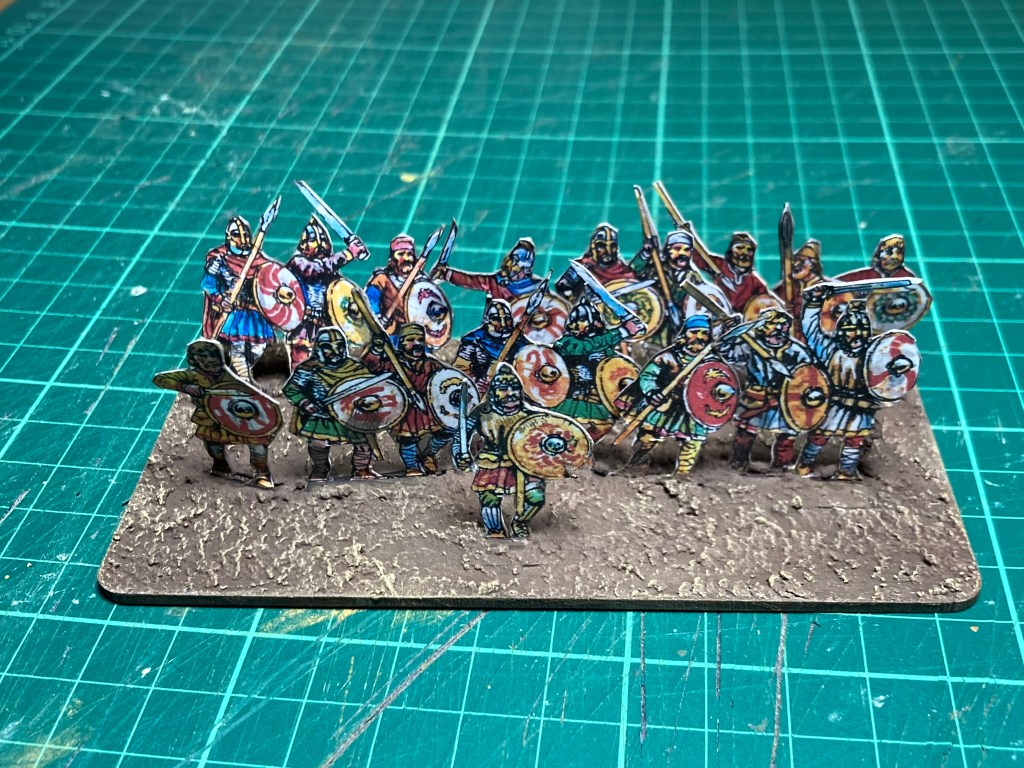
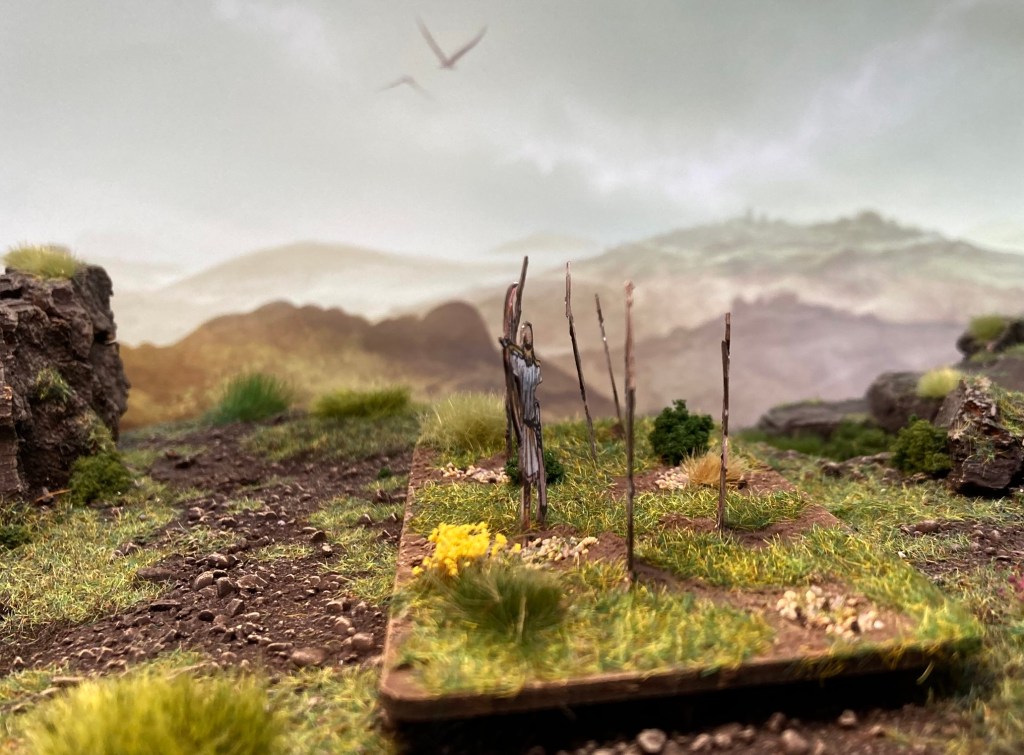
For the Saxons, I went with something a bit more mellow – these are from the A3 Fantasy Ruins and Tunnels book.
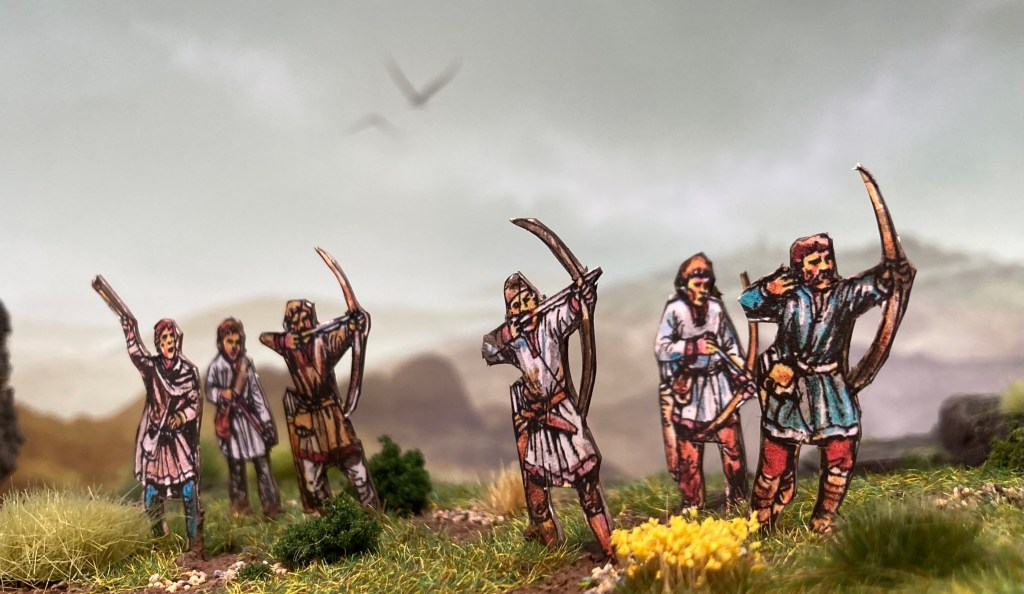
Here’s the same unit shot from the side! Clearly -1 to hit. 🙂
And that wraps up my paper adventures for this week…two great products, both of which I’m going to be seeing more of this year.