This is a guide to the magnetic basing system that I’ve been using for battle games for some years, and is now featuring in my Midgard rules. Although I know that there many folk out there who enjoy basing full units as mini-dioramas (you only need to look at Simon Miller’s incredible To The Strongest games at UK shows to see this elevated to an art form), I play a variety of battle and skirmish games, so I like to have minis that can be used for both.
My many years playing Warhammer Ancient Battles convinced me of the merits of magnetic basing – being able to pull a full unit out of a steel paper-lined Really Useful Box, rather than trying to arrange every single figure on a movement tray for each game – and I have honed this system recently with armies for Dragon Rampant, Never Mind The Billhooks and my own Midgard Heroic Battles. Note that none of these systems requires you to do this! It’s just my way of getting the best of both worlds – creating a unit base that enhances the look of the game and will also keep miniatures in place during transit.
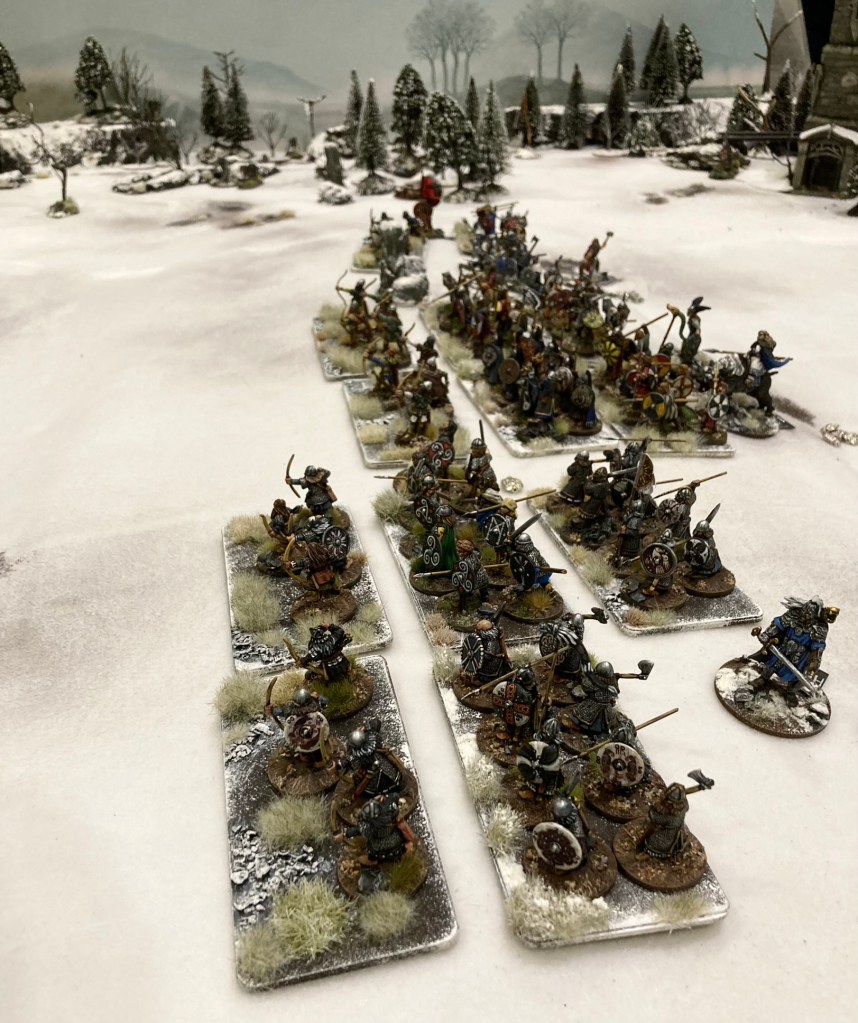
Although sabot bases with slots have been around for a while, I’ve begun to favour a flat magnetic base with some added texture and tufts, so this is how I do it.
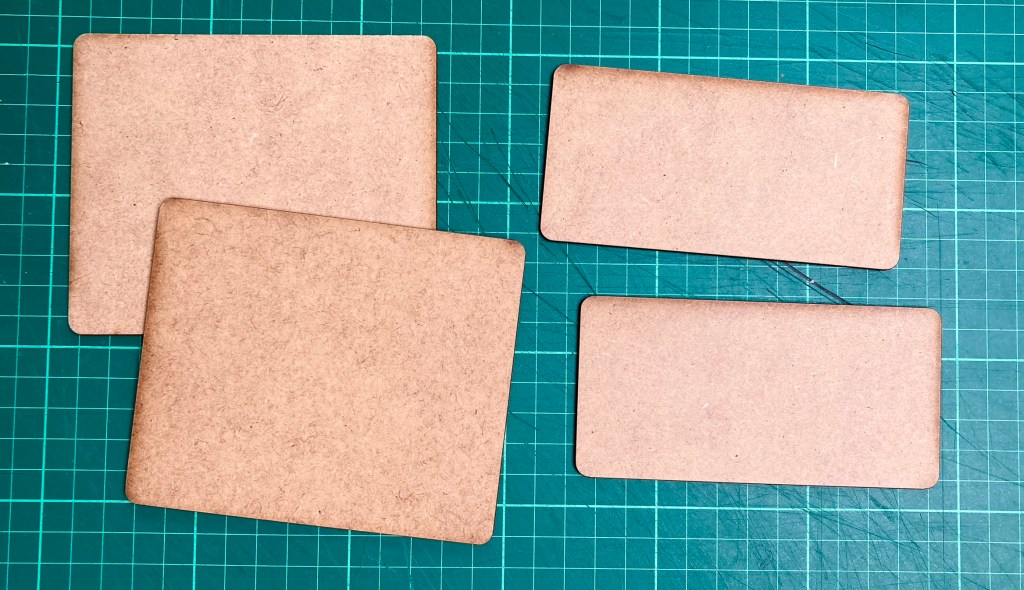
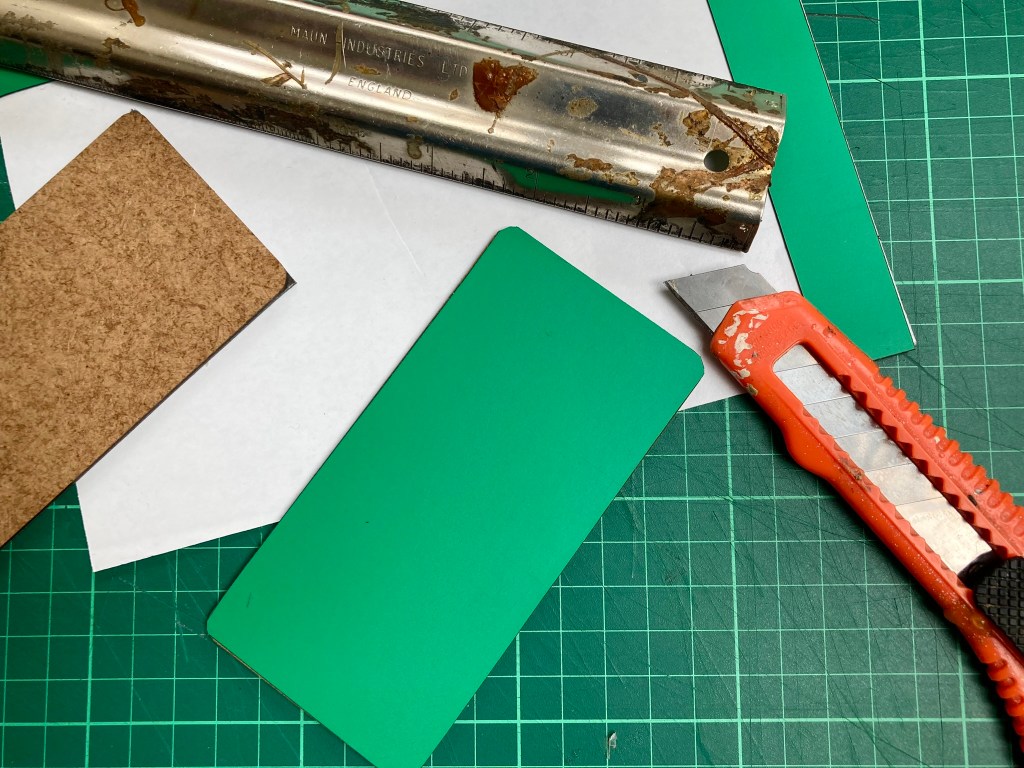
Everything starts with a 2mm MDF base: I have used plasticard and mounting board in the past, but currently I favour the Warbases ones with rounded corners. All my standard movement trays for Midgard are 12 cm wide which works for other games as well. Base depth isn’t a fixed size in Midgard, but I tend to use 6 cm deep for infantry and 10 cm for cavalry and chariots.
Obviously, you need some kind of self-adhesive magnetic sheet. There are many places to get this around the world, but I buy mine from Coritani/ Magnetic Displays, who trade at many UK shows and have a speedy mail order service to boot. They are also genuinely lovely people!

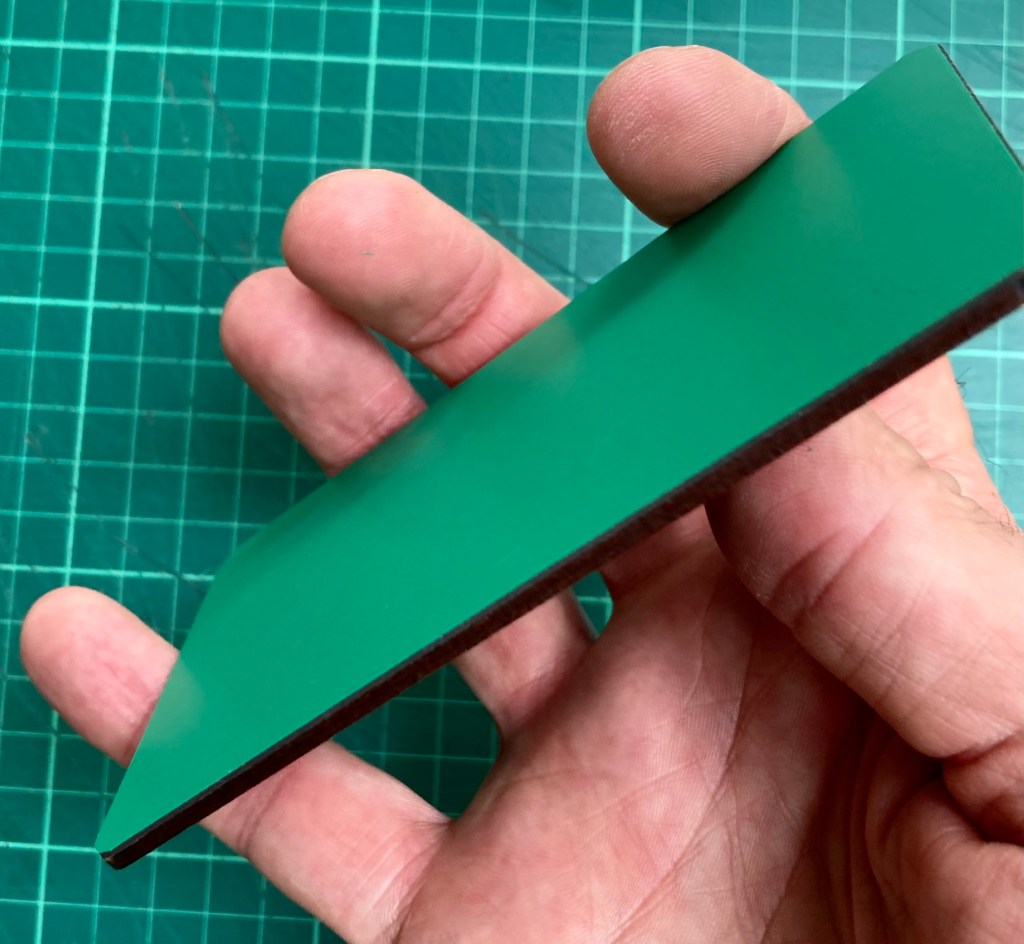
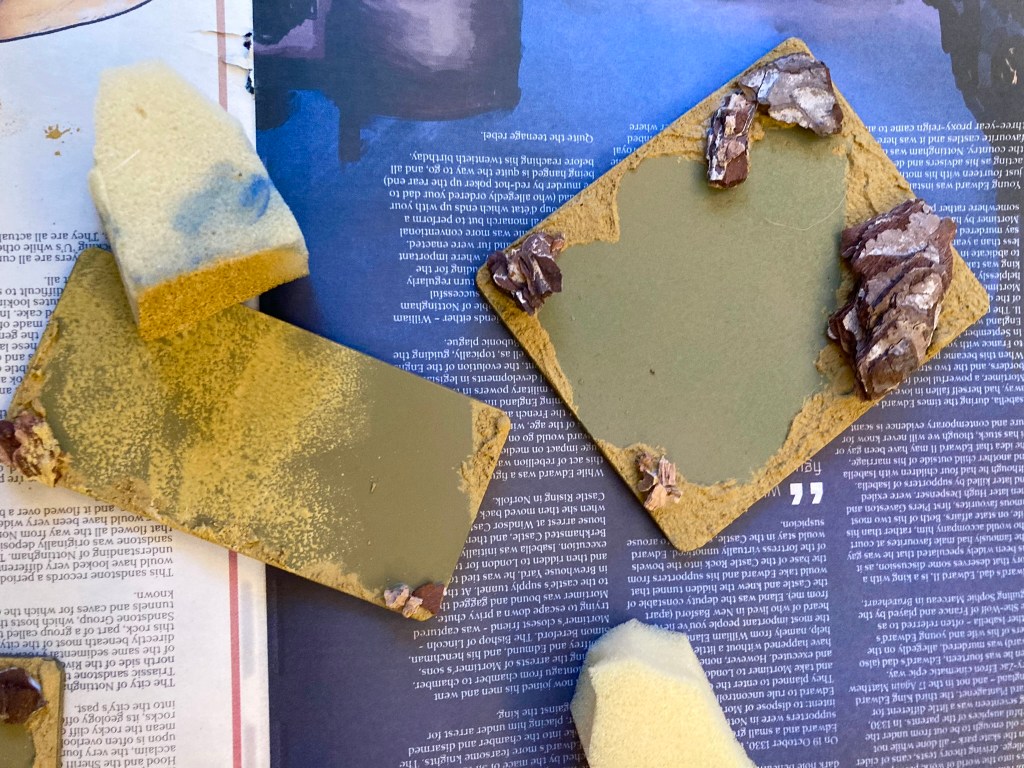
The unit base is faced with ferro steel for the top layer. While this shade of green isn’t very realistic, it doesn’t matter as it’s going to get a coat of paint in the next stage of the process. I simply cut it to size, stick it onto the MDF base and trim off the corners with a craft knife.
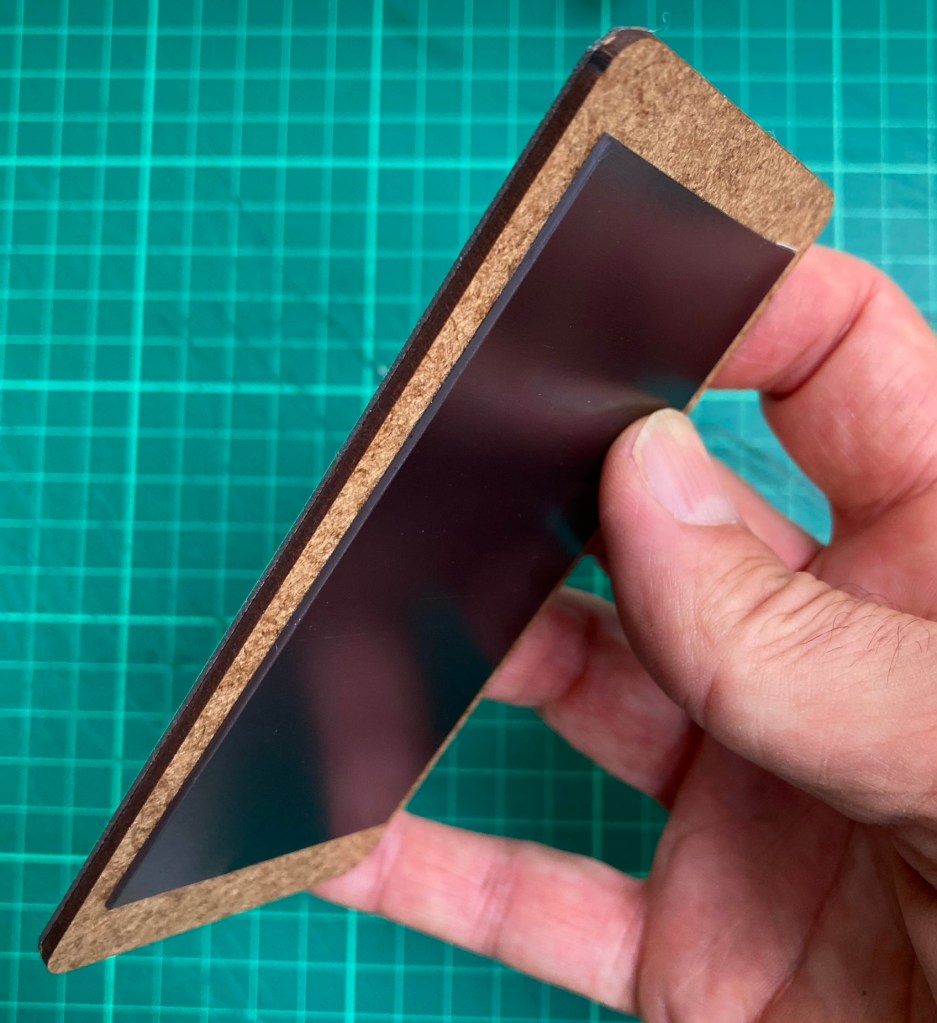
Next up I add a magnetic rectangle to the bottom of the base, which is to hold the base in position during transit in a steel-lined Really Useful Box. Coritani/ Magnetic Displays also sell ferro steel in A4 sheets designed to stick into a RUB of this size. The magnetic rectangle doesn’t need to be as big as the full base size and it makes the unit easier to pick out of the box before a game.

At this point, you may be thinking, ‘That’s a lot of magnetic material!’ Well, yeah, I guess it is. But it gives me peace of mind to know that my minis – which have taken hours to assemble and paint – are secure in their boxes on the way to and from gaming, and can also be quickly packed away afterwards. Truth be told, taken alongside all the other gaming purchases – minis, paints, tools, brushes, glue, books, magazines, rules, dice and the costs of attending shows – it’s not a great deal.
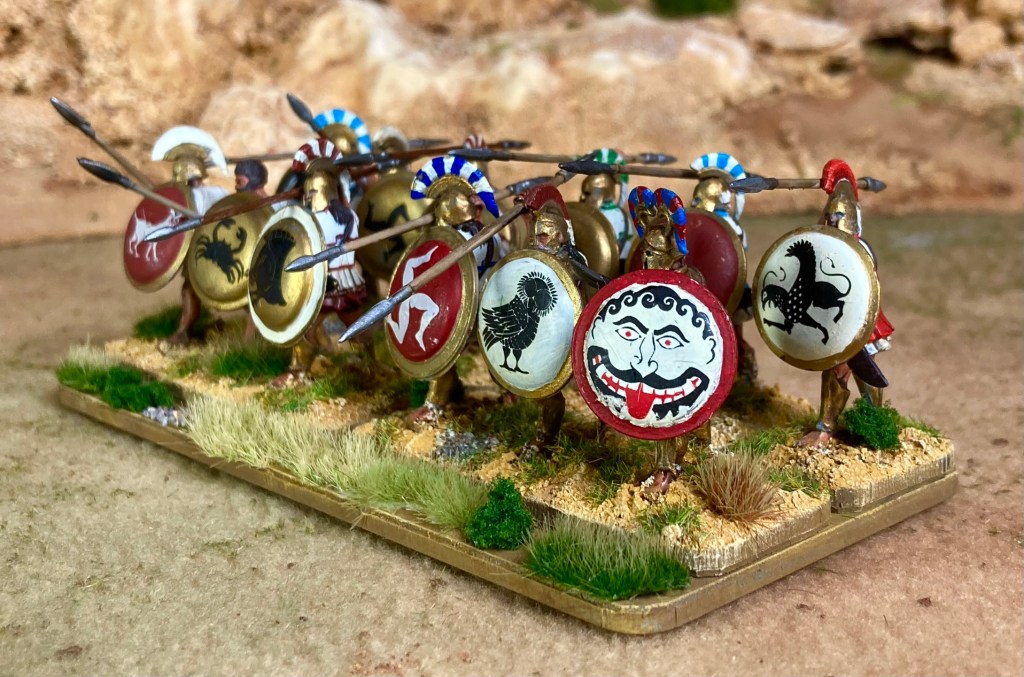
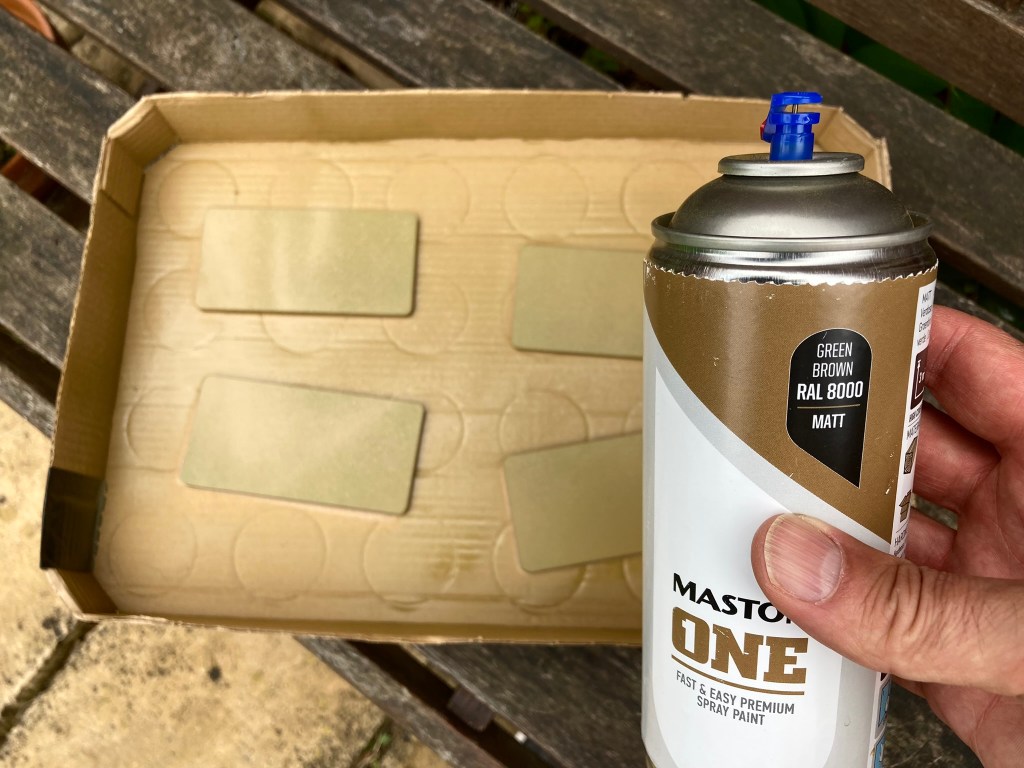
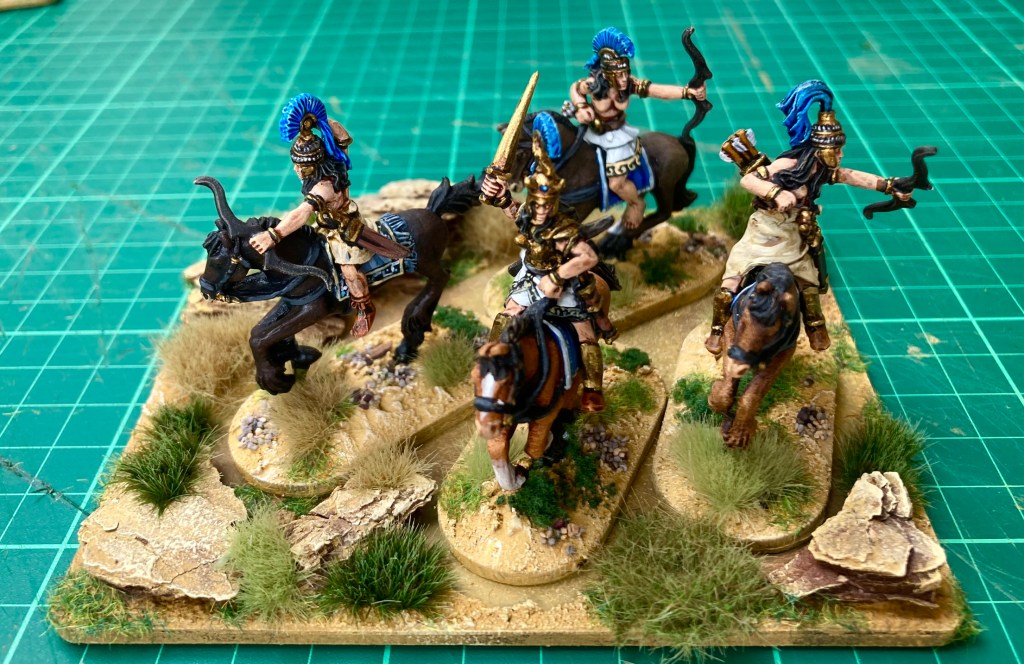
Anyway, I digress! On with the basing. It’s time for a base coat of paint to cover up that vivid green. This can be done with brushes or sponging, but I favour a quick spray of a suitable brown. If you’re really organised, you’ll match your figure basing colour to a particular spray (Army Painter Leather Brown comes to mind) which will cut down on painting time later on. I wasn’t this organised so am using a light brown in these pictures as these bases are for my Amazon Greek myth force.

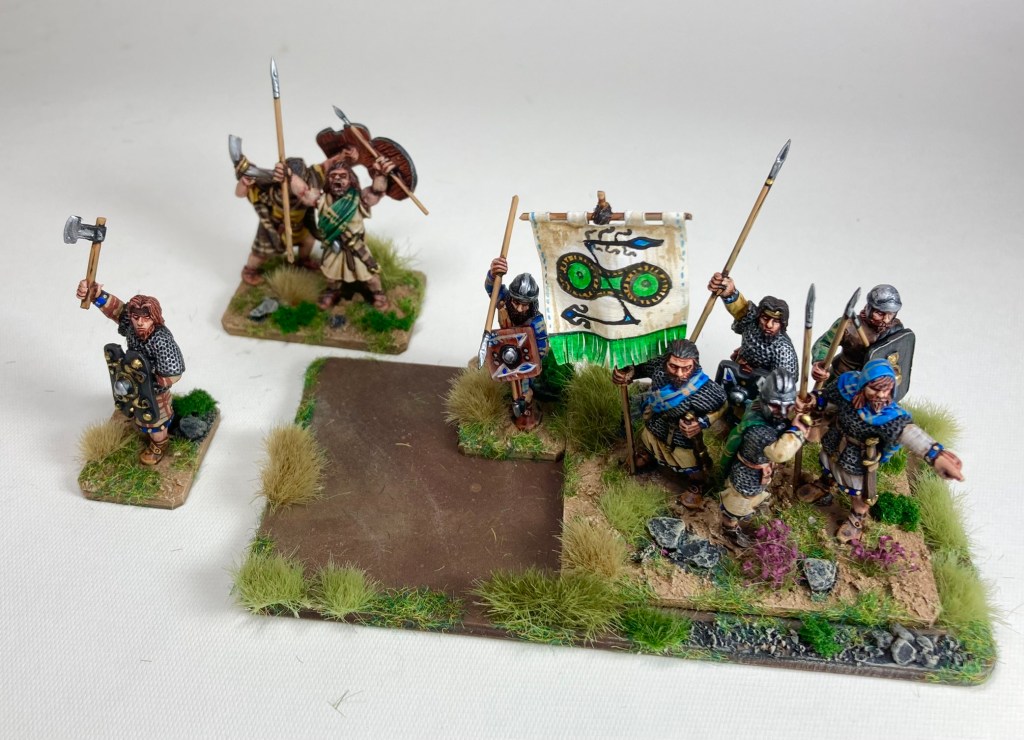
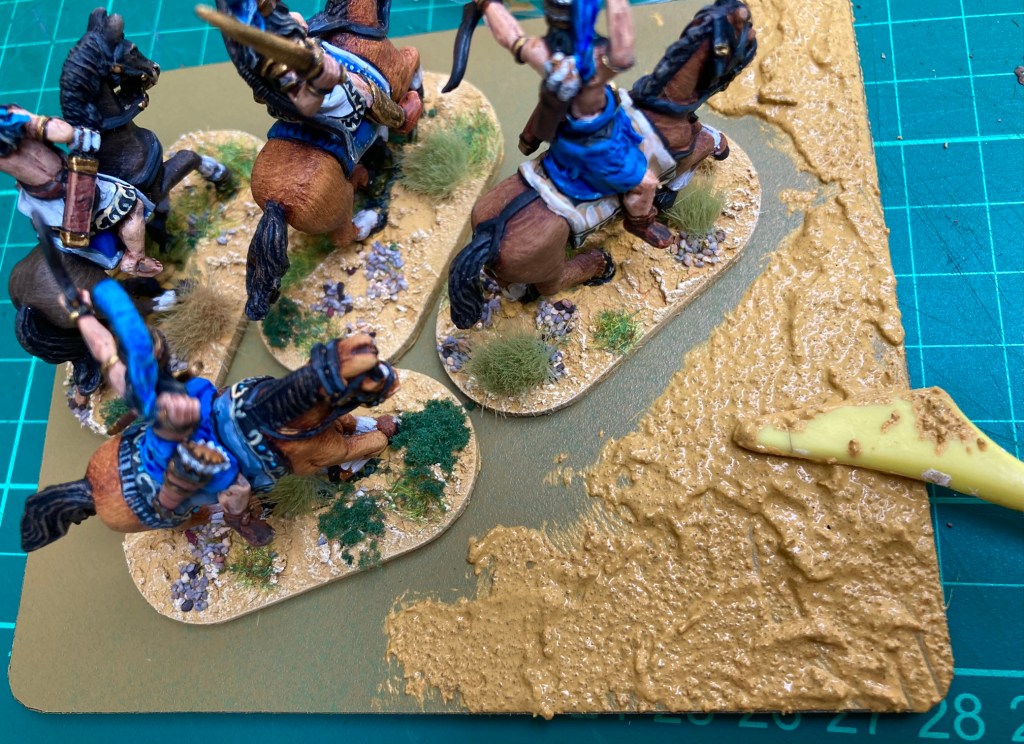
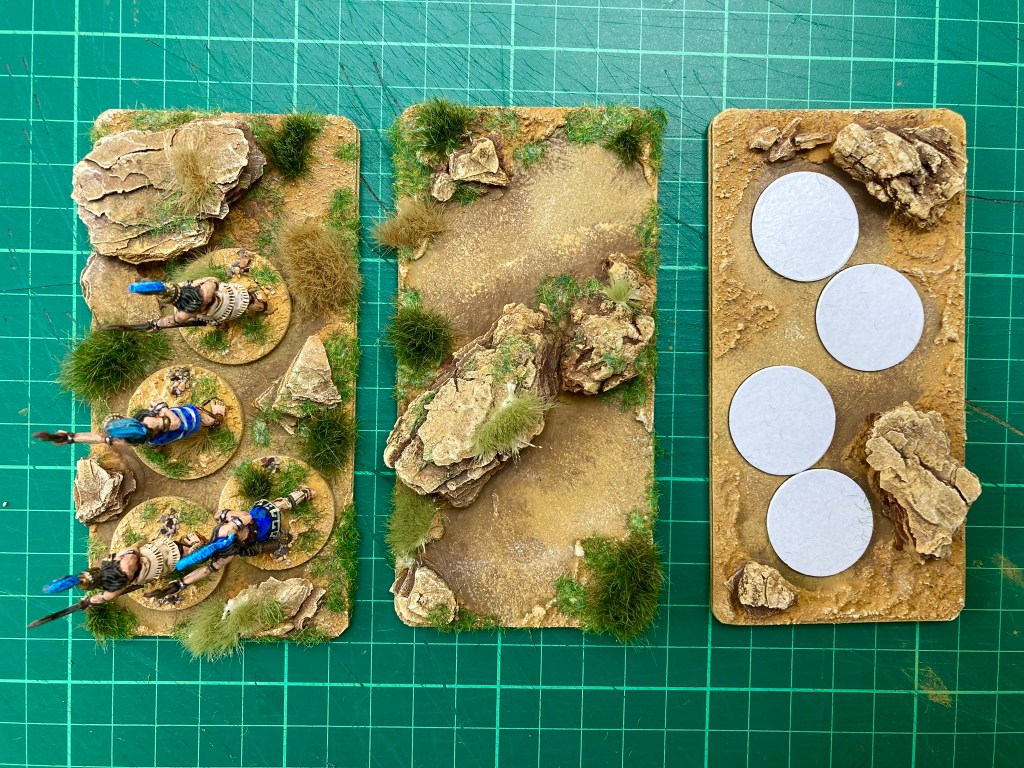
Once the bases are dry and the fumes have gone, I position my figures on them. The most decorated bases are the ones that will feature skirmishing troops, as they will be dispersed and require more ground cover; close order troops will need very little work, just some texture around the edges.
All the figures already have magnetic bases, so should stick nicely to the ferro steel. At this point, I’m going to mention a key principle: don’t get any sand or flock under the figure bases! Sounds obvious, but even a small amount will reduce how well the figure sticks. Avoid the temptation to base ‘right up to the edge’ – they will look good without this.
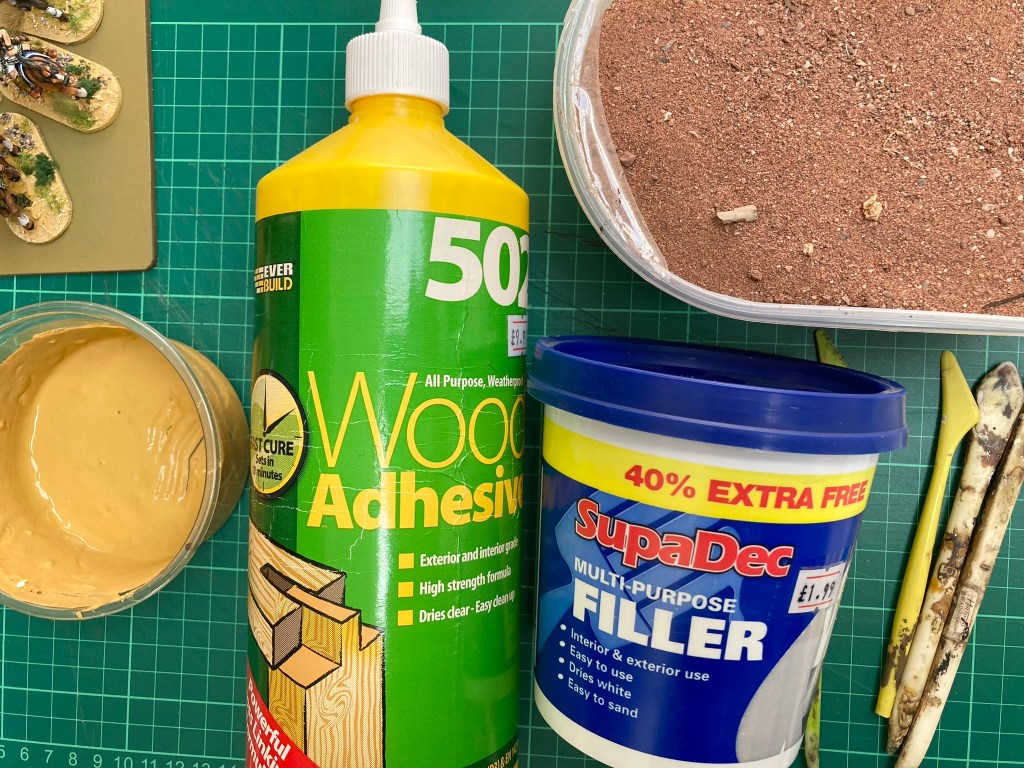
With the figures in position, it’s time to add some texture (note that this could all be done prior to spraying if you wished – it doesn’t matter). This is where I mix up some standard basing gunk using acrylic paint, filler and sand (also available as basing products from many manufacturers). This is applied around any large areas of base that I want to cover.
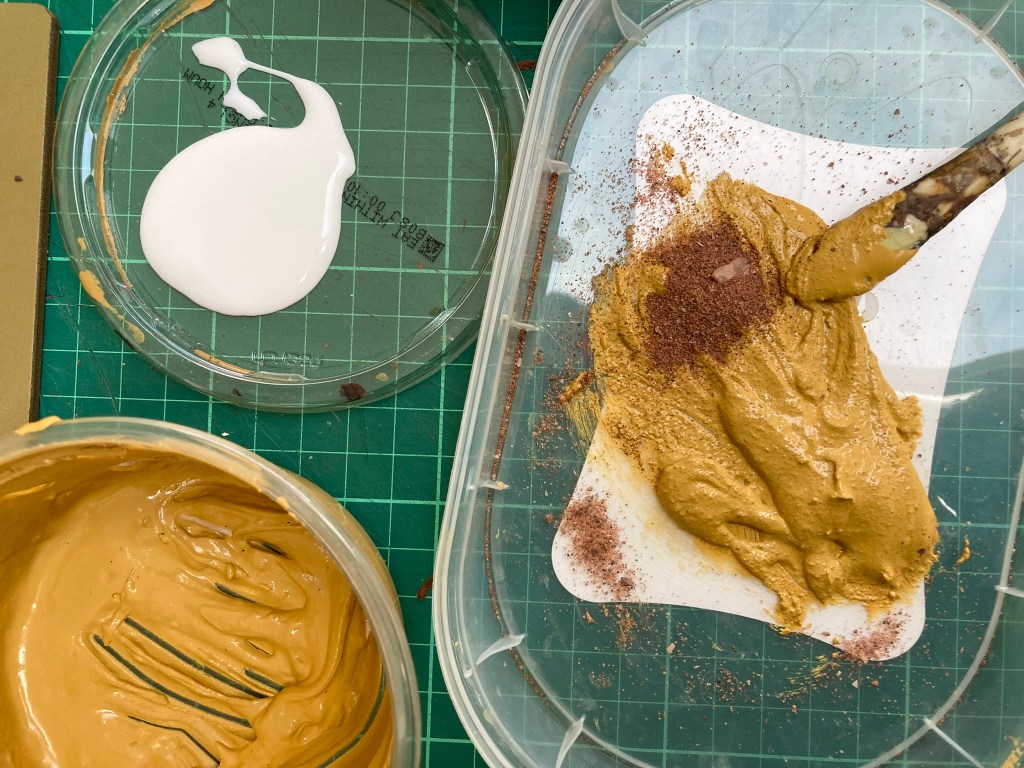
Once again, the principle is the same – keep the texture away from the figure bases. This is another reason why I don’t just texture the base with PVA and sand – the sand gets everywhere by itself!
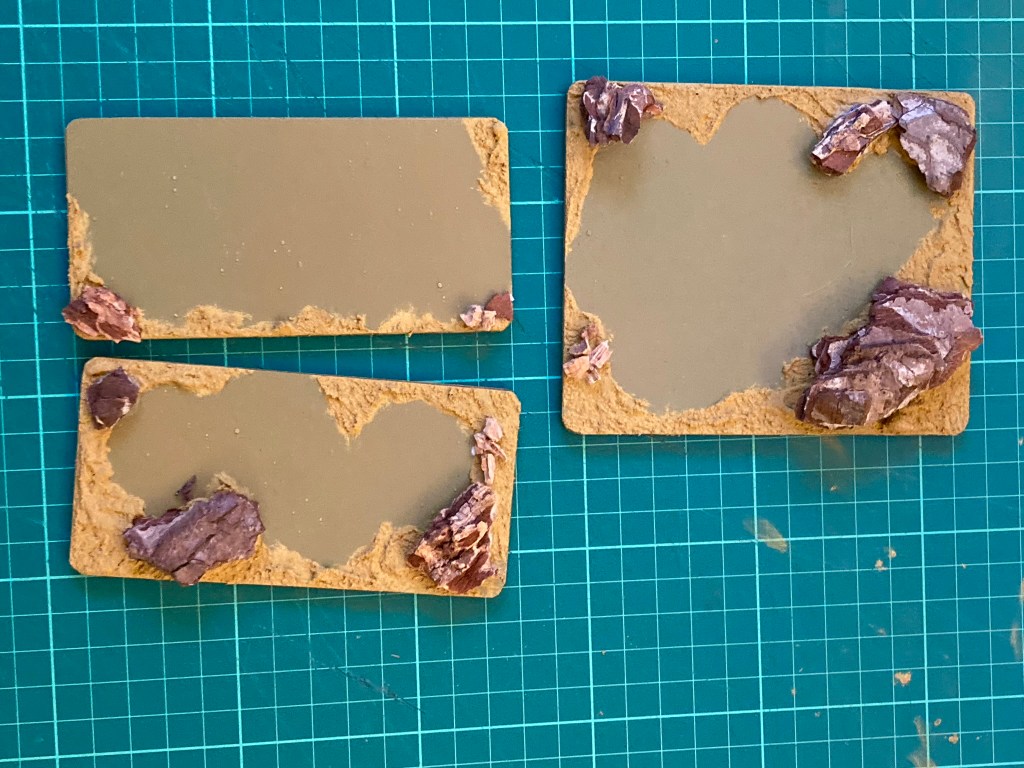
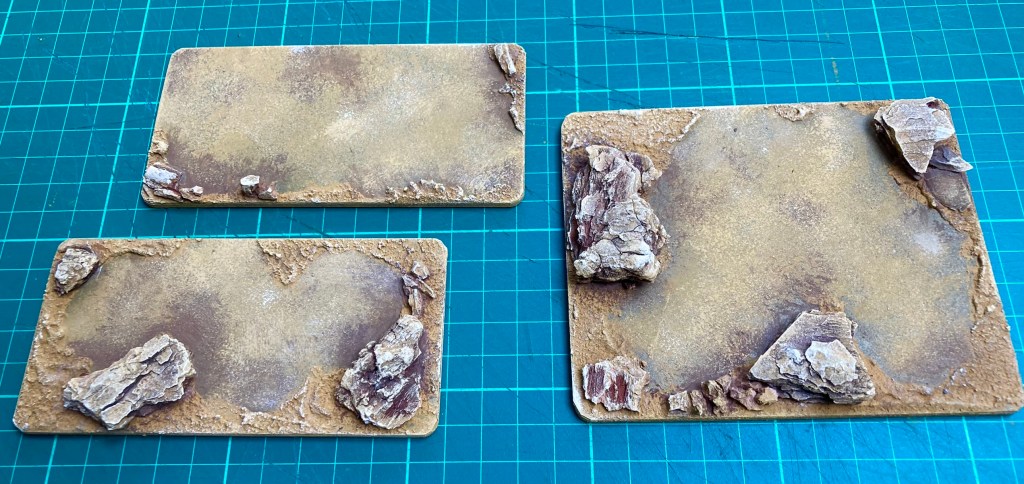
I also like to add rocks at this stage – these are either pine or cork bark chippings glued down with a good dollop of strong wood glue.
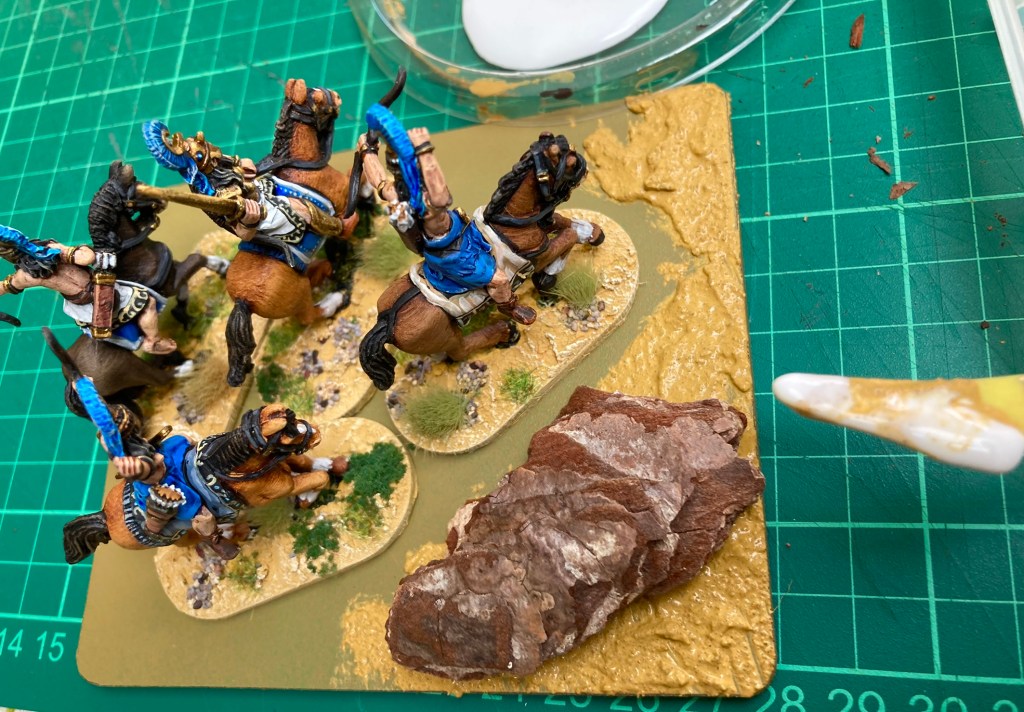
Now leave to dry at least overnight.
The next stage wouldn’t be completely necessary if you had a spray that was just the right colour, but here goes…
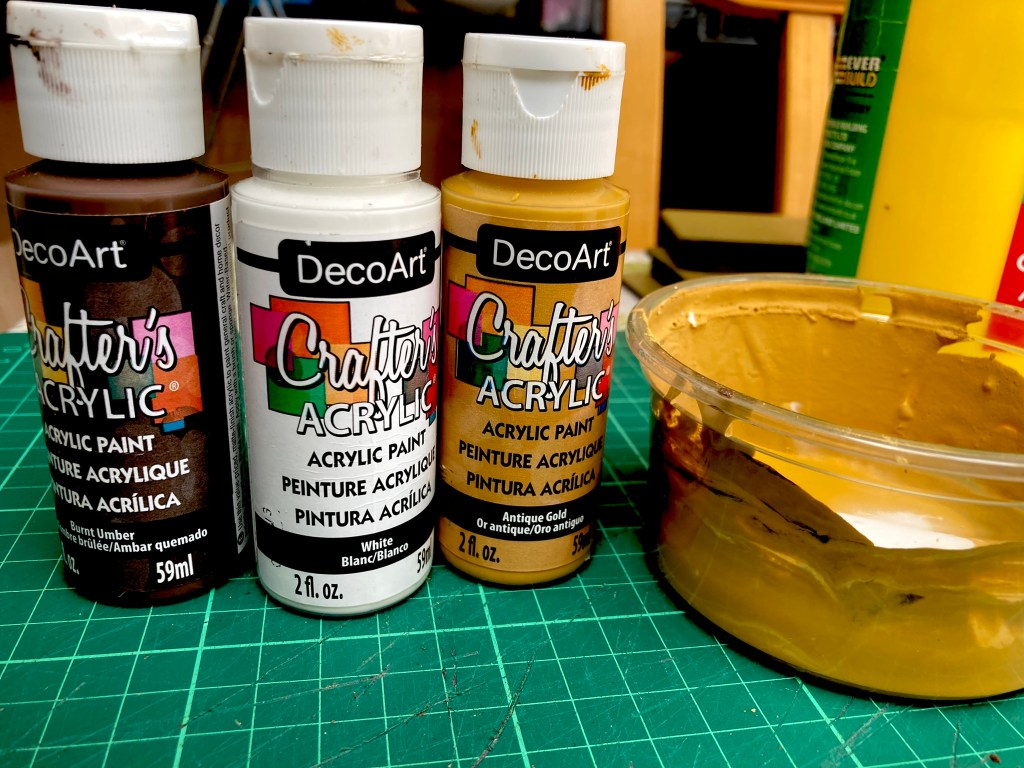
Here I am sponging the whole base with acrylic craft paint (same colours as seen above). The sponge gives a mottled look which is followed up by stippling patches of lighter and darker brown with a chunky brush. There’s no right or wrong way to do this – the only goal to get a nice-looking base.
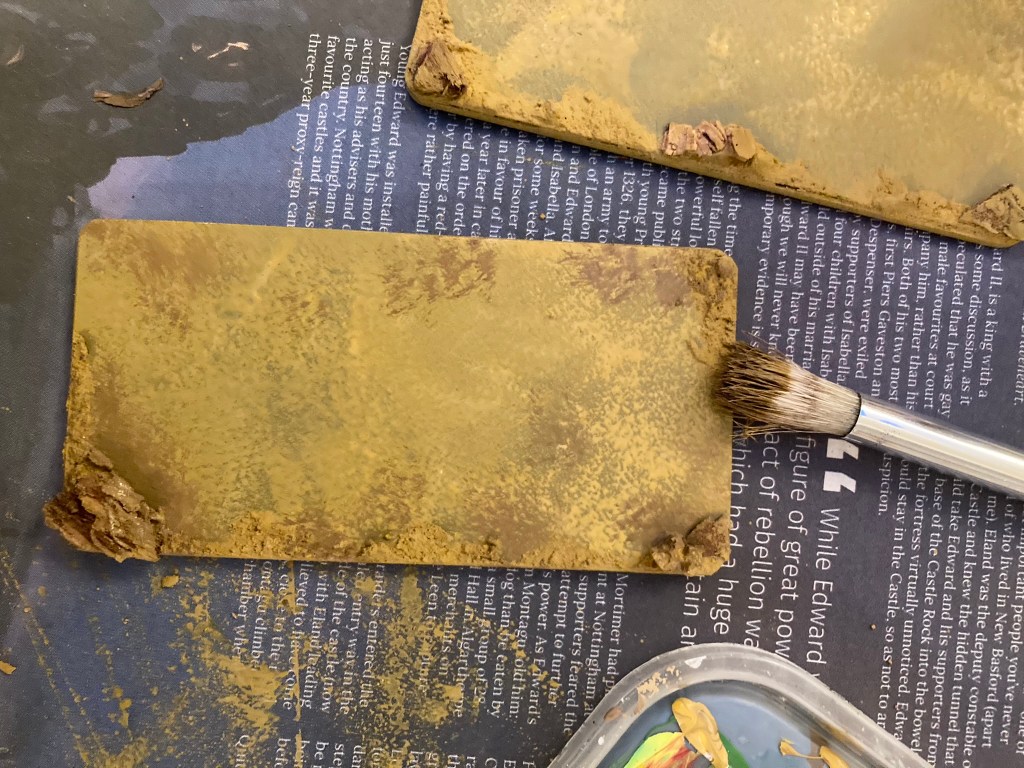
Once all this is dry, it’s time for the traditional dry brush on the textured areas of the base, then it’s on to the really fun bit!
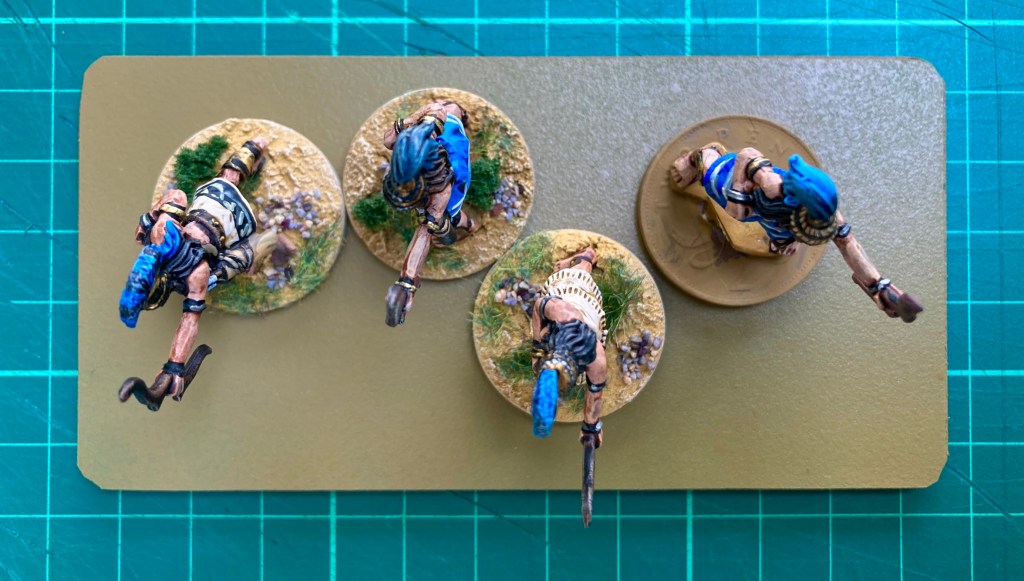
At this point, the minis go back on to the base briefly to check everything’s in order and to remind me NOT to get any flock or texture under the figure bases.
A great tip is to stick on some magnetic sheet cut to the same size as the figure bases so that you can do the flocking and tufting without messing up the minis.
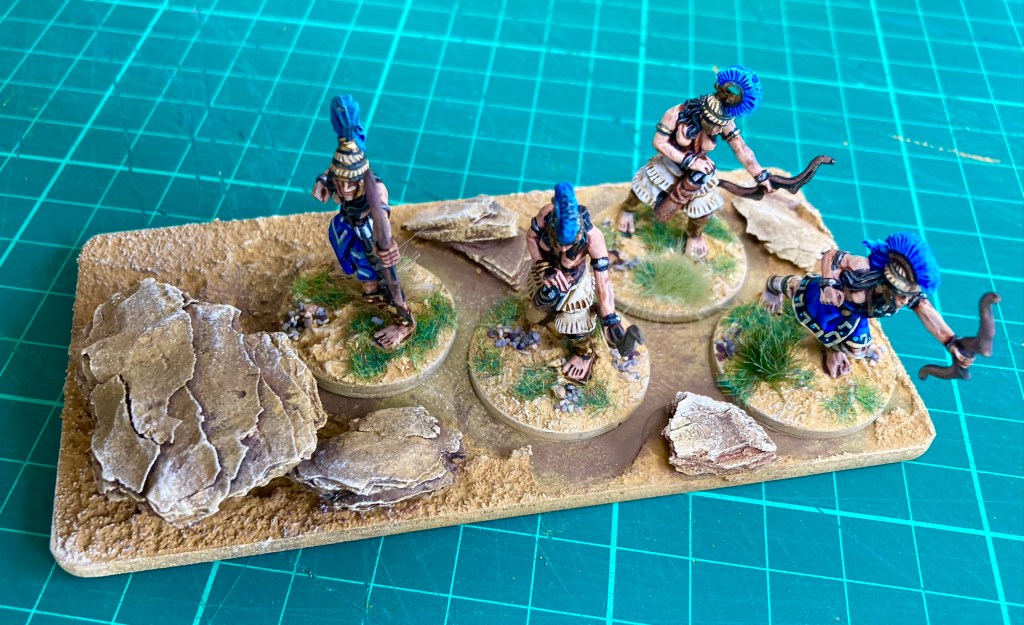
Working with PVA glue, I add some flock and then tufts to the edges of the base. These disguise and break up the unit base but remember, the goal is not to create a full sabot base – it’s a bit more subtle than that.
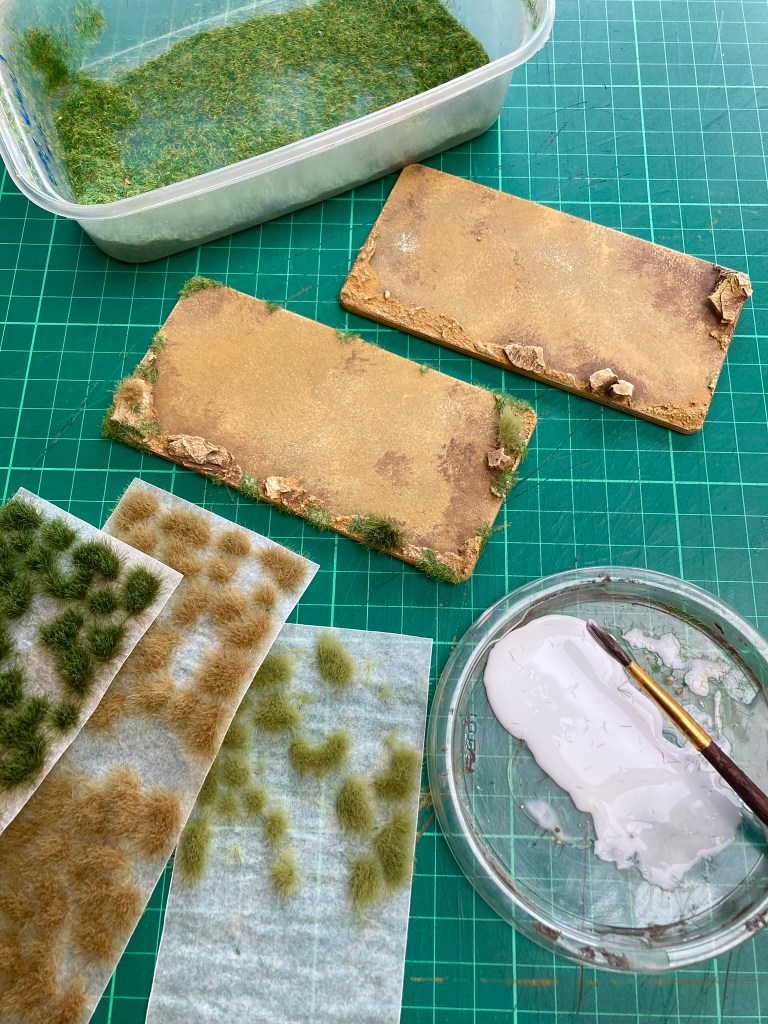
All the tufts used here are from Gamer’s Grass purchased through North Star. Most are the 6mm variety, though the 12mm tall ones are especially useful to break up the profile of bases and disguise the edges.
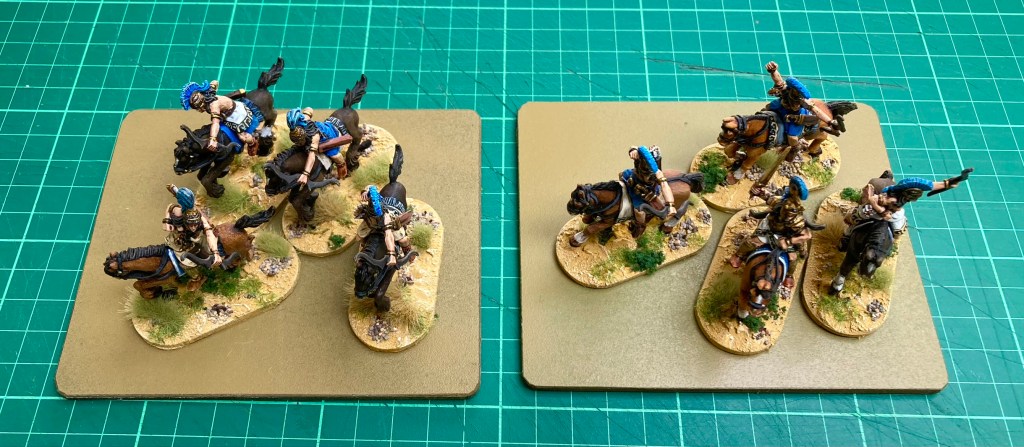
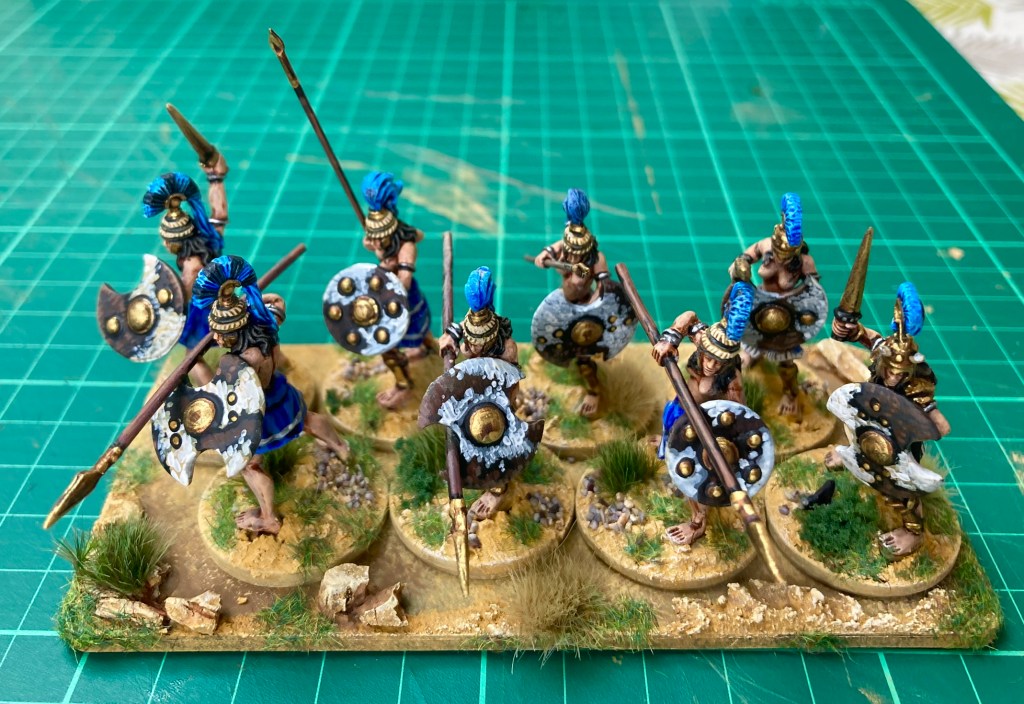
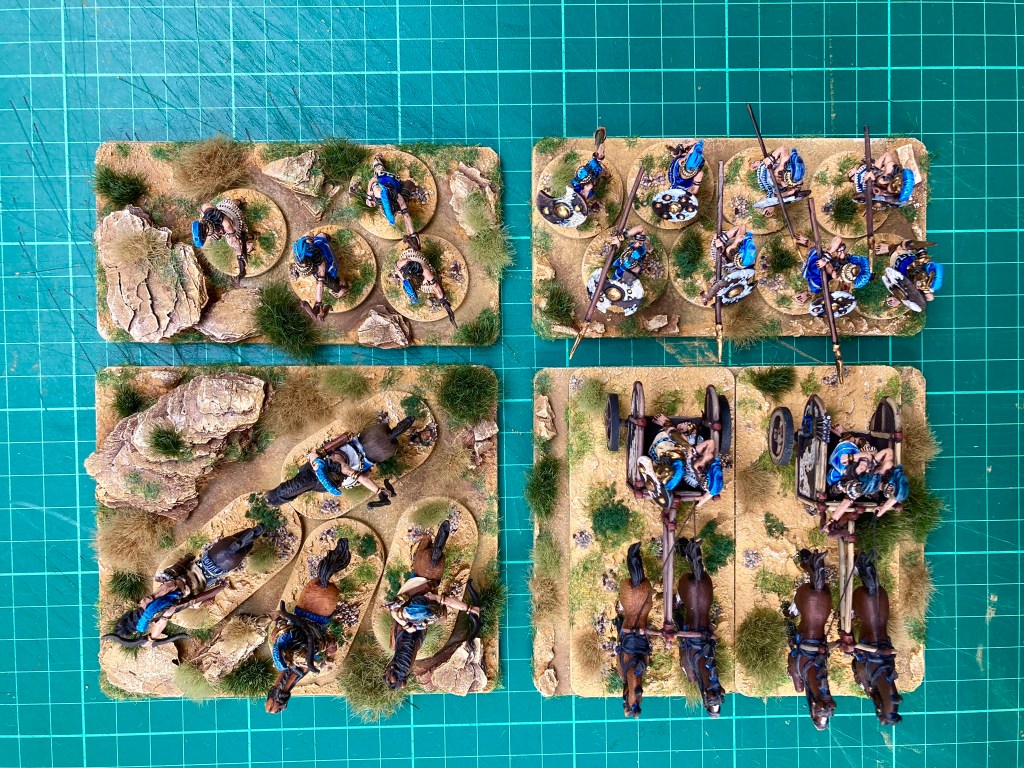
Formed units like this one below require very little texturing; indeed, it is entirely possible to just add a few tufts on the front edge.
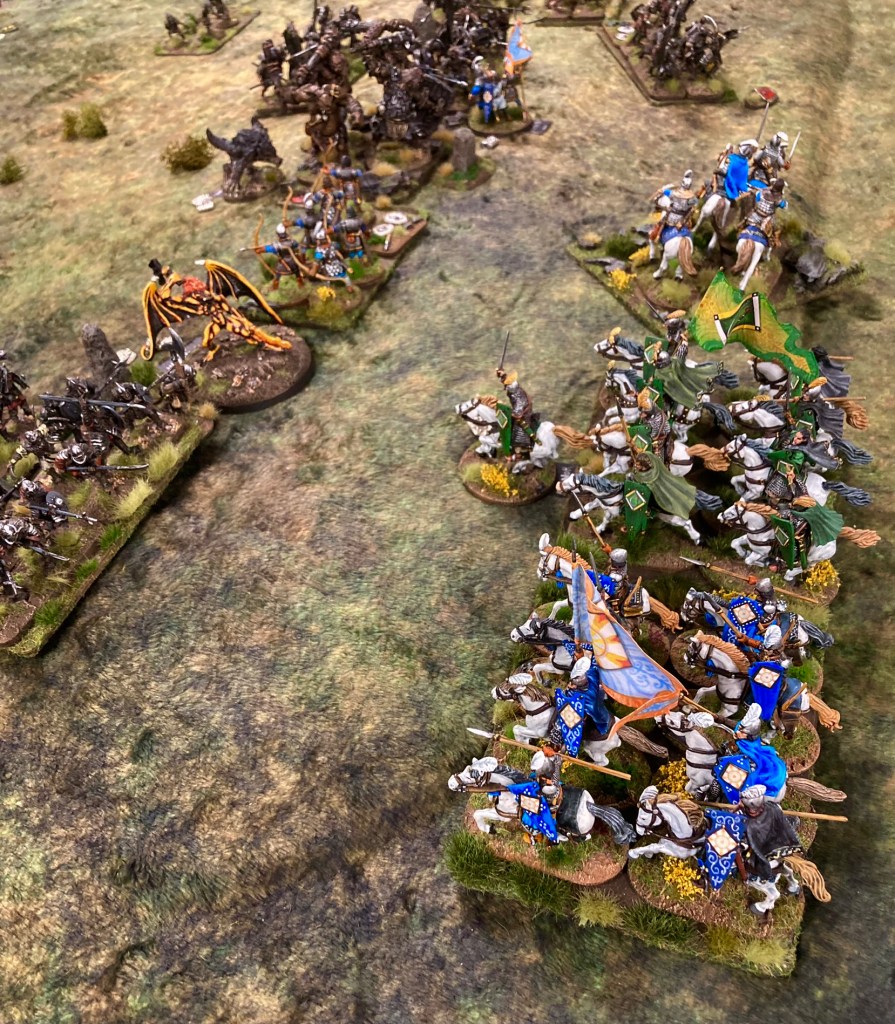
Likewise, these chariots require virtually nothing round the edges.

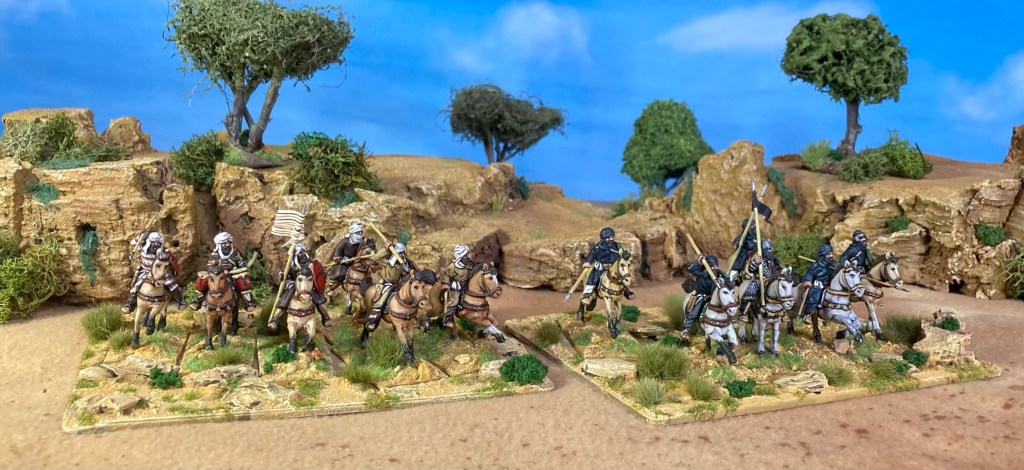
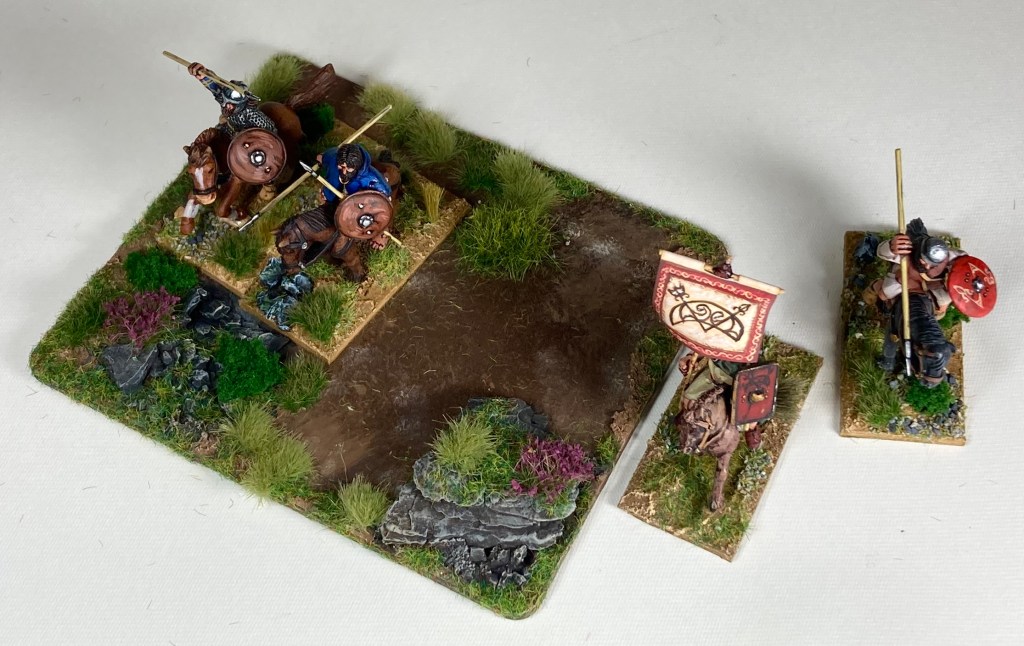
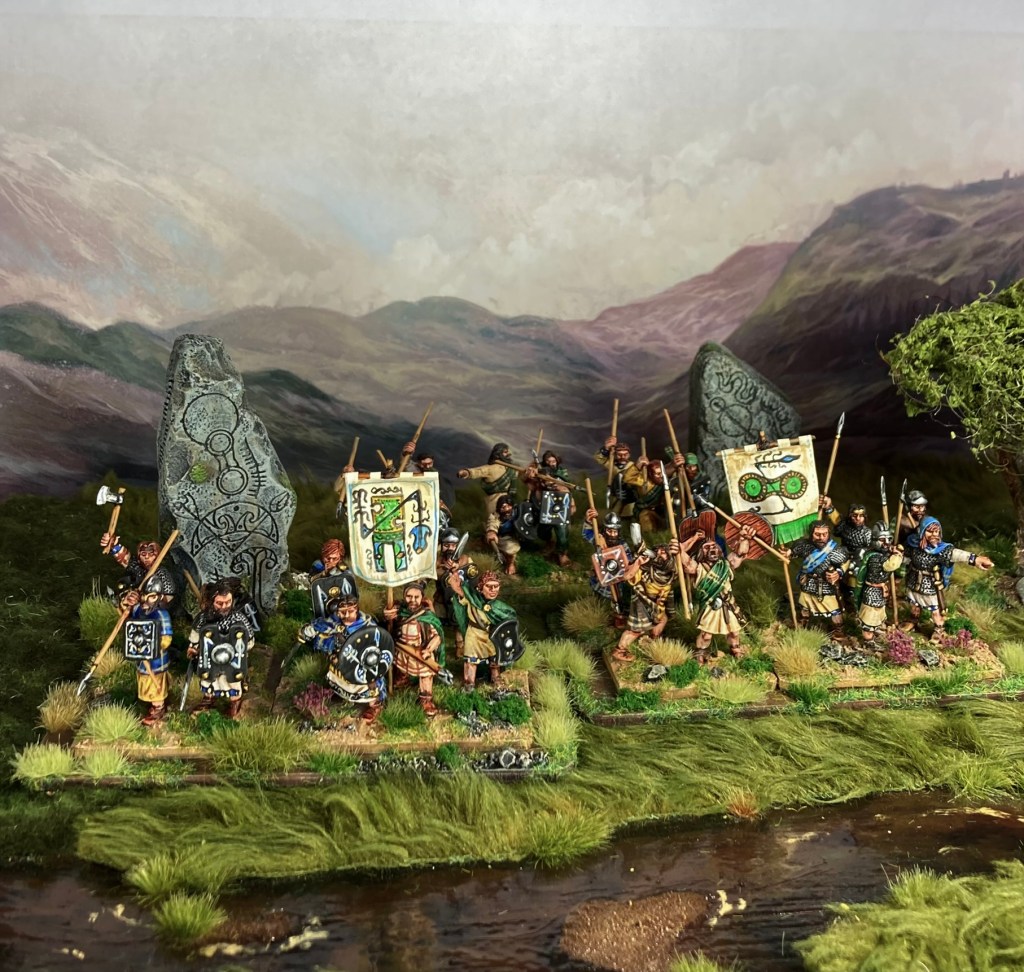
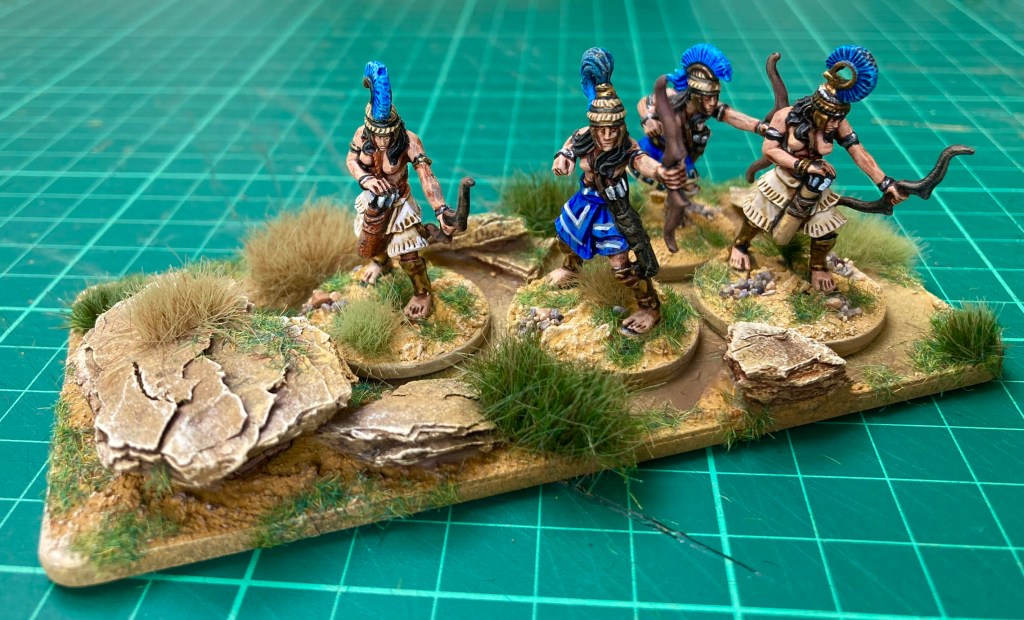
Skirmishing units, however, benefit from a highly decorated base.
Hopefully that’s been of interest, whatever game system that you’re playing. I’ve really enjoyed putting these together and look forward to making more in the future.